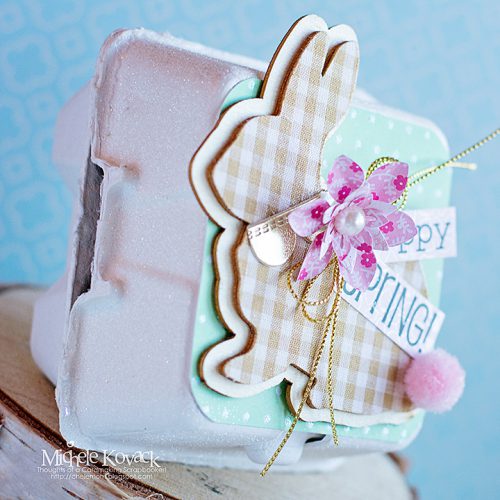
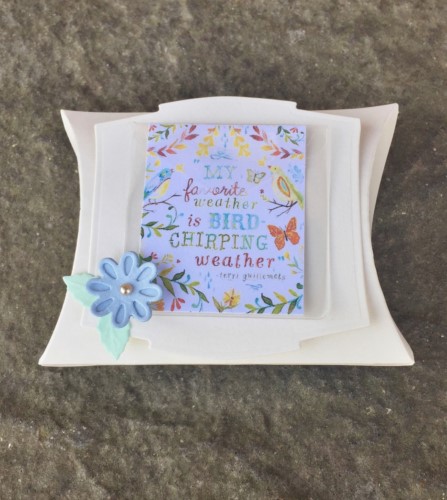
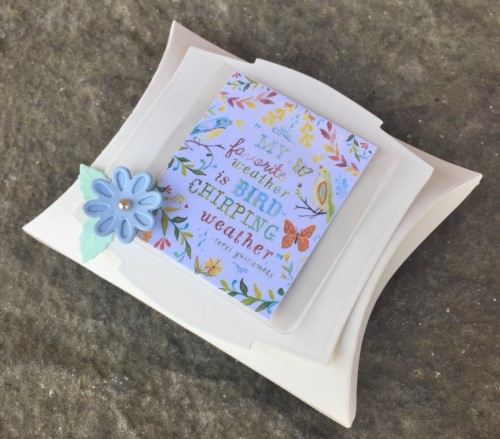
Hi everyone, Christine here today with a quick and easy Spring themed gift box using a Keepsake Envelope.
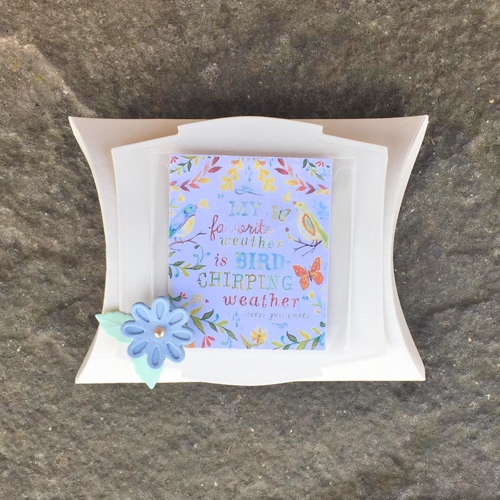
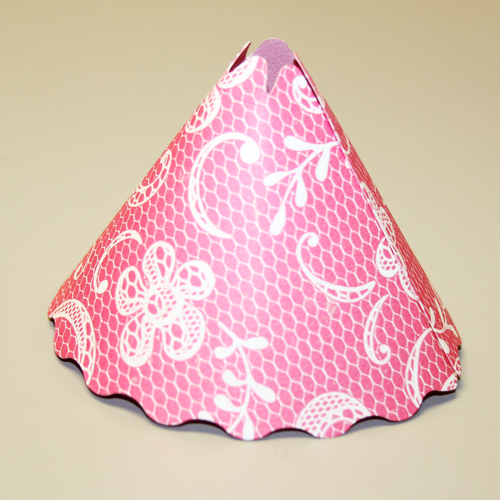
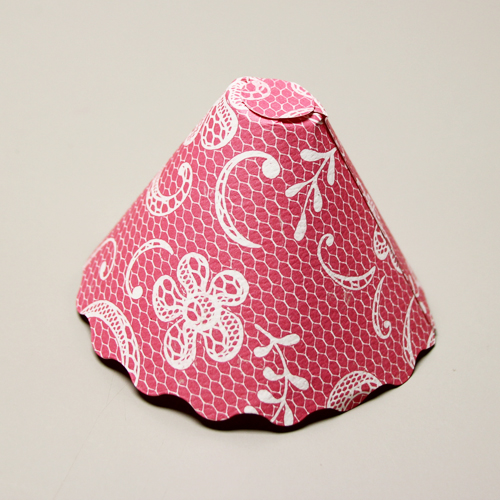
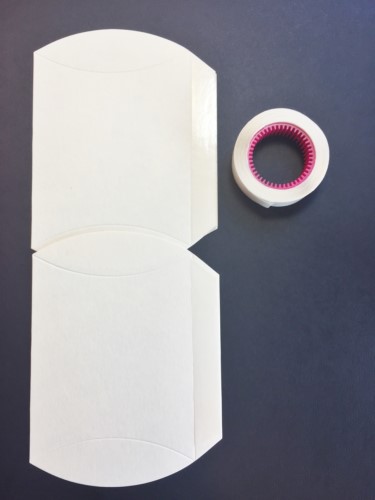
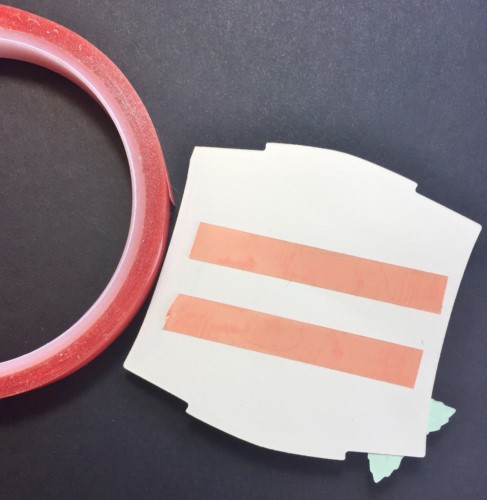
My gift box is a pillow box design. I positioned Crafty Power Tape to the side panels,and trimmed the edges to ensure a perfect seal.
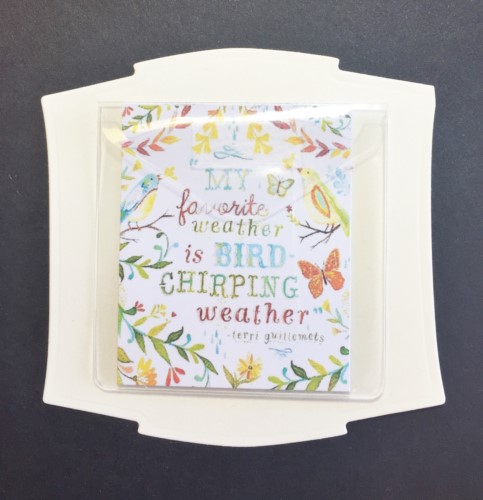
I printed a favorite quote to insert into a 2 x 2″ Keepsake Envelope, there are 10 in a pack – various sizes so great for many projects.
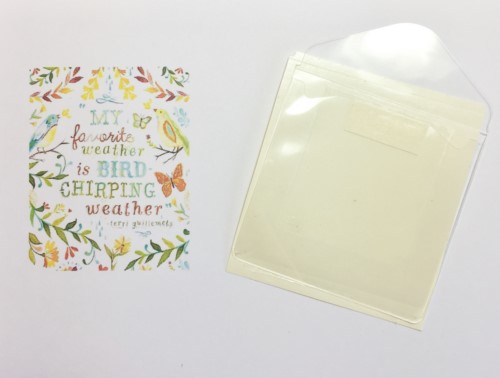
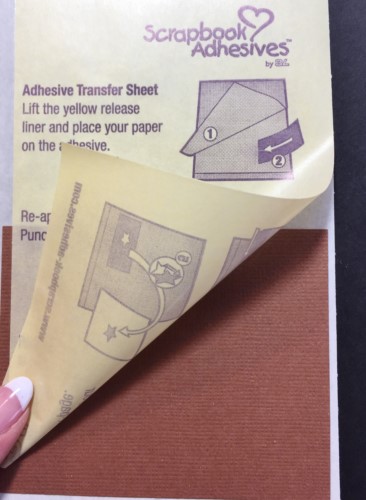
Peeling off the backing I adhered it straight onto a die cut, super speedy!
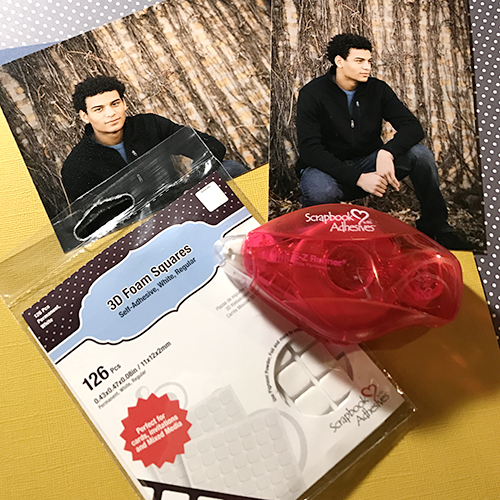
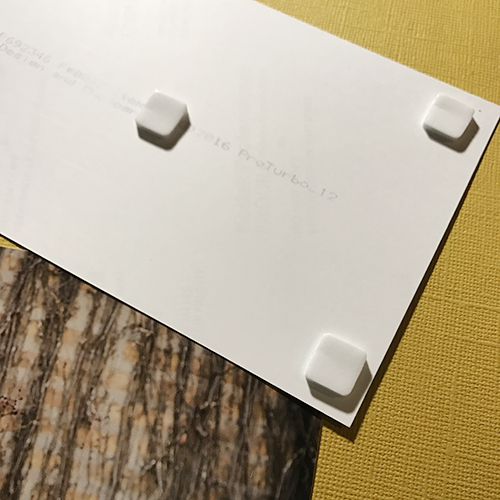
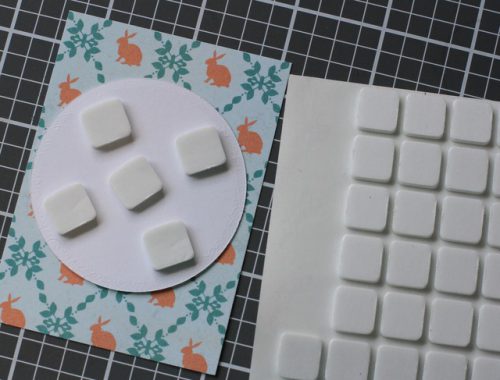
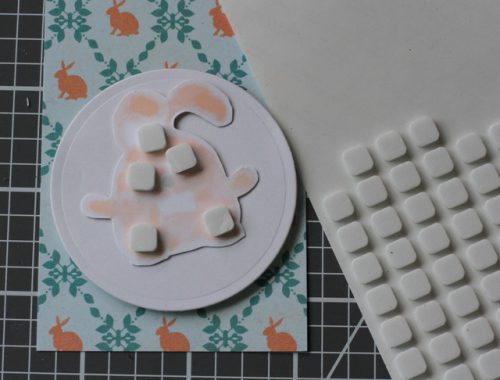
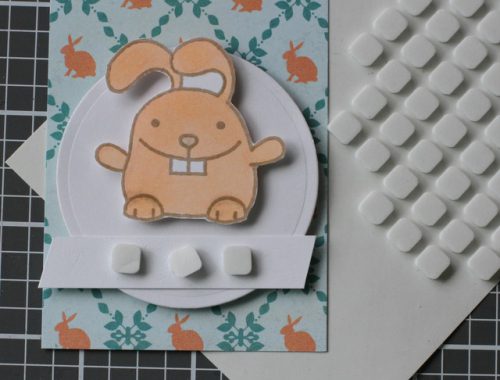
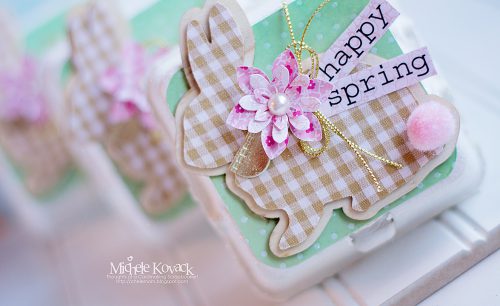
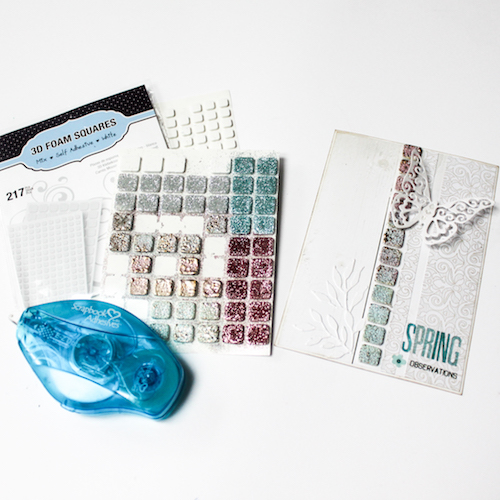
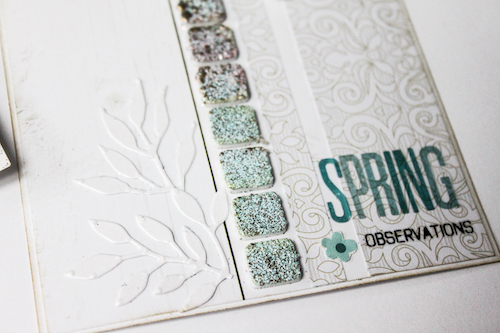
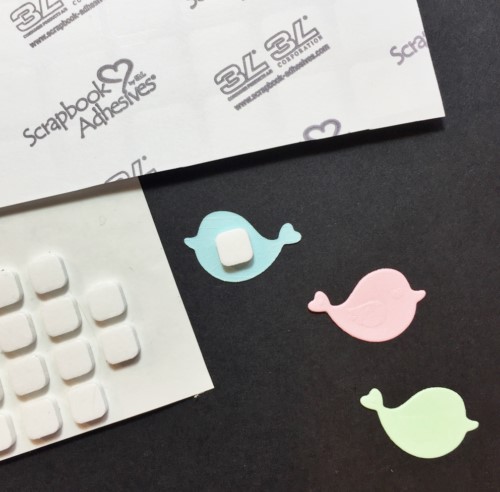
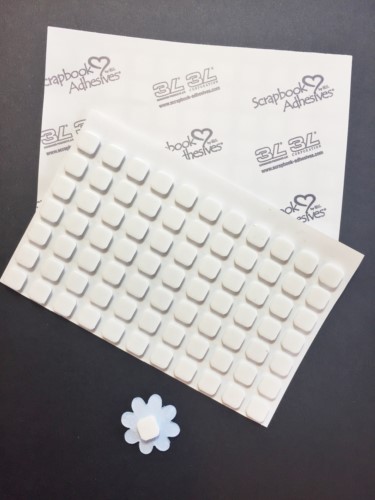
To affix my flower embellishment I used 3D Foam Squares White Small.
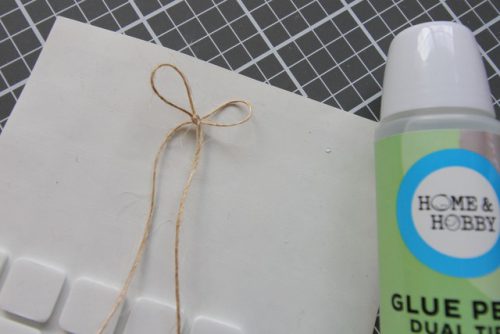
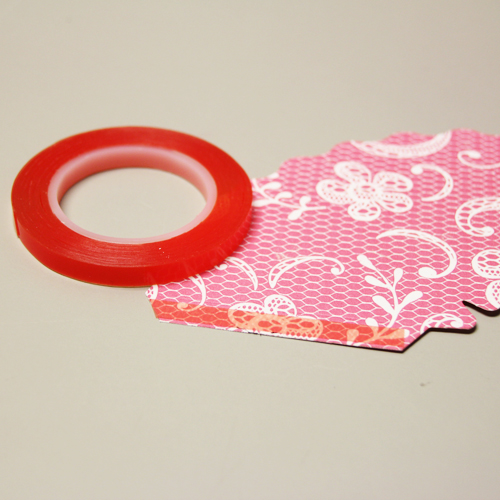
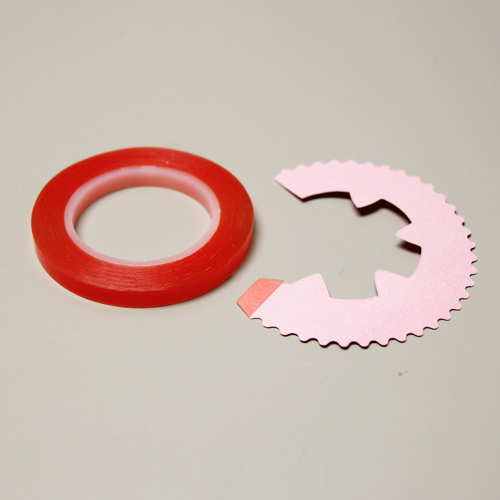
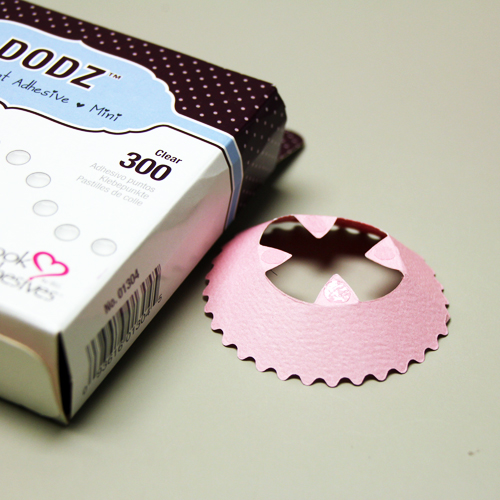
To ensure the decoration is firmly affixed to the gift box I opted for Extreme Double Sided Tape, 1/2″. This is really strong and the red backing is easy to remove.
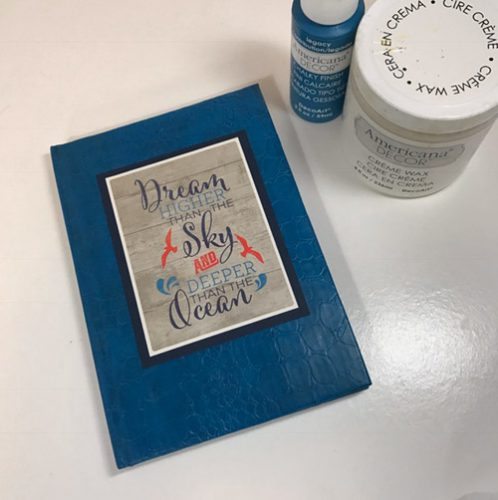
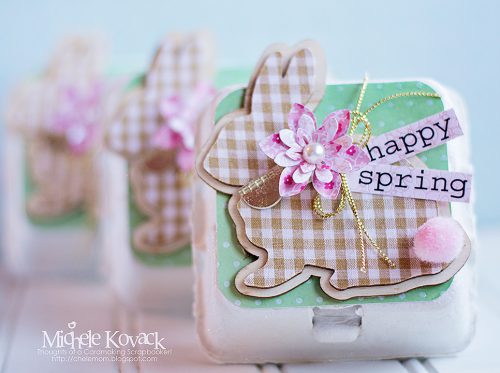
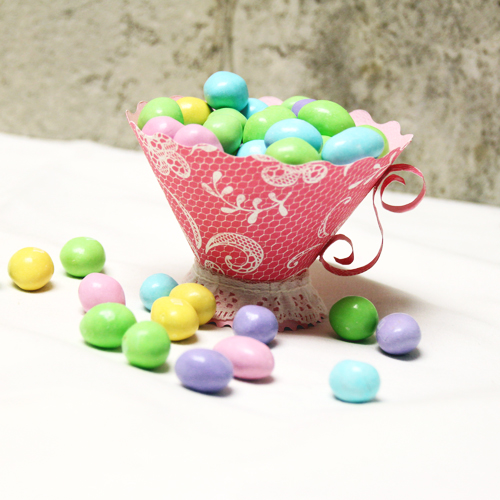
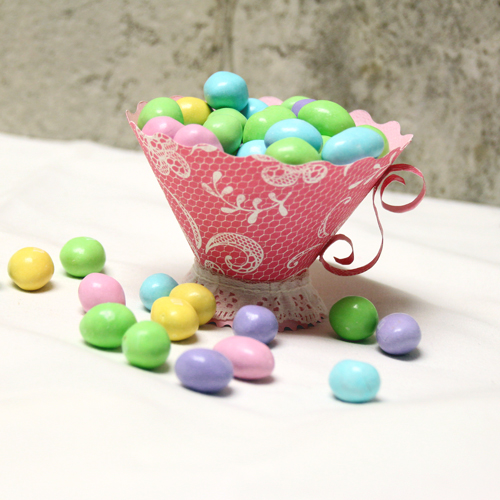
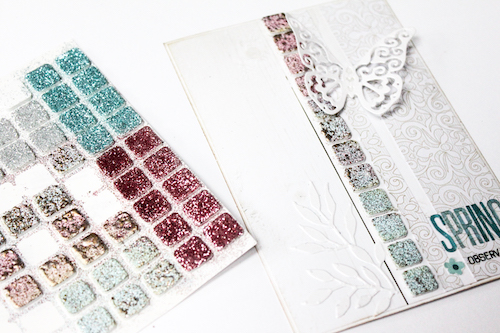
The finished box – an ideal size for a gift card, jewelry or a handful of chocolates or candy.
Pin this Gift Card Holder!
It’s a great idea for Mother’s Day or Wedding favors too!
Check out our quick video on Keepsake Envelopes:
Thanks for stopping by today and don’t forget to check out all the great products on the website.

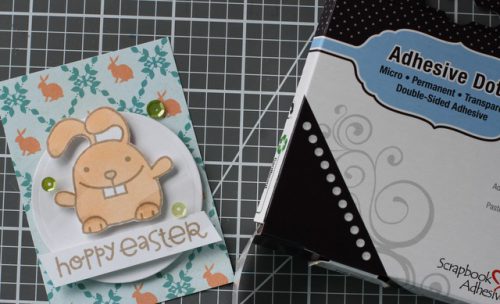
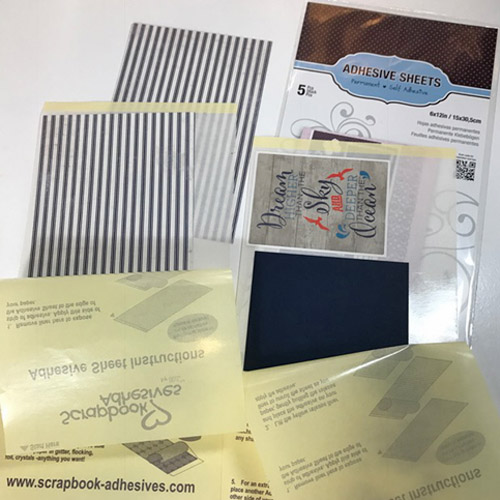
Products used:
3D Foam Squares White Small
Crafty Power Tape
Keepsake Envelopes
Extreme Double Sided Tape 1/2in
Others:
Dies: Spellbinders® Paper Arts (Label 1 Plus, Pretty Petals)
Ivory, Blue and Pale Green Cardstock
Ivory Pearl