You are in our US store • Switch to Europe store

Easter Chicks and My Obsession with Crafty Foam Tape!

Are you familiar with our Crafty Foam Tape? It is my ABSOLUTE favorite adhesive product! I think it will be yours too as I share this fun Easter card.

Good morning! Michele here and I seriously have an obsession problem with this wonderful adhesive! LOL! I add it to Every. Single. Project! I just love how easy it is to add dimension to an otherwise simple card.
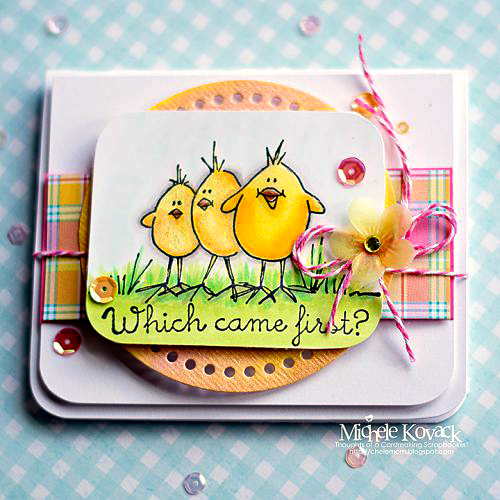
Easter Chicks and My Obsession with Crafty Foam Tape by Michele Kovack for Scrapbook Adhesives by 3L

Crafty Foam Tape Usage

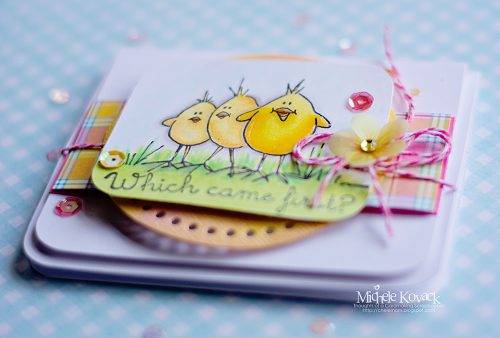
I colored in my little chicks with Copics and adhered to a sparkly water colored circle with, yep you guessed it, Crafty Foam Tape! It was also used to attach that to a strip of plaid paper and then to the card base. I’m telling you I can’t get enough of this stuff! LOL! The flower and sequins were attached with Adhesive Dots Small and Adhesive Dots Mini.
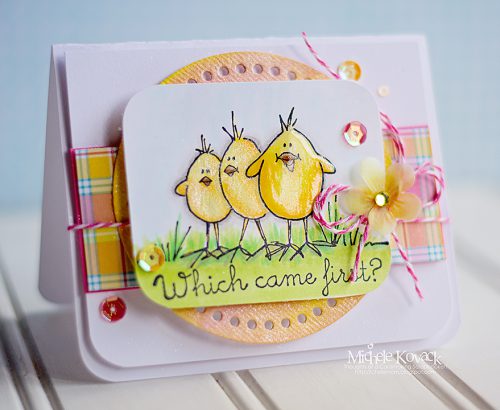
which came first3

which came first


Looking for more Easter project inspiration? Click: DIY Easter Crafts on Parade.
Thank you so much for stopping by today!!

Scrapbook Adhesives by 3L®:
Crafty Foam Tape
Adhesive Dots Mini
Adhesive Dots Small

Other:
Spectrum Noir Sparkle Markers, Plaid Patterned Paper: Lawn Fawn, Sequins: Lucy’s, Stamp: Stampin Up! , Copic Markers and Twine
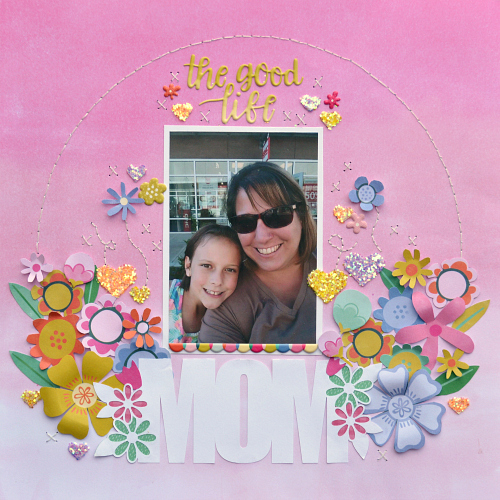
Mom Scrapbook Layout with E-Z Runner Permanent Fine
Hi there! Christine joining you for the first time today here on the blog! I’ve been itching for spring so today I decided to combine the E-Z Runner® Permanent Fine Adhesive Dispenser and a whole bunch of flowers to put together a layout that just screams Spring and celebrates Mom on Mother’s Day! Here’s my layout:
Mom Scrapbook Layout featuring florals and Scrapbook Adhesives by 3L

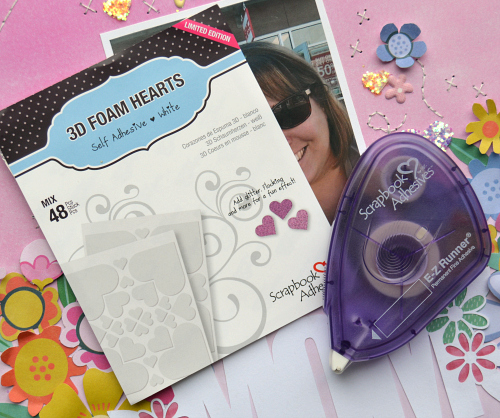
In addition to playing with the E-Z Runner® Permanent Fine Adhesive Dispenser I also got out some of the 3D Foam Hearts.

ChristineMeyer-MomScrapbookLayout3

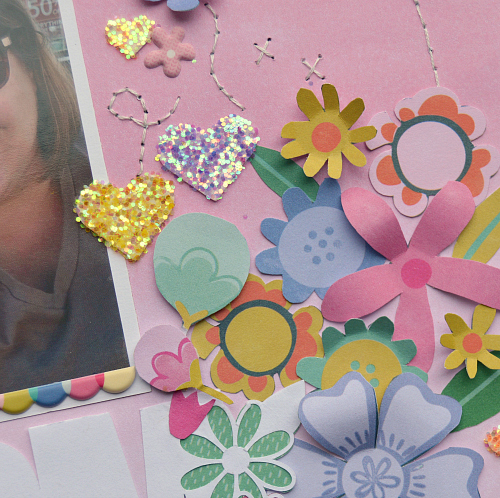
There are a variety of uses for the 3D Foam Shapes but I decided to start with glitter.  Don’t ask about how my work space looks now!

ChristineMeyer-MomScrapbookLayout2

Check out this process video to see how I used these different elements in my layout.

Supplies List:
Scrapbook Adhesives by 3L®:
E-Z Runner® Permanent Fine Adhesive Dispenser
3D Foam Squares Mix White
3D Foam Hearts
Other:
Patterned Papers & Stickers: Pink Paislee (Oh My Heart Collection)
Cardstock: Bazzill
Thread: DMC

Thanks for stopping by today!
Christine Meyer

Creating Photo Memories in Traveler’s Notebook

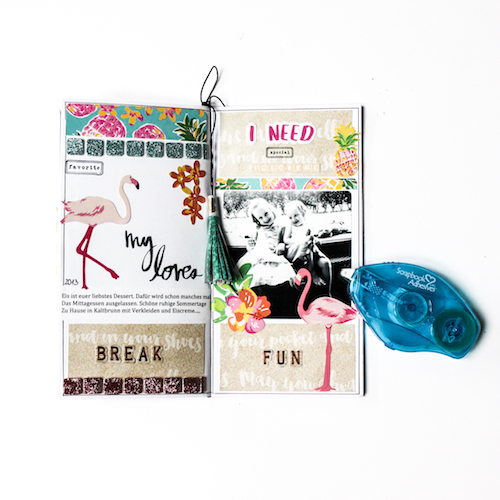
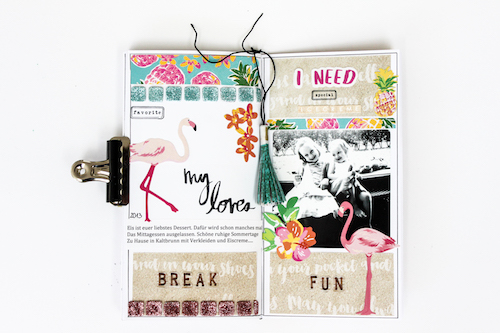
Hi there, it’s Stephanie here today. I want to show you a Scrapbook Page in my Traveler’s Notebook. I used E-Z Dots® Permanent Refillable Dispenser from Scrapbook Adhesives by 3L®.

Stephanie_Notebook_1

Here you can take a look over my shoulder how I created the page.

Stephanie_Notebook_2

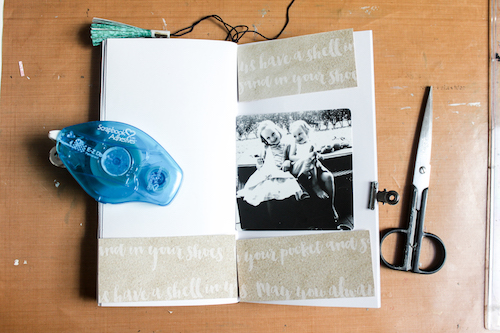
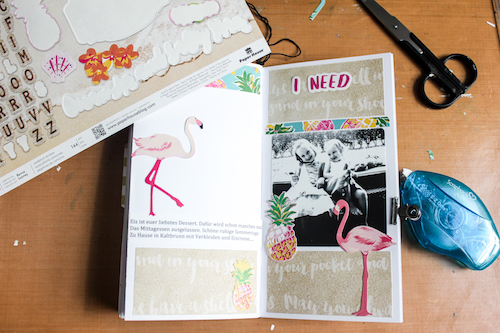
My first step was to choose some paper scraps and a photo and I adhered them with the E-Z Dots® Permanent Refillable Dispenser onto my pages.

Stephanie_Notebook_3

I added my journaling (printed out), some stickers and more paper scraps to fill out the space.

Stephanie_Notebook_4

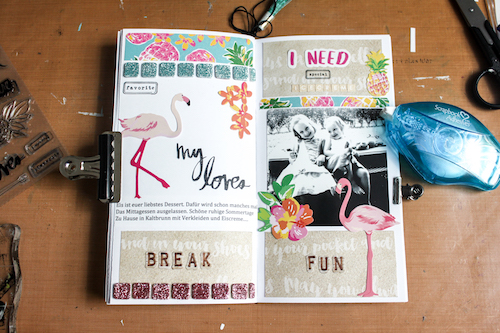
After stamping some words and phrases I removed some stickers I didn’t like and added other here and there. You can also see some glittering 3D Foam Squares Mix White on my left page.

Stephanie_Notebook_5

It’s a quick and easy way to use paper scraps and to keep your memories.

Stephanie_Notebook_6

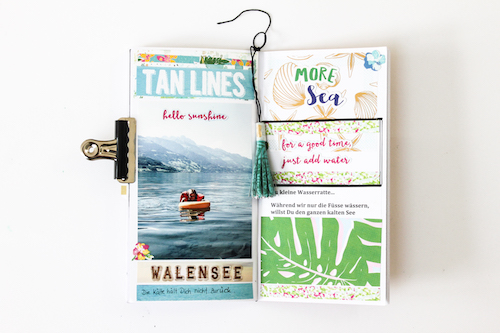
Here is another page in my Traveler’s Notebook. I had fun and love the colorful pages.

Thanks for visiting me today!
Stephanie

Scrapbook Adhesives by 3L® Supplies:
3D Foam Squares Mix White
E-Z Dots® Permanent Refillable Dispenser
Others:
Patterned Papers, Stickers: Paper House Productions (Paradise Found Beach Paper Crafting Kit)

Fabulous Canvas Flower Card with Adhesive Dots 3D

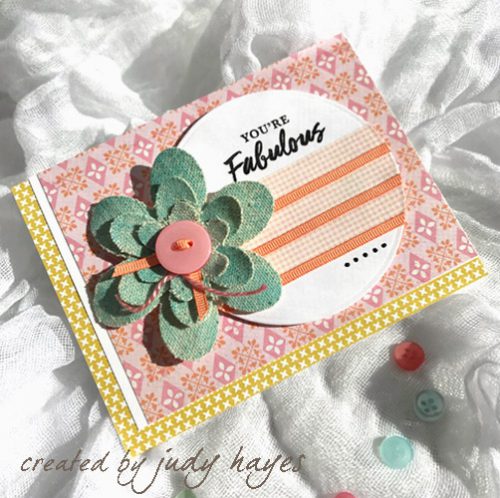
Hello everyone! It’s Judy here today with a Fabulous Canvas Flower card! I use Adhesive Dots 3D to assemble the flower and give it dimension. Adhesive Dots Medium hold it onto the card. Then E-Z Dots® Permanent Refillable Dispenser work great to fasten the papers together and 3D Foam Squares White Mix to pop up the circle.

judy_hayes_FabulousFlowerCard1

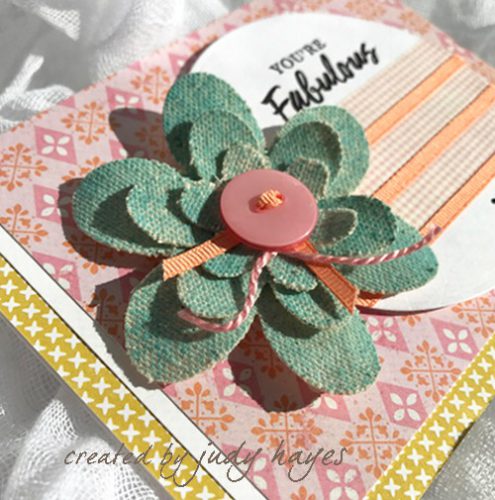
The canvas flower is die cut from canvas that I colored with Distress Oxide ink and misted with water.  I love the irregular color!  Adhesive Dots 3D hold each layer together and fasten the button. The circle of white cardstock has strips of pink check paper tape separated by narrow grosgrain ribbon. Premium Double-Sided Tape ⅛ʺ holds the ribbon in place.  I stamped the verse with Hero Arts Birthday Messages stamp.  The little black dots are made with Imagine Crafts/Tsukineko Neon Amplify! The circle is popped up with 3D Foam Squares White Mix of which I used the larger squares.

judy_hayes_FabulousFlowerCard2

I love adding an element of texture to a card like this flower!  Fun mix of colors and papers! Perfect for Mother’s Day too!

Thanks for visiting!
Judy

Scrapbook Adhesives by 3L®:
Adhesive Dots Medium
 Adhesive Dots 3D
3D Foam Squares  White Mix
E-Z Dots® Permanent Refillable Dispenser
Premium Double-Sided Tape ⅛ʺ

Other supplies: Authentique Eastertime Four; Buttons Galore Button; Canvas Corp Canvas; Echo Park Bundle of Joy “Baby Confetti”; Grosgrain Ribbon; Hero Arts Birthday Messages stamp; Imagine Crafts/Tsukineko: Neon Amplify! Black, Versafine Onyx Black Ink; Ranger Distress Oxide Broken China Ink; Spellbinders Darling Daisies Steel Rule Die; Paper Tape; Pearl Cotton; White Cardstock;

Save

Save

1st Spring | Scrapbooking Layout with 3D Foam Shapes

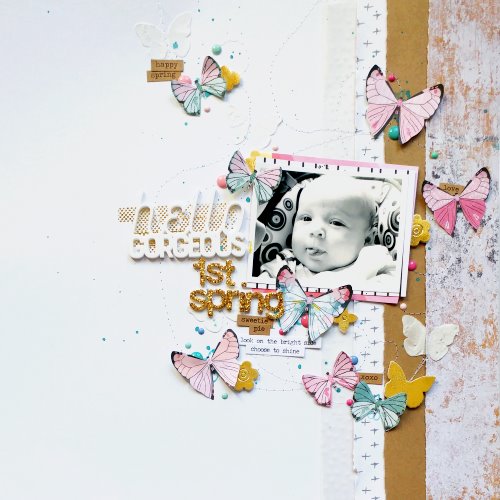
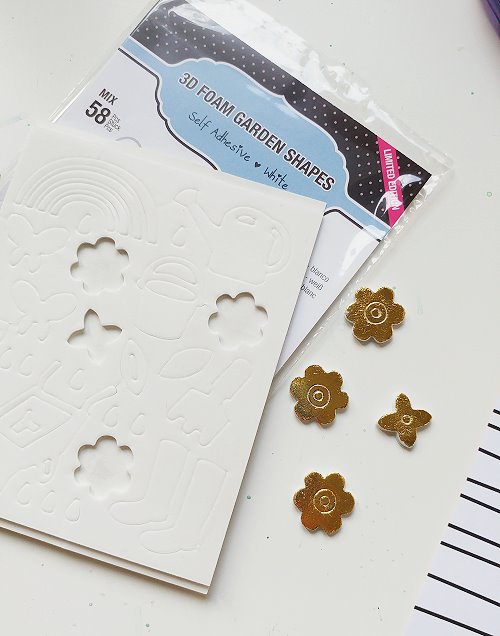
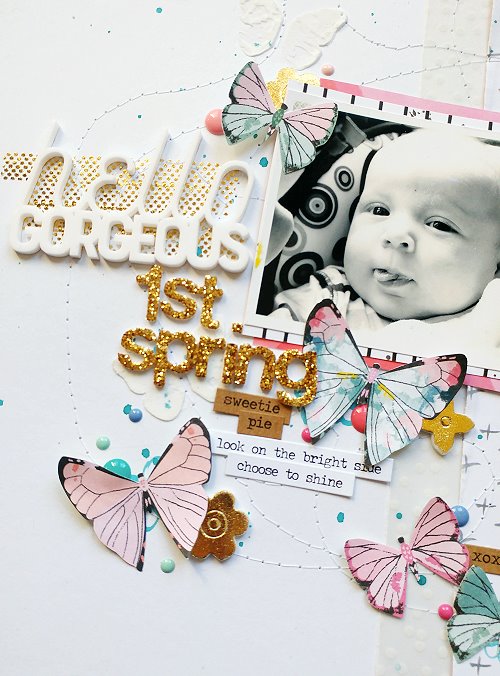
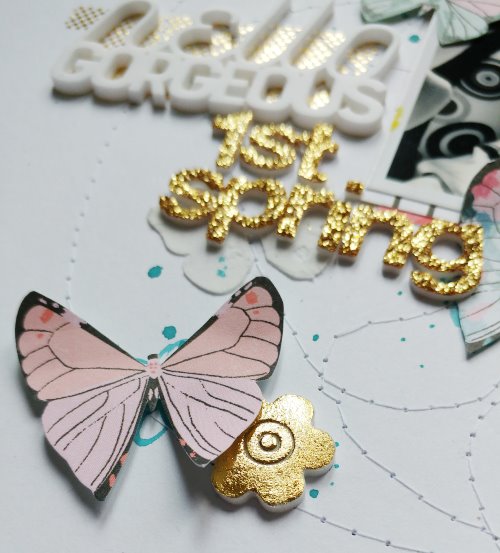
Hi everyone, Jana here with my first post on the Blog! I am very excited to share my first project with you! I grabbed some 3D Foam Butterflies and some 3D Foam Garden Shapes to start this Layout.

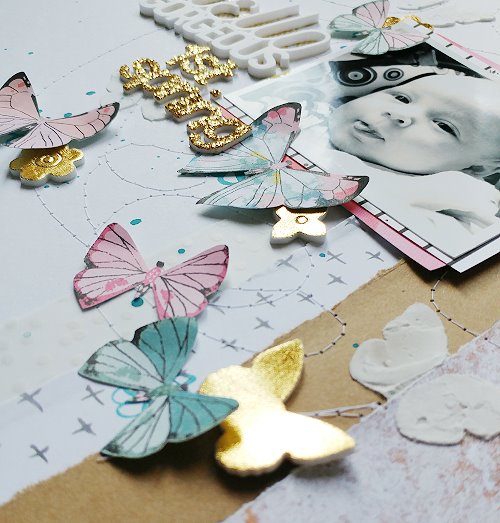
Baby's 1st Spring by JanaMcCarthy for Scrapbook Adhesives by 3L

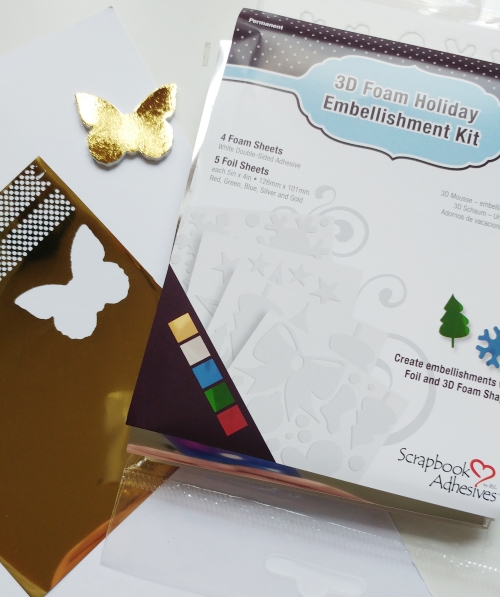
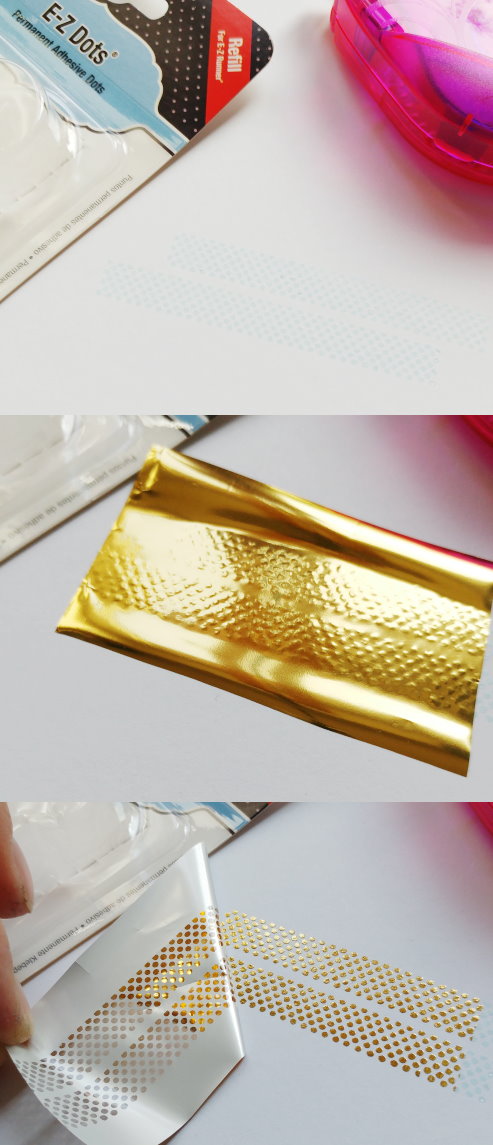
This cutie on the photo is my little one, 7 yrs ago! His first Spring! I love this picture so much and I miss that time! Spring means flowers and butterflies, right?! I used Gold Foil from 3D Foam Creative Embellishment Kit to add a nice golden sparkling touch to the 3D Foam Shapes and I am very impressed about the results. It is so easy to add the foil!

JanaMcCarthy-1stSpring-2a

JanaMcCarthy-1stSpring-9

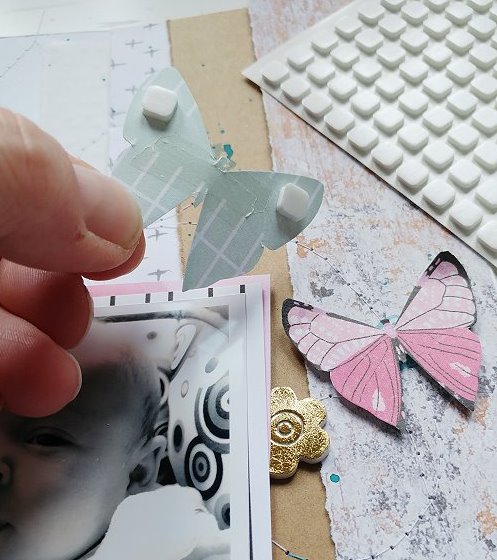
I cut out a lot of the little butterflies from a Crate Paper paper and scattered them around on my white cardstock. I added some 3D Foam Squares to give them some dimension.

JanaMcCarthy-1stSpring-4

I used some different patterned papers on my layout, run it through my sewing machine to add a lot of wonky swirls under the Butterflies… a few watercolor details and to add a special “something something” to my title I decided to add more gold! Easy thing with the E-Z Dots® Permanent

JanaMcCarthy-1stSpring-5

to complete my project I scattered some Enamel Dots and Word Stickers around the page. Here are some close ups…

JanaMcCarthy-1stSpring-6

JanaMcCarthy-1stSpring-7

JanaMcCarthy-1stSpring-8

Thank you so much for stopping by today
janasig

Supplies:
3D Foam Butterflies
3D Foam Garden Shapes
3D Foam Creative Embellishment Kit
3D Foam Squares
E-Z Dots® Permanent
E-Z Runner® Permanent Fine Adhesive Dispenser

Other:
Tim Holtz Word sticker
Echo Park Paper Enamel Dots
Papers from CratePaper, Simple Stories, HipKitClub, Illustrated Faith
Acrylic Word from ColorCastDesigns
Golden Thickers from CratePaper

Save

Baseball Layout with E-Z Runner Grand

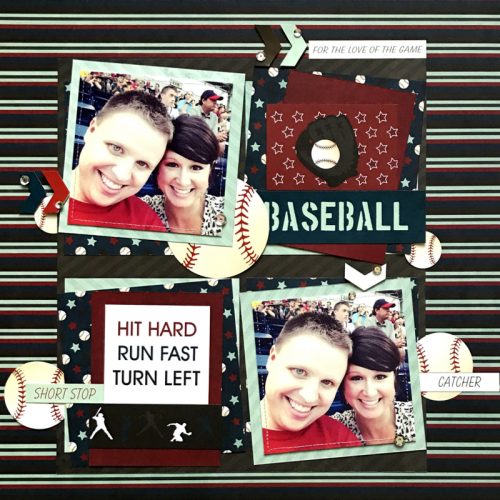
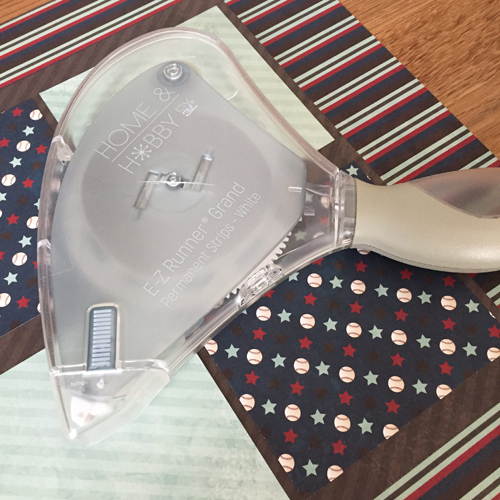
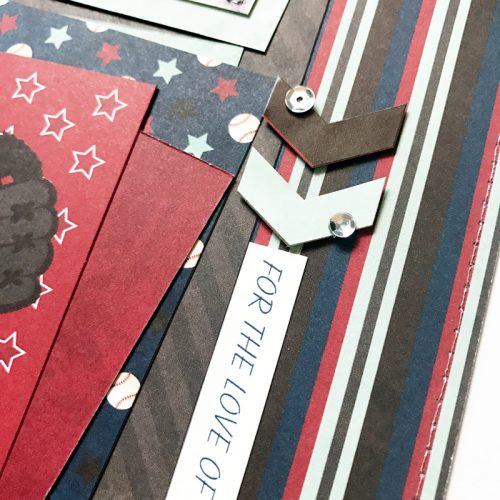
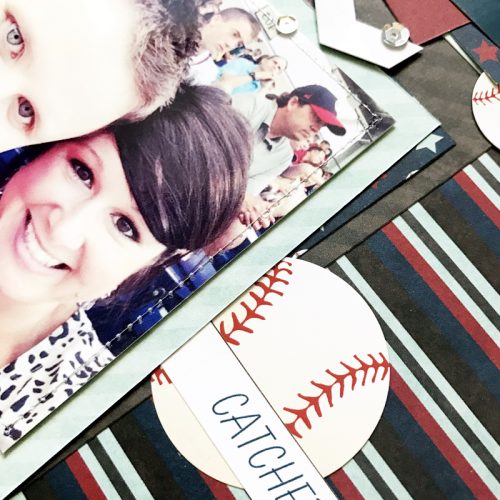
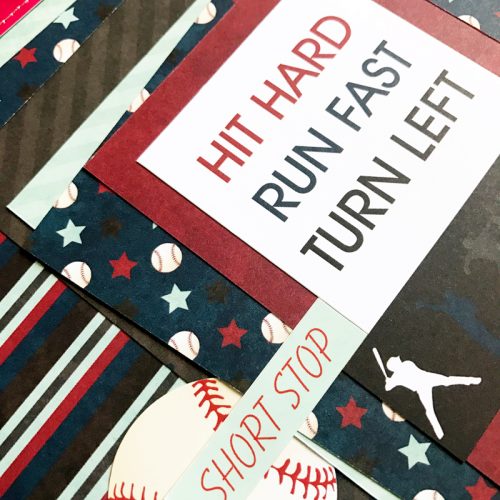
It’s spring time and one of my favorite things about spring is baseball! It’s opening week so today I’m sharing a baseball themed layout using the E-Z Runner® Grand Refillable Dispenser.

Baseball Layout by Erica Houghton for Scrapbook Adhesives by 3L

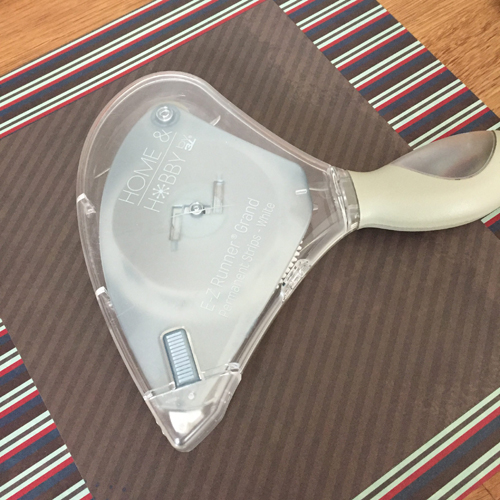
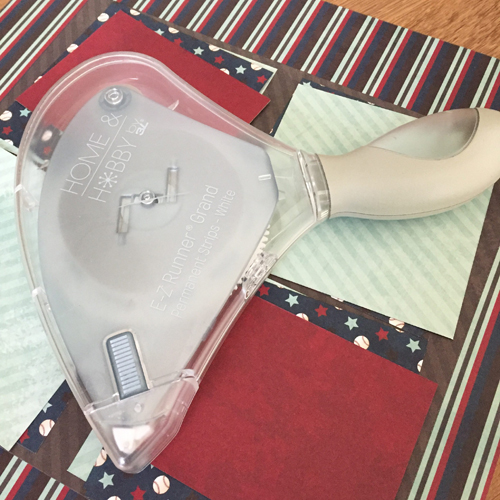
I started by cutting a piece of brown pattern paper and adhered it to the base sheet using the E-Z Runner® Grand Refillable Dispenser. I then cut and adhered four 4″ x 4″ squares to the brown piece of pattern paper using the E-Z Runner® Grand Refillable Dispenser.

Next, I cut and adhered four rectangles to the 4 x 4″ squares using the E-Z Runner® Grand Refillable Dispenser. To finish my layout I adhered other die-cuts, embellishments, and photographs using the cut and adhered four 4 x 4″ squares to the brown piece of pattern paper using the E-Z Runner® Grand Refillable Dispenser.

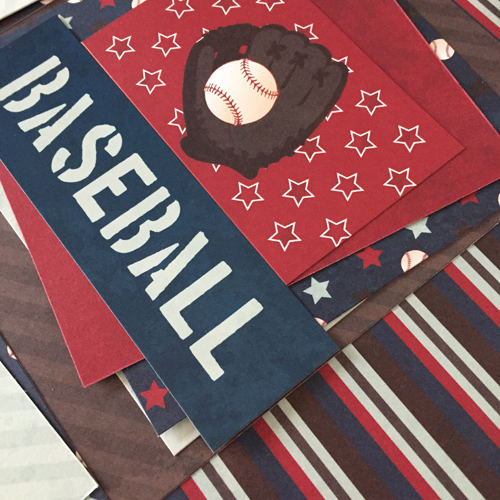
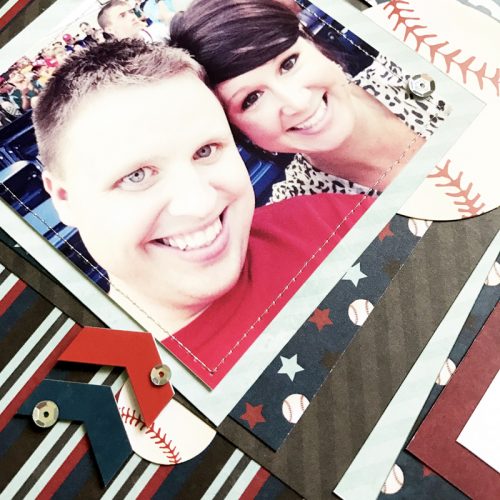
Here are a few close-ups:

Scrapbook Adhesives by 3L®:
E-Z Runner® Grand Refillable Dispenser
Other:
Paper & Stickers: Moxxie

Thanks for joining me today!
Erica Houghton

Dimensional Thank You Card with 3D Foam Squares

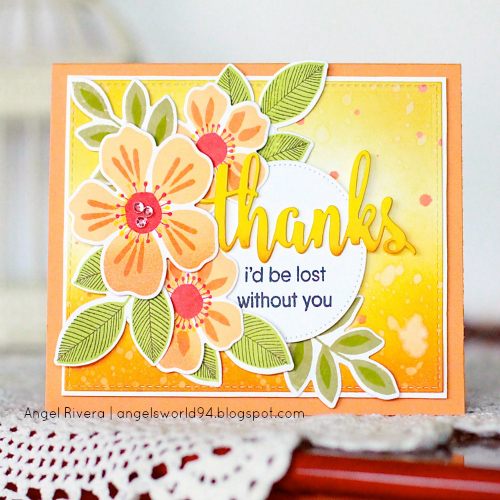
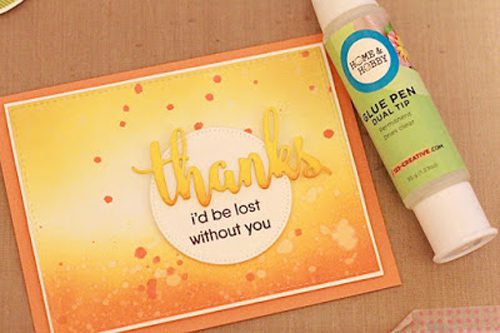
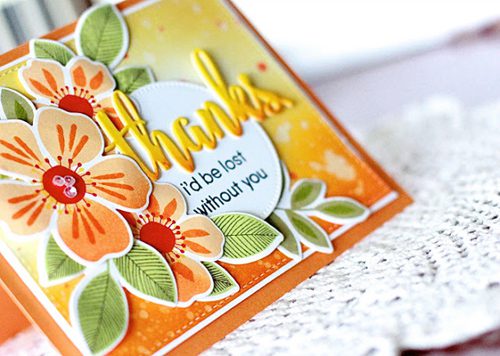
Hi all, Angel Rivera here!  I’m feeling so thankful to be sharing my first guest post with my thank you card full dimension using Thin 3D Foam Squares and bits of the 3D Foam Creative Embellishment Kit.

Dimensional Thank You Card by Angel Rivera for Scrapbook Adhesives by 3L

Thank you Card Tutorial

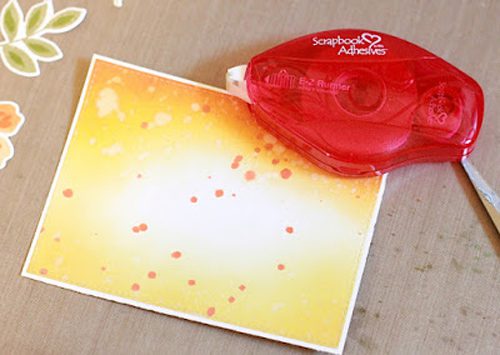
After sponging some orange and yellow inks onto white card stock, I spritzed it with both water and darker orange ink to add texture.  Once dried, I adhered it to a separate white layer of card stock with my E-Z Runner® Permanent Strips.

AngelRivera 500 DimensionalThankYouCd 040417 Step1

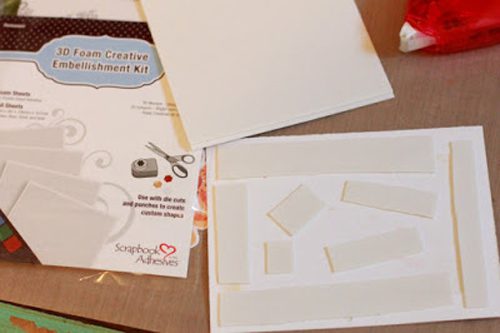
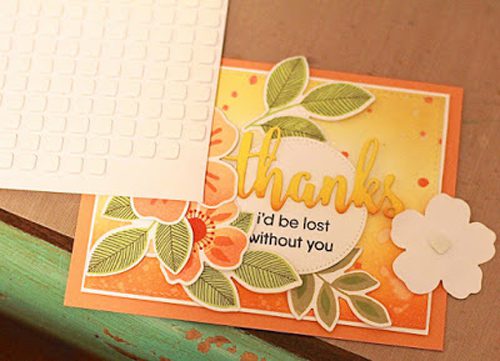
This main panel is adhered to my card base with the 3D Foam Creative Embellishment Kit. I cut it into strips to fit the panel.

AngelRivera 500 DimensionalThankYouCd 040417 Step2

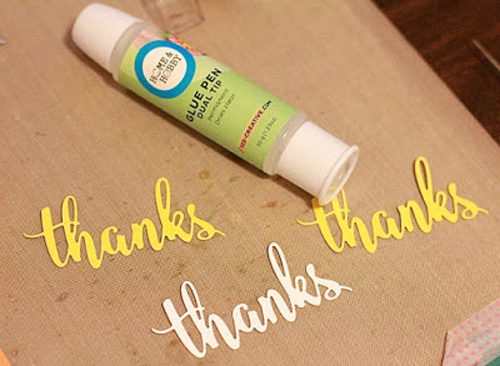
The ‘thanks’ is die cut 3 times, and I adhered each layer with the Dual Tip Glue Pen.

AngelRivera 500 DimensionalThankYouCd 040417 Step3

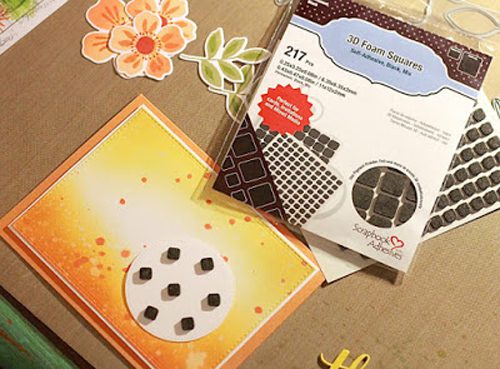
AngelRivera 500 DimensionalThankYouCd 040417 Step4

AngelRivera 500 DimensionalThankYouCd 040417 Step5

AngelRivera 500 DimensionalThankYouCd 040417 Step6

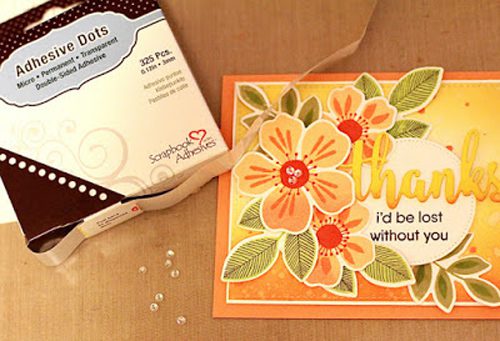
I added 3 small clear sequins to the larger flower using Adhesive Dots Micro.

AngelRivera 500 DimensionalThankYouCd 040417 Step7

AngelRivera 500 DimensionalThankYouCd 040417 CloseUp

Thank you for stopping by!
Angel

Supplies:
Scrapbook Adhesives by 3L®:

Thin 3D Foam Squares
E-Z Runner® Permanent Strips
Adhesive Dots Micro
3D Foam Creative Embellishment Kit
HomeHobby Dual Tip Glue Pen
Others:
Stamps, Ink, Dies and Cardstock: My Favorite Things

Save

Save

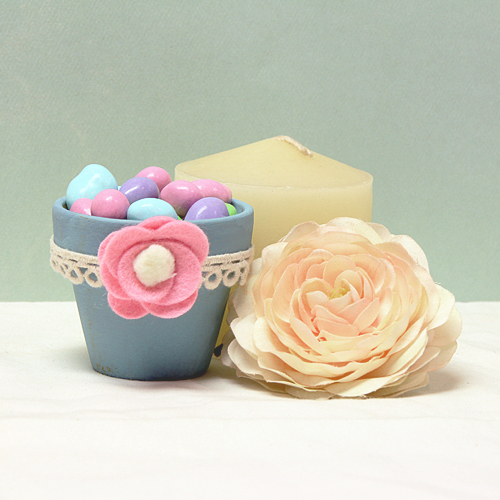
Felt Flower Pot Home Decor

I’m sharing a felt flower pot project that will make you smile 🙂 Hi all, I’m Guest Designer,  Tami Mayberry back with you today. Did you know that Scrapbook Adhesives by 3L® products are not only outstanding adhesive product for paper but work great for fabric and felt? They’re perfect in home décor projects as well!

I love them for these applications for various reasons – they are quick and easy without the dry time of liquid adhesives or the mess (and burnt fingers!) of hot glue. I have decorated a small terra cotta pot to give you just a few ideas on how you can expand their usage.

Felt Flower Pot Home Decor by Tami Mayberry for Scrapbook Adhesives by 3L

How to Create Felt Flower

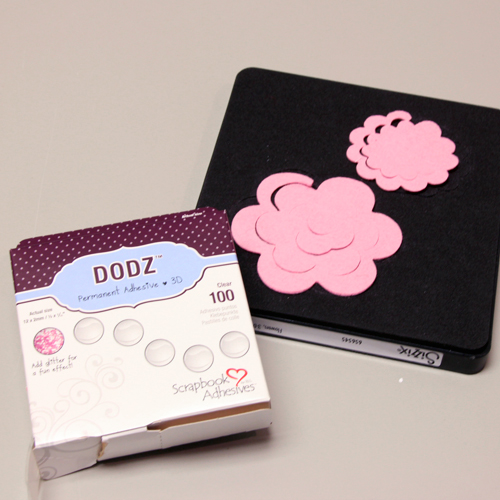
First die-cut your pink felt from a steel rule die that cuts 3D flowers.

Tami_April3_Photo1

To secure my felt flower, I will be using Dodz Adhesive Dots 3D. Perfect for decorating, they’re a strong and flexible adhesive. The unique patented single dot dispenser provides a touch-free application. See how to use them in a quick video below.

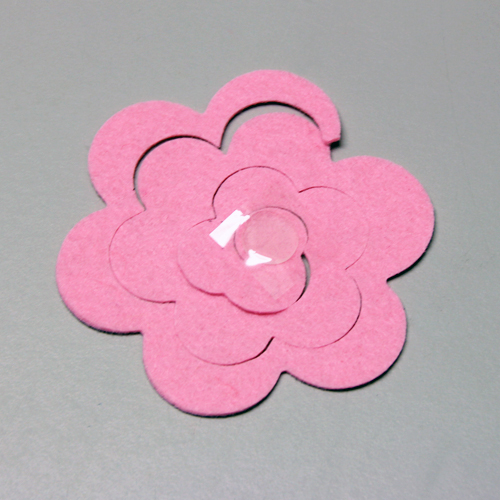
Leaving the clear backing in place, attach Dodz Adhesive Dots 3D to the center circle, as shown below.

Tami_April3_Photo2

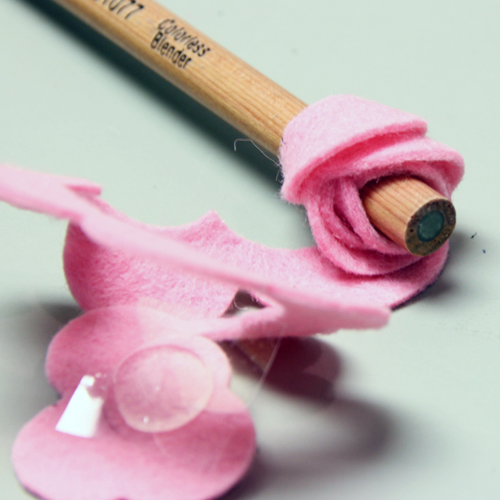
Beginning at the outer end, wrap the die-cut around the end of a pencil.

Tami_April3_Photo3

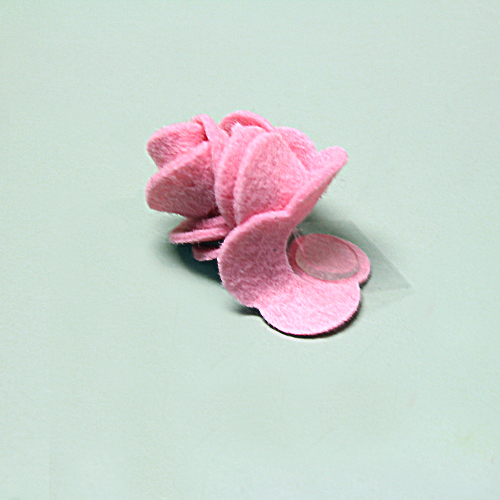
Slide the wrapped flower off the end of the pencil; remove Dodz Adhesive Dots clear backing and press rolled flower onto tab, securing in place.

Tami_April3_Photo4

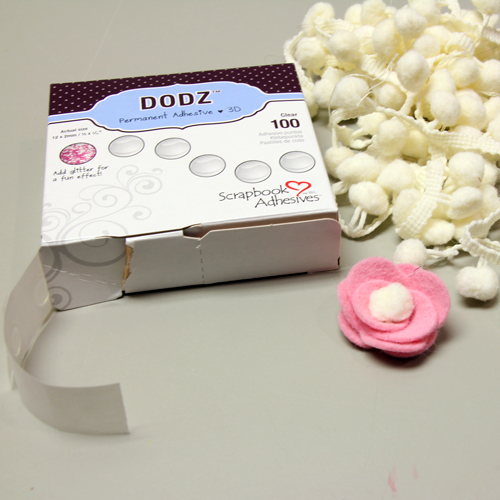
Your flower can now be shaped as desired and attached to your favorite project using Dodz Adhesive Dots 3D. For this flower, I flattened it out and trimmed a few layers from the center. Then I cut a pom-pom from a piece of trim and attached it to the flower center using Dodz Adhesive Dots 3D.

Tami_April3_Photo5

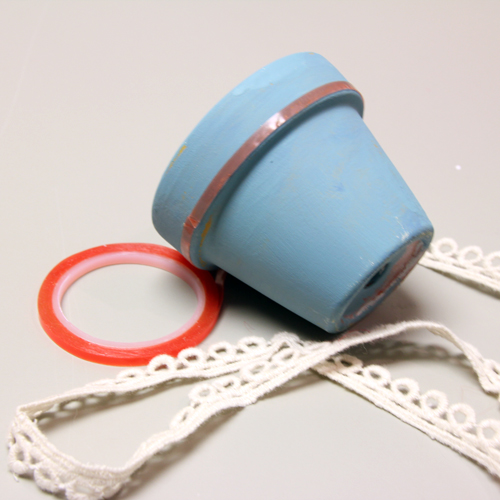
Next, paint the pot to desired color and make sure it’s dry. Attach Extreme Double-Sided Tape ⅛ʺ along the lower edge of pot rim. Remove the red liner and attach the lace trim.

Tami_April3_Photo6

And that’s it! This is a quick and easy project for the home, but you can fill it with treats to create the perfect party or wedding favor!

Felt Flower Pot Home Decor by Tami Mayberry for Scrapbook Adhesives by 3L

Supplies:

Other:

  • Painted mini terracotta pot
  • Pink felt
  • Pom-pom
  • Lace Trim
  • Flowers die

Save

Gift Box with Keepsake Envelopes

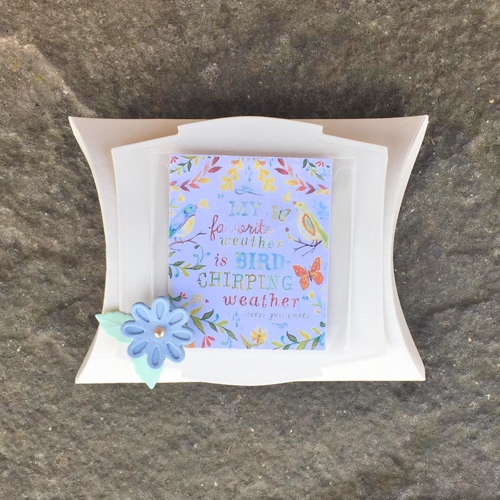
Hi everyone, Christine here today with a quick and easy Spring themed gift box using a Keepsake Envelope.

CEmberson - Pillow Box 1

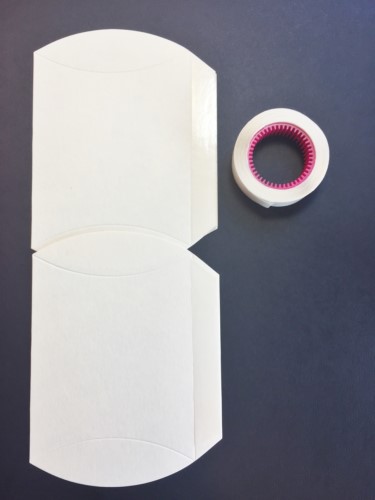
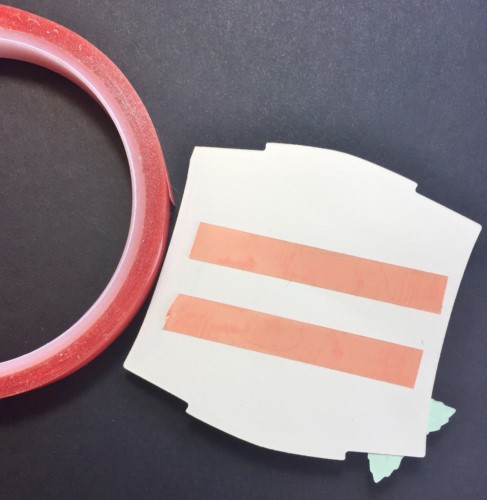
My gift box is a pillow box design.  I positioned Crafty Power Tape to the side panels,and trimmed the edges to ensure a perfect seal.

CEmberson - Pillow Box 2

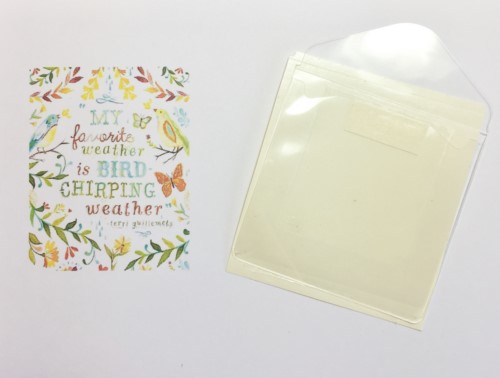
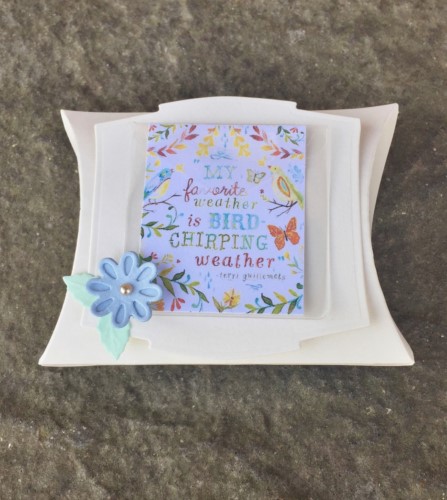
I printed a favorite quote to insert into a 2 x 2″ Keepsake Envelope, there are 10 in a pack – various sizes so great for many projects.

CEmberson - Pillow Box 3

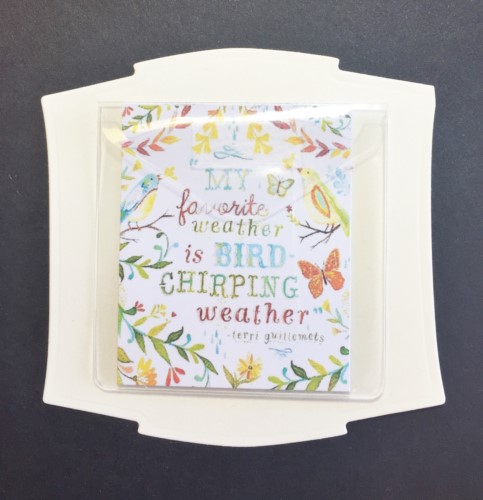
Peeling off the backing I adhered it straight onto a die cut, super speedy!

CEmberson - Pillow Box 4

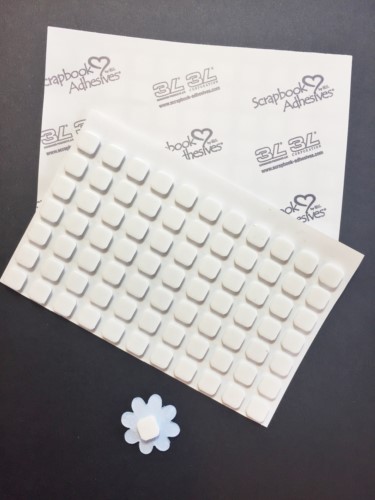
To affix my flower embellishment I used  3D Foam Squares White Small.

CEmberson - Pillow Box 5

To ensure the decoration is firmly affixed to the gift box I opted for Extreme Double Sided Tape, 1/2″.  This is really strong and the red backing is easy to remove.

CEmberson - Pillow Box 6

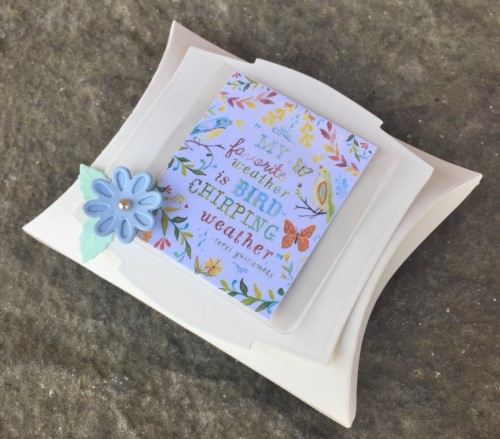
The finished box – an ideal size for a gift card, jewelry or a handful of chocolates or candy.

CEmberson - Pillow Box 7

CEmberson - Pillow Box 8

Pin this Gift Card Holder!

It’s a great idea for Mother’s Day or Wedding favors too!

Check out our quick video on Keepsake Envelopes:


Thanks for stopping by today and don’t forget to check out all the great products on the website.

Christine

Products used:
3D Foam Squares White Small
Crafty Power Tape
Keepsake Envelopes
Extreme Double Sided Tape 1/2in
Others:
Dies: Spellbinders® Paper Arts (Label 1 Plus, Pretty Petals)
Ivory, Blue and Pale Green Cardstock
Ivory Pearl

Creating a Senior High School Graduate Scrapbook Page

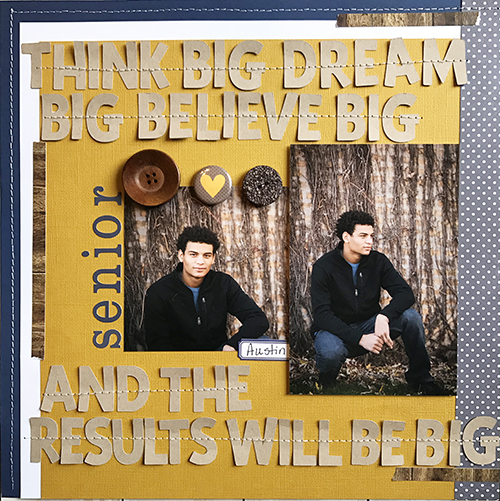
Hey everyone, it’s Latrice! Today is my very first post here on the Scrapbook Adhesives by 3L® Blog. I’m excited to share a 12 x 12″ scrapbooking layout with you. This layout is super special because it’s about my soon to be graduated nephew whose senior portraits I took. I had some images so of course I needed to make something. I’ll frame this in a shadow box to display at his graduation party this summer.

LatriceMurphy-Senior year layout-3

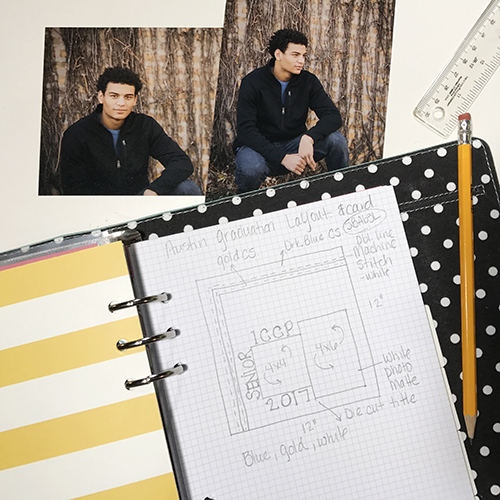
My first steps in creating a layout is deciding on the design. I will try to share the sketch I create along with a few detailed photos as well. Here are my photos and sketch for this one.

LatriceMurphy-Senior year layout-5

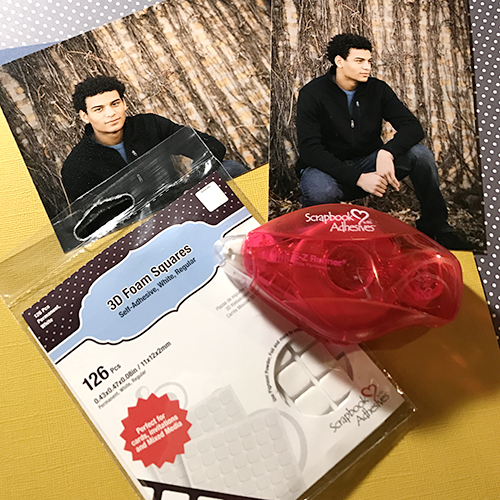
I chose to use the 3D Foam Squares along with the EZ Runner® Permanent Strips Refillable Dispenser for this layout. I love adding some interest to the page with the 3D Foam Squares.

LatriceMurphy-Senior year layout-4

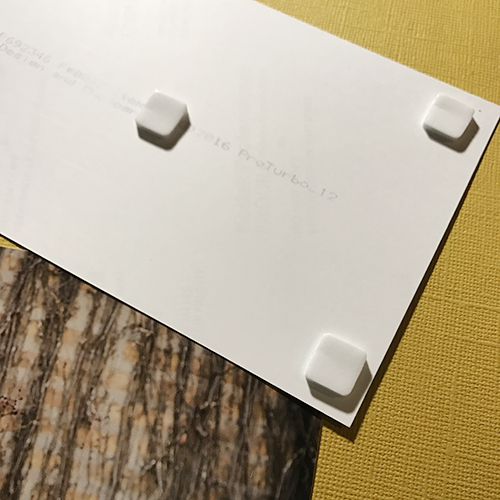
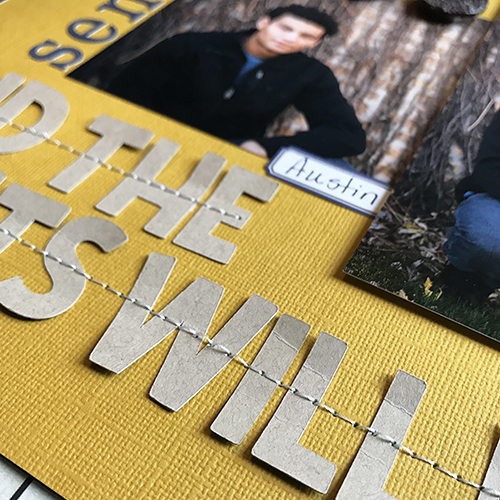
For my layout I began by layering the solid cardstock. First yellow onto white and onto a navy blue. Below you can see that I added my two 4 x 6″ photos first. One was layered flat and the second was added partially covering the first photo with 3D Foam Squares.

LatriceMurphy-Senior year layout-6

I wanted something bold on this layout that was masculine and tied in with the Senior graduate theme. I found a great quote and die cut it on my Silhouette Cameo. I love how much space it takes up on the page and I was able to add more natural color to the layout. It fit perfectly with the textures and tones in the photos. I got out my sewing machine and lay my words out. In order to keep them from moving around

LatriceMurphy-Senior year layout-2

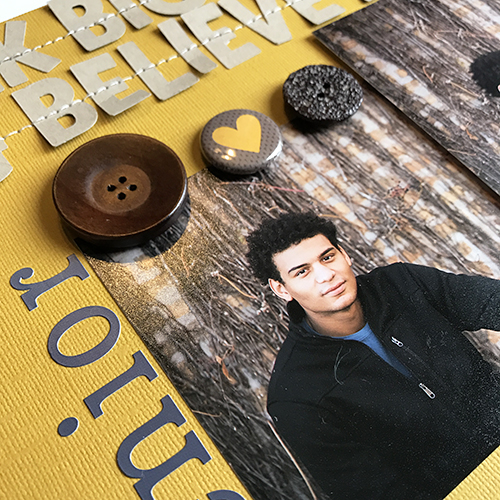
To finish the page off I found the perfect flair button with a heart that matched perfect. I then added two earthy buttons on either side using both the  3D Foam Squares and the EZ Runner® Permanent Strips Refillable Dispenser

LatriceMurphy-Senior year layout-1

Love how this turned out. Thank so much for reading along and checking out my first project. I’m really excited to share more with you all.

Latrice

Scrapbook Adhesives by 3L® Products used:
3D Foam Squares Mix, White
EZ Runner® Permanent Strips Refillable Dispenser
Other:
Cardstock (American Crafts); Flair Button (Lawn Fawn); Buttons (Jillibean Soup); Stickers (Simple Stories); Sewing Machine