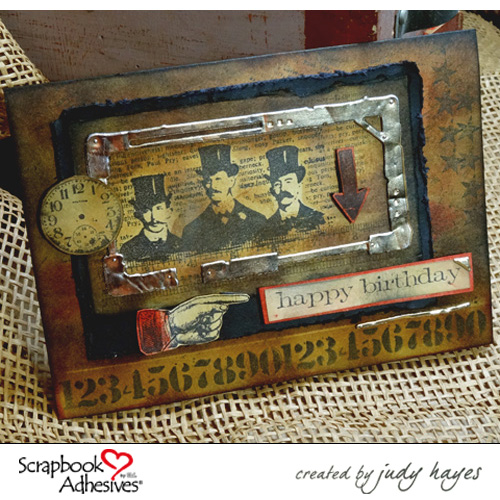
Hi crafty friends! It’s Lisa back on the blog to share a funny card that I made for my dad’s birthday coming up. My dad has the best sense of humor of anyone I know so I figured if I made him a funny card — he’d really love it! He says he loves everything I make (parents kind of *have* to, don’t they?) but I like to make their cards extra special.
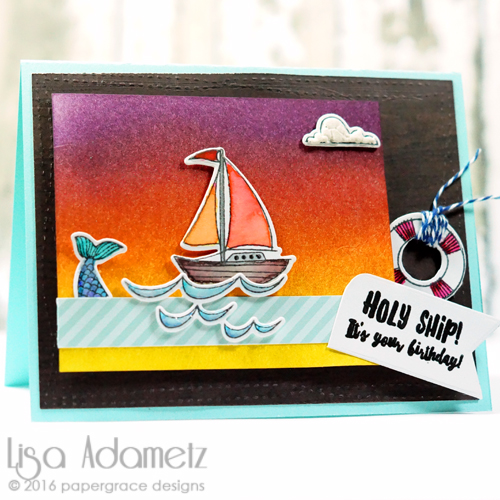
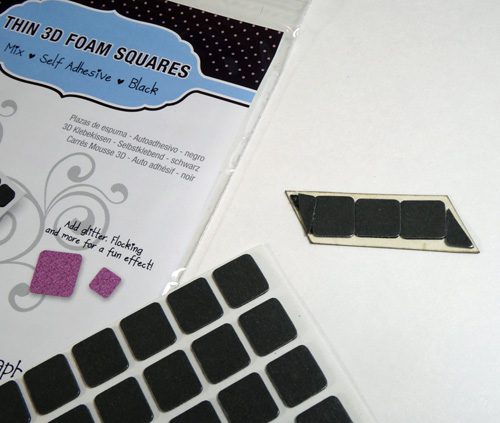
I used a lot of watercolors to color the images. For dimension I like to use the Thin 3D Foam Squares Mix – White and also the 3D Foam Squares – White Mix. Since there is a lot going on with this card, I want the different layers to be at different heights. Even the smallest foam square can be cut and tucked where you might need it. I did just that and tucked them behind the waves. Works like a charm. The Thin 3D Foam Squares I used behind the cloud and Life Saver Ring.
Speaking of that Life Saver Ring. I thought it would be cute to add a little bit of twine in Navy for a little bit of interest and additional color. How else could you throw it overboard, right? 😉
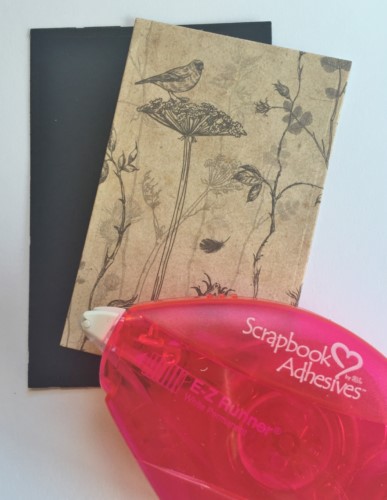
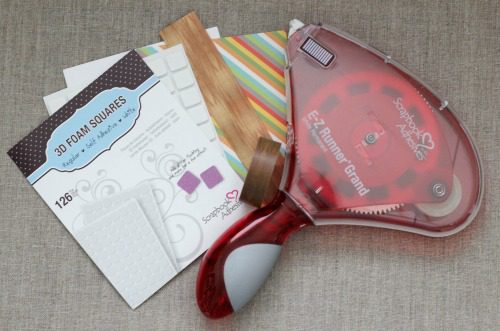
For everything else that’s not adhered with a 3D Foam Square? I used my fave adhesive: the E-Z Runner® Ultra Refillable Dispenser.
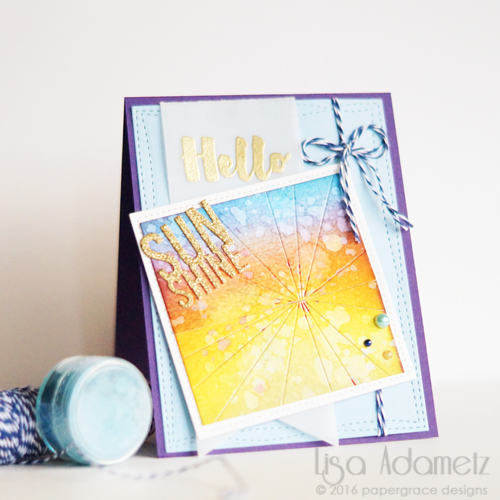
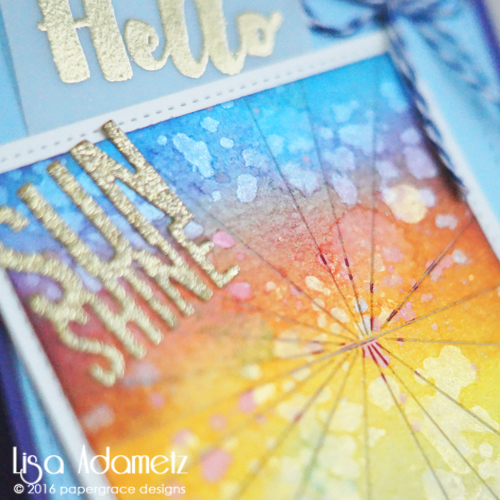
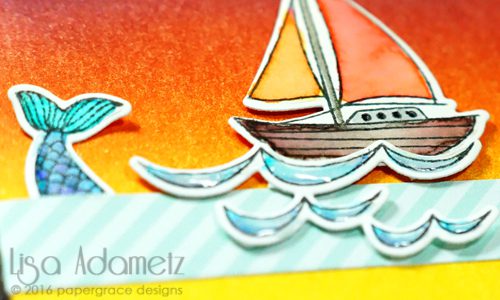
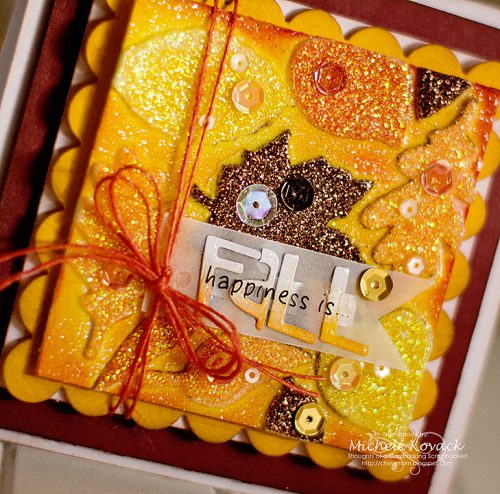
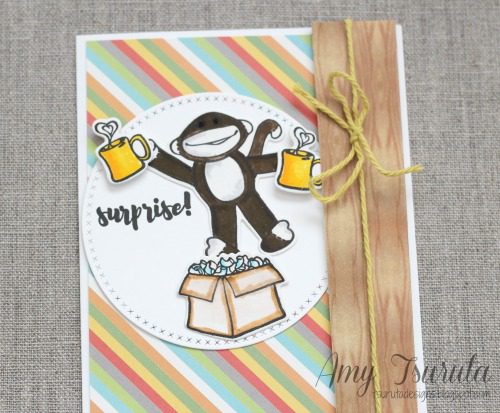
Here’s a close-up of the coloring, waves, and mermaid’s tail:
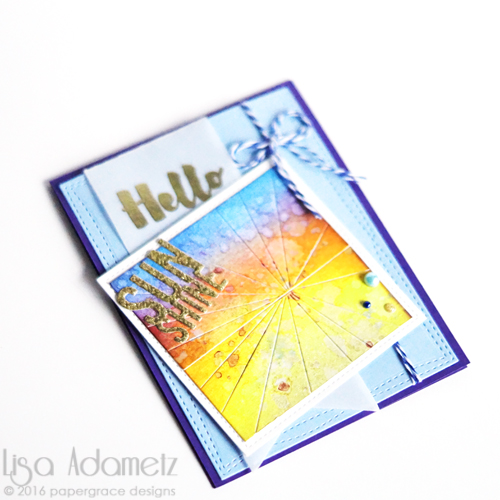
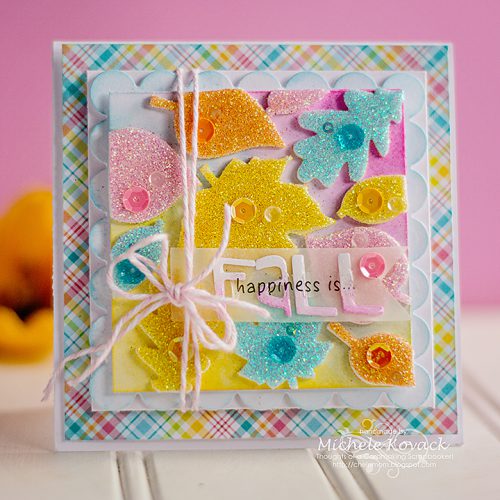
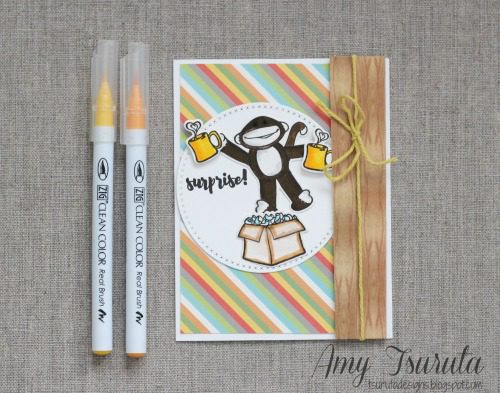
And an alternate view of the card:
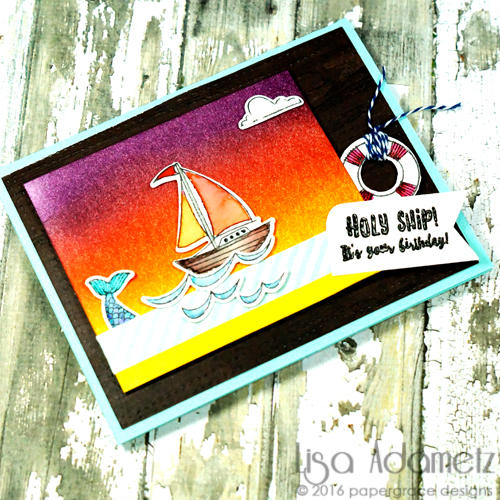
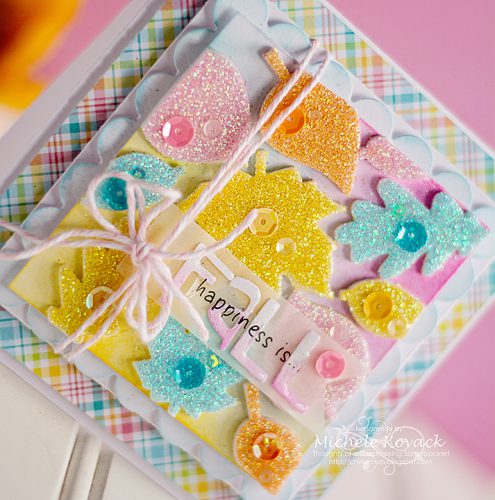
I hope that seeing the card in different ways like this gives you a better idea of how it was created. VERY easy to do. All you need…is the right adhesives!! 🙂
SUPPLIES
Scrapbook Adhesives by 3L®:
Thin 3D Foam Squares – Mix White
3D Foam Squares – Mix White
E-Z Runner® Ultra Refillable Dispenser
Other Products:
Stamp & Matching Dies: Essentials by Ellen
Die: My Favorite Things Die-Namics
Embossing Powder: Wow!
Cardstock: Bazzill Card Shoppe
Patterned Paper: My Mind’s Eye; Lawn Fawn
Ink: Tsukineko Versamark, Ranger Dye Inks, Kuretake-Zig Clean Color Real Brush Markers.
Other: Marvy Liquid Applique

Visit our Website and Blog!
Sign up for our Newsletter so you never miss a contest or giveaway!


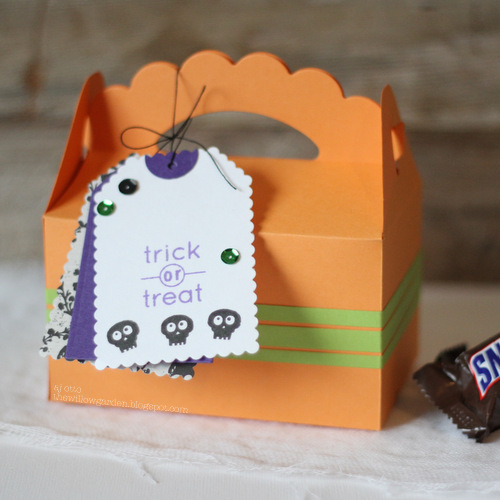 These are perfectly sized for your ‘special’ trick-or-treater and can be dressed in any way that you like! (I’m thinking ahead to the holidays and filling them with baked goods as well! 😉
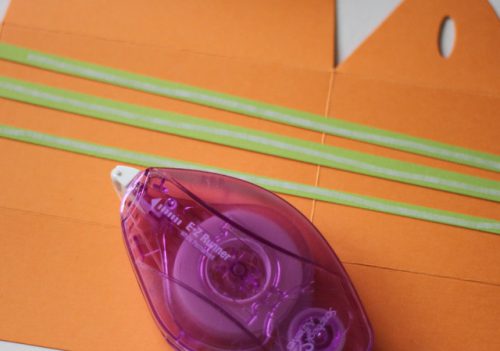 To start it off, I thought a little contrasting color would be fun. I adhered a few thin strips of green yardstick using the
 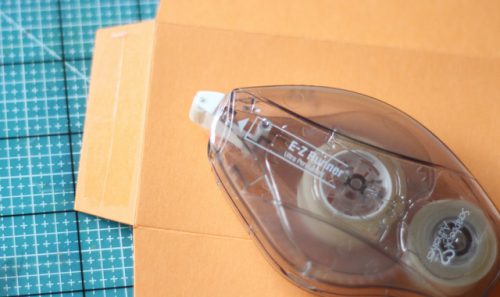 For anything box related I always use my
  For some added fun, a few sequins using our