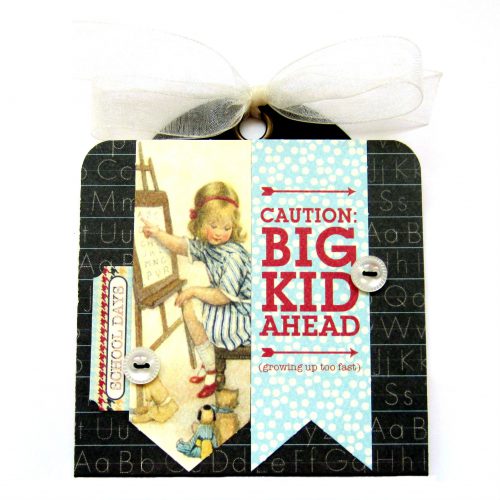
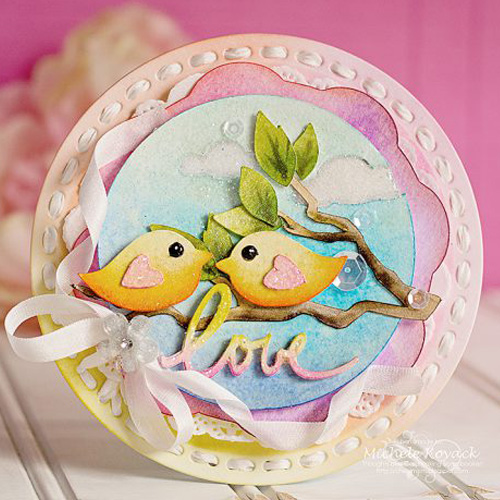
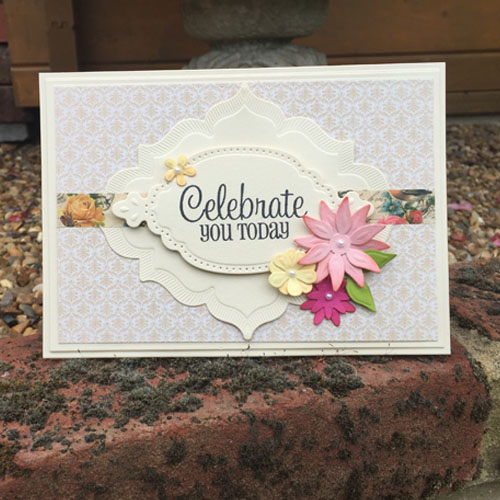
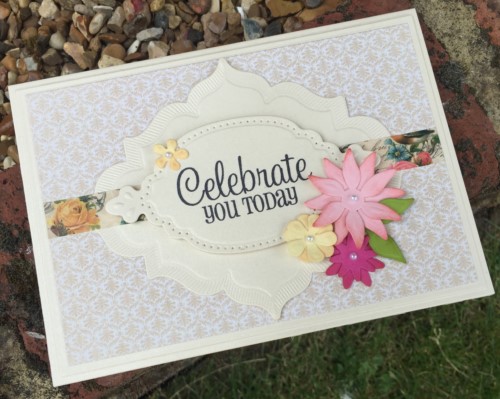
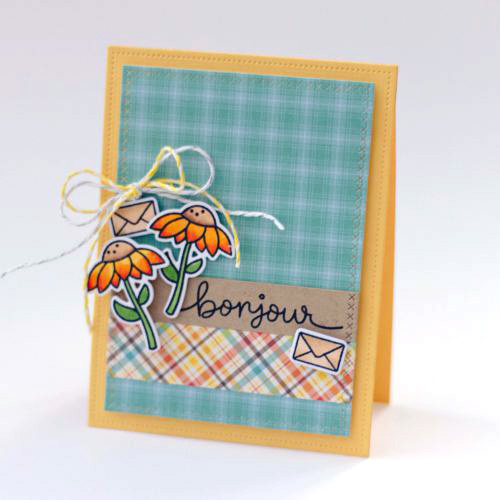
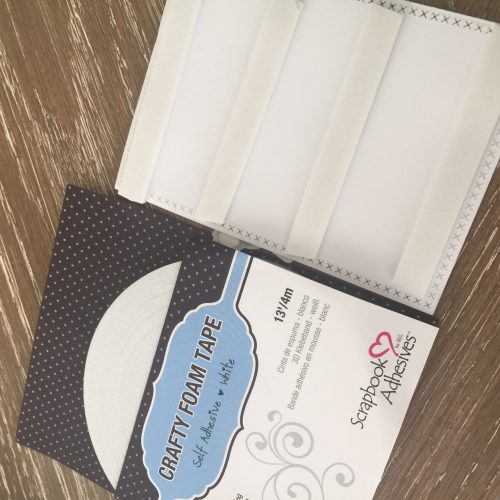
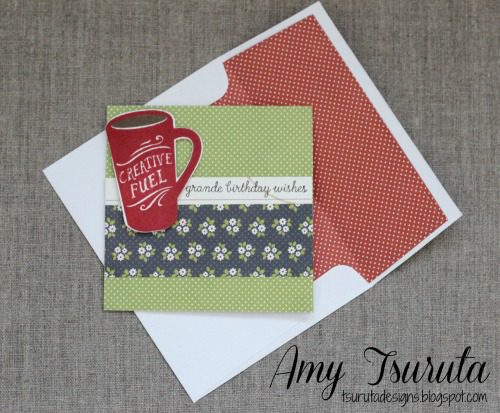
Sending many birthday blessings through this layered card I created featuring Scrapbook Adhesives by 3L® Adhesives Sheets. Not only can you die cut with these sheets but you can easily carry them to your craft gatherings without the bulk of a machine or tool (LOVE that!!).
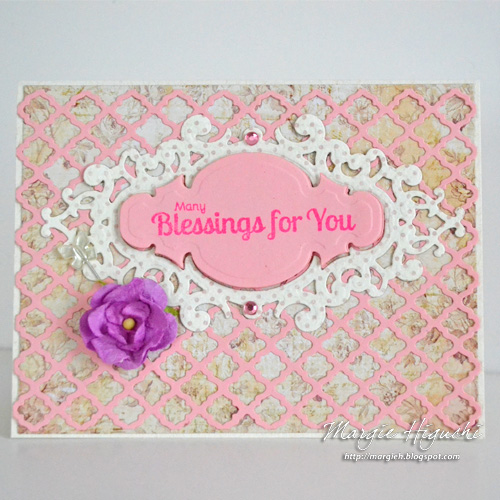
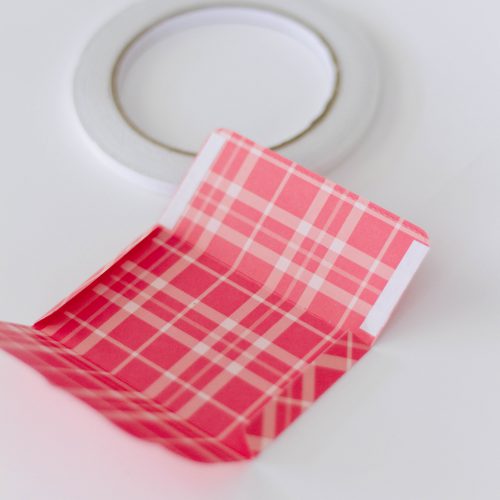
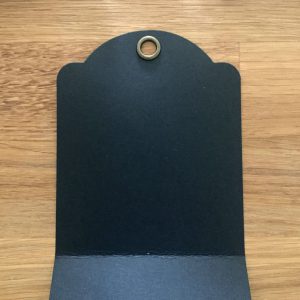
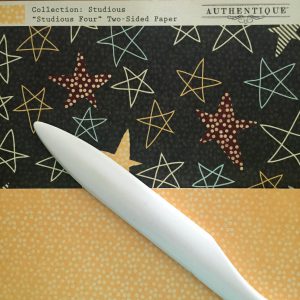
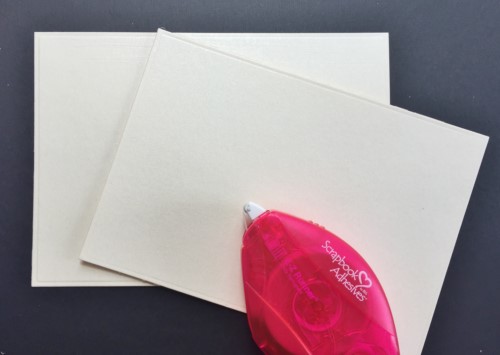
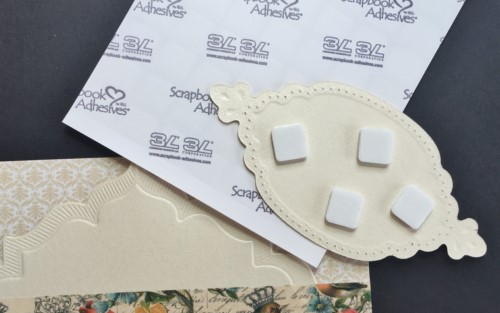
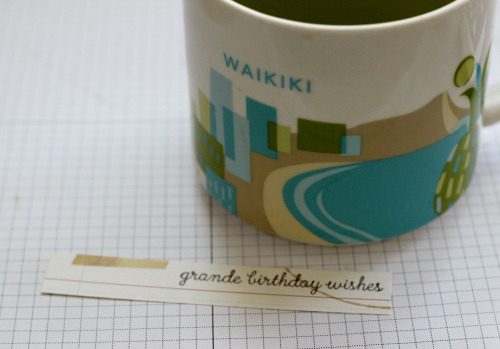
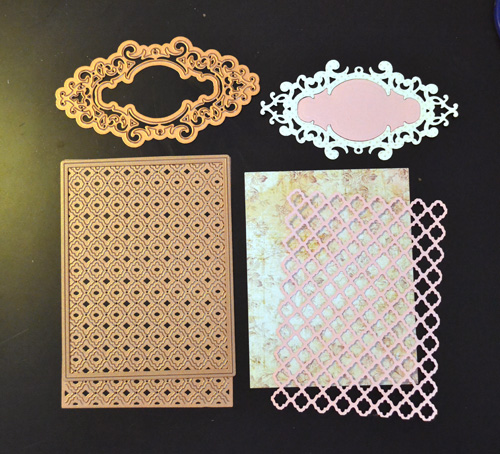
First I die cut my pieces with patterned paper (card panel and frame) and cardstock (background accent piece and sentiment).
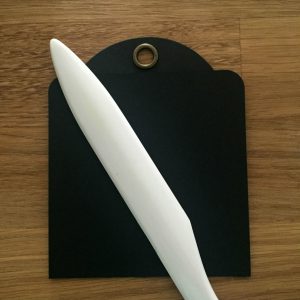
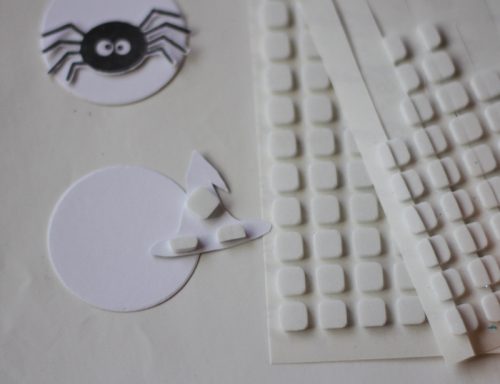
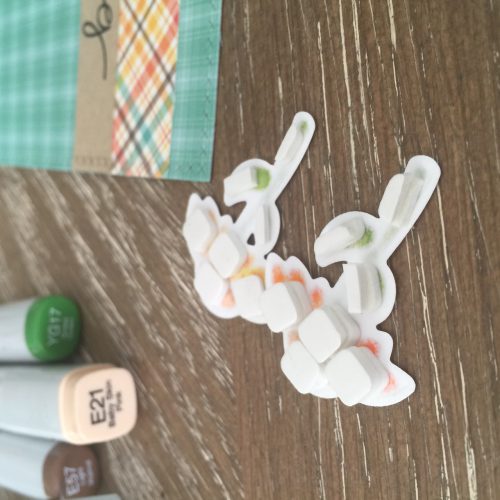
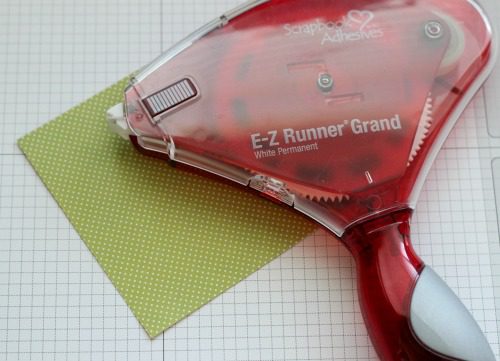
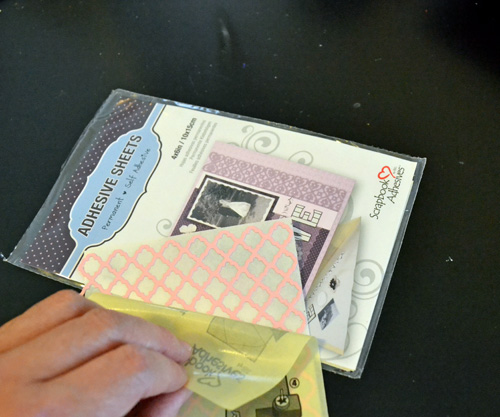
I applied my background accent piece with Adhesive Sheets 4 x 6″ by pulling the liner back, placing the die cut on the sticky white surface and then placing back the liner to rub the die cut between the two sheets. Remove the liner and pull off the die cut (with its back covered in adhesive). Center the die cut on top of the card panel.
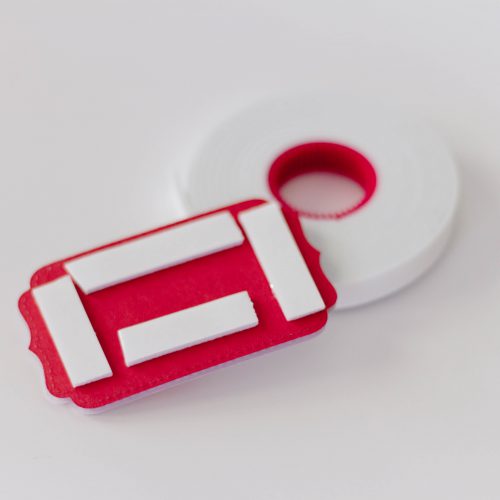
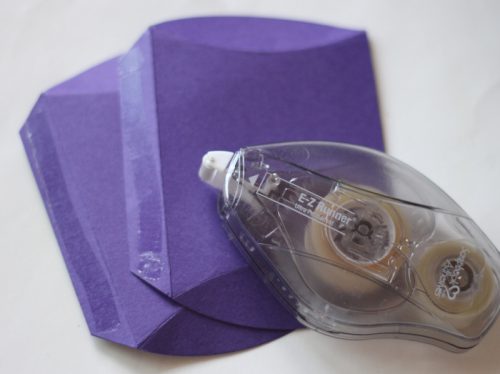
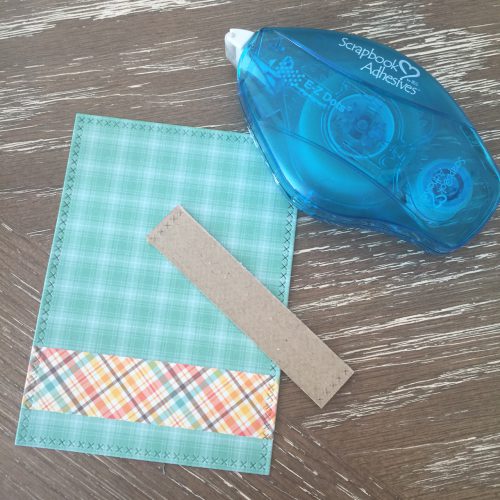
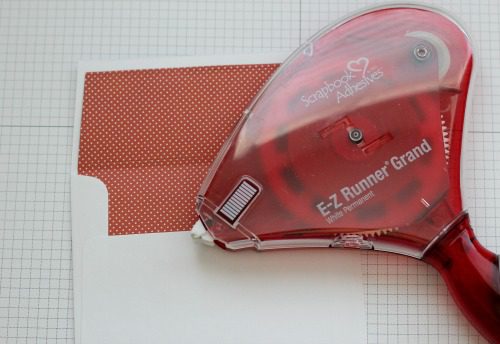
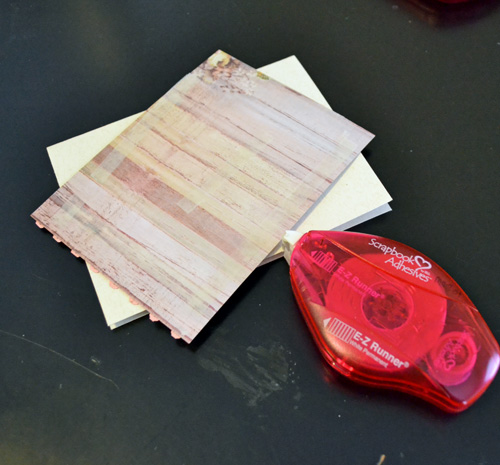
Next apply the E-Z Runner® Permanent Strips Refillable Dispenser on the back of card panel and adhere to A2 size card base.
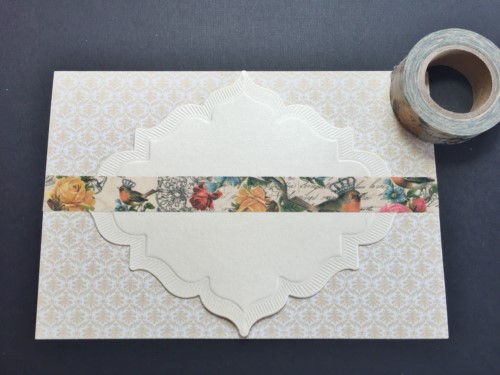
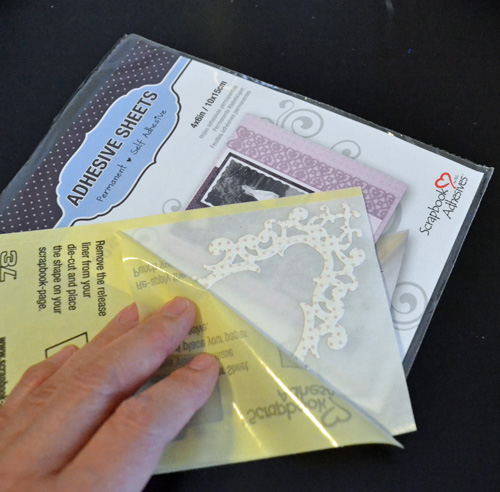
Add adhesive on the back of the frame die cut using the process as background accent piece with the Adhesive Sheets 4 x 6″ and center the die cut onto the card panel.
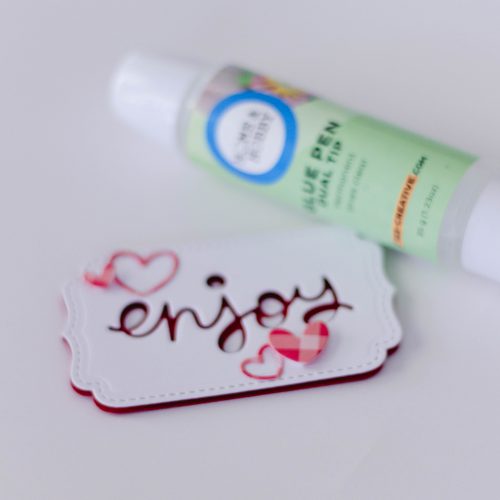
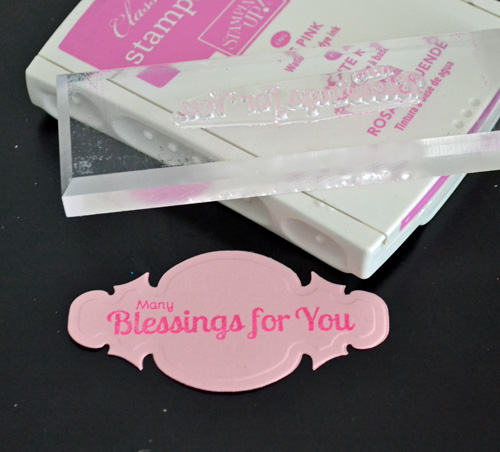
Stamp the sentiment onto the die cut and add 3D Foam Squares – Black, Regular on the back. Center onto the frame die cut on card panel.

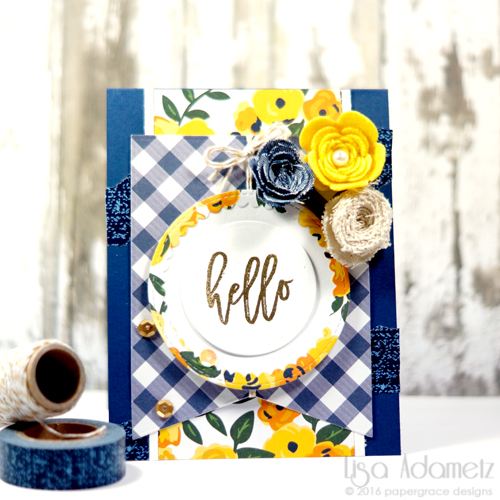
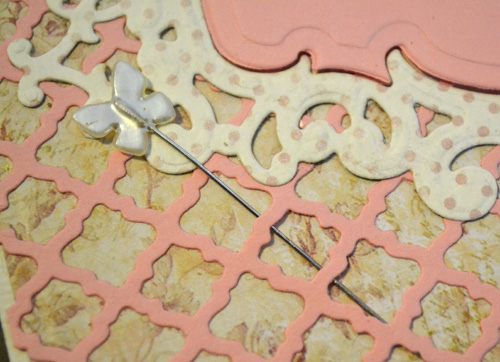
Add trinket butterfly pin on an angle behind on the lower left side of frame die cut (the adhesive sheet adhesive will secure it as well as the Dodz™ Adhesive Dots 3D as explained below).
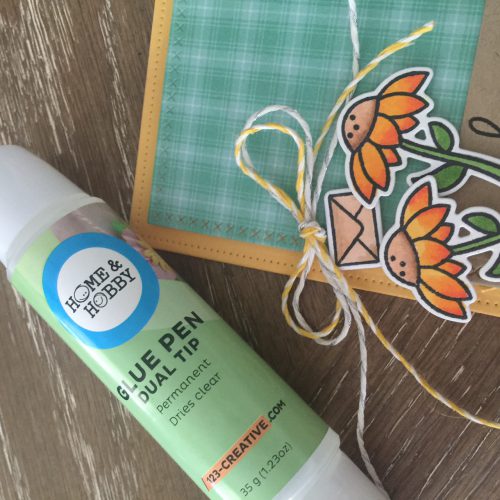
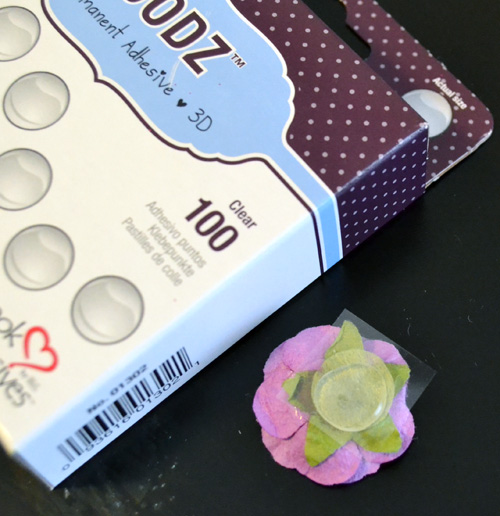
For the finishing touch, place a Dodz™ Adhesive Dots 3D on the back of a flower embellishment and place on top of the trinket butterfly pin.
Here’s another look at the finished card!
Supplies List
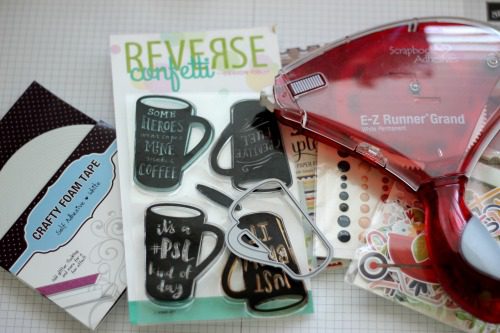
Scrapbook Adhesives by 3L®:
Adhesive Sheets 4 x 6″
E-Z Runner® Permanent Strips Refillable Dispenser
3D Foam Squares – Black, Regular
Dodz™ Adhesive Dots 3D
Others:
Dies: Spellbinders® Creative Arts
Patterned Papers & Flower Embellishment: Prima Marketing Inc.
Cardstock and A2 Card Base: Darice/Core’dinations
Trinket Pin: Maya Road
Stamp: JustRite PaperCraft®
Ink: Stampin’ Up
Rhinestone: Want2Scrap©
I hope you consider using Adhesive Sheets for your next intricate or not so intricate die cuts 😉
As always, many thanks for stopping by!!
Margie Higuchi