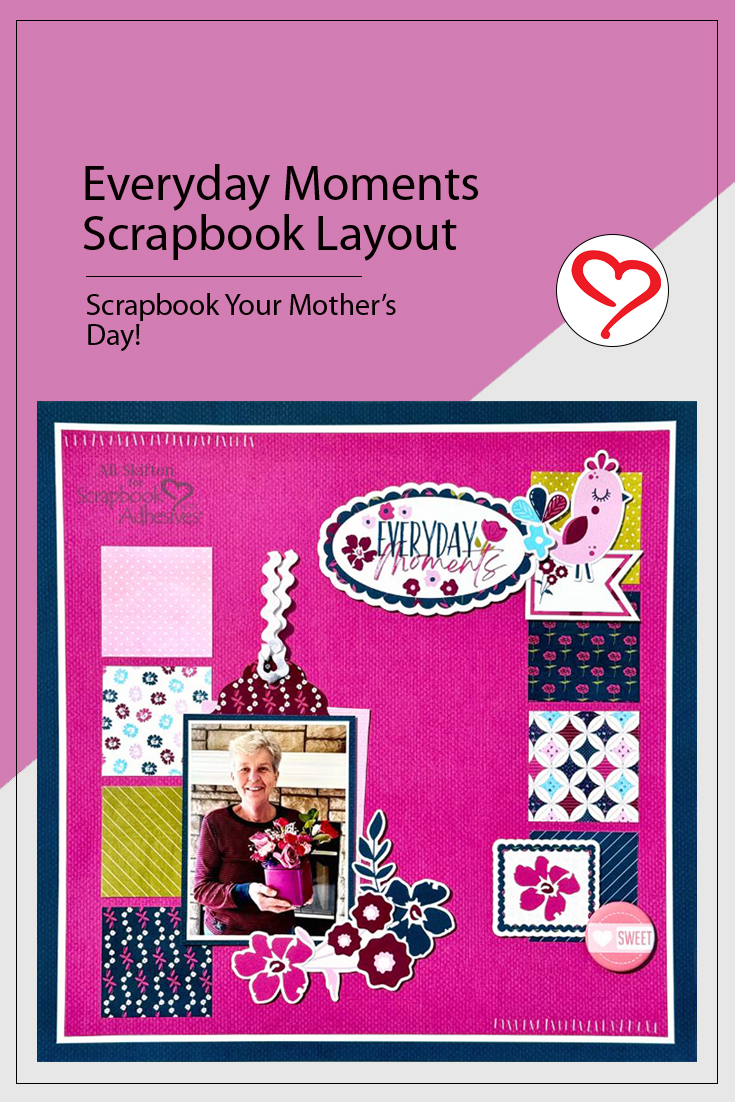
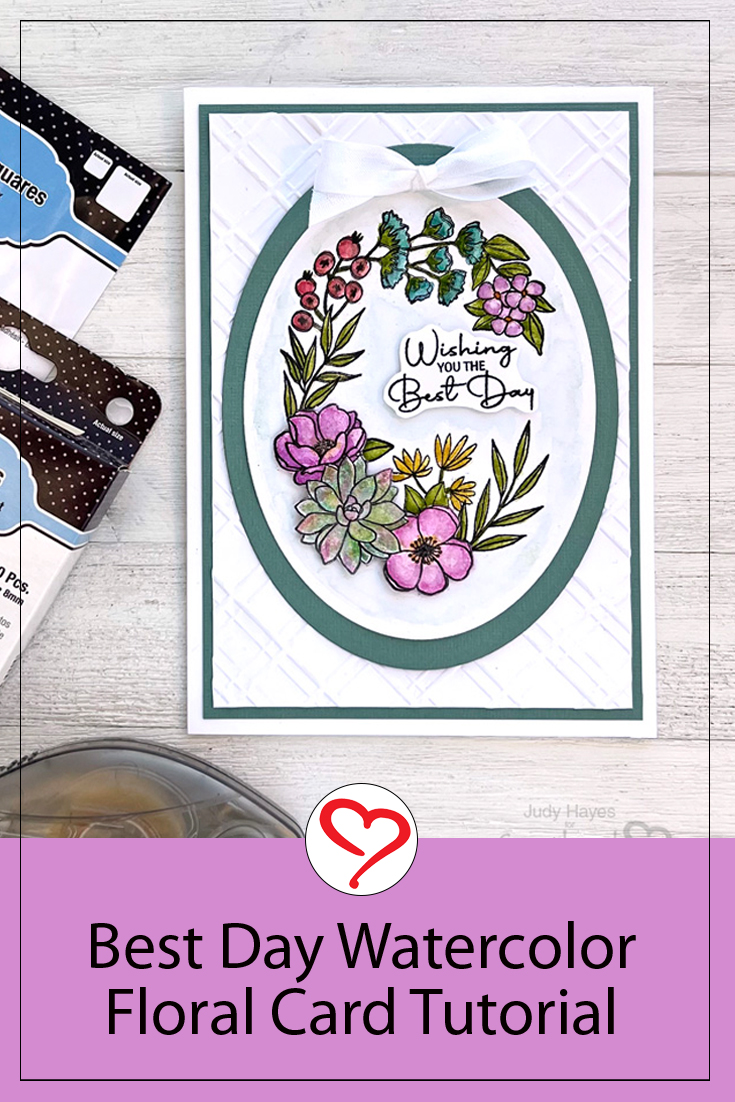
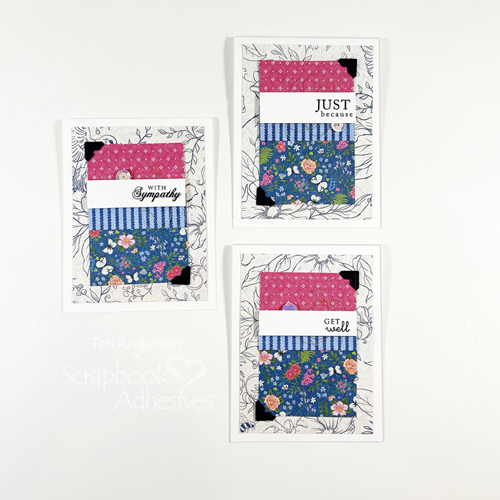
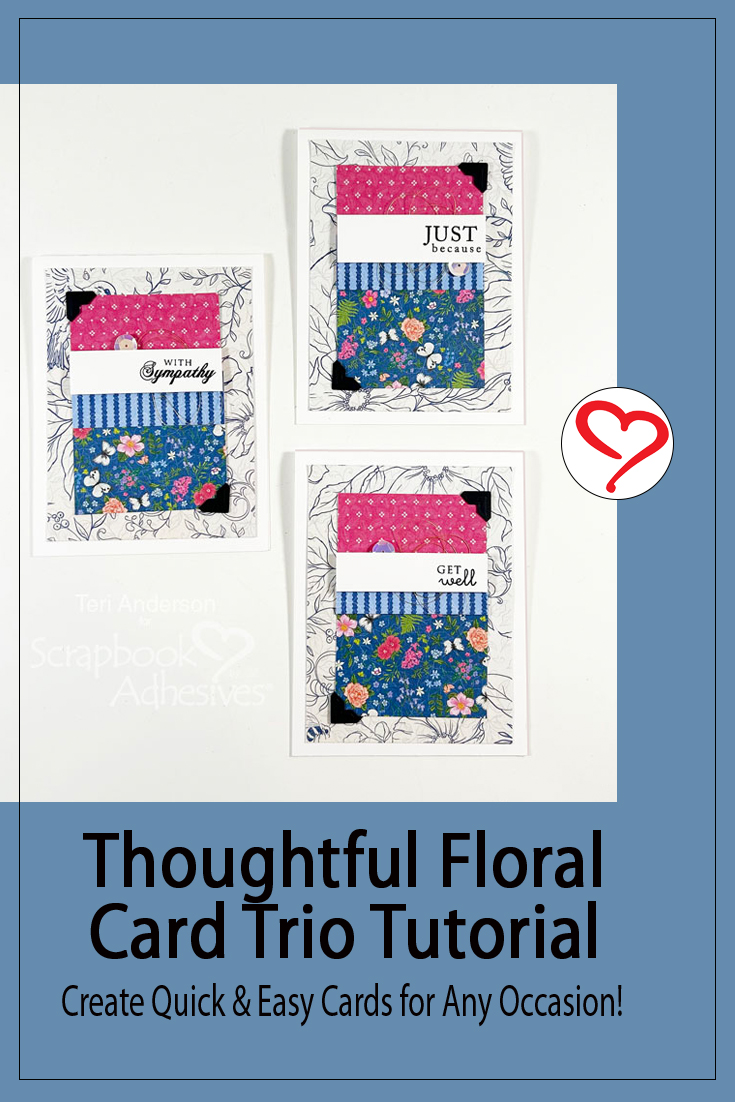
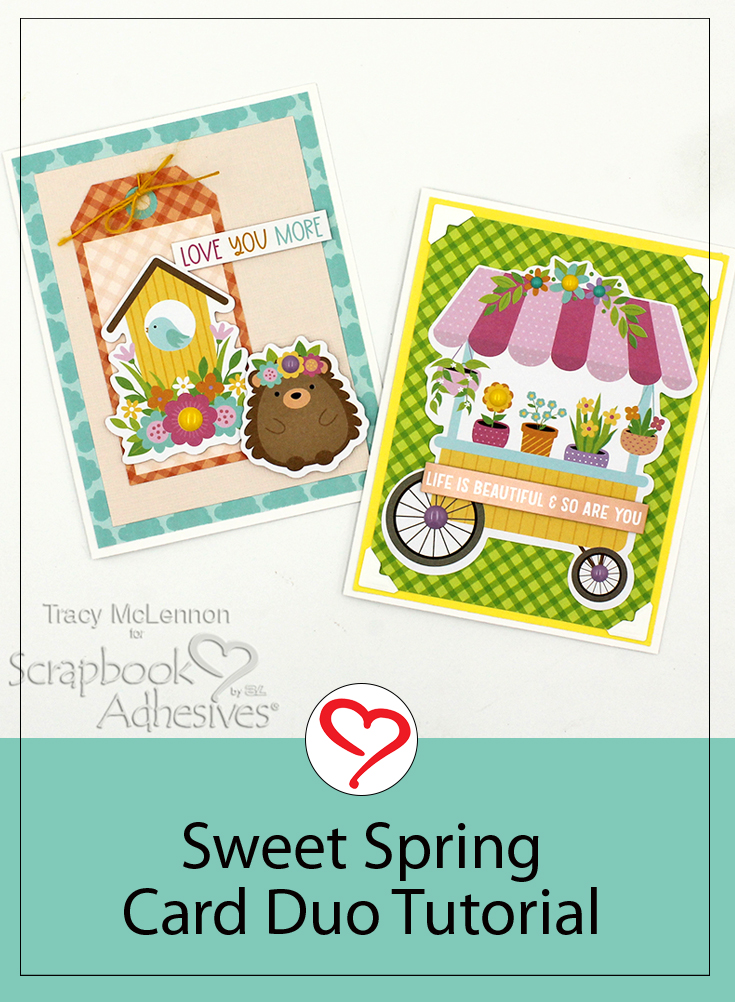
Hello crafty friends! Tracy here, and today I have a Sweet Spring Card Duo to share. Here are all of the details.
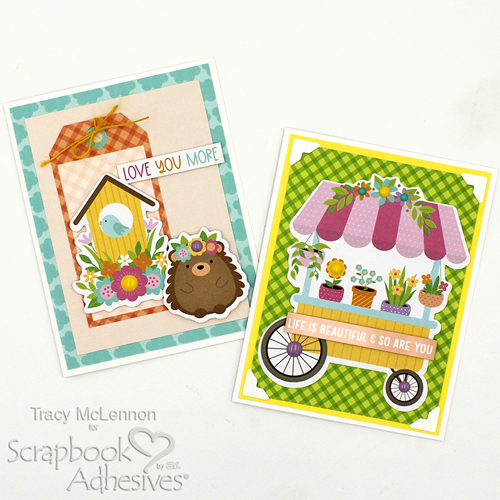
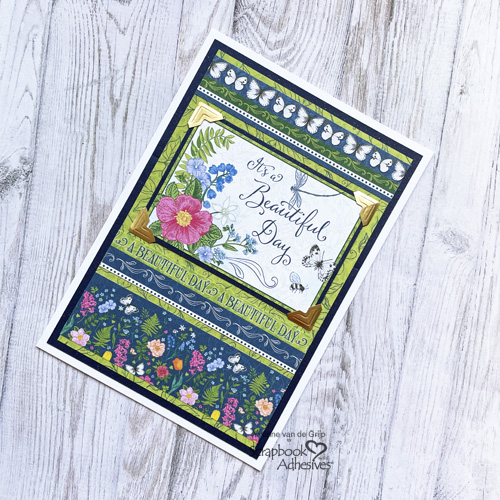
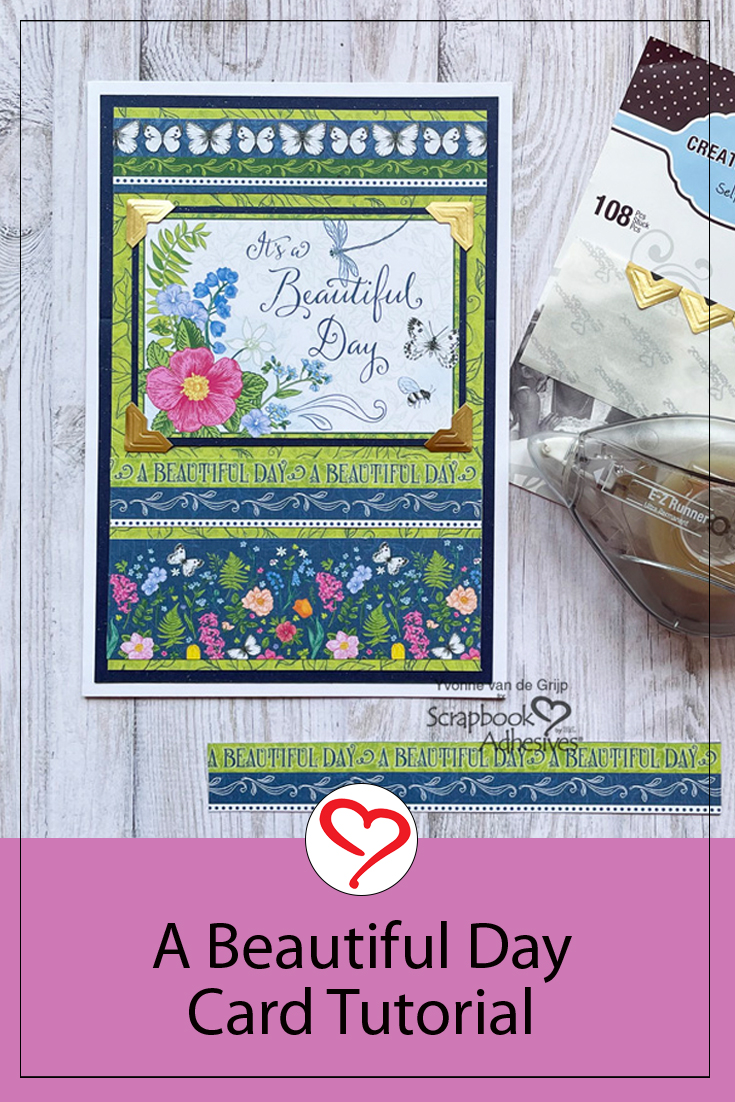
Sweet Spring Card – Life is Beautiful
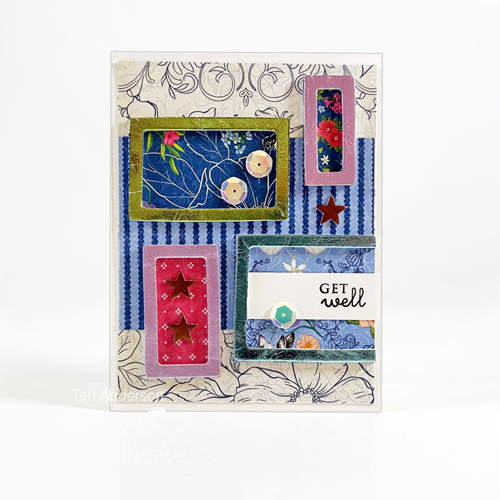
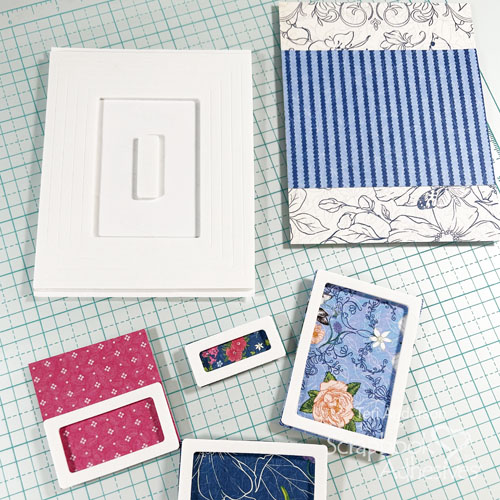
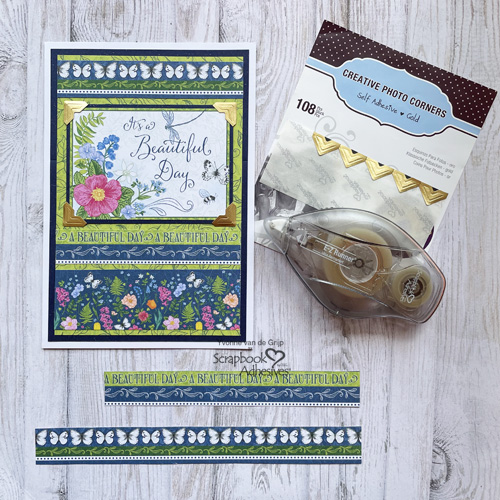
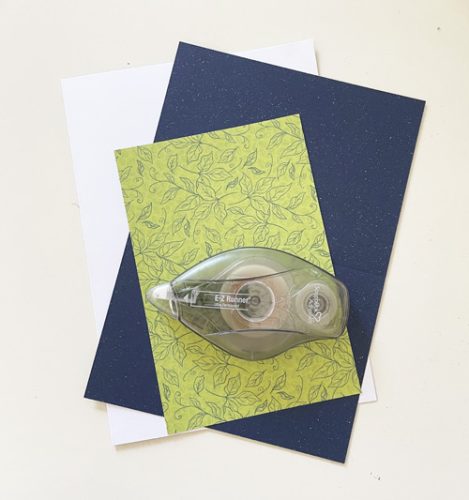
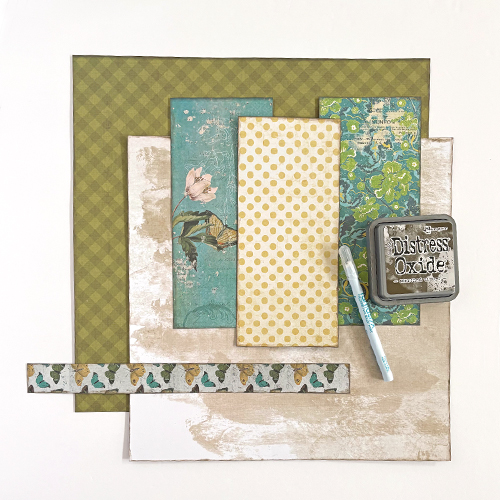
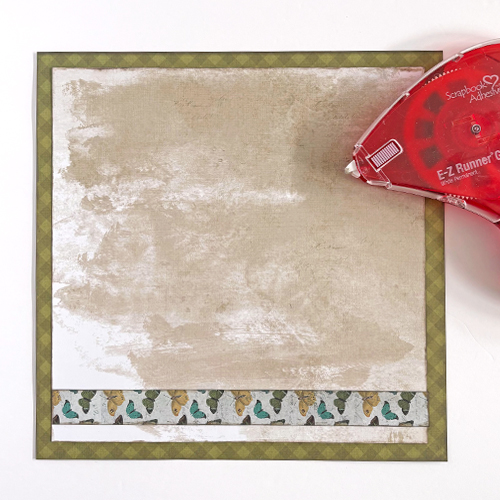
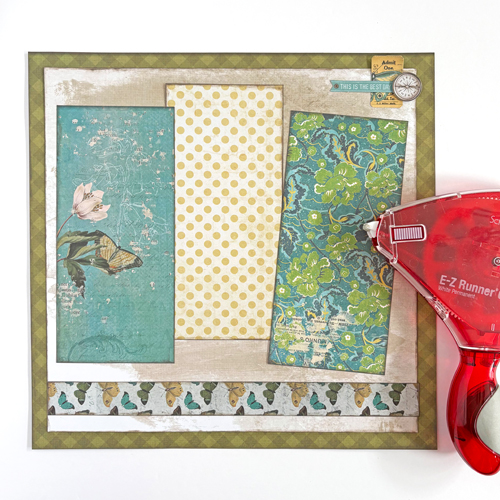
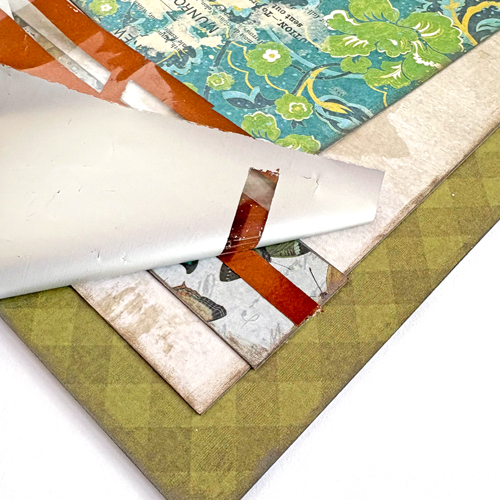
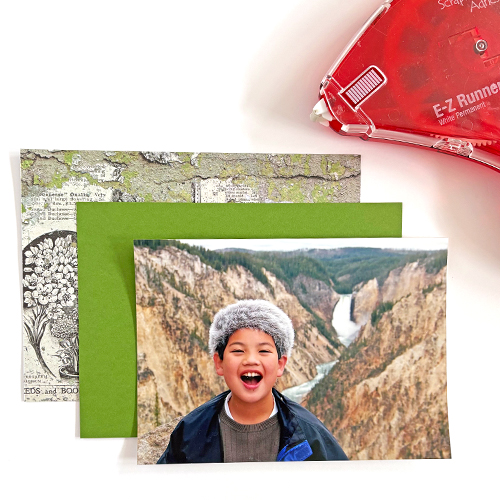
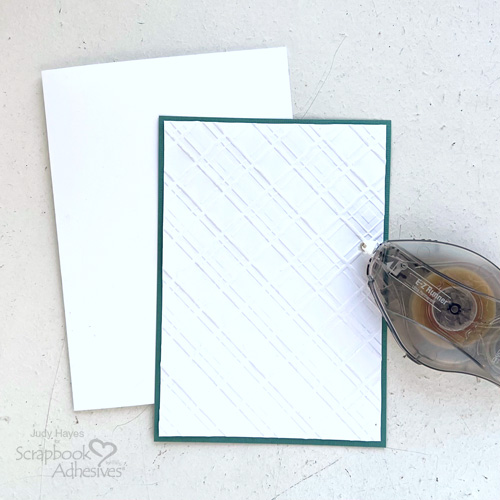
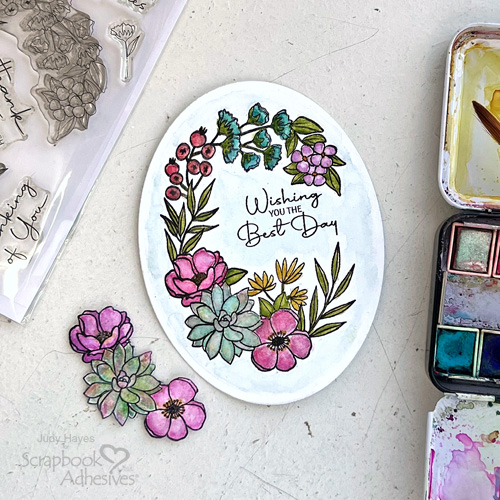
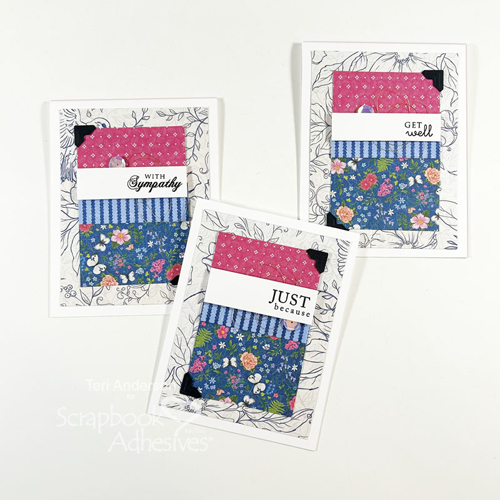
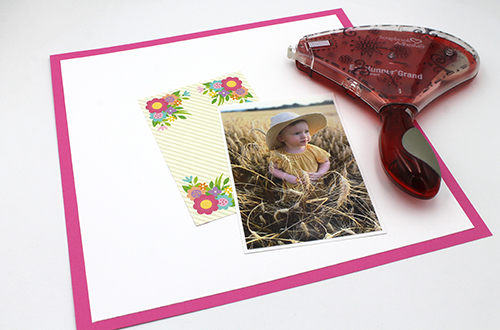
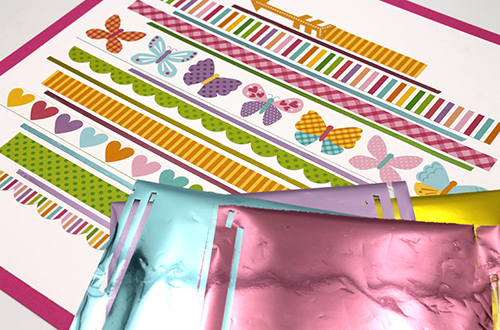
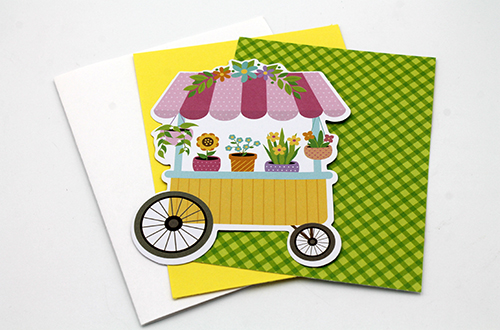
Cut the card layers and choose the major elements of this Sweet Spring Card. The card base is white cardstock. The matting layer is a piece of yellow cardstock and the top layer is a green patterned paper.
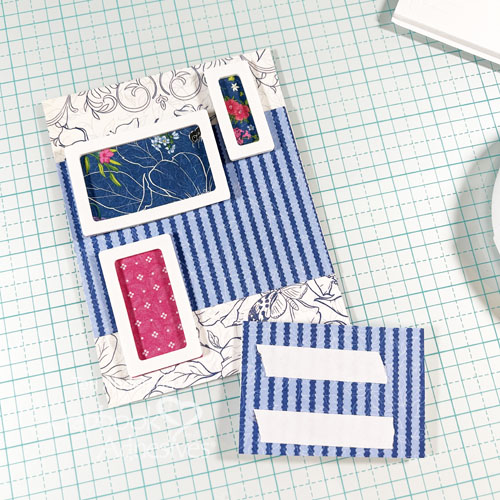
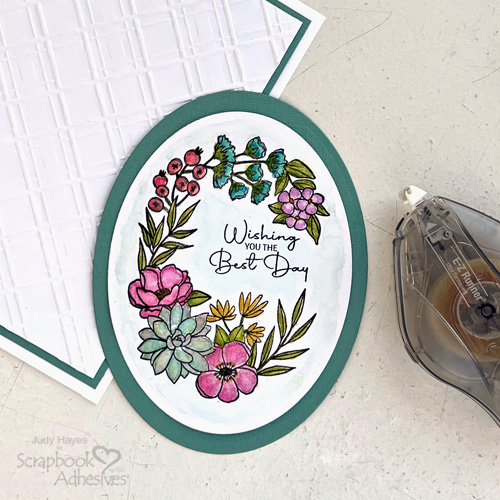
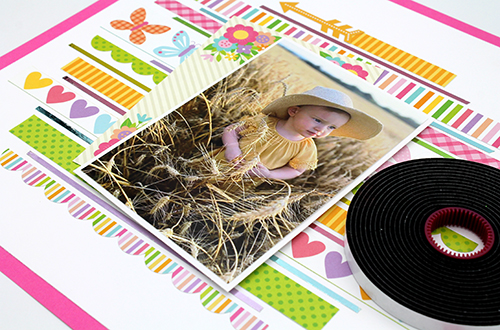
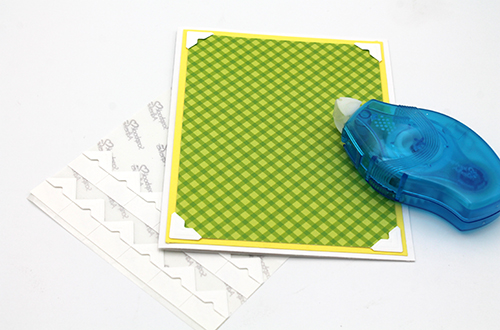
Adhere the card layers together with the white card base using a combo of E-Z Runner® Petite Permanent Dots Refillable Dispenser and Creative Photo Corners White.
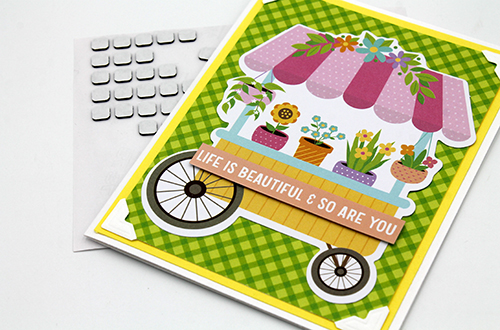
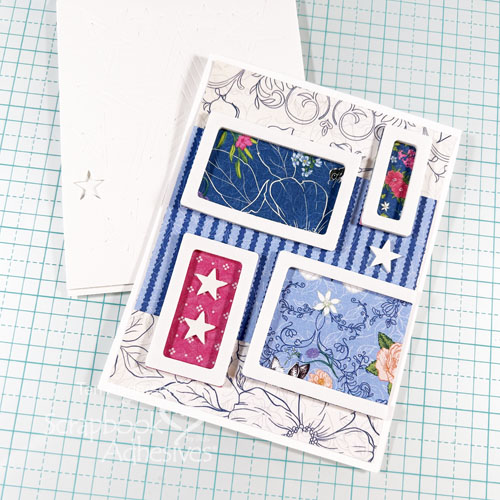
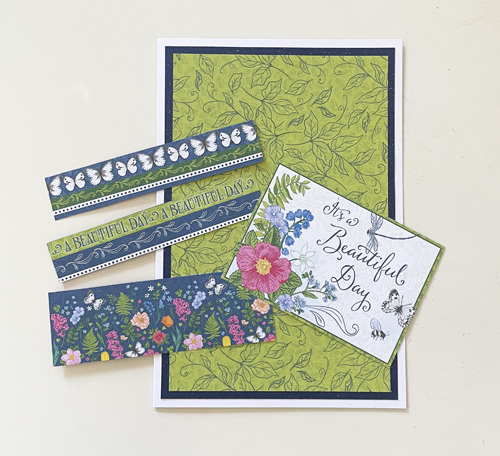
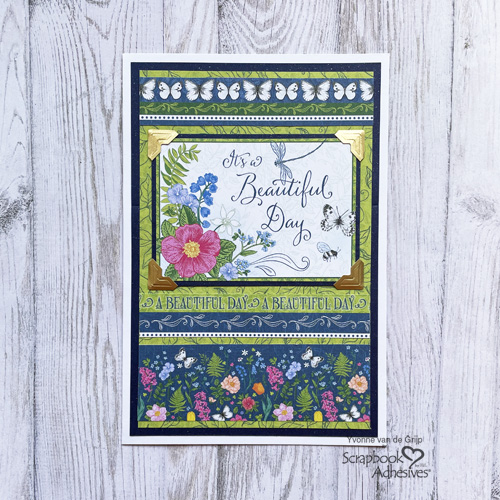
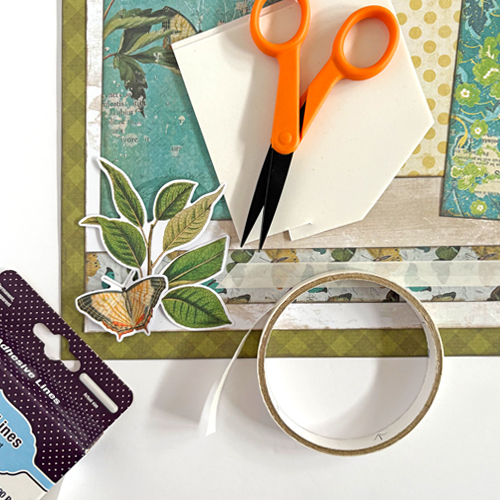
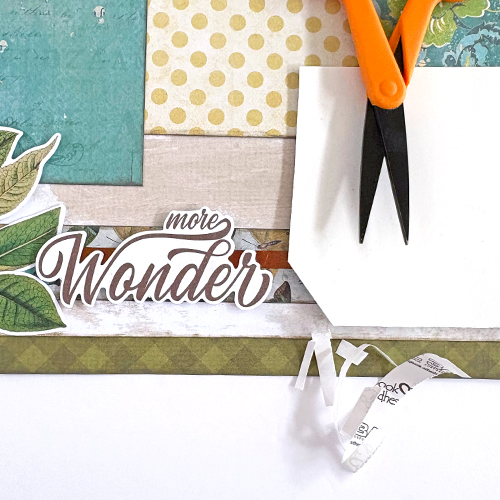
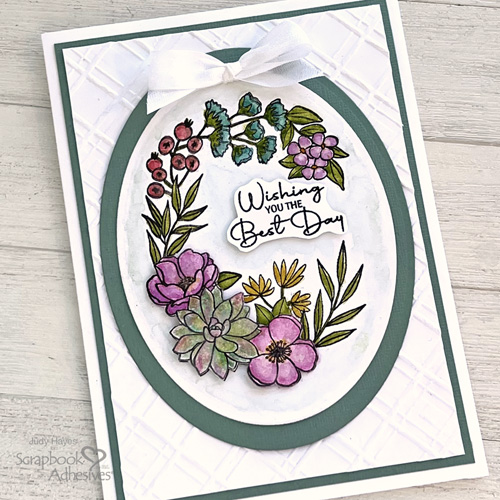
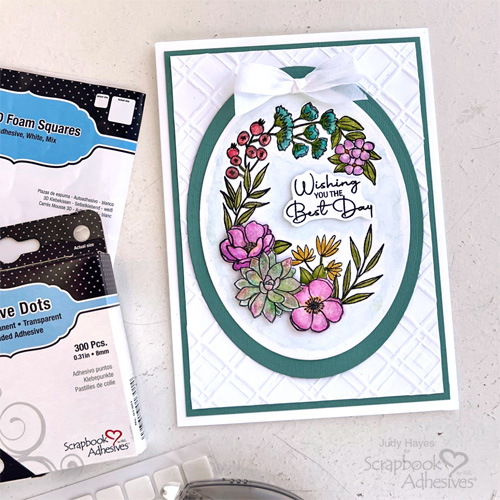
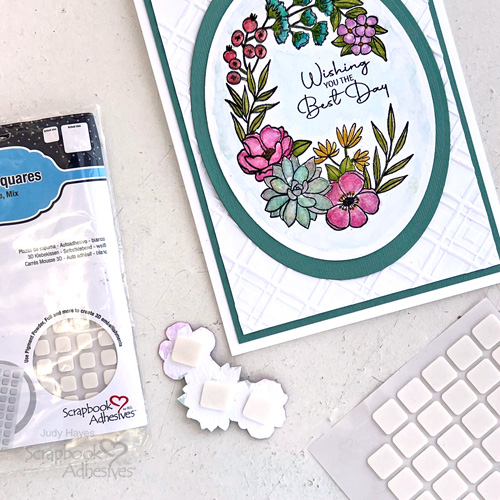
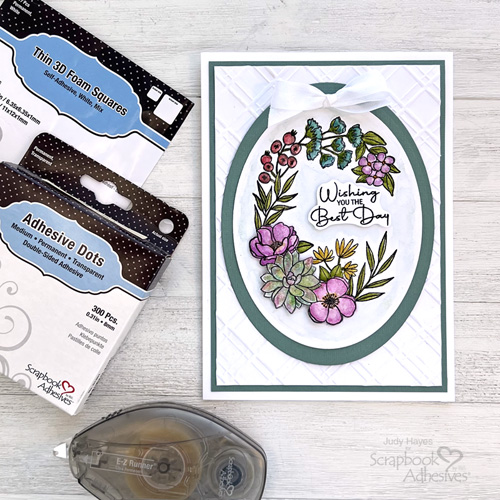
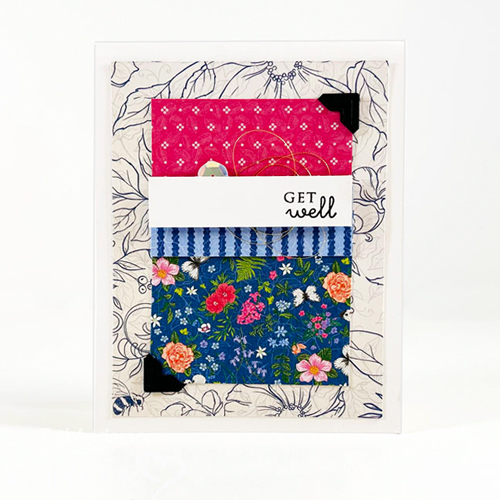
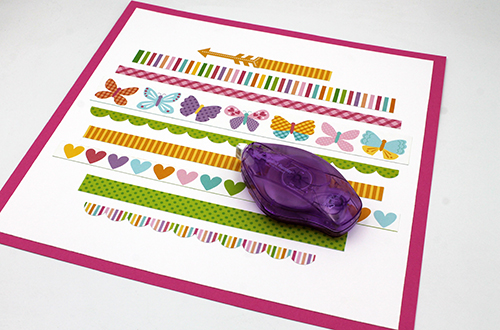
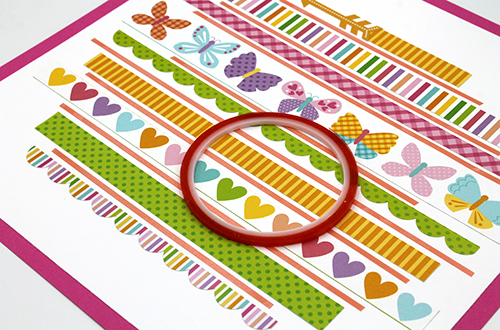
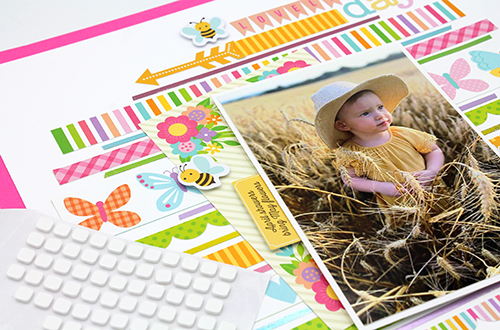
Add a large die-cut element to the card front using E-Z Runner® Petite Permanent Dots Refillable Dispenser and then add the sentiment strip on top using Thin 3D Foam Squares Black Mix.
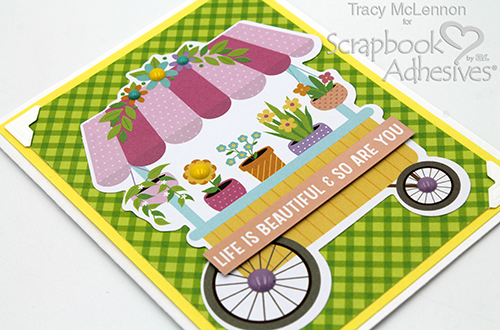
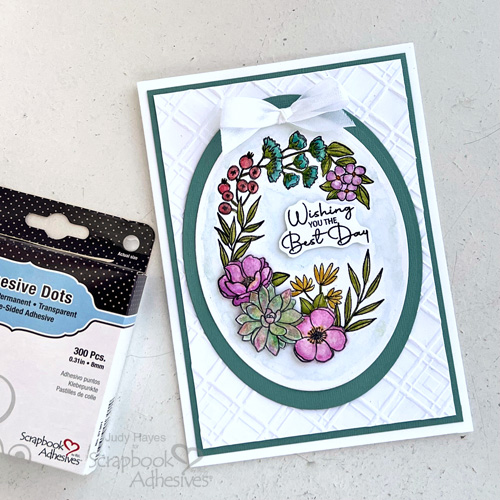
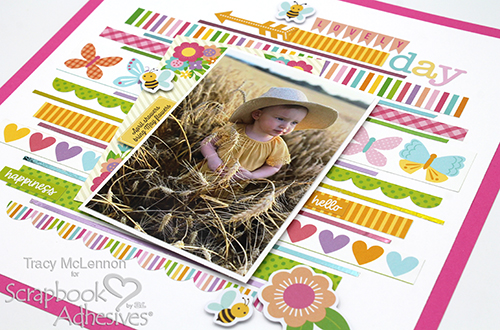
The final touches of this Spring inspired card is to add a few enamel dots, for a little extra shine.
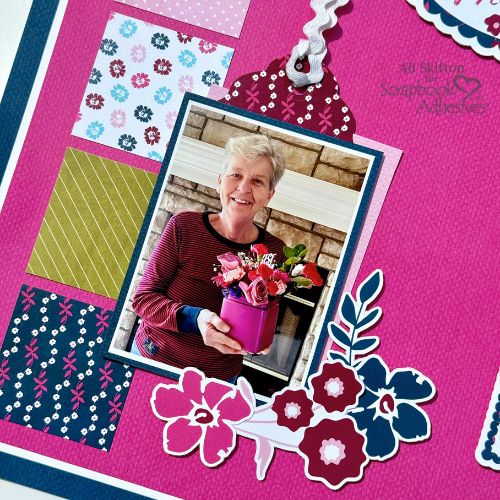
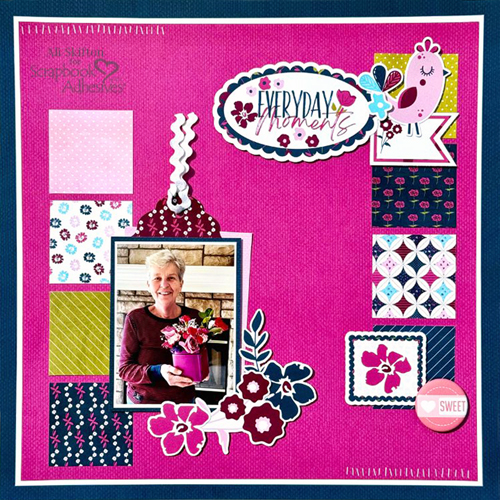
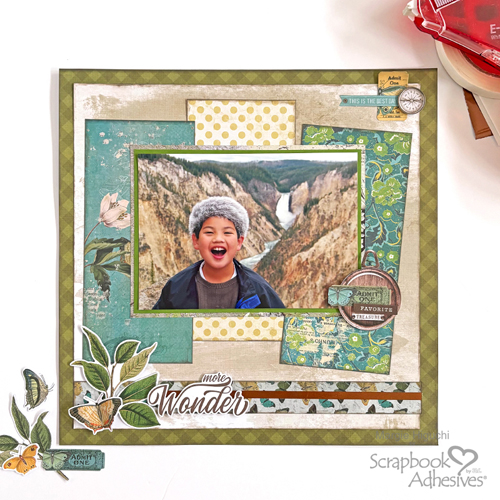
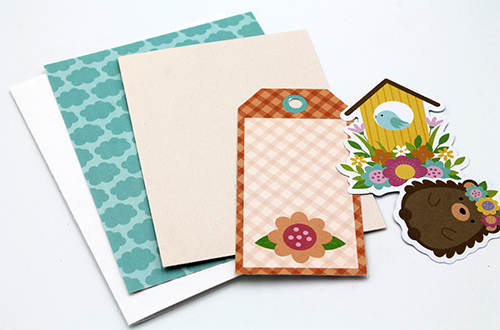
Sweet Spring Card – Love You More
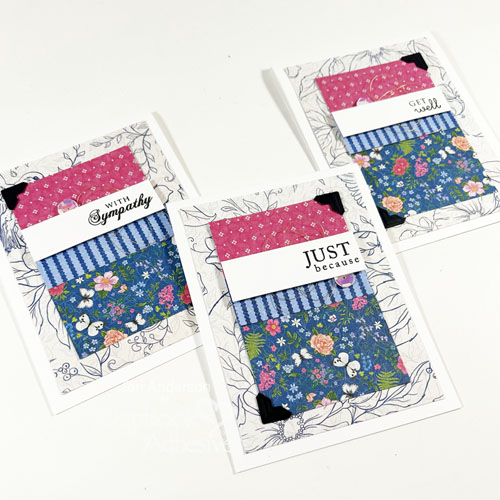
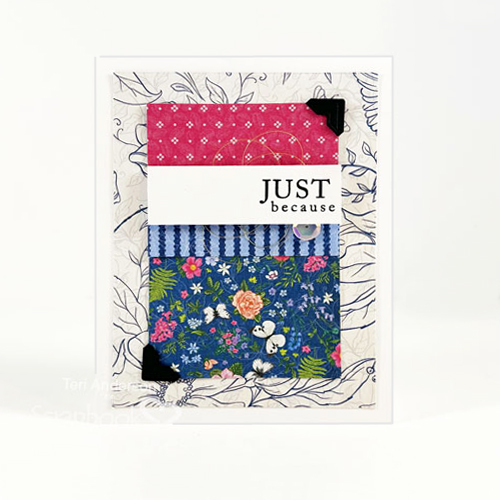
Cut and assemble the card base layers for the second Sweet Spring Card. Again, the card base is white cardstock. The card layers are patterned paper and light pink cardstock. For the focal point, I chose a cluster of a tag, a birdhouse, and a sweet critter to showcase.
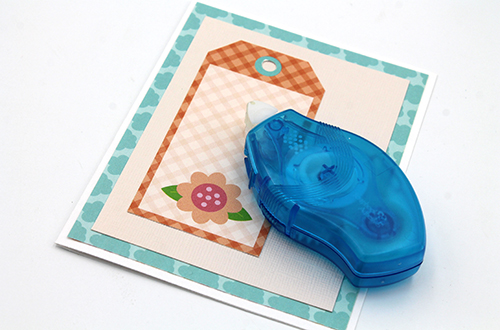
Adhere all the layers together using the E-Z Runner® Petite Permanent Dots Refillable Dispenser.
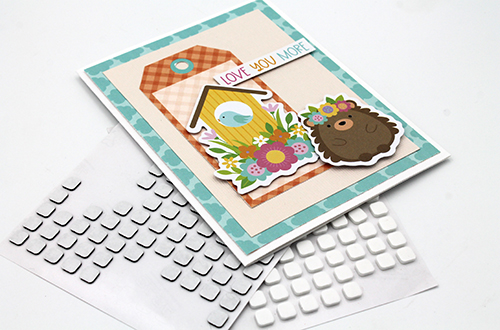
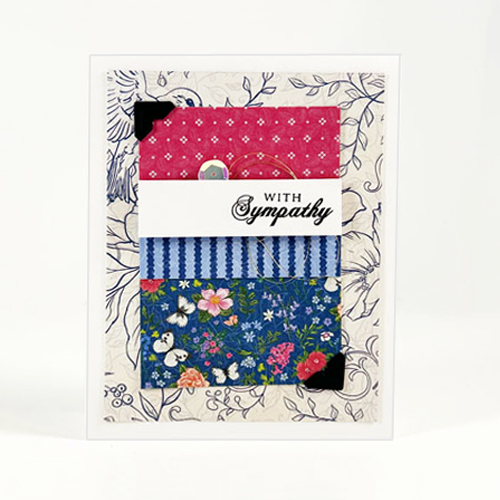
Using a combo of Thin 3D Foam Squares Black Mix and 3D Foam Squares White Mix, I adhered the cluster pieces. It creates loads of wonderful dimensions on this Sweet Spring Card!
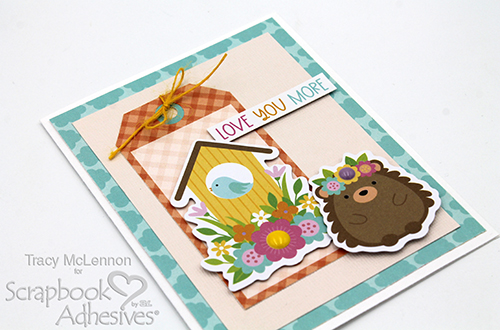
For the final touches, thread and tie a burlap string bow on the tag and enamel dots.
I hope you enjoyed my Sweet Spring Card Duo. Thanks so much for stopping by!
Tracy
Creative Time: 40 mins
Skill Level: Beginner
Materials Needed:
Scrapbook Adhesives by 3L®
E-Z Runner® Petite Permanent Dots Refillable Dispenser
Thin 3D Foam Squares Black Mix
3D Foam Squares White Mix
Creative Photo Corners White
Other: Doodlebug Designs Collection; White, Yellow, and Light Pink Cardstock; Burlap String; Enamel Dots
Save to Pinterest!
Visit our Website and Blog!
Sign up for our Newsletter so you never miss a contest or giveaway!