Hello everyone! It’s Asia here and today I have a very happy project to share. I was so happy making it that I decided to make a tutorial for you as well :). I’m sharing a Sunflower Wedding layout I made to commemorate a wonderful wedding day I had a privilege to participate in – the wedding happened to be on my birthday, so that’s double happy in my book!
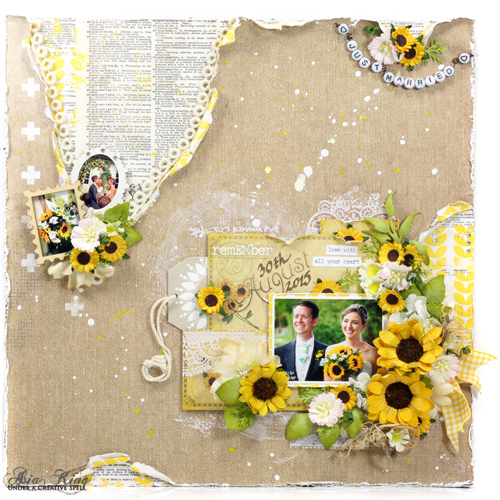
The wedding took place in a beautiful setting of Château de Javarzay in Chef-Boutonne in France. The region is famous for its picturesque sunflower fields so there was no surprise these gorgeous blooms were chosen as the flowers of the wedding. And no surprise that they sneaked into my design, too :). So let’s begin!
Sunflower Wedding Layout Tutorial
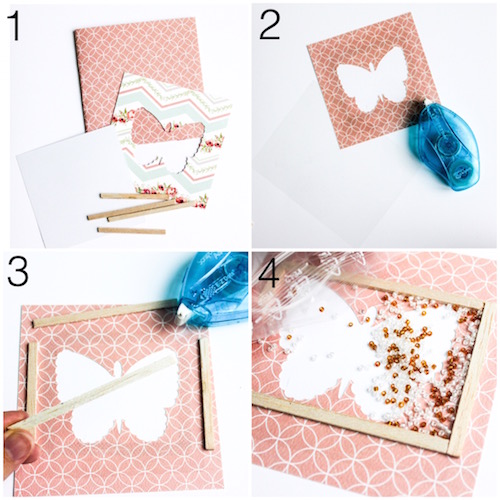
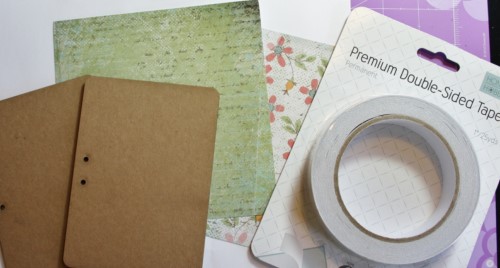
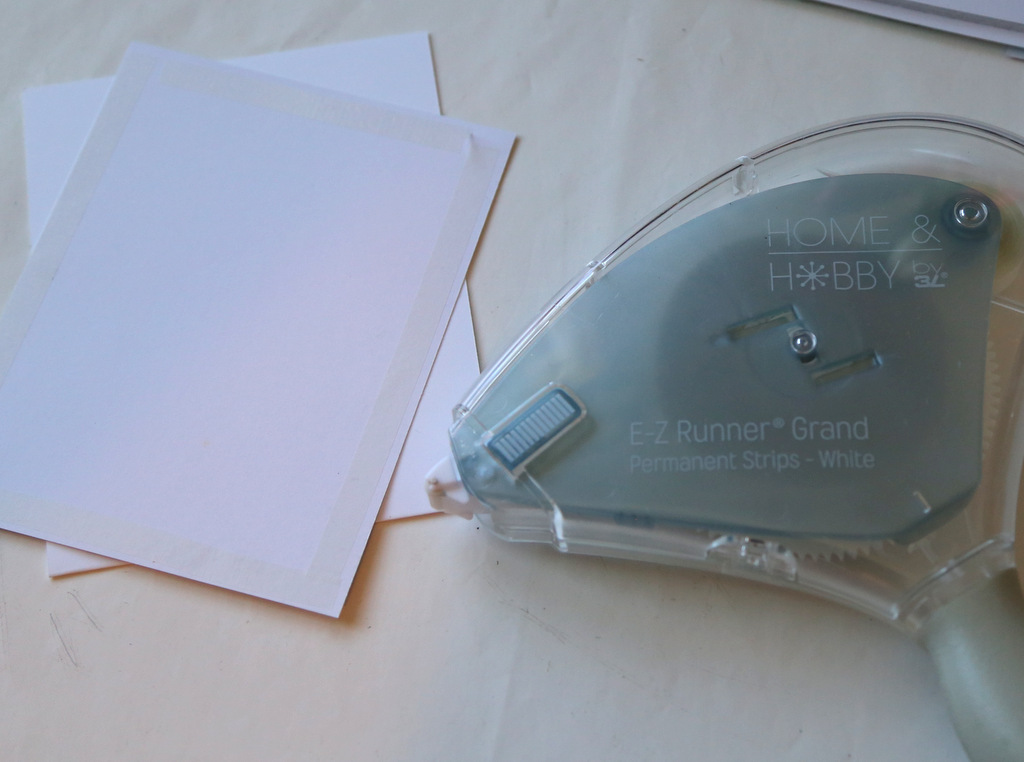
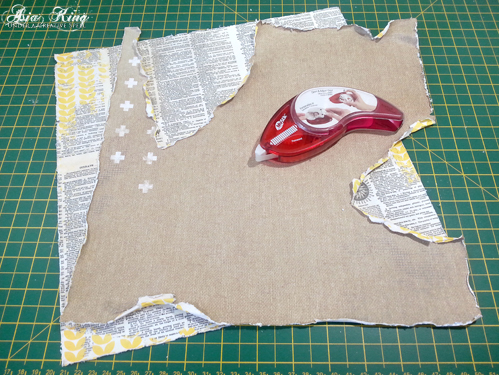 Distress 2 sheets of coordinating 12″ x 12″ papers as shown. Layer the papers and secure with MyStik® Permanent Strips.
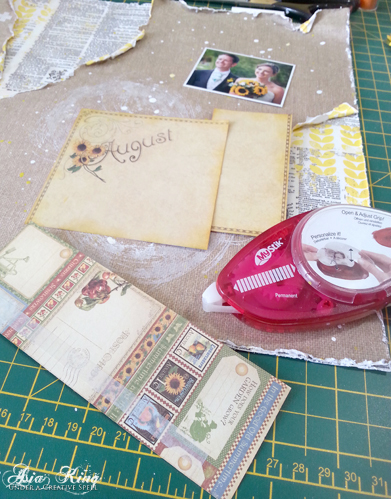
Dilute small pools of white and yellow acrylic paint on a craft mat and flick over the page with a paint brush to create splatters.
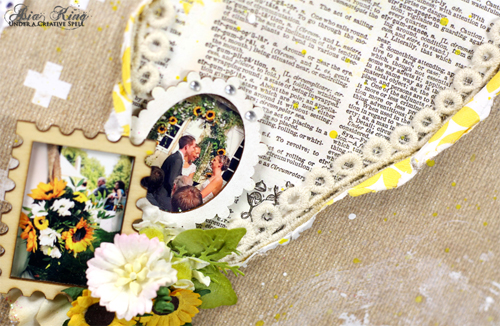
Mat the photo with some left-over paper using MyStik® Permanent Strips and distress the edges. Trim a page from the 6″ x 6″ paper pad into tree parts. Layer the pieces and secure them with MyStik® Permanent Strips. Add some thicker card to the back to make the collage more sturdy.
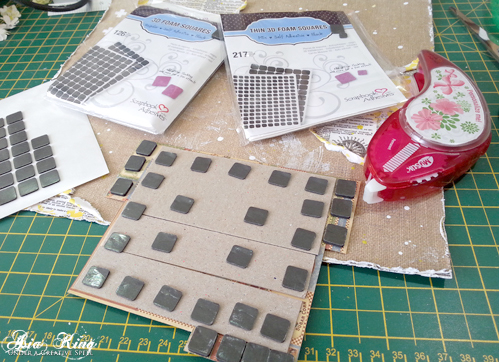
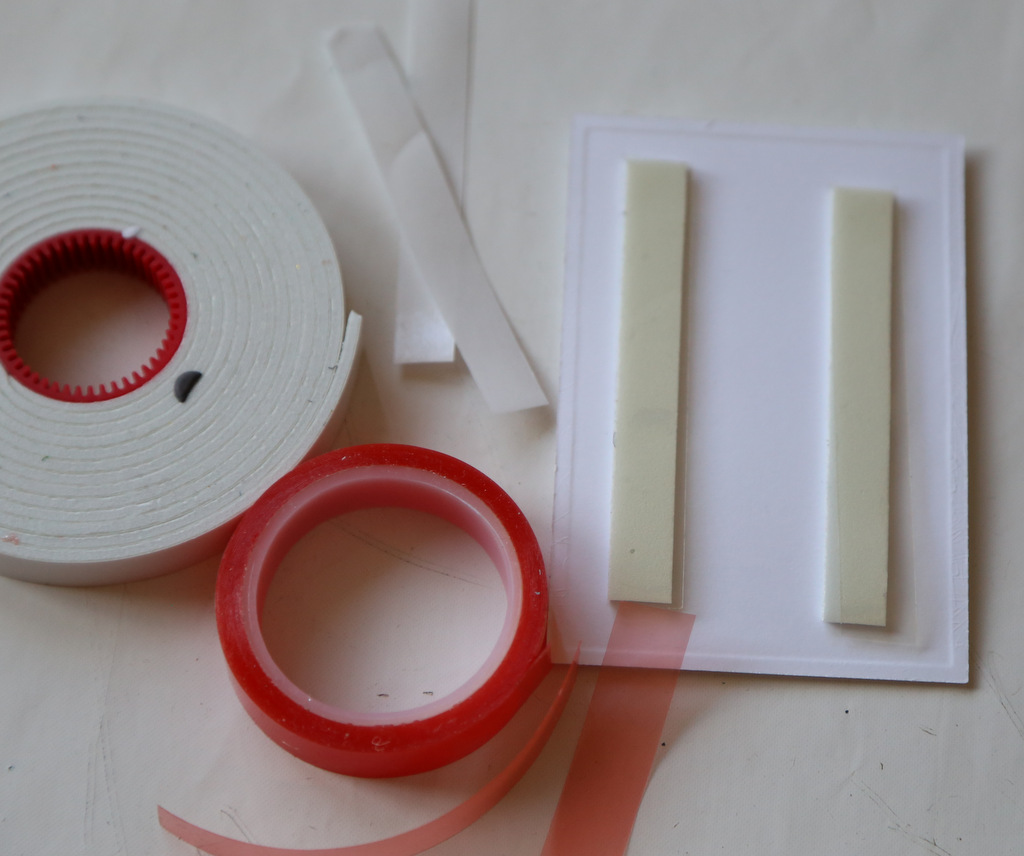
Add 3D Foam Squares Black Regular and Thin 3D Foam Squares Mix Black to the back of the collage and adhere to the page. Mount the photo over the collage with 3D Foam Squares Black Regular.
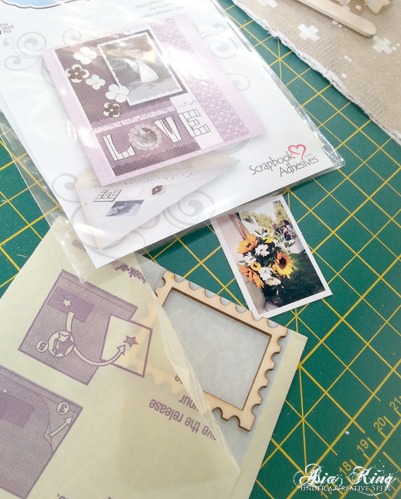
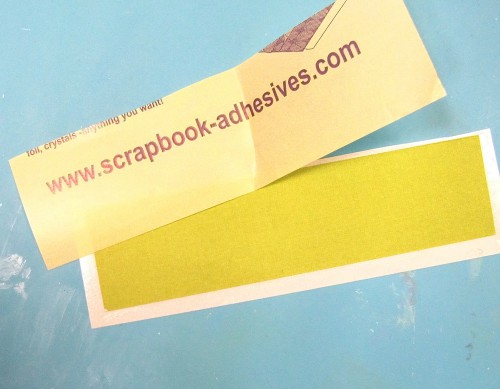
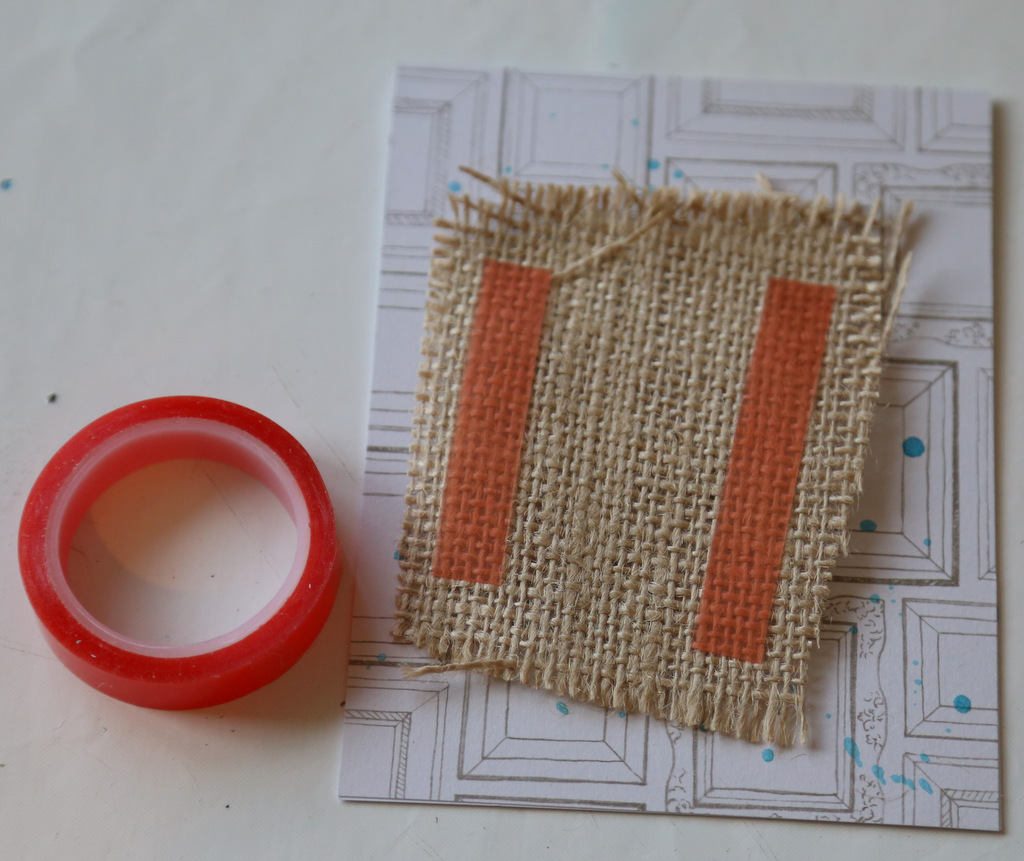
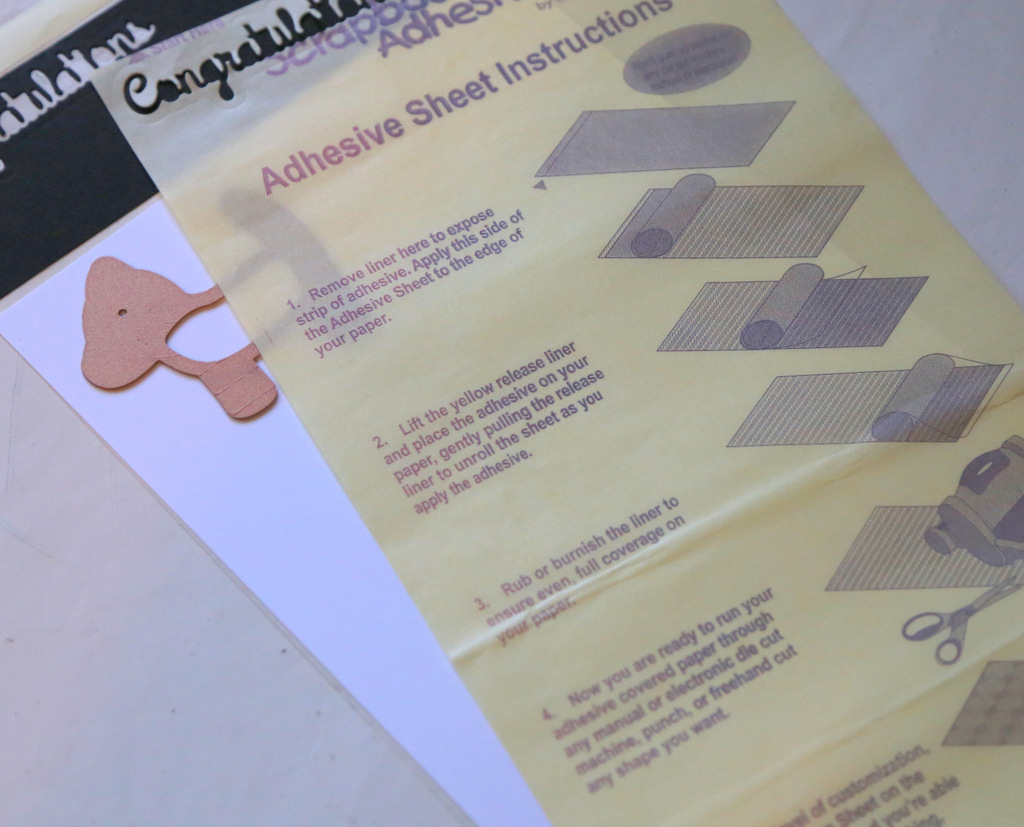
Print a couple of small photos and trim to fit within the small wooden frames. Cover the back of the frames with Adhesive Sheets 4×6” and place over the photos.
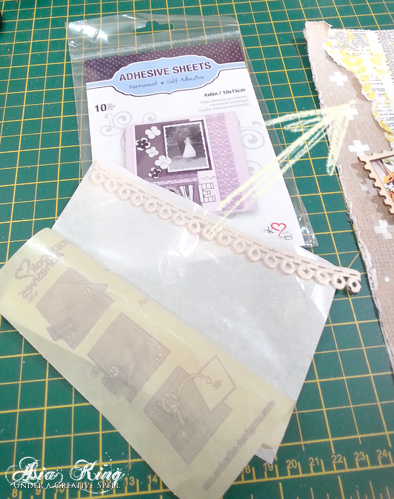
Using Adhesive Sheets 4×6”, tuck some lace ribbon under the torn paper ‘V’.
Using 3D Foam Squares Black, Regular and Thin 3D Foam Squares Mix Black adhere the wooden frames to the page as shown (apologies the step photo got corrupted).
Sunflower Details
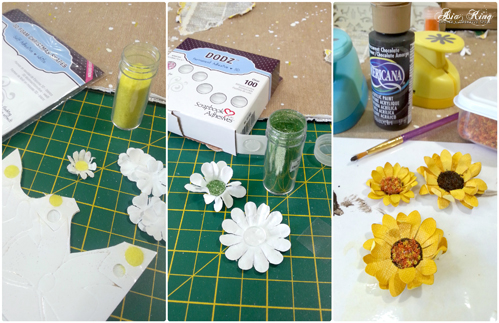
Create a handful of flowers to embellish your page.
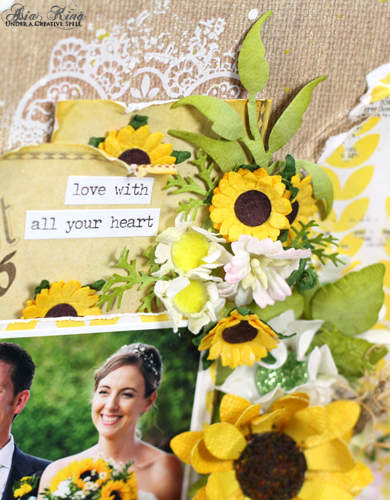
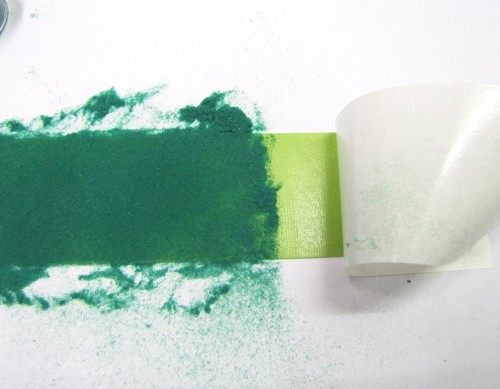
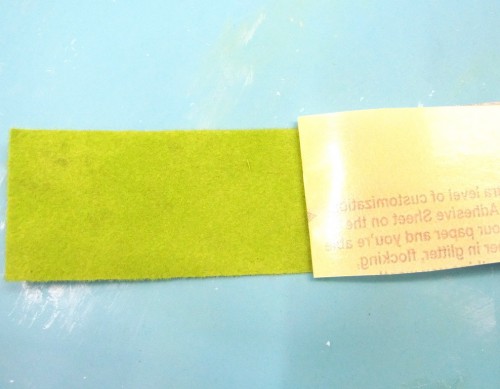
For white daisies, cover small dots from 3D Foam Christmas Shapes or the new 3D Foam Circles with yellow flock and add to the centres of white paper flowers. Snip and ruffle the petals to resemble small daisy flowers.
For white chrysanthemums, cover Adhesive Dots 3D with green glitter and add to the centres of white paper flowers. Ruffle the petals.
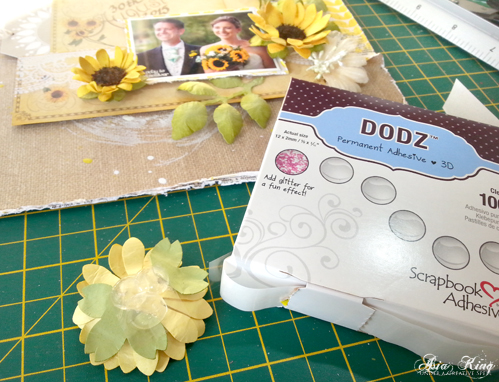
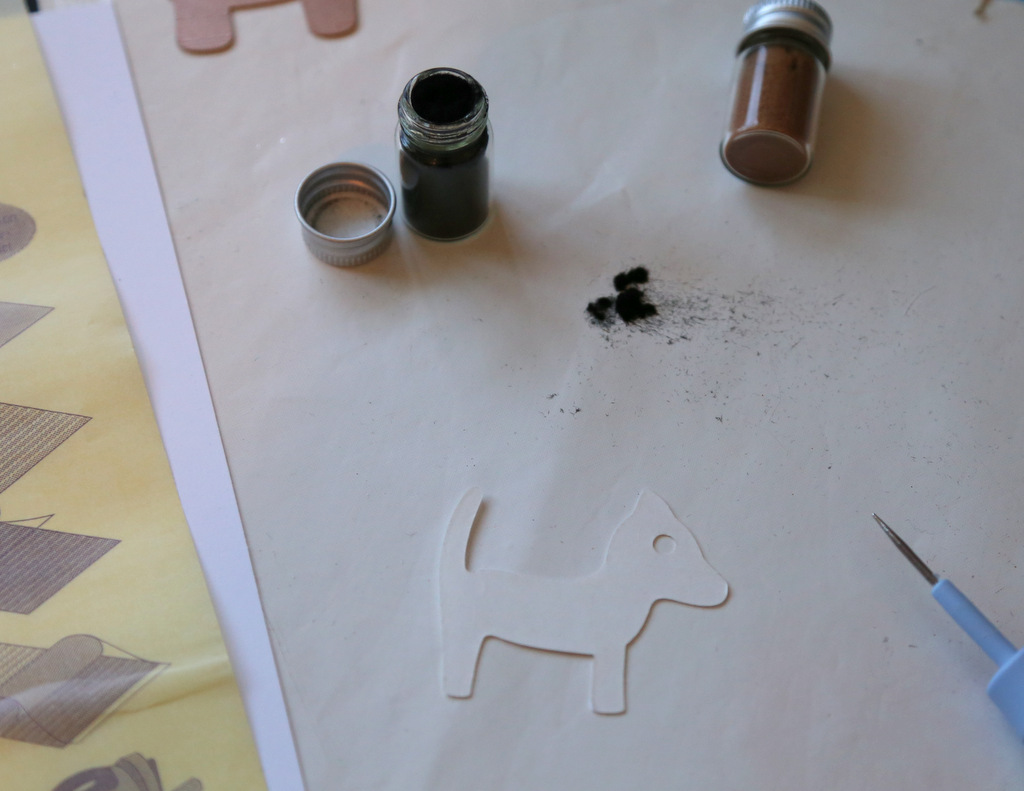
For sunflowers – punch several daisy blooms from yellow cardstock and shape the petals. Layer and secure with Adhesive Dots Medium. Paint a circle in the centre of each flower with chocolate paint and allow to dry. Add Adhesive Dots 3D in each centre, cover with Flowersoft and shake off the excess. Gently work the paint into the textured centres. Use only a small amount of paint as you want to add colour without loosing the fluffy texture.
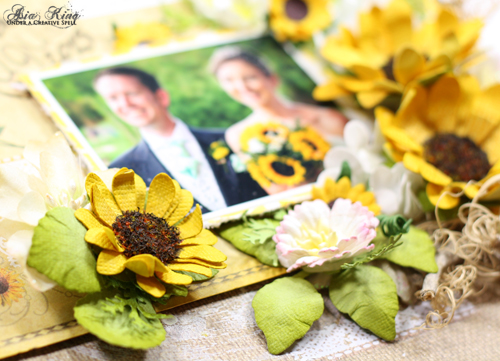
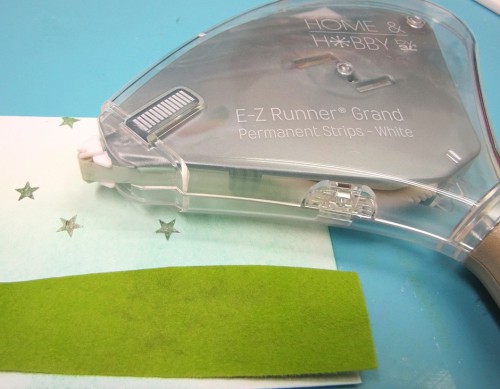
Punch & die cut a variety of foliage, shape the leaves and add to the page using Adhesive Dots Small. Arrange a mix of handmade and designer flowers around the photos and secure using Adhesive Dots 3D.
Embellish the page further with stickers, rub-ons, gems, ribbons and a ‘just married’ banner made from letter beads and craft wire.
Find more wedding inspiration on Top Wedding Ideas! And here on Pinterest.
- Creative Time: 2 Hours
- Skill Level: Advanced
Supplies I used:
MyStik® Permanent Strips, 3D Foam Squares Black, Regular, Thin 3D Foam Squares Mix Black, Adhesive Sheets 4×6”, Adhesive Dots 3D, Adhesive Dots Medium, Adhesive Dots Small, 3D Foam Christmas Shapes, 3D Foam Circles White
Other supplies:
- Papers – BoBunny Sweet Life, Graphic45 Place In Time; Cardstock – Core’dinations
- Flowersoft; Stampendous – Lemon Yellow Fun Flock, Sea Green Ultra Fine Glitter
- White Rub-Ons – Craft Consortium; Acrylic paints – DecoArt;
- Spellbinders – Foliage die set; punches: Woodware – Daisies; Martha Stewart – Pine Branch
- Flowers – Prima Marketing & other; Ribbon – May Arts; small wooden frames, word stickers, small gems, letter beads, craft wire
I hope you enjoyed today’s tutorial! If you’d like to find out more about the inspiration for this layout and see additional close – up photos, please check out the post of my blog here.
Thank you for stopping by and for your lovely comments!
Big crafty hugs

Save
Save


