You are in our US store • Switch to Europe store

Thanks Card Tutorial

Hi, it’s Isha here.Today, I am guest designing on the blog. As I wrote before, I am really enjoying all the various kinds of adhesives and the various ways to use them! I especially love the new E-Z Runner® Grand, it’s so easy to use and also to refill 🙂 Then there are these Adhesive Sheets, which I used to apply glitter today.
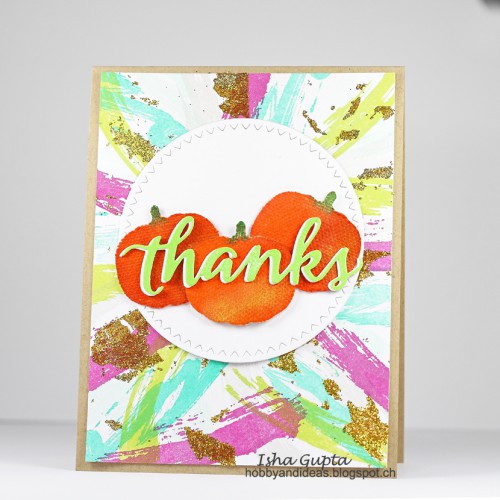
Thanks Card by Isha Gupta for Scrapbook Adhesives by 3L Blog

This is how I made my card:

Thanks1-IshaGupta

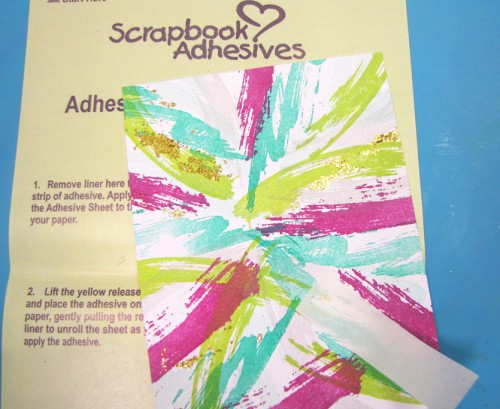
First I stamped the mat layer using various inks and then cut small stripes from the adhesive sheets and just applied it onto the stamped layer randomly. Then I removed the backing paper and applied glitter to it.
Thanks2-IshaGupta

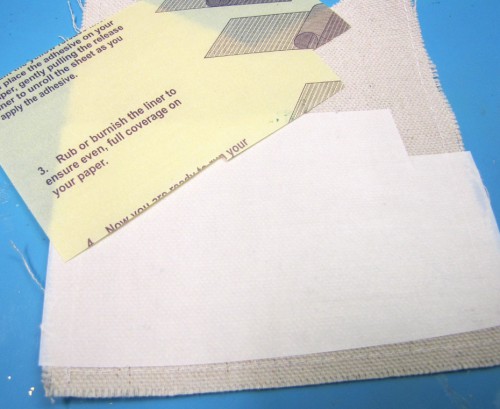
Next, I cut a piece of Adhesive Sheet, removed the yellow liner paper and adhered it to a canvas banner. Now, I removed the backing paper and adhered this canvas to a white cardstock, essentially making my own die cut stickers.
Thanks3-IshaGupta

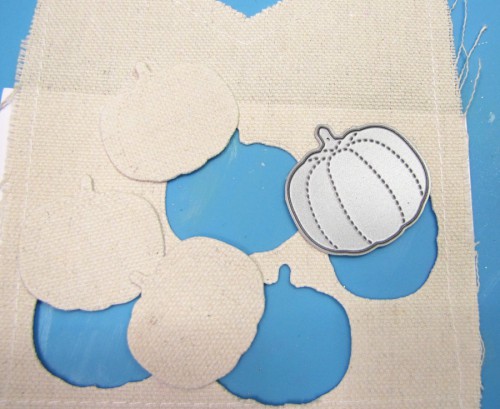
I die cut some pumpkins from this canvas.
Thanks4-IshaGupta

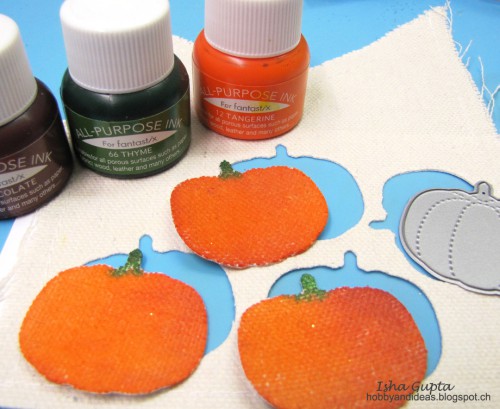
Then I used some inks and colored in the pumpkins.

When these were slightly dry, I brushed some gold pigment powder onto them.
Thanks6-IshaGupta
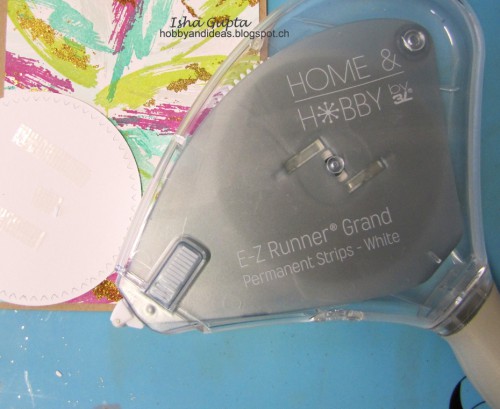
Now, I adhered the mat layer and the die-cut circle to the card base using E-Z Runner® Grand.
Thanks7-IshaGupta

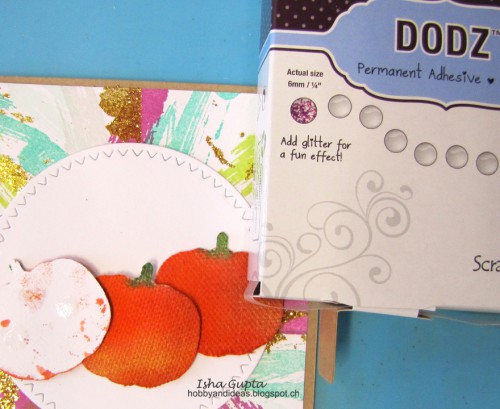
Then I used DODZ Small to adhere the 2 side pumpkins. These are so easy to use 🙂

For the center pumpkin, I wanted to give some dimension, so I used 3D Foam Squares.
Thanks-IshaGupta_cl

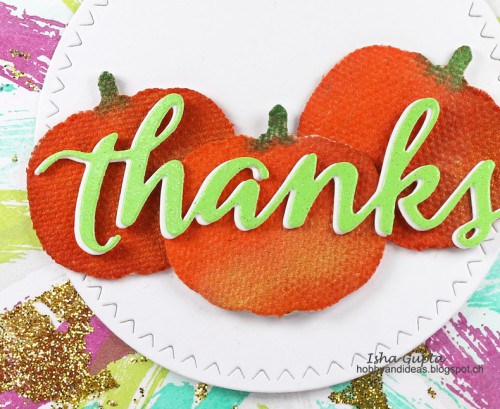
Finally, I adhered the die-cut word “Thanks” 🙂

These various adhesives sure make creating so much easier!
Thanks for stopping by. I will be back soon with some more creations.

Isha Gupta

Scrapbook Adhesives by 3L®: Adhesive Sheets 4×6″, Dodz Small, 3D Foam Squares
HomeHobby: E-Z Runner® Grand

Other Supplies:
Stamp: Watercolor Brushstrokes (SugarPea Designs); Dies: Sugar Cuts – Thanks, Zig Zag stitched circles, Stitched Autumn Icons (SugarPea Designs) Inks: All Purpose Ink (Tangerine, Chocolate, Thyme), VersaColor (Tropical Green, Chateau Gray, Seafoam), Memento Luxe (Pear Tart, Lilac Poisies) (ImagineCrafts featuring Tsukineko)
Save

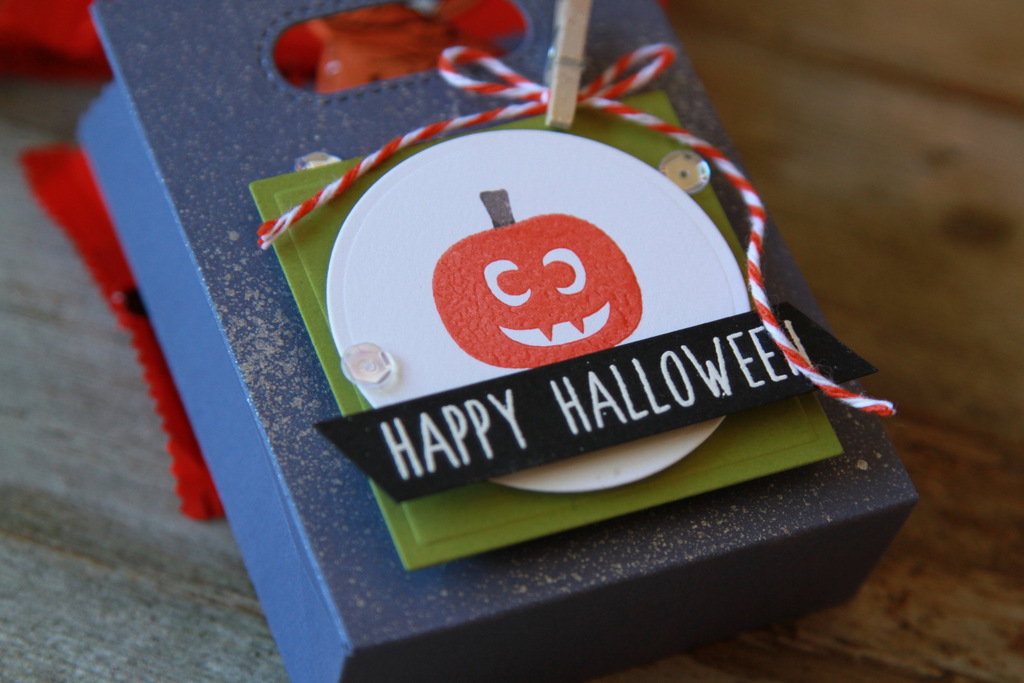
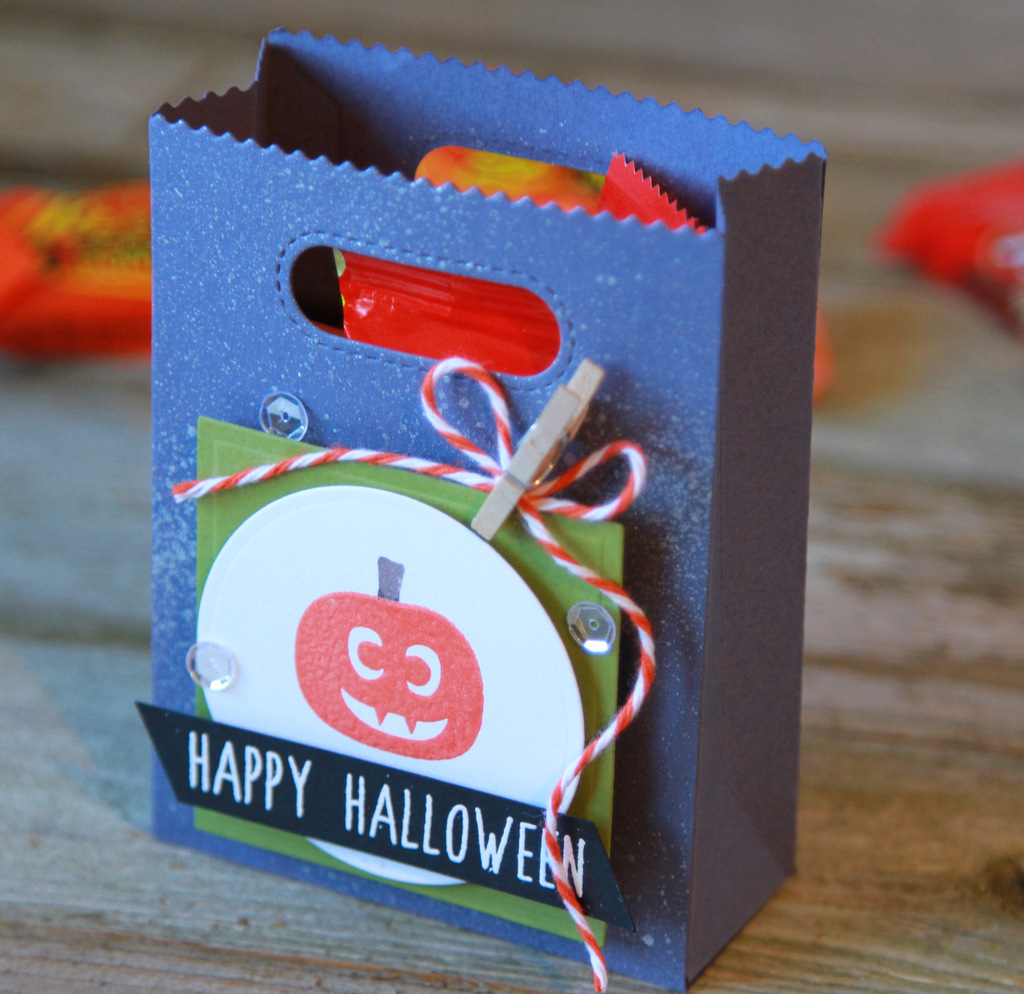
Happy Halloween Treat Bag

Hello!  This is my hands down MOST favorite holiday to create for.  I am not sure why, but I just love Halloween!  Maybe it’s the candy?

AJOtto-Halloween-002Making the Treat Bag

Who doesn’t love a little treat container filed with their favorite treats?
AJOtto-Halloween-2

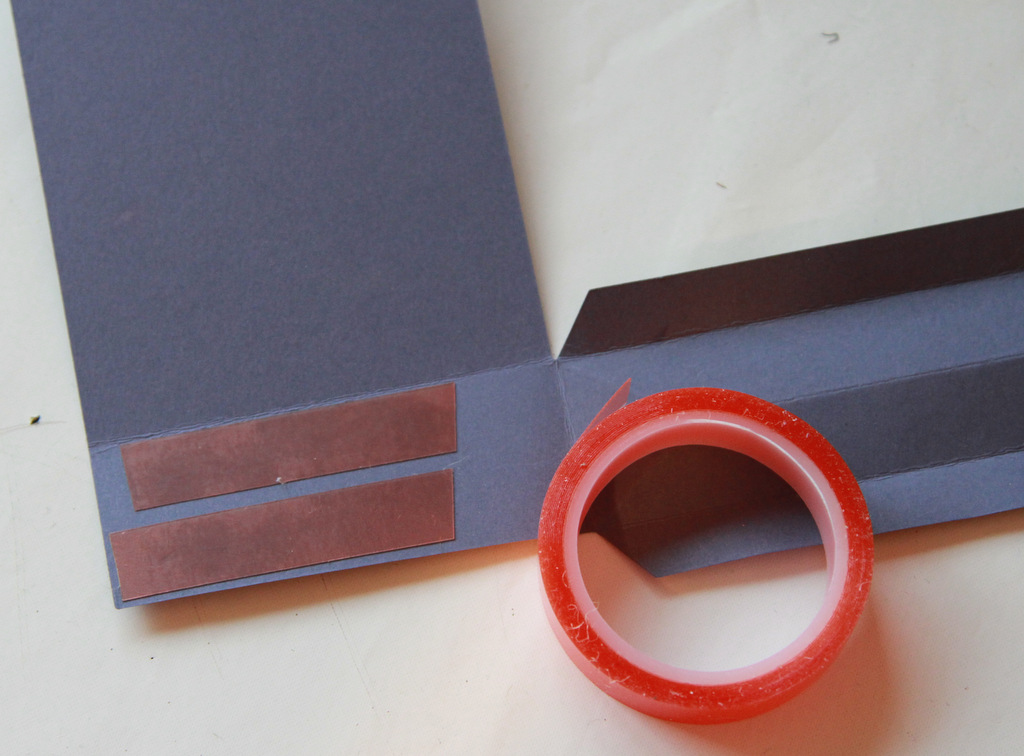
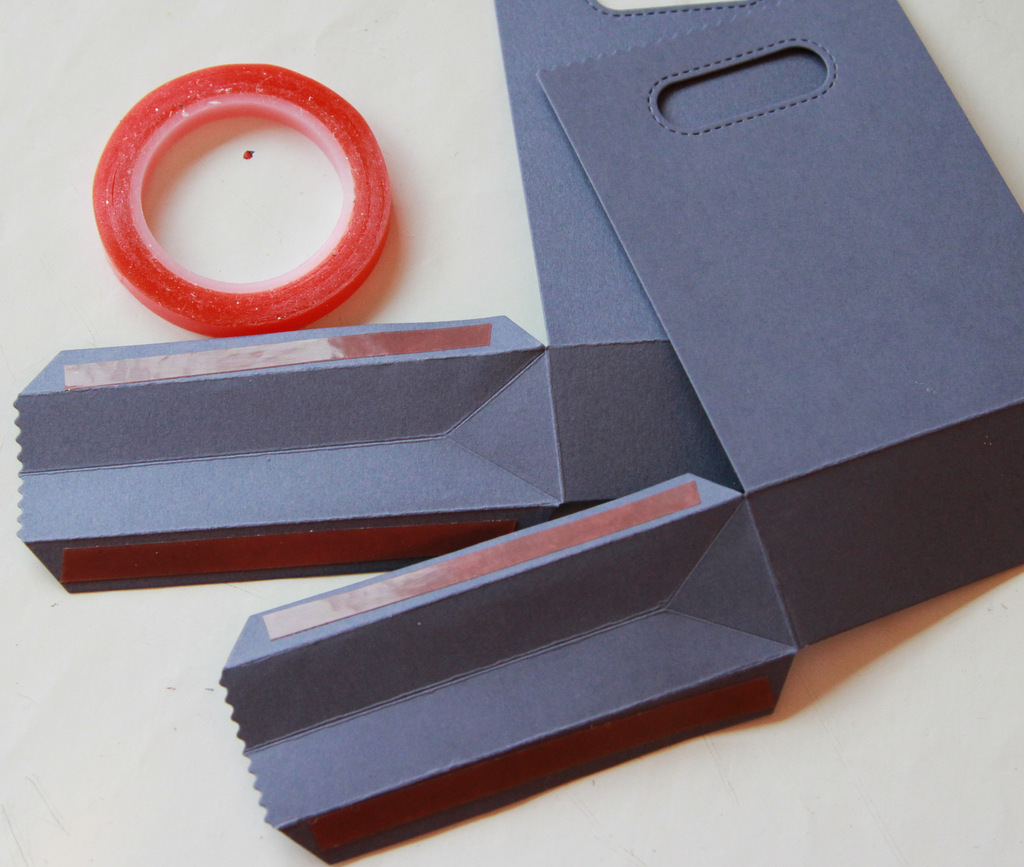
Die cut the bag twice and follow the folds to create your edges.  I used the Extreme Double-Sided Tape in 1/4″ here for the sides that fold up.

AJOtto-Halloween-3This is the bottom panel, and being it’s wider, I used the Extreme Double-Sided in 1/2″. Remove the backing and adhere bag together.

AJOtto-Halloween-4

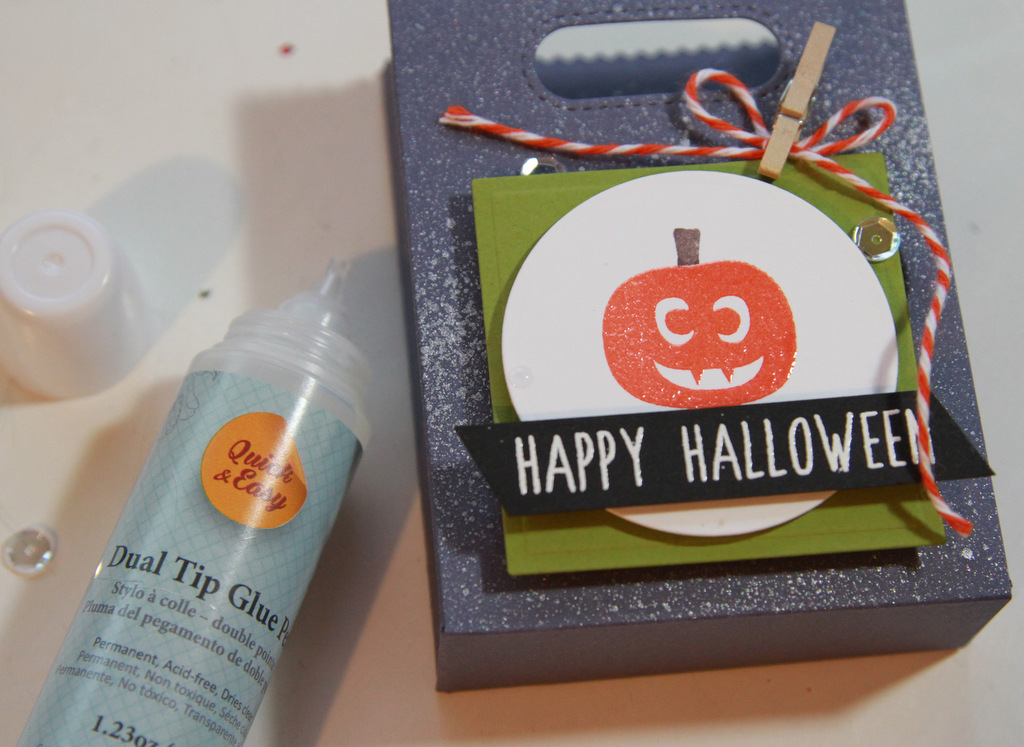
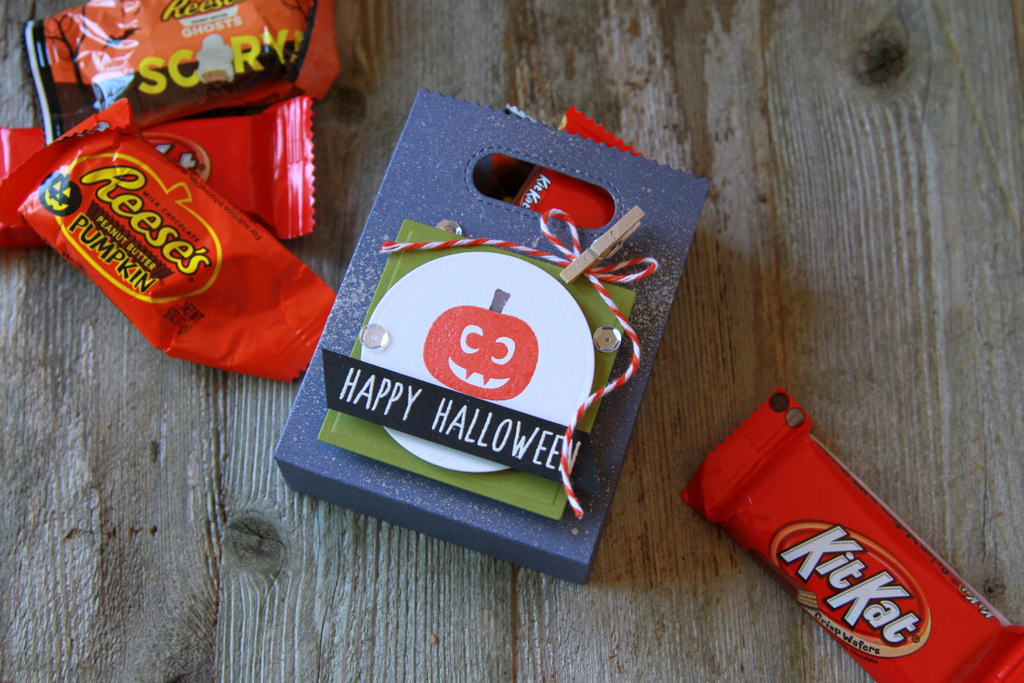
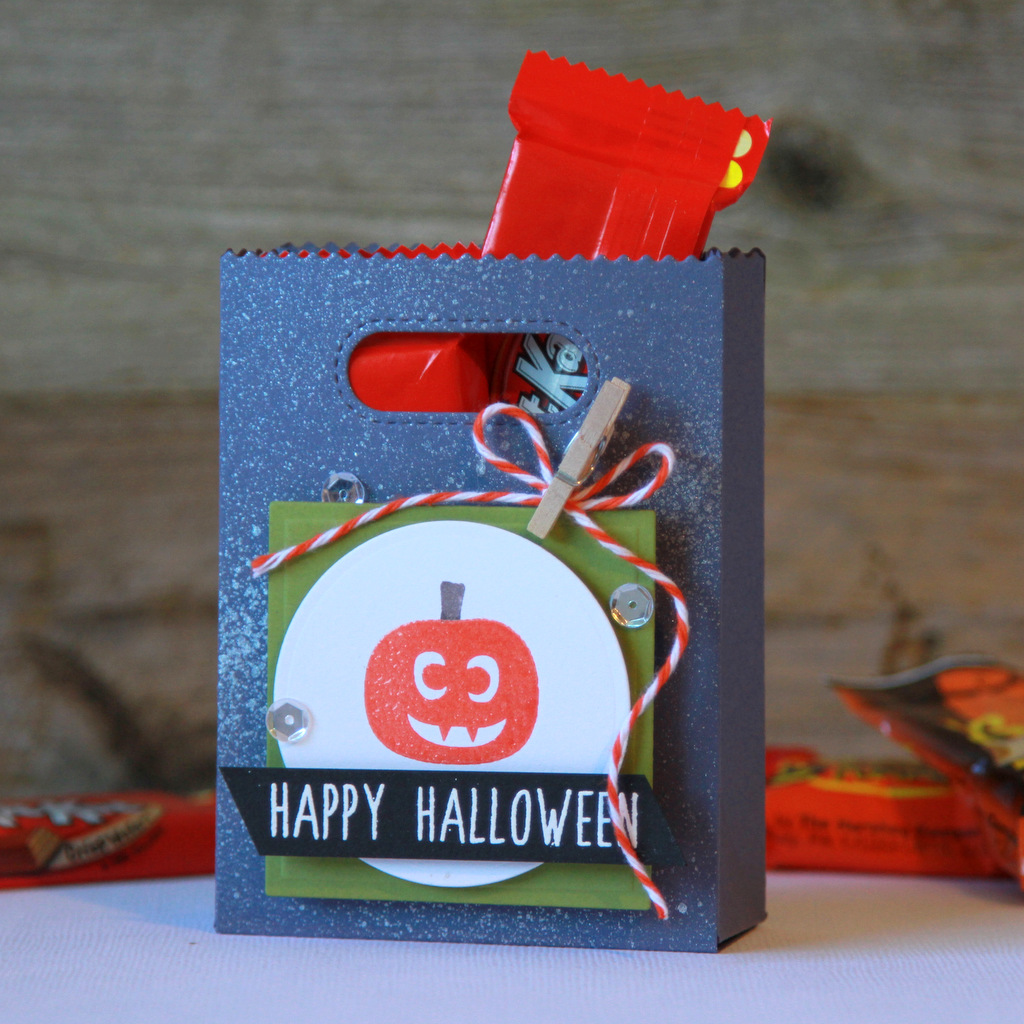
Now it’s ready to be decorated-  I added a few more dies popped up with 3D Foam Squares, some fun stamped images, and of course sequins.  Now to add sequins, I just use a small drop of the Dual Tip Glue Pen and it dries perfectly clear!

AJOtto-Halloween-5

I ended up getting some of my daughters favorite treats for her- since she’s in braces this Halloween, I figured she won’t be able to eat most of her candy any more.  Lucky for me, I’ll gladly help her find new home for it. 😉

AJOtto-Halloween-6

AJOtto-Halloween-7Off to make a few dozen more for the rest of the soccer team!

enjoy!  🙂 AJ

Scrapbook Adhesives by 3L® Products used:

Dies- Spellbinders, Lawn Fawn; Stamps- Simon Says Stamp; Sheer Shimmer Spritz from Tsukineko; twine; card stock; sequins from Pretty Pink Posh; mini clothespin; Memento Luxe inks and clear embossing powder.


Save

Visit our Website and Blog!
Sign up for our Newsletter so you never miss a contest or giveaway!

instagram purple icon facebook icon purple pinterest purple icon twitter purple icon YouTube icon blog subscription purple icon

Grungy Birthday Card

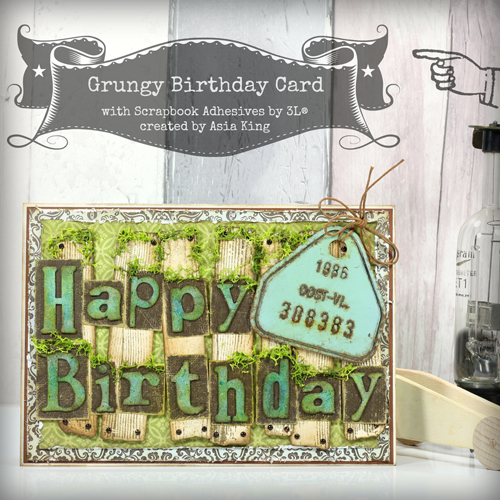
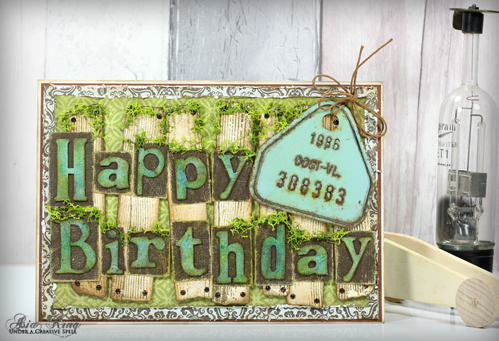
Hello everyone, Asia King here! Today I’m sharing a grungy, covered in moss birthday card I made for my hubby :).

Grungy Birthday Card_Asia King1

Once I prepared my A5 card blank I covered the background with pattern papers distressed with inks and a distressing tool. I layered them up and adhered with Home Hobby Grand Permanent Strips.

Grungy Birthday Card_Asia King4

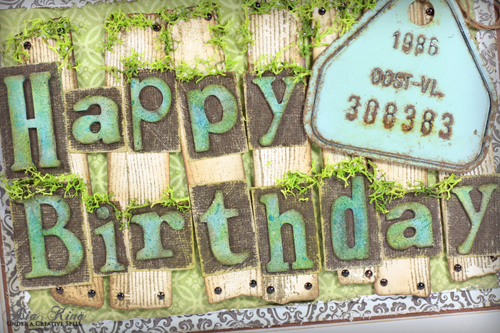
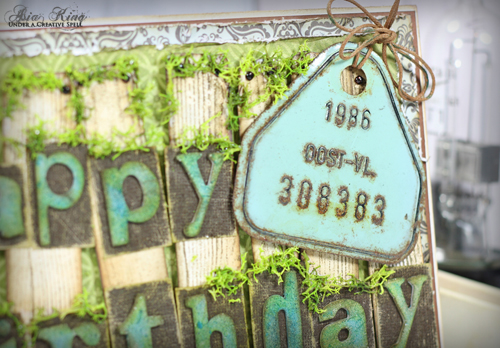
To create my grungy banner I first inked up the grunge board letters by dunking them in pools of ink on my craft mat. Then I cut a ‘wooden block’ for each letter from brown cardstock and sanded it around the edges to create a worn look. To adhere the letters to the block background I used Adhesive Sheets 4×6″.

To make the fence I stamped the woodgrain pattern onto inked white card and cut strips to create planks. I added some rusty nails (small brads) and popped the planks onto the card with Crafty Foam Tape Black.
Grungy Birthday Card_Asia King3

Once the planks were in place I added my ‘Happy Birthday’ banner using Adhesive Sheets I had to hand. With the help of my trusty Crafty Foam Tape Black I also added a vintage rusty metal plaque which I bought a few years ago at a flea market in Bruges. To complete my card I added some faux moss using Quick & Easy Dual Tip Glue Pen and I tied a bow to the metal plaque.

Grungy Birthday Card_Asia King2

Supplies:

Dual Tip Glue Pen, HomeHobby  Grand Permanent Strips, Adhesive Sheets 4×6″, Crafty Foam Tape – Black,

Other supplies:

Papers – Echo Park Times & Seasons; Tim Holtz Idea-ology Alphabet Soup Grungeboard

Hero Arts – Woodgrain Pattern stamp

Inks – Coffee Archival, Broken China, Brushed Corduroy Peeled Paint, Walnut Stain Distress Inks (Ranger Inks)

White and chocolate cardstock, brads, suede twine (May Arts), vintage metal plaque, faux moss.

I hope you enjoyed today’s inspiration with this grungy masculine card. Thank you for stopping by!

Big crafty hugs

Asia King Blog signature

Save

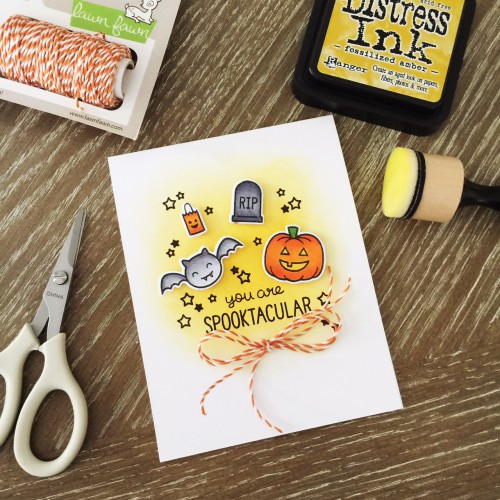
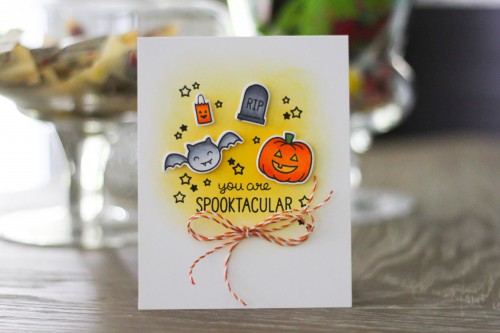
You Are Spooktacular Card

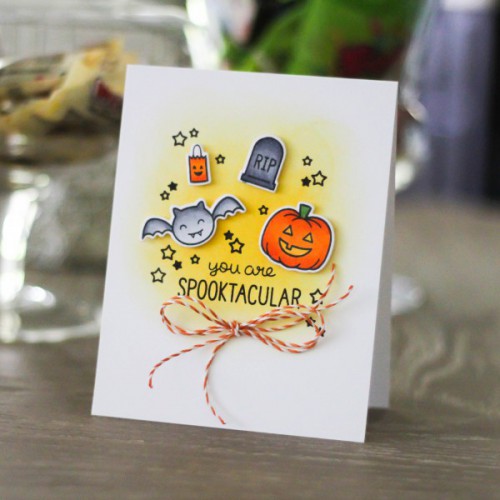
Hello there, Latisha here with you today!  With the holidays approaching, more specifically Halloween, I am sharing a fun card with you.


Spooktacular Halloween card tutorial by Latisha Yoast

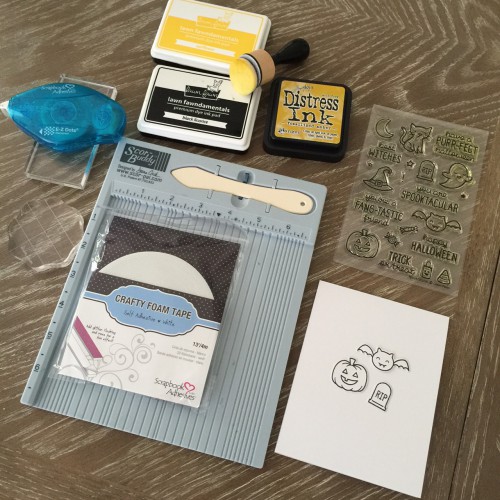
I gathered a few supplies before I began, ink, stamps, markers, twine and adhesive.

IMG_0062

Spooktacular Instructions:

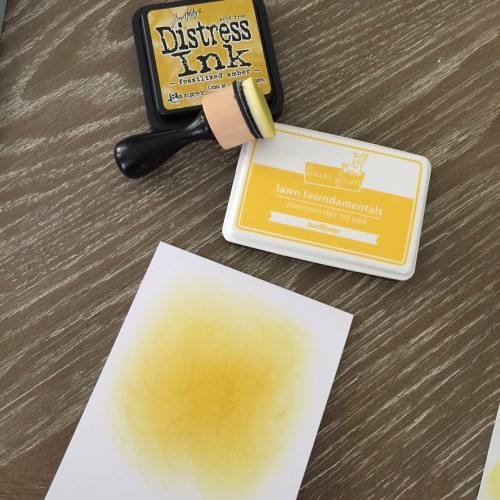
  1.  Using yellow ink and a sponge, apply ink onto the the cardstock.  I used two different shades of yellow to get this look.  IMG_0063
  2. Stamp the sentiment in black ink.
  3. Using white cardstock, stamp and diecut the images.
  4. Color in the diecut images using copic markers. (orange, yellows and grey)
  5. Stamp the stars onto the card front.
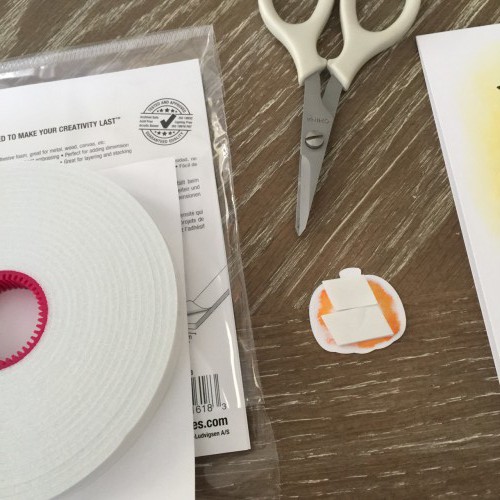
  6. Add Crafty Foam Tape White to the back of the diecuts.IMG_0064
  7. Adhere the diecuts to the card.
  8. Tie a bow with twine.
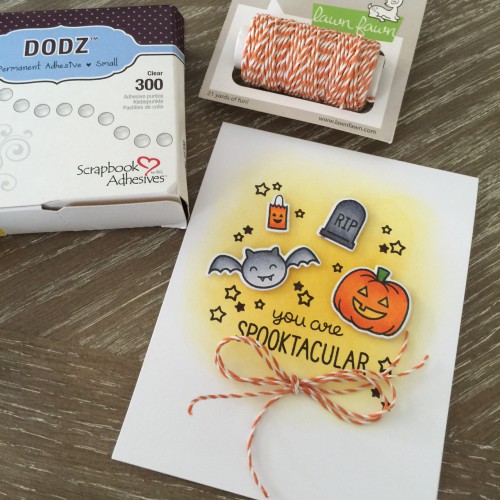
  9. Adhere the bow to the card front using Adhesive Dots Small.IMG_0065


IMG_0067

Materials Used:

Scrapbook Adhesives by 3L

Lawn Fawn stamps, ink, twine and dies, Distress ink, sponge, scissors, black ink, white cardstock


0926LYspooktacularcd2


Save

Save

Visit our Website and Blog!
Sign up for our Newsletter so you never miss a contest or giveaway!

instagram purple icon facebook icon purple pinterest purple icon twitter purple icon YouTube icon blog subscription purple icon

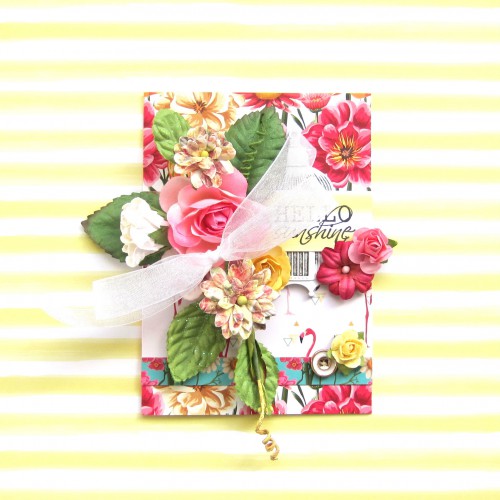
Hello Sunshine Card with E-Z Runner Grand

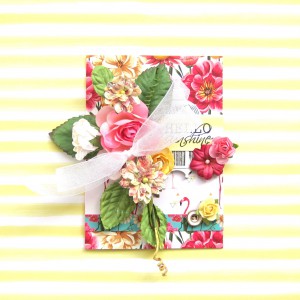
It’s Erica and today I’m sharing a card I created using the E-Z Runner® Grand Permanent Strips dispenser.

Hello Sunshine Card with E-Z Runner Grand

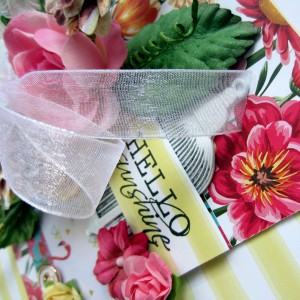
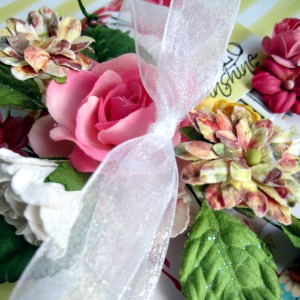
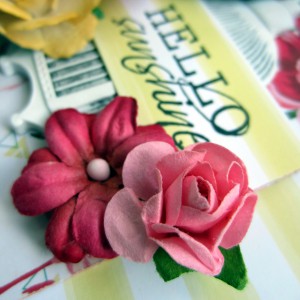
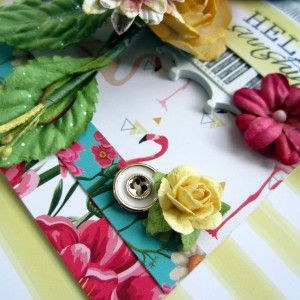
I kept this card pretty simple. I started by adhering pattern paper to the base of my card and then added two more layers of pattern paper, adhering all layers using the E-Z Runner® Grand Permanent Strips dispenser. To finish my card I added a resin bird cage, flowers and a bow.

Hello Sunshine Card with E-Z Runner Grand Hello Sunshine Card with E-Z Runner Grand Hello Sunshine Card with E-Z Runner Grand Hello Sunshine Card with E-Z Runner Grand

Hello Sunshine Card with E-Z Runner Grand

Scrapbook Adhesives by 3L

Paper

  • Marion Smith Designs, Rendezvous

Embellishments

  • Marion Smith Designs & Prima Marketing – flowers
  • Sewology – buttons
  • Celebrate It – ribbon

Products

  • Ranger Ink – Tim Holtz – distress ink
  • Kaisercraft – stamp

Thanks for joining me today!

Erica Houghton

Fall Gatherings Banner Tutorial

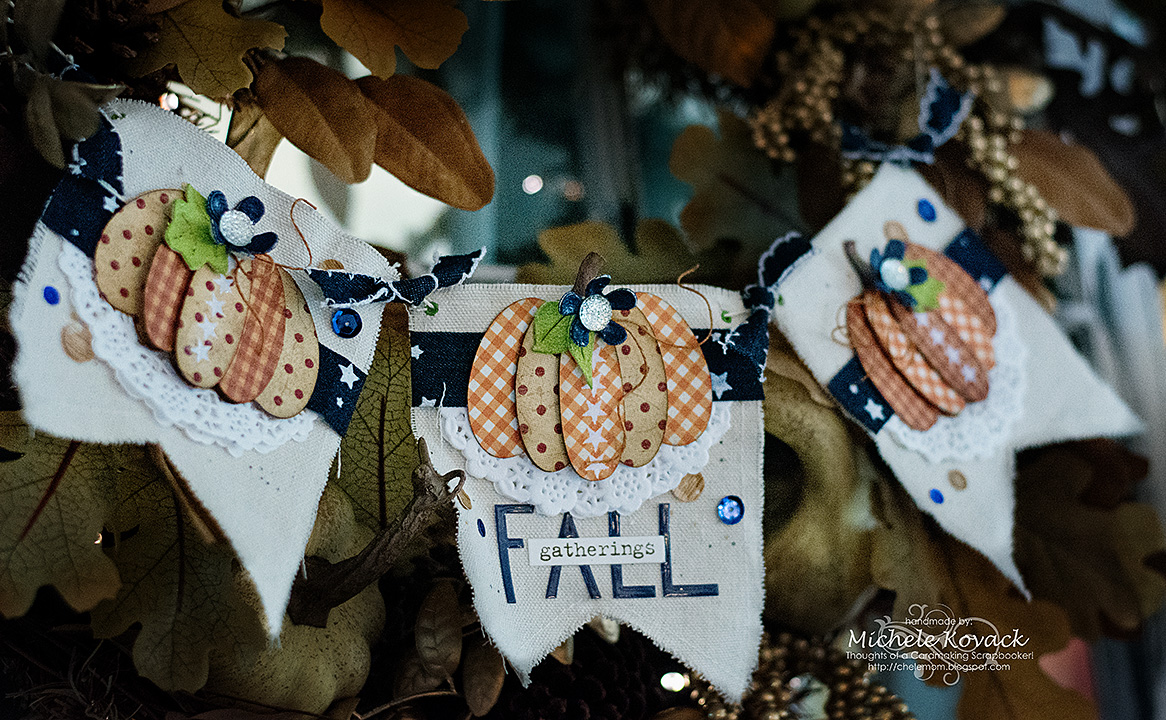
Good morning! Michele here with a fall banner to share today!  I used canvas pennants  and gussied them up to match my decor.  I have the finished banner hanging above my fireplace in my living room.

pumpkinbanner13

I have a tutorial below to show you some of the steps I took in creating this piece.

pumpkinbanner14

pumpkinbanner15

pumpkinbanner16

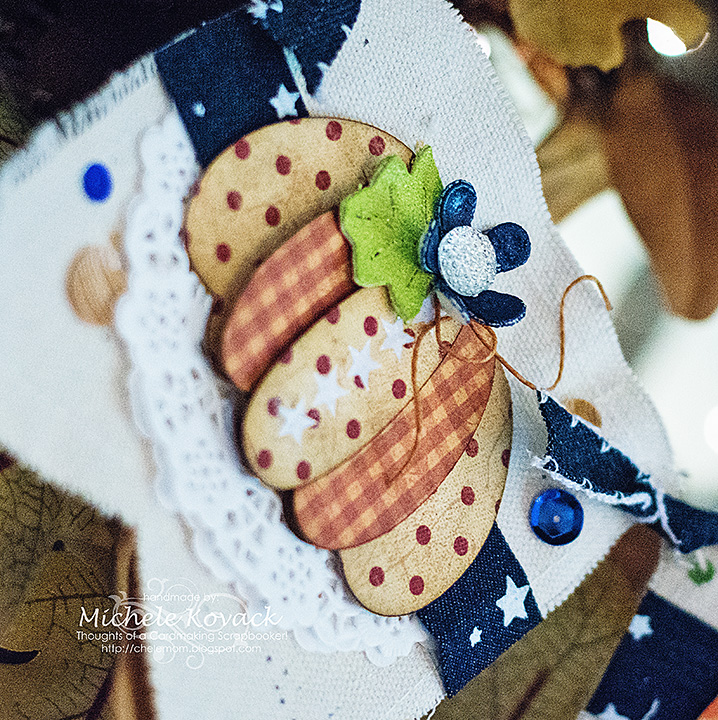
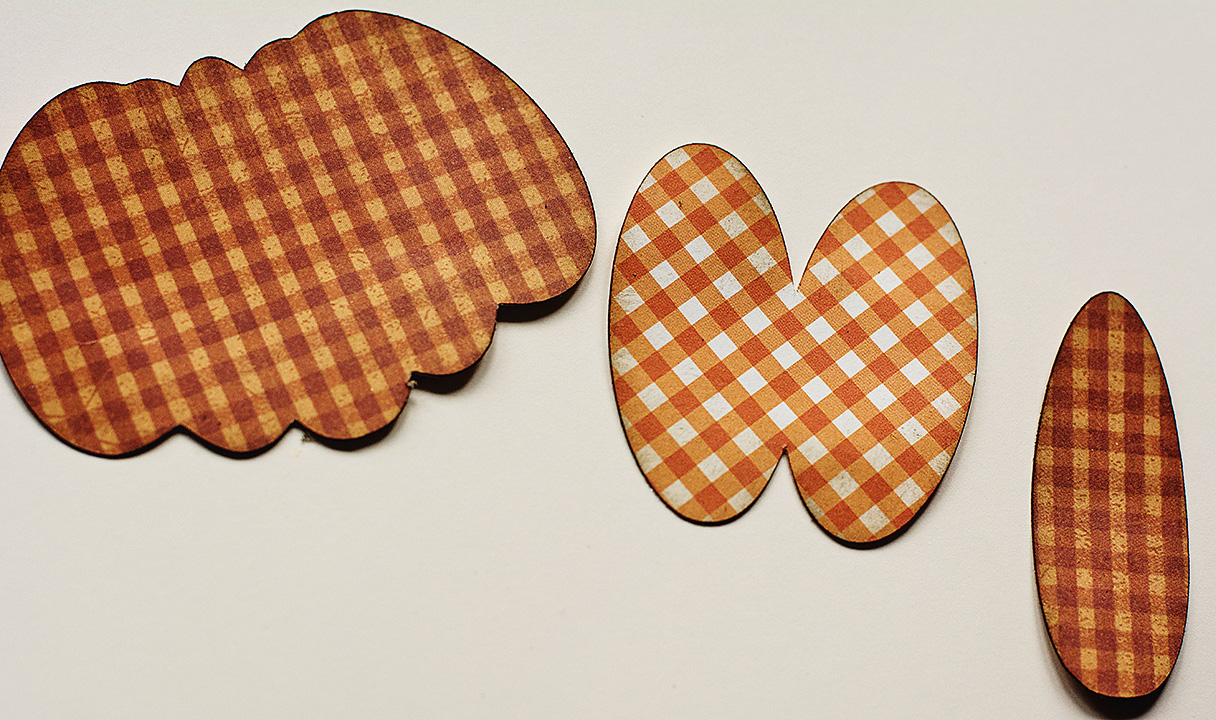
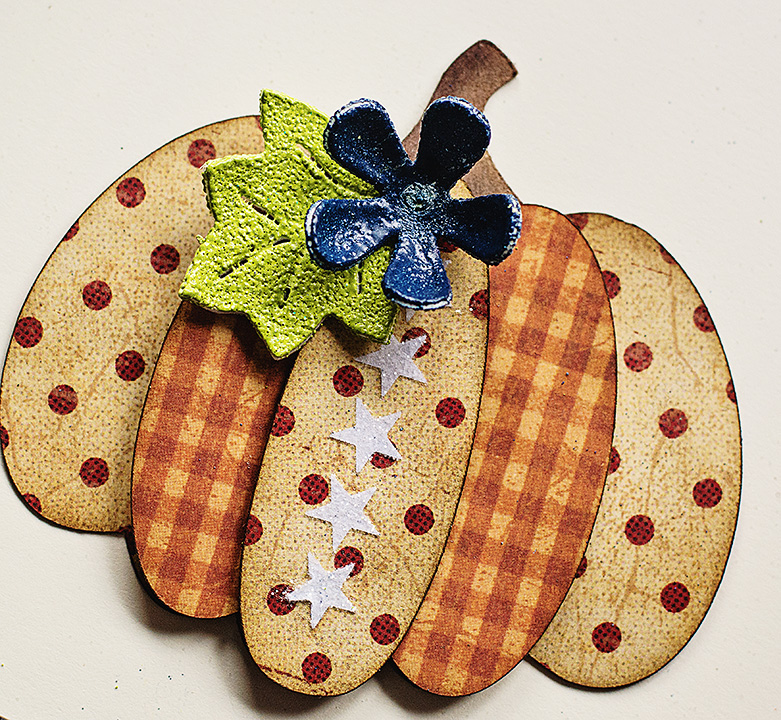
When I think of fall, I think of pumpkins, so I knew this would be my focal point of the banners. I cut them on my die cut machine in various patterns of orange.

pumpkinbanner2

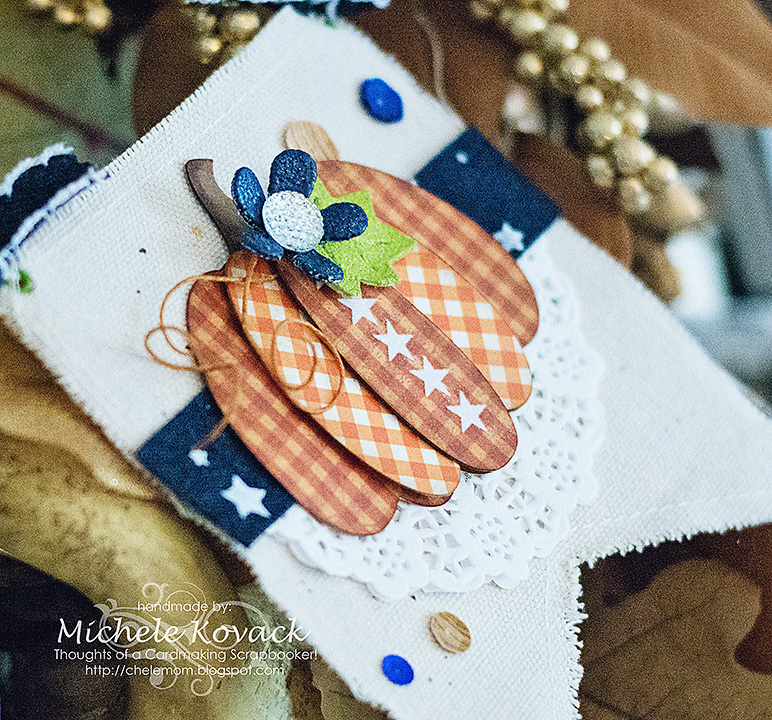
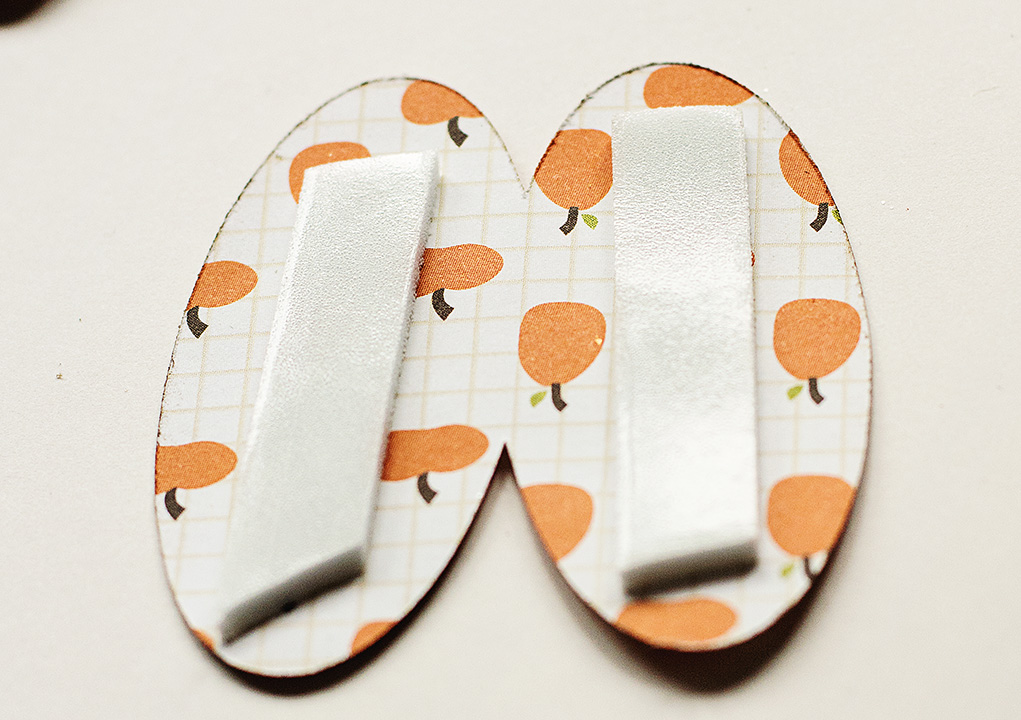
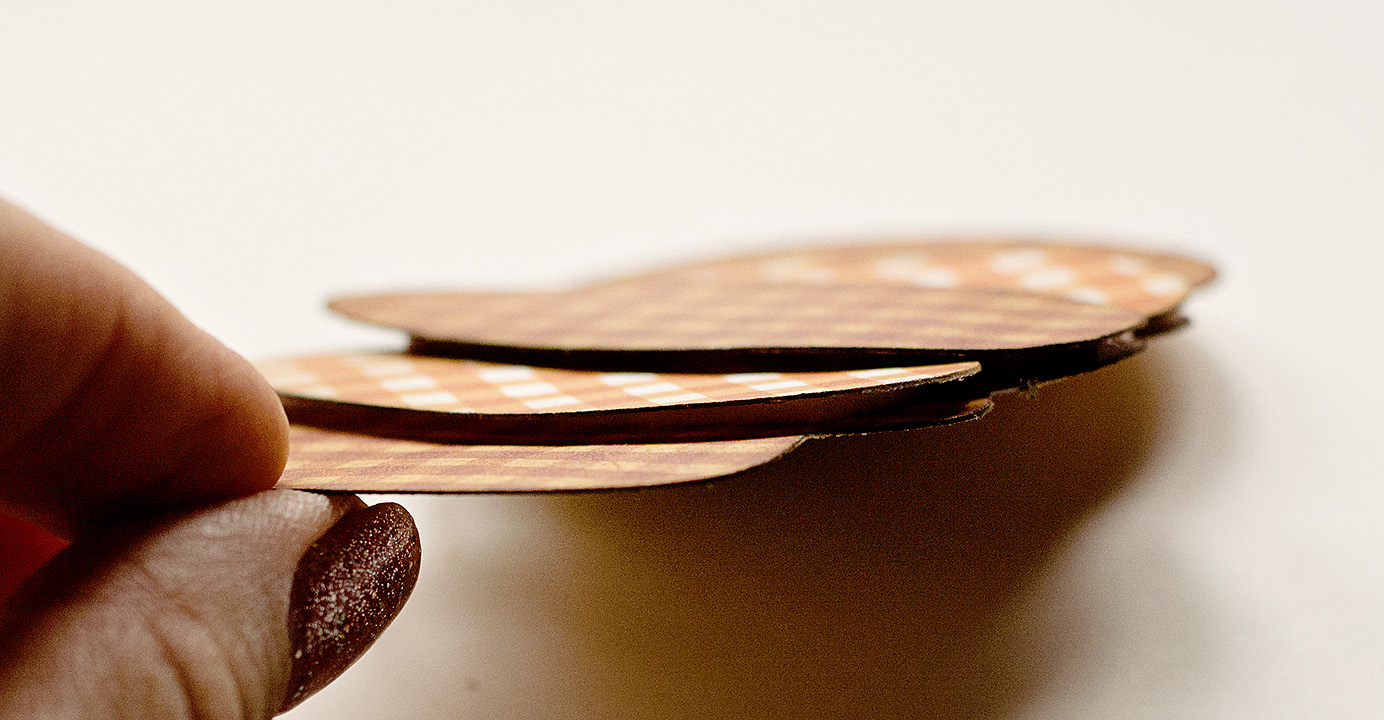
Since I love dimension in my projects, I seem to always, turn to my stash of Crafty Foam Tape! 

I placed them on the various layers of the pumpkin. The bottom layers were adhered using E-Z Squares®.

pumpkinbanner3

Oooooohhhhh…..aaaahhhhhhh……dimension! 😉

pumpkinbanner4

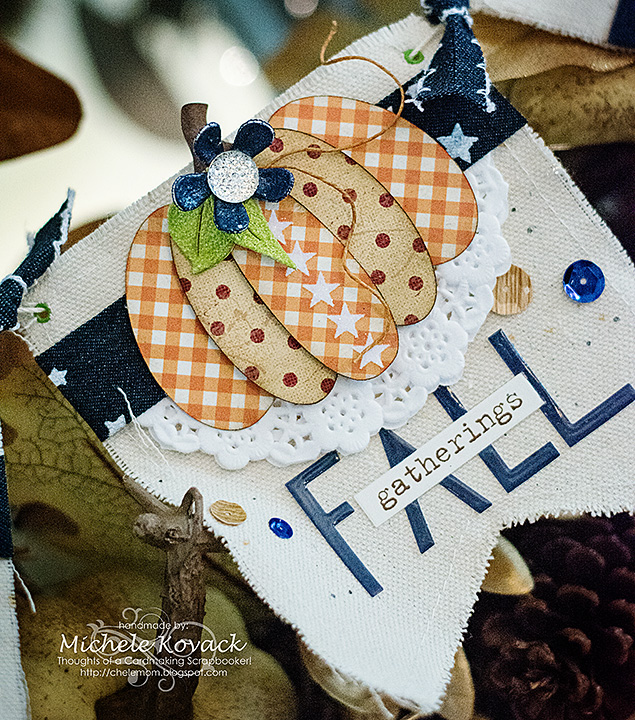
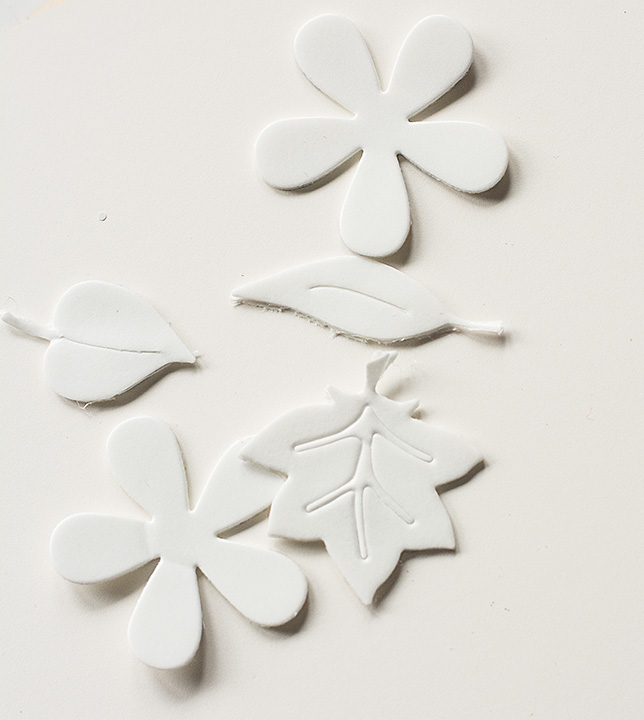
In my world, pumpkins always seem to need a few leaves and maybe even a flower.  So I pulled out my 3D Foam Creative Sheets.

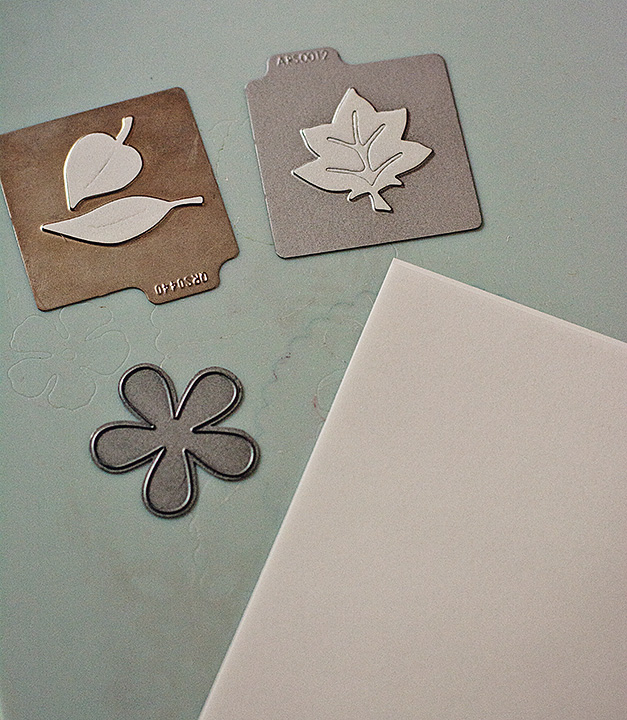
I grabbed several dies…..

pumpkinbanner7

…and cut enough leaves and flowers to embellish all 3 pumpkins.  I forgot to photograph the next step, but it is easy enough to explain.  I poured embossing powder over my leaves and flowers, and then heat set it.

pumpkinbanner8

I added stars down the center of each pumpkin.  I sprinkled it with a fine glitter.

There! Now you can see my embossed leaves and flower! I love the bumpy texture! So fun!

pumpkinbanner10


I used ribbon across each pennant and tied them together with additional ribbon.  I added a few sequins here and there using Dodz Adhesive Dots Medium, and gems to each flower.  Here’s one more look at my finished project!

pumpkinbanner13

I hope I have inspired you today! Thanks so much for stopping by!

Supplies: Crafty Foam Tape White, E-Z Squares® Refillable Dispenser , Dodz Adhesive Dots Medium,

Other Supplies: Designer paper, die cut machine, stickers, sequins, doily, gems, embossing powder, twine, canvas, ribbon


The Crisp Days of Fall Card

I don’t know about you, but I am really ready for fall.  We have had a long, hot summer here and I am looking forward to the cooler temps, beautiful colors and so many other things that make fall so fabulous.

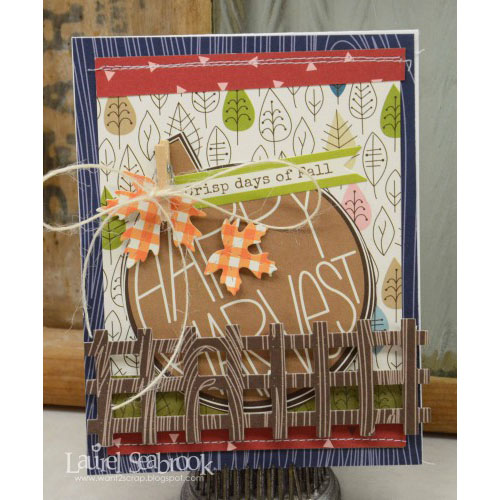
Laurel Seabrook Fall Card for Scrapbook Adhesives by 3L

I used the Hello Autumn collection by Bella Blvd to create this fun seasonal card.

IMG_7960

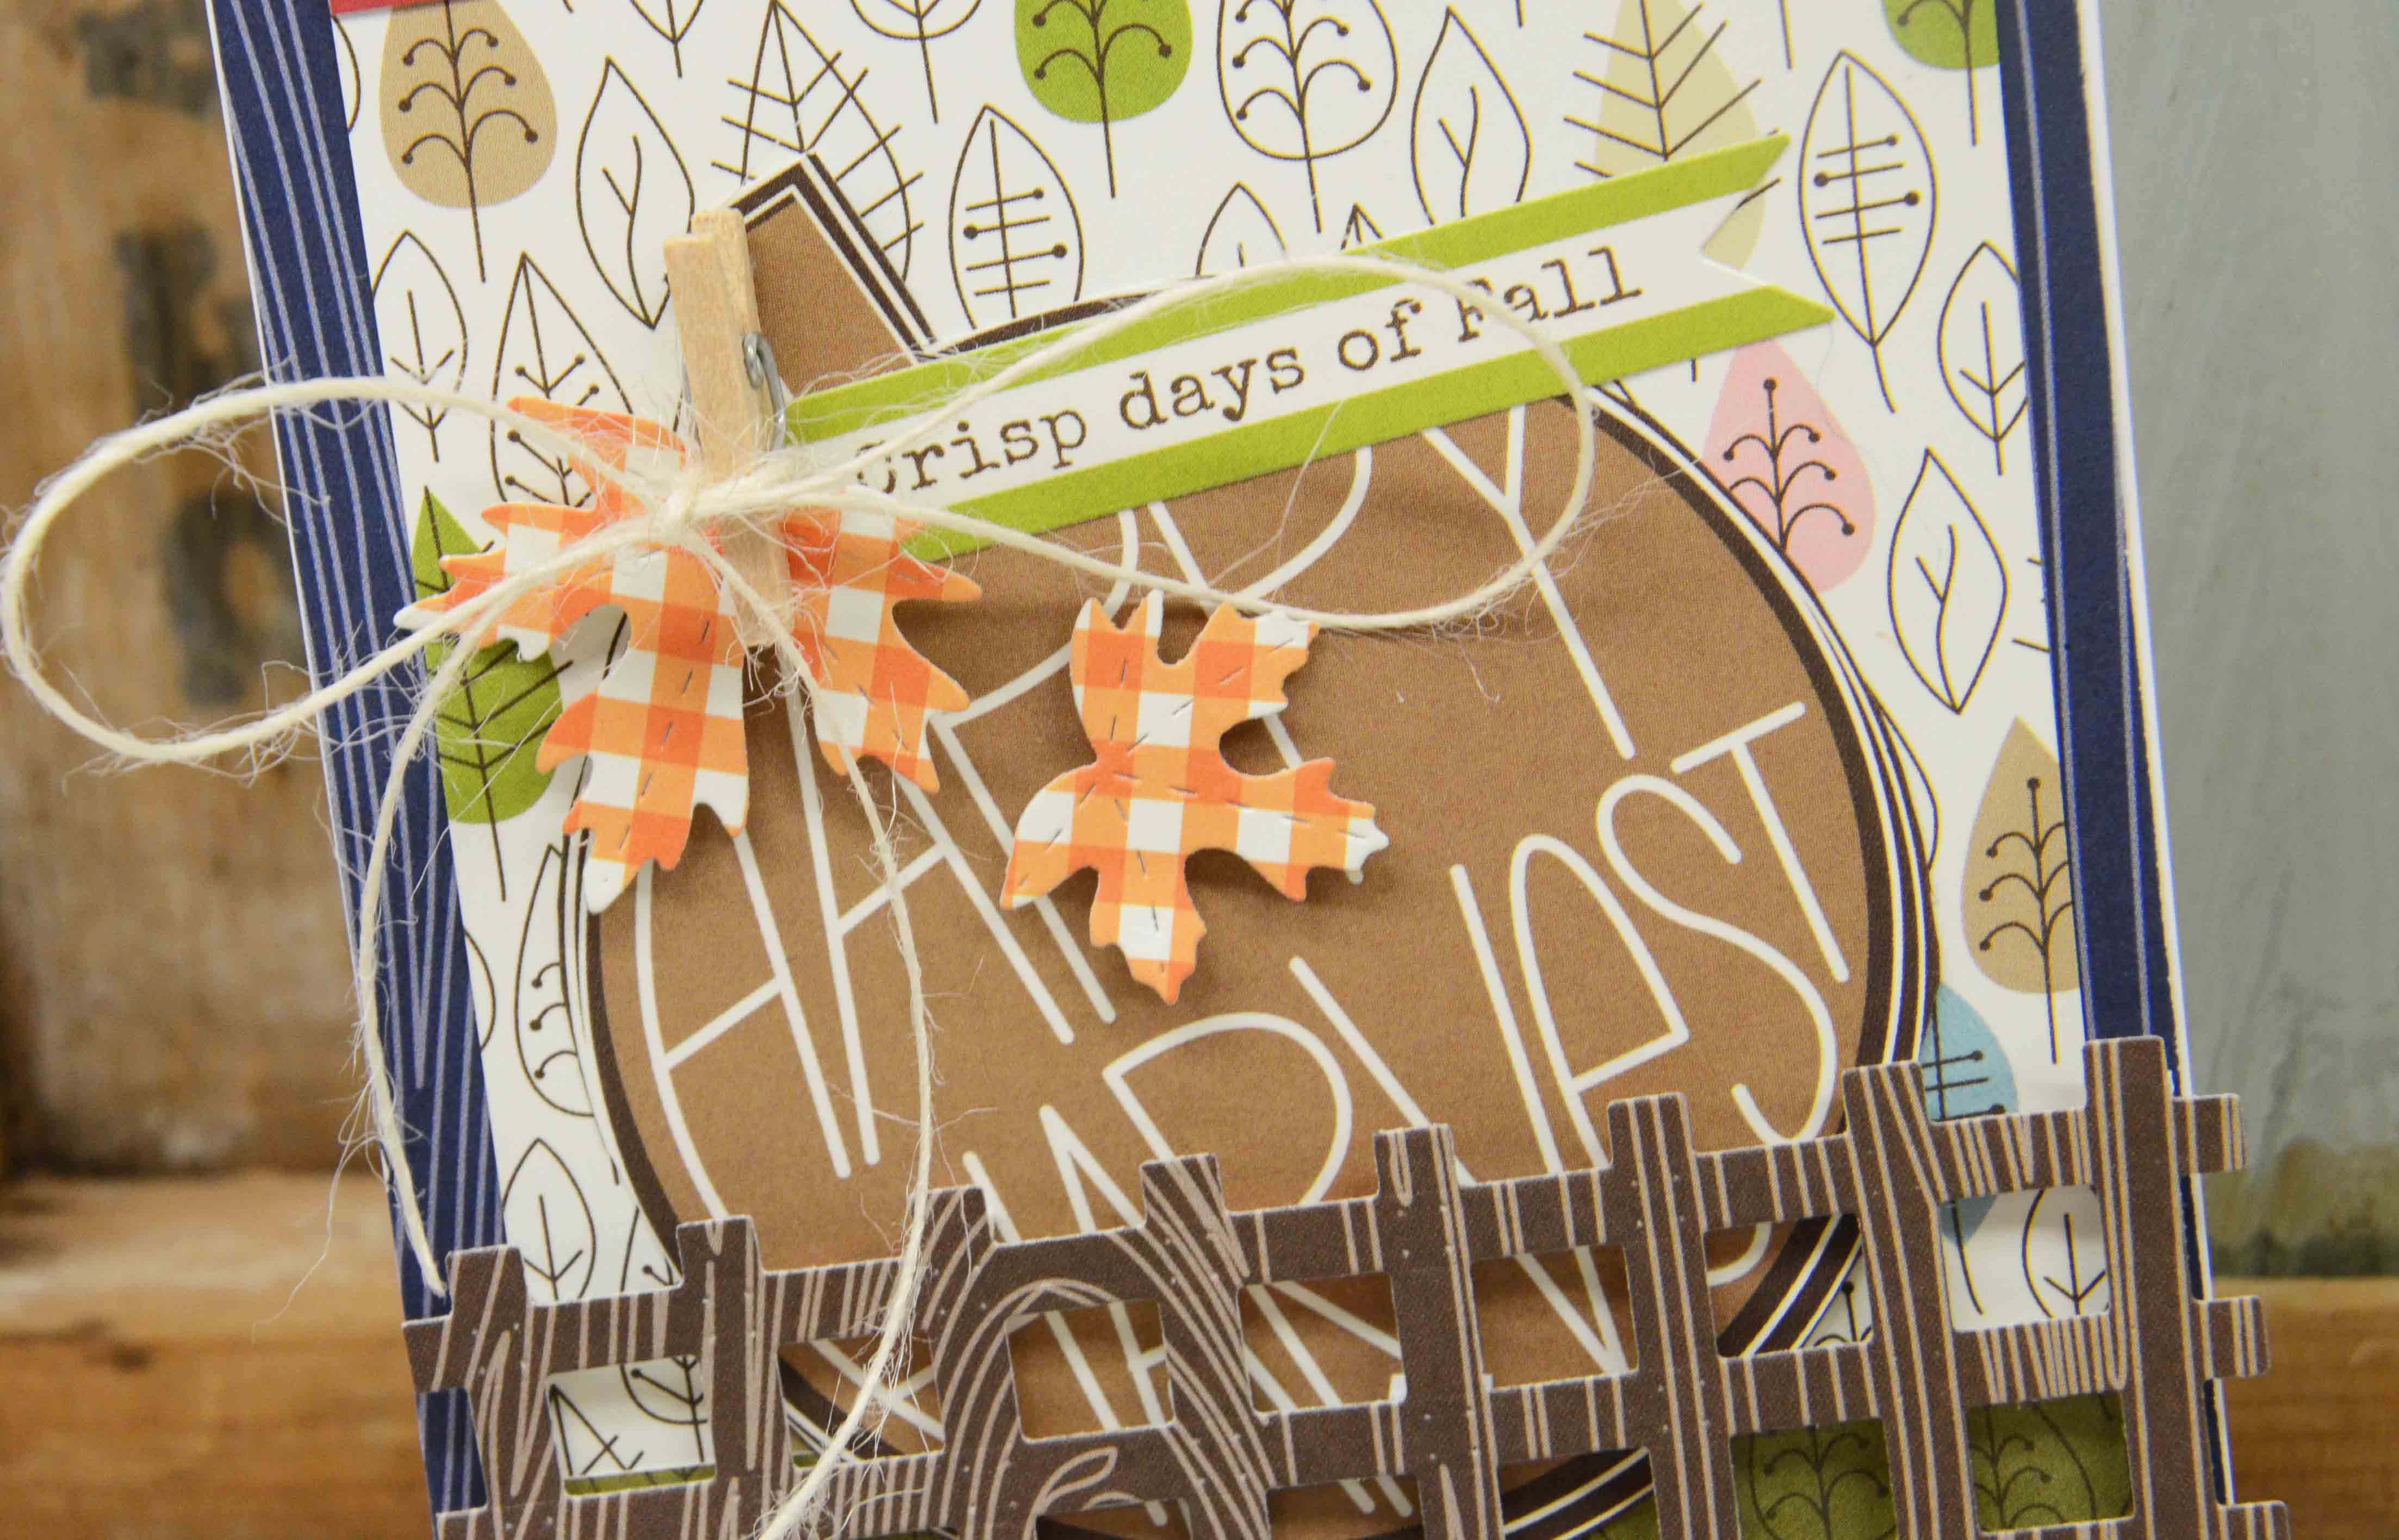
You know me and my fussy cutting.  I fussy cut the pumpkin from one of the pattern papers.  The leaves and fence are die cut and then mounted using the 3D Foam Squares.  I also, like to tuck one of the  small Dodz in behind the clothespins just to hold them in place.

2015 09 22_1544

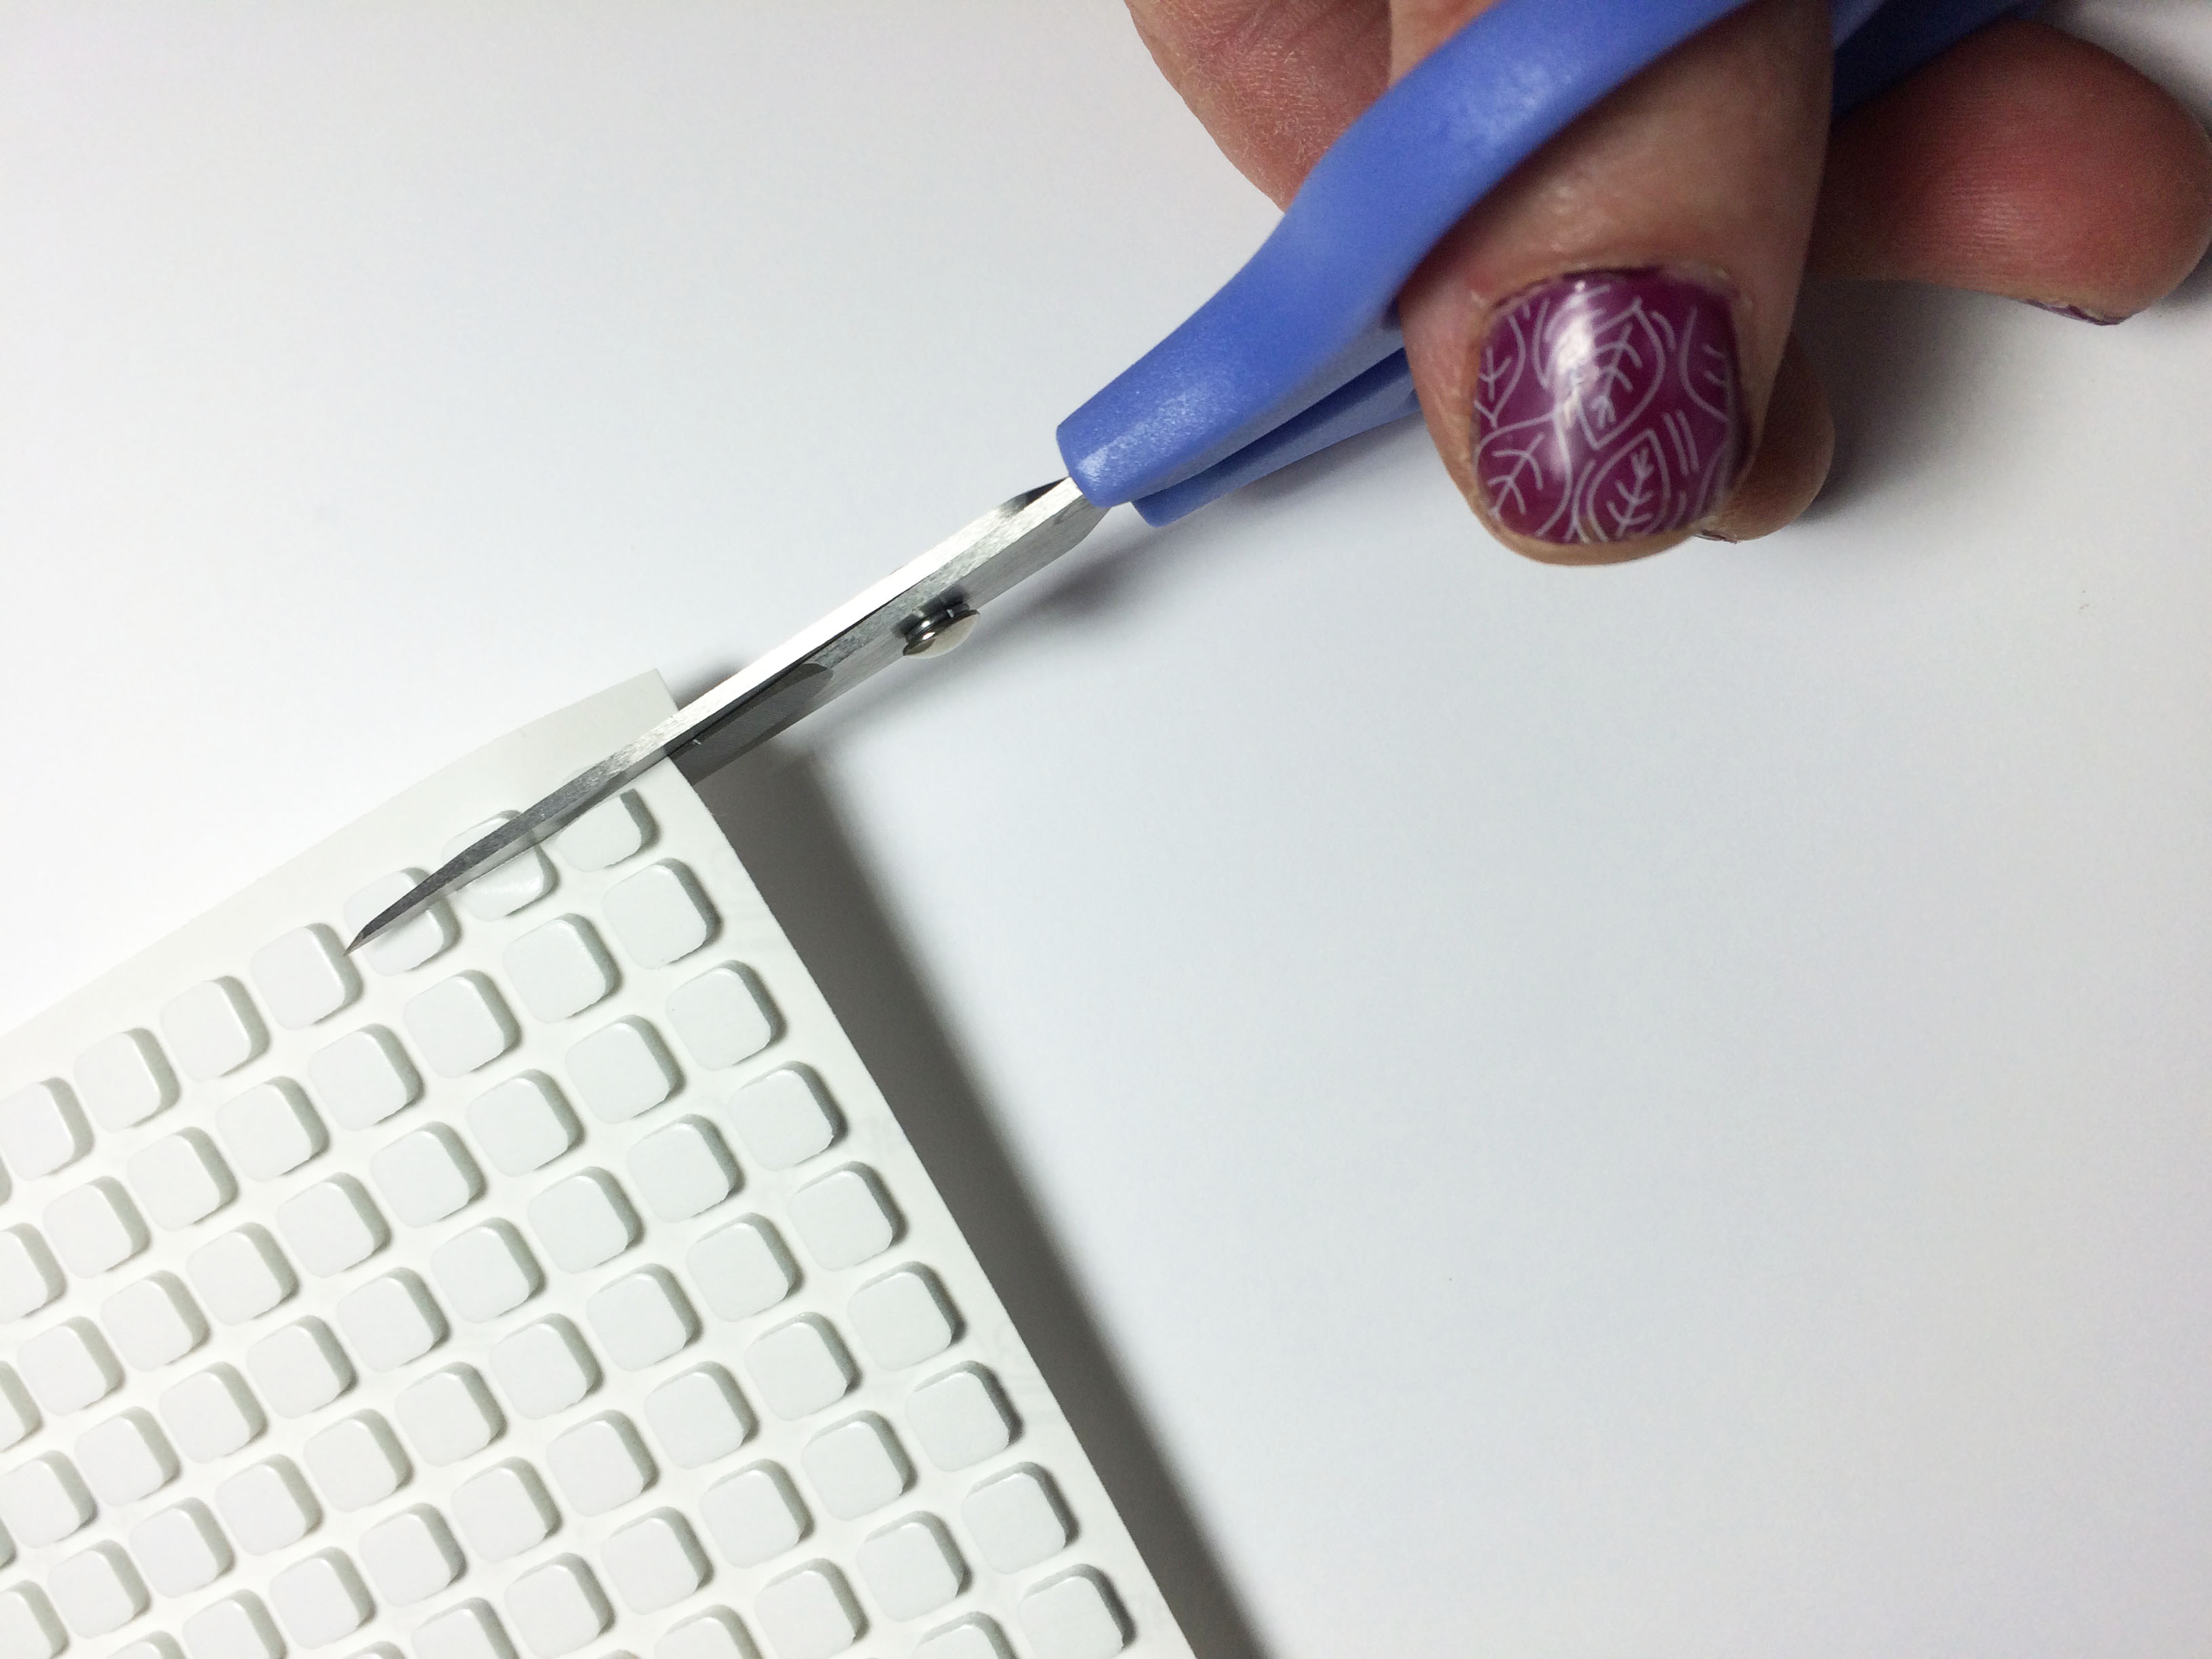
Tip: When I am mounting something that is thinner than the width of the squares, I just cut the squares in half with some non stick micro tip scissors.

IMG_7959

And there you have it.  A quick and easy seasonal card.

Products Used:

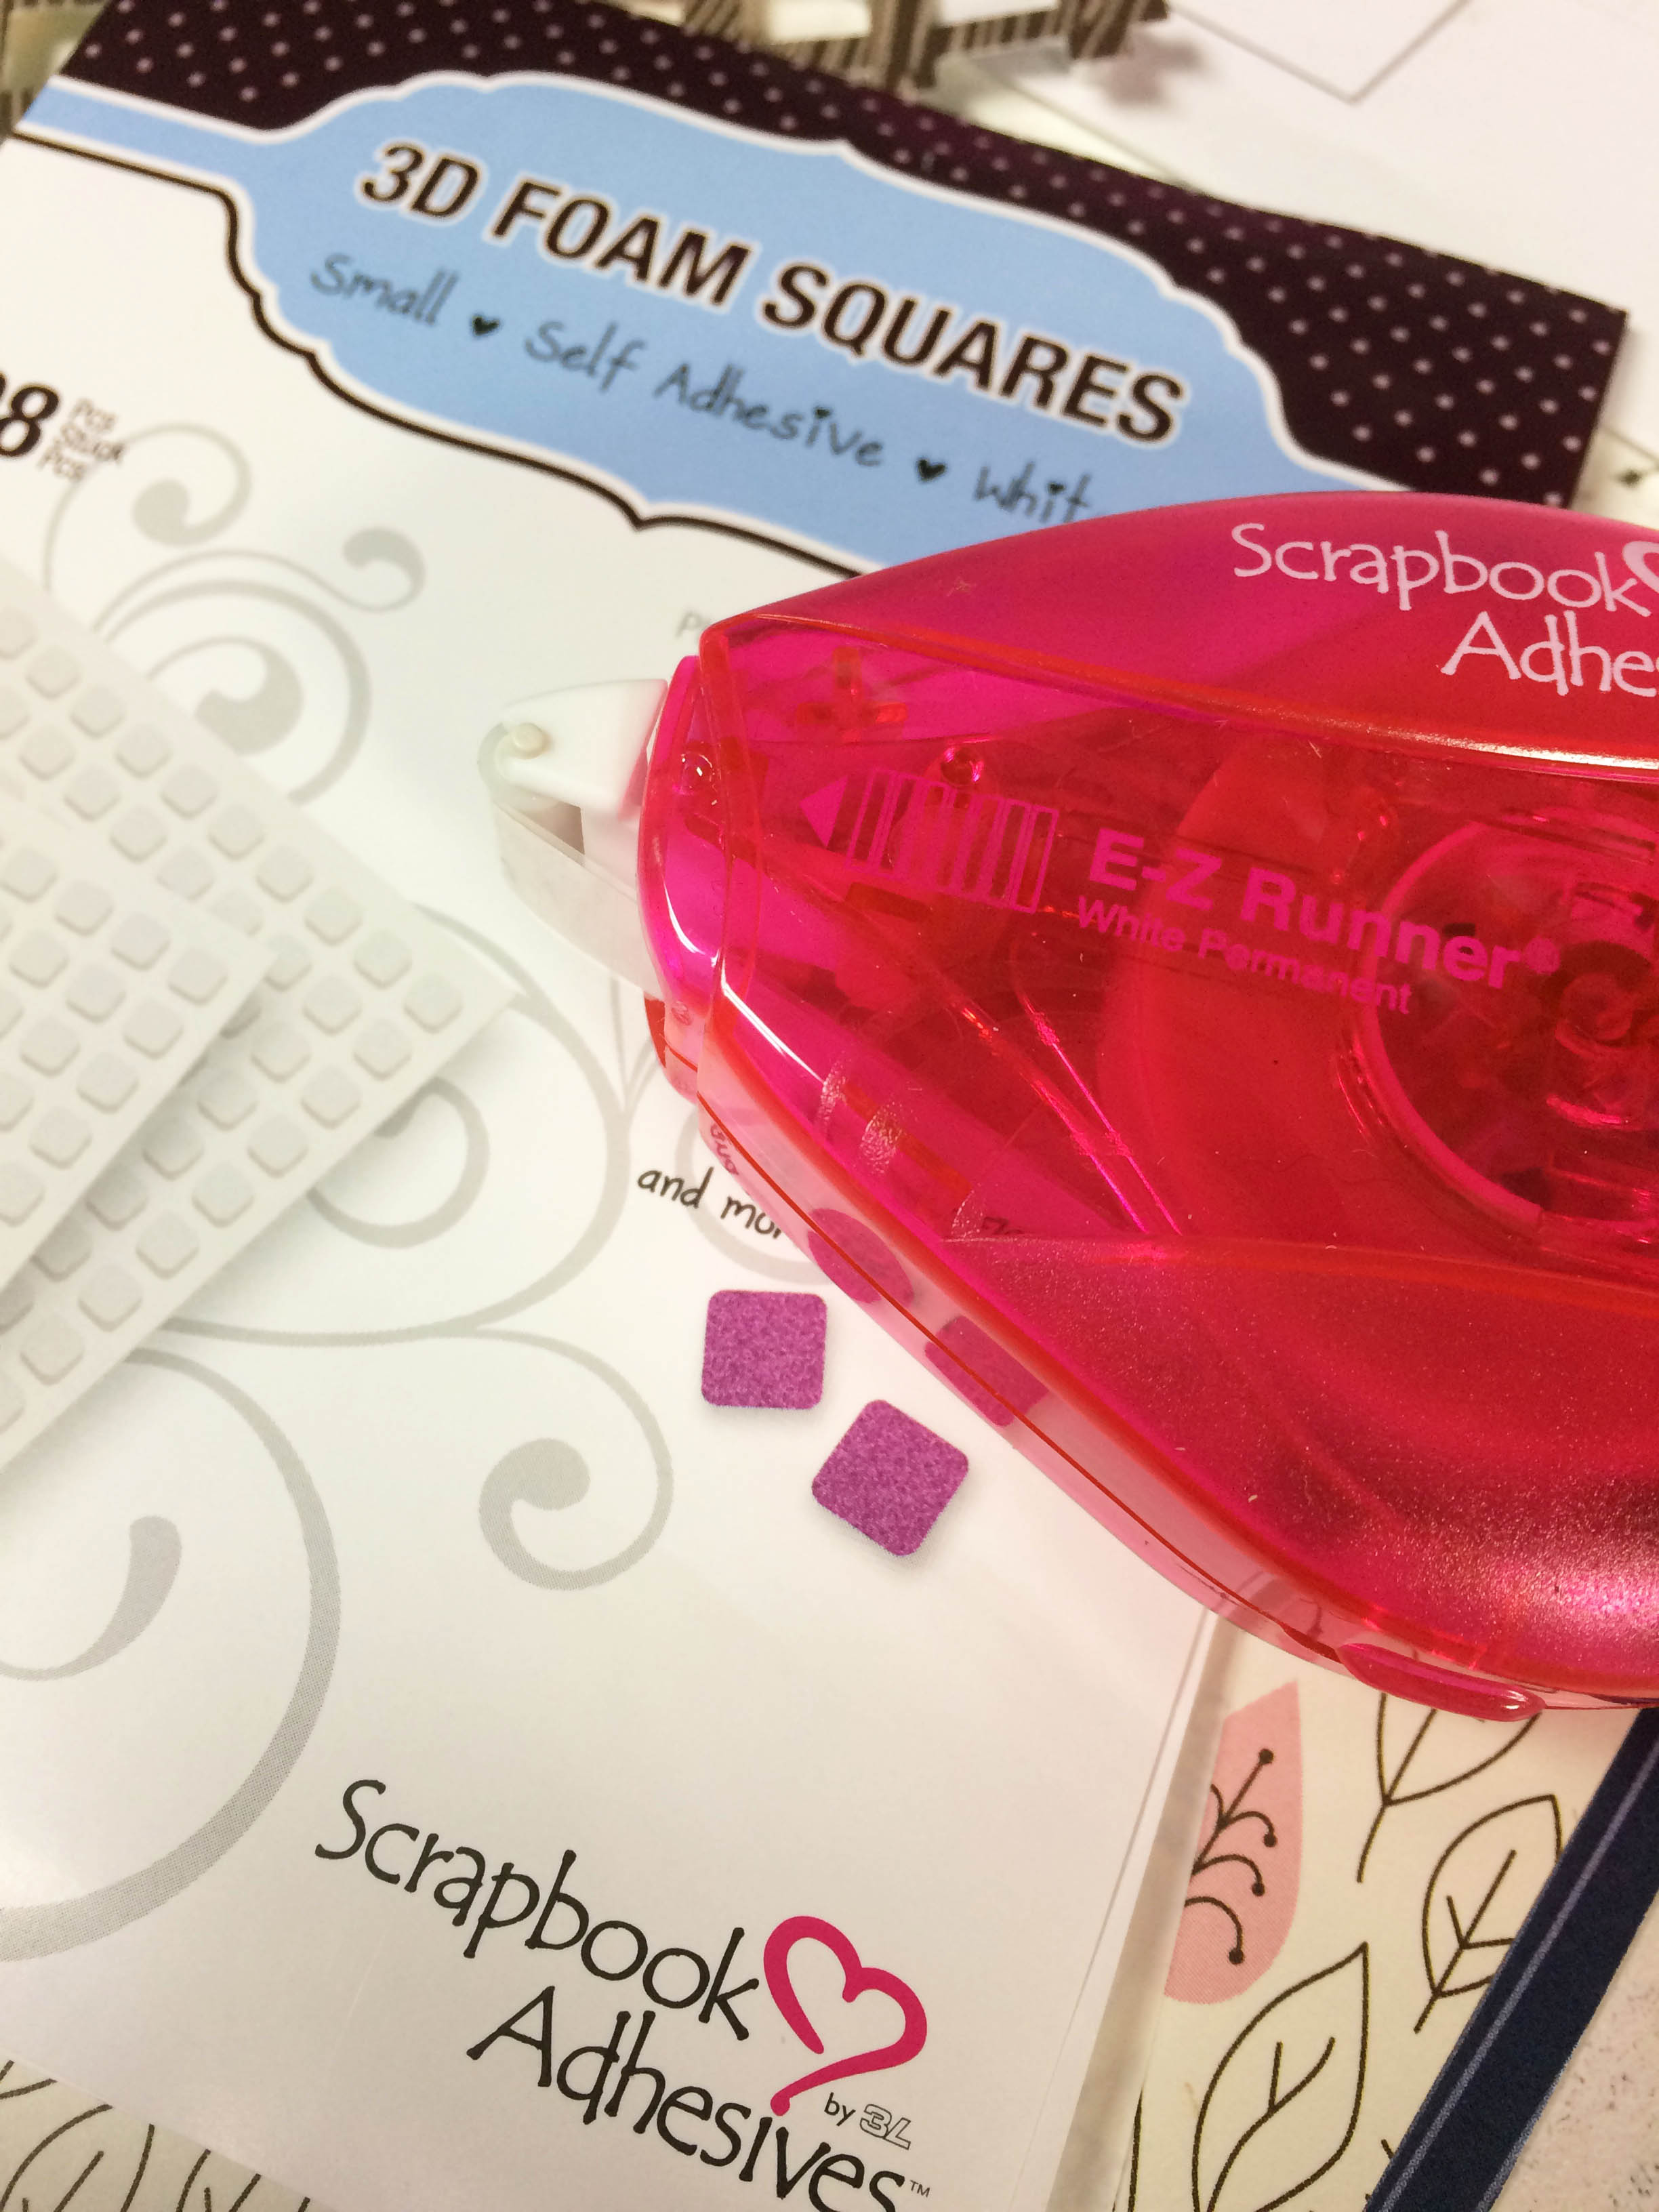
3D Foam Squares, White Small

E-Z Runner Permanent Strips

DODZ™ – Small

Other products:

Pattern Paper: Bella Blvd

Twine: May Arts

Scissors: Close to My Heart

Dies: Fence (My Favorite Things); Leaf (Simon Says)

So do tell, are you ready for fall? 🙂

Laurel Seabrook


Shaker Card Tutorial with E-Z Dots® Permanent – Refillable, 3D Squares and Crafty Power Tape

Hi there,


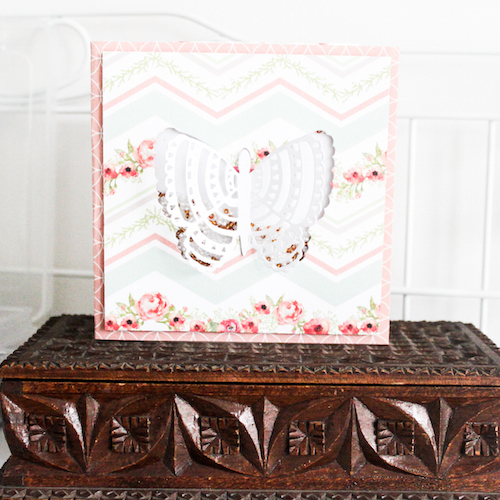
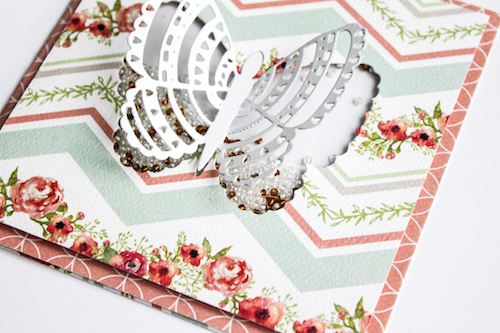
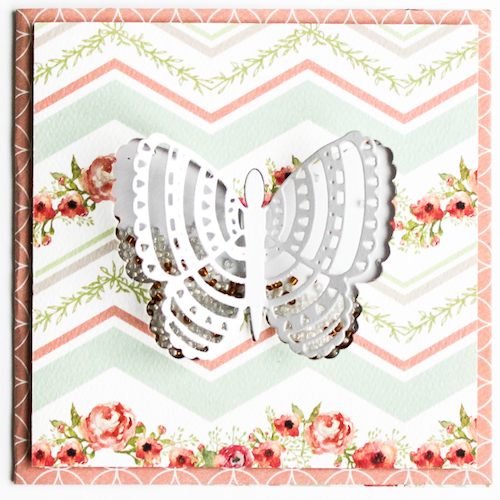
it’s Stephanie here today and I want to show you a shaker card I made with Die cutting Butterflies, the fabulous E-Z Dots® Permanent – Refillable, 3D Foam Squares – White Mix and the Crafty Power Tape – 81′.

Stephanie_shakercard_1

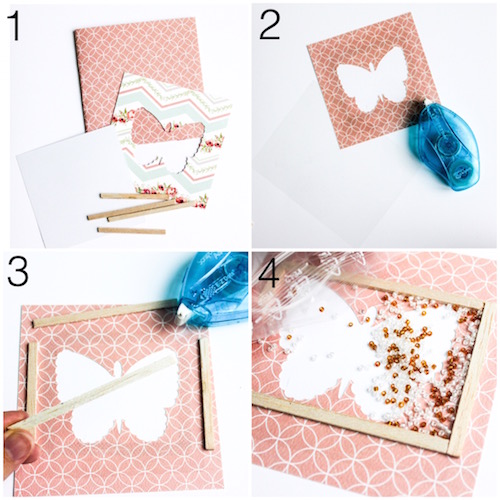
It’s such a fun project, here is my tutorial for you.

Stephanie_shakercard_2

1 – Use you Diecutting machine and a Die of a butterfly. I used the Sizzix Big Shot Plus and the Sizzix Thinlits Die Graceful Butterfly. Cut out your basic card and a sheet of white paper in the same size like your diecutting. The basic card should be 1 cm bigger than the Die cutting sheet and the white paper. Prepare 4 woods to create a quadrangle.

2 – Adhere a foil with the E-Z Dots® Permanent – Refillable behind the Diecutting butterfly.

3 – Adhere the woods with the E-Z Dots® Permanent – Refillable onto the foil.

4 – Put some fun pearls or sequins onto the quadrangle.

Stephanie_shakercard_3

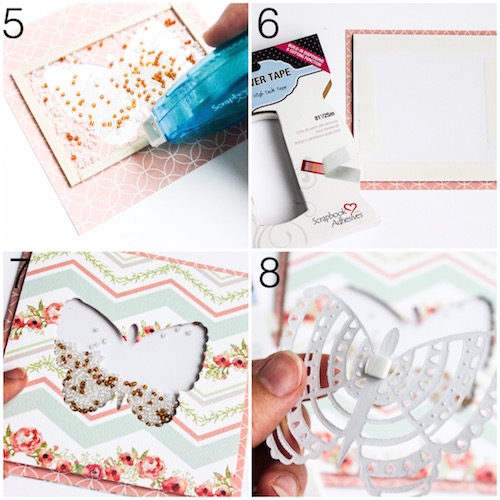
5 – Add some adhesives from the with the E-Z Dots® Permanent – Refillable onto the wood and put your white paper on it.

6 – Use the Crafty Power Tape – 81′ to put your shaker card onto your basic card.

7 – It looks so nice, right?!

8 – Now you can add the second butterfly Diecutting from this Sizzix set with a small 3D Foam Square from the 3D Foam Squares – White Mix or let it as it is.

Stephanie_shakercard_4

Stephanie_shakercard_6

I think such a card is perfect for birthdays.

Thanks for visiting us today!

Have a nice day!

Stephanie 🙂


Supplies from Scrapbook Adhesives by 3L®

E-Z Dots Permanent

3D Foam Squares – White Mix

Crafty Power Tape – 81′

Sizzix Big Shot Plus

Sizzix Thinlits Die Set Graceful Butterfly


Chipboard Mini Album with Super Tapes!

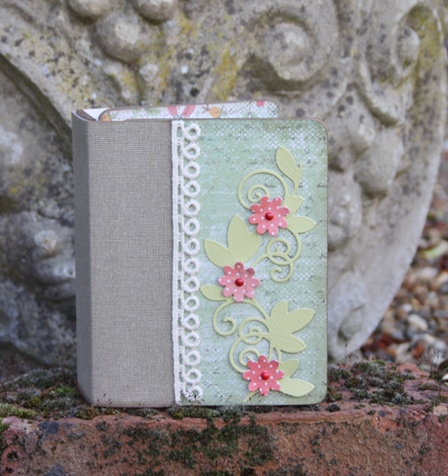
Hi everyone, Christine here today with a chipboard album tutorial using lots of brilliant tapes from Scrapbook Adhesives by 3L®.

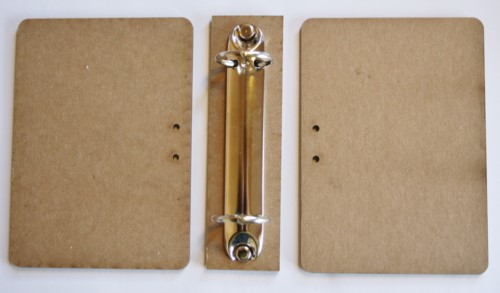
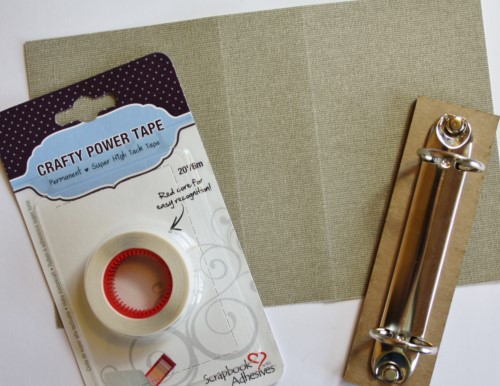
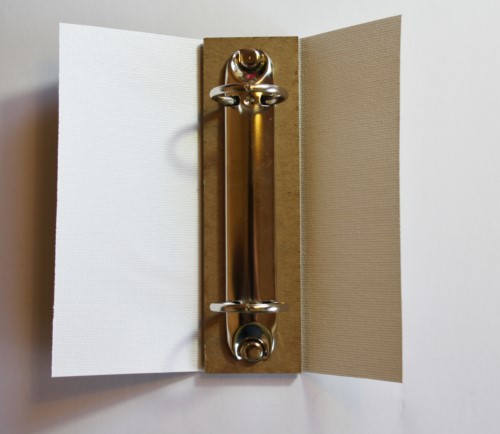
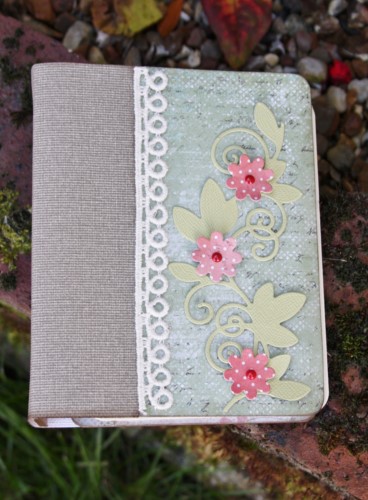
CEmberson - Chipboard Book 1I’ve used three chipboard pieces to create the mini album, two cover pieces and a spine piece.  The central ring clip is held in place with brads/fasteners.CEmberson - Chipboard Book 2

I used a piece of canvas paper and secured this to the spine area using Crafty Power Tape. It is so easy to remove the backing of this tape and with its red core I thankfully don’t misplace (bury) it on my craft table!CEmberson - Chipboard Book 3

CEmberson - Chipboard Book 4

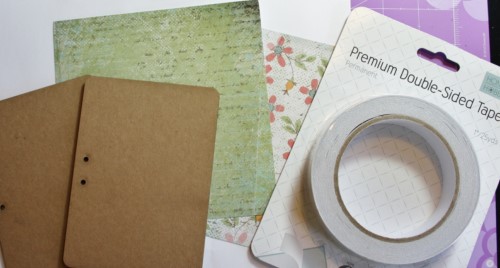
To affix patterned paper to the chipboard covers I used Premium Double-Sided Tape, being 1″ thick it didn’t take many strips.CEmberson - Chipboard Book 5

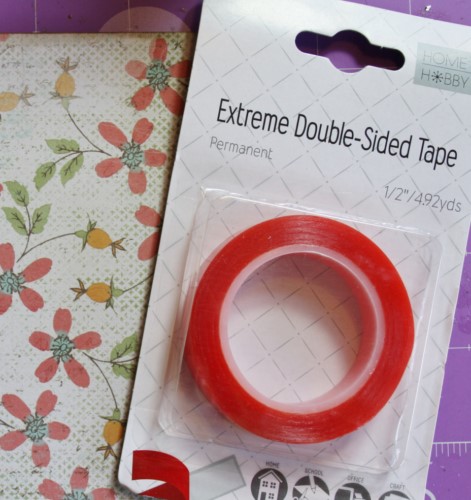
Continuing with decorating the mini album, to affix ribbon I turned to Extreme Double-Sided Tape 1/2″ – this tape is super strong!CEmberson - Chipboard Book 6

I inked the edges of my album lightly with distress ink to add a subtle vintage look.

The final touches to the album were some die cuts, the flowers are affixed with 3D Foam Squares – White, SmallCEmberson - Chipboard Book 8

Thanks for stopping by today and don’t forget to check out the wonderful selection of tapes on the website – there’s a tape for every craft project imaginable!

Christine

Products used:

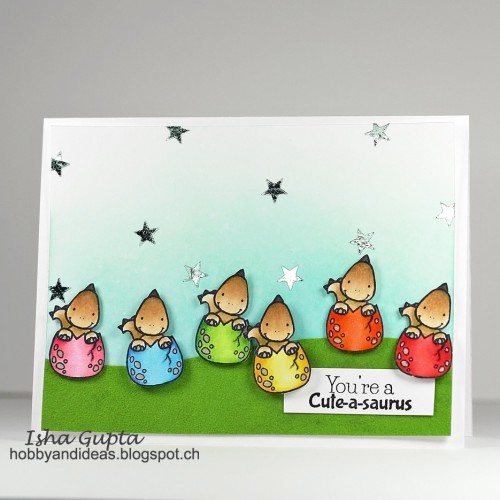
Cute-a-sauris Card by Guest Blogger Isha Gupta

Hi Everyone, we’re thrilled to have the talented Isha Gupta with us for a few guest blog posts! Take it away, Isha!

Hi, it’s Isha here. I am so excited and honored to be guest designer here with Scrapbook Adhesives by 3L®. I am loving all the various kinds of adhesives and the various ways I can use them! I especially love the new E-Z Runner® Grand, it’s so easy to use and also to refill 🙂 Then there are these Adhesive Sheets, which I used for flocking today. It made flocking so easy!

Cute-a-sauris card by Isha Gupta for Scrapbook Adhesives by 3L

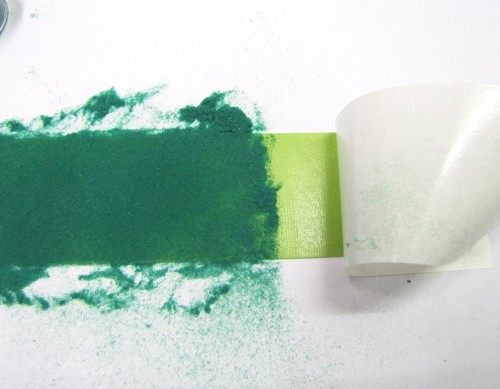
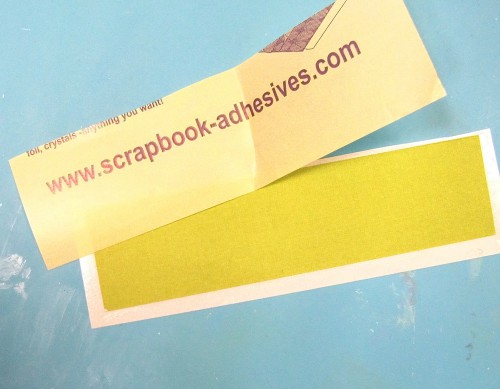
I applied the Adhesive Sheet to a piece of green cardstock. Removed the backing paper and applied flock.

Cute-a-sauris_step1

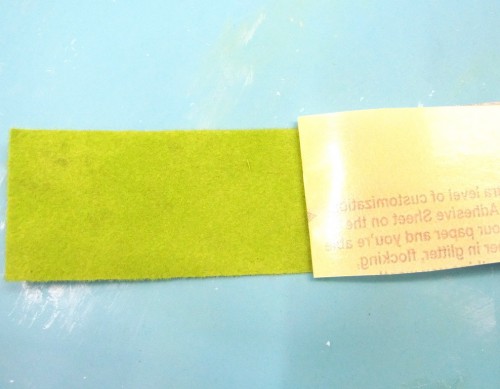
You will see below, that I changed my mind and used light green flock instead.

Cute-a-sauris_step2
 Cute-a-sauris_step3

This is how smooth and velvety this flocked piece looks. Adhesive Sheets give a perfect smooth finish.

Next I applied stars in a random order and applied foil over them.

Cute-a-sauris_step6

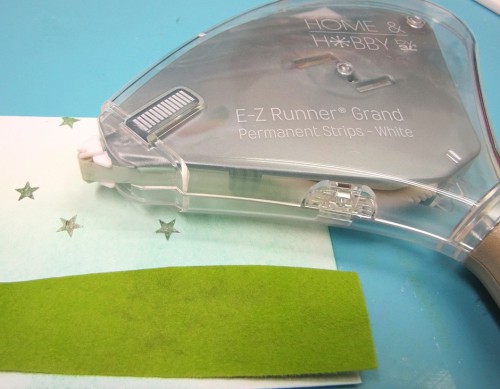
I then applied the flocked grass piece onto my mat layer using E-Z Runner® Grand. It sure is easy to use 🙂

Cute-a-sauris_step7

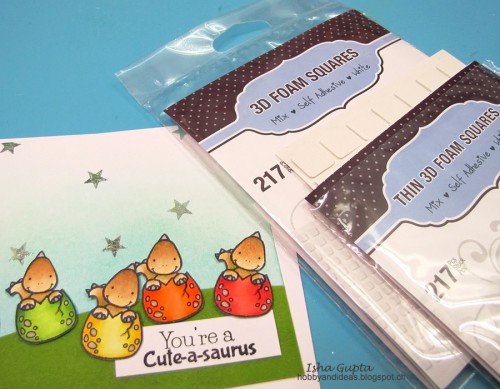
Finally, I adhered these cute images using 3D Foam Squares in 2 thicknesses. This gives the card more dimension and interest. Finally, I adhered this mat layer to the card base using E-Z Runner® Grand.

I really enjoyed using all these products. See you again soon!

Isha

Supplies:

Save