Special Announcement! We are so happy to have the uber-talented Margie Higuchi joining us on the Design Team! Margie has been paper crafting for many years, and has designed for several companies. Please welcome her to the team! Take it away, Margie!
Greetings! I am SO EXCITED to be a part of this wonderful and talented design team – many thanks to Scrapbook Adhesives by 3L® and Media Director, Beth Pingry, for the opportunity!
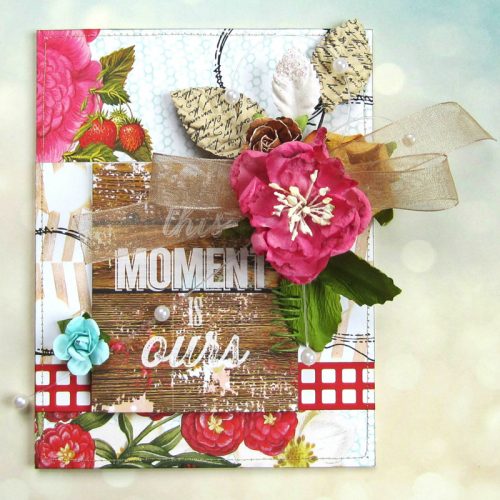
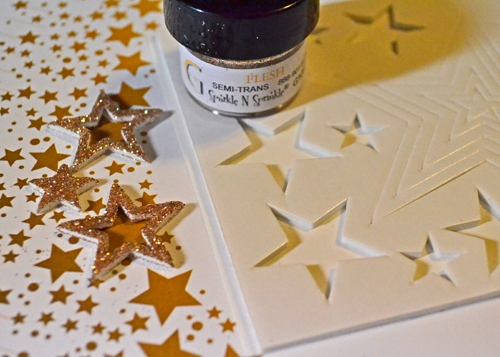
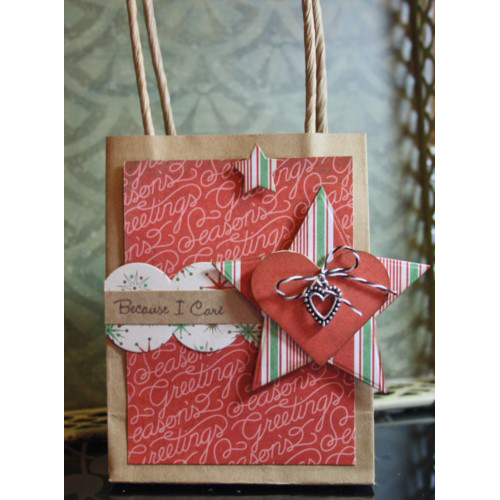
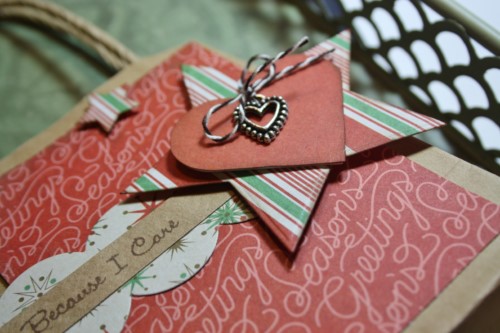
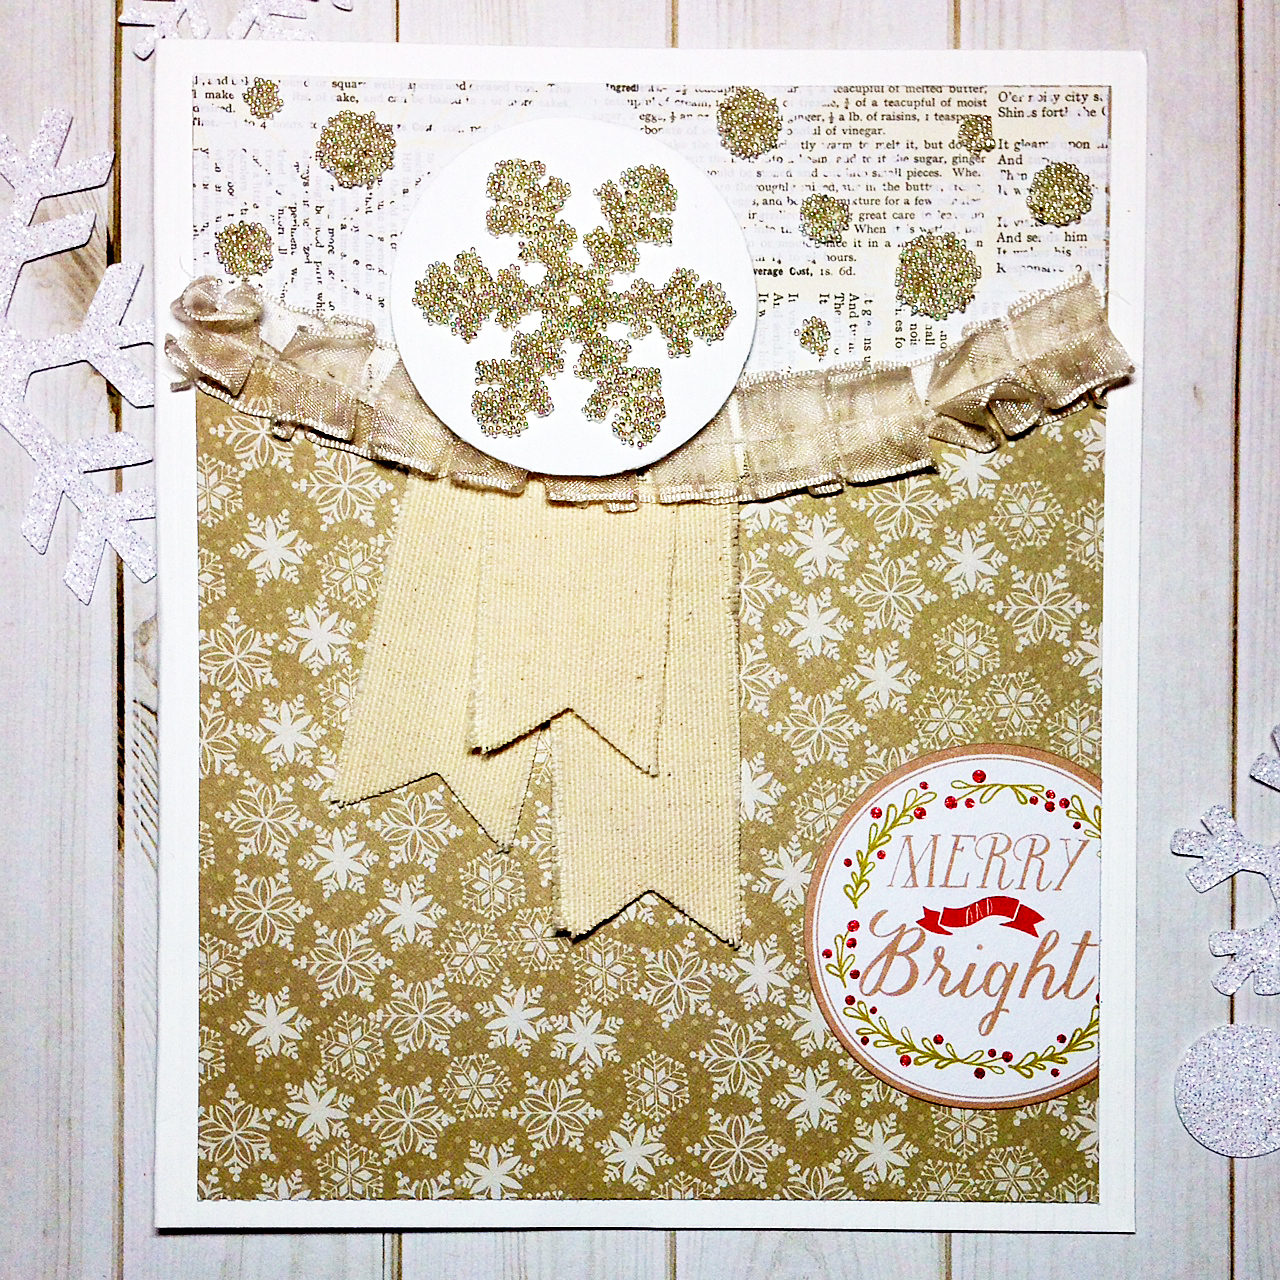
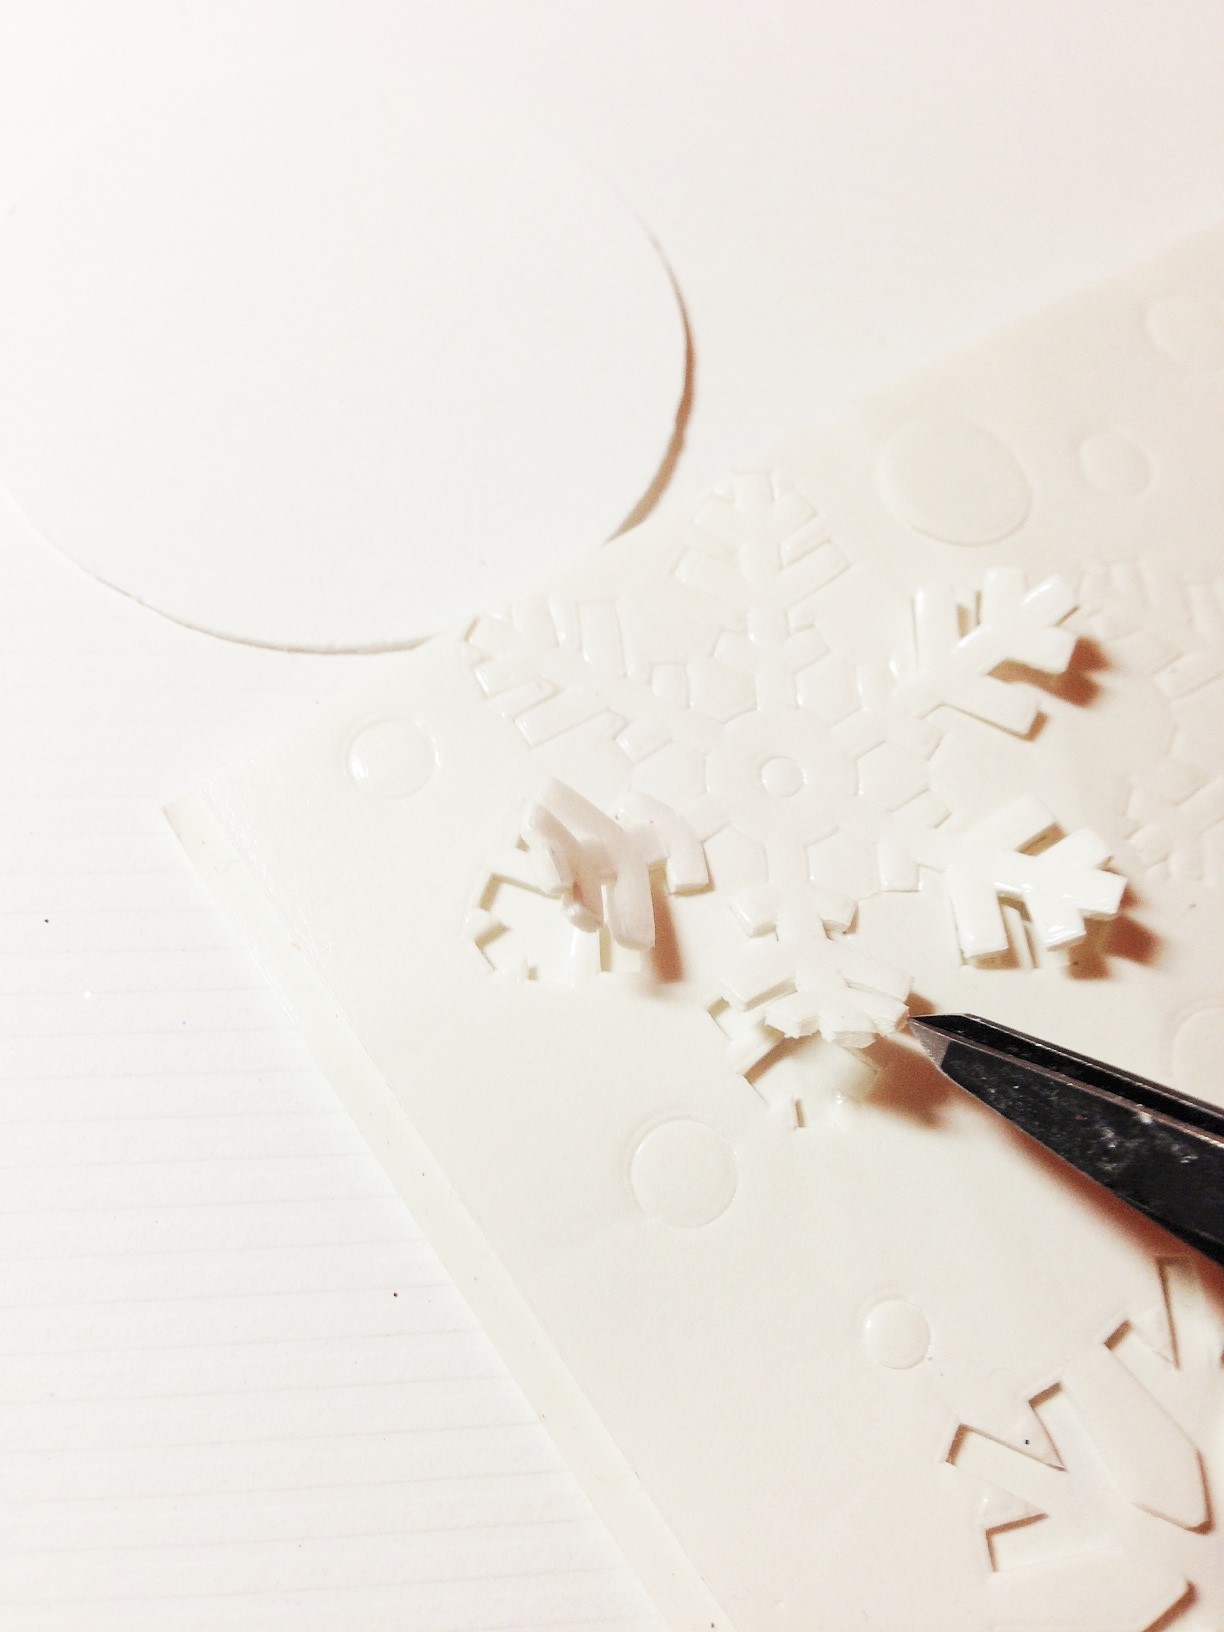
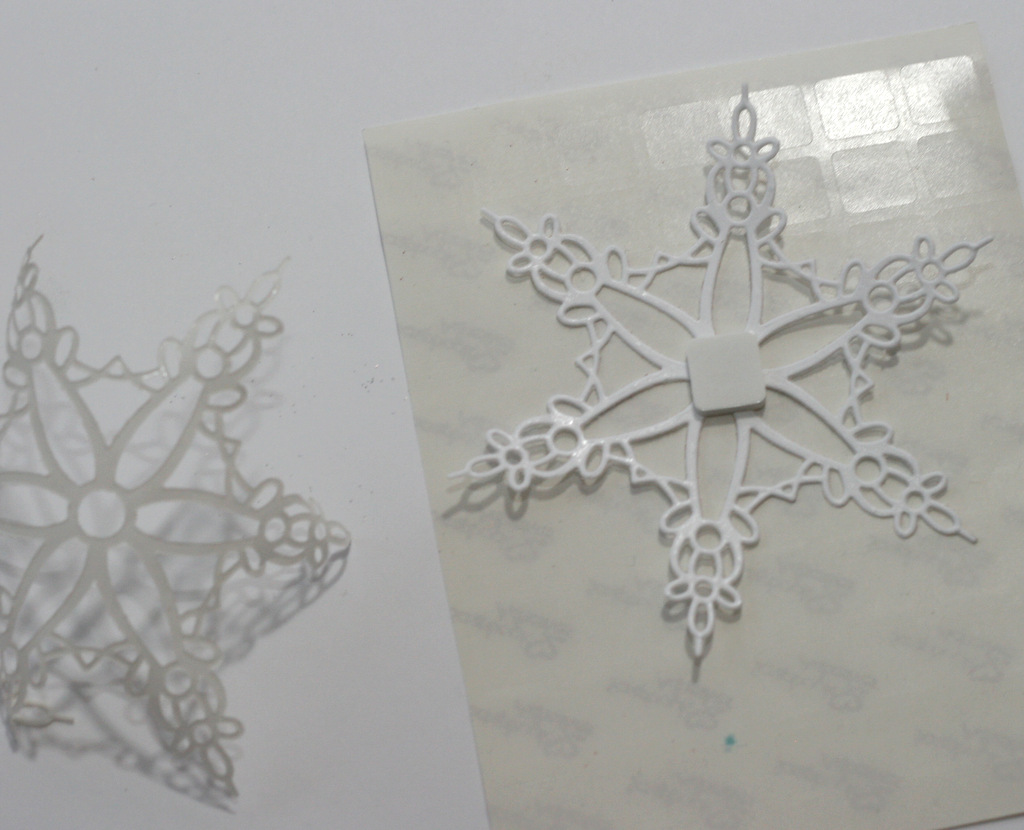
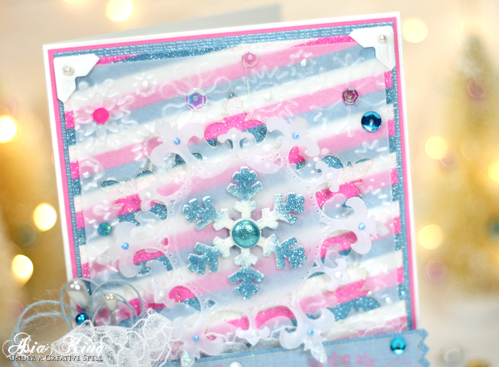
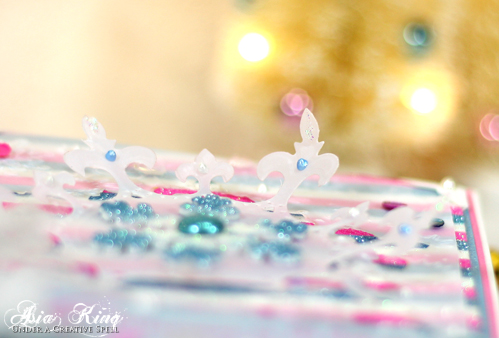
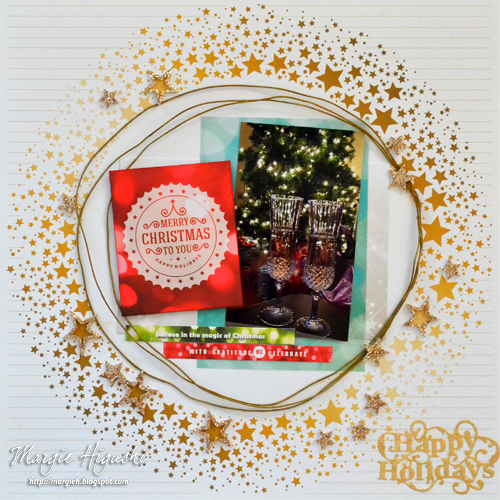
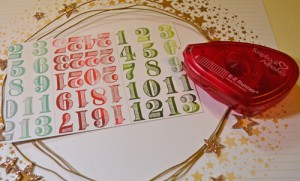
Today I am using Designer Shapes – 3D Foam’s 3D Foam Stars to create my Sparkly Christmas page. Doesn’t it go well with this patterned paper – my inspiration!
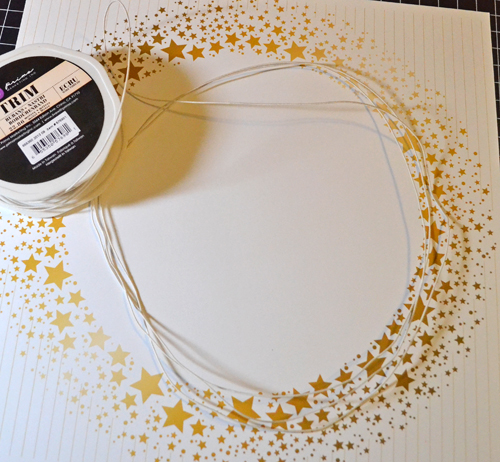
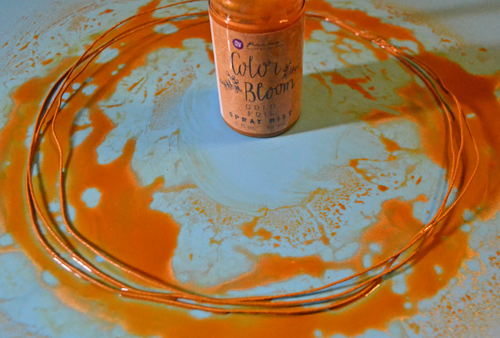
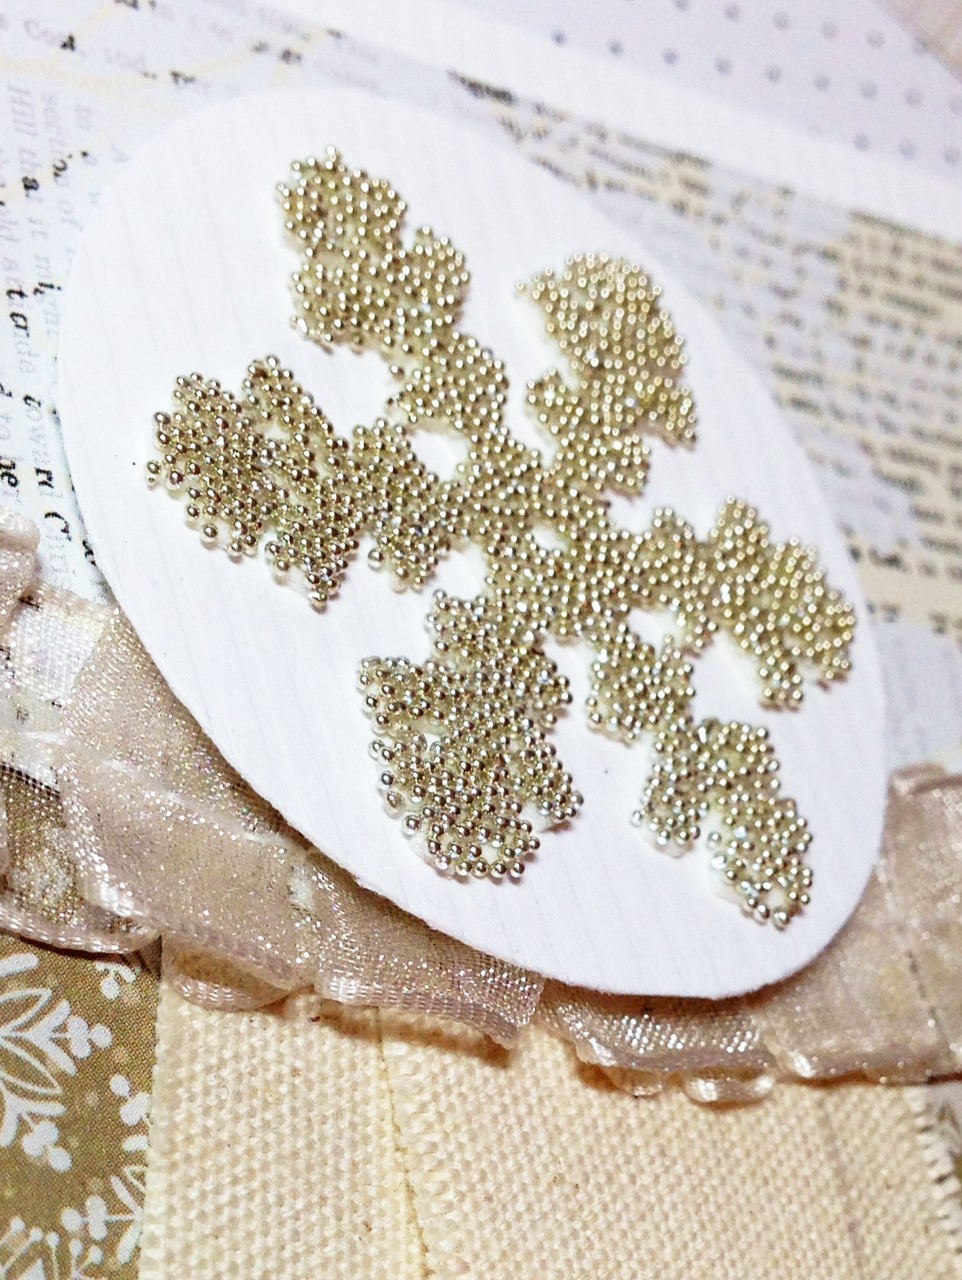
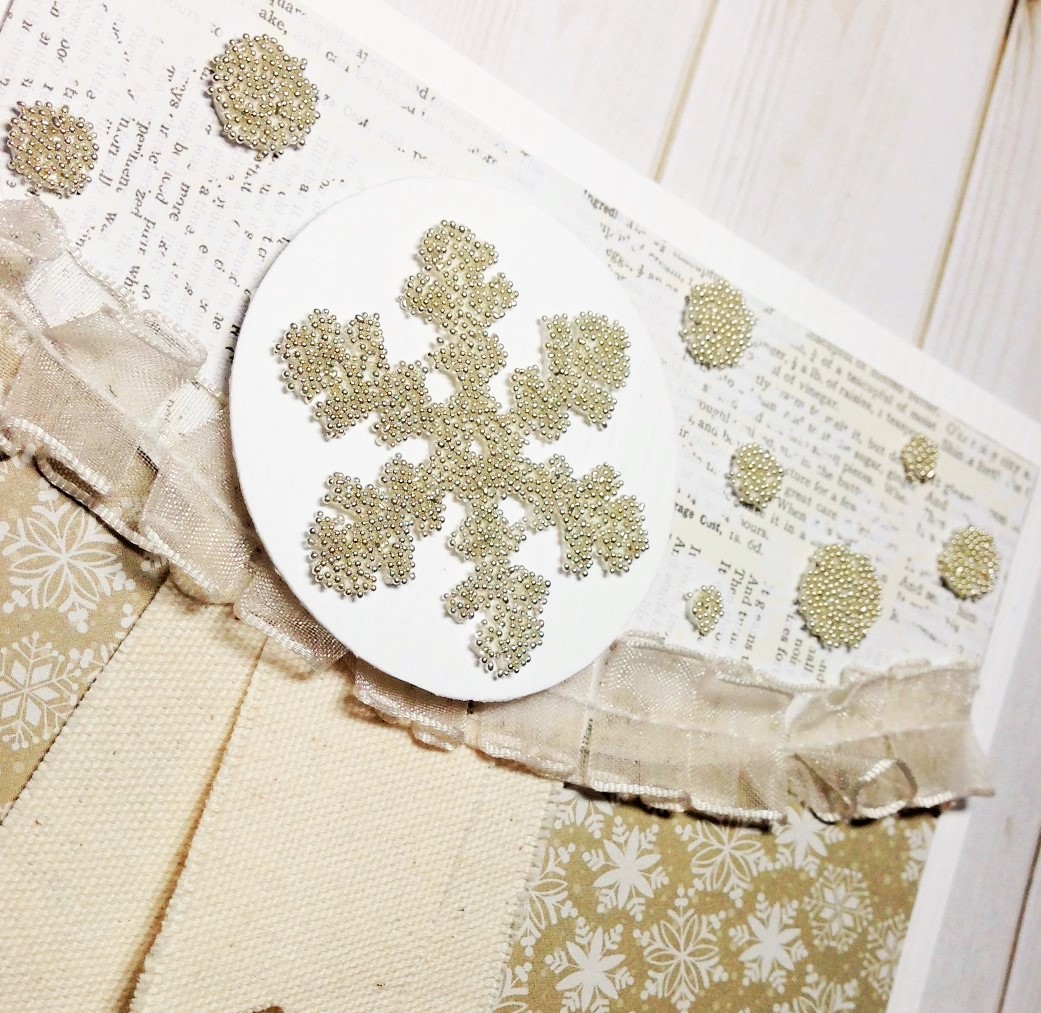
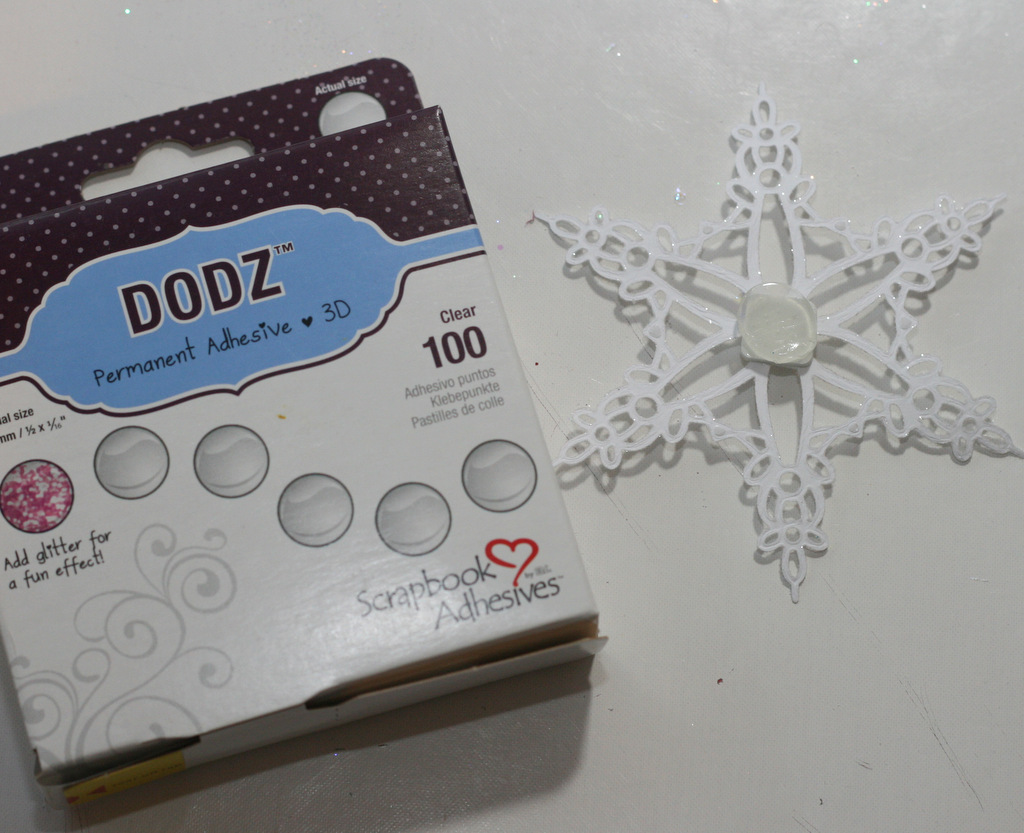
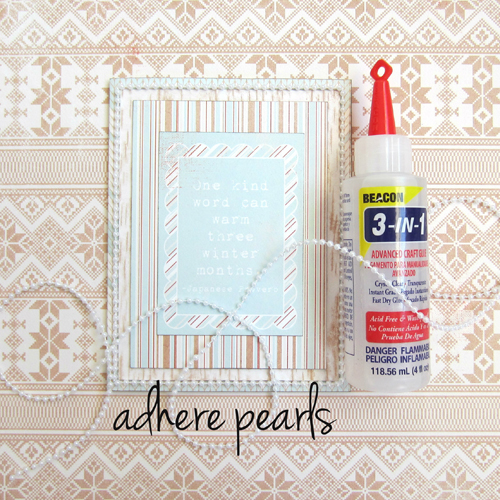
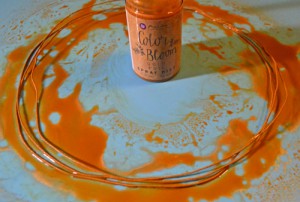
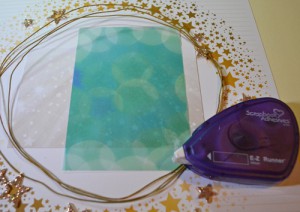
First I used wired thread in stark white to shape into a large circle by looping three times and twisting the ends together. To add the gold color, I misted color around the loops and left to dry.

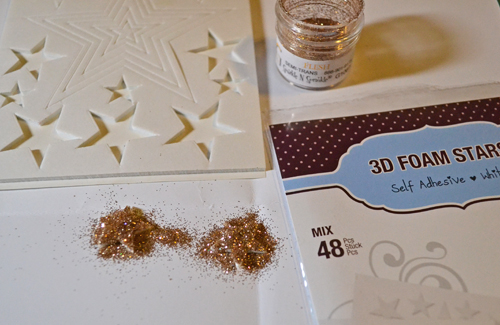
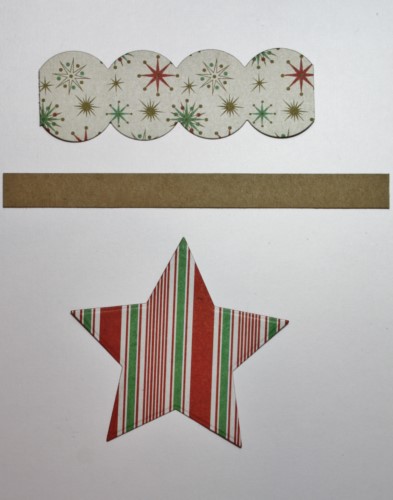
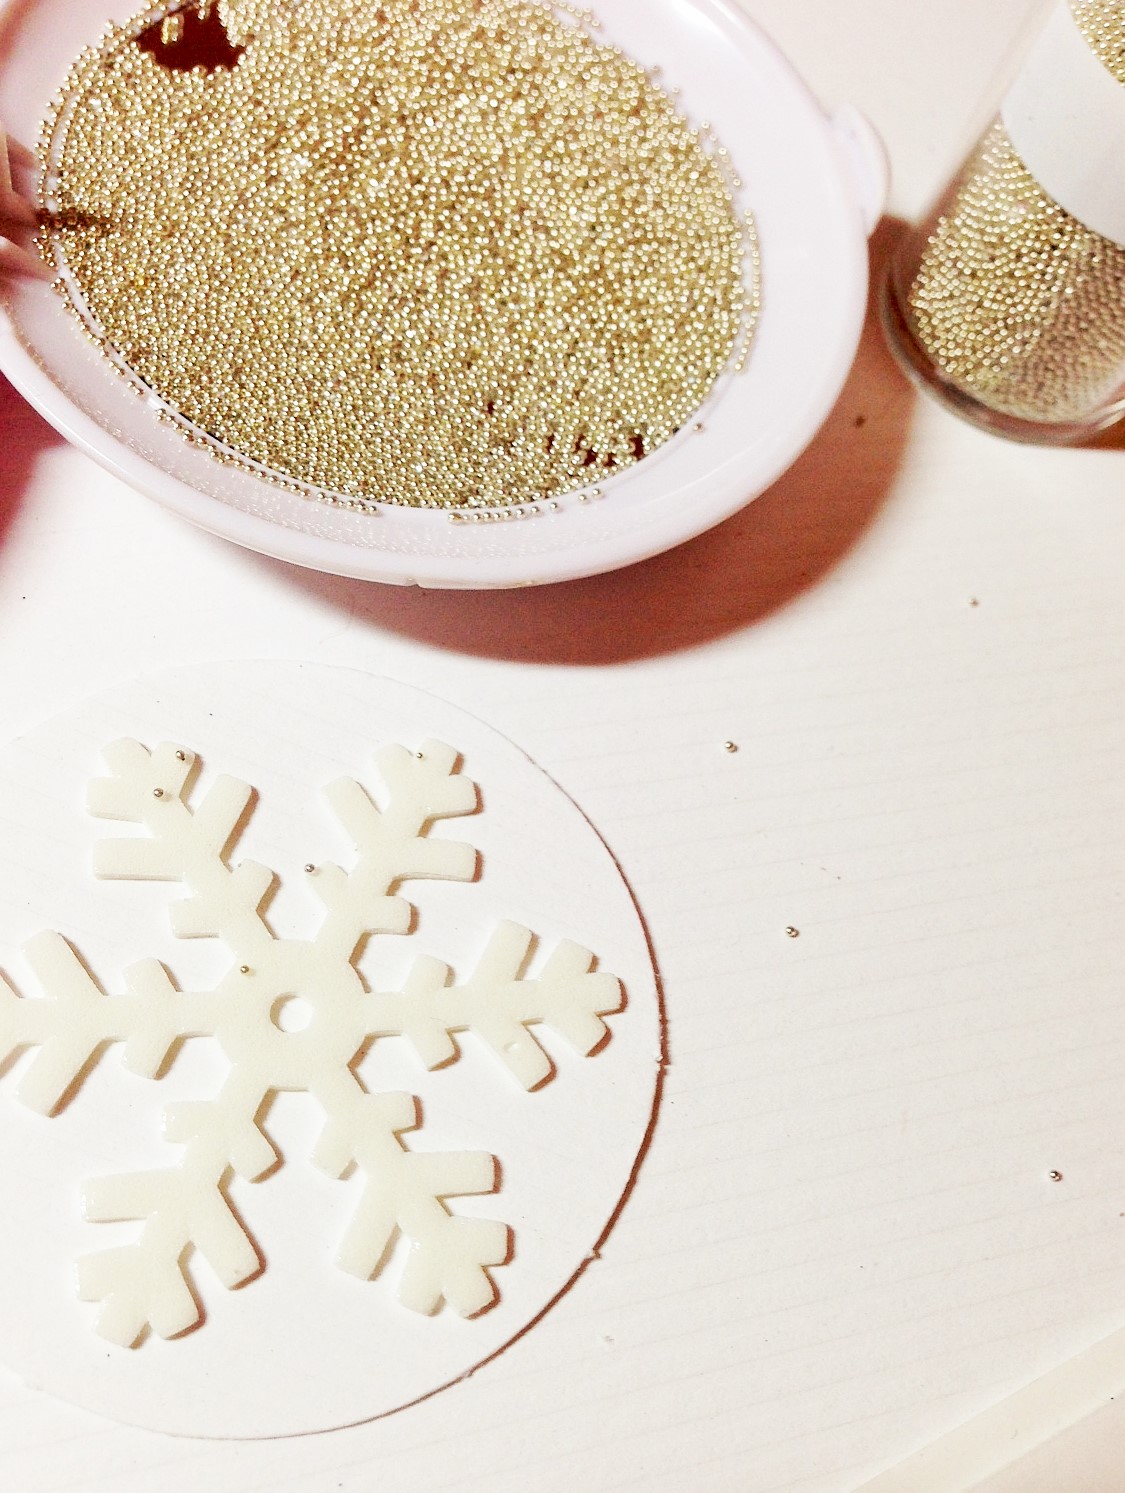
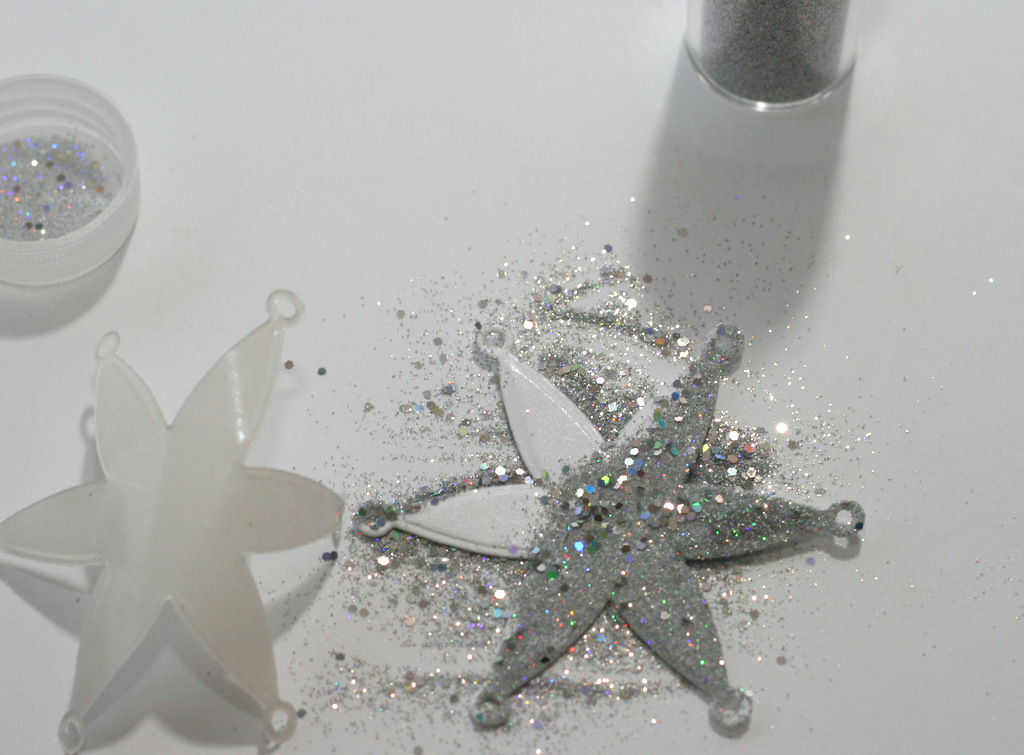
While the twine was drying, I took off the 3D Foam Stars with its liner in tack, flipped it to its back and added gold glitter on top. I did this as I wanted to determine my placement of the stars before “committing!”

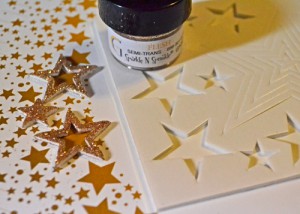
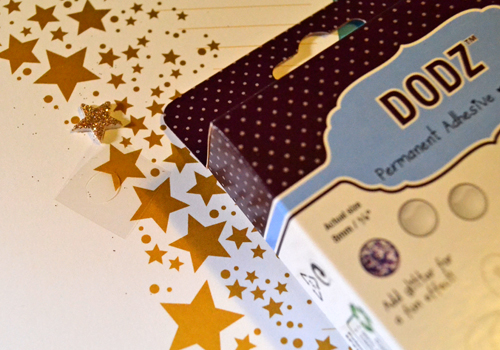
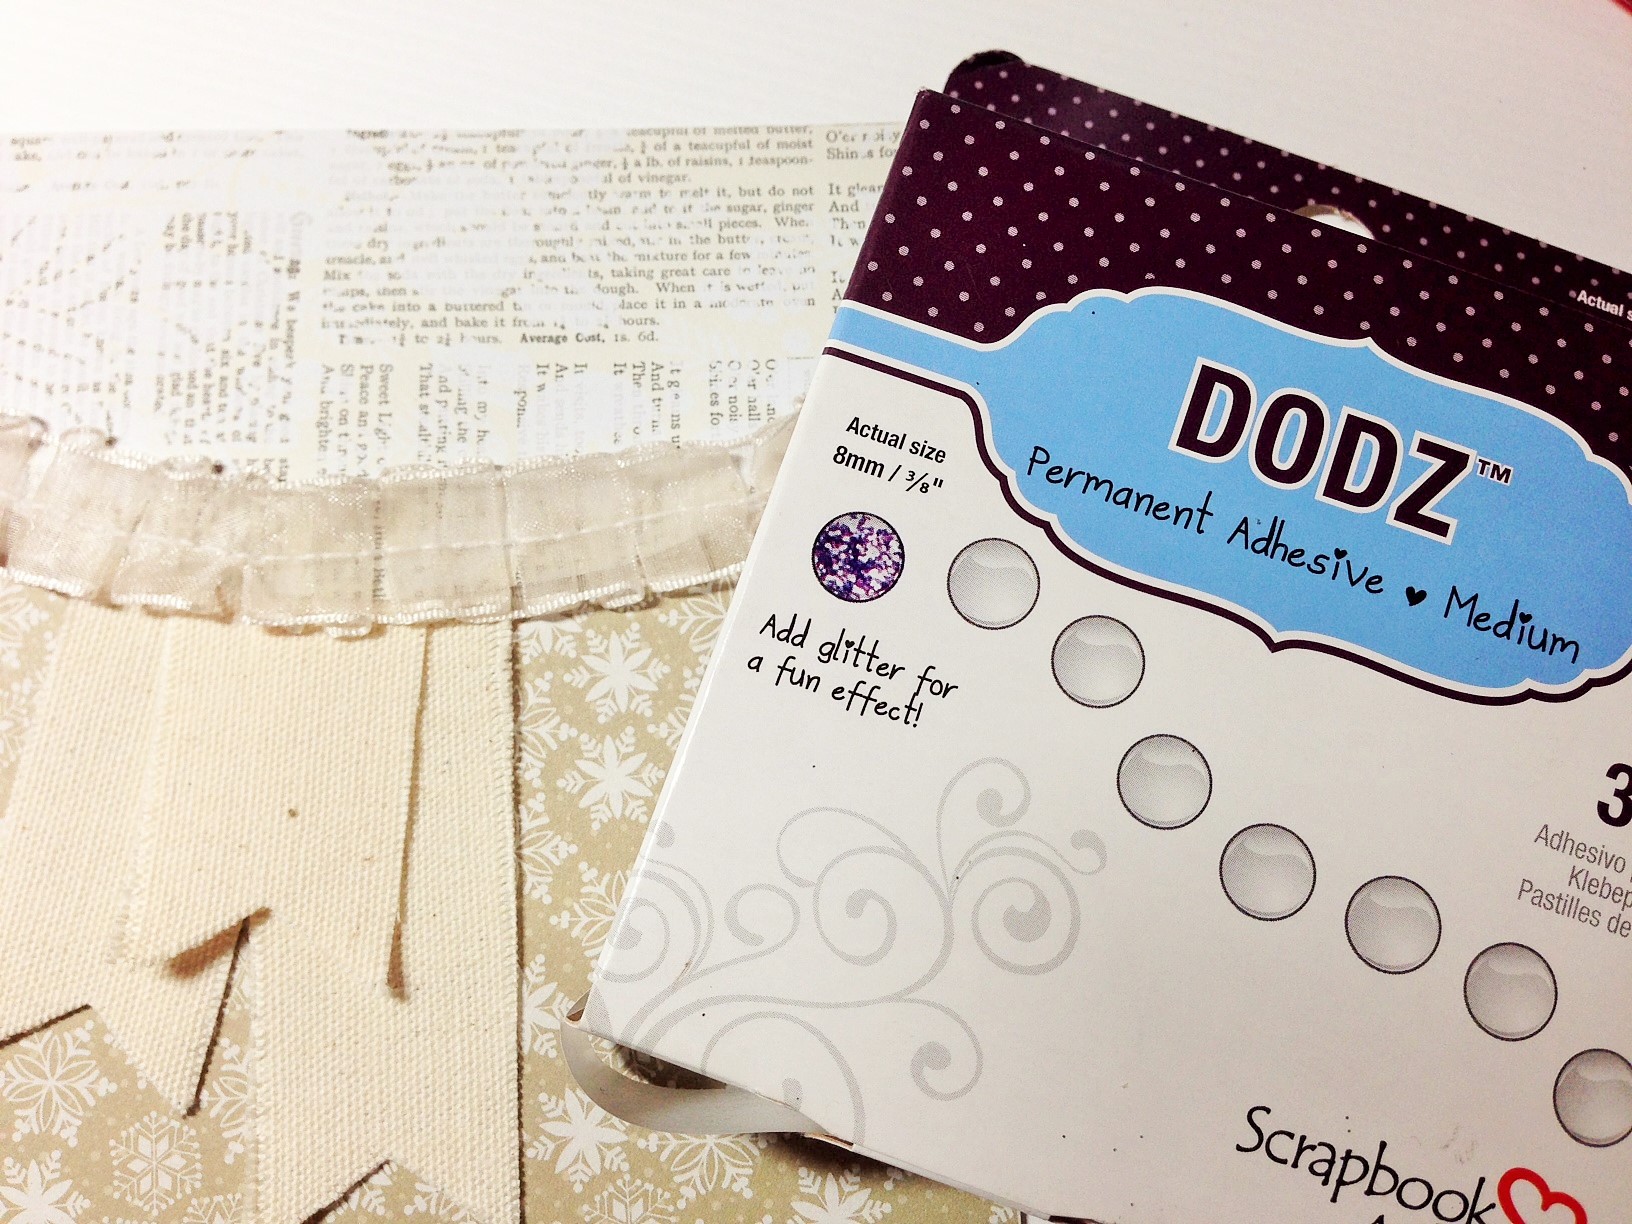
After placing the stars where I wanted, I adhered the circle with DODZ™ – Medium and hid them with a glittered star.

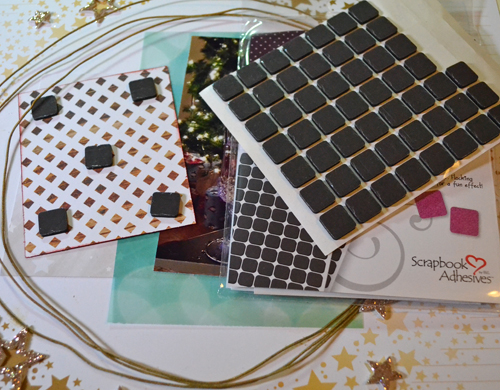
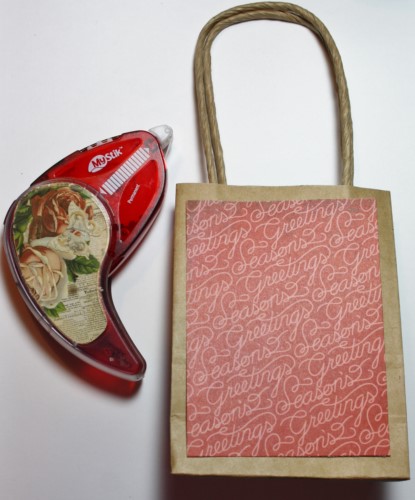
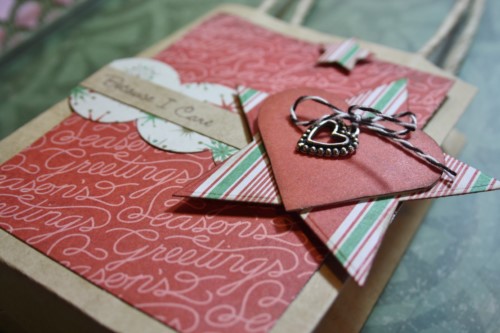
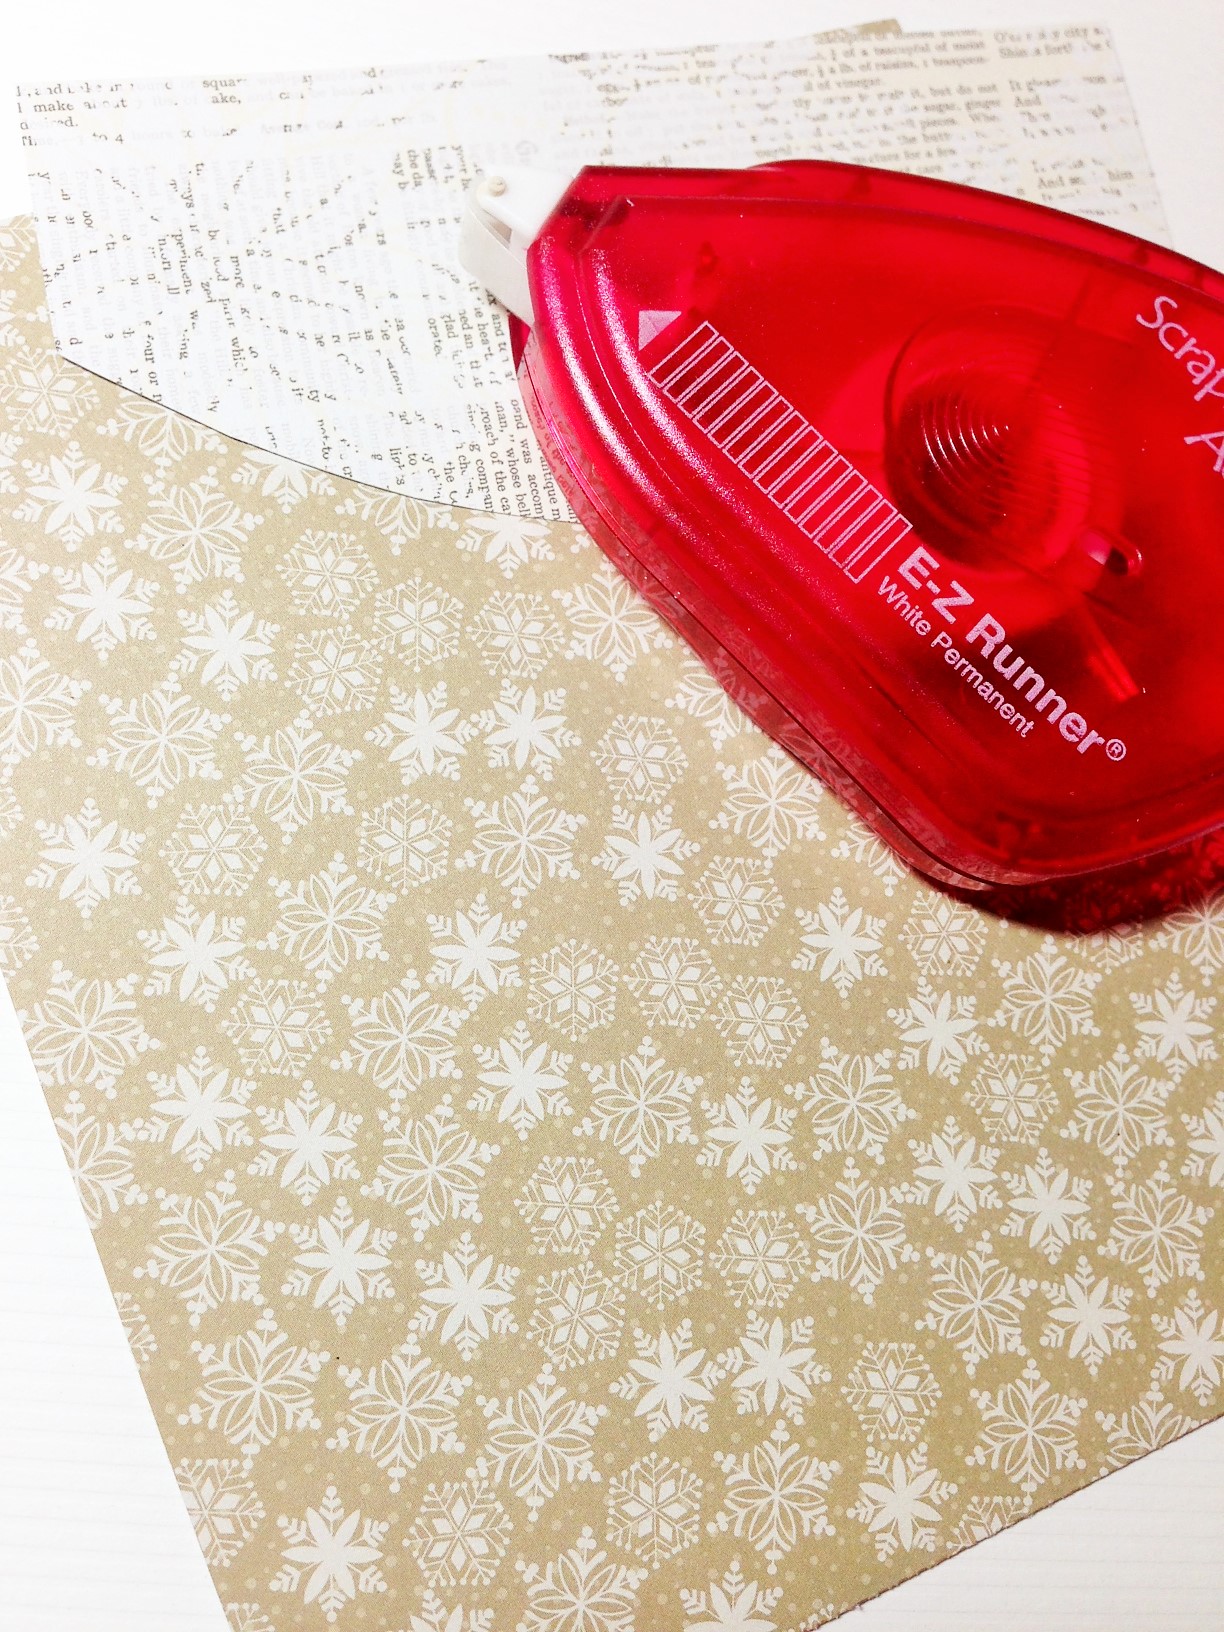
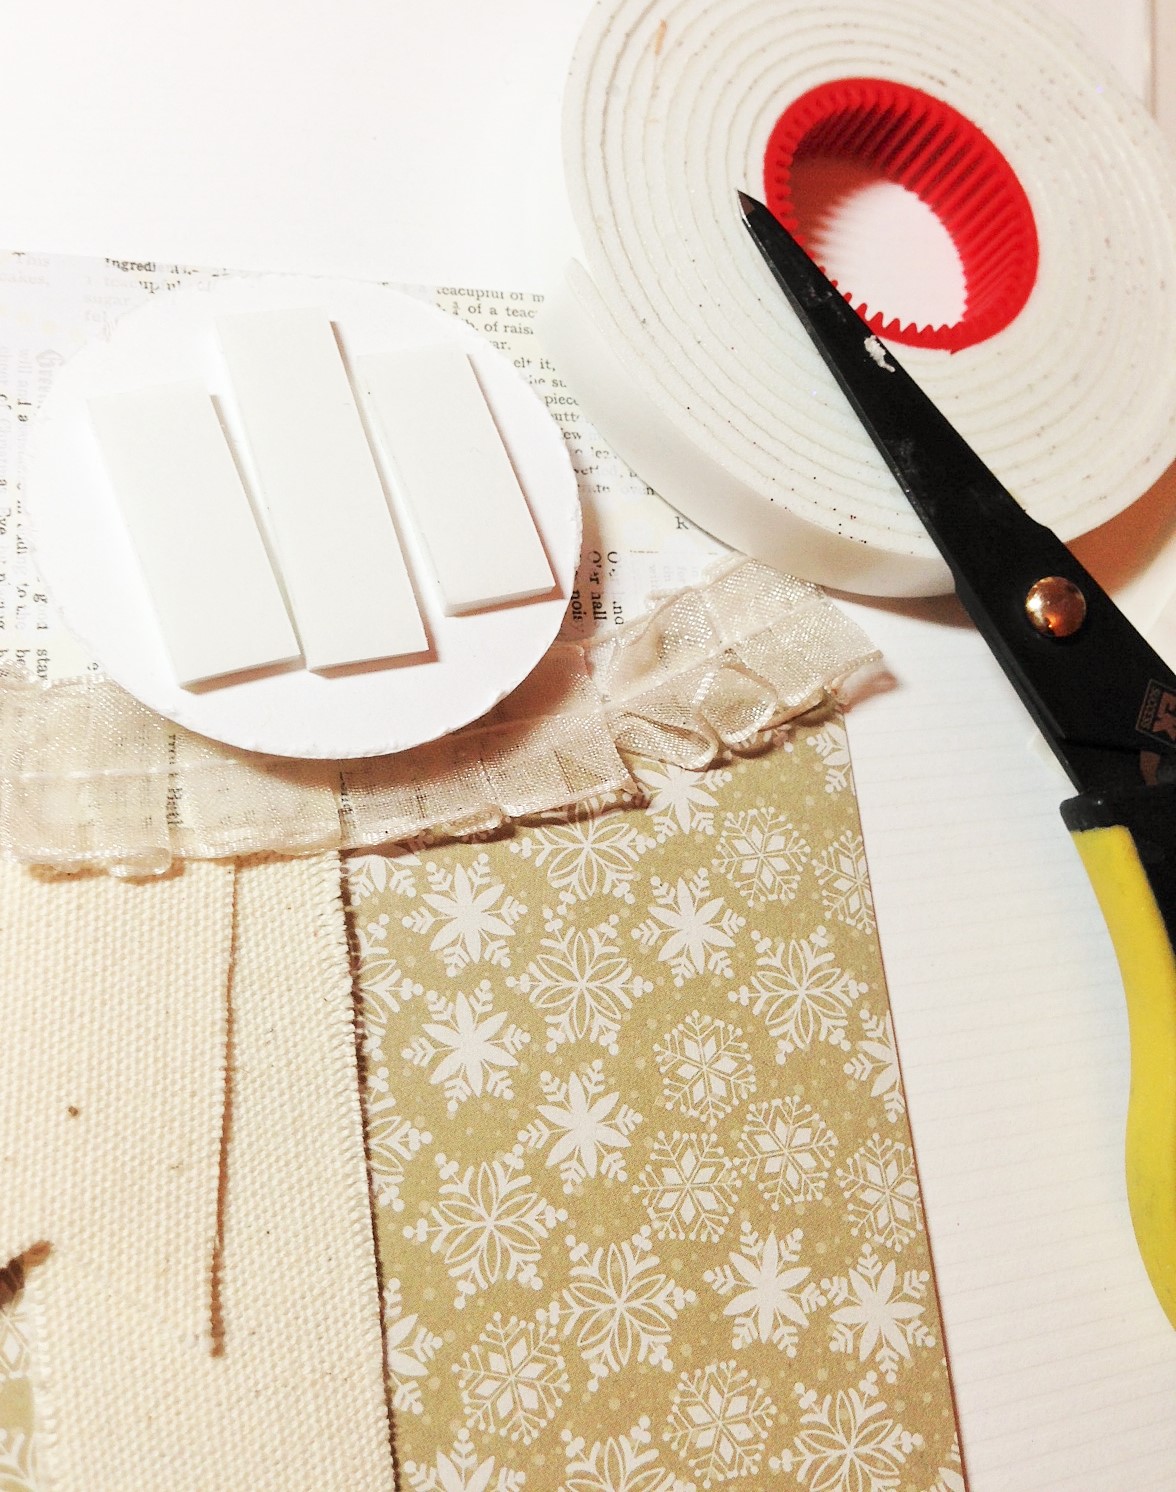
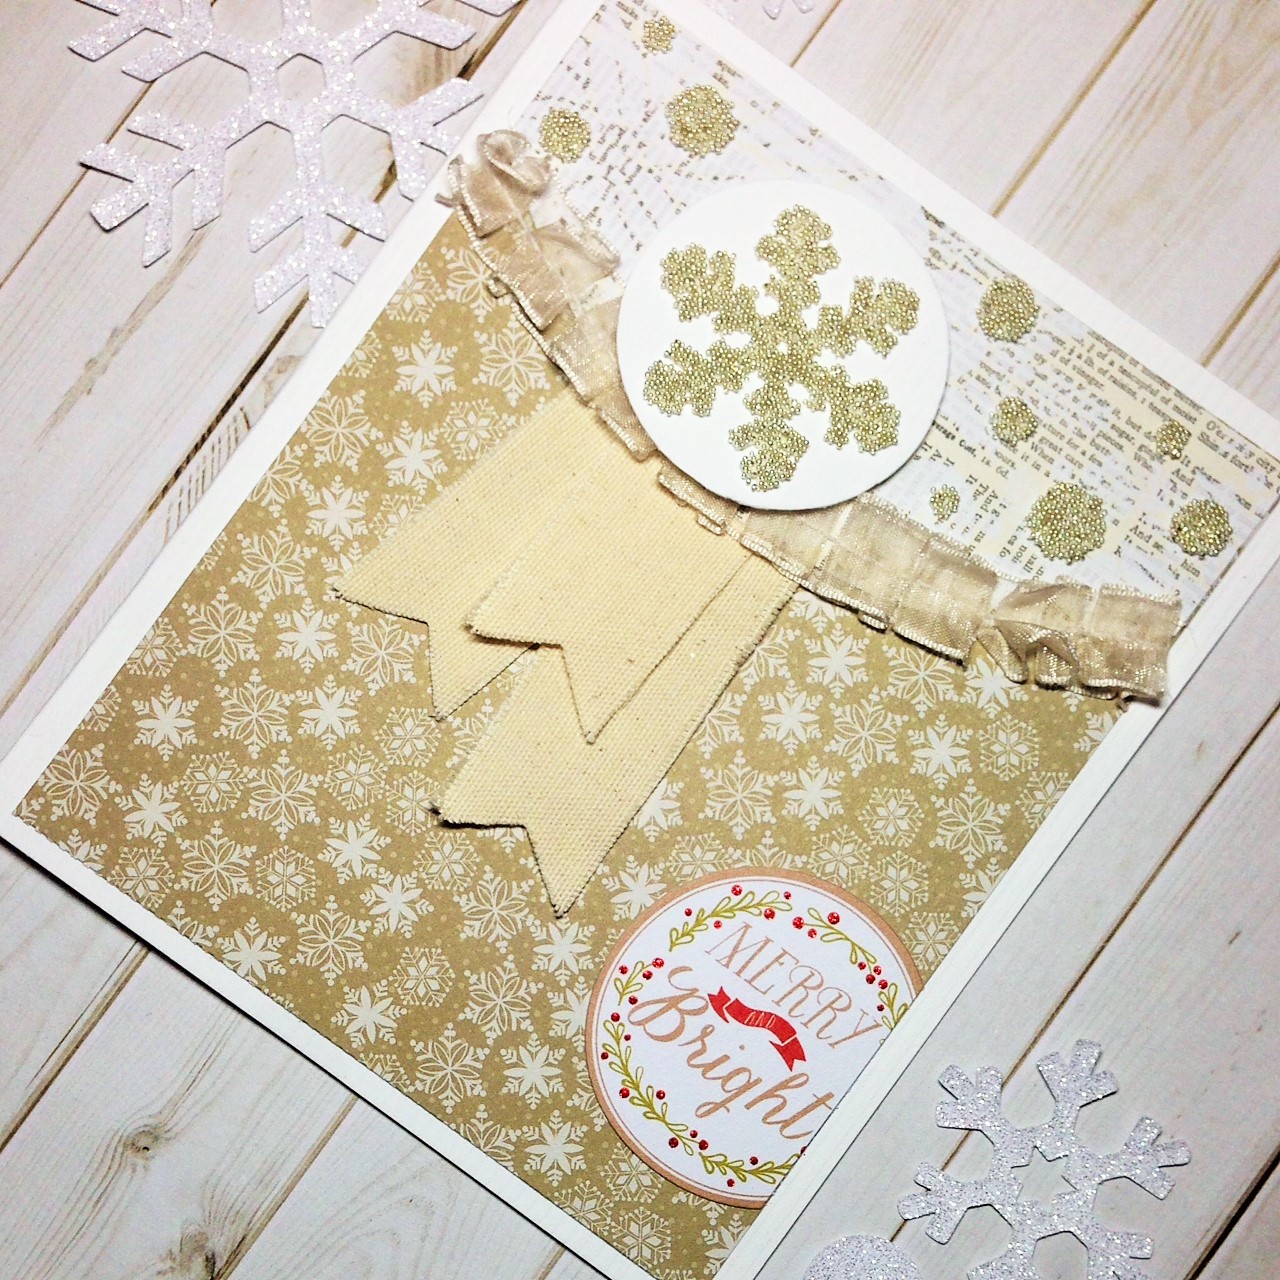
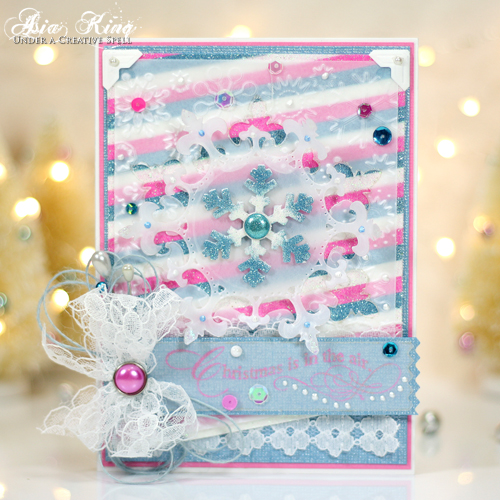
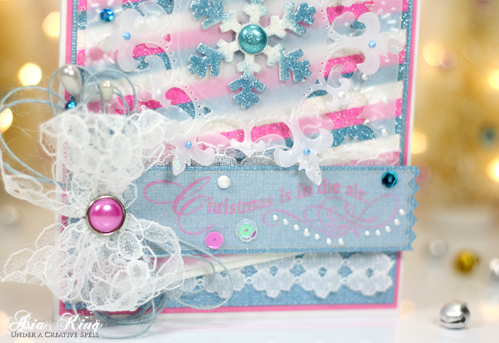
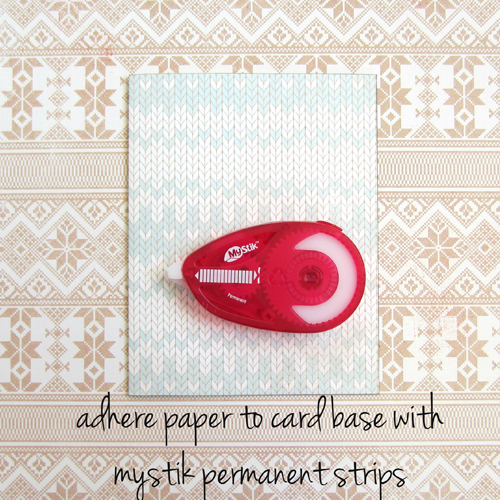
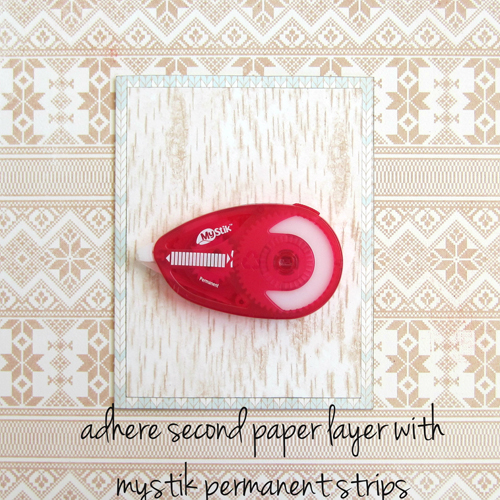
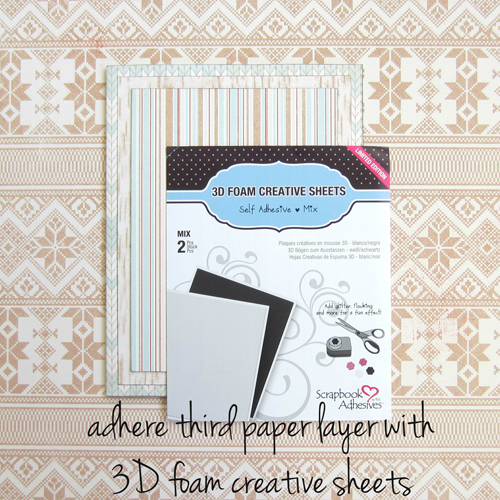
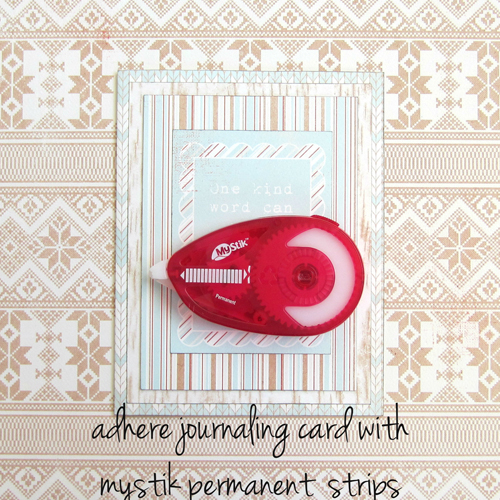
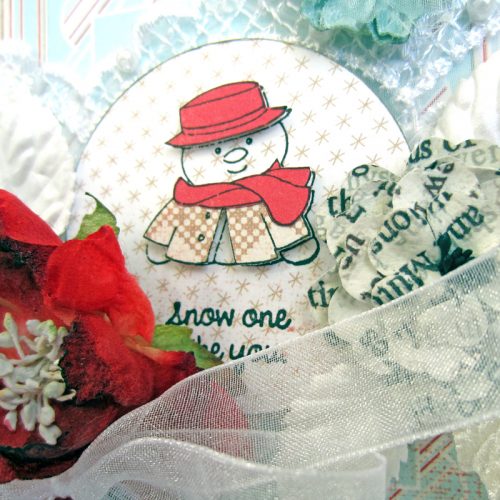
I layered various patterned and printed vellum papers in different sizes before placing the photos on top with E-Z Runner® Permanent Strips and E-Z Runner® Permanent Fine Adhesive. For more dimension, I popped up the sentiment panel (after inking the edges with Fire Brick Ink) with 3D Foam Squares – Black, Regular size.

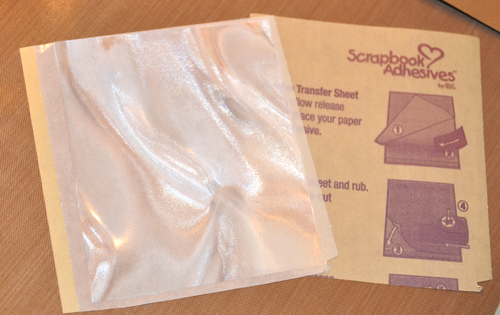
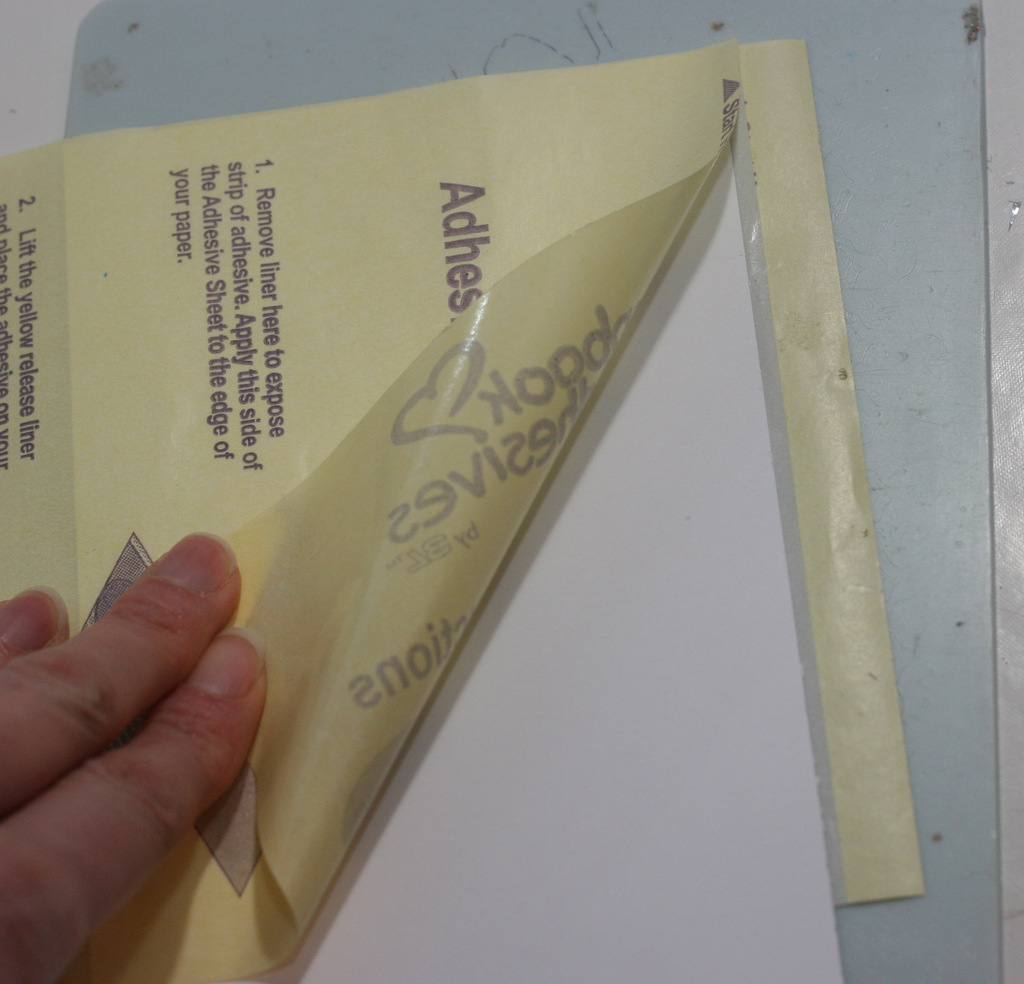
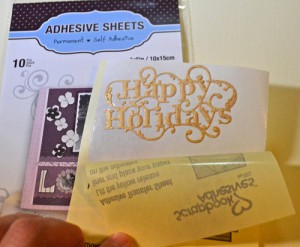
Added more stickers and “Happy Holiday” die cut from white cardstock swiped in leftover gold mist spray from the wired twine. Used Adhesive Sheets 4 x 6″ to place on the lower right corner and it’s ready to be shared!
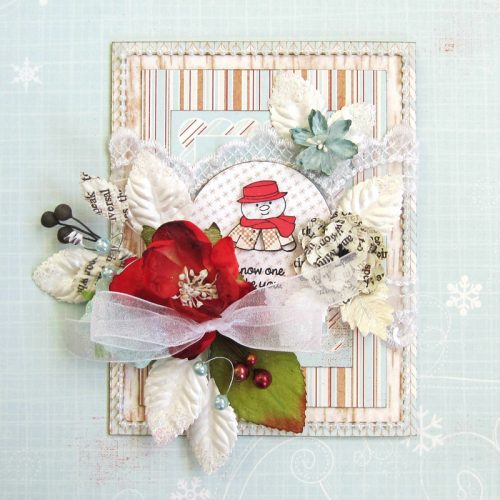
Here’s a second look of the finished page…
Project Supplies:
SCRAPBOOK ADHESIVES BY 3L®: 3D Foam Stars, DODZ™ – Medium, E-Z Runner® Permanent Strips, E-Z Runner® Permanent Fine Adhesive, 3D Foam Squares – Black, Regular, and Adhesive Sheets 4 x 6″
Patterned Papers, Printed Vellum Paper and Stickers – Webster’s Pages (All That Glitters Collection)
Die Templates – Spellbinders® Creative Arts (Happy Holidays Sentiment)
Inks – Ranger Ink (Tim Holtz® Distress Ink – Fired Brick)
Glitter – Sparkle N Sprinkle (Gold Glitter)
Coloring Medium – Prima Marketing, Inc. (Wired Thread – Stark White; Color Bloom Mist – Vintage Metal Gold Foil)
Like what you see? Visit (and Like) Scrapbook Adhesives by 3L FaceBook Page!
Thanks for stopping by and visiting!
Margie Higuchi