You are in our US store • Switch to Europe store

Get Well Soon Gift

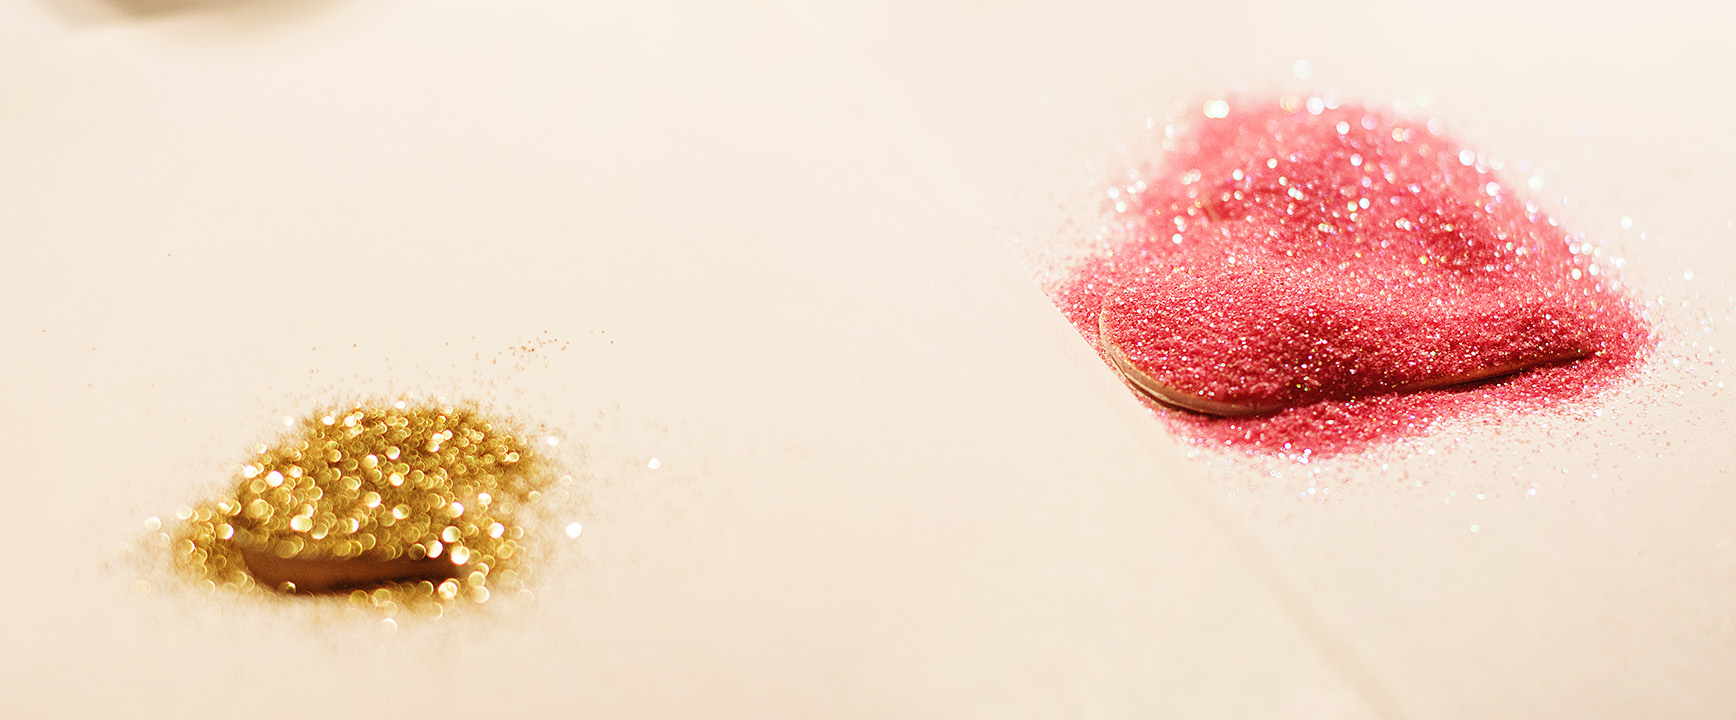
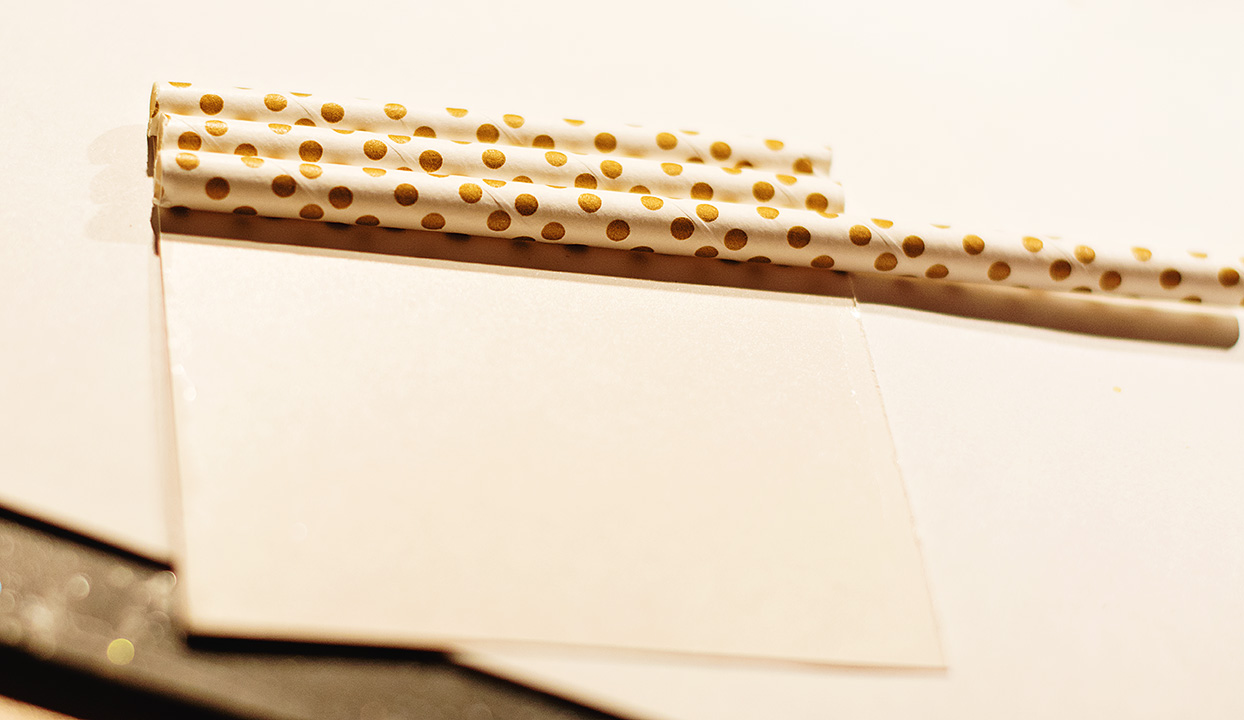
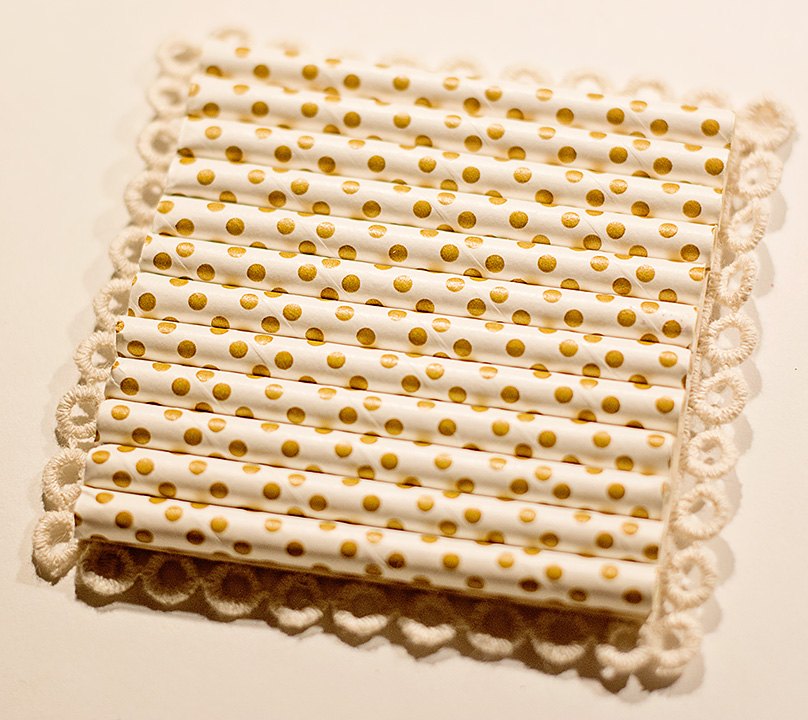
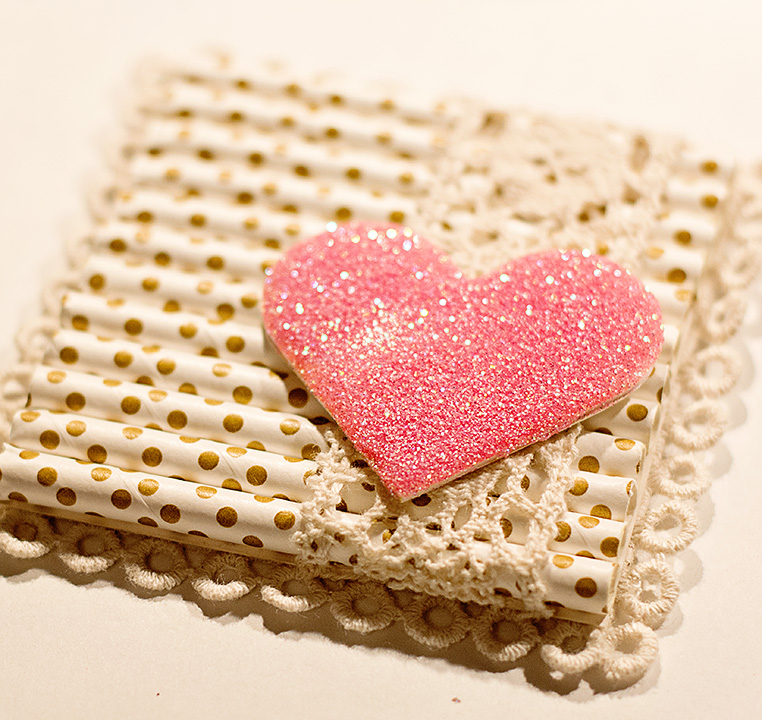
I am sharing a simple Get Well Soon/Thinking of You gift, to give to a friend or family member or even a neighbor when they might not be feeling so hot. It is a tag attached to a clear bag, with tea bags. It doesn’t have to be Earl Grey Tea, maybe chamomile or peppermint tea, those are nice soothing teas.

1214LY GetWellSoonteagift-2


1214LY GetWellSoonteagift2

Instructions:

1.  Die cut white yardstick with the square & typewriter dies.

2.  Stamp sentiment in black ink onto the square die cut.

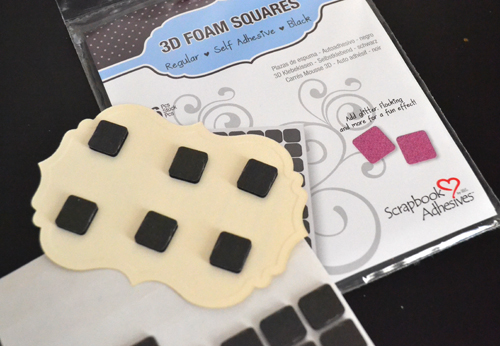
3.  Adhere the typewriter die cut to the square using Scrapbook Adhesives by 3L 3D Foam Squares.

4.  Die cut Fancy Pants pattern paper with a heart die.

5.  Adhere the heart die cut to the typewriter using foam squares.

6.  Place tea bags into the clear bag.

7.  Adhere a few strips of adhesive on the back on the tag using the Scrapbook Adhesives by 3L MyStik Permanent Strips tape runner.

8.  Adhere the bag to the strips.

Thanks for visiting,

Latisha Yoast


Materials Used:


Merry Christmas Eve!

Michele here today with a last minute Christmas card! Can you believe it is Christmas Eve already? I am still getting the last of my cards out!  I used this circle die from Lawn Fawn and filled the circles with various designer papers.  I adhered it to the cream panel using E-Z Squares®. 
merry christmasI tied a bow and created the large poinsettia using a die from Provo Craft.  I wanted it to have a bit of sparkle so I gave each petal a thin coating of glossy accents and sprinkled it with glitter.  I attached each of the layers using my DODZ™ Medium.  I added the sentiment and sequins and secured them with the DODZ™ small. 

merry christmas closeI am having a house full today and am looking forward to the time with my family.  Wishing you a very Merry Christmas!


Winter Sleigh with Crafty Power Tape

Hi! It’s Erica and today I’m sharing a winter sleigh I altered using Crafty Power Tape, as well as a step-by-step tutorial showing you how I altered my sleigh!

Winter Sleigh with Crafty Power Tape by Erica Houghton for Scrapbook Adhesives by 3L

Alter the Winter Sleigh

First, I started by spraying my sleigh with white Gesso. I then traced the sleigh onto several sheets of pattern paper, cut the pieces out, and adhered them to the sleigh with an E-Z Permanent Strips dispenser. Next, I ran Crafty Power Tape along either side of the sleigh and covered the tape with white glitter.

Embellishing the Winter Sleigh

Finally, using Crafty Power Tape and Crafty Foam Tape I decorated my sleigh with trees, flowers, and ribbon.

Thanks for joining me today and happy holidays!

Adhesives

Paper

  • Authentique, Faith

Embellishments

  • Tim Holtz, Ideaology – trees
  • Ashland & Petaloo – flowers
  • Celebrate It – ribbon
  • Misc. – pearls

Products

  • Krylon – Gesso
  • Ranger Ink – Tim Holtz – distress ink

Christmas Door Sign

Hello there,

It’s Stephanie here today and I want to show you a lovely Christmas Door Sign I made using some beautiful 3D Foam Christmas Shapes.

Stephanie_doorsign_1

Only two days until Christmas Eve (we celebrate at 24.12.). Are you already excited and looking forward to it? Our home is decorated and also the doors have gotten a decoration.
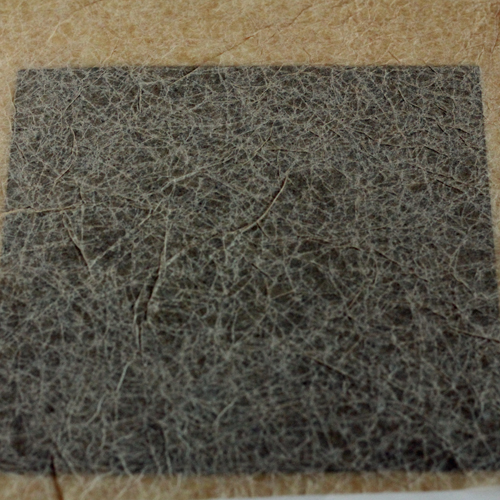
I had to made a door sign for my daughter’s room because she has so much wished it.

Here is a little tutorial for it.

Stephanie_doorsign_2

Lay out a few papers, a backgroundpaper for the door sign (I used a penant shape), a motife and a composition of paper scrap, tag and wordsticker.

Stephanie_doorsign_3

Use the 3D Foam Christmas Shapes and embossing powder to create another decoration elements. I used brown powder for the gingerbread man.

Stephanie_doorsign_4

And I used red powder for the mouth of the gingerbread man and a star and circles.

Stephanie_doorsign_5

Create a snow feeling with white acrylic paint and a sponge. Let it dry.

Stephanie_doorsign_6

Then you can decorate it all together with the E-Z Runner® Permanent Strips – Refillable. I also used a red ribbon on top of the door sign.

Stephanie_doorsign_7

My daughter loved it. 🙂

Thanks for visiting today! I wish you a Merry Christmas!

Stephanie 🙂


Supplies:

3D Foam Christmas Shapes

E-Z Runner® Permanent Strips – Refillable

Paper from Websters Pages

Ribbon from Maya Road

Sticker from Websters Pages

Embossing Powder from WOW and Clearsnap

White Acrylic Paint and sponge

Little tag from my stash


Photo Transfer Technique featuring Adhesive Sheets

Have you tried a photo transfer with our Adhesive Sheets? Hello blog readers! It’s Angela here today sharing a Photo Transfer Technique Tutorial featuring Scrapbook Adhesive by 3L® Adhesive Sheets 4 x 6″.

angela ploegman photo transfer coasters final

First of all, gather your supplies.

angela ploegman photo transfer coasters 1

How to Photo Transfer with Adhesive Sheets

1. Print a reverse image of your photograph large enough to cover your coaster (this step is only necessary if you have text either in or added to your photo).

2. Make a color photocopy of your photo (this keeps the ink from running when it gets wet). Cut off any excess copy paper. Peel back the yellow protective layer from the Adhesive Sheet 4 x 6″ and place the photo GOOD SIDE down onto the adhesive.

angela ploegman photo transfer coasters 3

3. Burnish the good side of the photo, then remove photo from adhesive sheet. Place adhesive covered photo face up on your work table.

angela ploegman photo transfer coasters 4

4. Align and place a clean coaster face side down onto adhesive covered photo. Flip over and burnish aggressively.

angela ploegman photo transfer coasters 6

Photo Transfer Details

5. Wet the back side of the photo. Starting in the center, begin to remove the paper with gentle scrubbing. I used a scouring kitchen sponge to gently rub the paper off, but you could use your fingers or even steel wool if you want a more aggressively aged look. Here’s a picture of the paper partially removed:

Paper Piecing with Adhesive Sheets - Warm Winter Wishes Card by Angela Ploegman

6. Continue until all the paper is removed. Minimize the additional water you use….too much makes it too easy to rub the entire project off the coaster, not enough and you can’t remove the paper effectively. The photo should look like a slighted muted version of the original when done. While still damp, the photo will cloud over again as it dries).

DAMP project (with most paper removed)

Paper Piecing with Adhesive Sheets - Warm Winter Wishes Card by Angela Ploegman

DRY project (with most paper removed)

Paper Piecing with Adhesive Sheets - Warm Winter Wishes Card by Angela Ploegman

7. Let the project COMPLETELY dry at this point. I used a heat tool with no ill effect. Seal with a commercially available spray sealer. Mine was solvent-borne and worked fine provided the project was COMPLETELY dry!

Paper Piecing with Adhesive Sheets - Warm Winter Wishes Card by Angela Ploegman

I love the distressed edges on my coasters and consequently, some of the distressing carried through the body of the project. Fabulous!

Thanks for stopping by!
Angela

Scrapbook Adhesives by 3L® Used:
Adhesive Sheets – 4 x 6″ 

Adhesive Sheets are available in 12×12″ and 6×12″ sizes too!

Other: Coasters; Trajan Pro Font; Spray Sealer

Peace Wreath – Using Photo Corners and 3D Foam Snowflakes

Hi crafty friends, it’s Lisa here! Can you believe it’s almost Christmas?!! I’m so unprepared! But, as is my nature, I’m waiting ’til the last minute to get things done. 🙂 I hope this fun and sparkly card gets YOUR creative juices flowing and gets you inspired.

LisaAdametz-PeaceWreath-1

Isn’t it fun? And I love the color combination. It just makes me happy.

How to Make the Peace Wreath

1. Using circle dies, die-cut a circle to create the base of the wreath.

LisaAdametz-PeaceWreath-2

2. Gather desired glitter colors and 3D Foam Snowflakes.

3. Peel off protective layer from 3D Foam Snowflake and shake Glitter on top. Burnish into the adhesive. Brush away excess. Repeat for as many snowflakes as desired. Including the fun snowdrops!

4. To create the “wreath”, simply adhere the Silver Creative Photo Corners one at a time onto the die-cut circle so that they fit snugly into each other.

LisaAdametz-PeaceWreath-3

5. Attach your snowflakes. (No photo.)

6.  Use small Thin 3D Foam Squares for just a little bit of lift under the wreath. And adhere wreath to card front.

7.  I worked backwards and had already adhered my wreath, so I used the MyStik® Permanent Strips to adhere the card front to the card base.

LisaAdametz-PeaceWreath-4

8. Die cut a sentiment from glitter card stock (leave the die stuck in the square of paper). Then cut a piece of Adhesive Sheets the same size as the size (at least) of your die cut. Remove the yellow release paper and burnish it to the back side of your die cut. The die can then be pull out from the front ready to be adhered.

LisaAdametz-PeaceWreath-59. Embellish the wreath as desired. I added a little sparkly twine and a few extra fun colored pearls. Here are a few close-ups!

LisaAdametz-PeaceWreath-6


LisaAdametz-PeaceWreath-7

I hope that you enjoyed my card today and saw how incredibly easy it is to use SO many of your adhesives in a really pretty and fun way!

Supplies From Scrapbook Adhesives by 3L®:
E-Z Dots® Permanent Refillable
MyStik® Permanent Strips
Thin 3D Foam Squares Mix White
3D Foam Snowflakes
Creative Photo Corners Silver
Adhesive Sheets 6 x 12”

Other Supplies:
My Favorite Things (Cardstock & Die), Penny Black (Die), Lawn Fawn (Twine), Doodlebug (Pearls), Martha Stewart (Glitter).

LisaAdametz-sig

Candy Cane Holders

 Hi everyone, it is Christine here today with some cute candy cane holders, great for the Christmas tree, the dining table or little treats for kids and friends.

CEmberson - Candy Cane 6I’ve put together a little tutorial on how to make them.  I chose Spellbinders Labels Four die templates and a small circular die to create two holes as detailed in the image.


CEmberson - Candy Cane 2

 Selecting a sheet of 3D Foam Stars, I peeled off the front sheet and sprinkled some fine gold glitter over the sticky area.

CEmberson - Candy Cane 3

Tap off the excess and remove the star carefully, it is beautifully encrusted with glitter – a lovely embellishment.

CEmberson - Candy Cane 8

I used Lawn Fawn – Winter Gifts for the sentiment stamp, attached my gold 3D Foam Star and matted this onto green cardstock with MyStik® Permanent Strips.

CEmberson - Candy Cane 4

On the reverse I applied 3D Foam Squares Regular – White.

CEmberson - Candy Cane 5

Attach the sentiment card to the the label shape and thread the candy canes through the two holes.

CEmberson - Candy Cane 1

An extra decoration is Spellbinders Holly Twigs and Leaves.

Thank you for joining me today, wishing you a fantastic creative Christmas.

Christine

Supplies:

MyStik® Permanent Strips, 3D Foam Stars, 3D Foam Squares Regular – White

Spellbinders: Labels Four, Holly Twigs and Leaves

Lawn Fawn: Winter Gifts stamp

Fine glitter – gold and silver

A Warm Wishes Shaped Wine Tag Tutorial

Happy Holidays! With Christmas just around the corner, I thought I’d share an idea to put sparkle into your gift giving. Using the 3D Foam Trees, I put together a hanger tag that will bring a smile to your recipient instead of a boring wine bag.

Warm Wishes Wine Tag by Margie Higuchi

Start with a sheet of 3D Foam Trees shapes. I swiped the liner with anti-static powder to control the glittery mess 🙂

MargieHiguchi WarmWishes2

Went a little crazy on the glitter – just bought a pack of 18 WONDERFUL COLORS! LOL!! Some have tri-color (just tear the liner ⅓ of the tree, add glitter and repeat two more times to achieve the effect) and others have either silver, teal, yellow, etc.

MargieHiguchi WarmWishes3 MargieHiguchi WarmWishes4

After I decided which tree to use, I took off its trunk liner and colored it with Stamper’s Big Brush Walnut Brown Pen – I colored two coats (dry between coats).

MargieHiguchi WarmWishes5

For the base I cut/embossed Snowflakes View Die #2 (the smallest die size is #1) with red patterned paper and Die #1 with ivory cardstock.

MargieHiguchi WarmWishes6

Stamp the sentiments to the ivory die cut. Add the glittered 3D Foam Trees shapes at the bottom of the stamped die cut.

Tip: to remove the shapes from the sheet of 3D Foam trees, I used my Tool ‘N One.

Place 3D Foam Squares – Black, Regular in the back and center on the red die cut.

MargieHiguchi WarmWishes7 MargieHiguchi WarmWishes8 MargieHiguchi WarmWishes9To create the hanger part, I cut a 3¾ x 12″ strip of ivory cardstock and scored at 6″ on the long side.

MargieHiguchi WarmWishes10About 1″ from the score line, I cut/embossed Standard Circles LG Die #3 to create an opening for the bottle neck. Then I trimmed about ½” from the circle and rounded all the corners to finish the hanger.

MargieHiguchi WarmWishes11

I just had add a little texture to the hanger so I used 3D M-Bossibilities™ European Tapestry Folder. Very lightly mist water on the cardstock to soften the fibers and put it through my Grand Calibur® Die Cutting and Embossing Machine for a deep embossing.

MargieHiguchi WarmWishes12Add the tag with 3D Foam Squares – Black, Regular onto the hanger –  you are ready to give a bottle of wine with a little sparkle for the holidays!

Warm Wishes Wine Tag by Margie Higuchi

Project Supplies:
SCRAPBOOK ADHESIVES BY 3L®: 3D Foam Trees and 3D Foam Squares – Black, Regular
Cardstock – WorldWin Papers (Ivory Cardstock)
Patterned Papers – Bo Bunny® Press (Christmas Collage Collection)
Die Templates, Embossing Folder and Tool – Spellbinders® Creative Arts (Grand Calibur Die Cutting and Embossing Machine, Standard Circles LG, Snowflakes View, European Tapestry and Tool ‘N One)
Stamp – JustRite® Papercraft (Snowflake Vintage Labels Seven Clear Stamp Set)
Ink – Ranger Ink (Archival Ink™ Designer Series Wendy Veechi – Red Geranium)
Marker – Faber-Castell® Design Memory Craft® (Stamper’s Big Brush – Walnut Brown)
Glitter – Hampton Arts (Extra Fine Glitter in Yellow, Teal and Green)
Other – Wine Bottle; Anti-Static Powder

For a lot more inspiration, come visit Scrapbook Adhesives by 3L Pinterest Boards!

Thank you for visiting!
Margie Higuchi (MargieH)

Peace on Earth Easel Card and Tutorial

Please give a warm welcome to Linda Lucas, one of our fabulous Ambassador Team members! Linda, also known online as Lovely Linda, has a wonderful tutorial for us today!

Linda-Peace on Earth1Isn’t this gorgeous! Take it away, Linda!

Peace on Earth card by Linda Lucas

Peace on Earth Card

1. Remove the yellow layer from the Adhesive Sheet and place the adhesive on the back side of patterned paper.
2. Cut/emboss using a die cutting machine and a decorative die cut.
3. Peel off white liner from the die cut to expose the adhesive.

Linda-Peace on Earth3

4. Adhere the patterned paper to an Easel Card Base – with pre-rounded corners.
5. Adhere seam binding around the middle of the decorative layer with E-Z Runner® Permanent Strips.
6. Cut/emboss Sentiment paper using another decorative die cut and lightly sand around embossed edges using a sanding block.
7. Adhere to layered card base using 3D Foam Squares for dimension. Add a double seam binding bow to the left of the patterned layer.

Note: The Peace On Earth sentiment is pre-printed, but you could stamp an image if preferred.

Linda-Peace on Earth2

8. Remove the top liner paper from a 3D Foam Snowflake, sprinkle on gold glitter and wipe off excess.
9. Adhere the glittered 3D Foam Snowflake to small die cut red circle. Adhere 3D Foam Squares and adhere to a slighter larger white circle.

10. Adhere layered circles to the bottom corner of the layered die cut using E-Z Dots® Permanent.
11. Attach to Easel Card base, which has had patterned paper added, using E-Z Dots® Permanent.  Attach patterned border strip using the E-Z Runner® Permanent Strips.
12. Using 3D Foam Squares, adhere to a thin strip of cardstock across the centre of the card base, adding sentiment and embellishments as desired. This will hold the easel card upright
13. Finish by adding bling as shown in the main photo above.

Thank you Linda! If you want to see more of her work, you can find her  at Lovely Linda’s Craft Central.

  • Creative Time: 60 minutes
  • Skill Level: Intermediate

Linda uses these supplies:

Holiday Christmas Tags Using Designer Foam Shapes

Merry Christmas!!  Tags seem to be the topic as of late, and I have a few more I am sharing that are super fun and cute.

AJOtto-HolidayTags-1

Who doesn’t need a cute tag for all those last minute gifts?  Using the 3D Foam Christmas Mix, and 3D Foam Trees, you can easily customize your tags.AJOtto-HolidayTags-2

Peel back the backing from each tree, and sprinkle glitter over each one.  I have a whole sheet of trees ready to go now.  Repeat with the elements you would like to use from the other sheets.

AJOtto-HolidayTags-3

I simply created a few tags in the 2 12 X 4″ size, trimmed the tops and adhered the patterned paper strips on the bottom of each using Crafty Power Tape.
AJOtto-HolidayTags-4I then punched a circle out of the coordinating paper and adhered to the top using E-Z Runner® Permanent Strips Refillable.

Attach glittered covered 3D Foam Shape to your tag.
To finish, punch a whole through your circle at the top, and pull some ribbon through.  Wrap twine through the ribbon and strong the bells, one on each sand before tying into a now.

Scrapbook Adhesives by 3L Products used: E-Z Runner® Permanent Strips RefillableCrafty Power Tape3D Foam Trees, and 3D Foam Christmas Mix.

Other supplies- Patterned paper- Doodlebug Designs, Twine, Ribbon, Glitter- Stampendous, holiday colored jingle bells.

enjoy!! AJ


Save