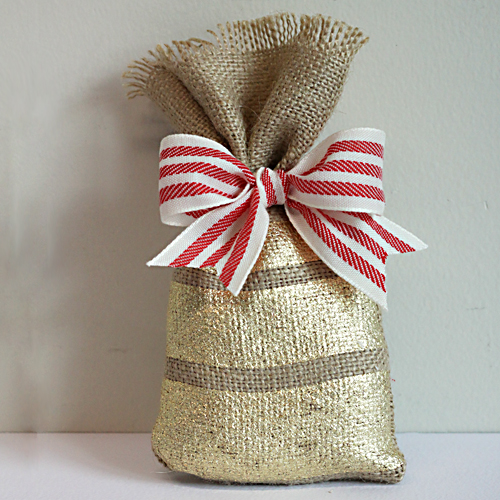
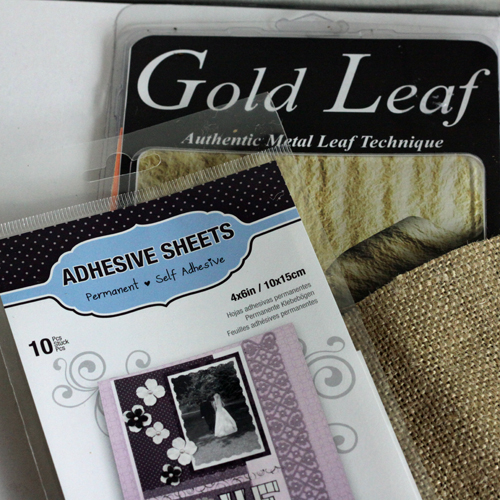
Hello blog readers! It’s Angela here today and I am still obsessed with Scrapbook Adhesives by 3L® Adhesive Sheets and the mess free application of gold leafing that they allow! Today I used them to add some shimmer and shine to a burlap treat bag:
Here’s what you need:
Here’s how it’s done:
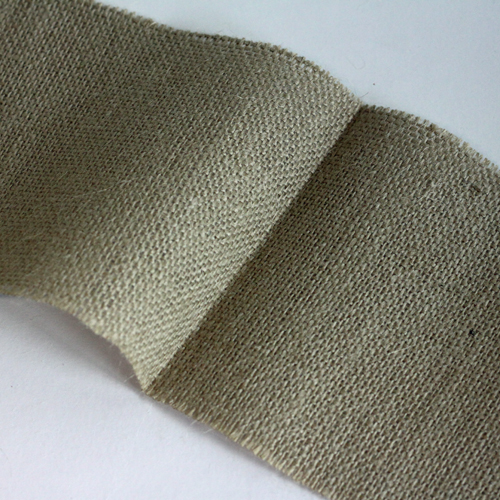
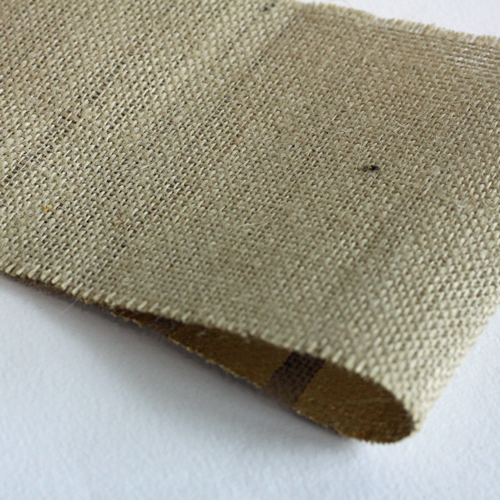
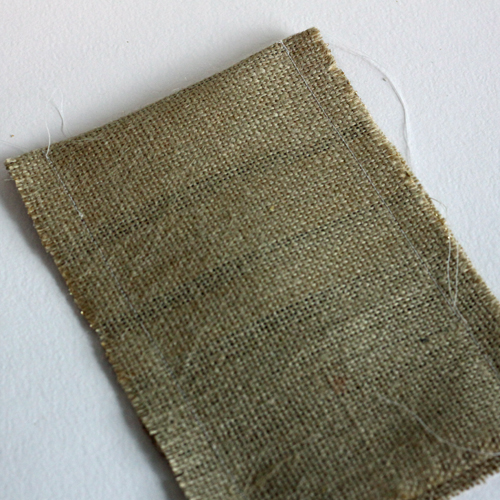
1. Cut a 5.5 x 15 inch piece of burlap. Press with a hot iron (if needed). Fold in half and press again.
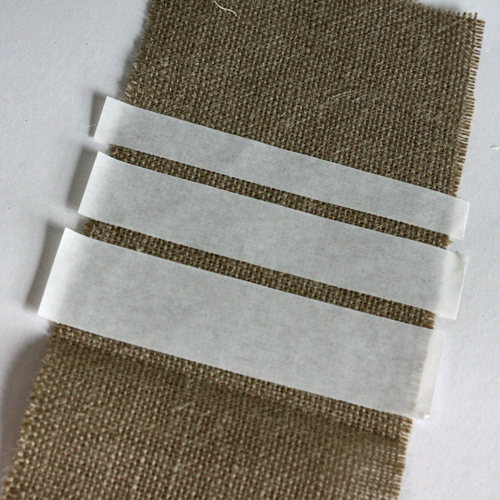
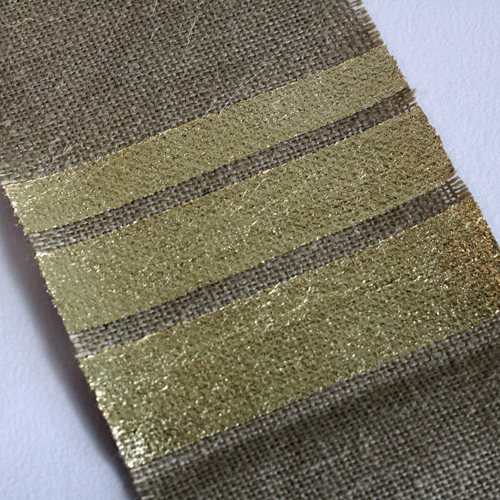
2. Cut an Adhesive Sheet 4 x 6″ lengthwise into 3 strips. I used widths of 1.5, 1.125 and 0.875 inches. Remove the protective backing and arrange on the ‘good side of the burlap bag.
3. Burnish well! Don’t be afraid to use some serious elbow grease here….I used the back and edge of a spoon to burnish…if you are going for an ‘antique’ look and partial transfer, you can burnish a bit less. When burnished to your liking, remove the white sheet and apply the gold leaf.
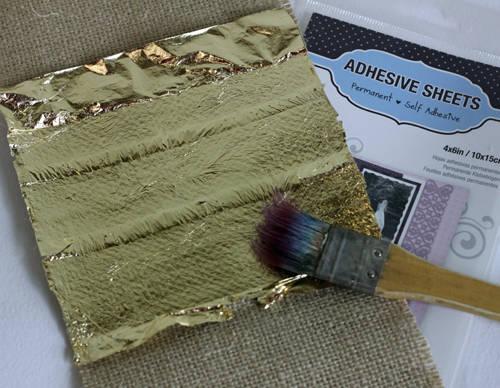
4. Using a bristle paint brush and a pouncing motion, press the gold leaf firmly into the adhesive. Then remove the excess gold leaf with a circular brush motion.
5. Fold the burlap strip in half, good sides (and gold leaf) together.
6. Stitch the long edges of the burlap together by hand or with a sewing machine (I used my sewing machine).
7. Trim the seam allowances (if necessary) and turn the bag inside out to expose the gold leaf detail.
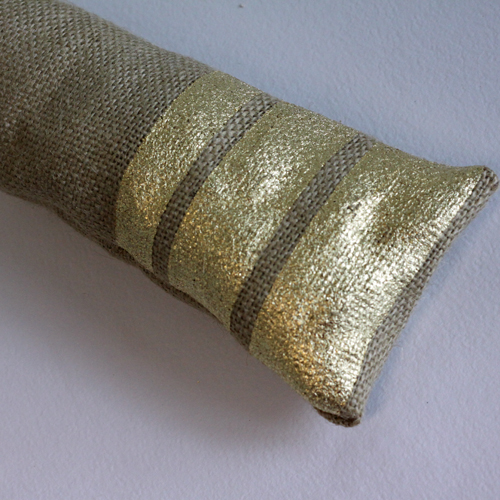
8. Fill the bag with treats and then tie the bag shut with ribbon and you’re done!
You could personalize the gift bag with a homemade tag if you’d like. I kept mine generic for now as I’m not sure who deserves the honor of my efforts yet!
Super fun and super easy….you could use die cut adhesive sheets to create a polka dot or other custom design!
Thanks for stopping by today!
Angela
Scrapbook Adhesives by 3L® supplies used: Adhesive Sheets 4 x 6″
Other Supplies used: Bulk Burlap, Houston Art Inc. Gold Leaf, May Arts Woven Stripes Ribbon