Hello! Welcome to the last day of the last day of the Neat & Tangled Blog hop!
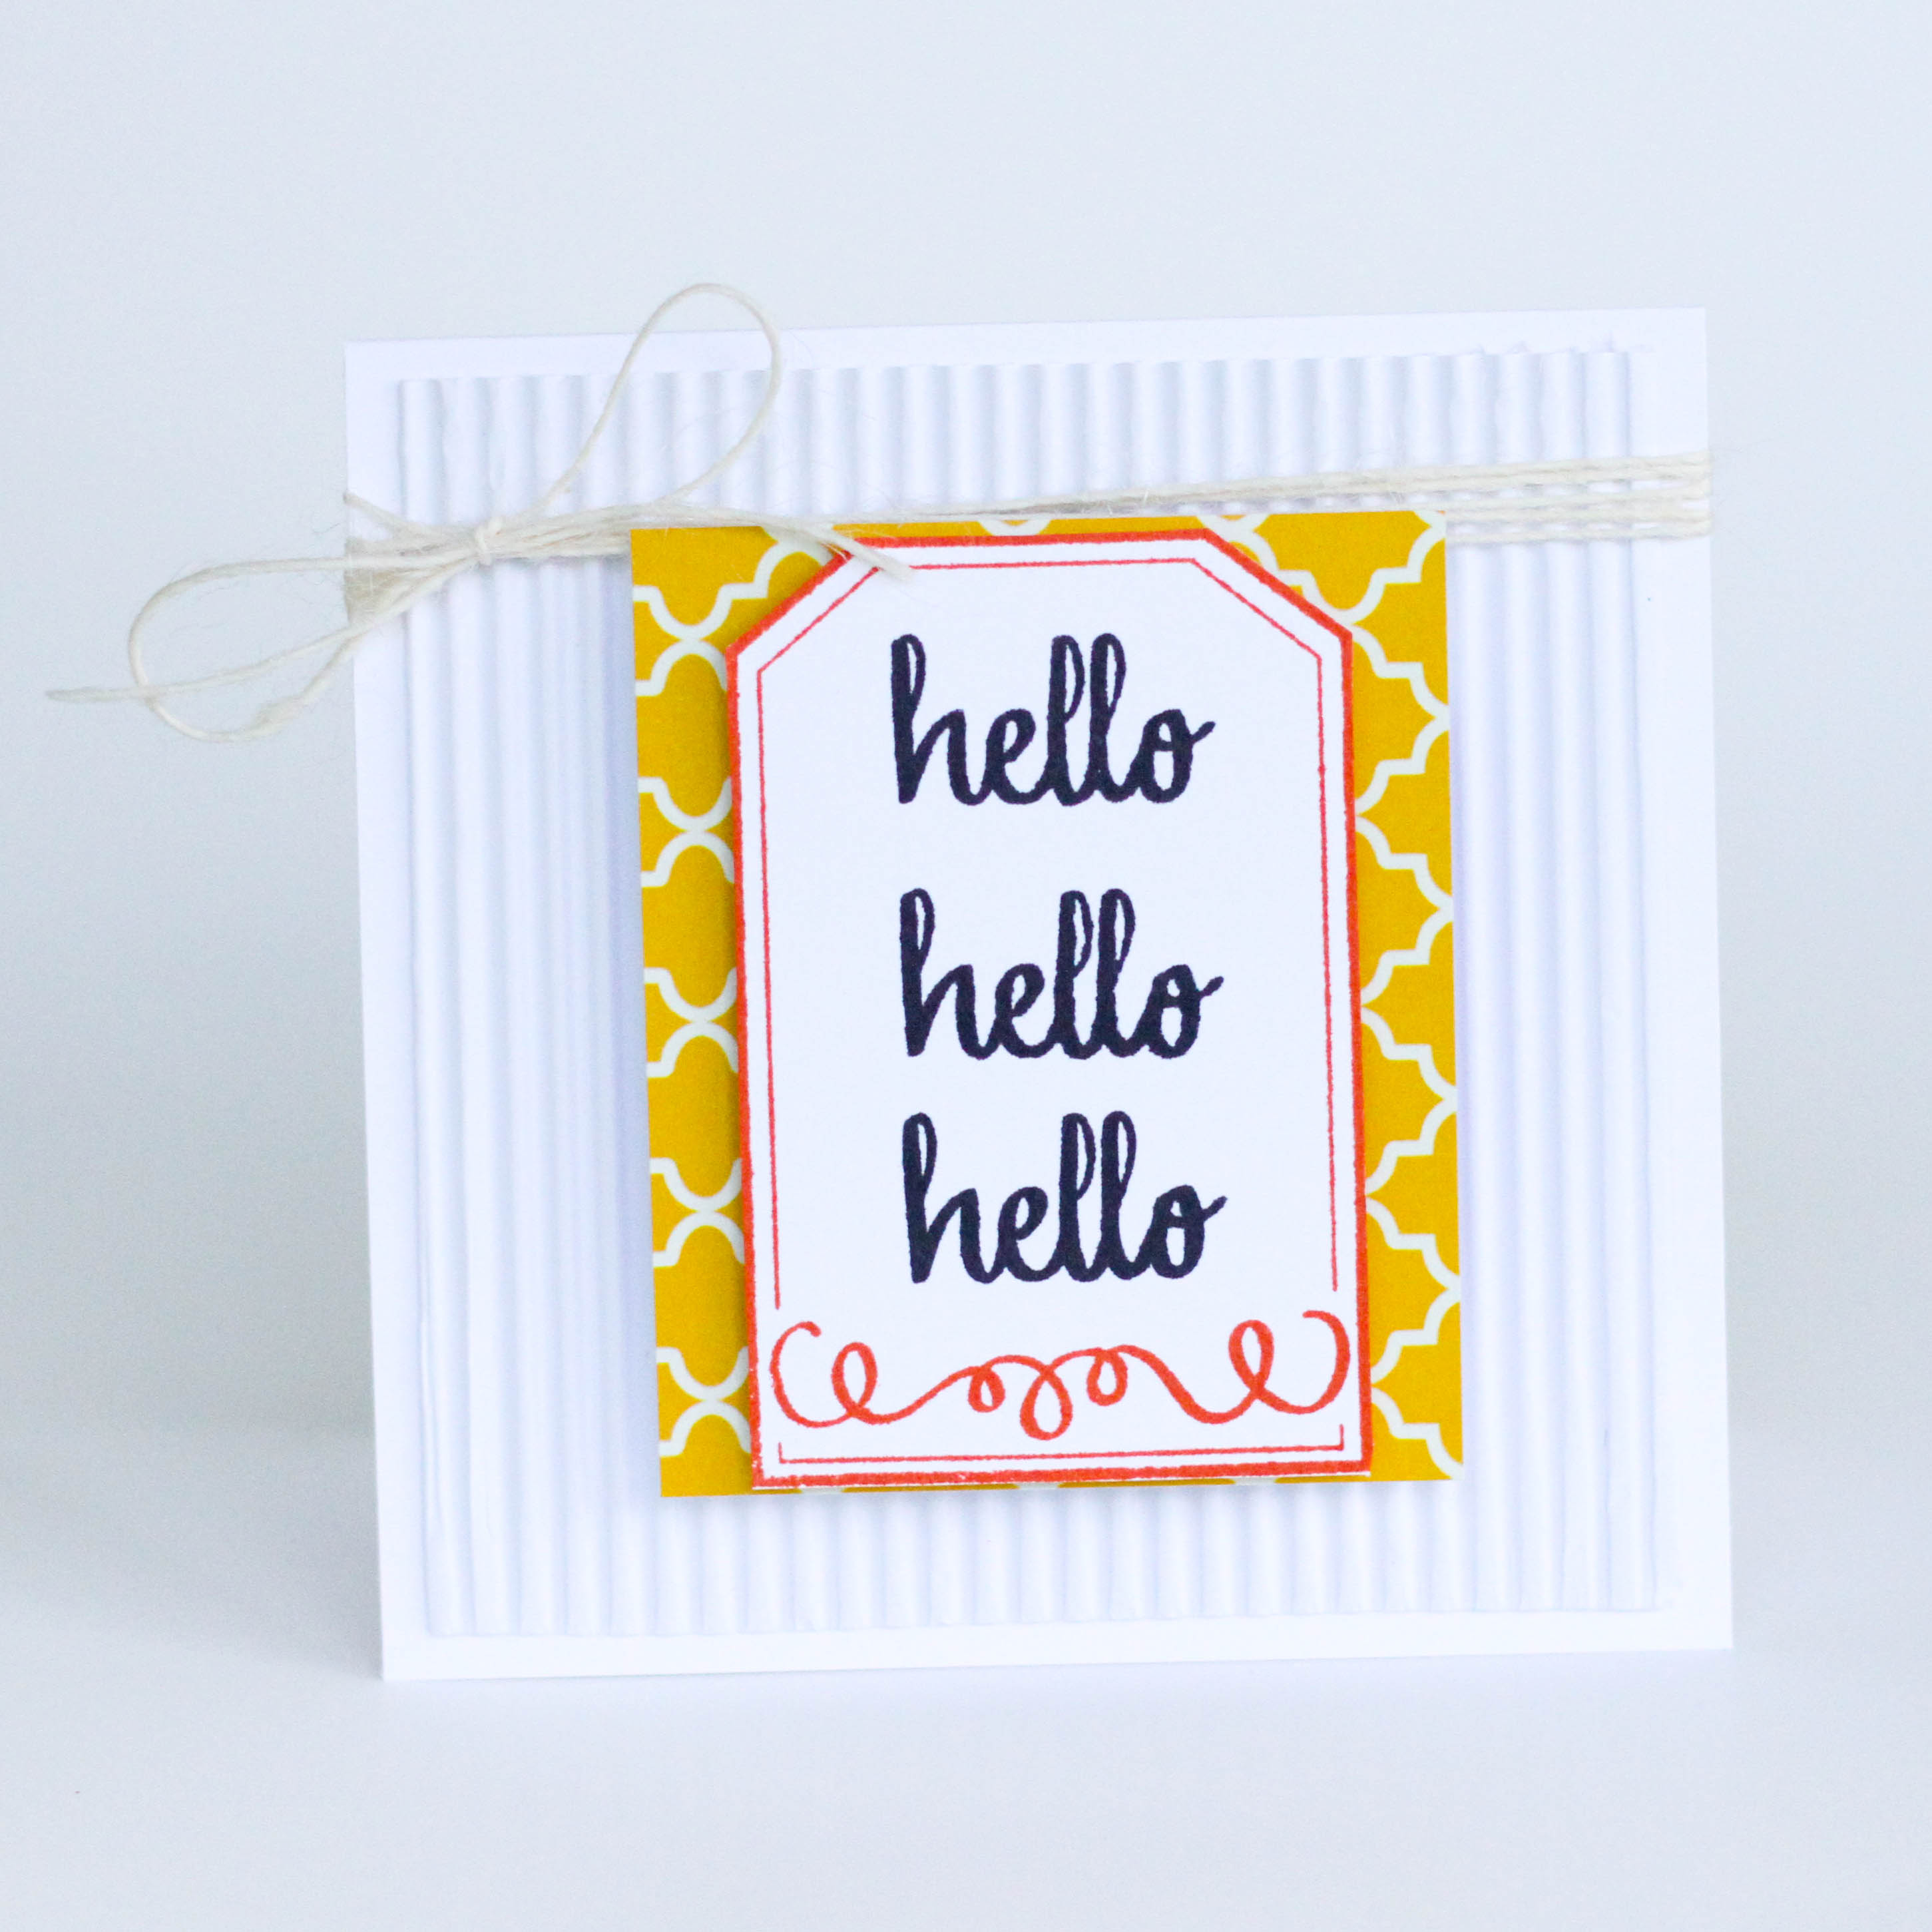
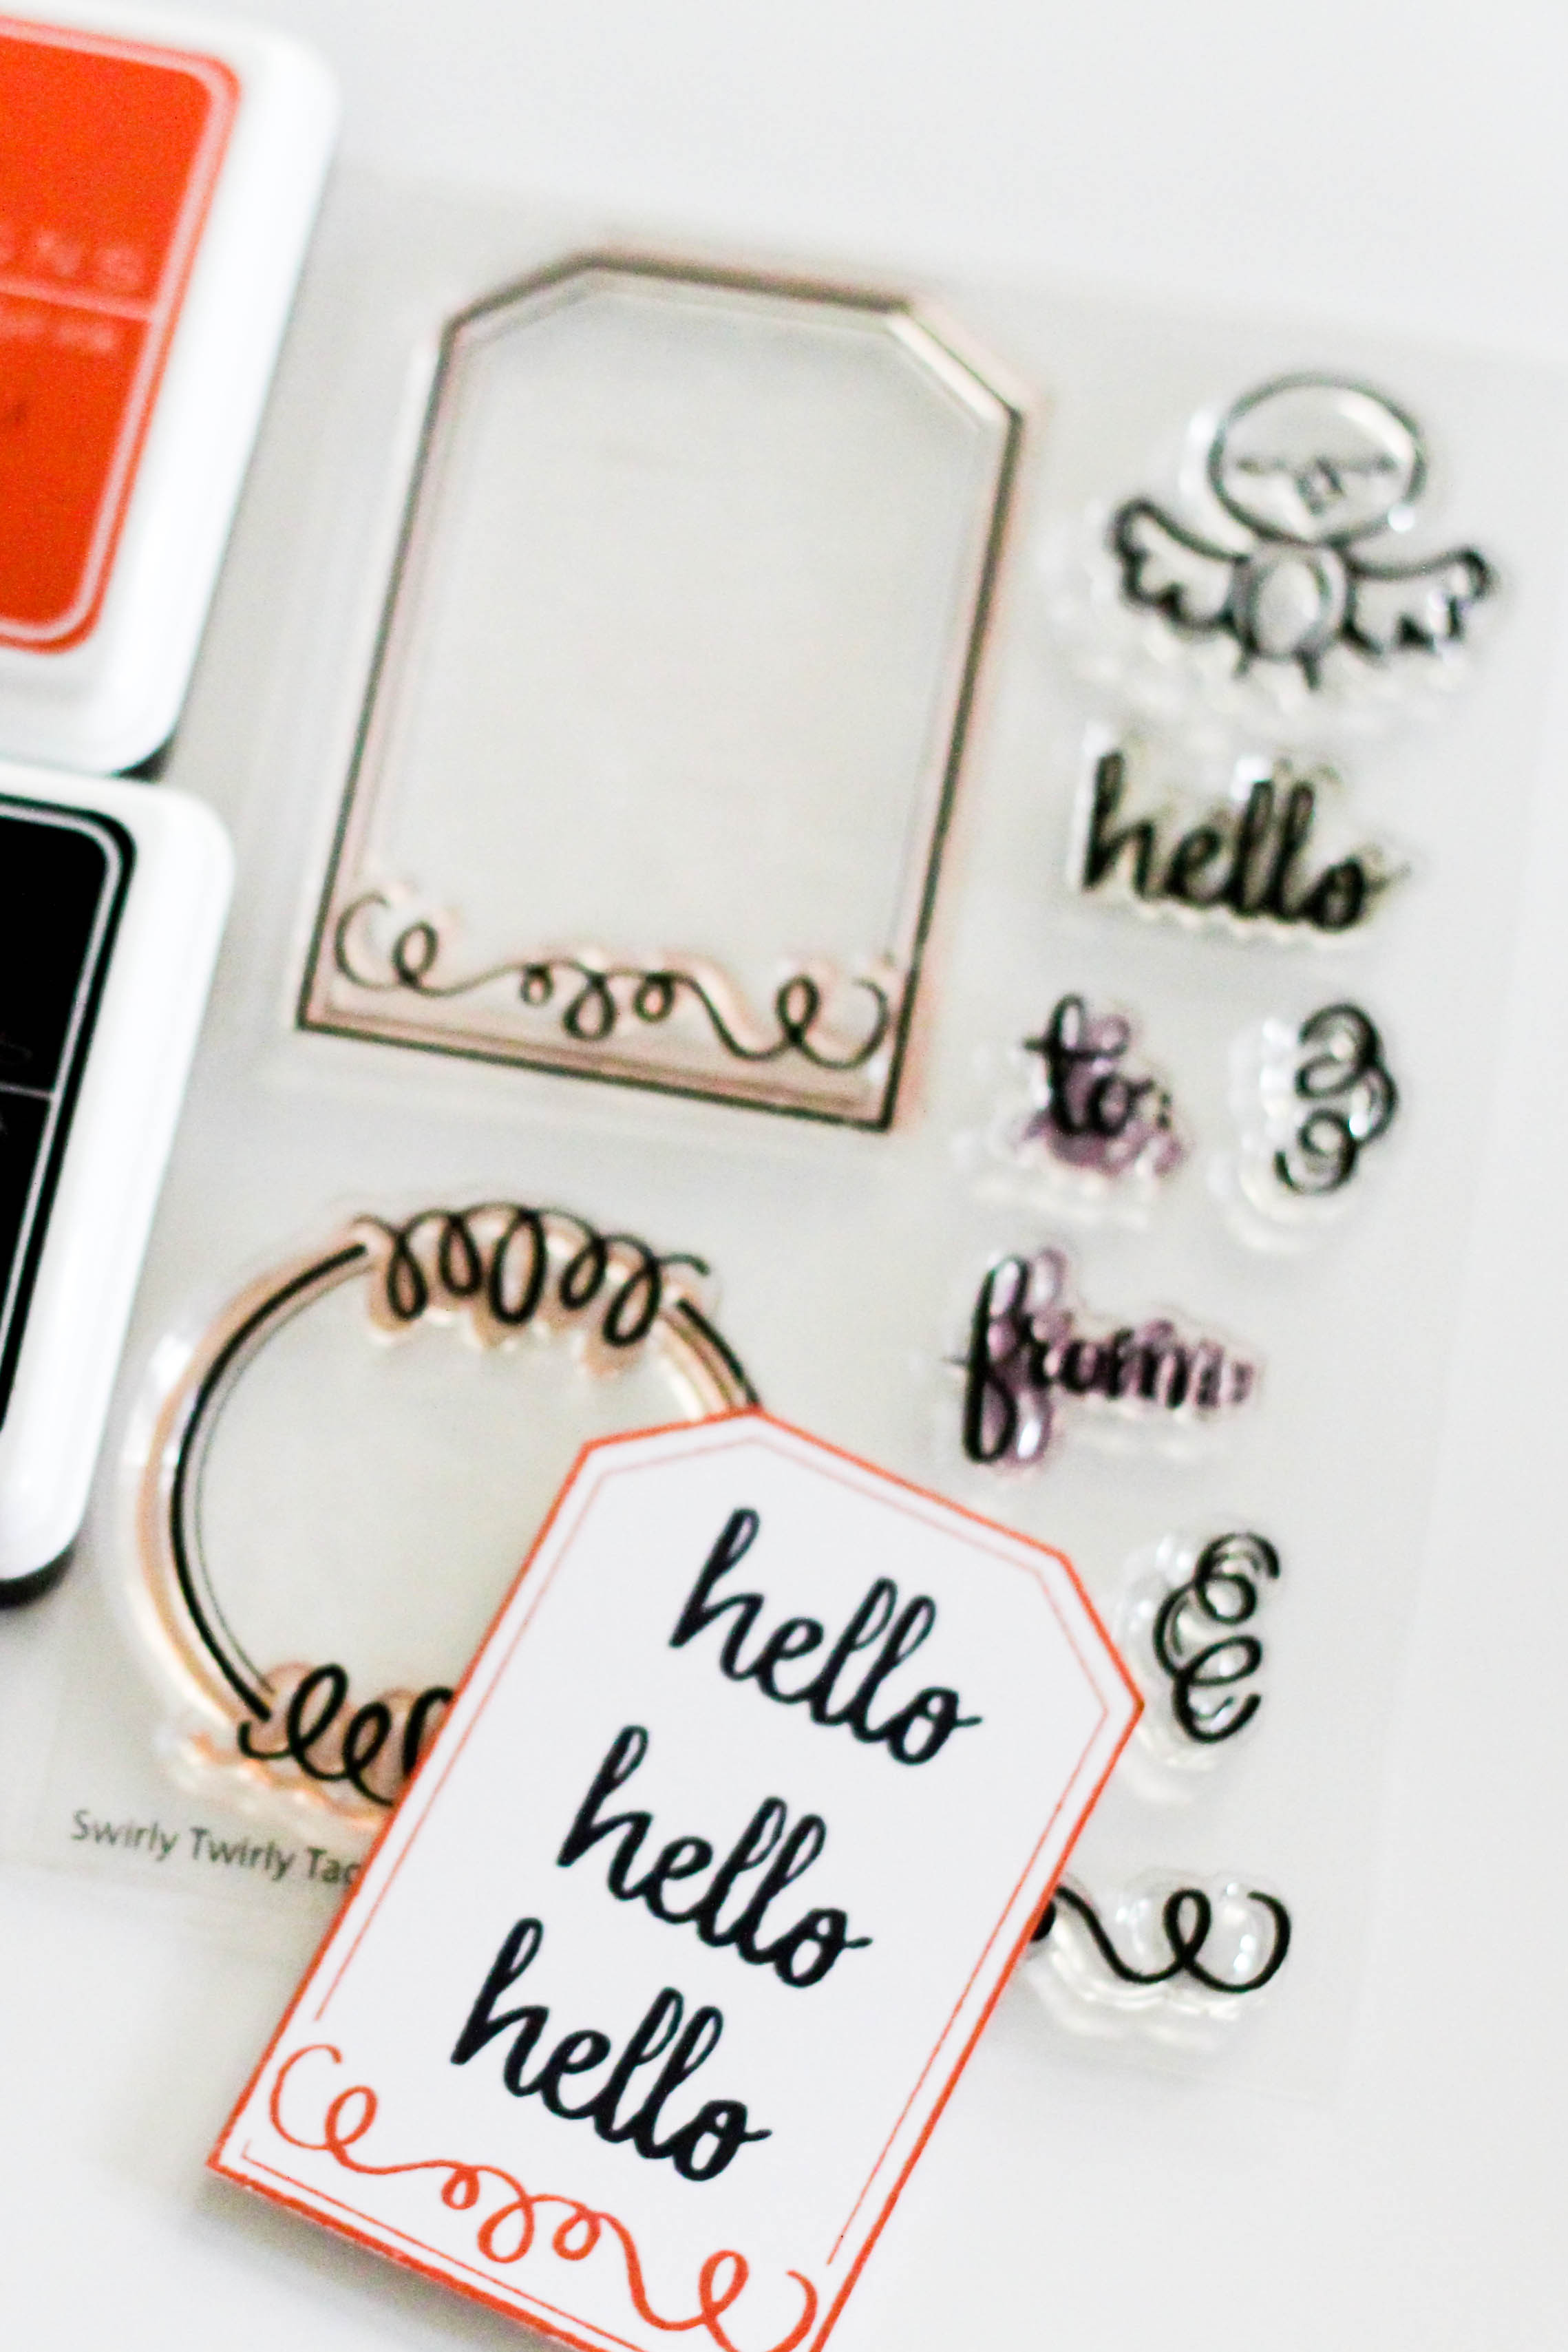
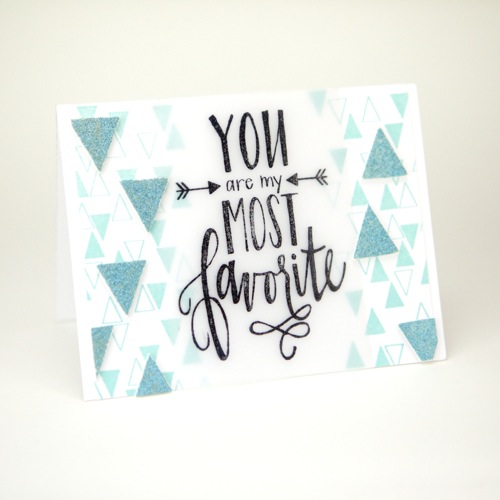
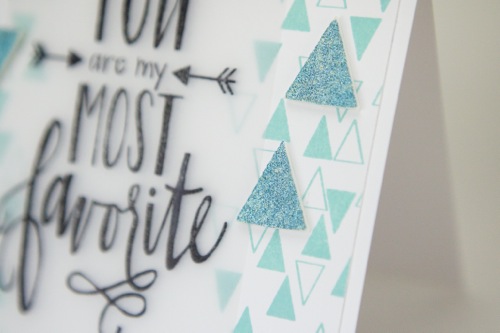
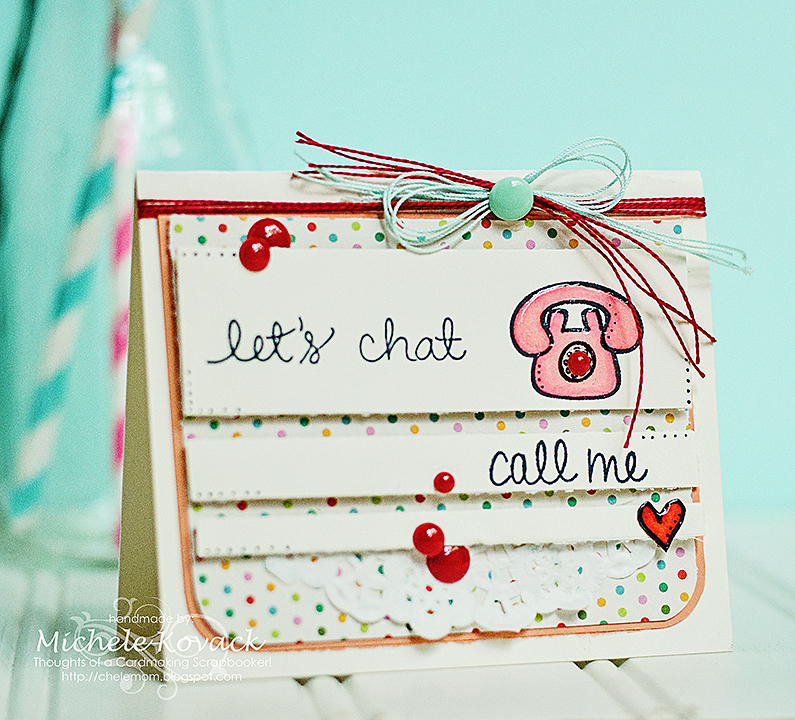
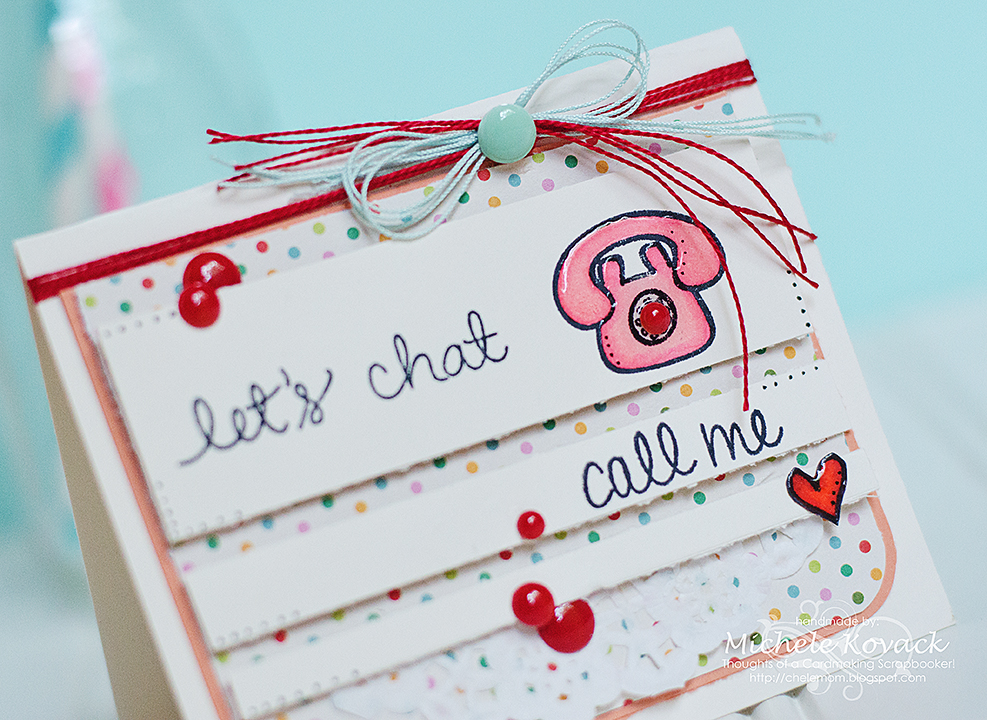
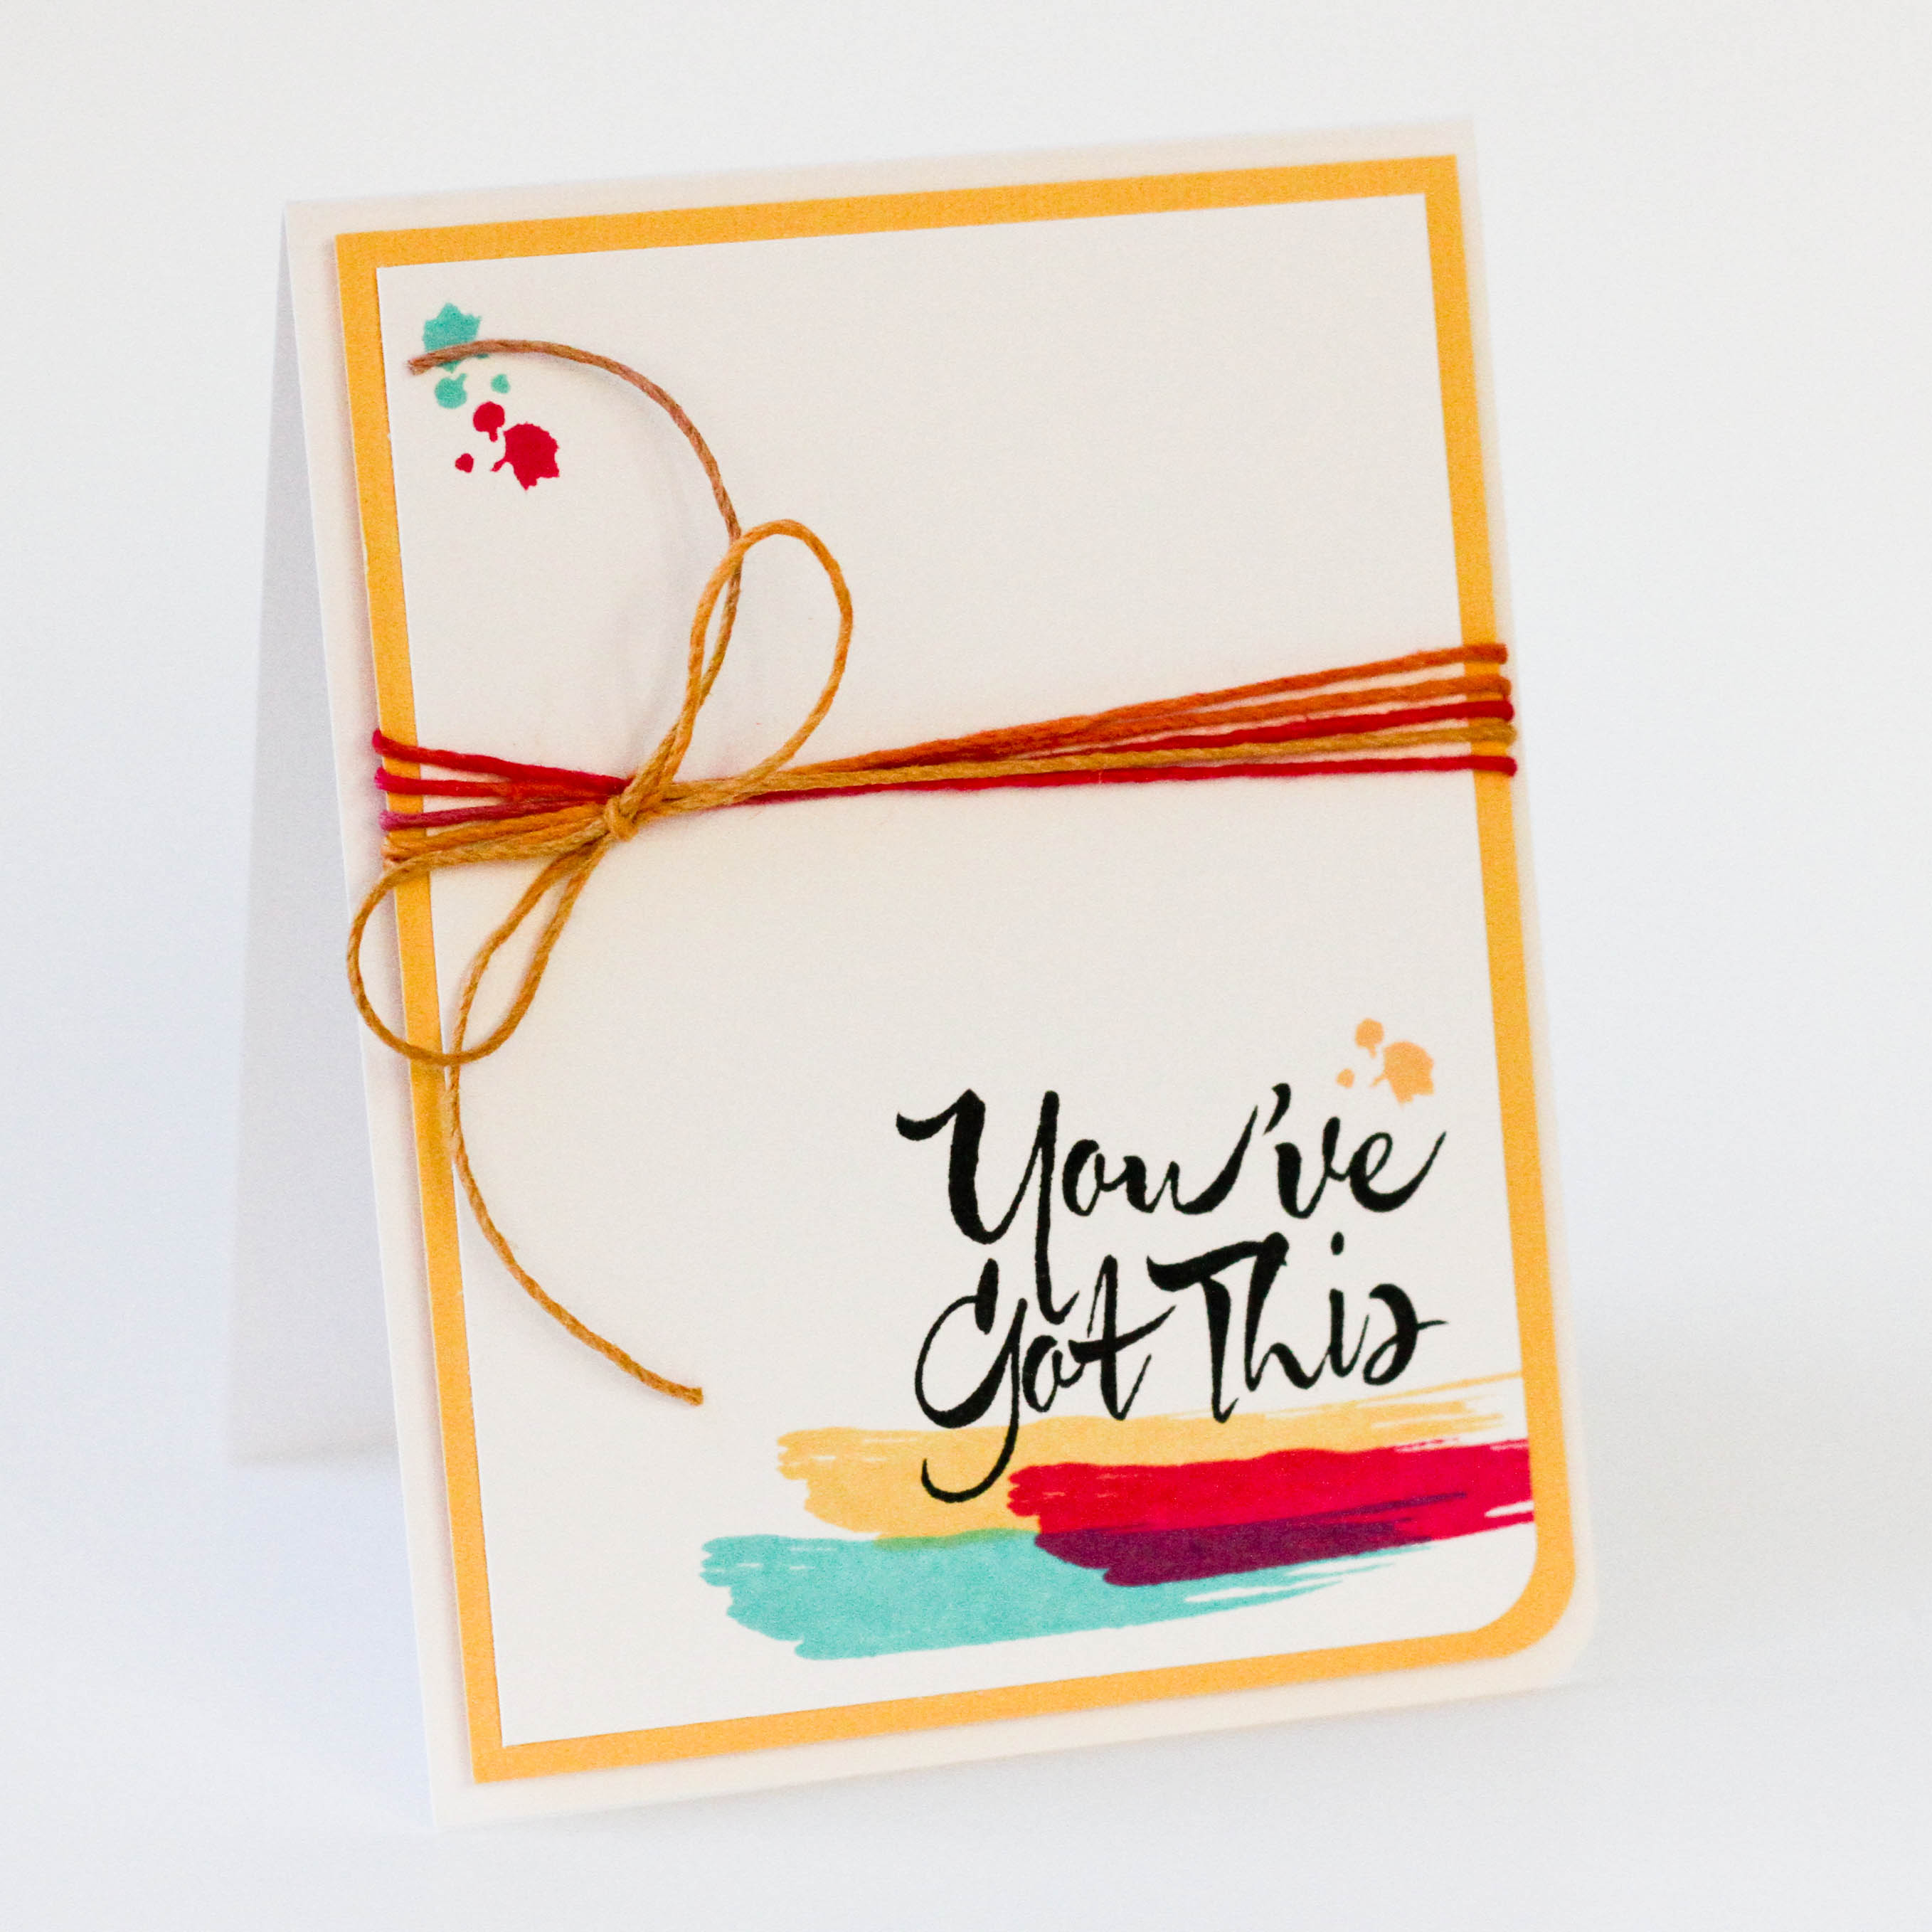
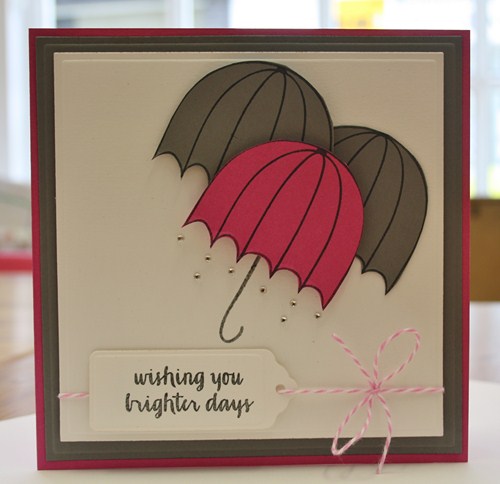
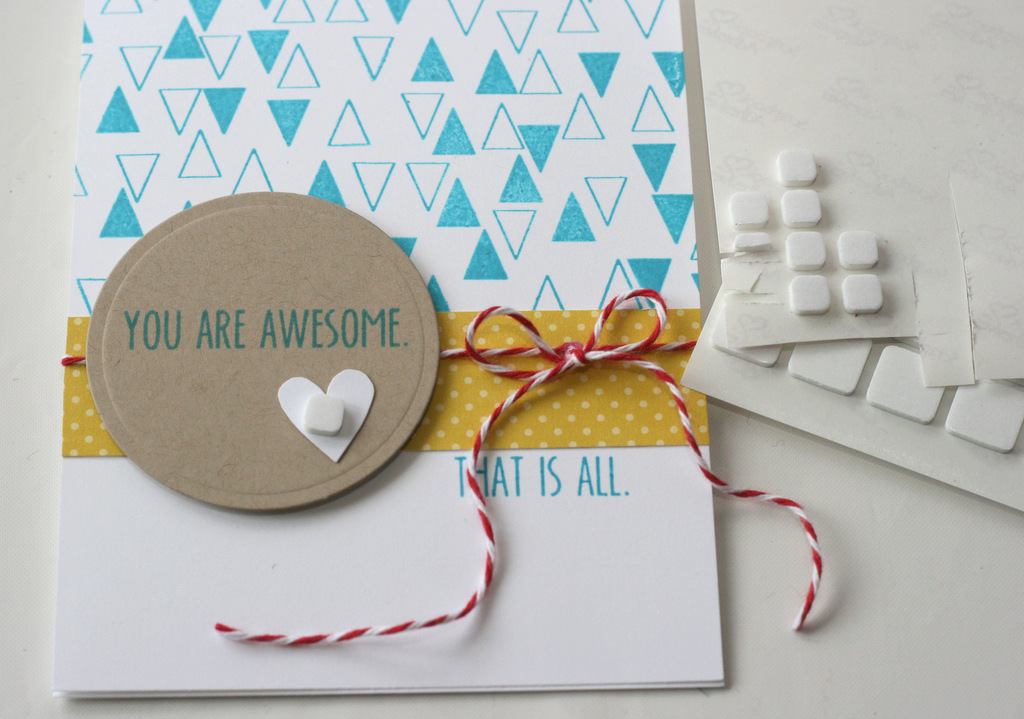
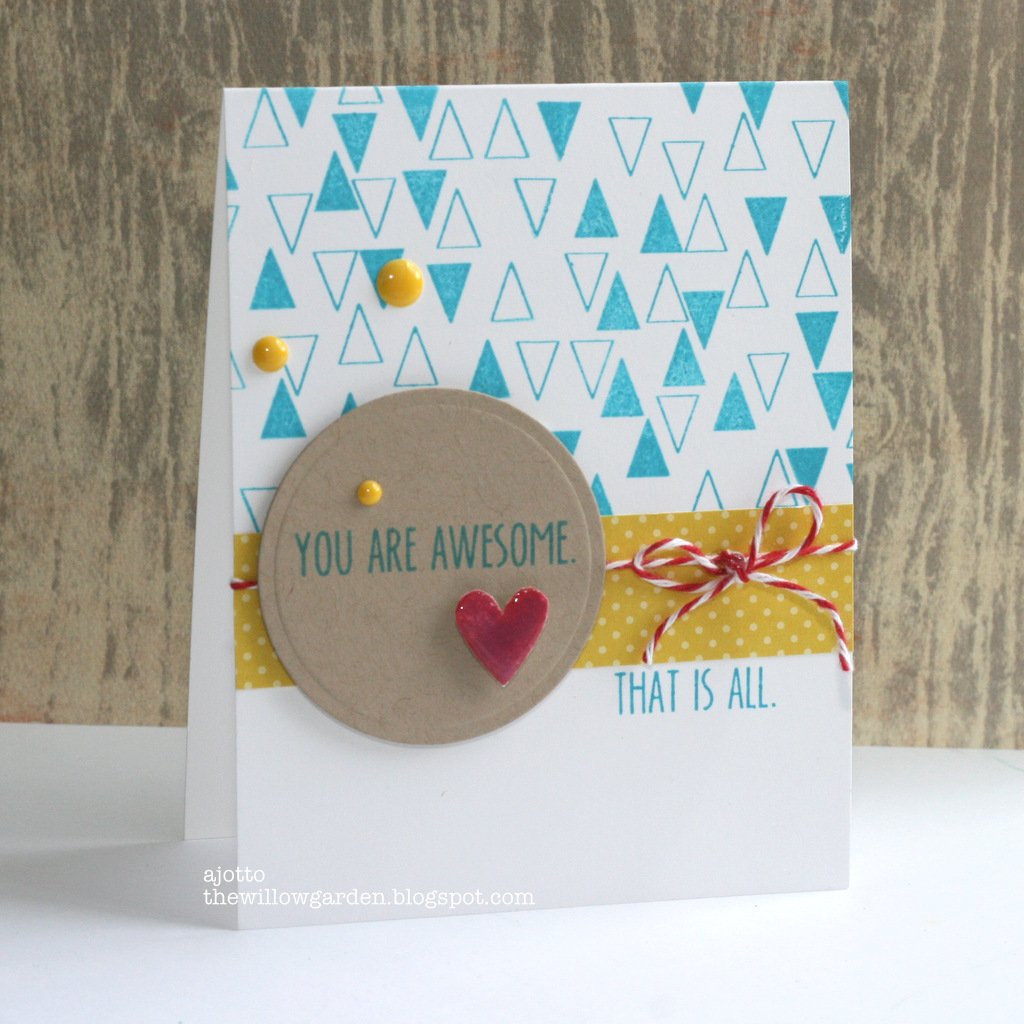 My card today uses the Tiny Triangles background and the You + Me set.
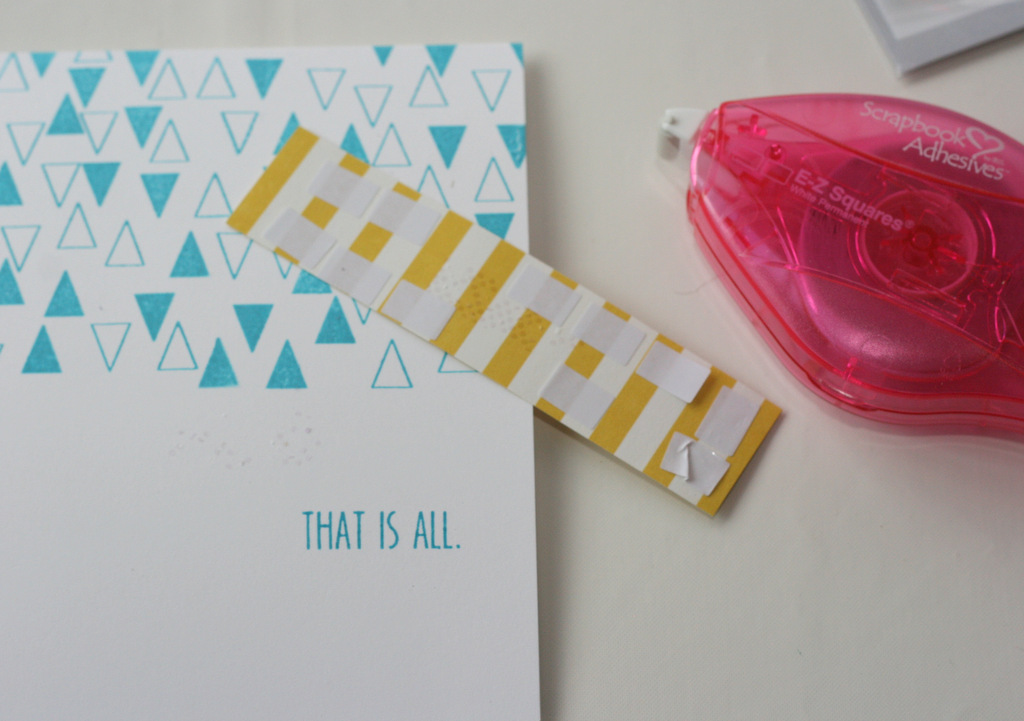
I start by stamping the triangles on the upper portion of my card. I also stamp part of my sentiment below where my patterned paper will go- I adhere it temporarily with E-Z Dots® Repositionable Refillable, stamp the sentiment and then secure the strip with E-Z Squares® Refilllable. Just. in. case. 🙂 Stamp accidents happen! 😉
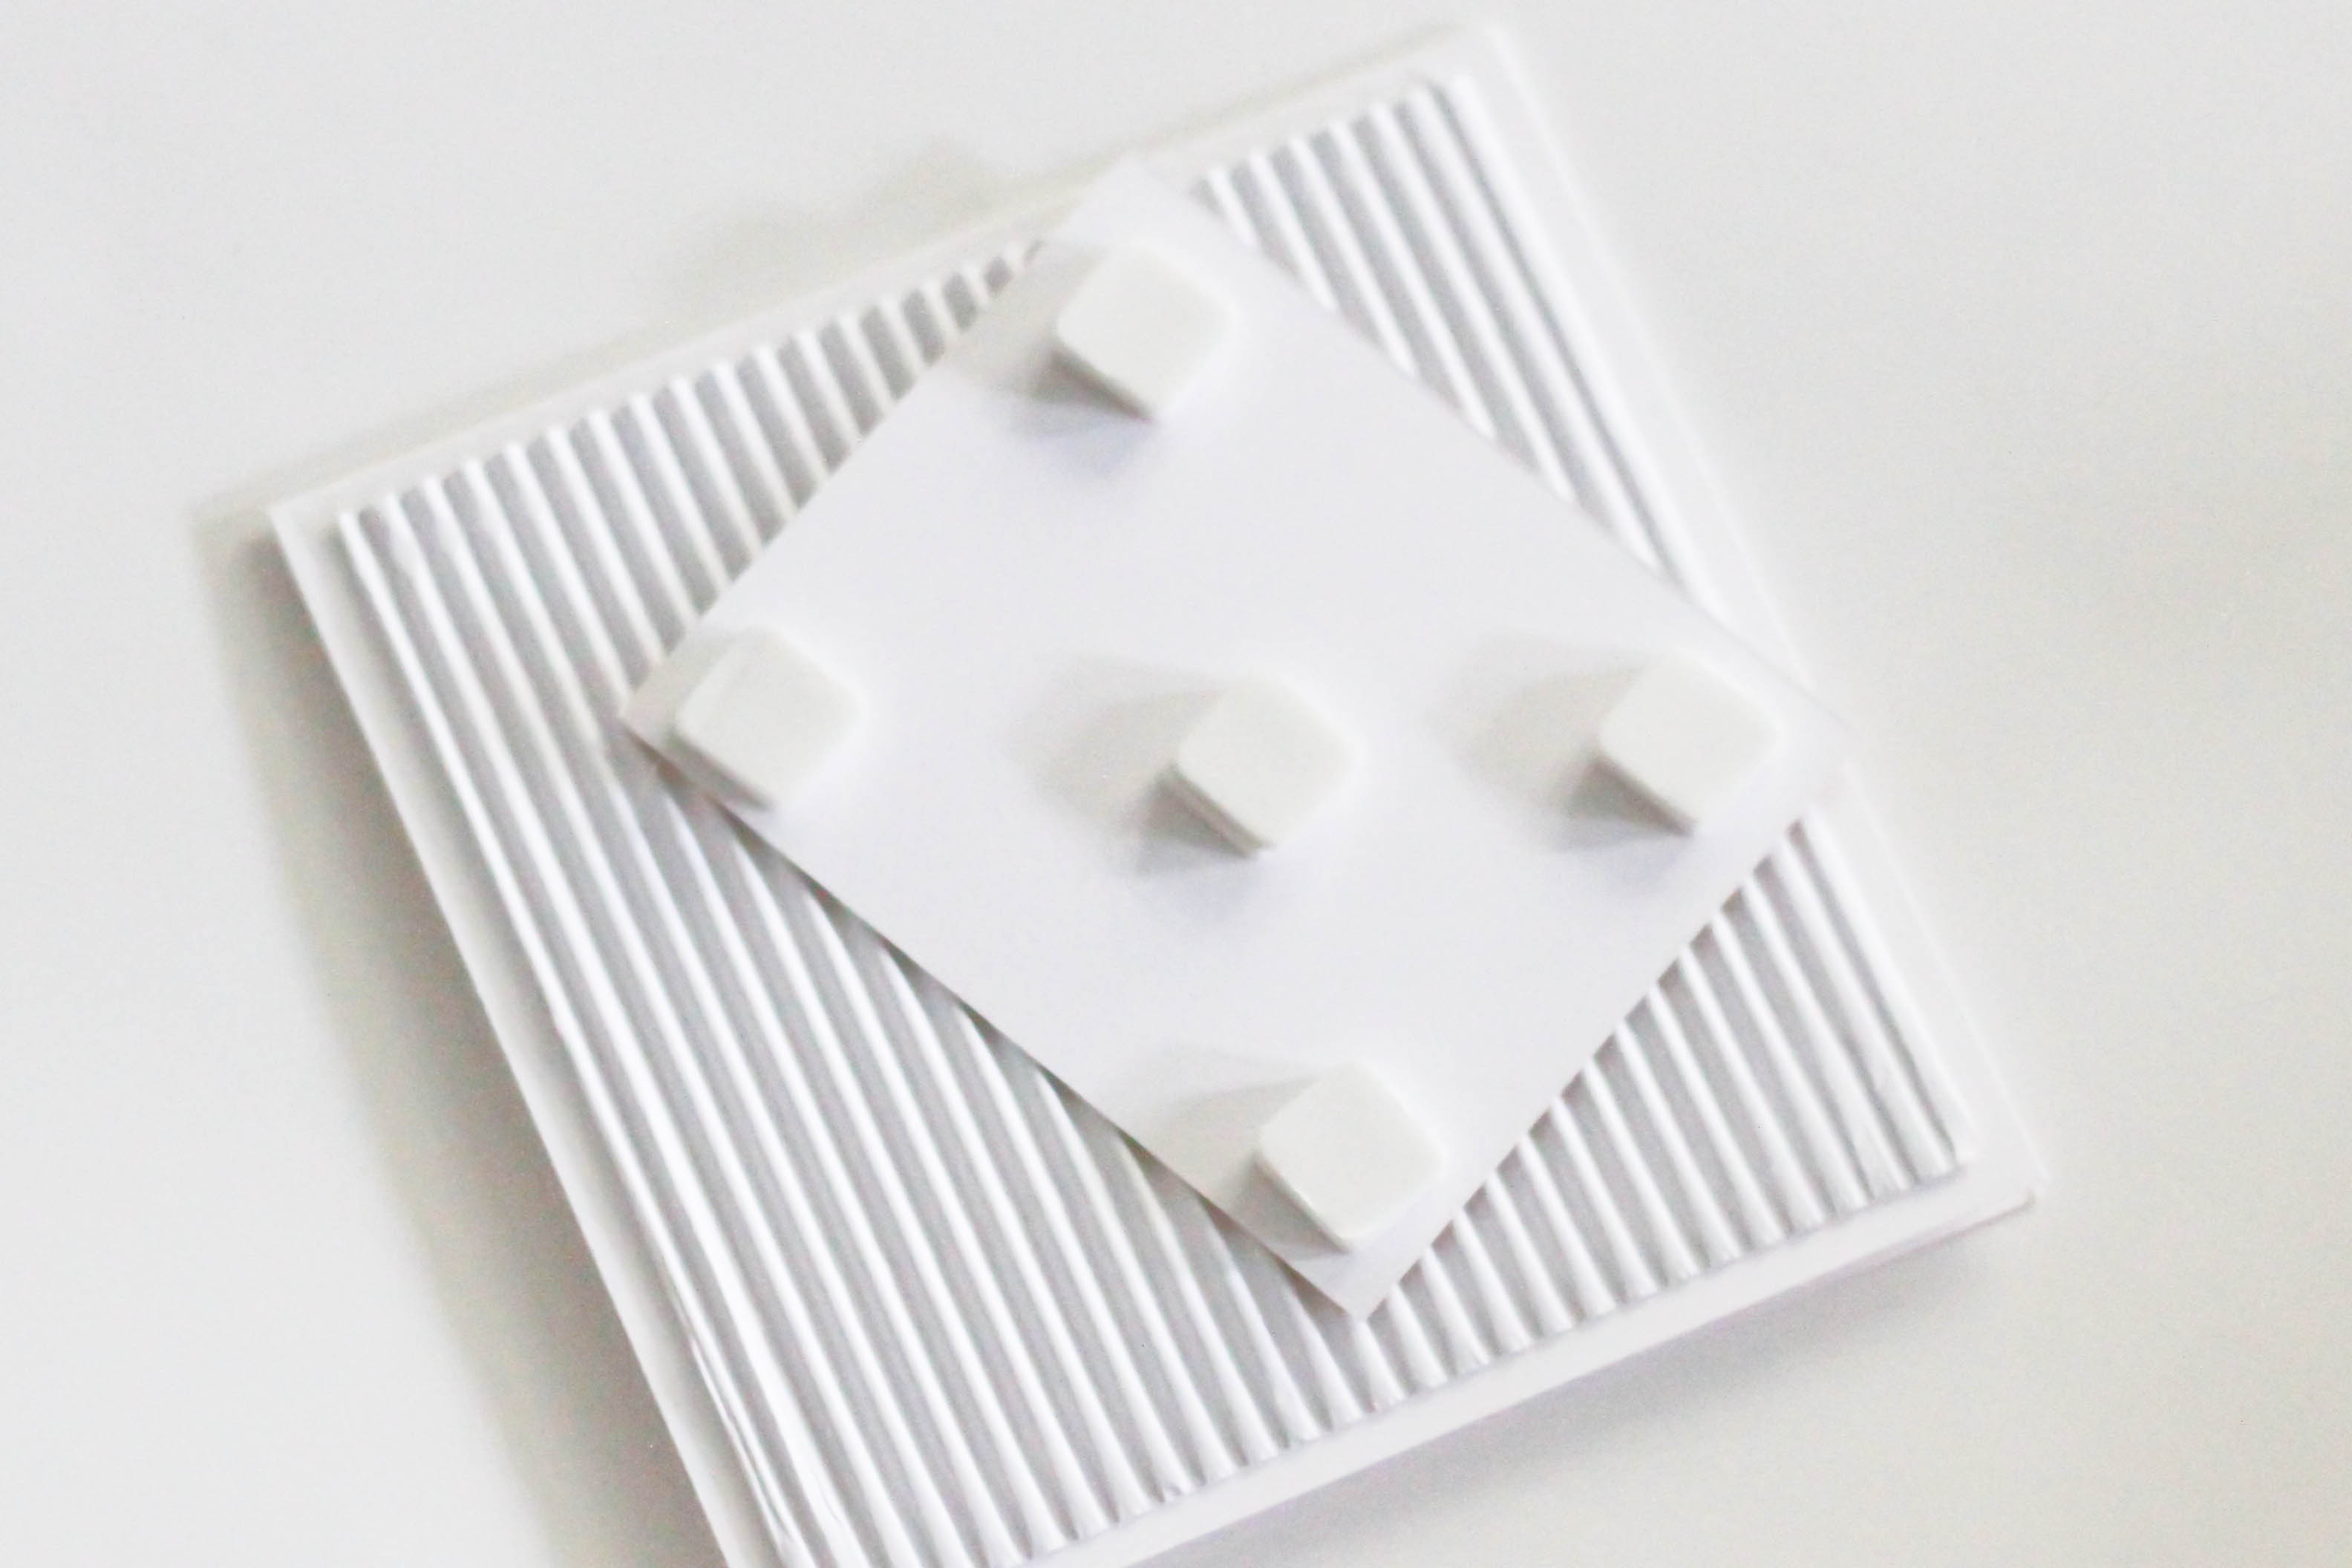
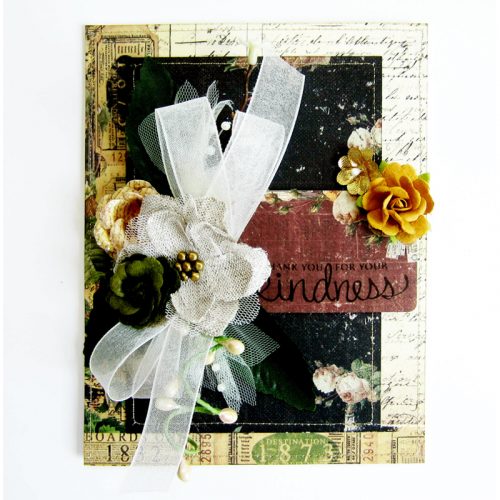
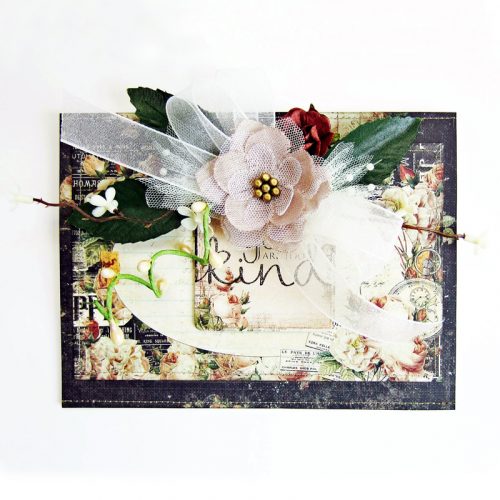
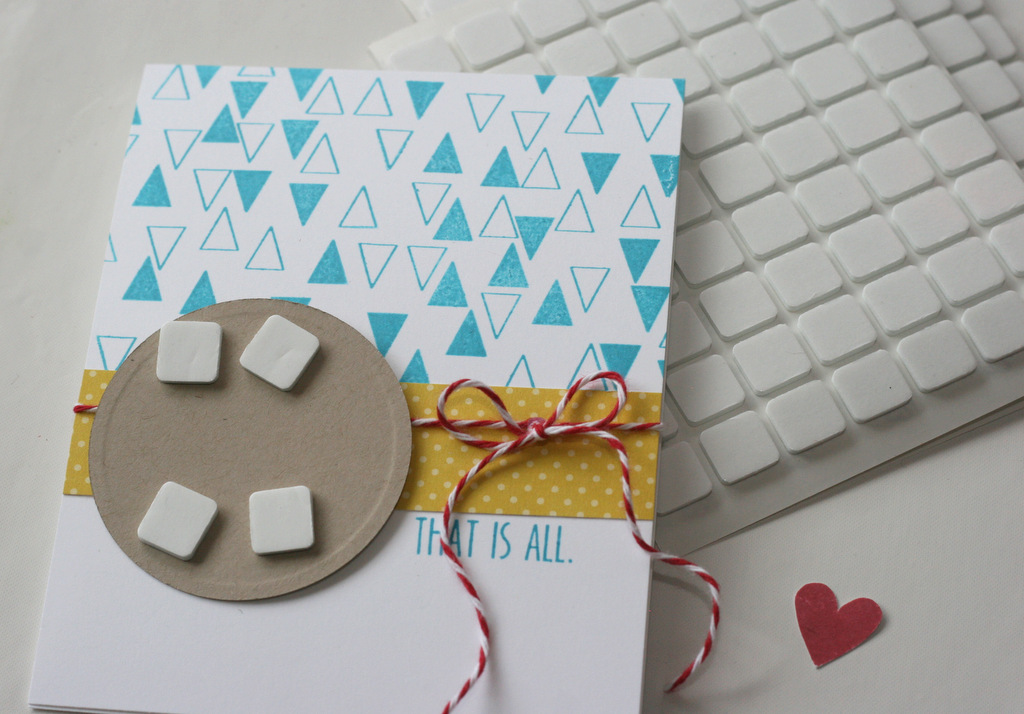 After my patterned paper is adhered, I wrapped a piece of twine around. To adhere my die cut, I always lay it over where it’s to be placed- and then place my 3D Foam Squares appropriately to avoid sitting on the twine. That can look lumpy sometimes.
 I then secure my stamped heart cut out with the smaller 3D Foam Square from the pack and finish it off with a few enamel dots.
At the end of the week we will pull a winner from all entries through our Rafflecopter box. Please enter through the Rafflecopter system with a blog comment. Additional entries are available too! Good Luck and thanks for visiting! Come back each day to enter, contest runs from June 23-27 at 11:59pm Central Time! Don’t forget to visit the Neat and Tangle’s Blog for more chances to win!
a Rafflecopter giveaway
Enjoy!
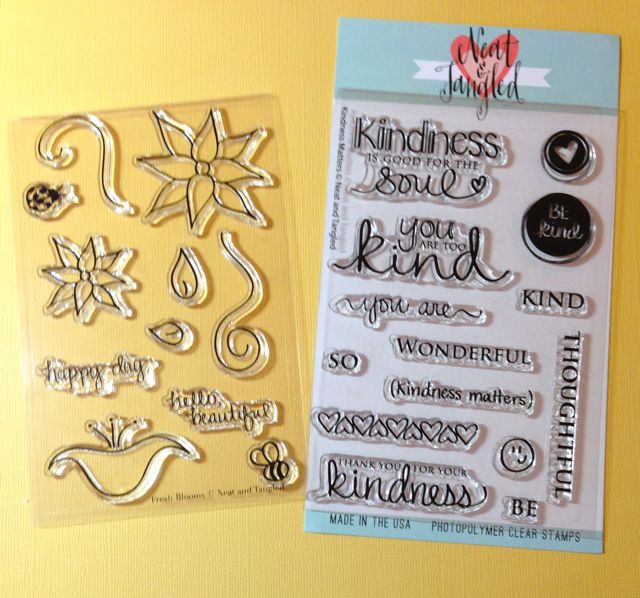
stamps: Tiny Triangles background, You + Me from Neat & Tangled
Patterned paper- Echo Park, My Minds Eye enamel Dots, Spellbinders ink, twine