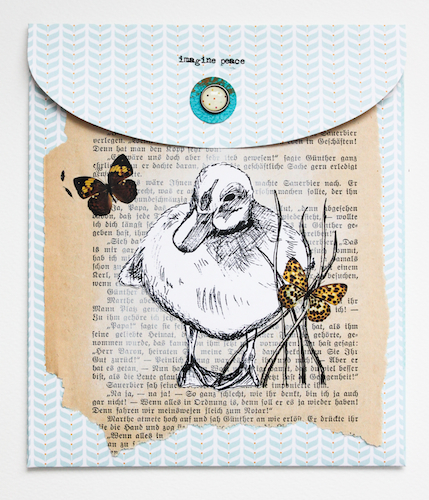
Hi there,
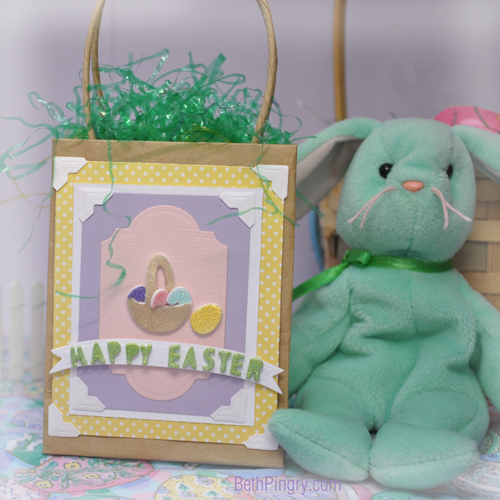
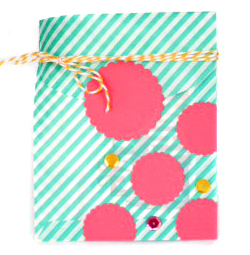
I want to show you a little Easter Bag.

Here is a little Tutorial how I made it.
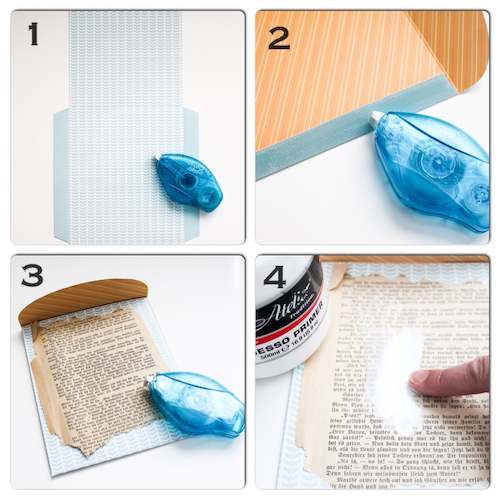
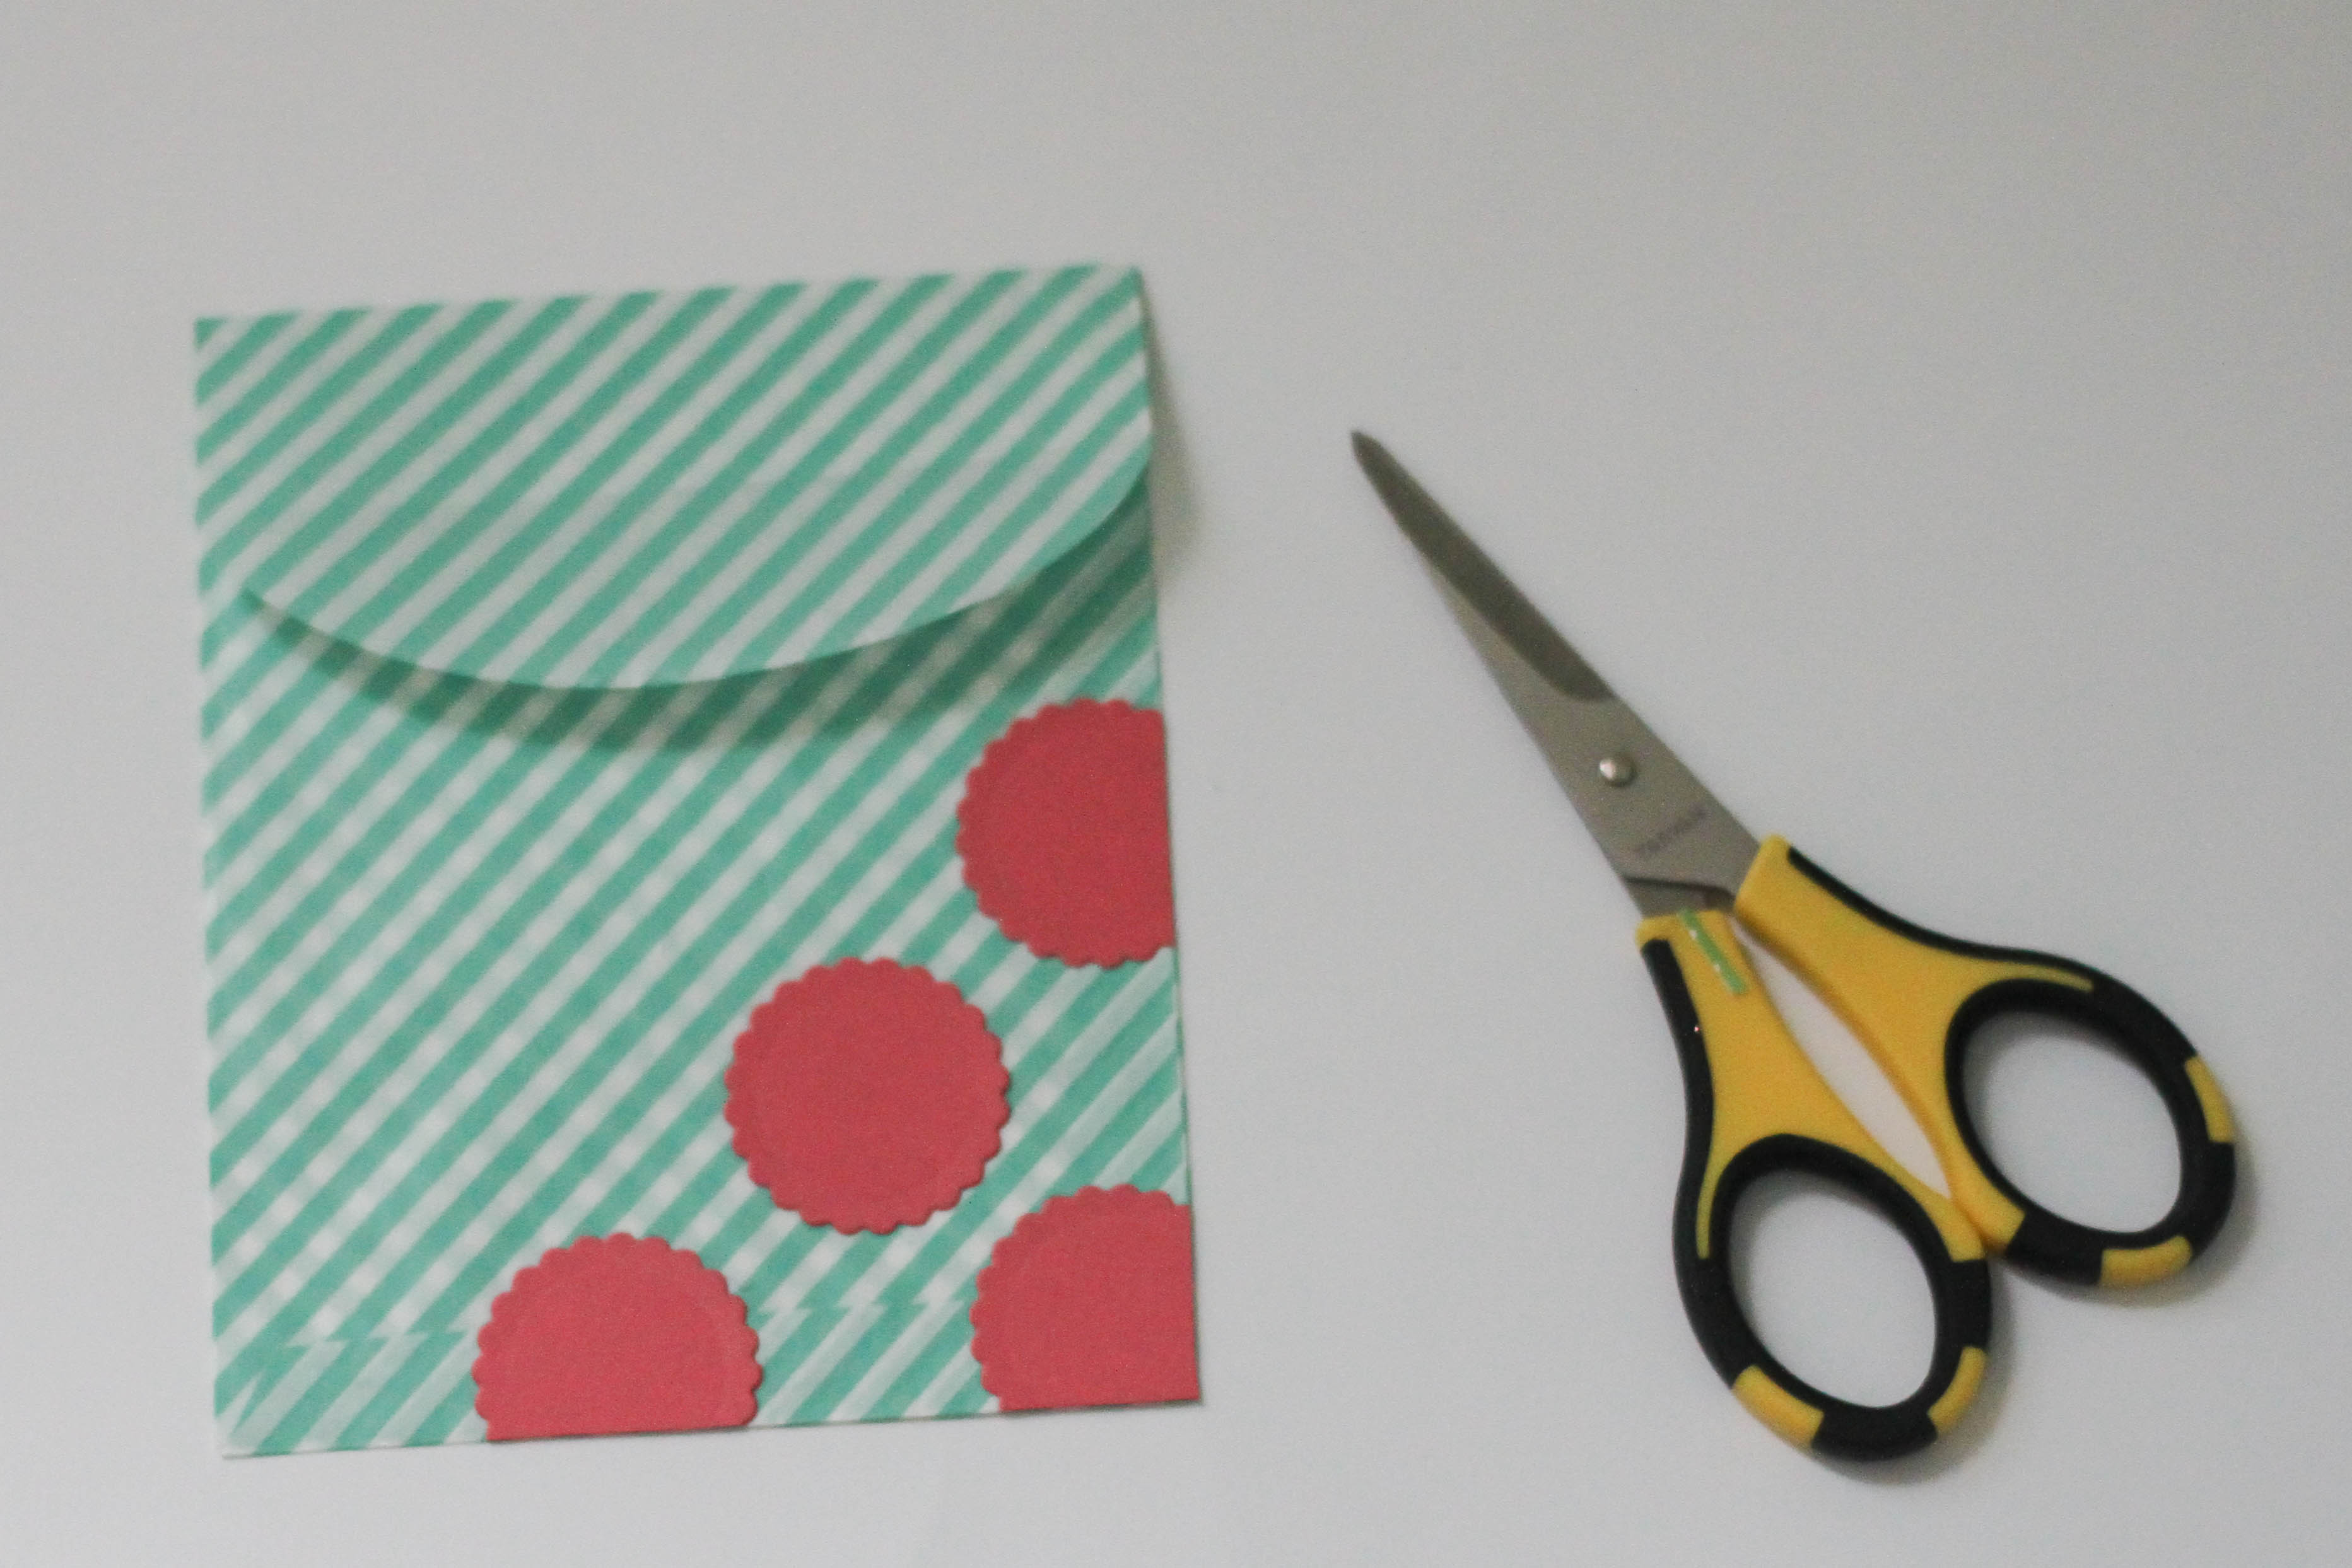
1 – I used a bag from a Pocket Book Pad designed by Leeza Gibbons.
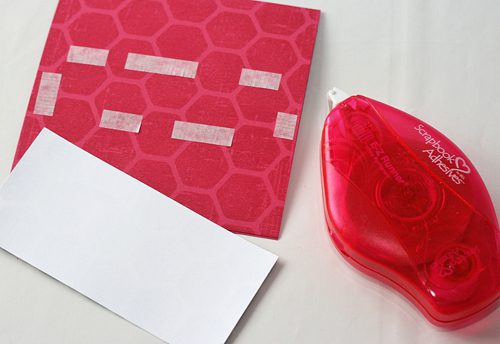
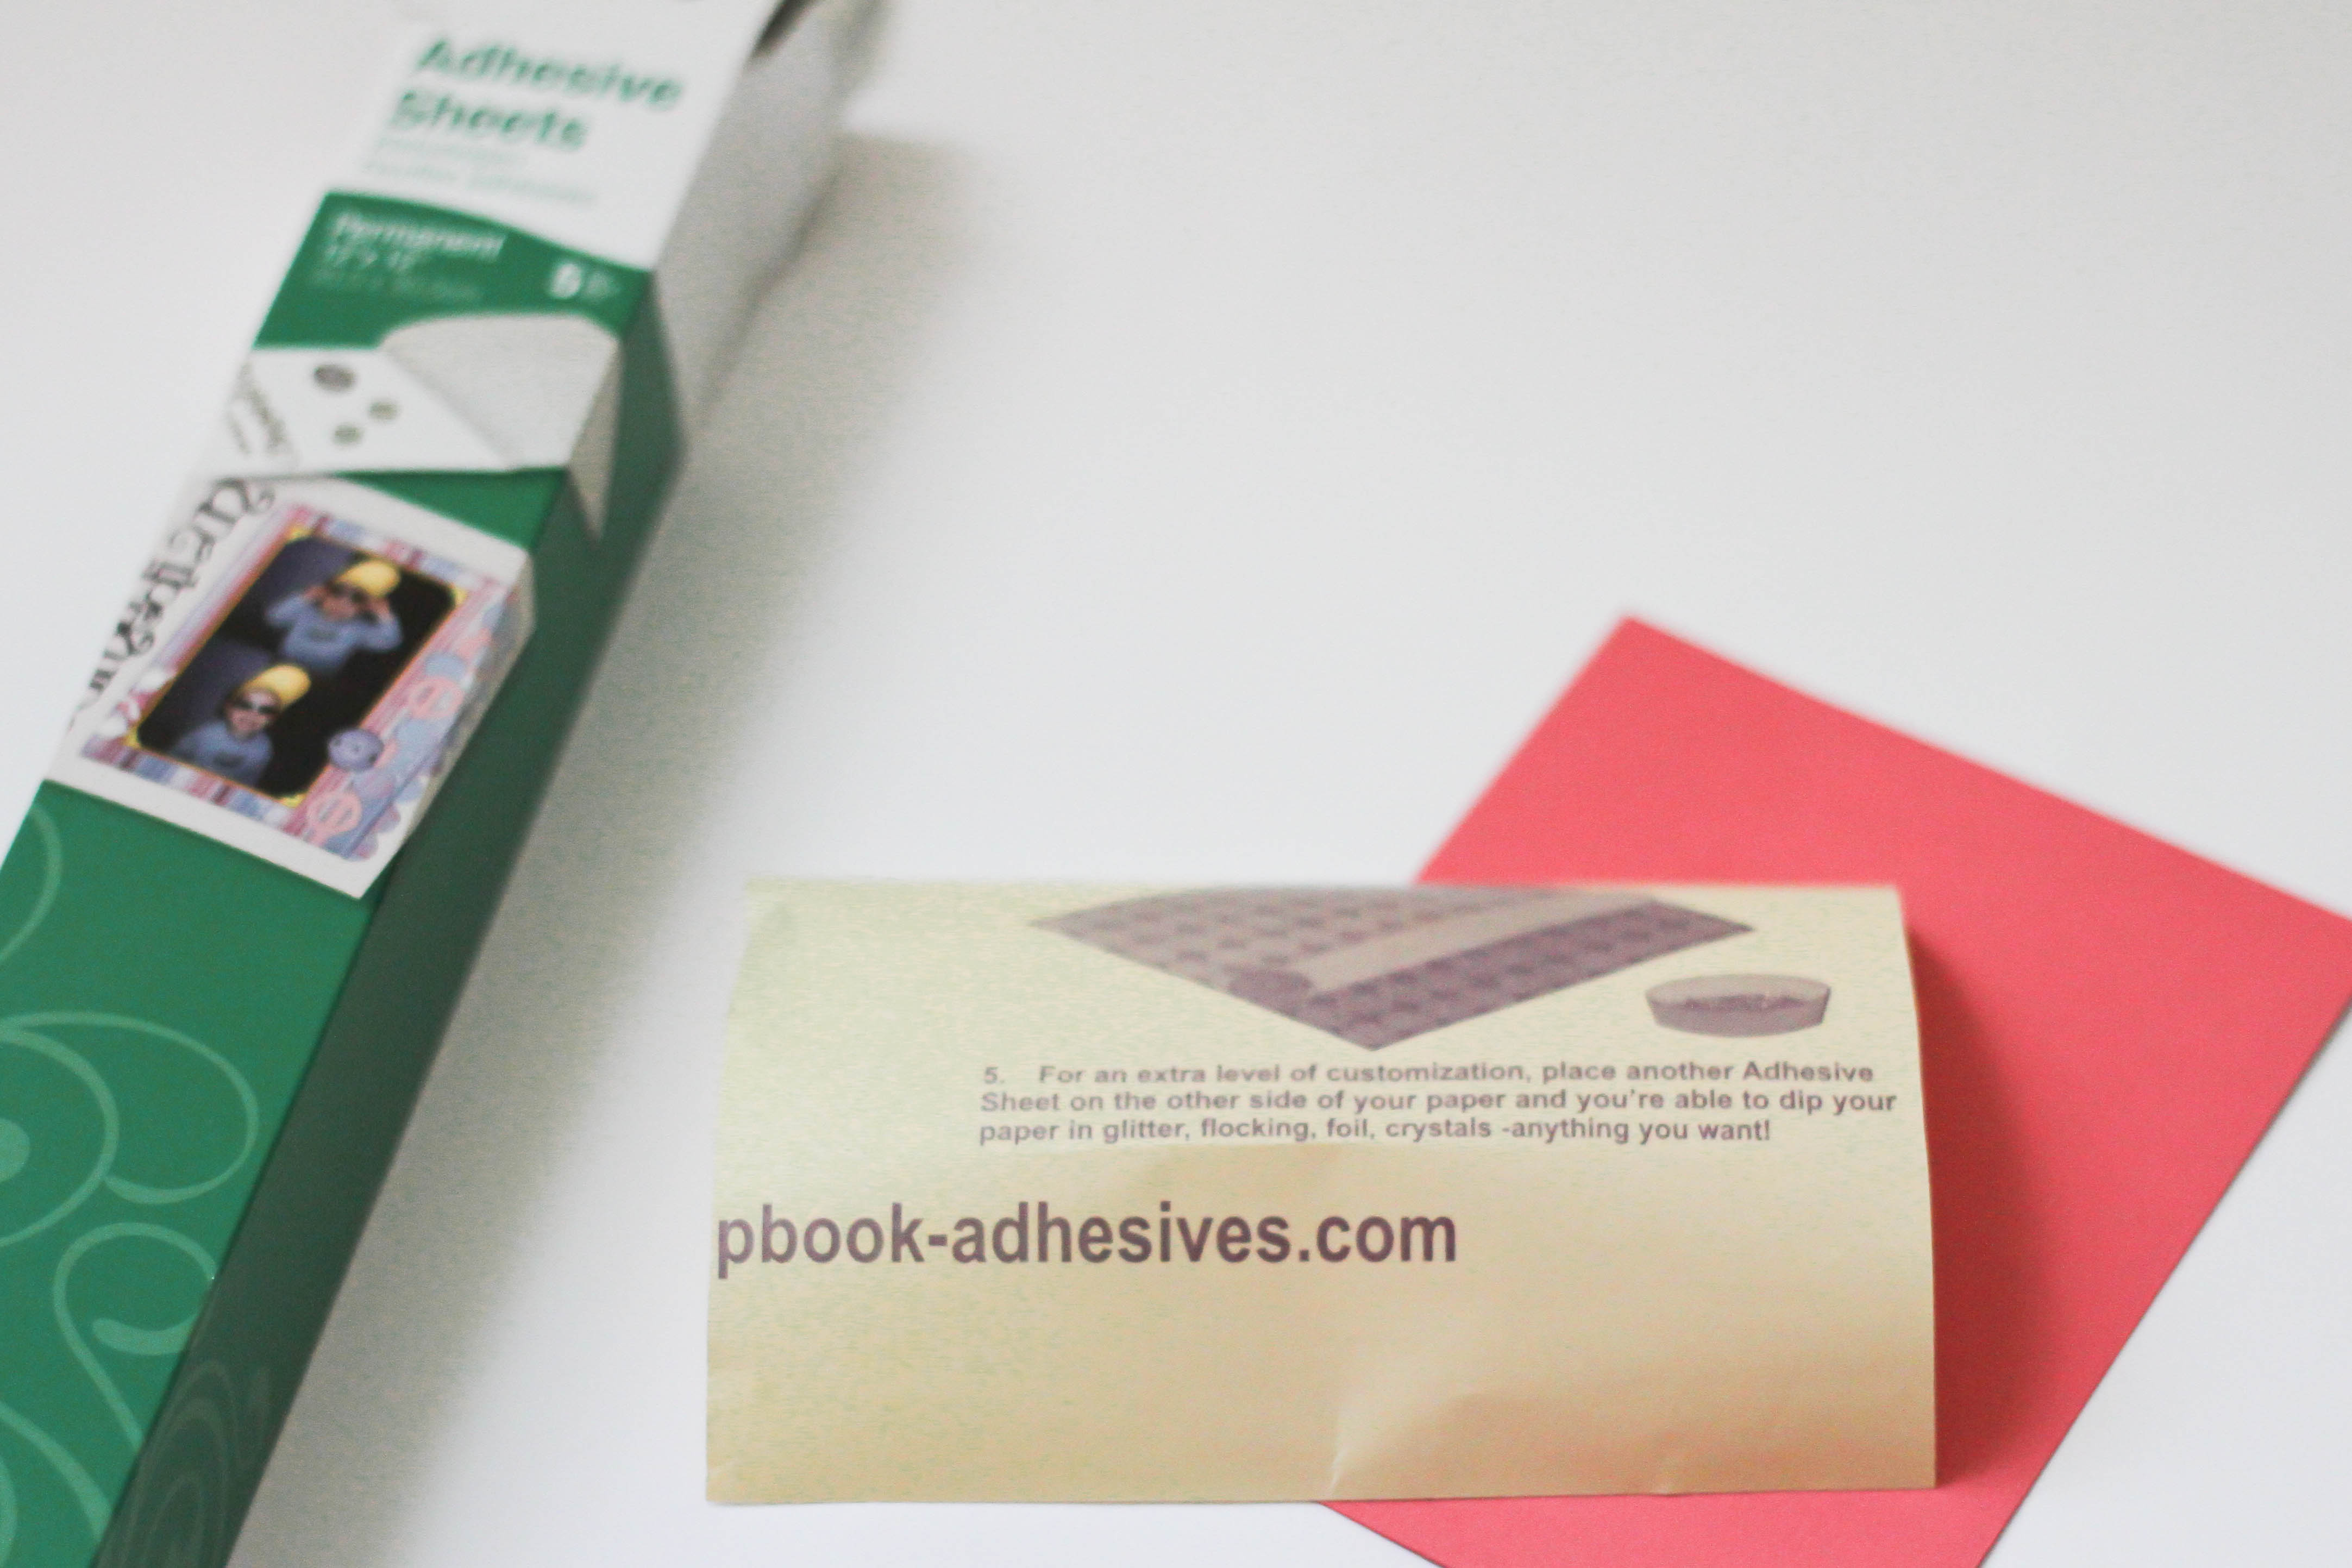
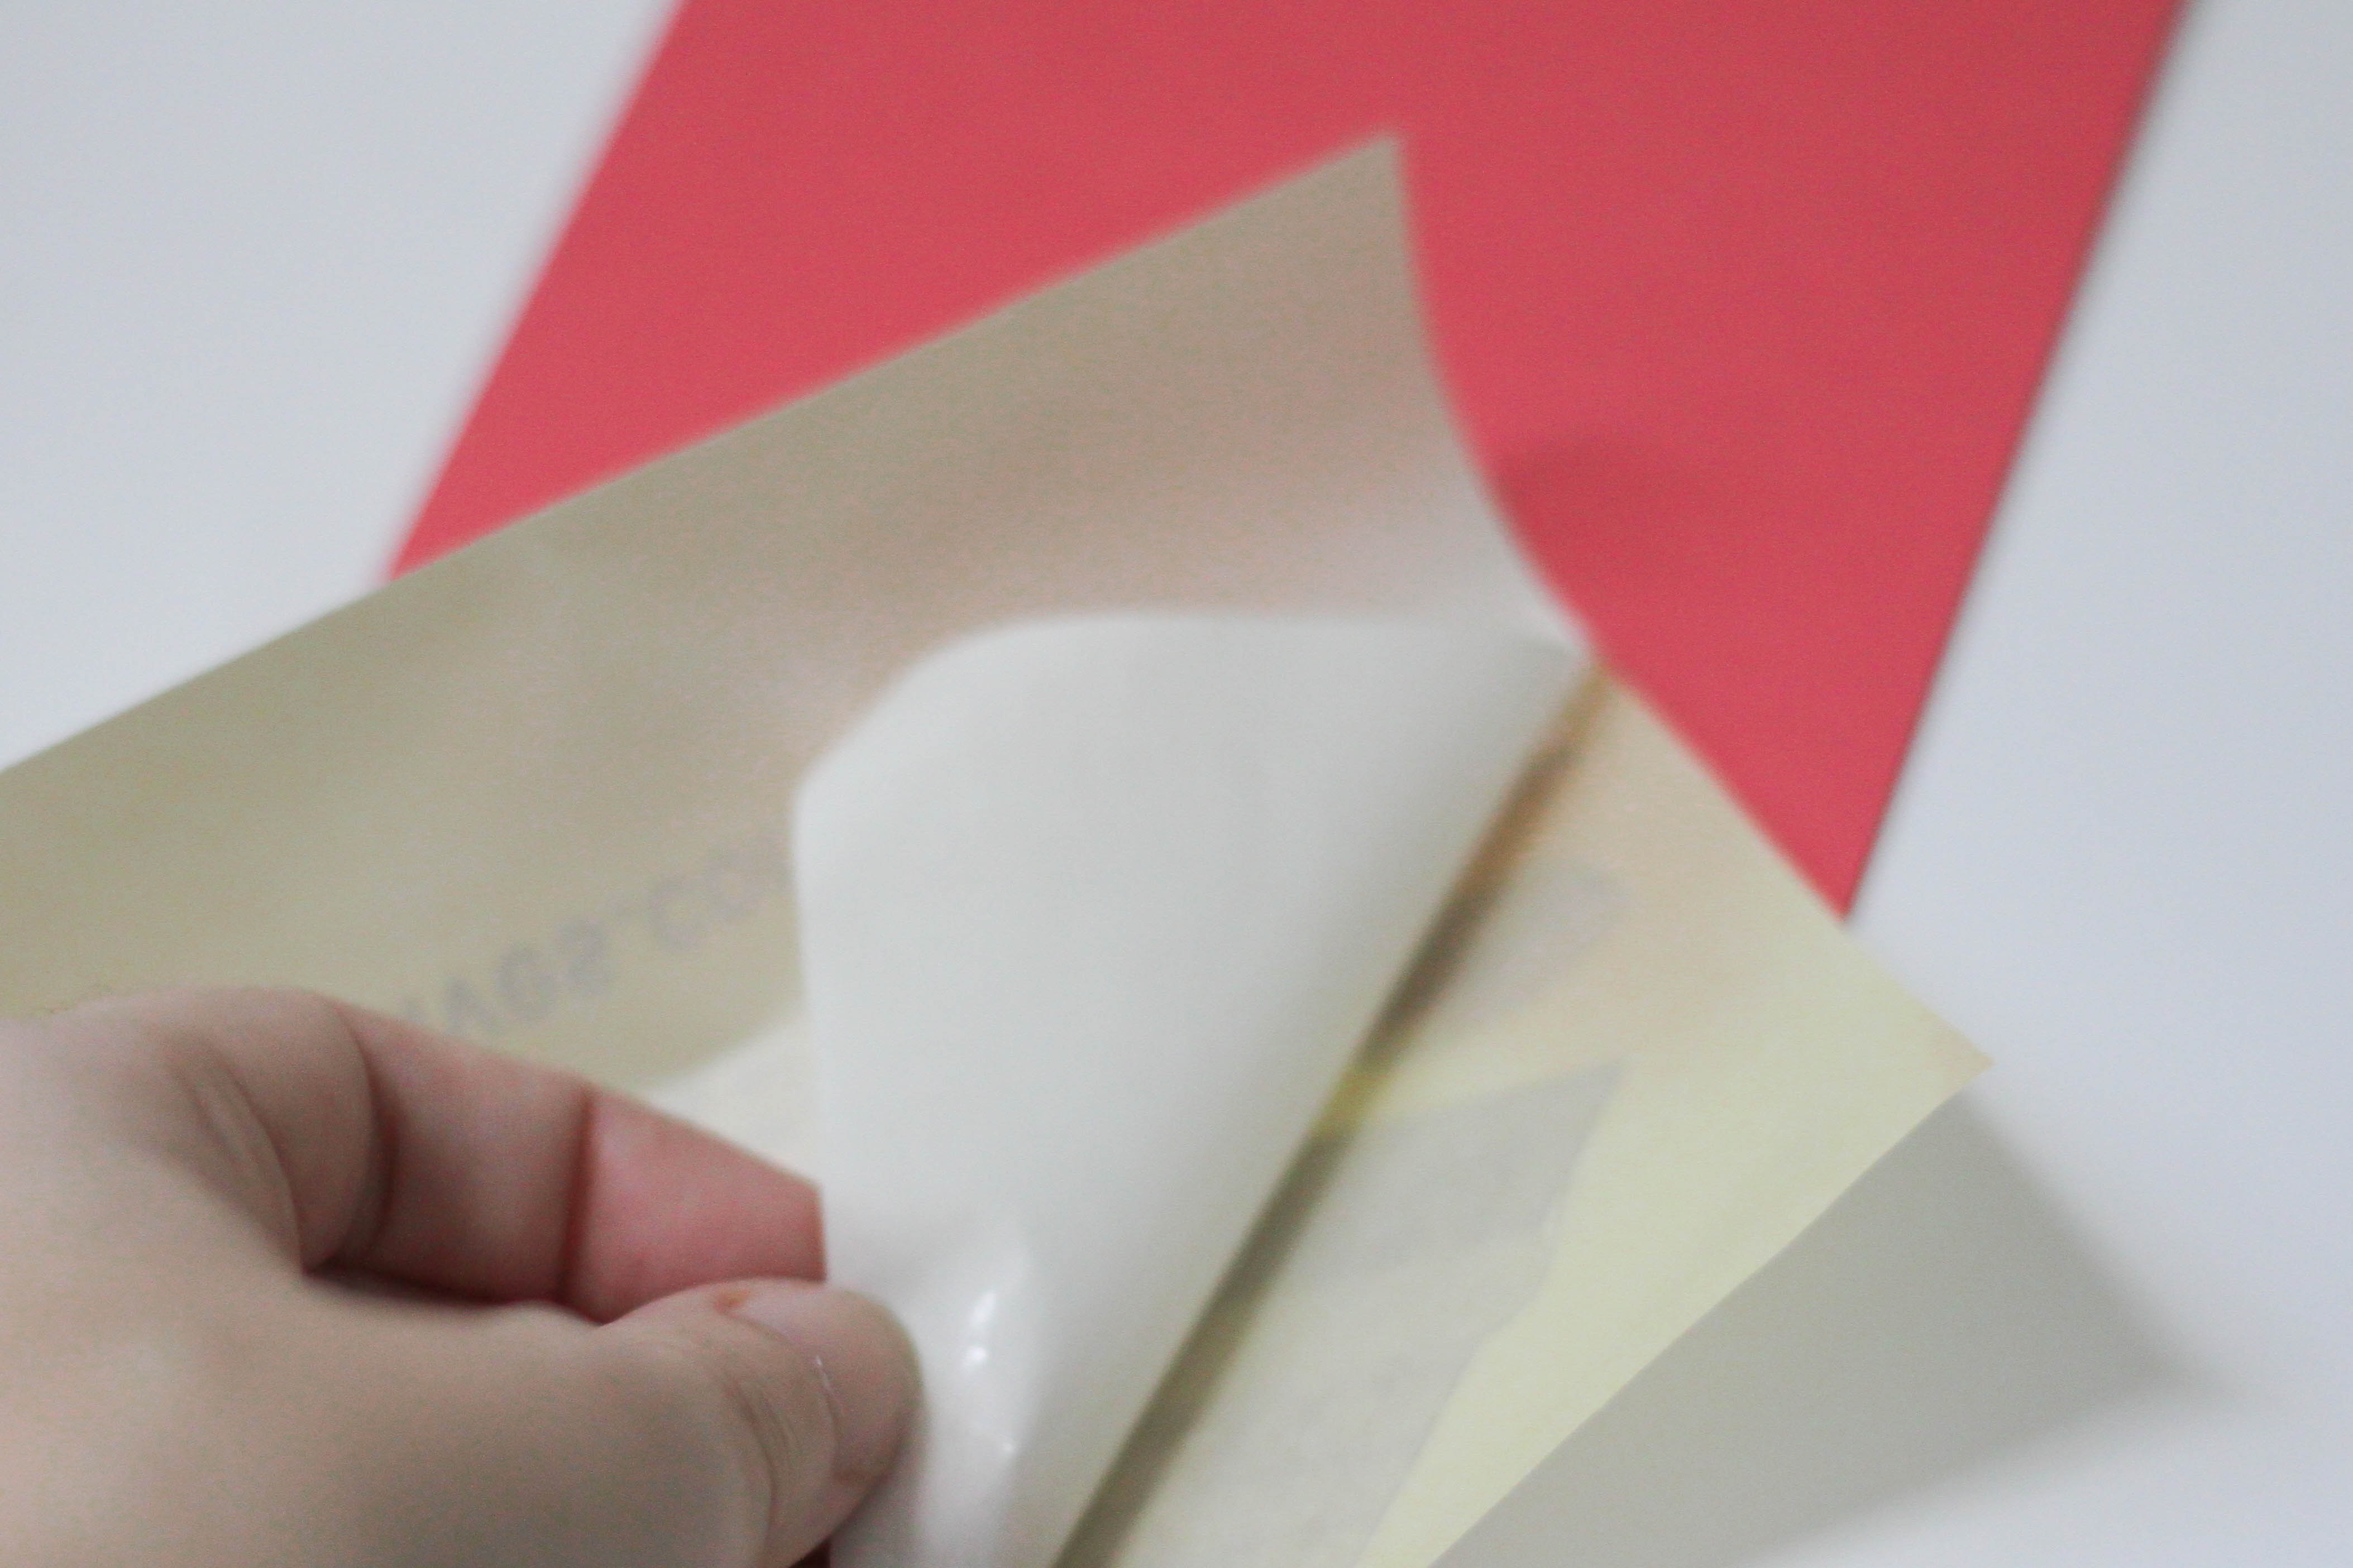
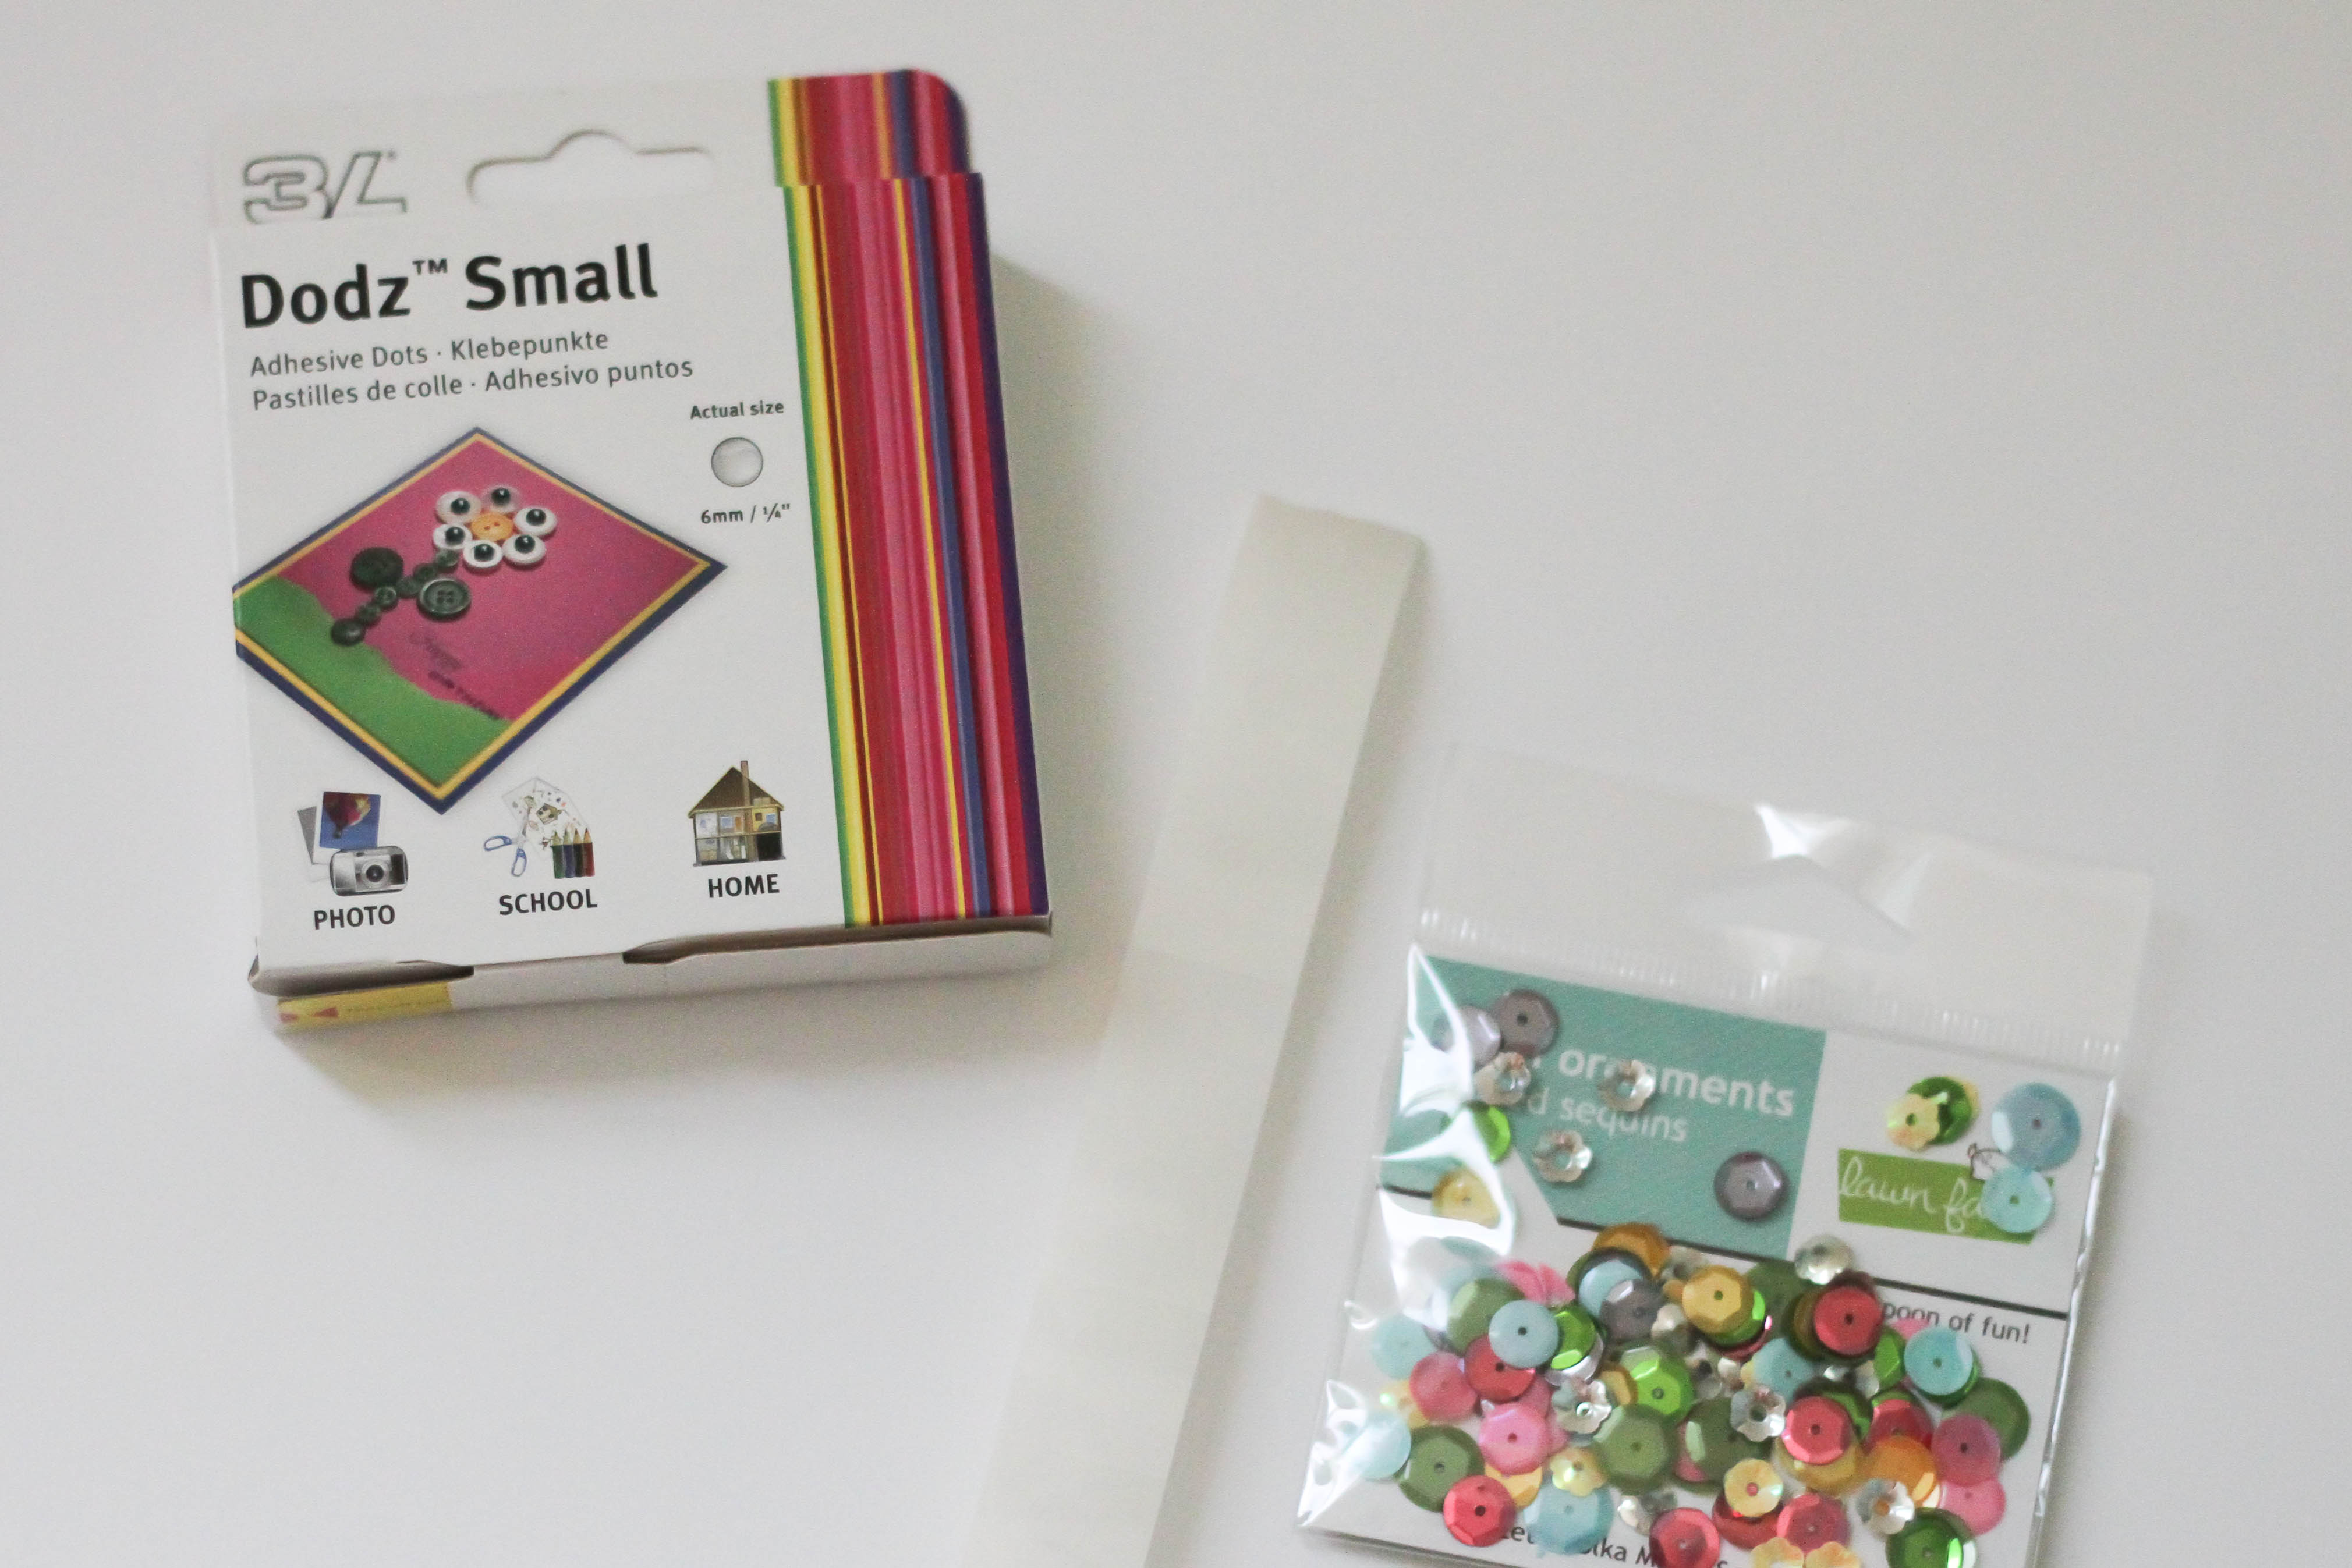
2 – It’s just so easy to adhere it together with the E-Z Dots® Permanent – Refillable
3 – Adhere a old book page with the E-Z Dots® Permanent – Refillable again.
4 – Add white Gesso with fingers to blend the text out.
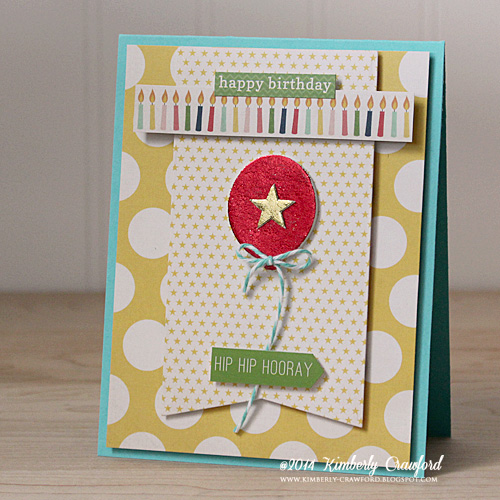
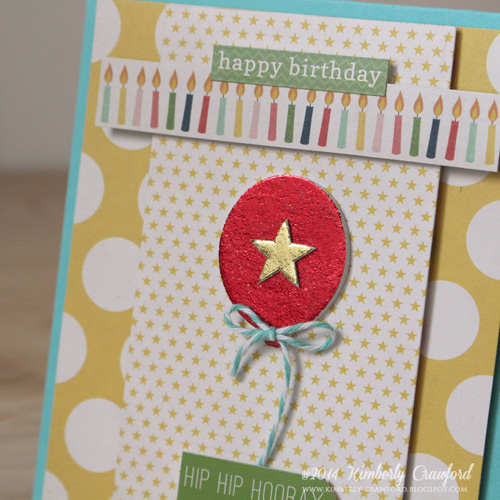
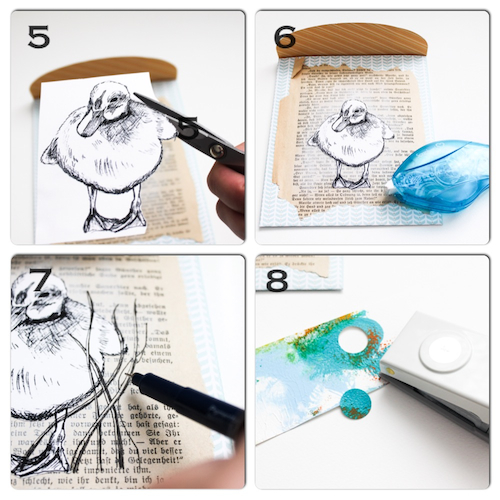 5 – Stamp your image and cut it out with scissors. I used a Duckling as motive I designed for Whiff of Joy . It’s one stamp of the Spring collection “Freshly Hatched” and its available at the 20th of April.
6 – Adhere your motive with E-Z Dots® Permanent – Refillable
7 – Doodle and sketch some grasses with a black pen. If you don’t want to draw you can also use stamps. Grasses is also a stamp on the coming soon Spring stamp set.
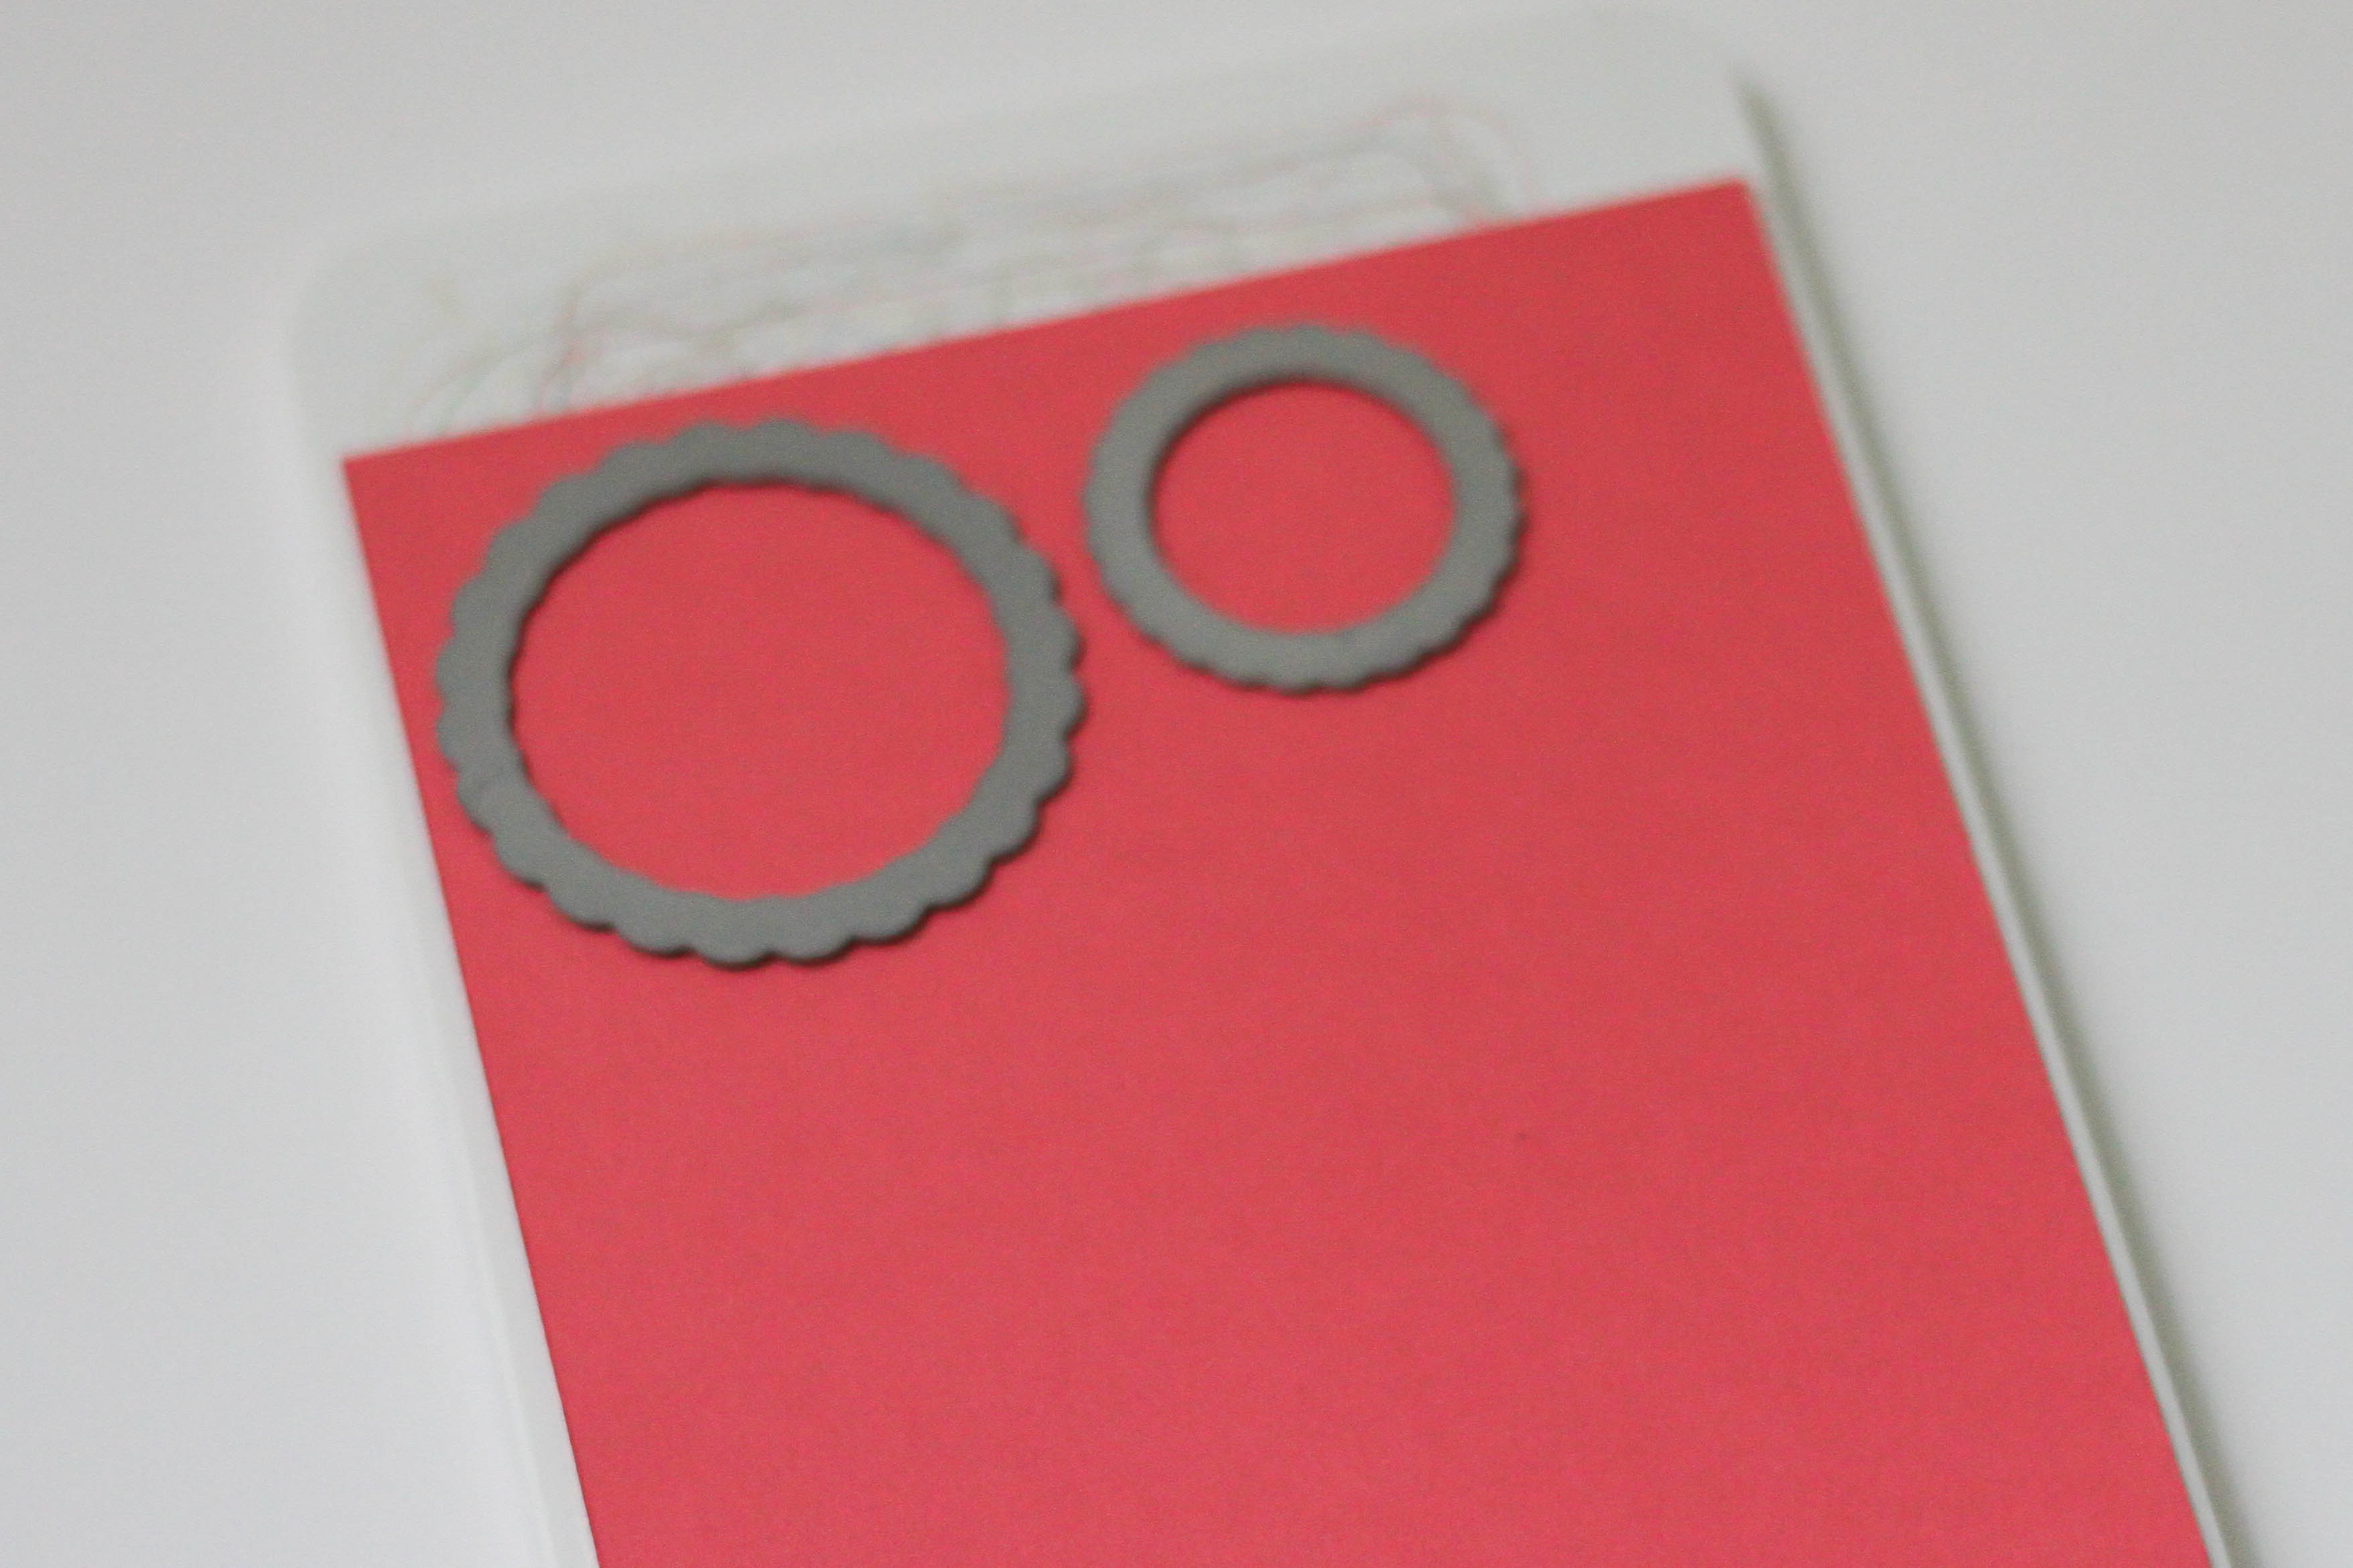
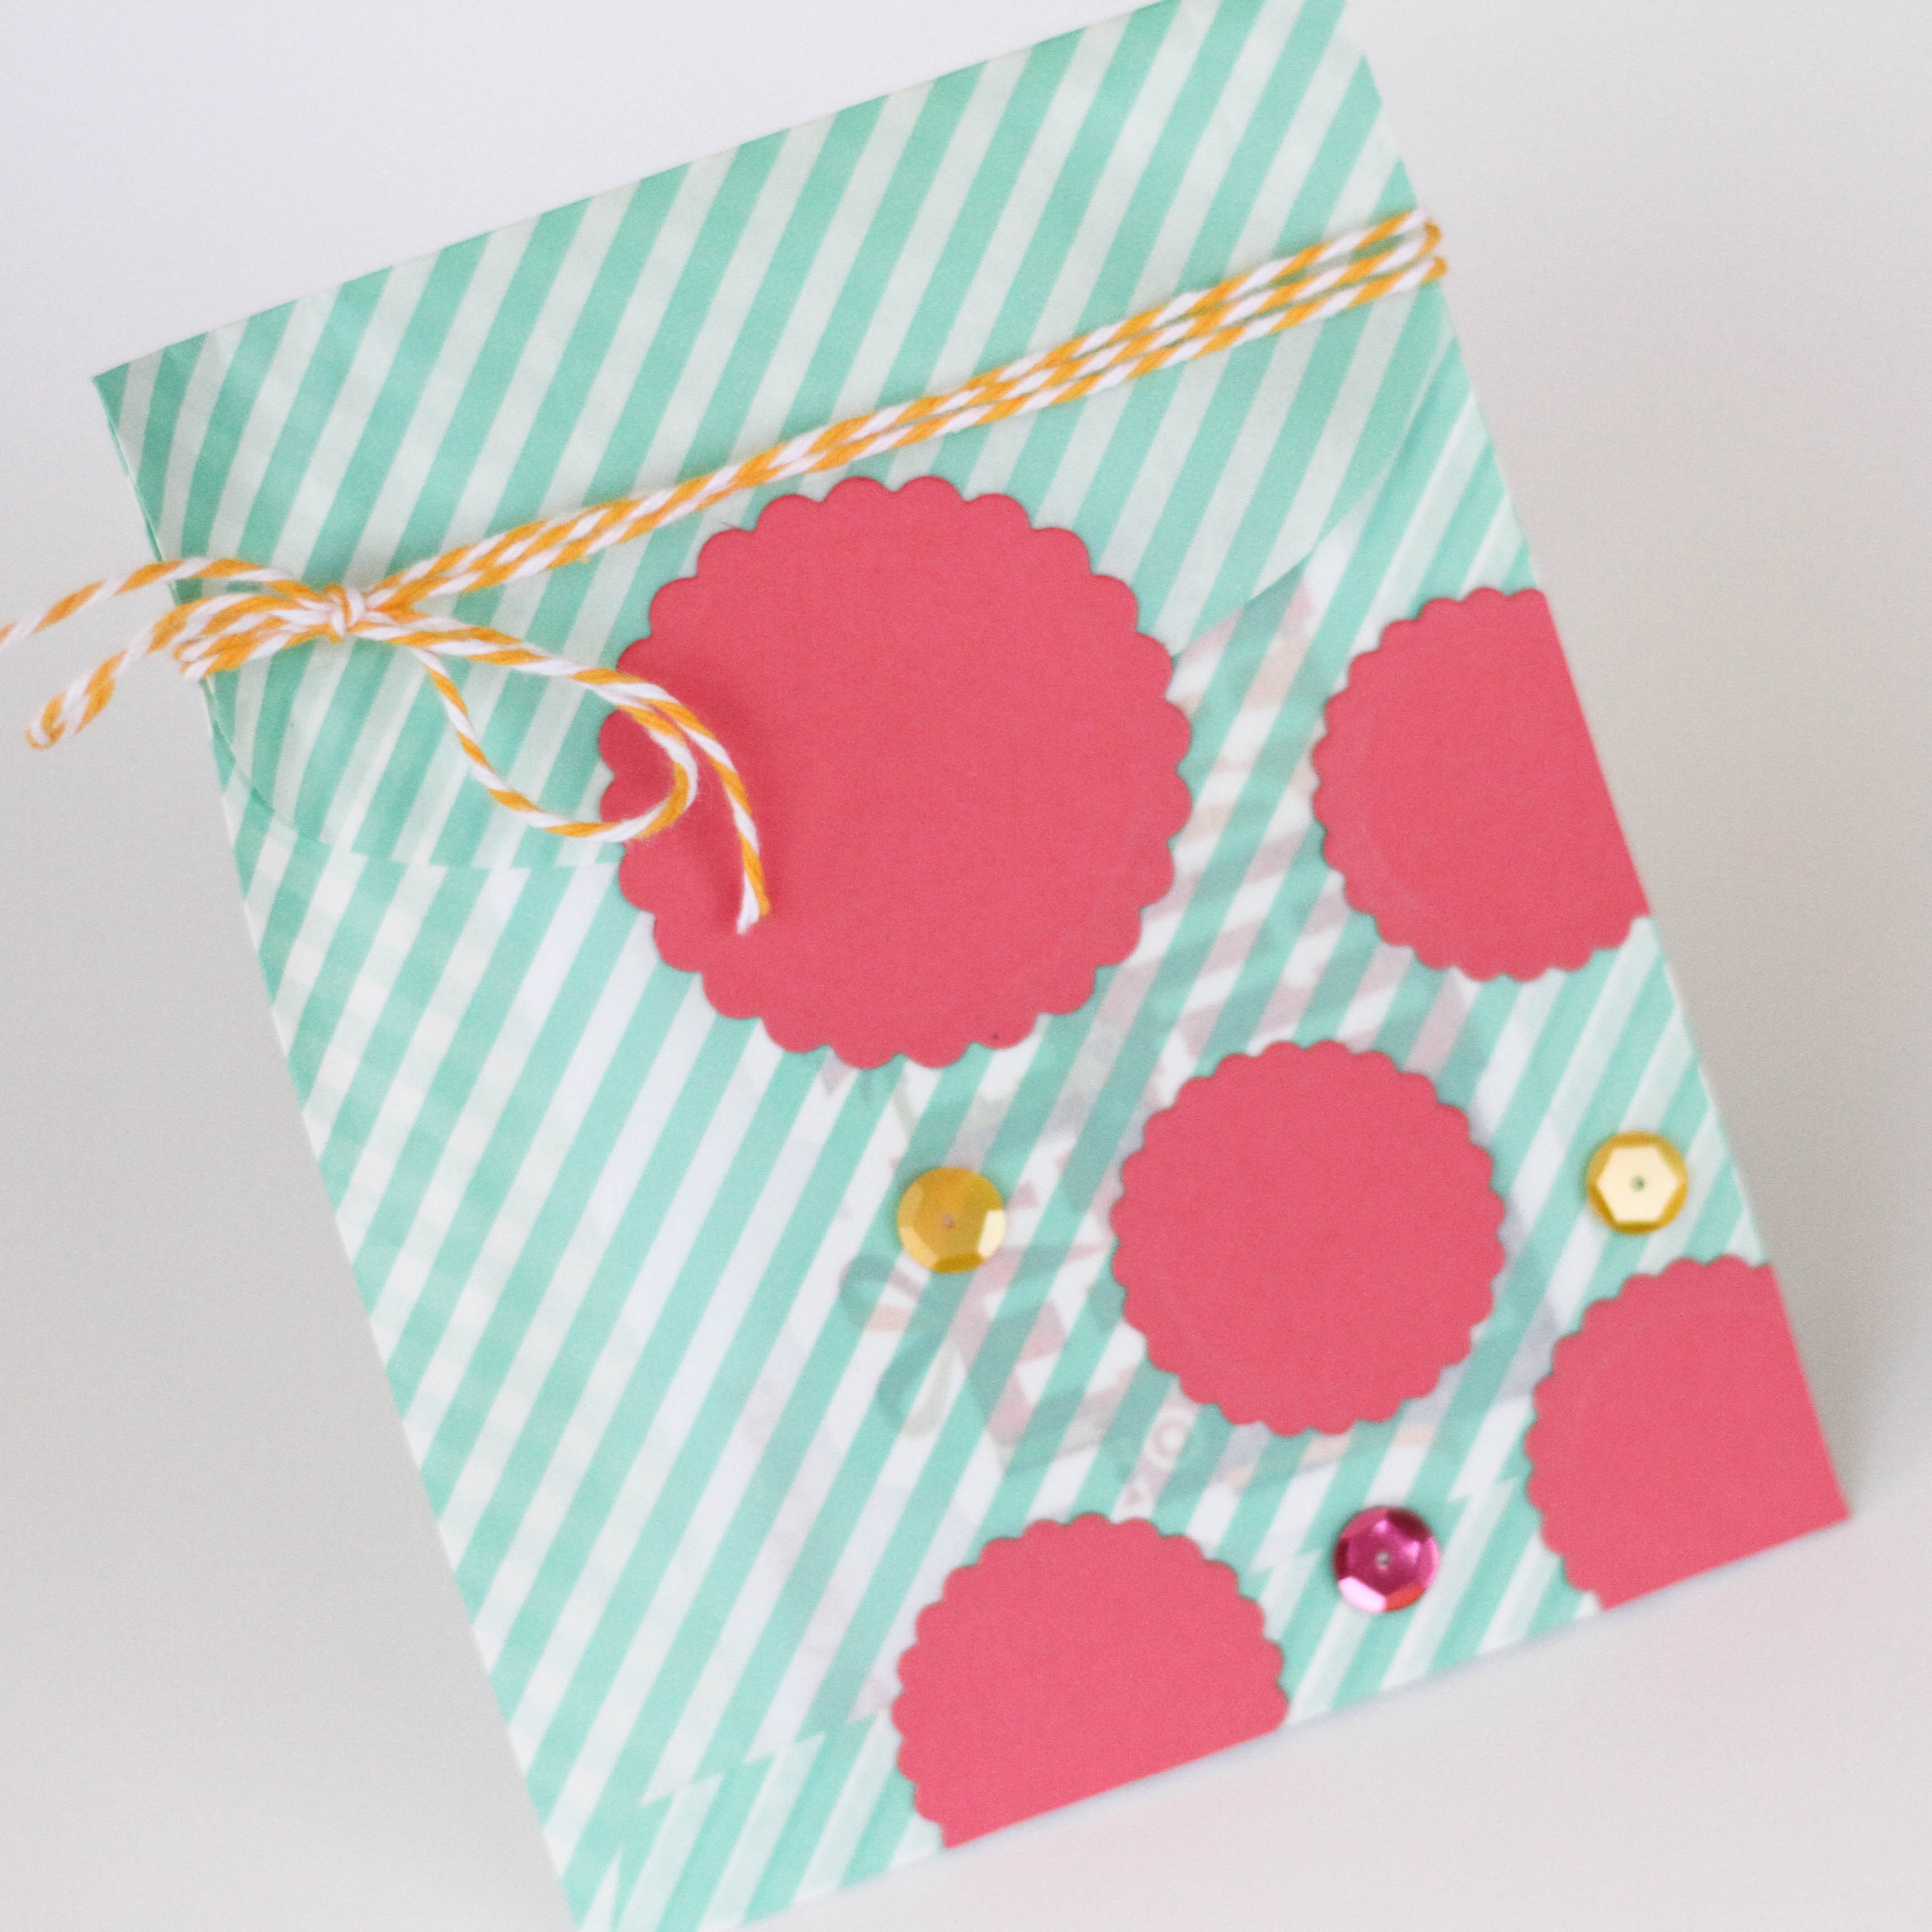
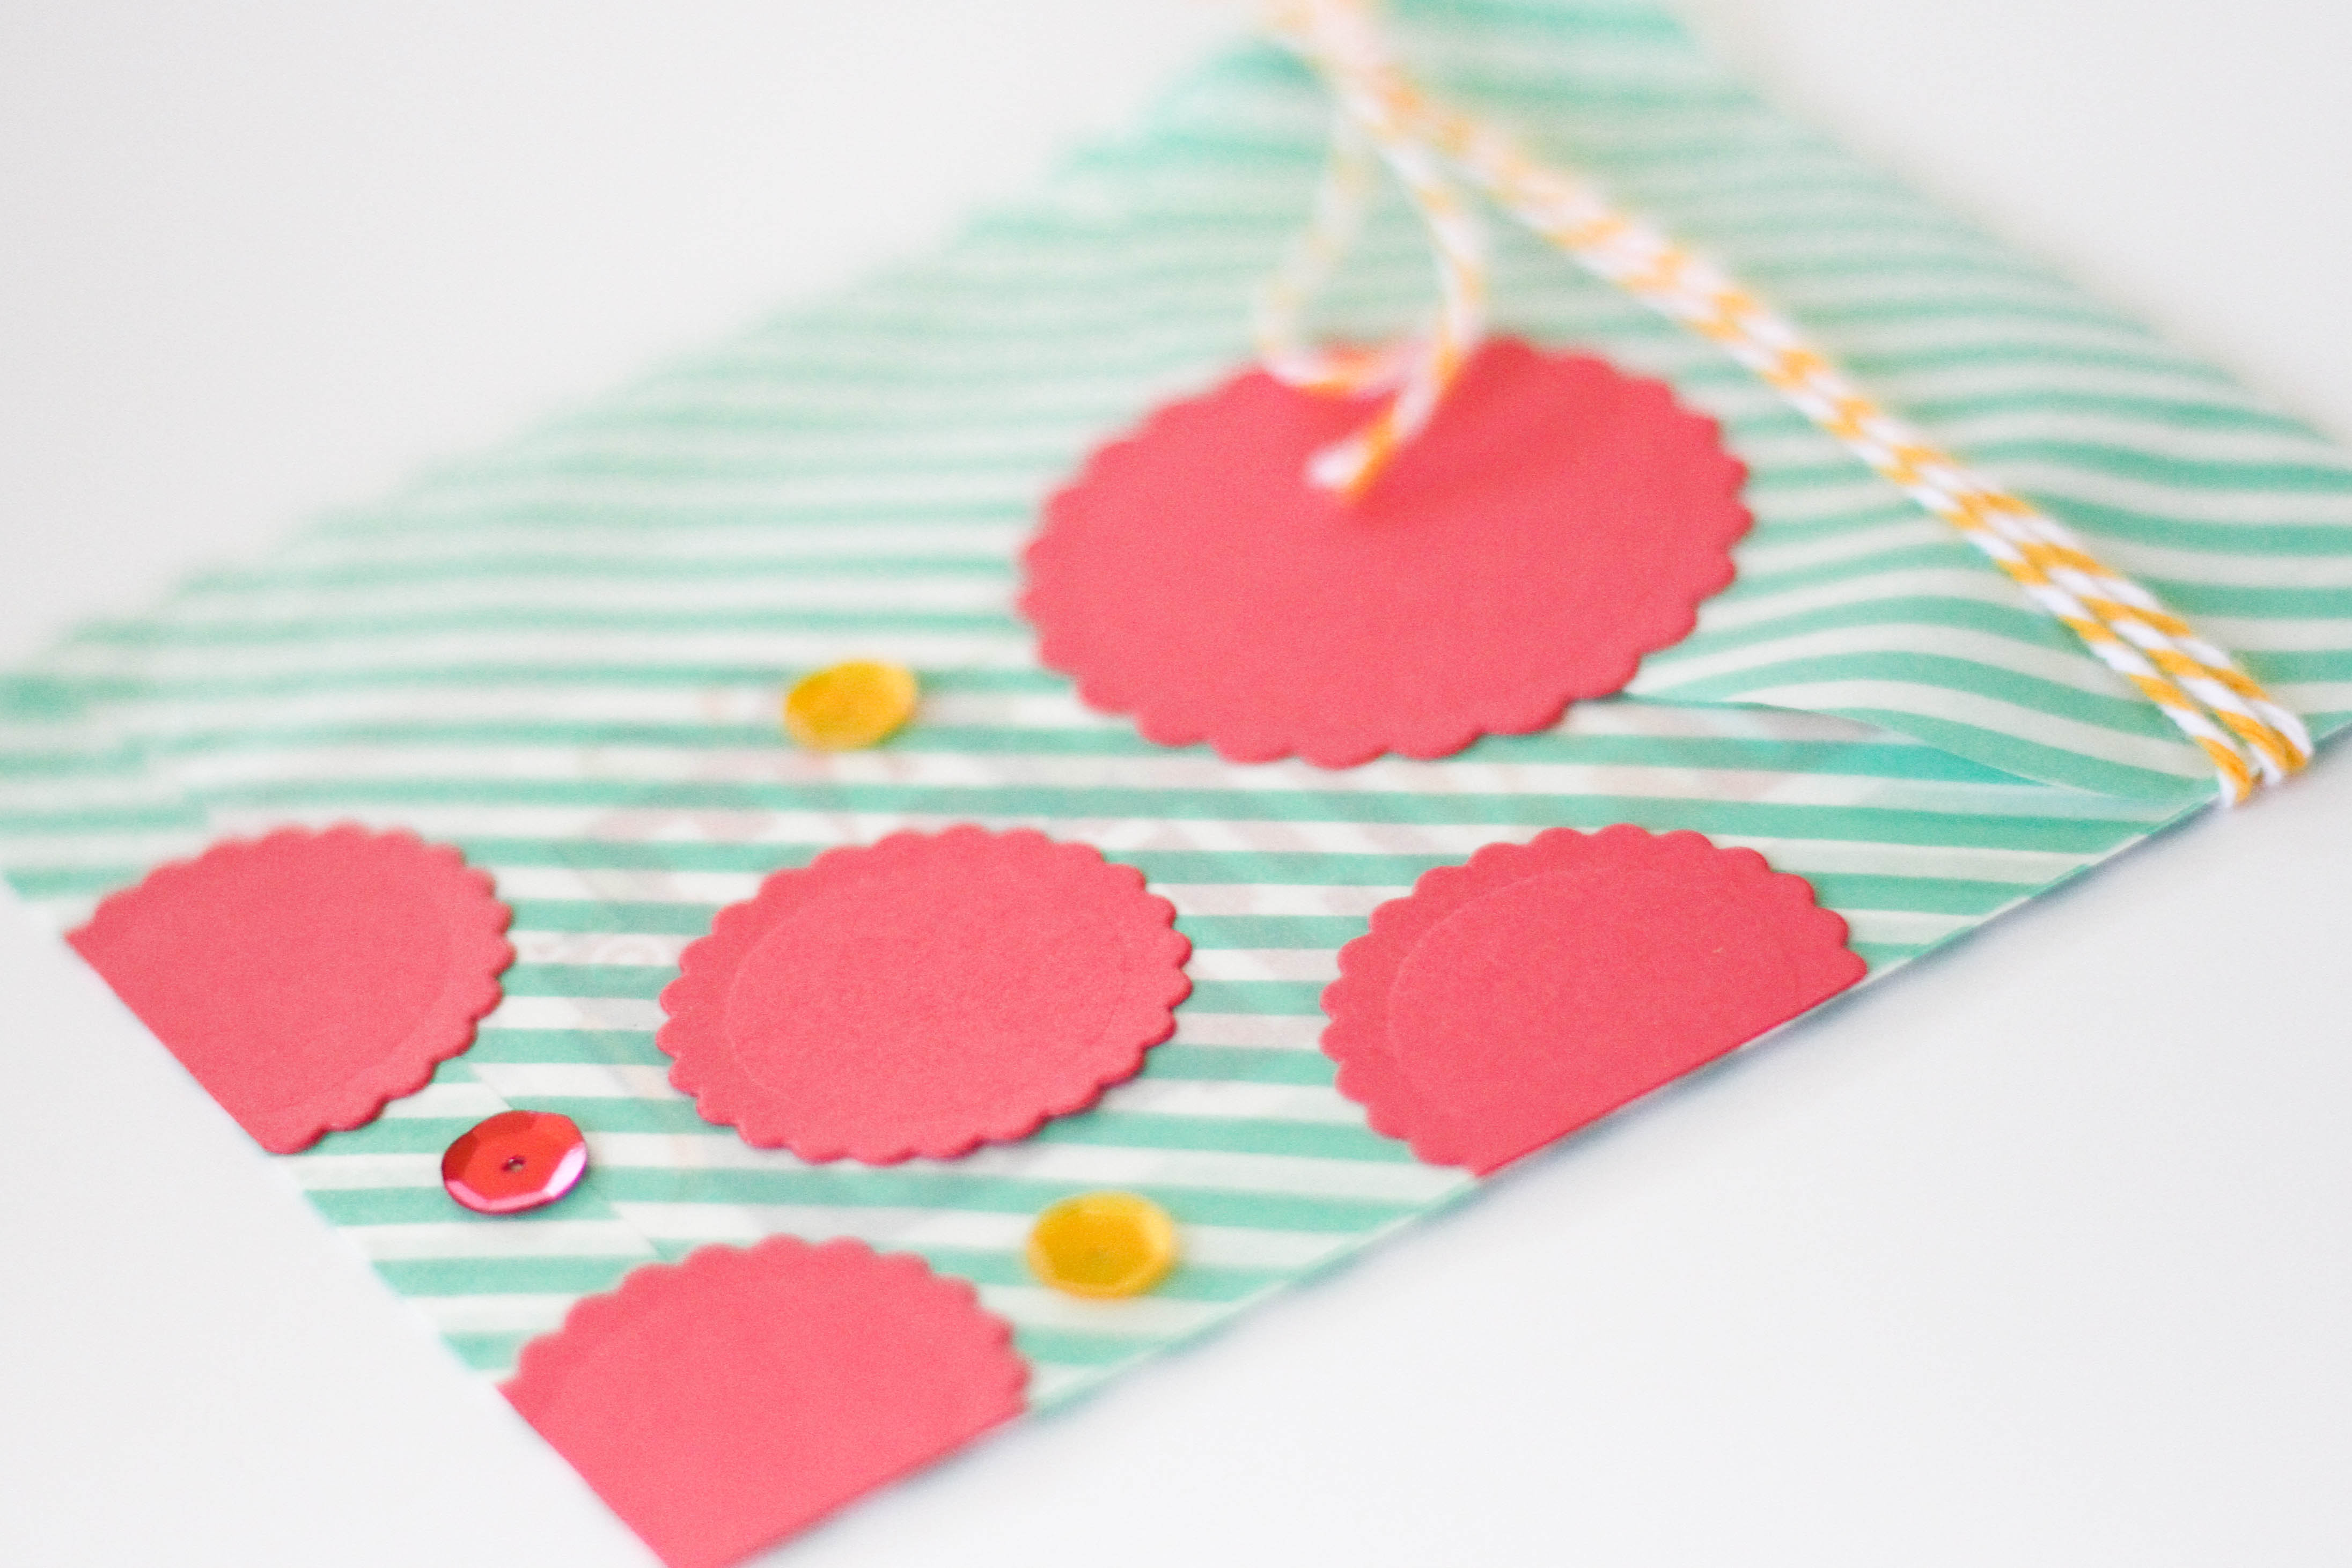
8 – Punch a little circle and add a Brad to create a shutter look for the flap.
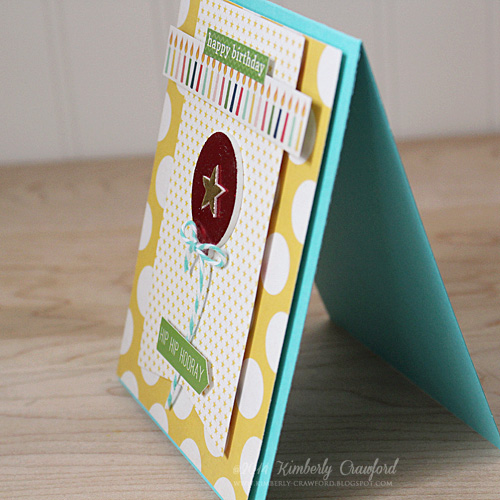
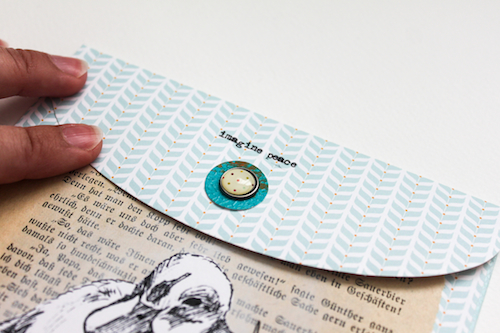
Now you can add some sentiments or other details. I used some Rub-ons. And now it’s ready to fill it with a coupon or card or little Easter present.
I used my favorite E-Z Dots® Permanent – Refillable
Other Supplies:
Stamps “Duckling” from the Spring stamp set “Freshly Hatched” I designed for Whiff of Joy – available at the 20th of April
Bag from Pocket Book Pad “Wishes and Dreams” from Leeza Gibbons Prima Marketing
Rub-ons “Words” from Tim Holtz
Rub-ons “Butterflies” from 7 Gypsies
Old Book Page
Black Pen
Brad from RSVP collection Basic Grey
Piece of handmade paper
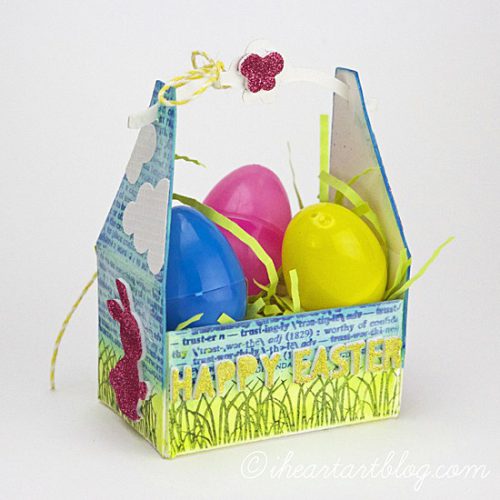
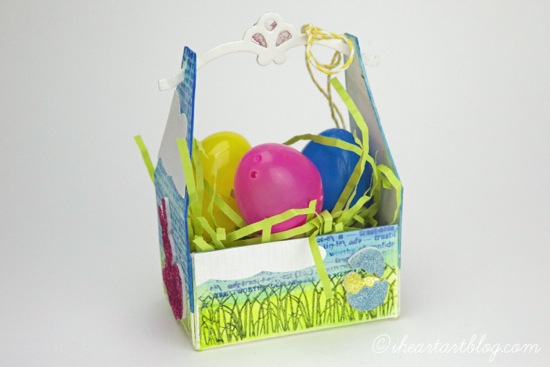
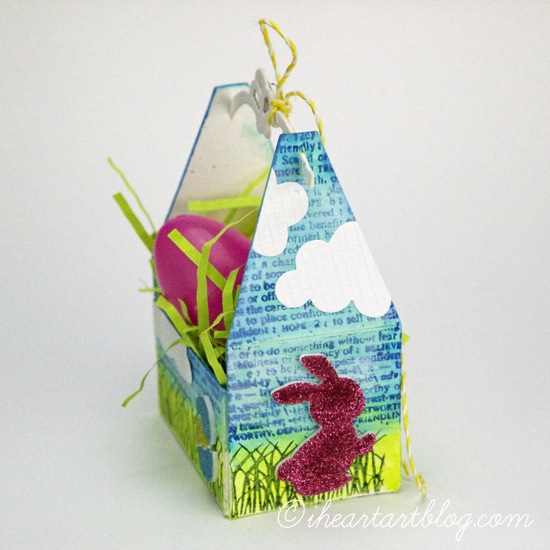
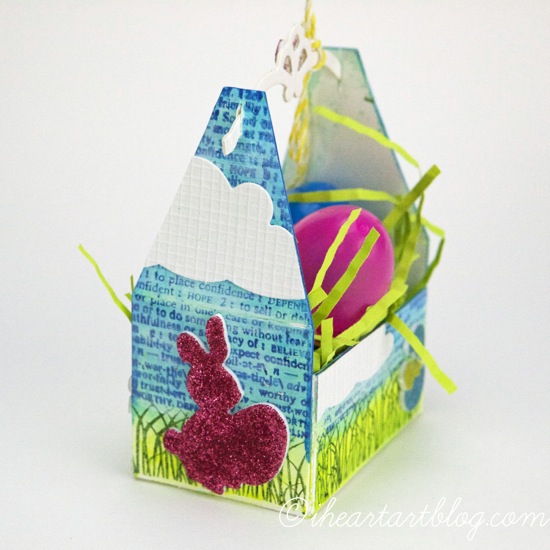
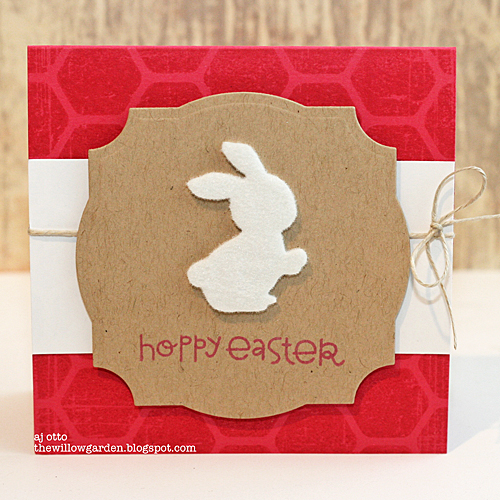
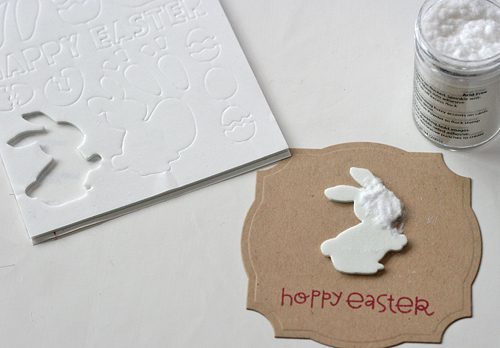
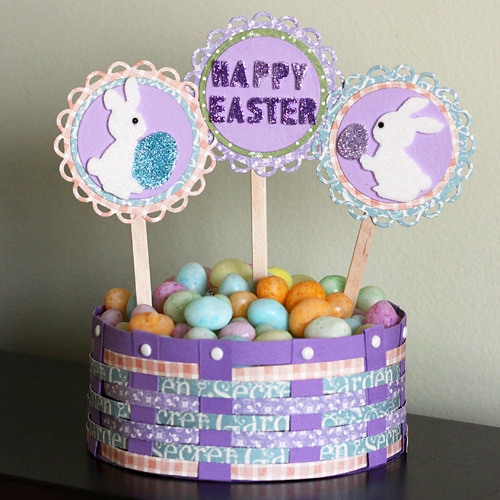 Aren’t those bunnies cutie pies? I love them covered in a glittered white flock after adhering some tiny black gem eyes. The eggs were covered in glitter and the layered circle shapes were fastened to the wood sticks with some
  Thanks for stopping by today!