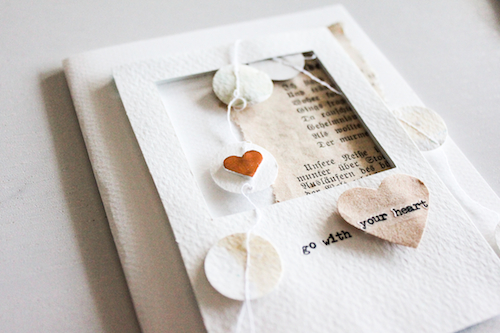
And just like that we are over Valentines! 😉 Happy Saturday- AJ here to share with you a Birthday card using Scrapbook Adhesives by 3L’s new 3D Foam Party Shapes!!
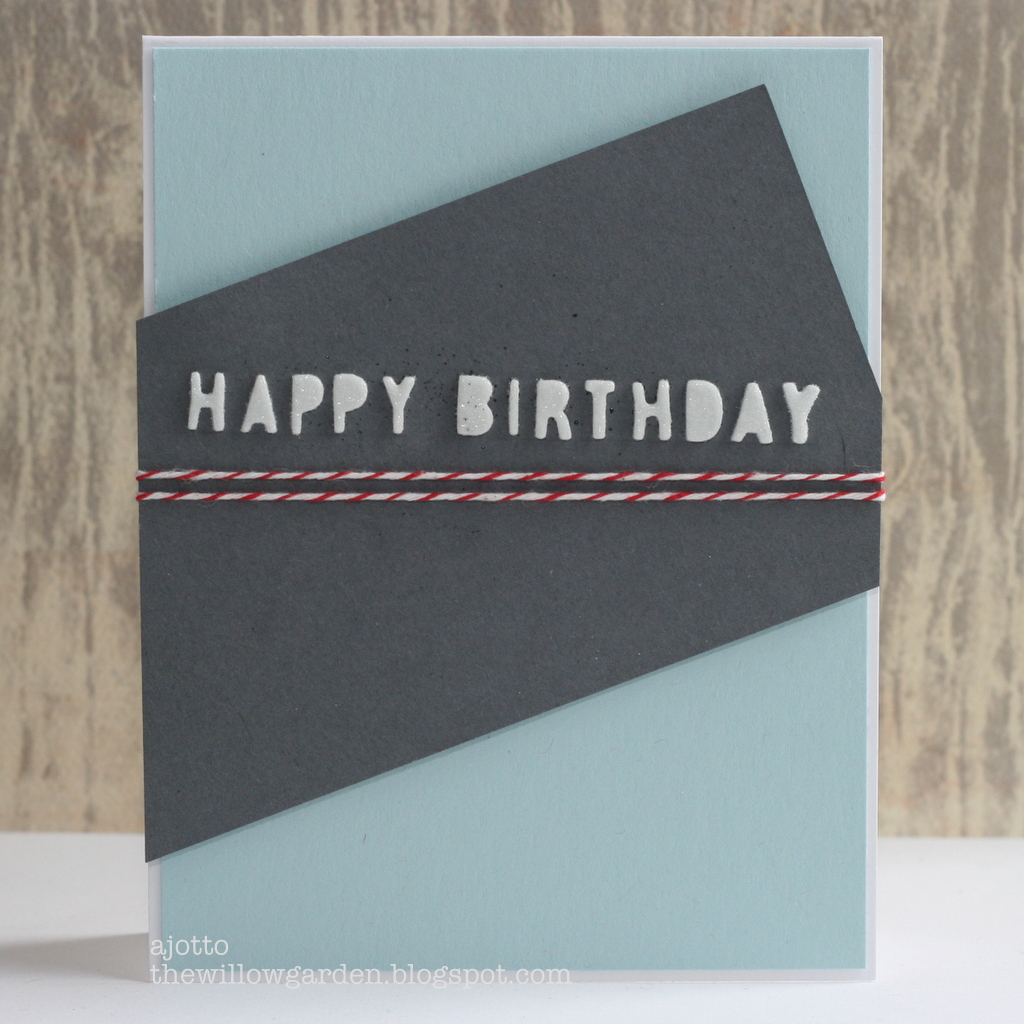
I was in need of a birthday card for my father in law, so I opted for a less is more, masculine styled card.
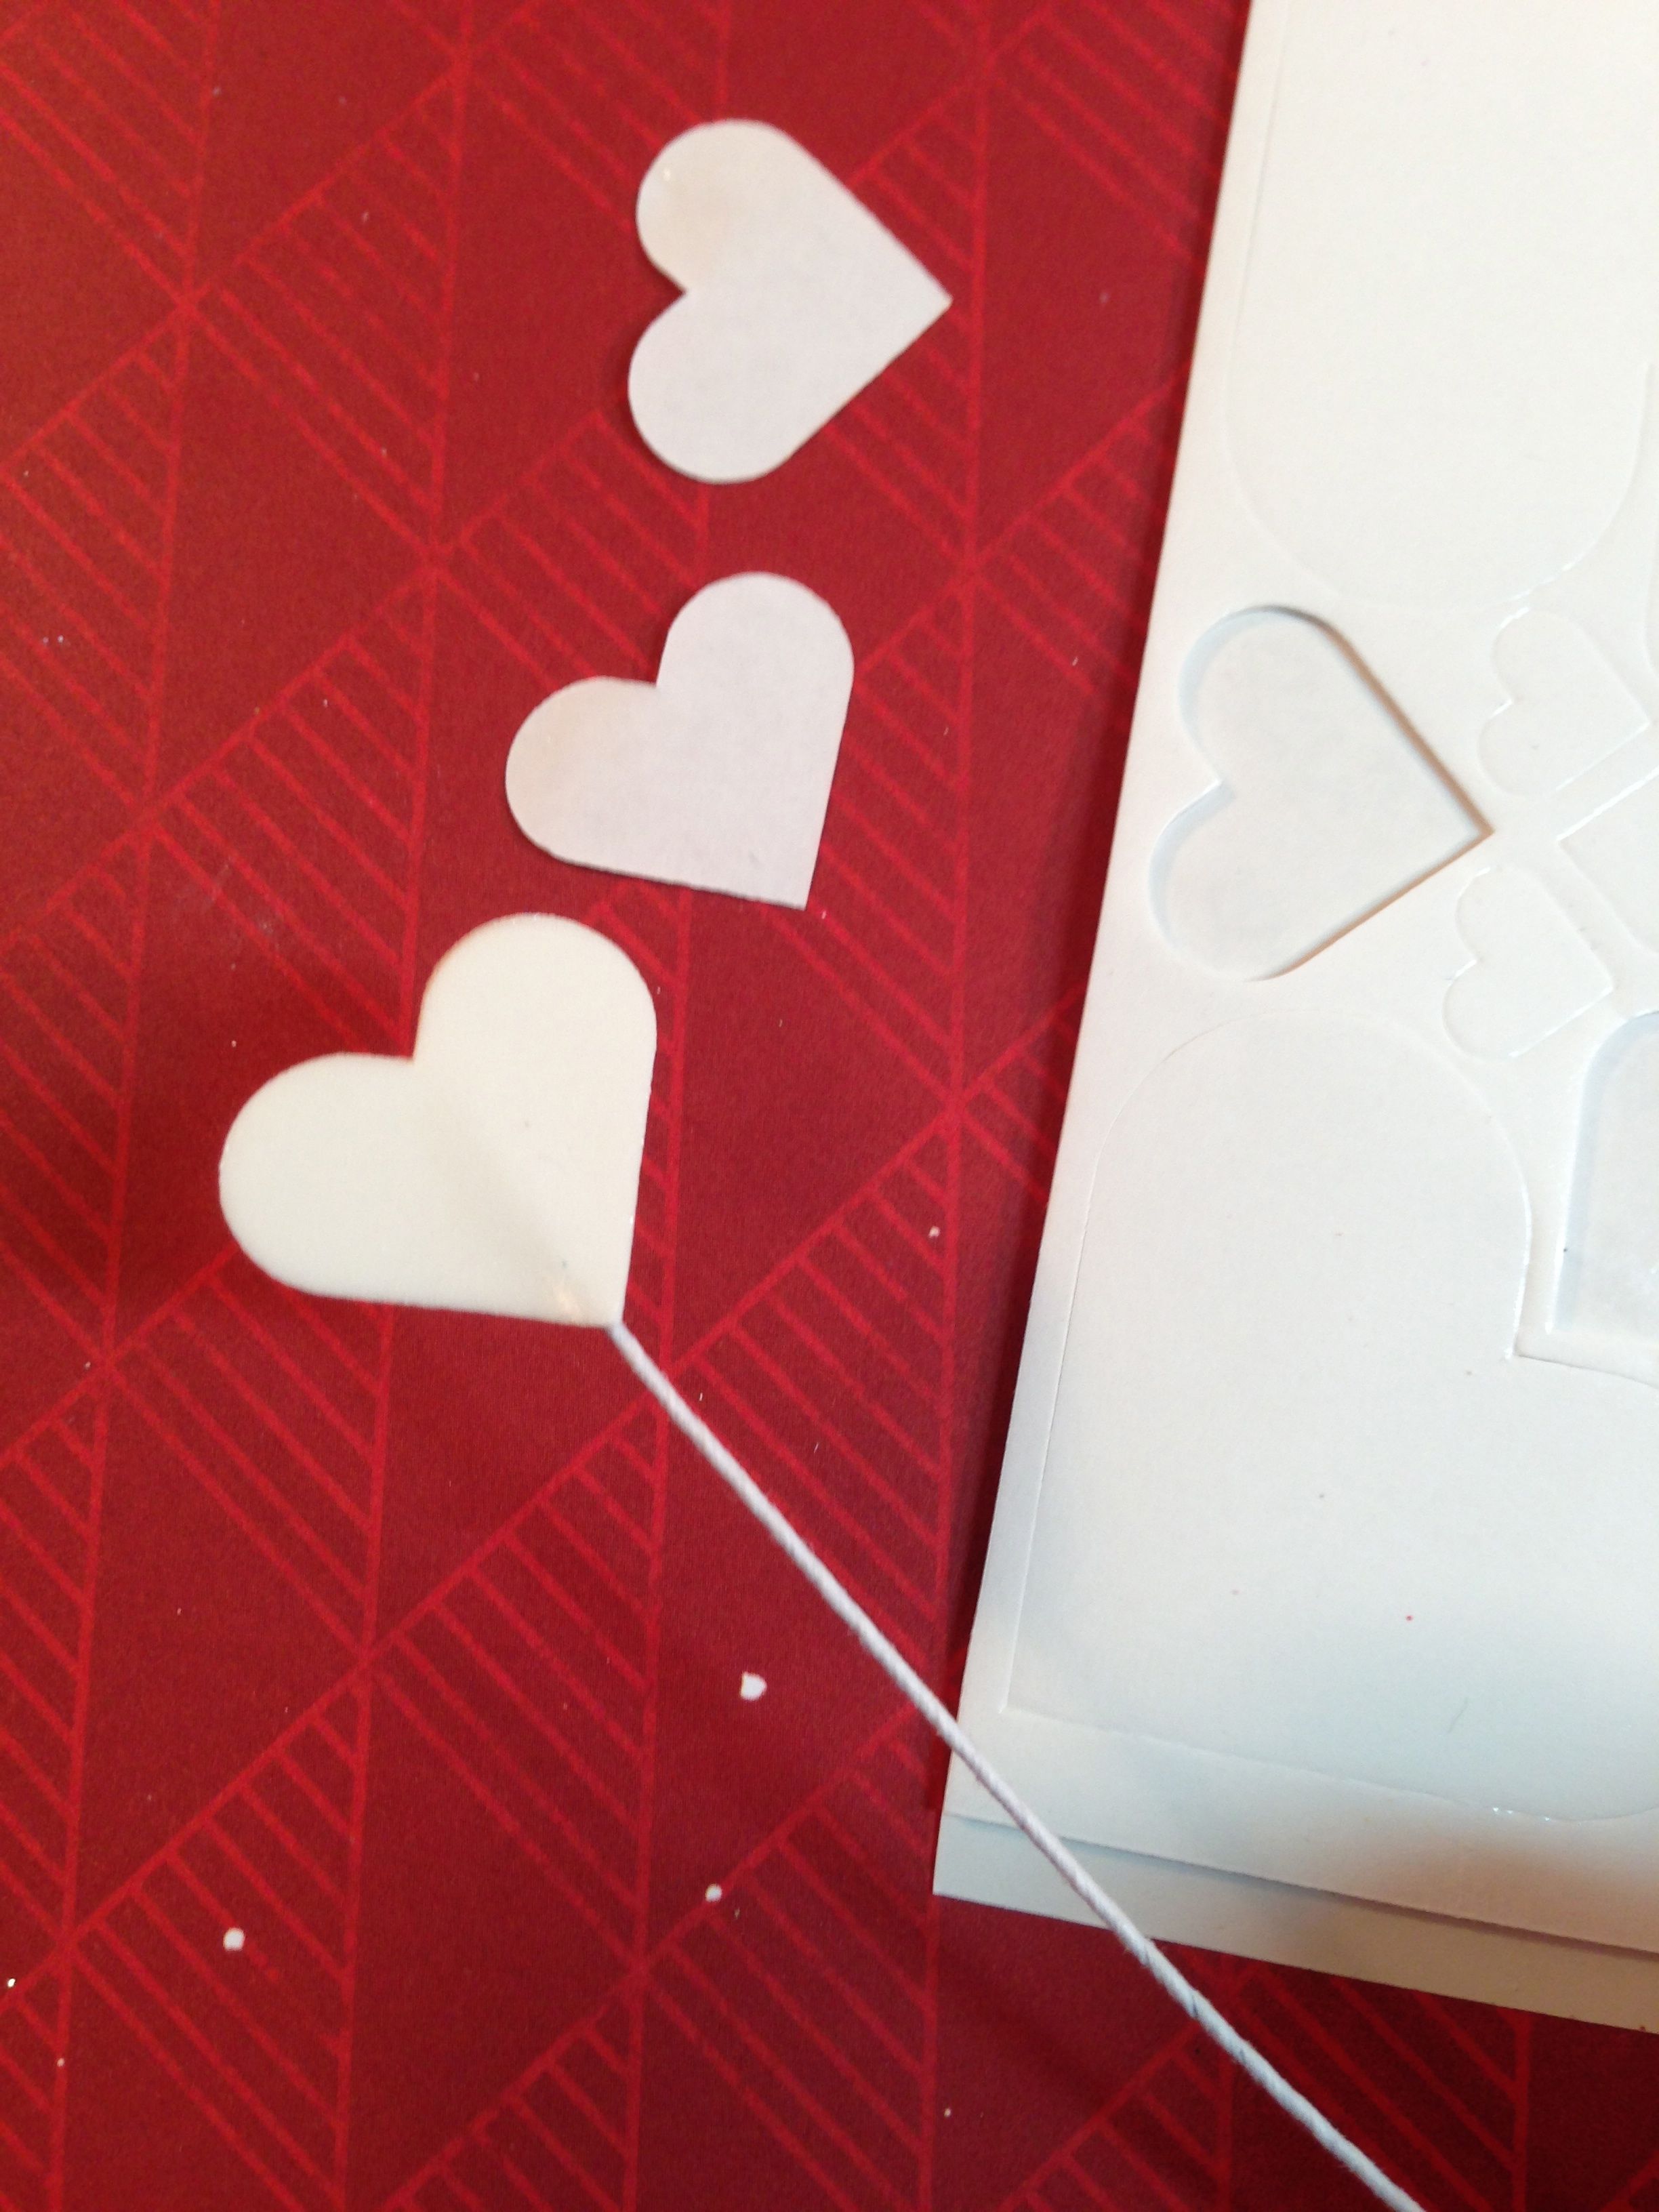
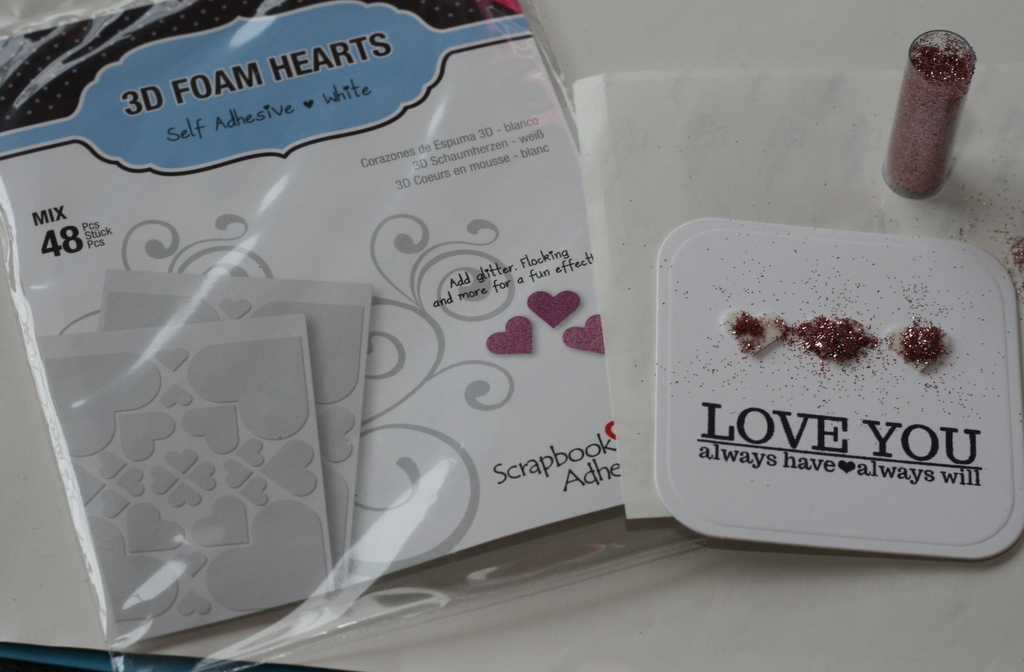
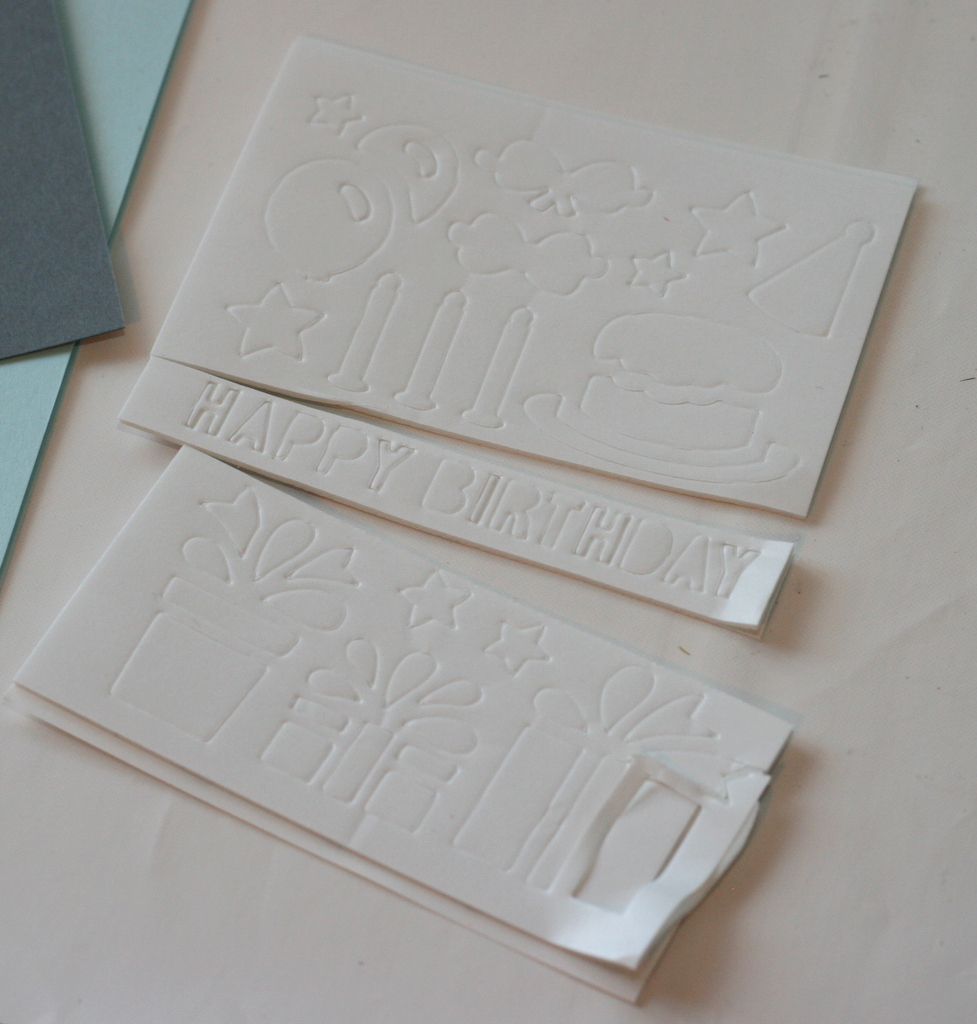 I decided I wanted to use the ‘Happy Birthday’ sentiment in the 3D Foam Party Shapes set, so I cut that part out.
 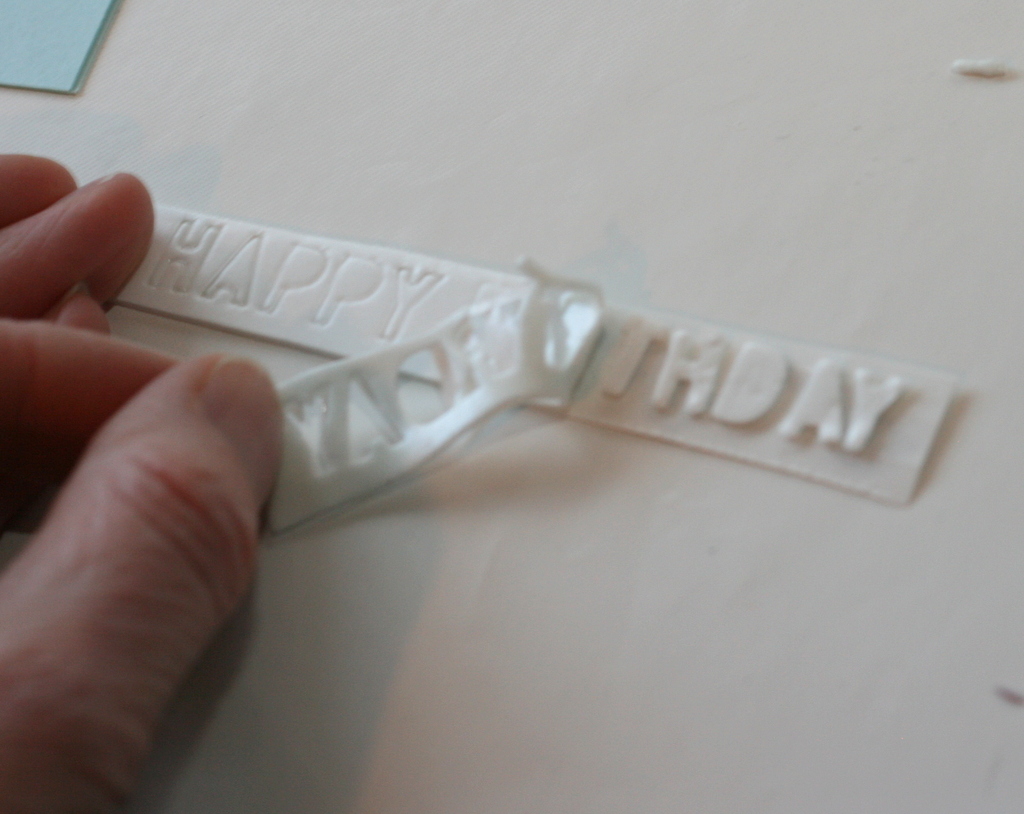 I usually place my designer shapes onto a scrap piece of backing and cover them with glitter, so I decided to pull the foam around the letters off for ease.
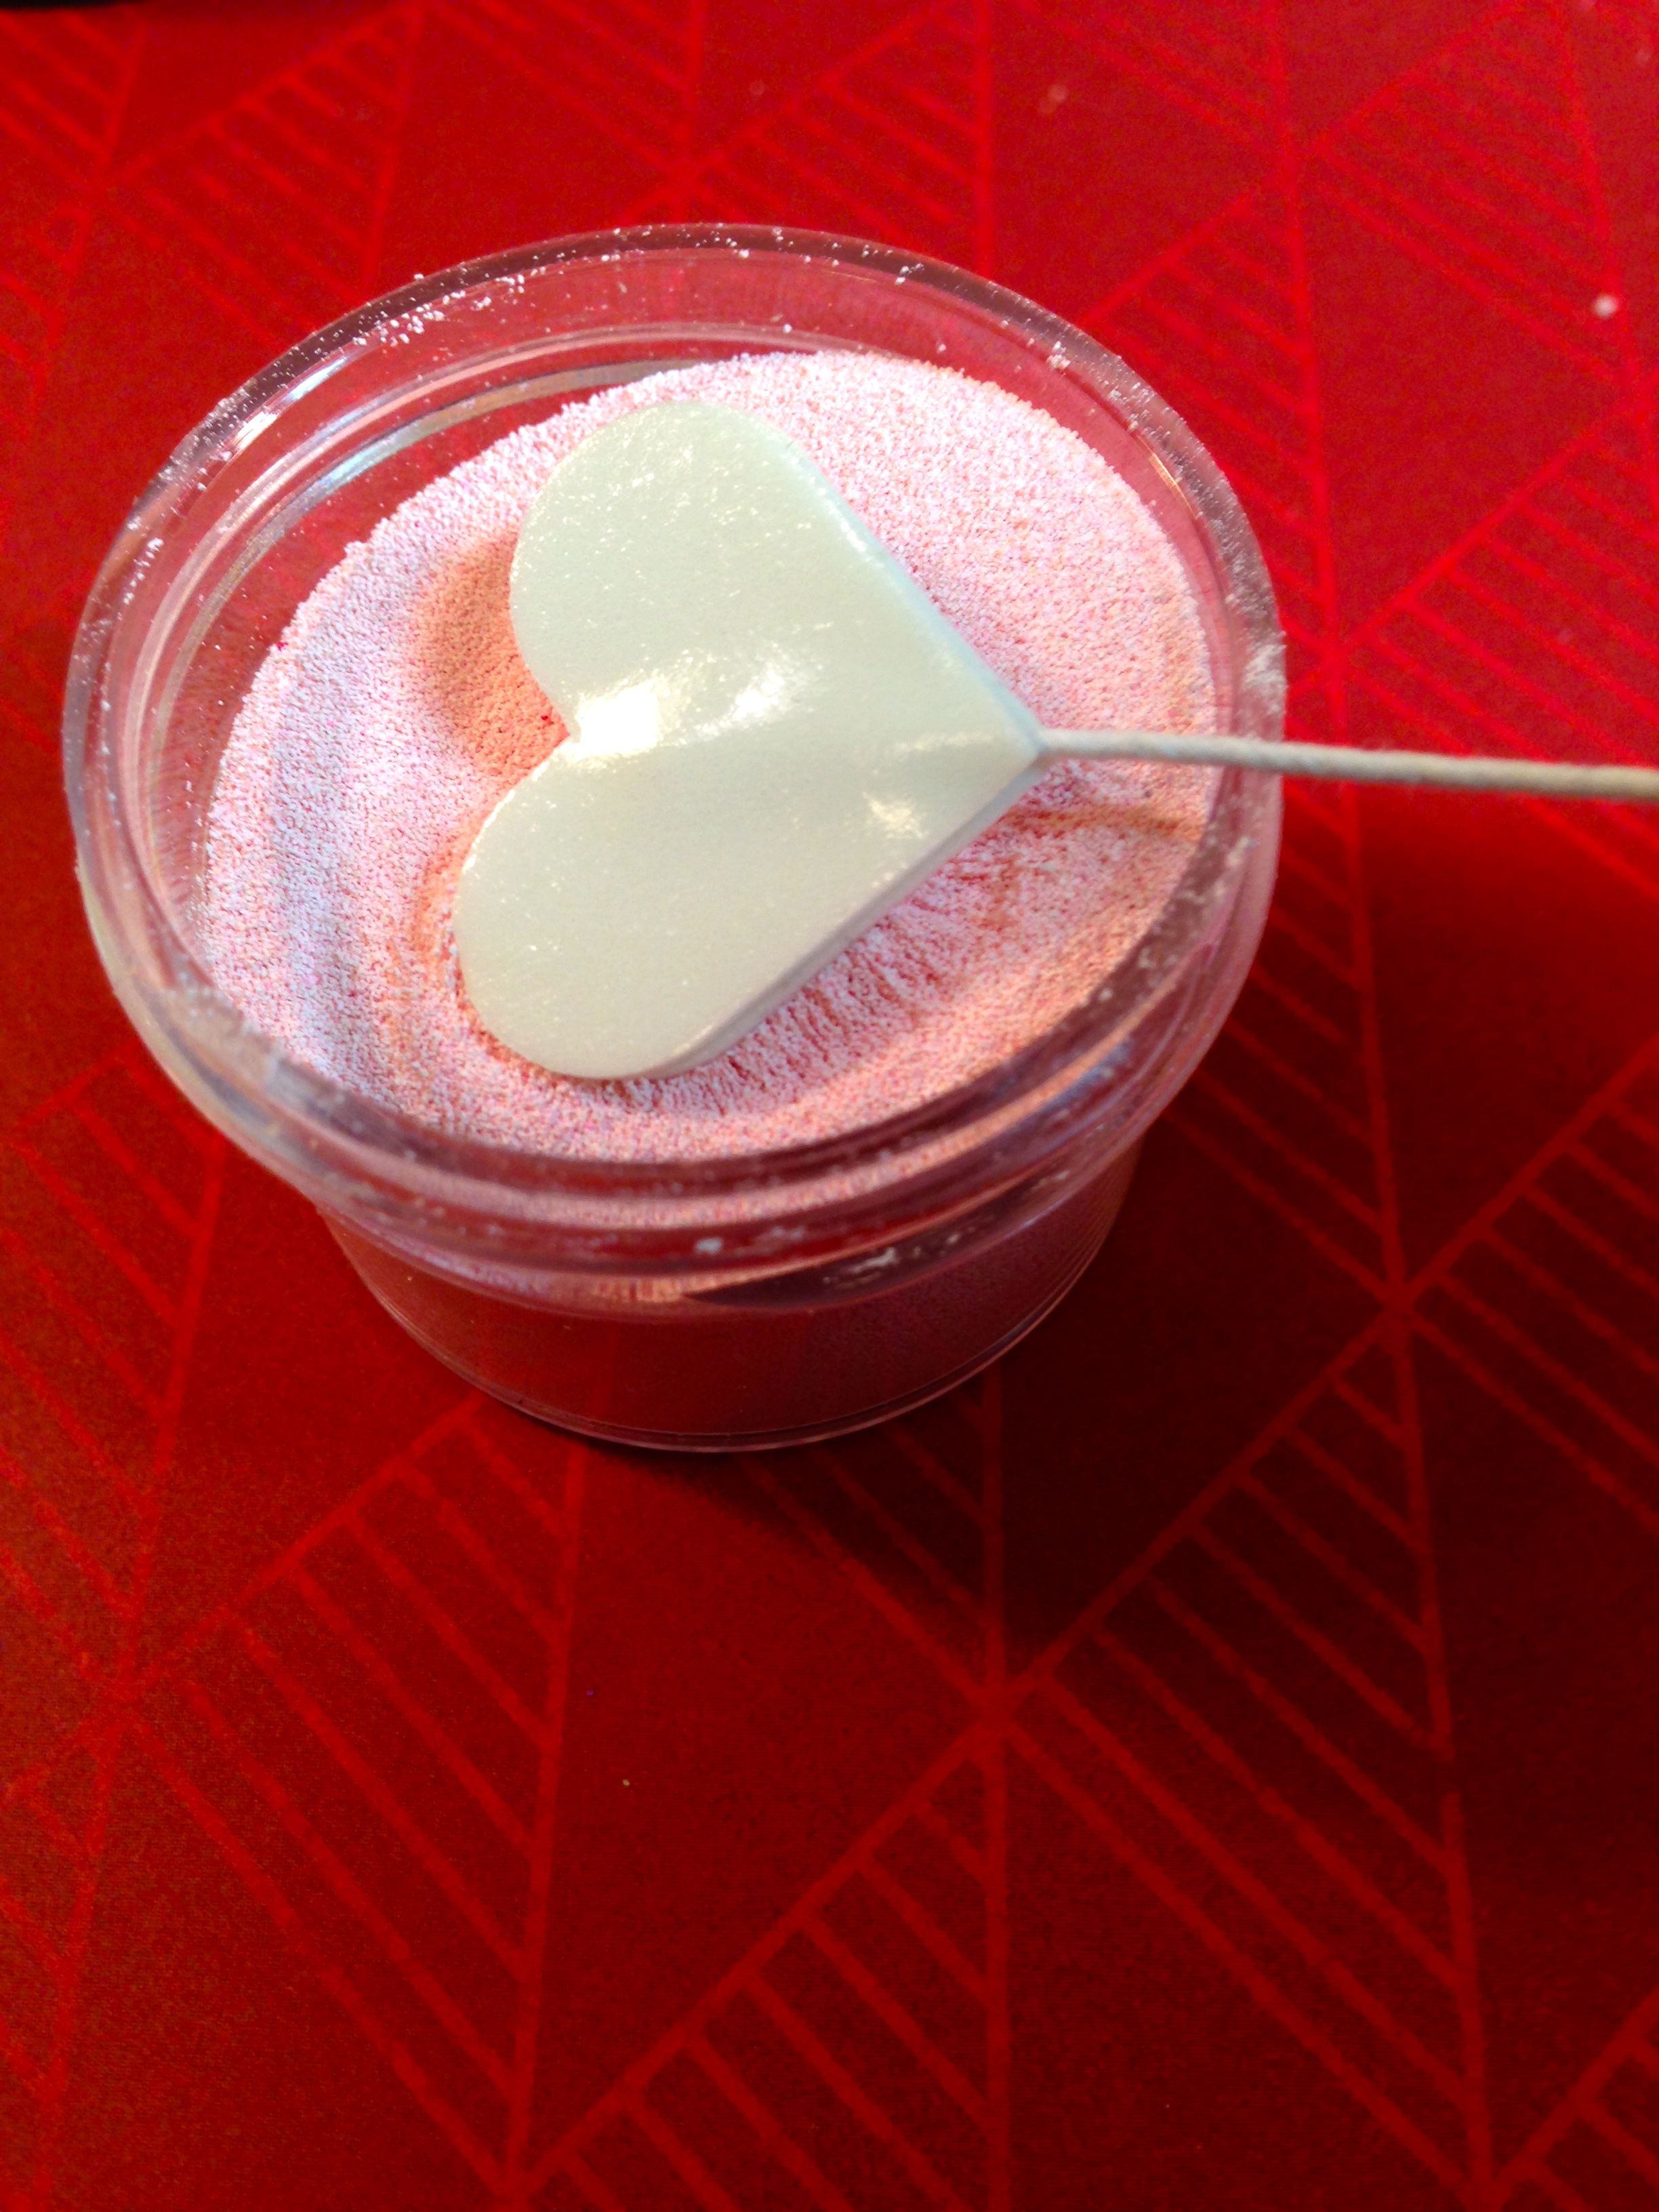
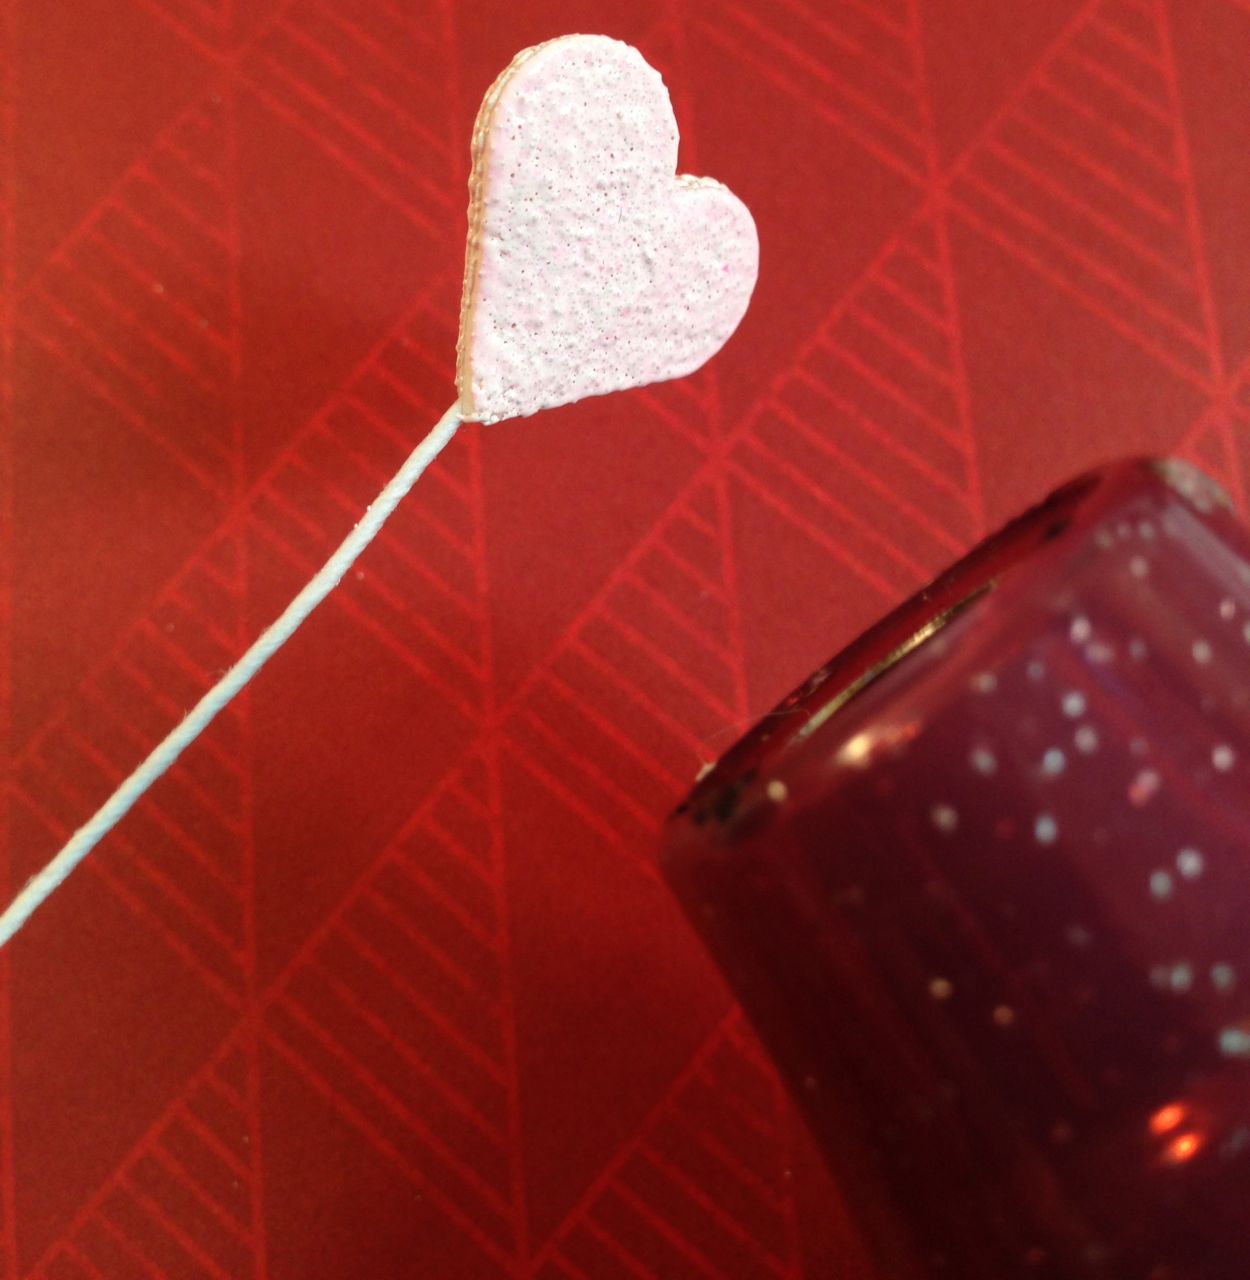
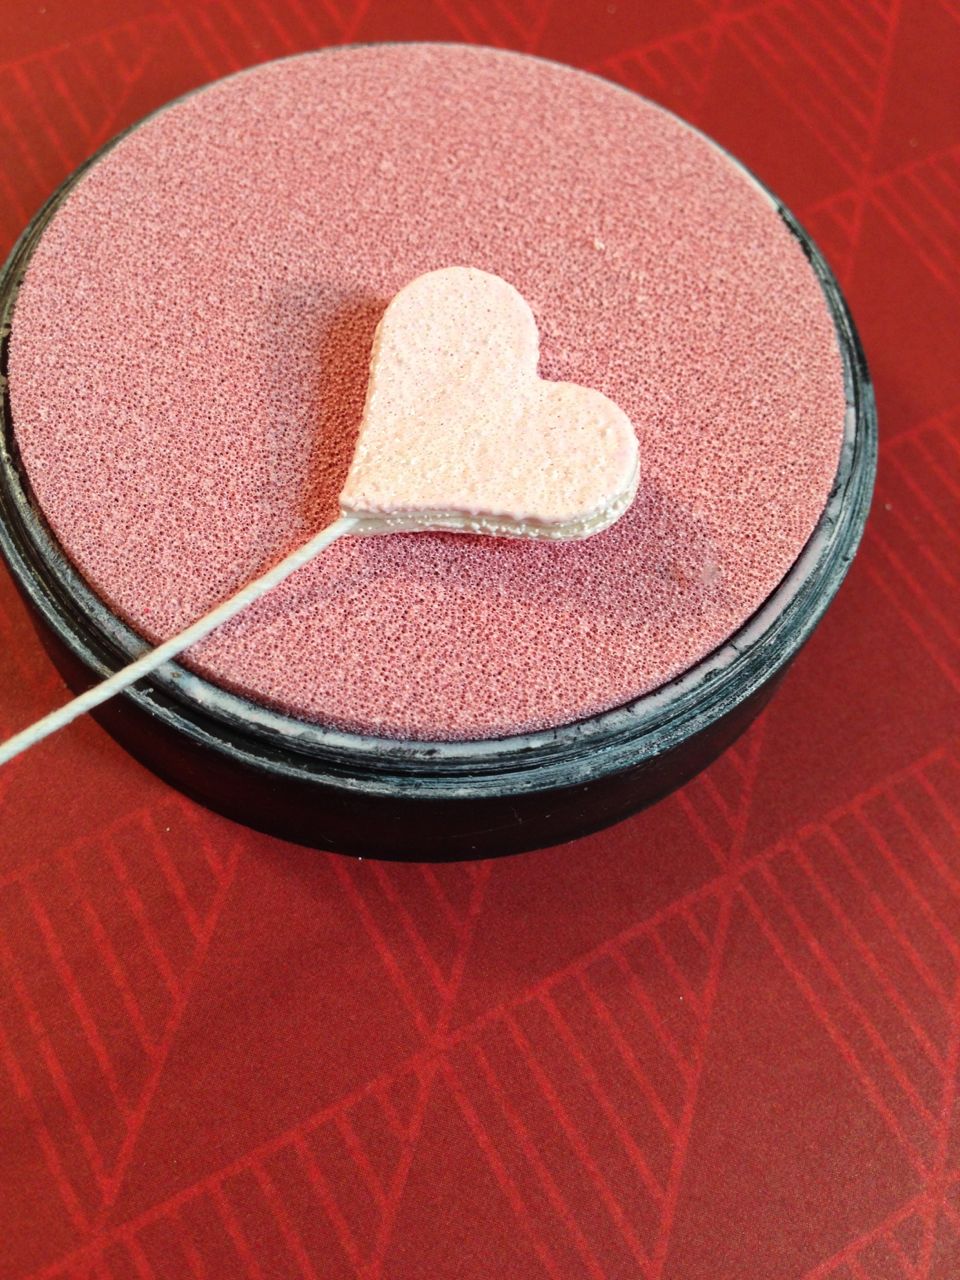
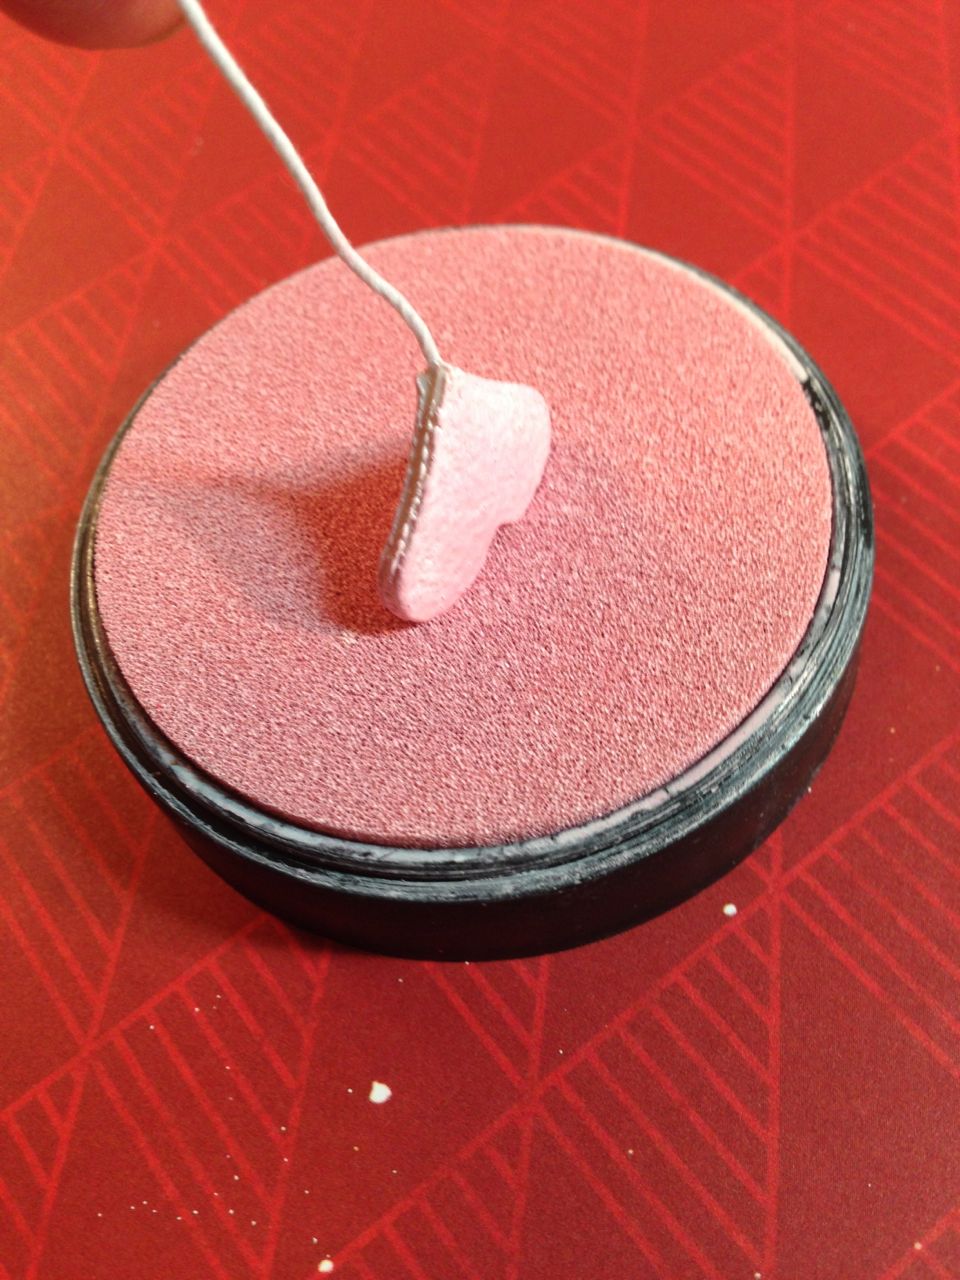
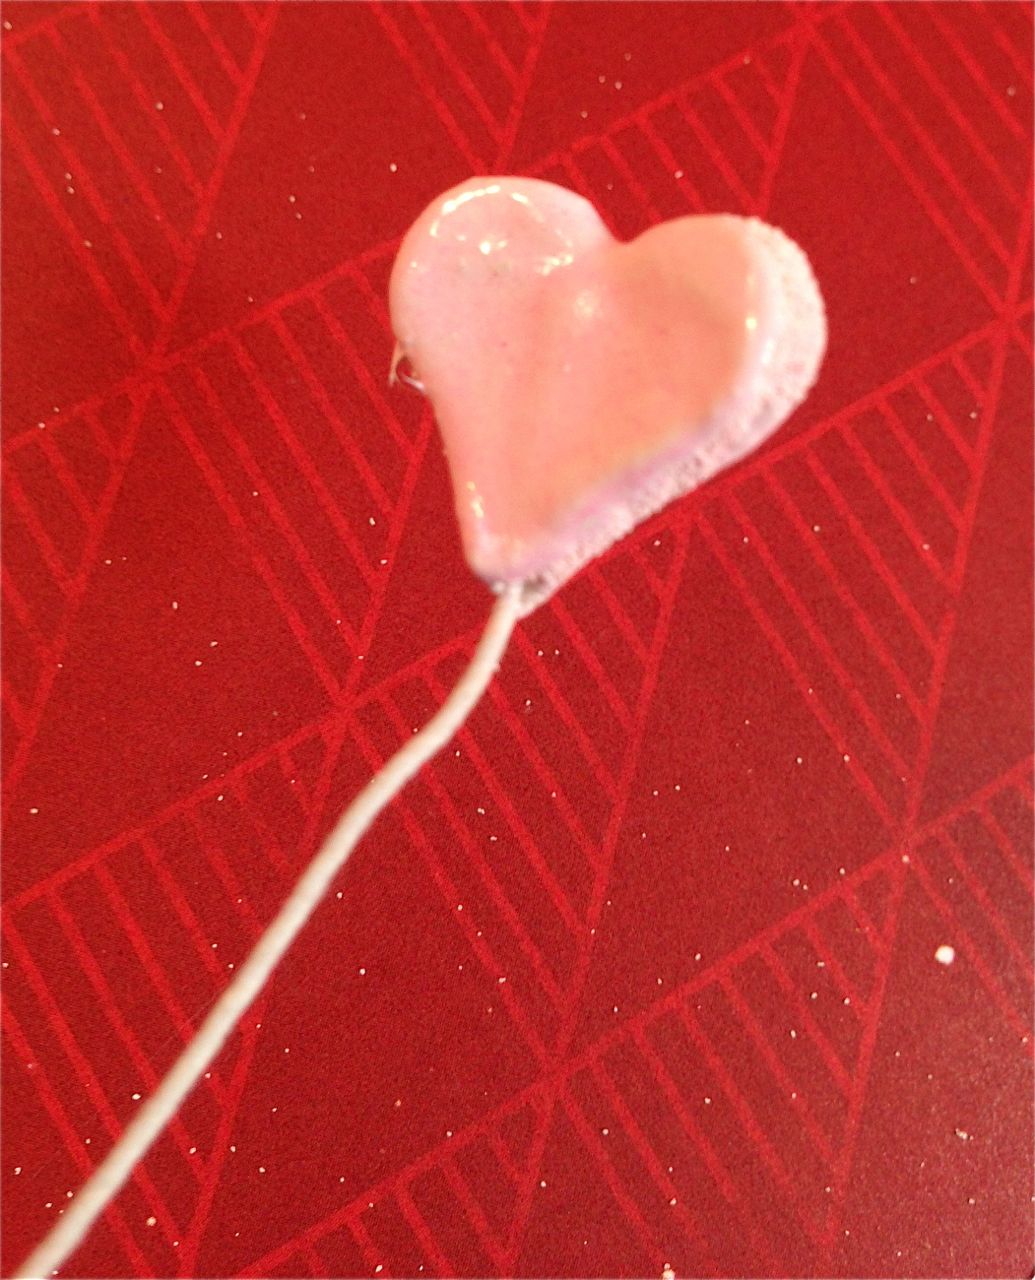
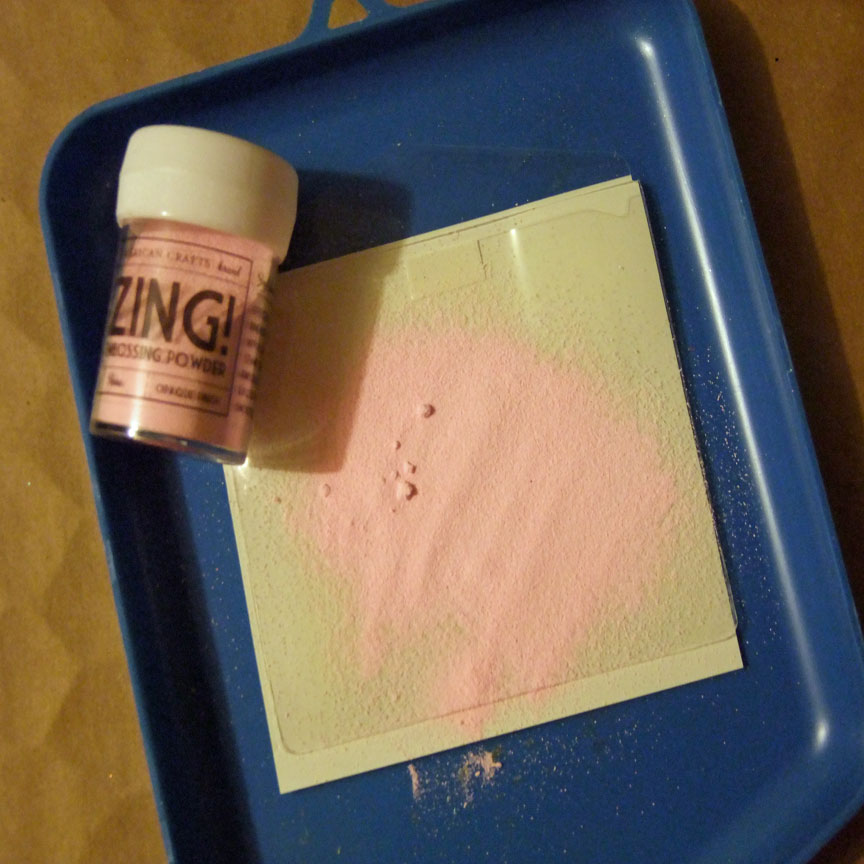
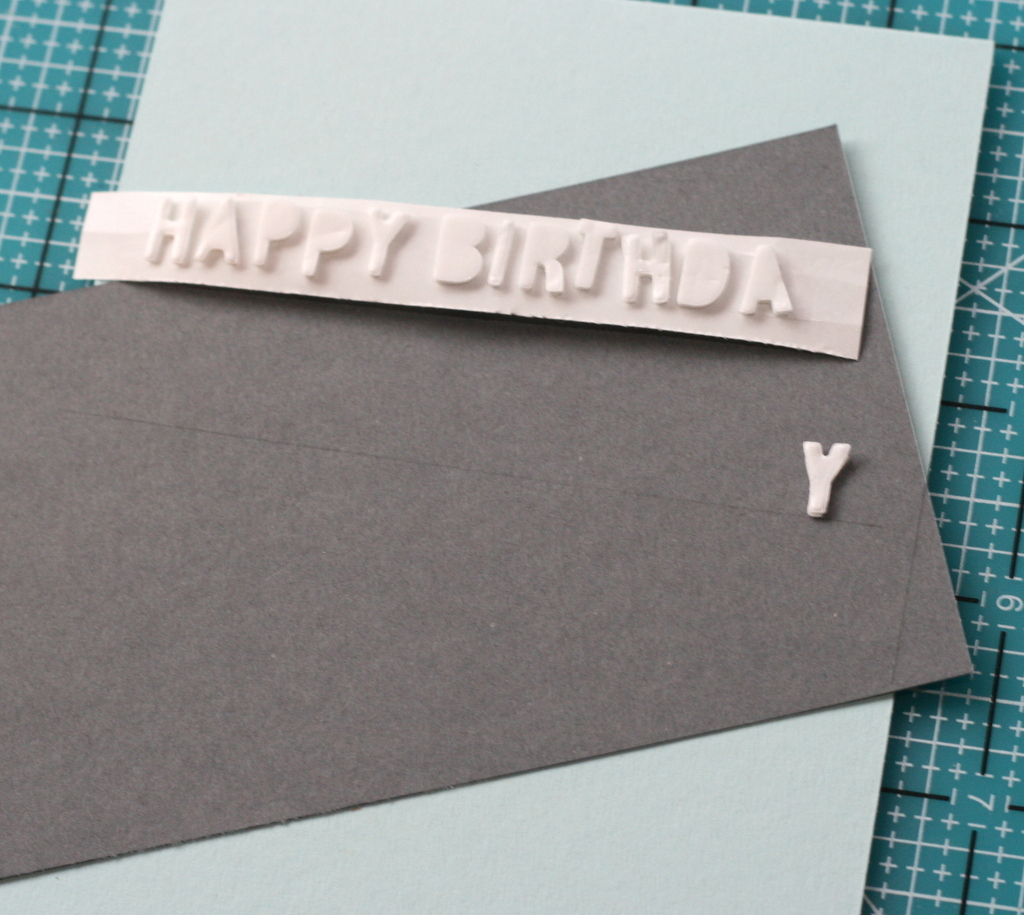 And then as I usually do, I changed my mind. 😉 I decided glittered letters were a tad too sparkly for my father in law. So, I opted on a simple heat emboss using white embossing powder. I adhered the foam shapes to my card stock. Since I had planned on using it on a angle I penciled in a line to follow along and keep the letters straight.
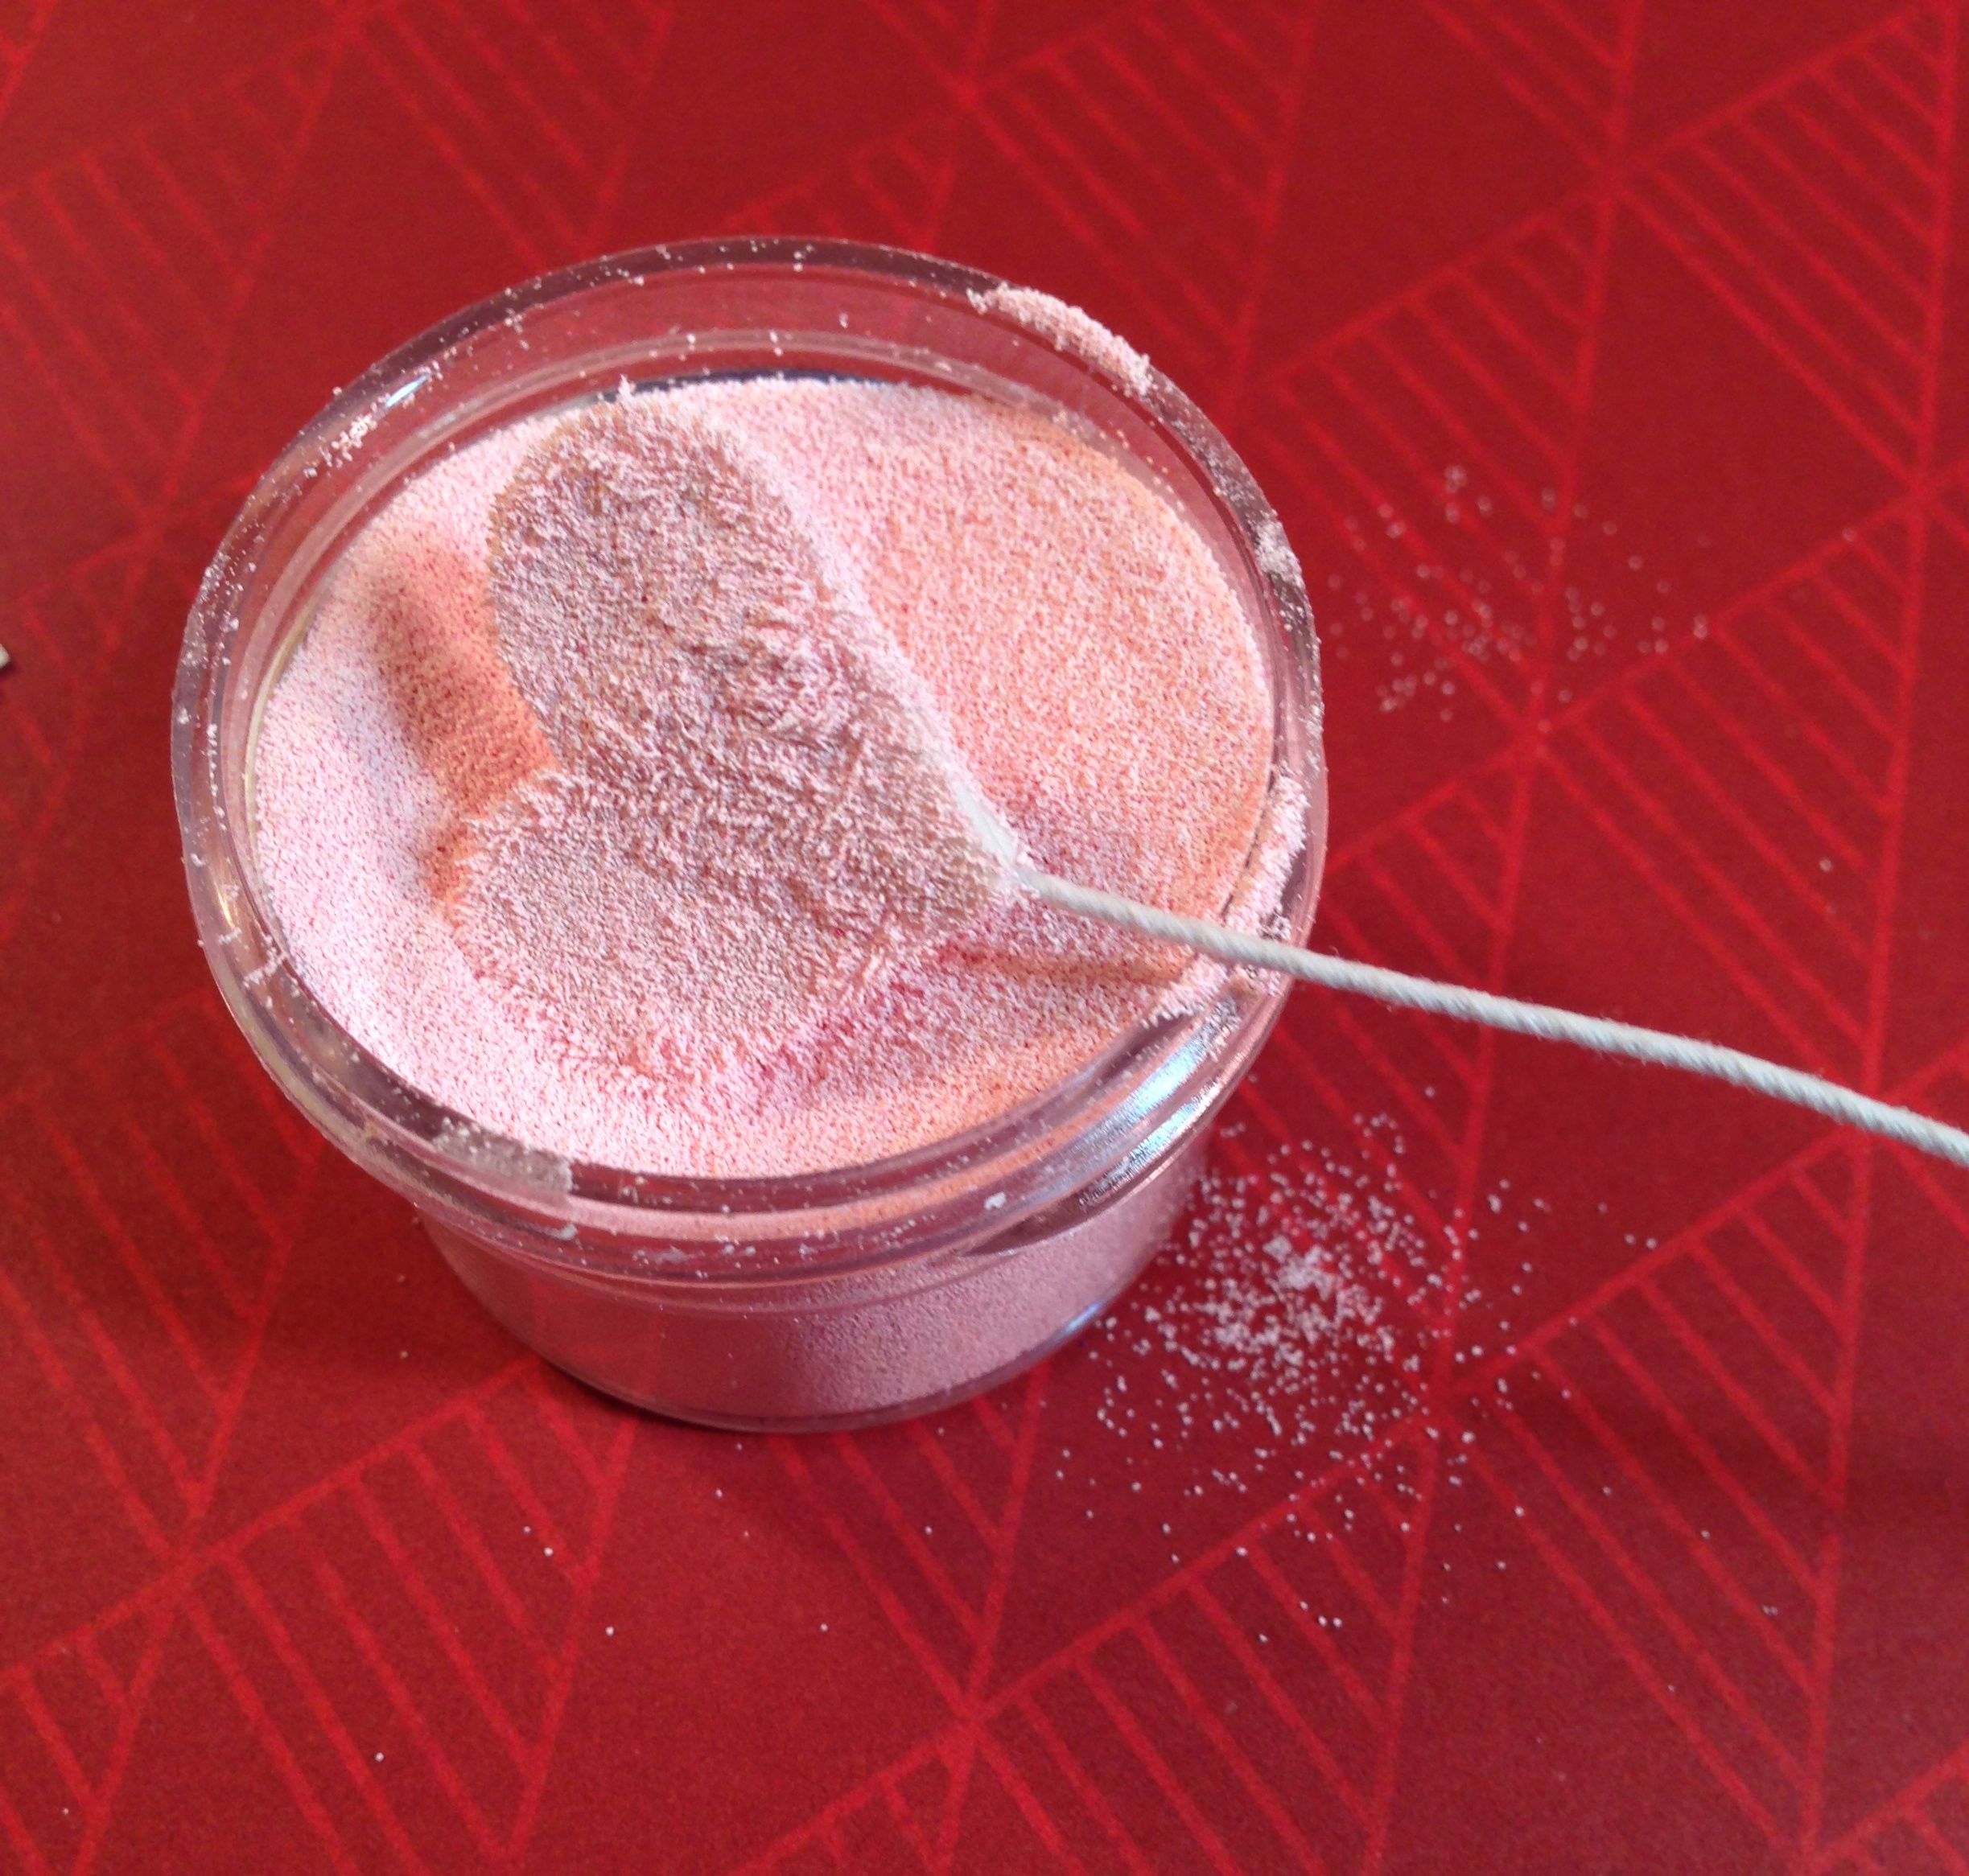
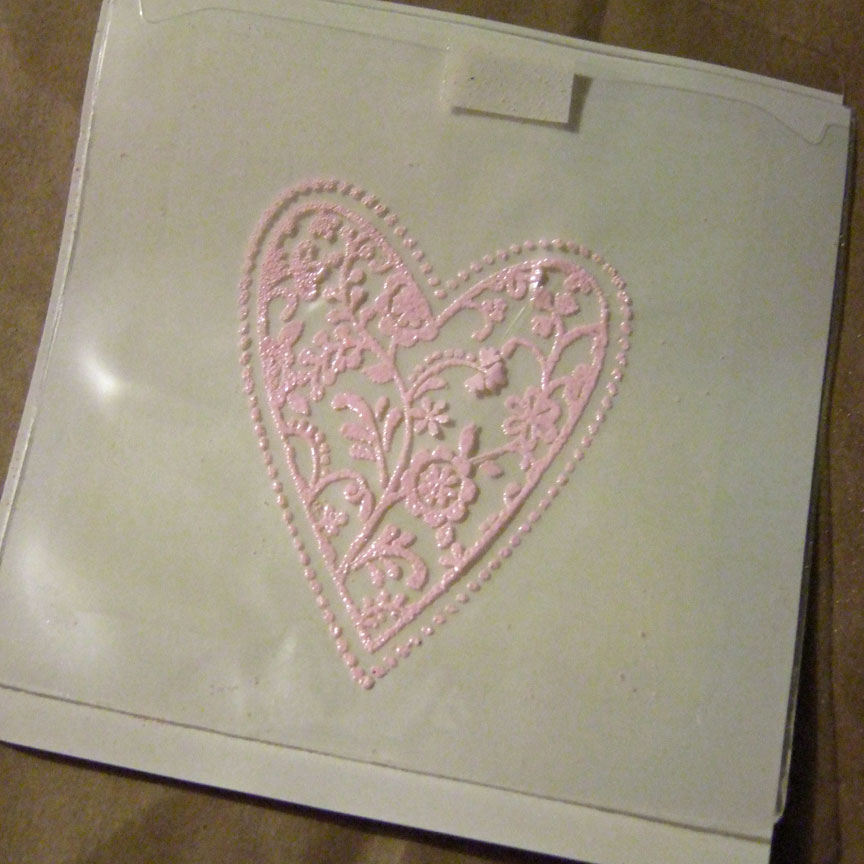
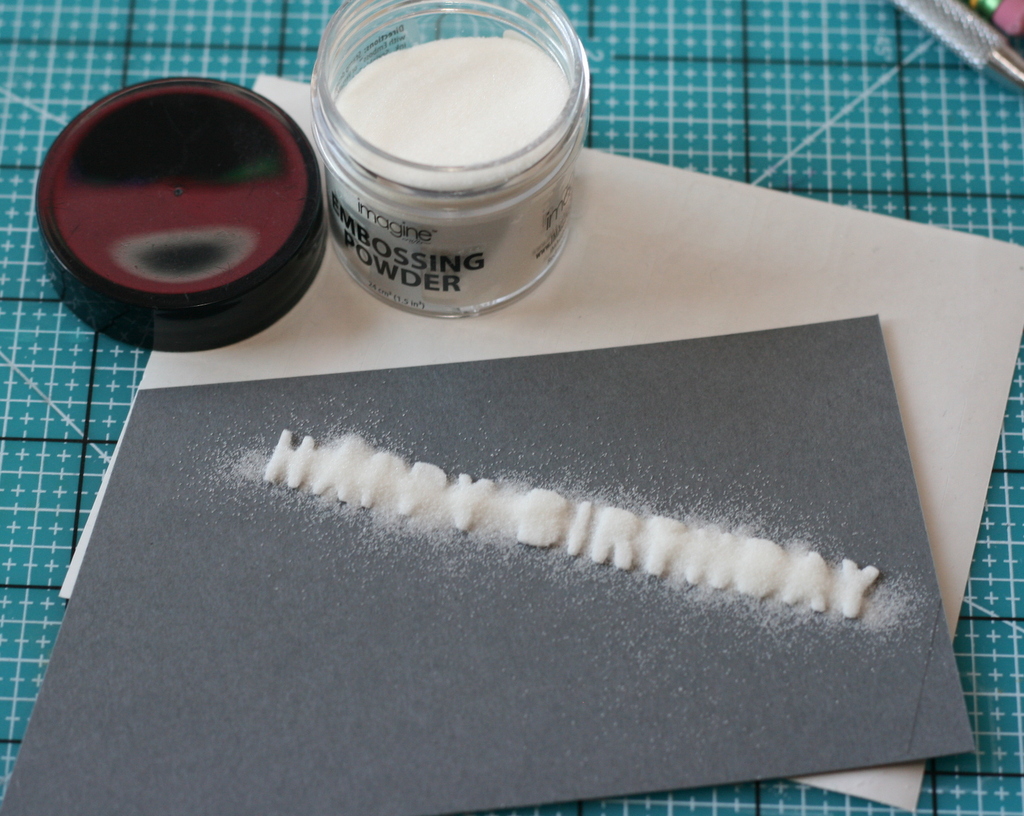 Remove backing from the letters, and cover with embossing powder and heat set.
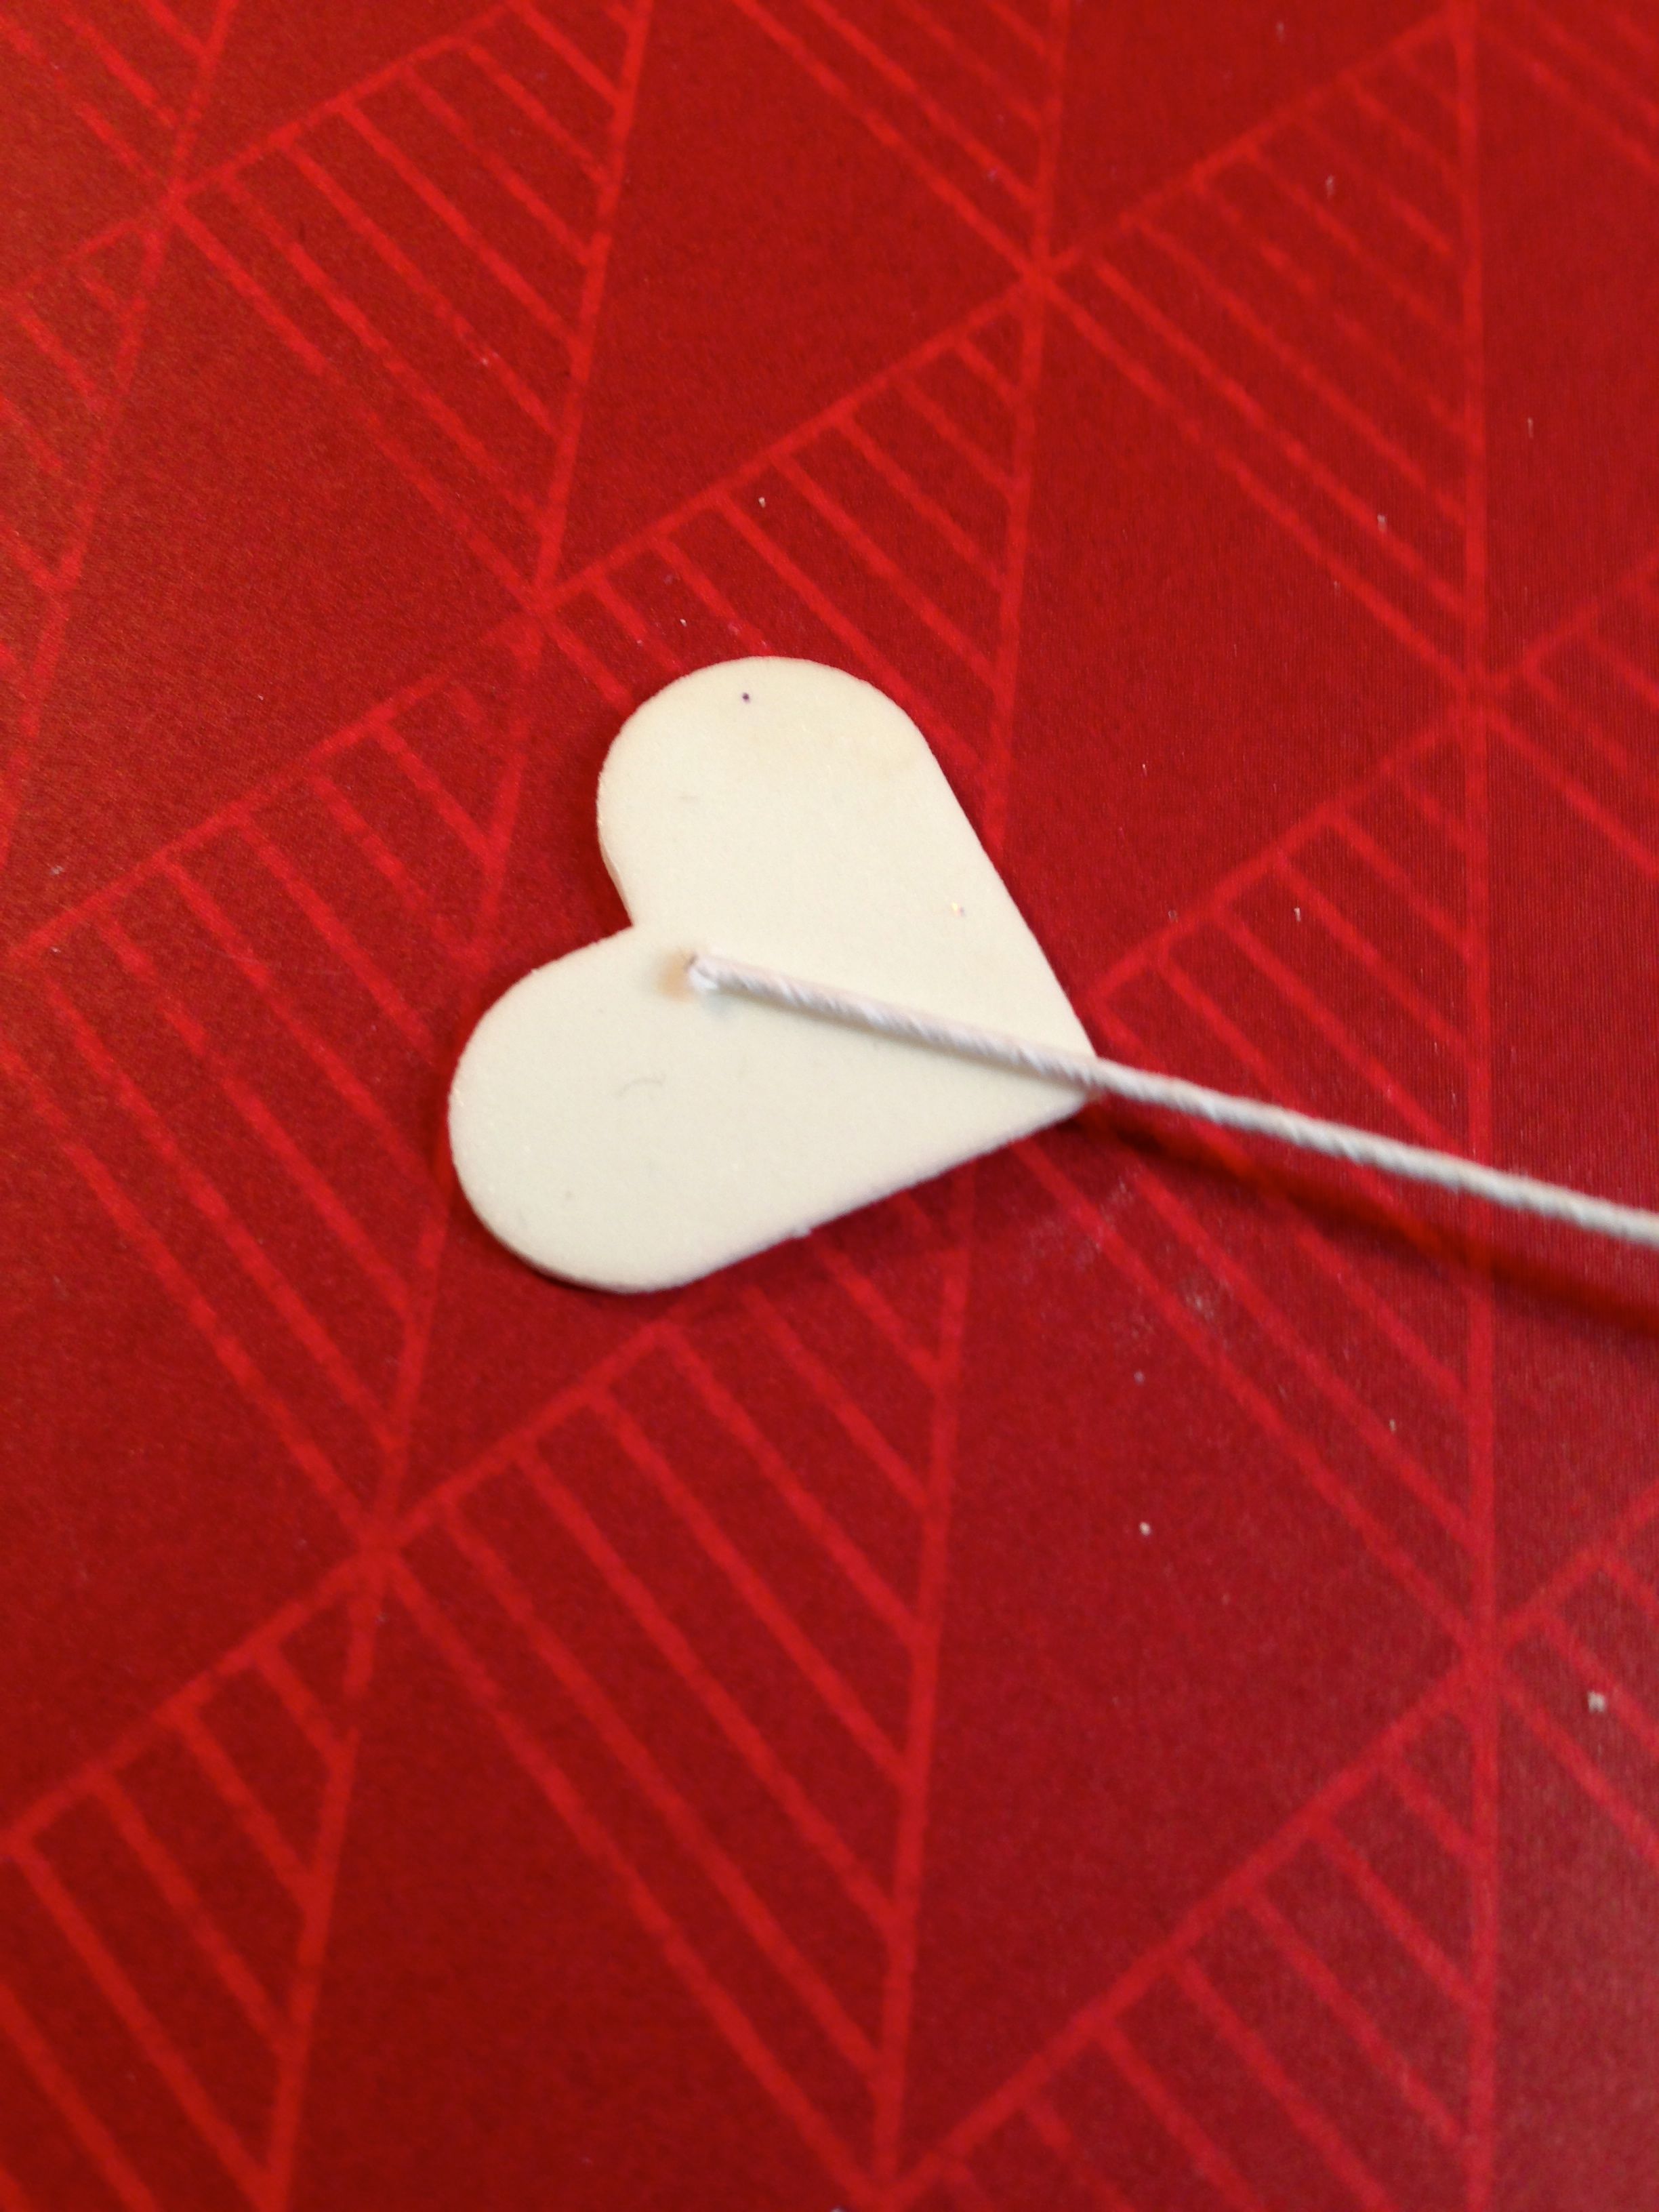
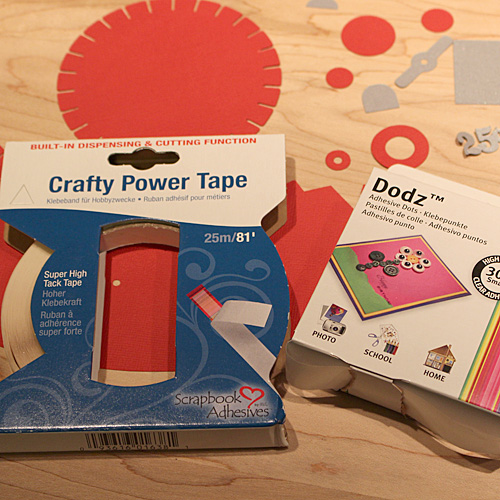
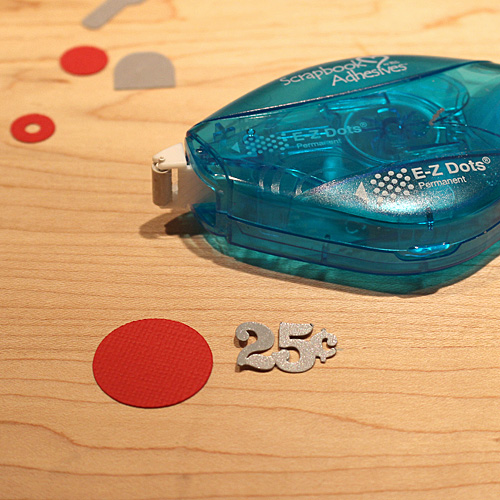
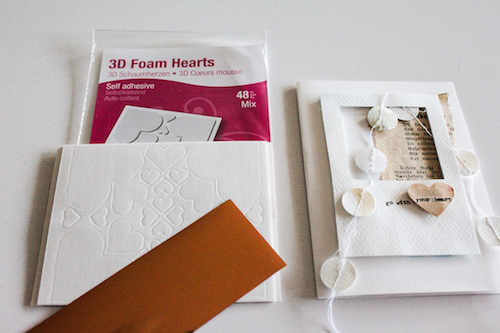
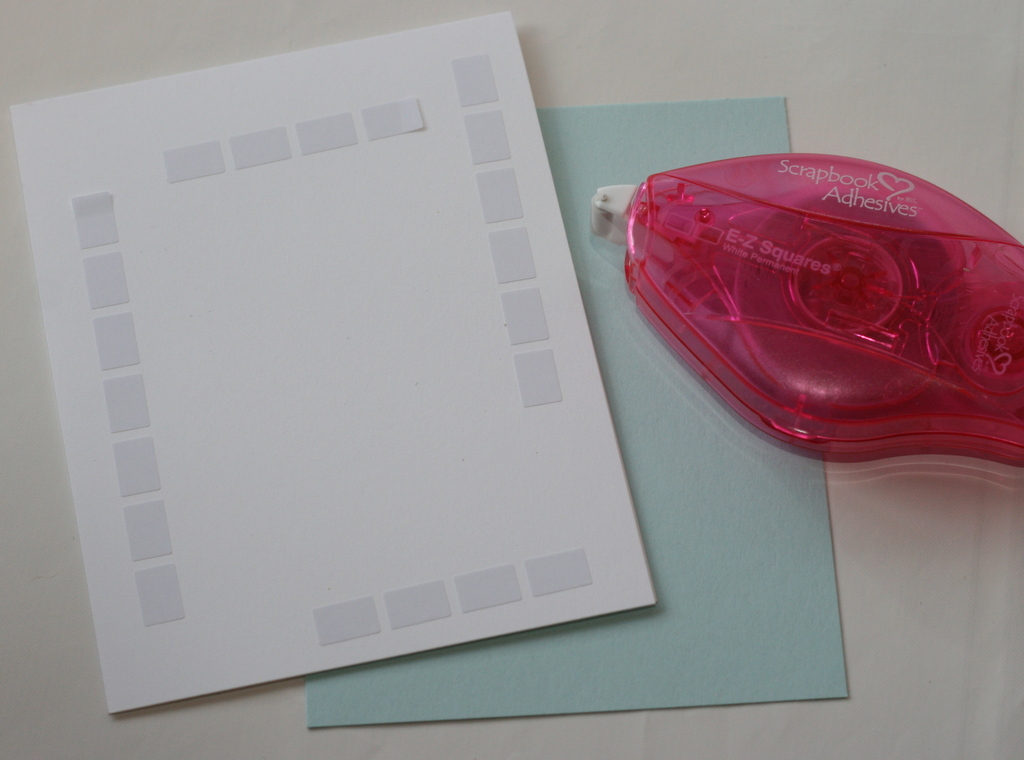 I also decided to change my card base to white- and have a blue matting. I use E-Z Squares® Refillable to adhere my blue layer to my card front.
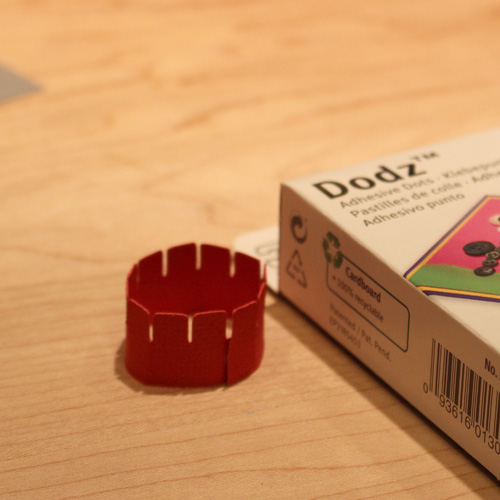
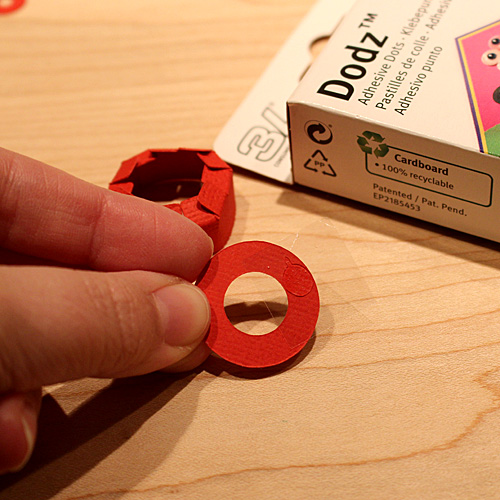
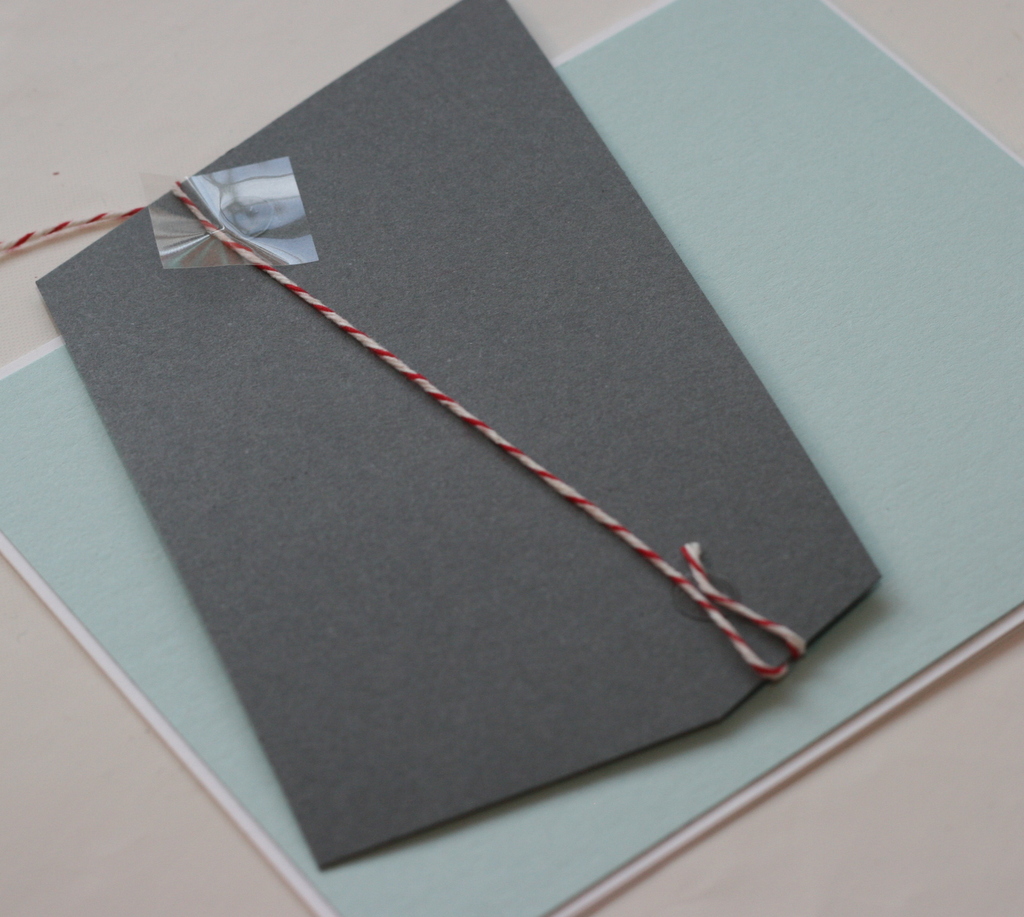 I then used some Dodz™ Small to hold my twine down on the backside of my card stock layer.
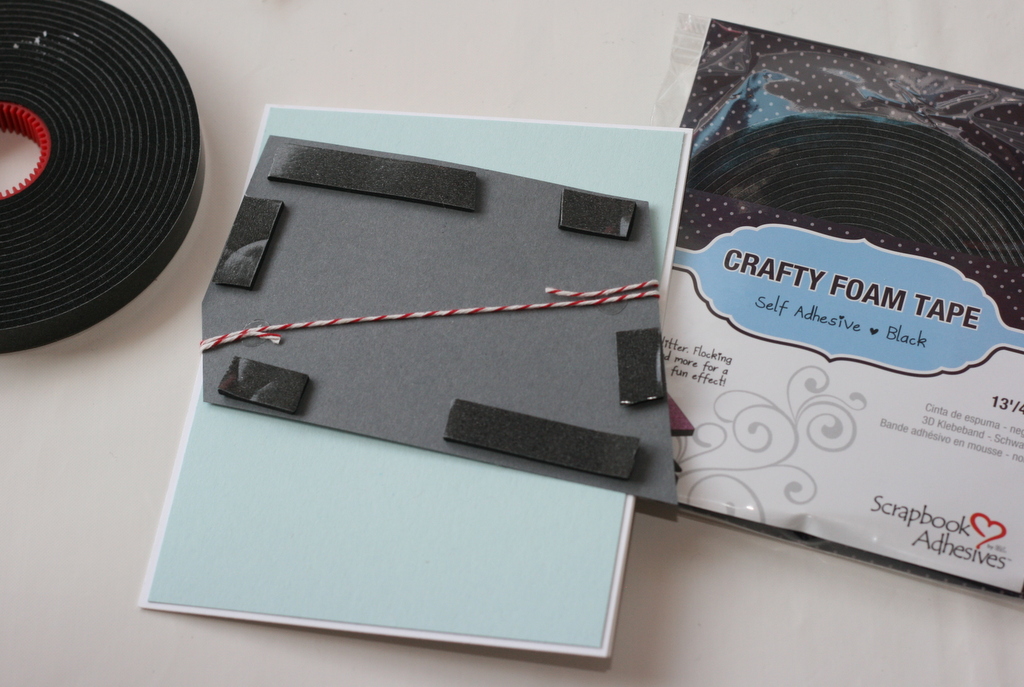
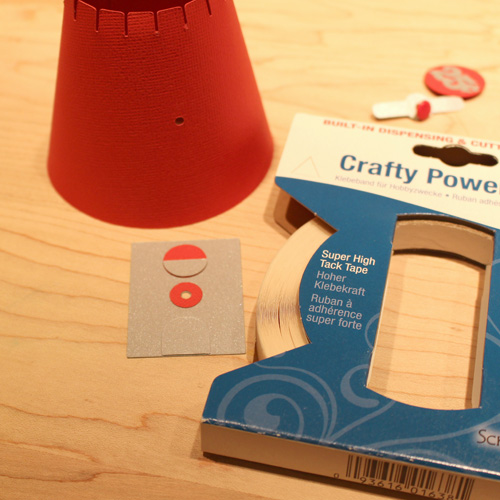
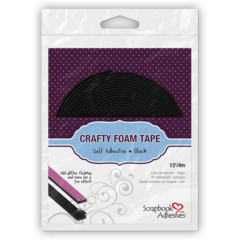
To pop it up and add a little dimension, use a few strips of Crafty Foam Tape in Black.
Here’s hoping he enjoys it! 🙂
Scrapbook Adhesives by 3L®: 3D Foam Party Shapes, Crafty Foam Tape in Black, Dodz™ Small, E-Z Squares® Refillable
Imagine Crafts Embossing Powder
cardstock, twine
enjoy! AJ


