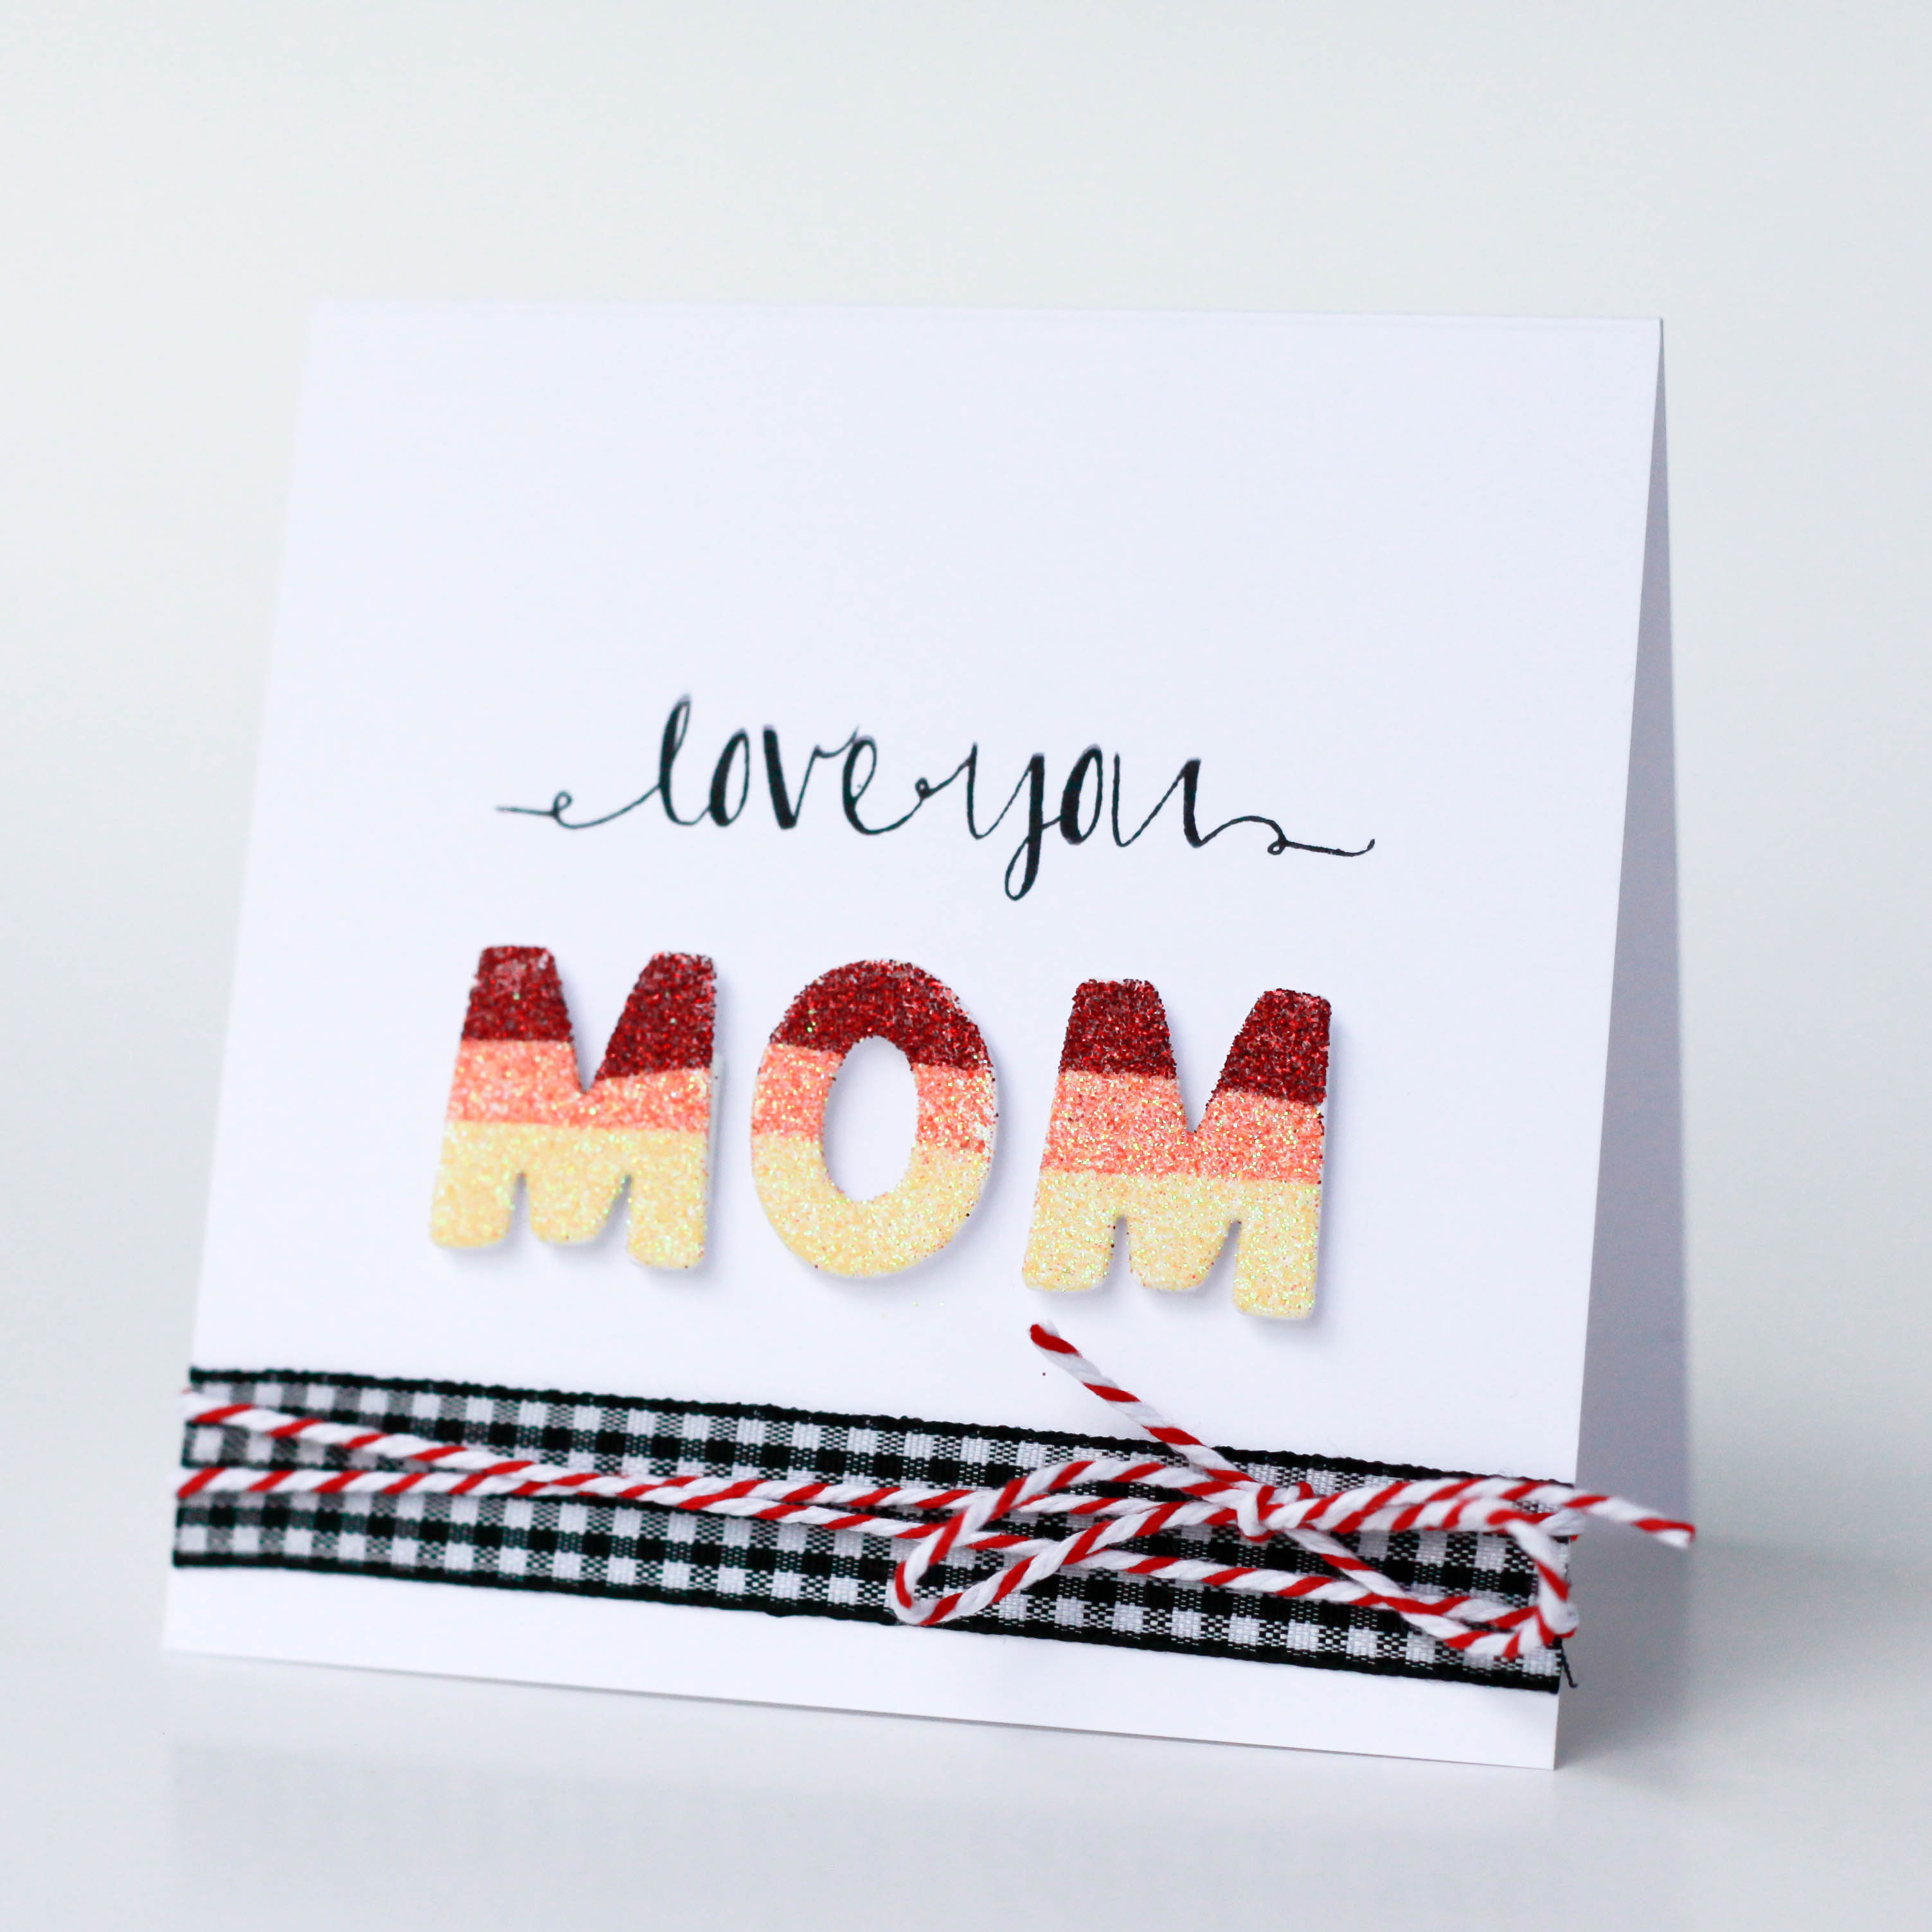
Hello blog readers! It’s Angela here today and I’m sharing 2 of my recent obsessions-watercolors and negative space! See both on this card below:
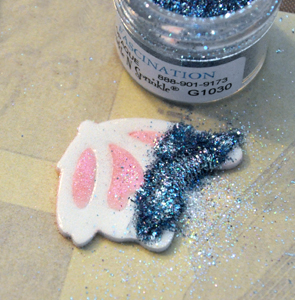
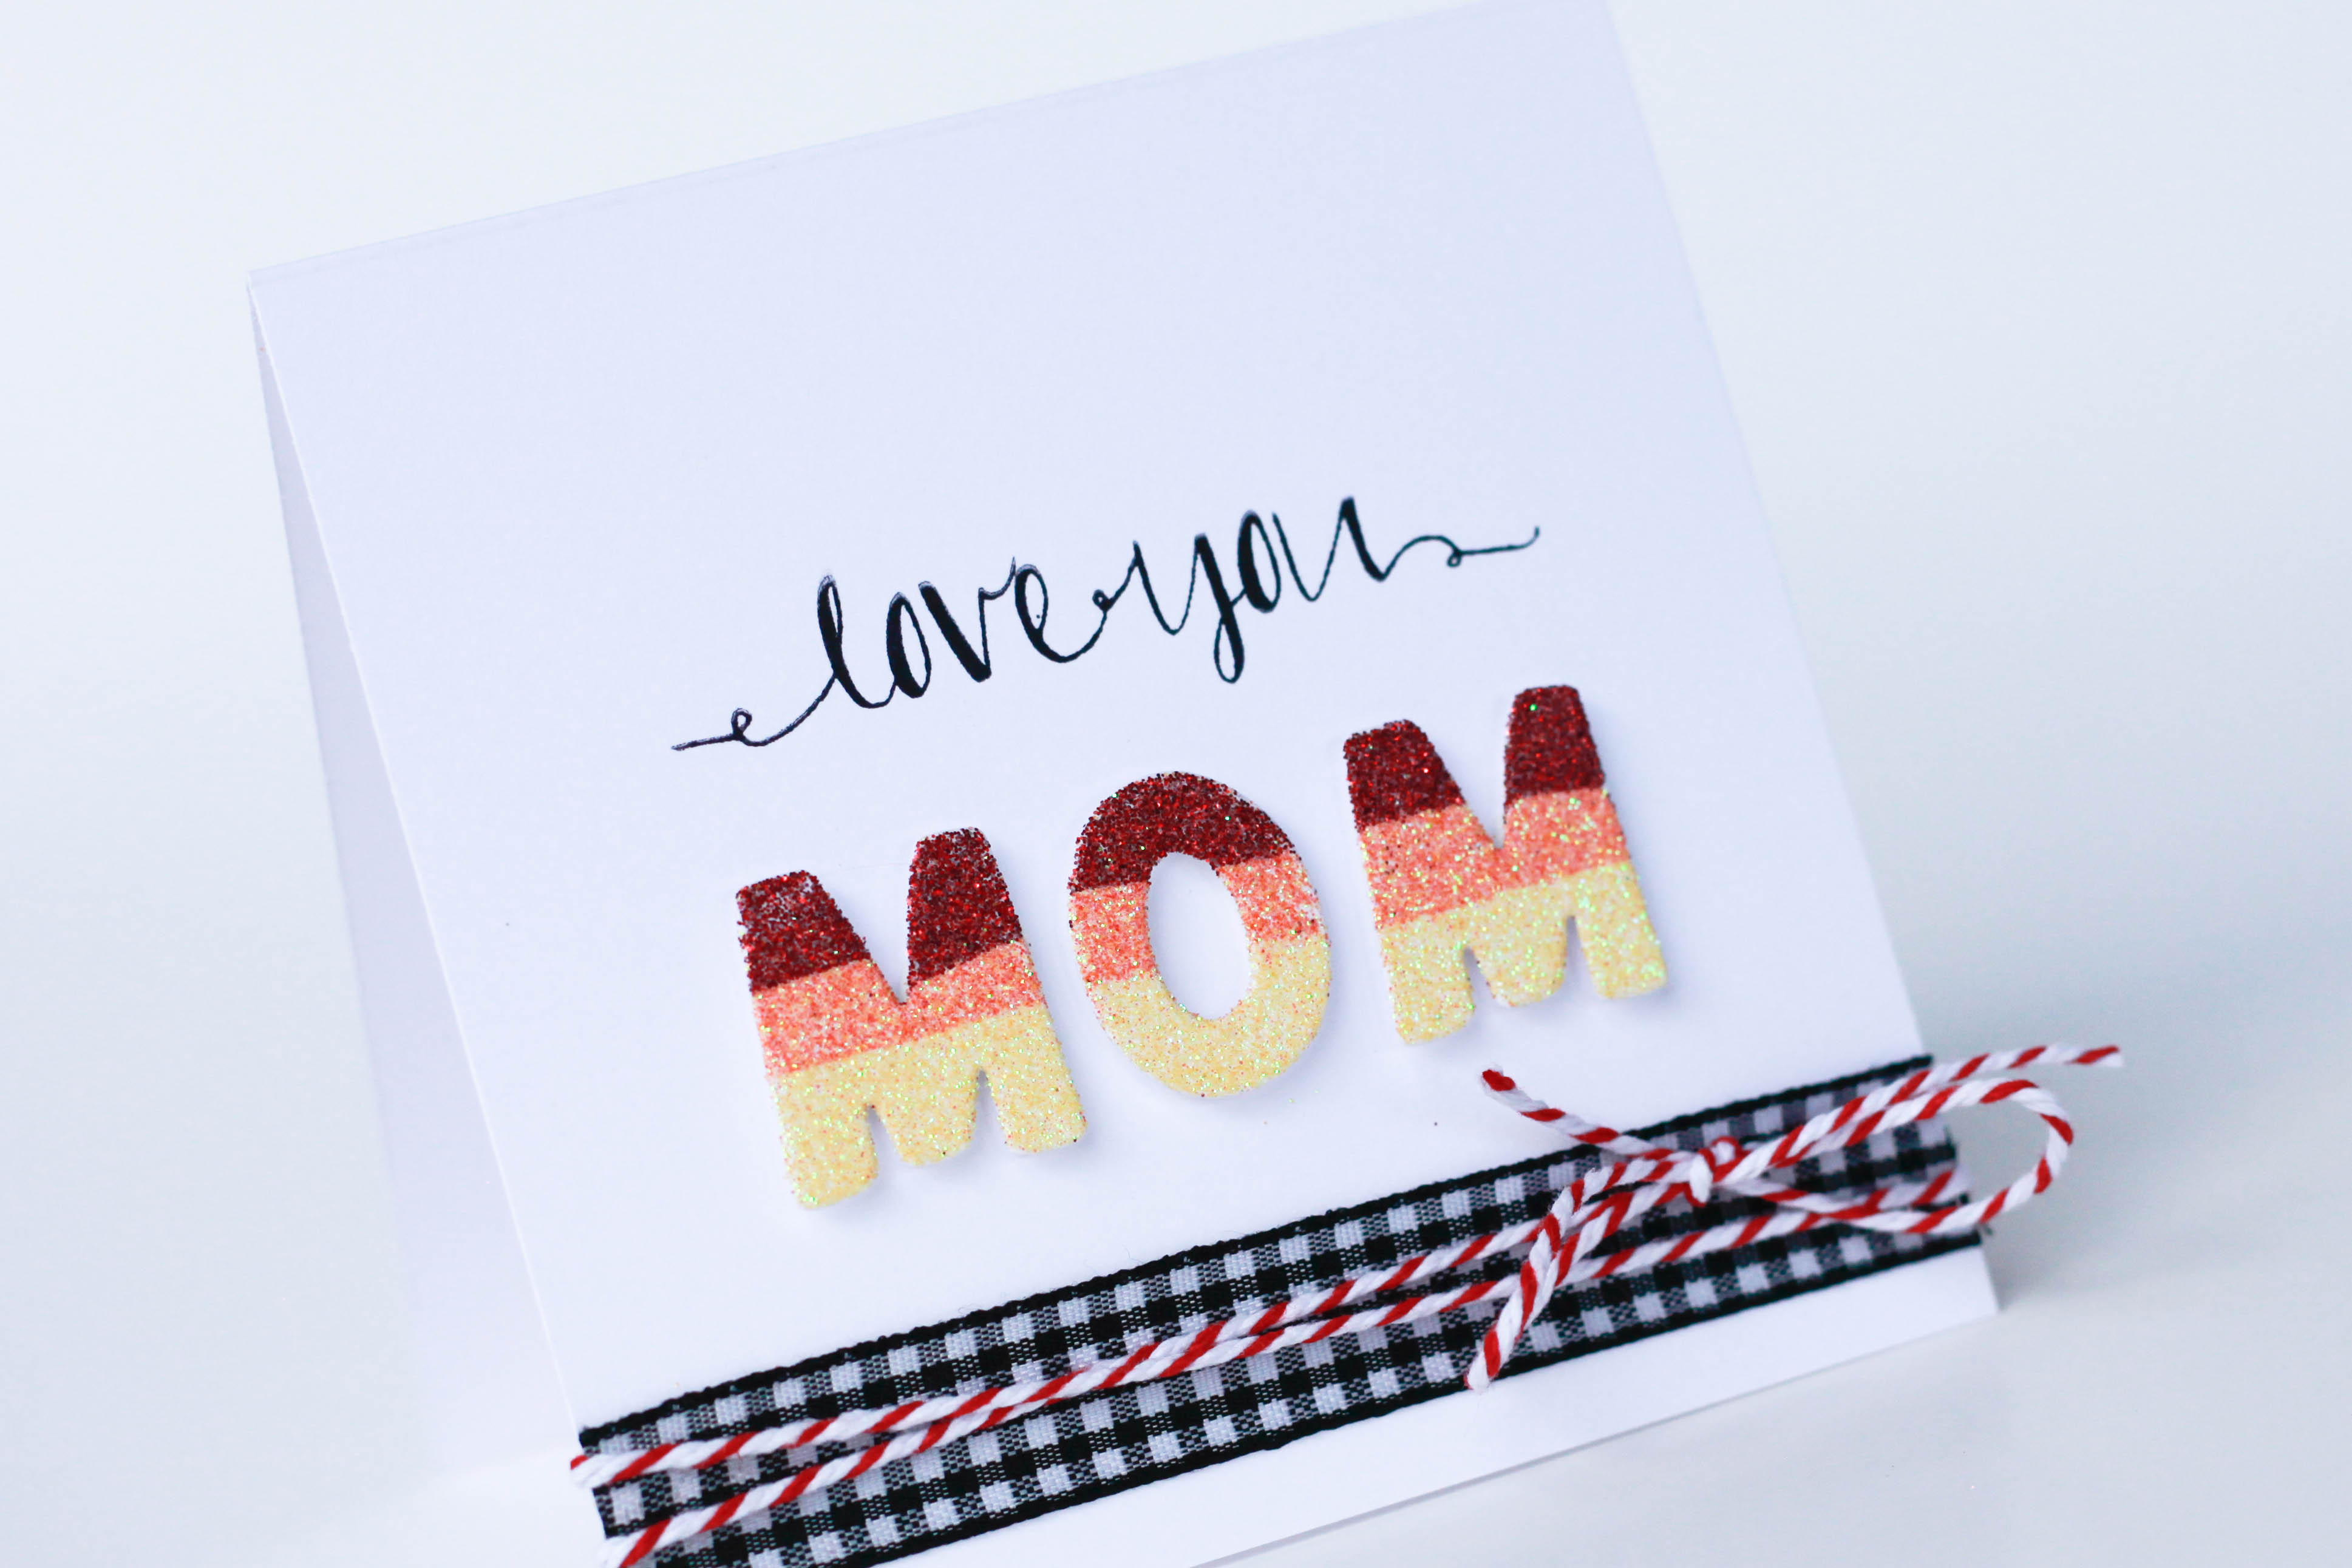
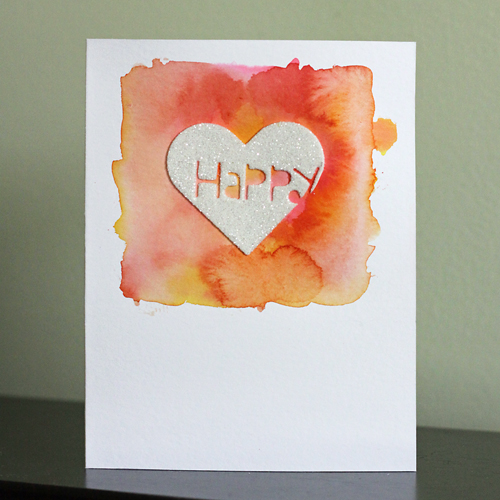 I love how watercolors blend so organically in a background and wanted to ensure that color was the star on this card! So, in order to keep the focal point on the swatch of color, I die cut the sentiment from a 3D Foam Heart, removed the letters and adhered to the card base before covering in glitter! So easy! Here’s a close up of the focal point:
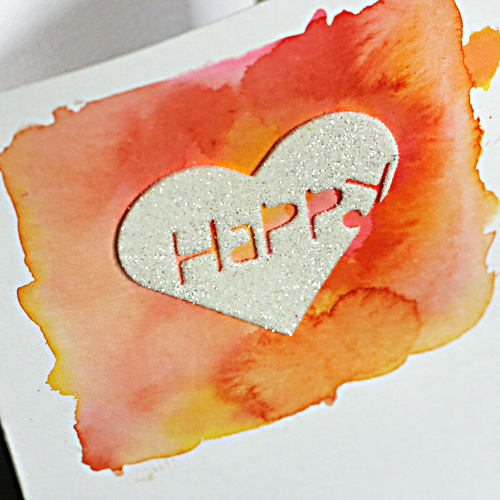
I got so excited playing, I created a second card using the same concepts:
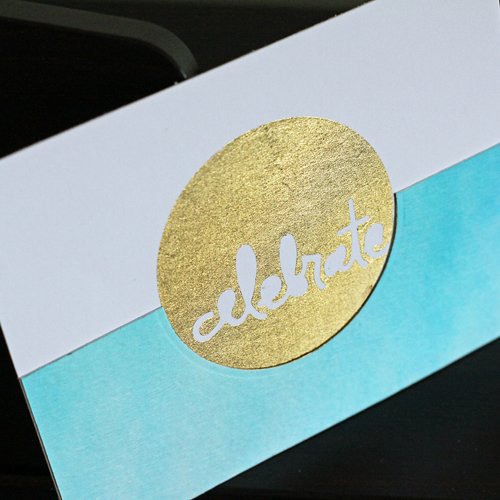
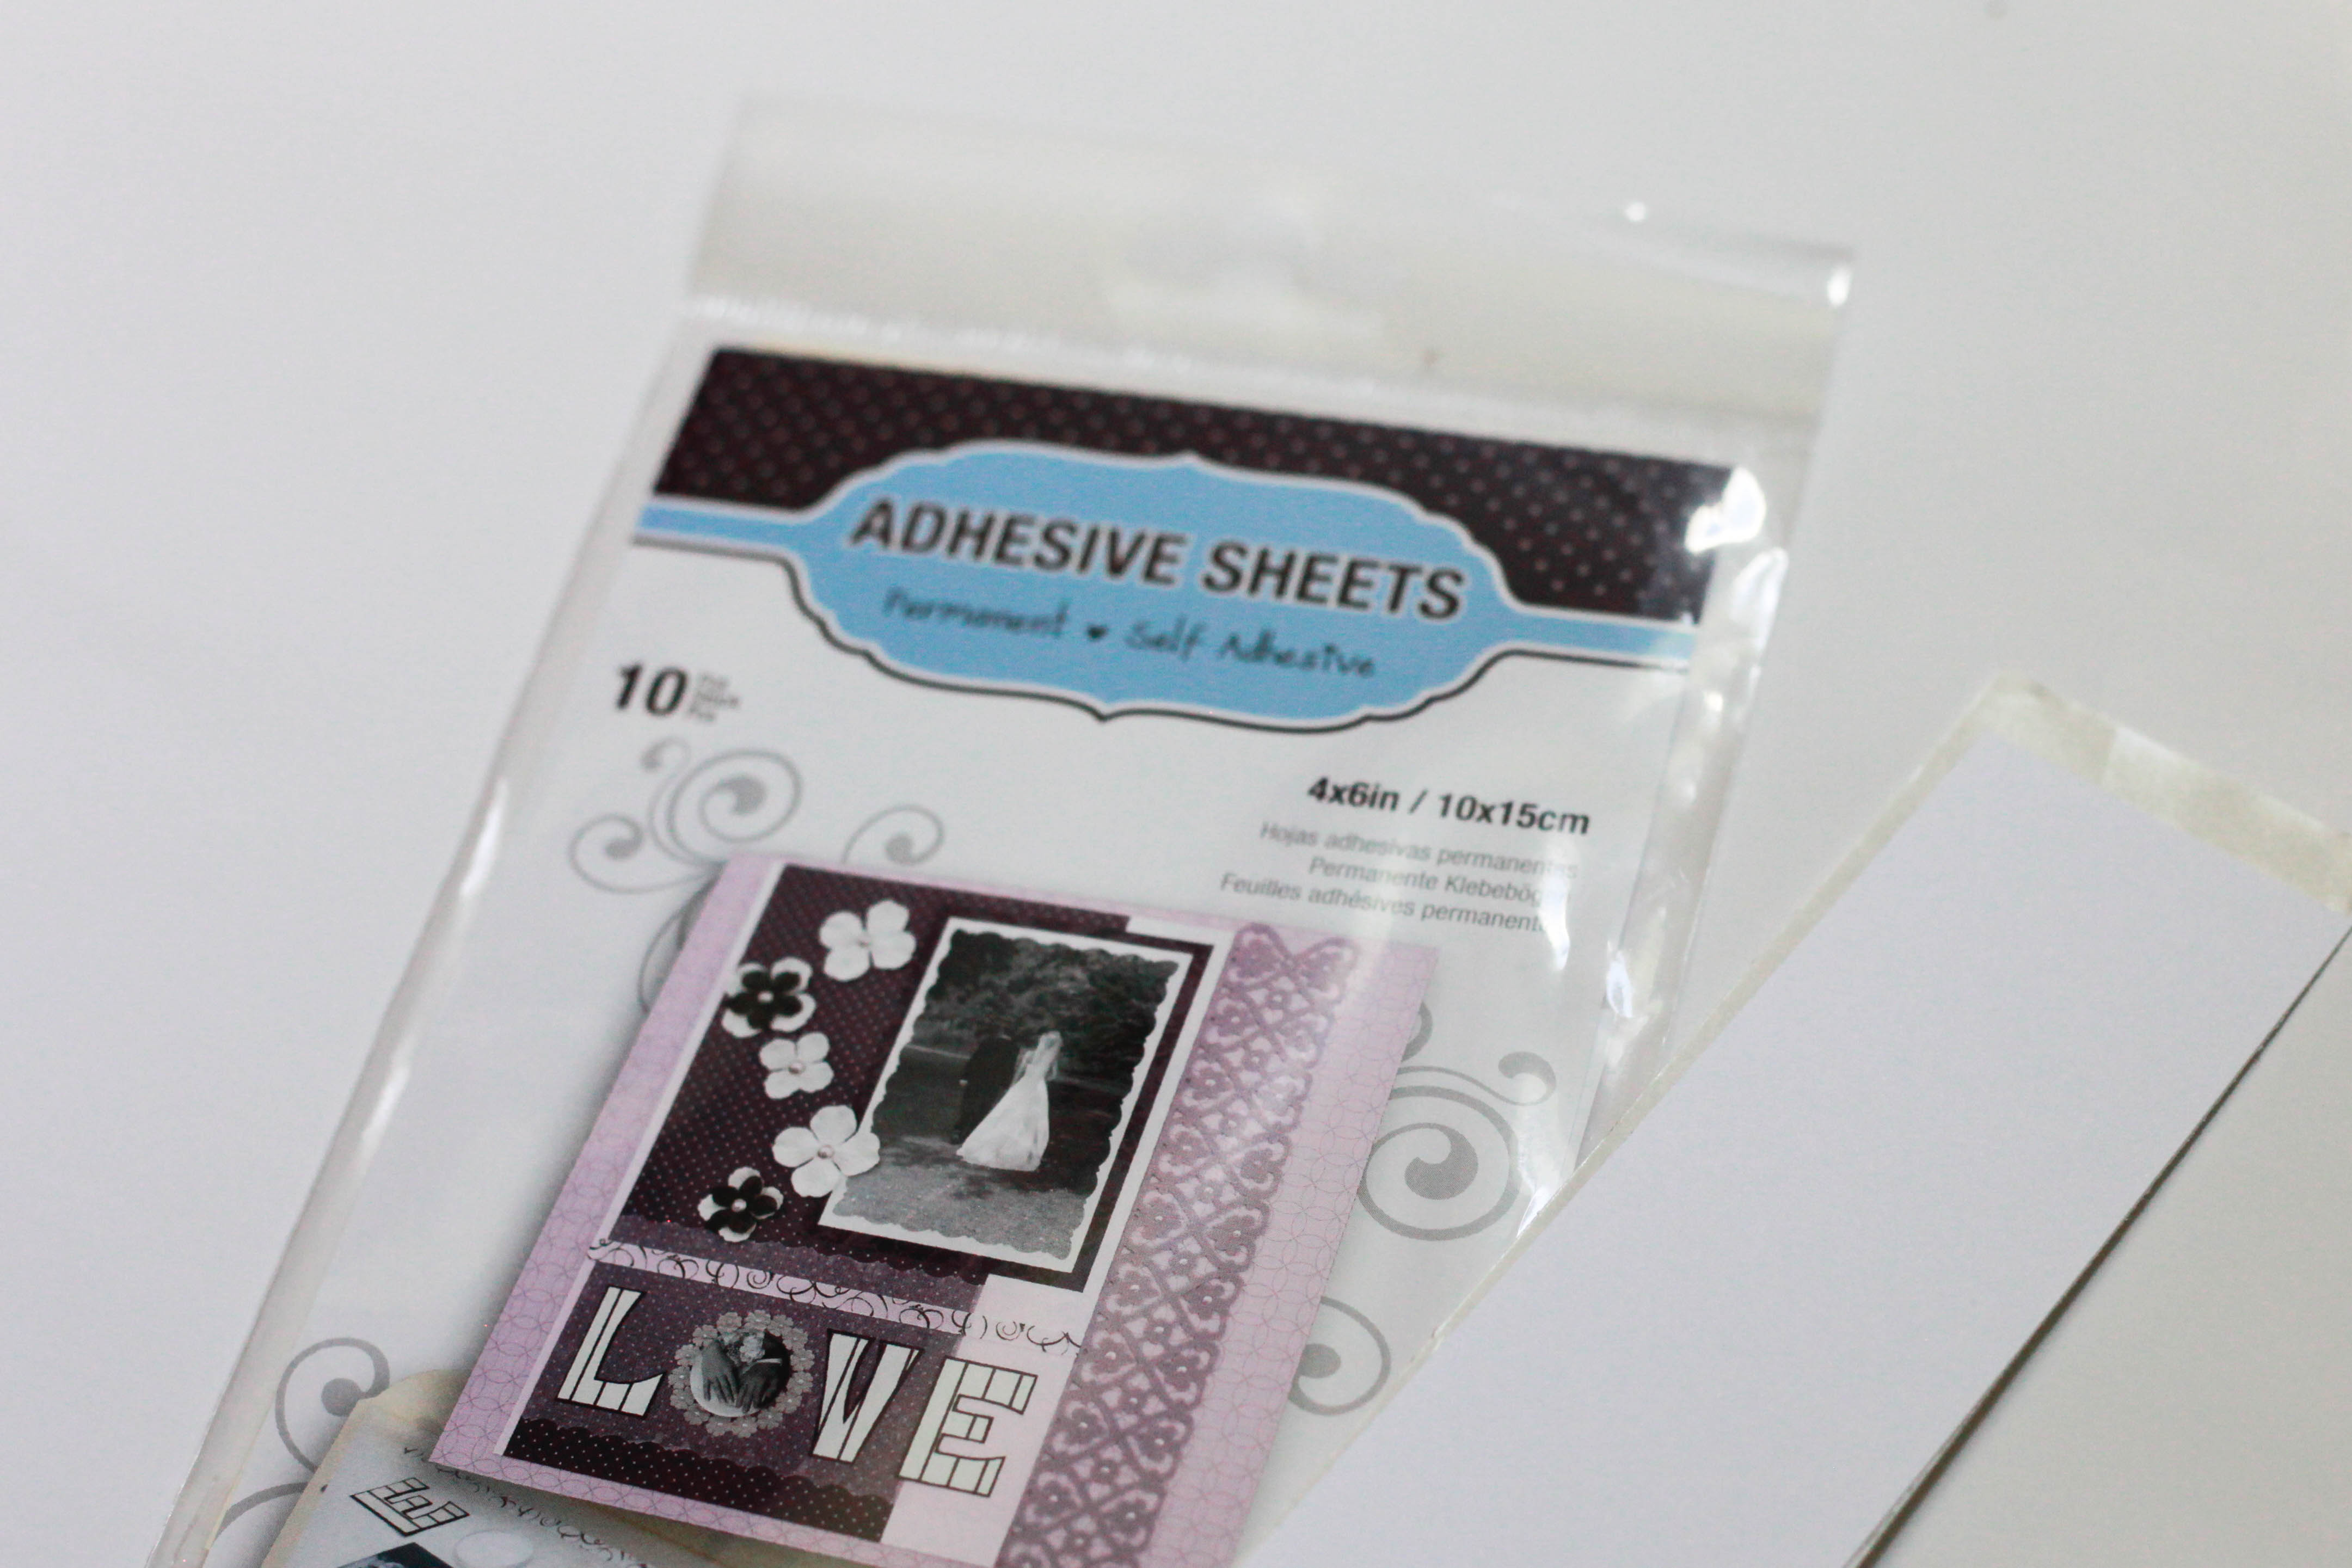
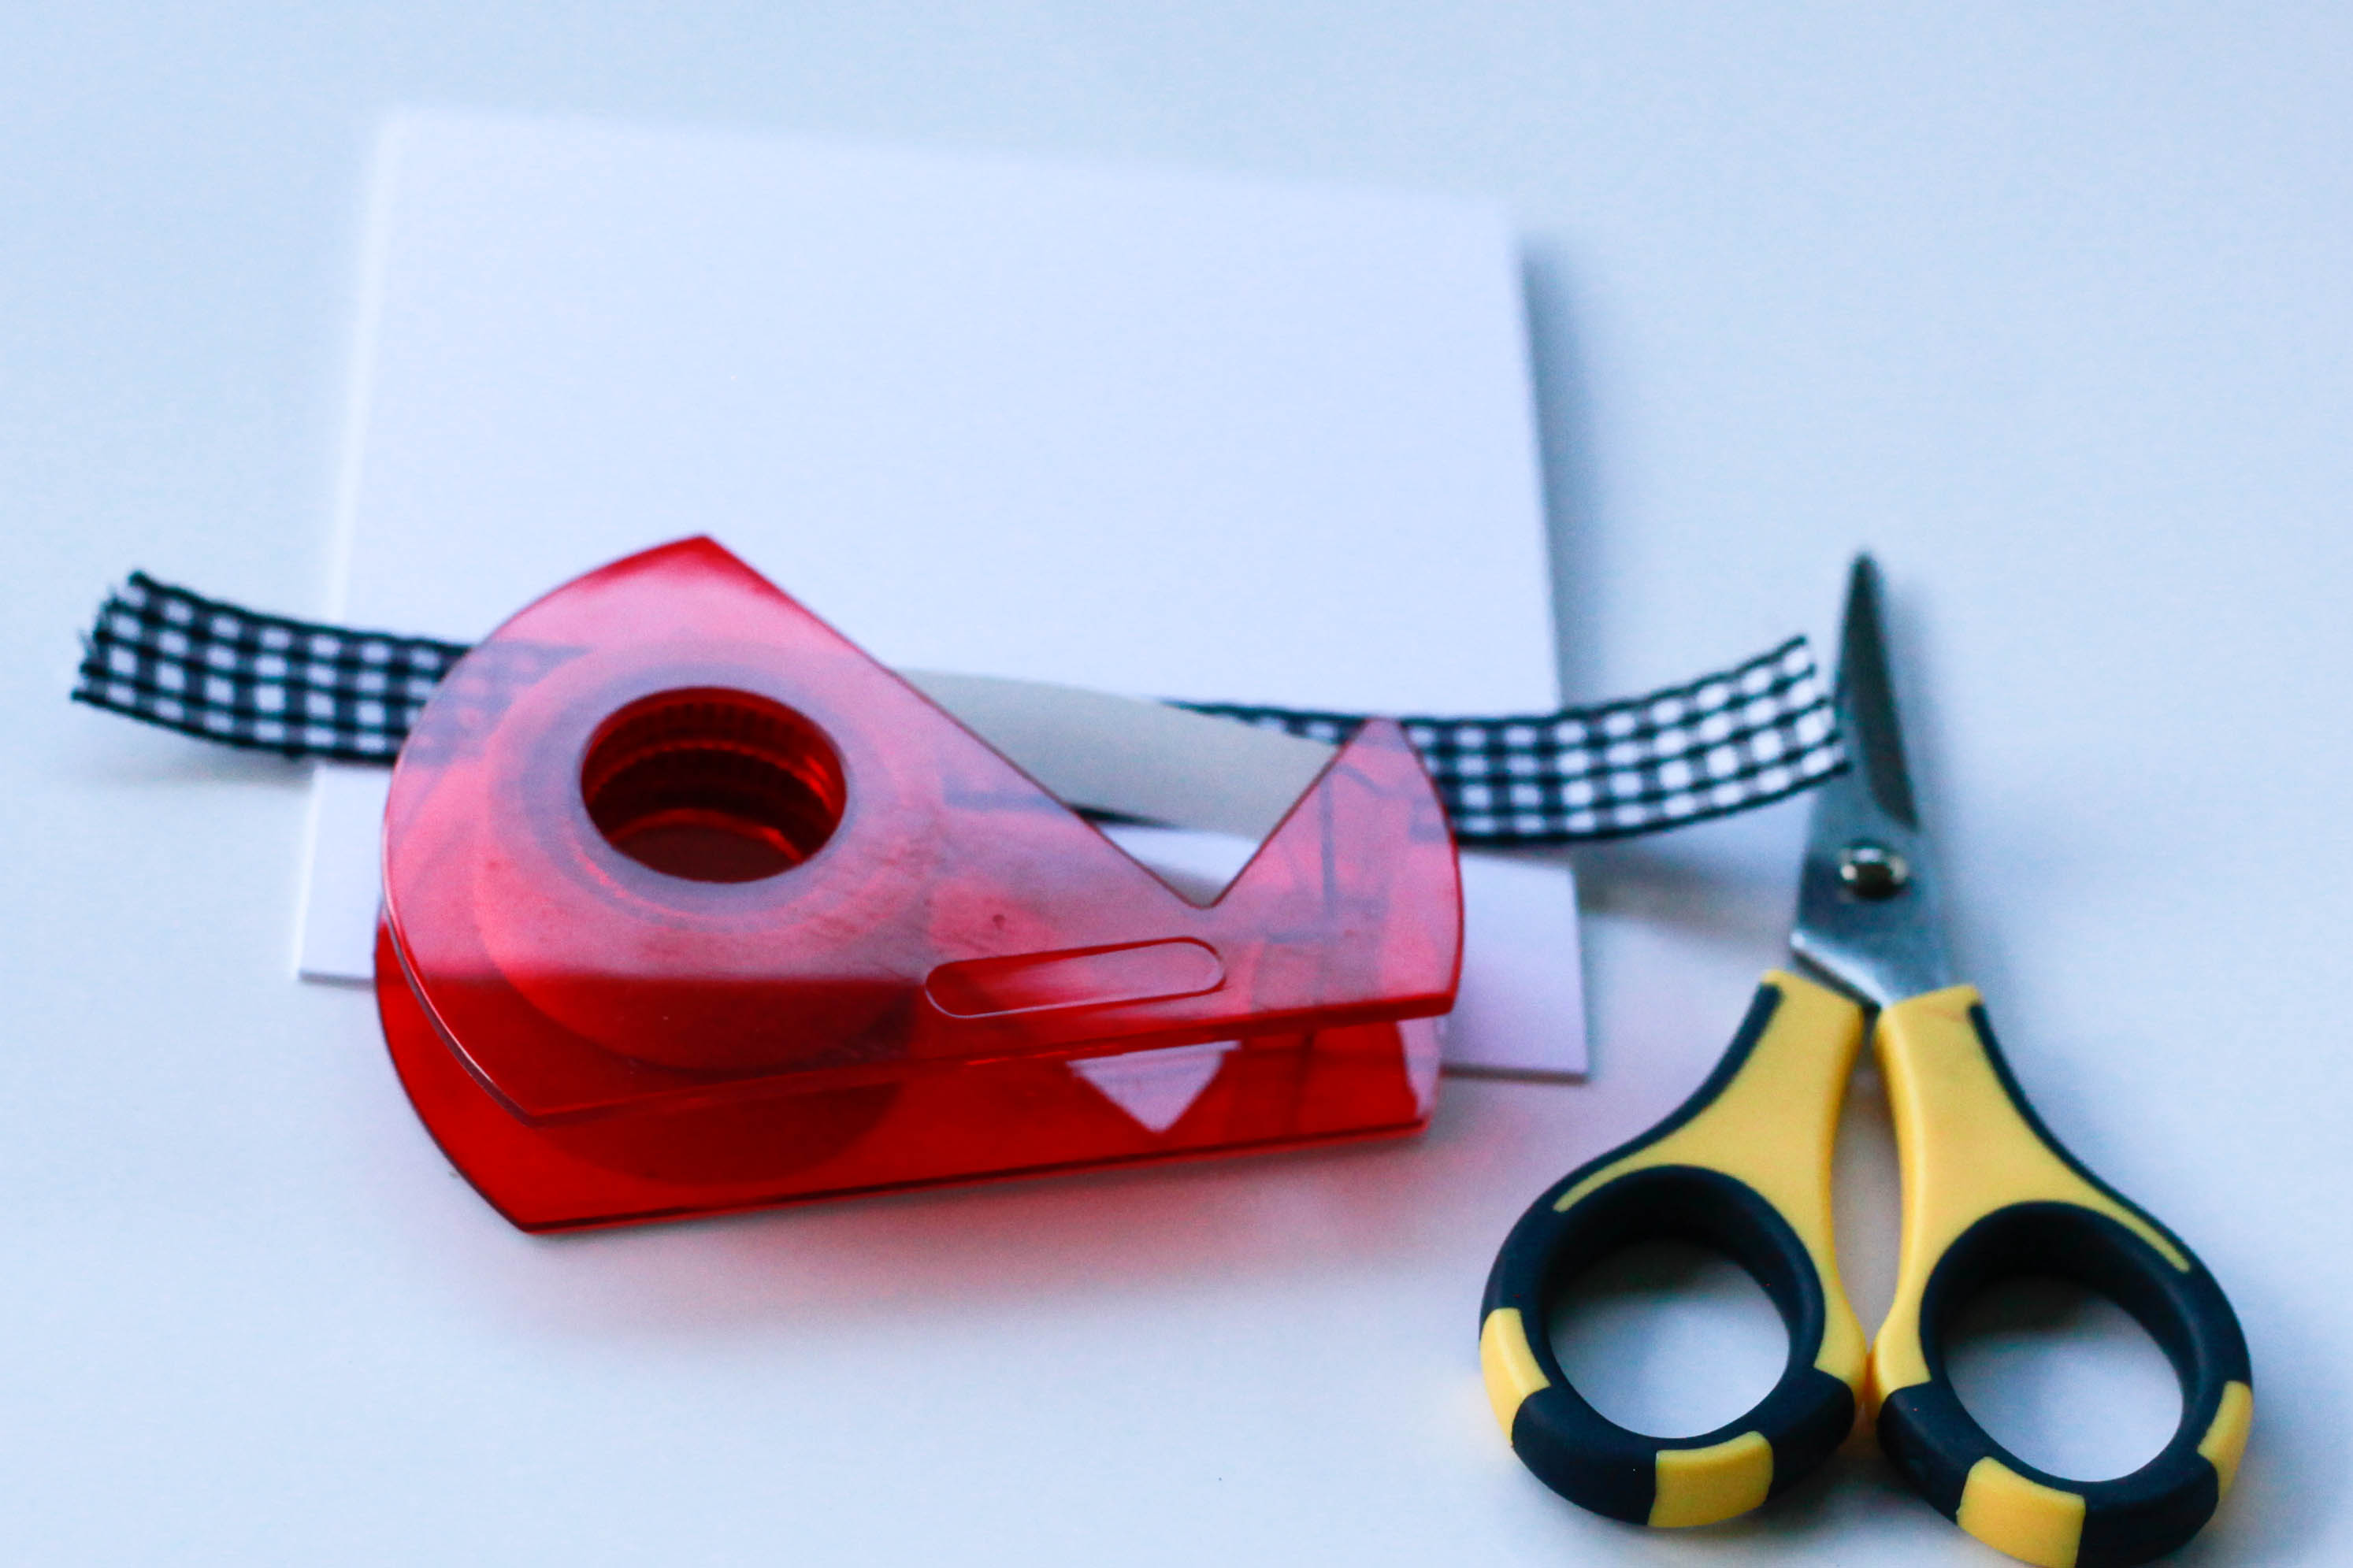
The big difference here is I used an Adhesive Sheet – 4×6″ and first die cut a circle shape, and then in a second cut, die cut the sentiment. The adhesive was applied to the card center and then gold leaf was applied. The bottom panel was cut from watercolor paper (that I made myself!) and adhered with E-Z Runner® Permanent Strips Refillable.
So much fun! I hope you are inspired to play with your adhesives (and other supplies!) today!
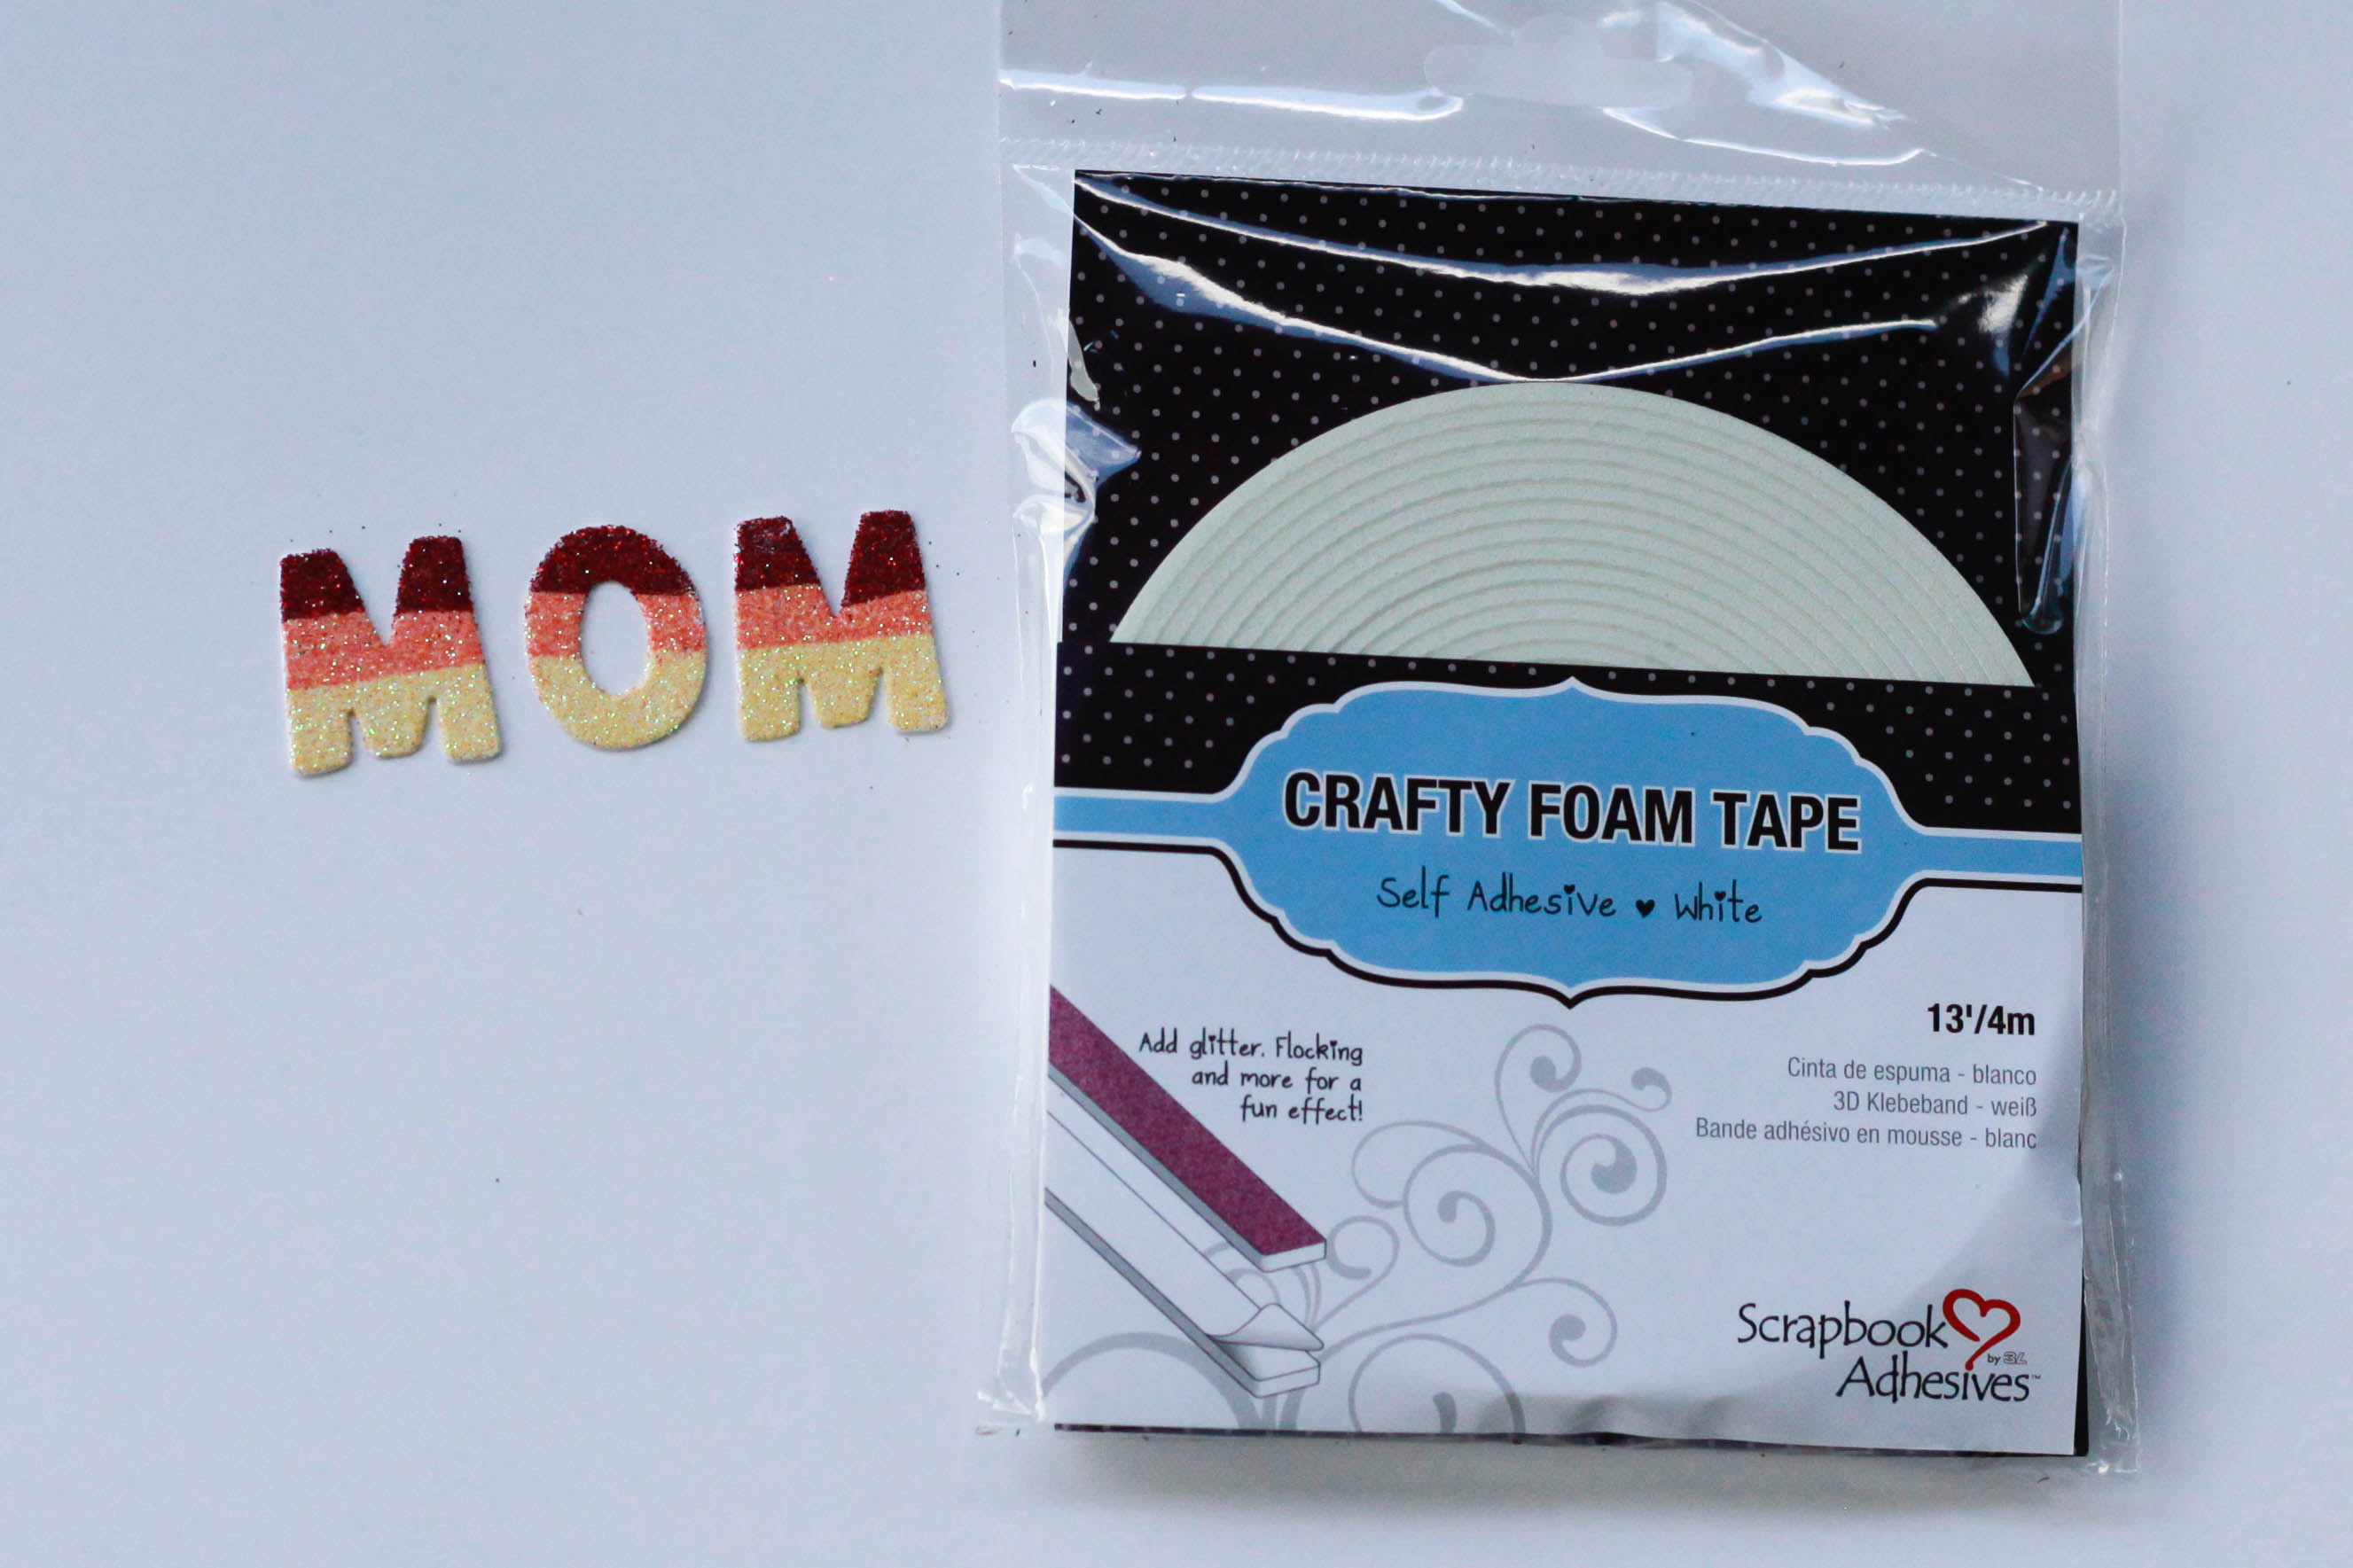
Scrapbook Adhesives by 3L® supplies used: 3D Foam Hearts, Adhesive Sheet – 4×6″, E-Z Runner® Permanent Strips Refillable
Other Supplies Used: Spellbinders Paper Arts and Paper Smooches dies, Martha Stewart for EK Success gold leaf, Peerless watercolor papers, Ranger Distress Ink reinkers, Strathmore and Ranger watercolor paper, Ranger glitter
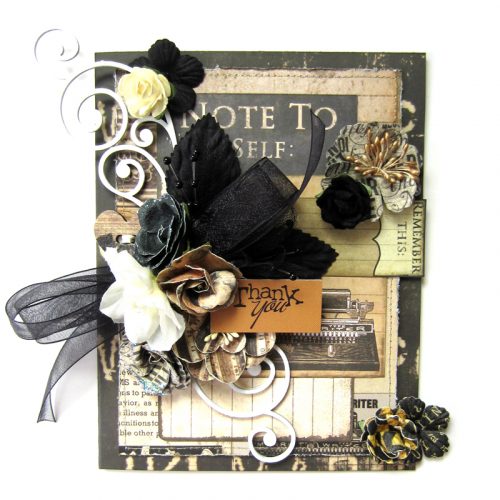
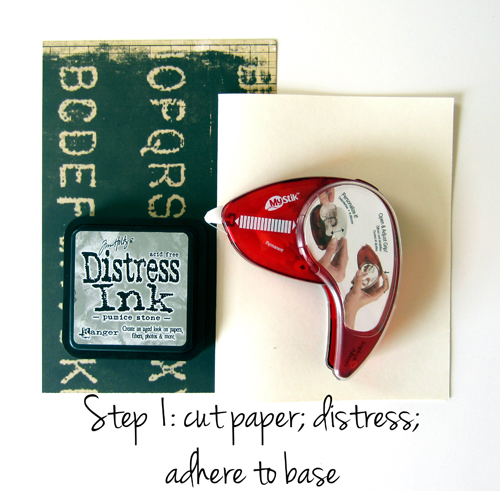
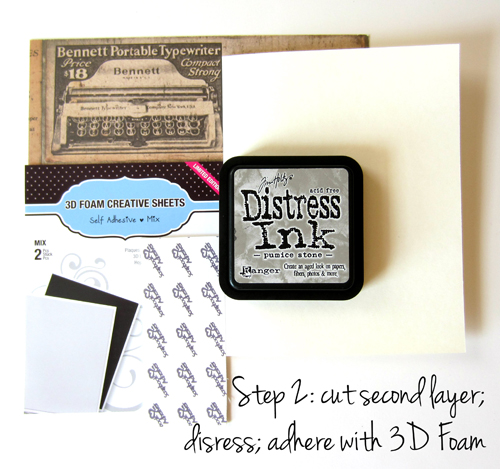
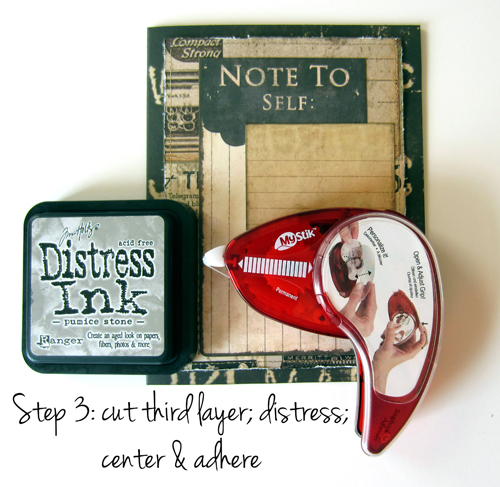
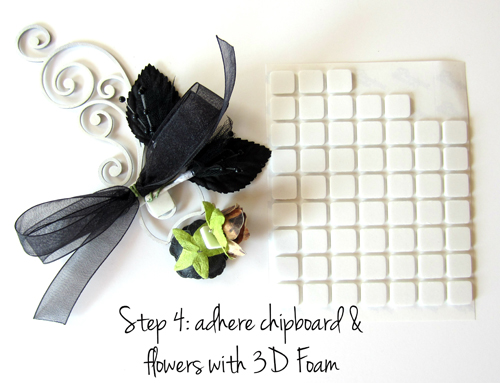

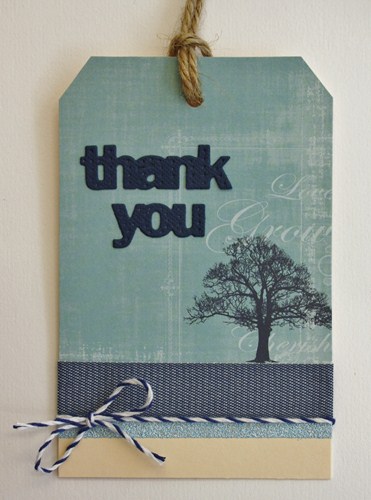
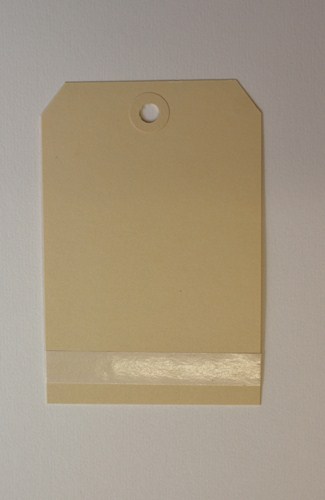
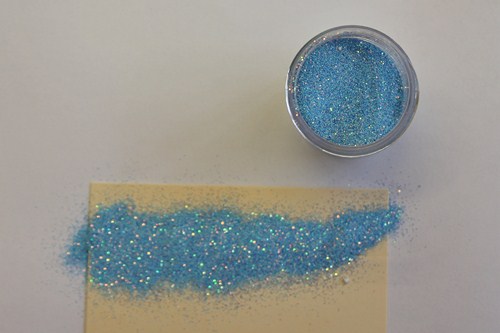
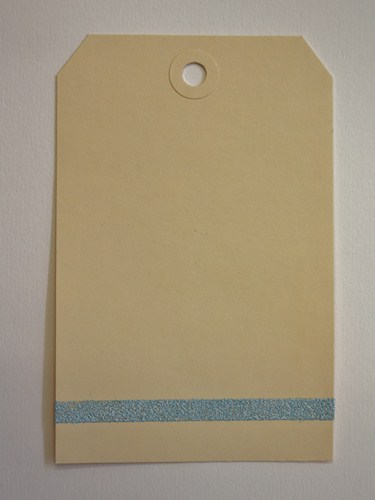
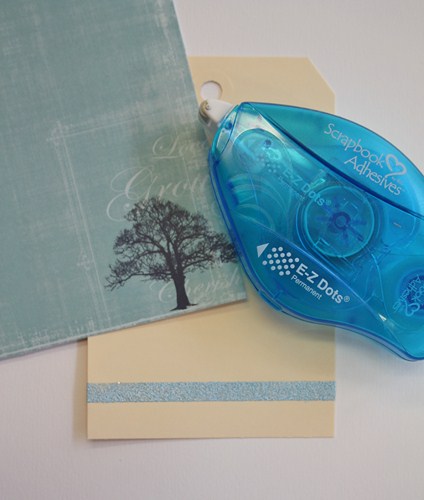
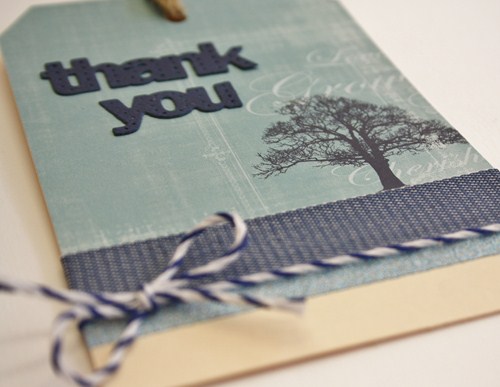
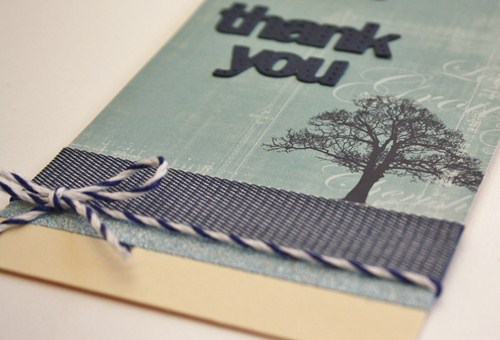
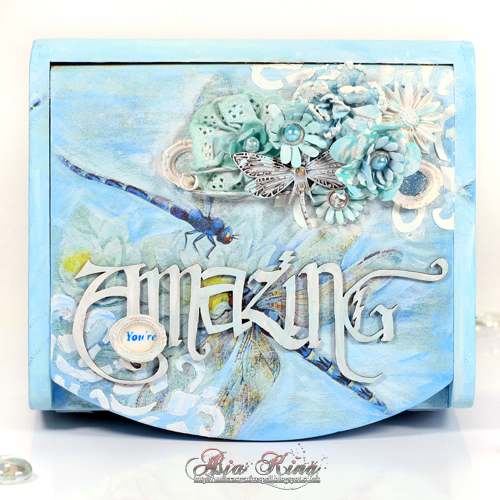
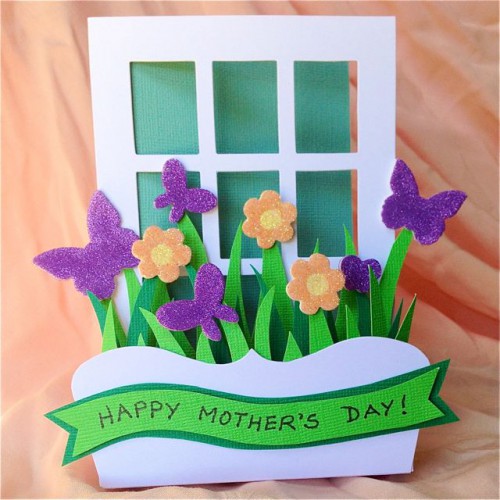
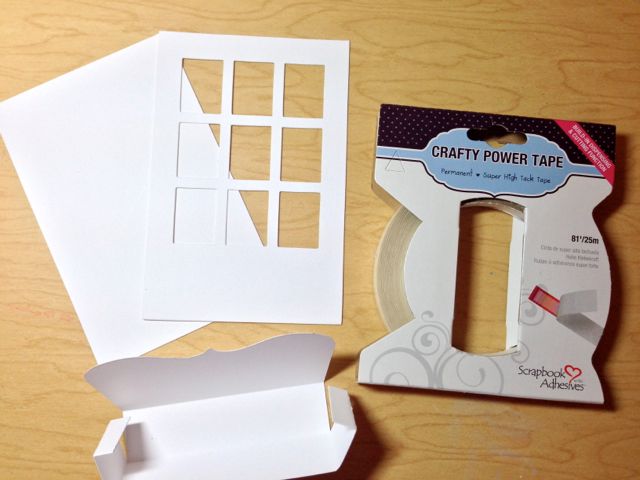
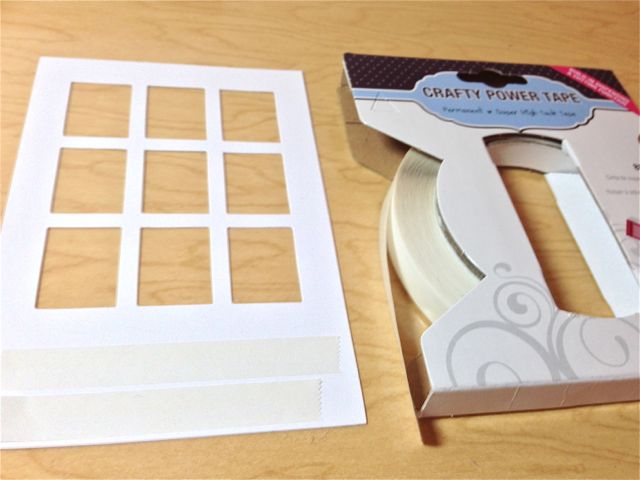
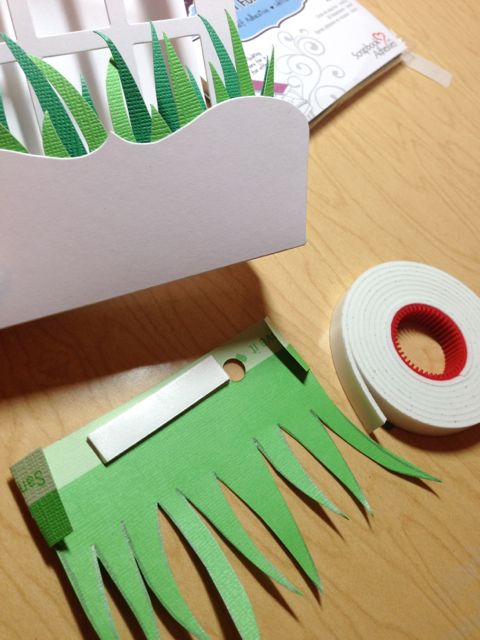
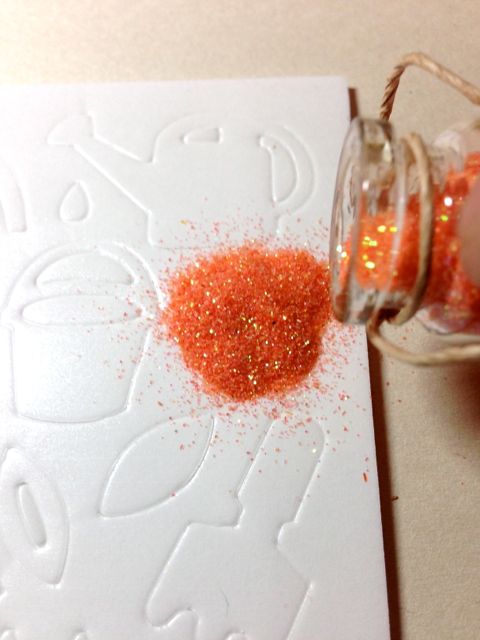
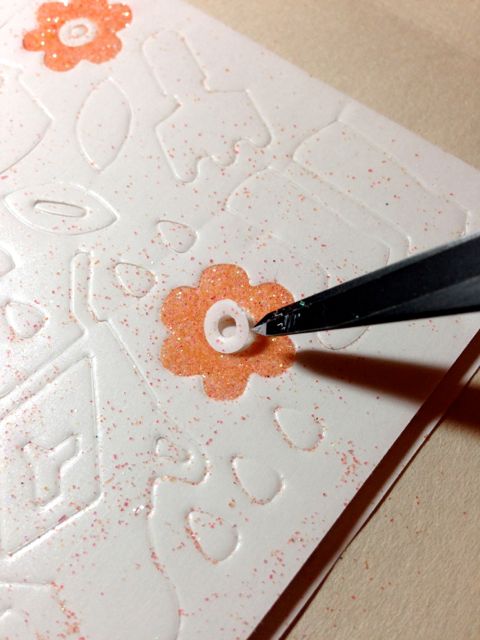
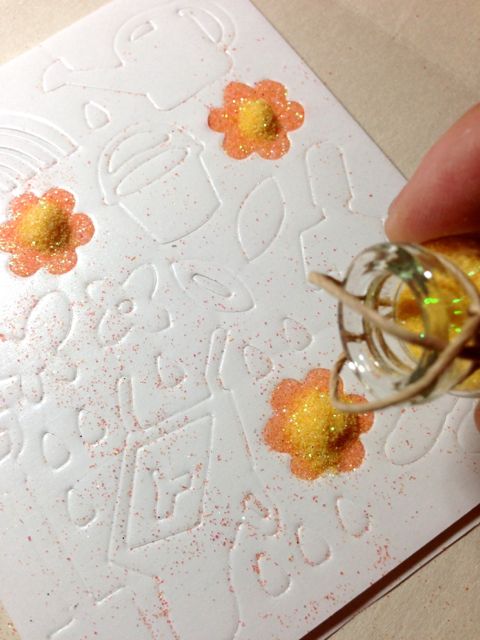
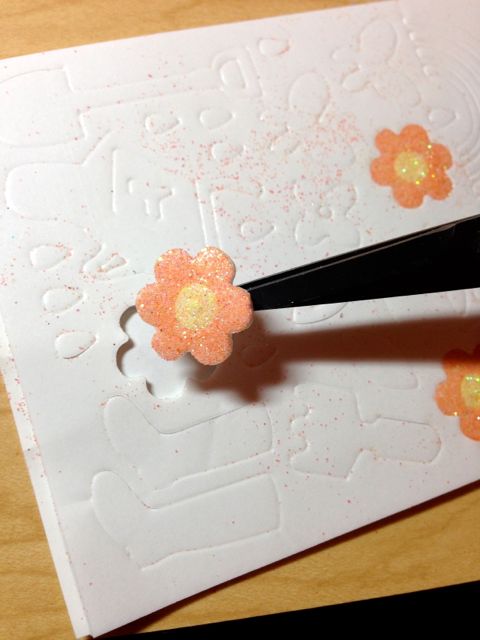
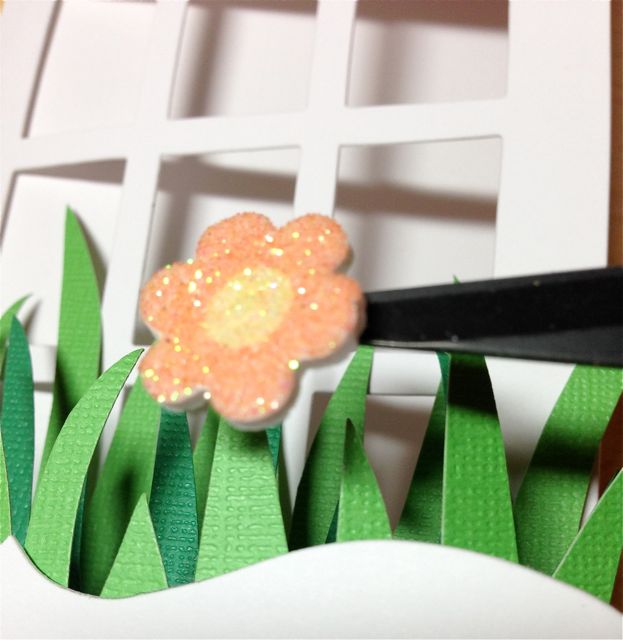
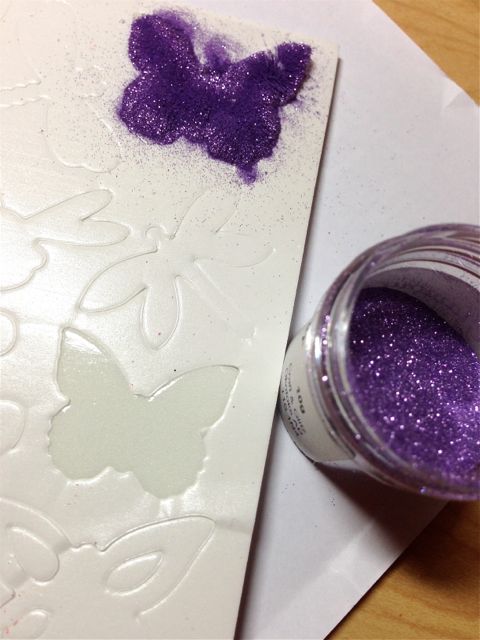
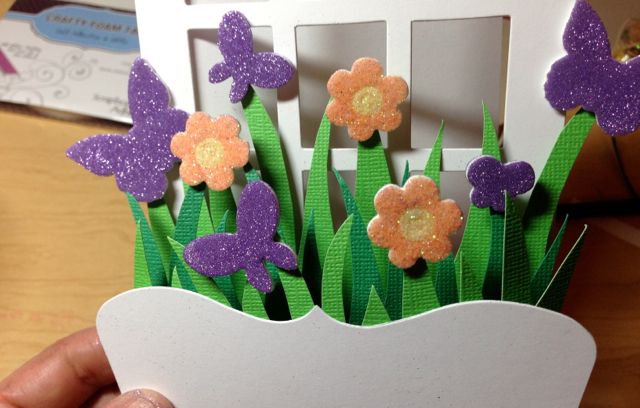
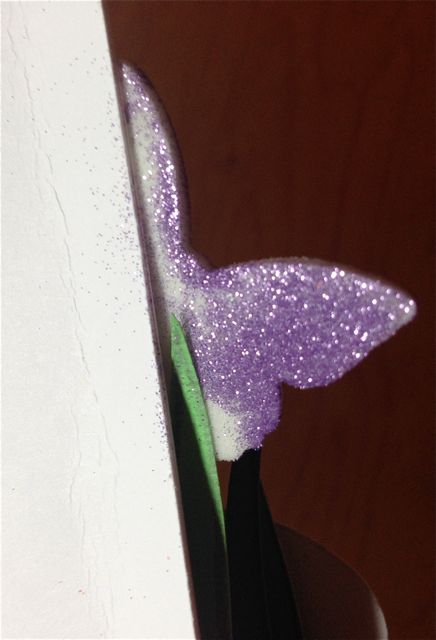
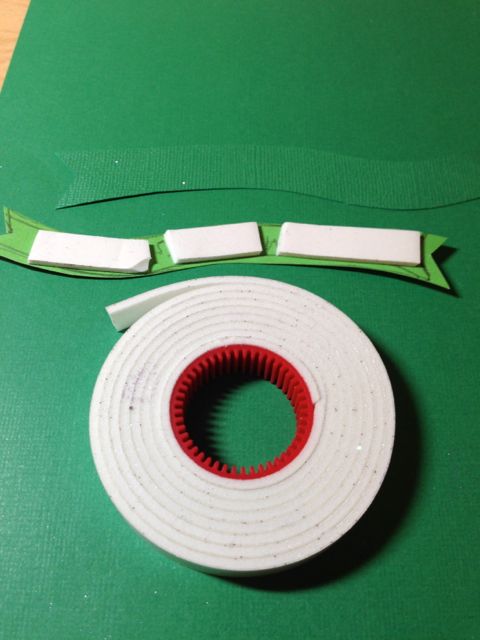
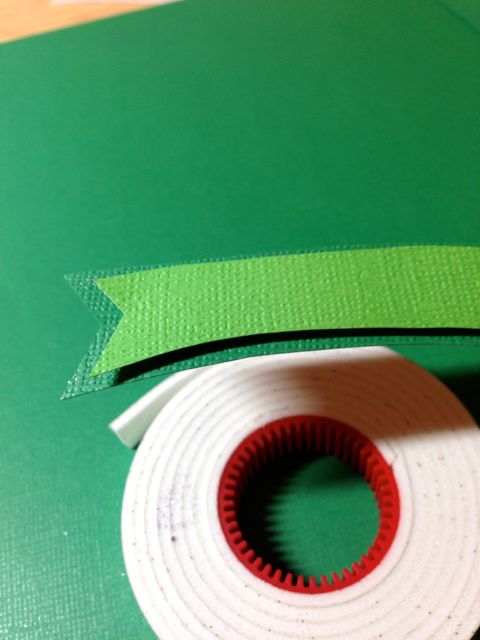
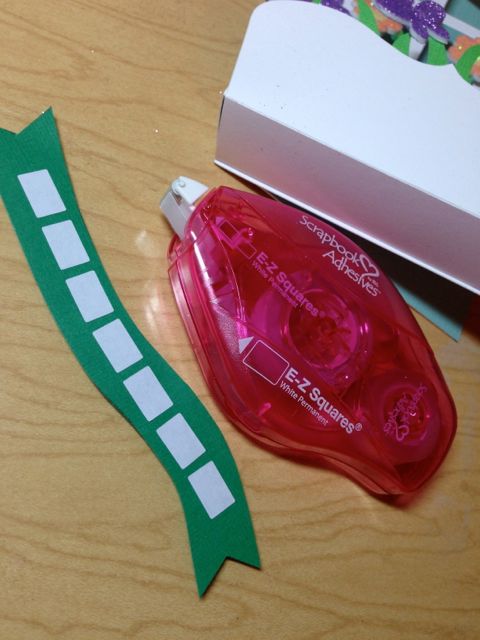
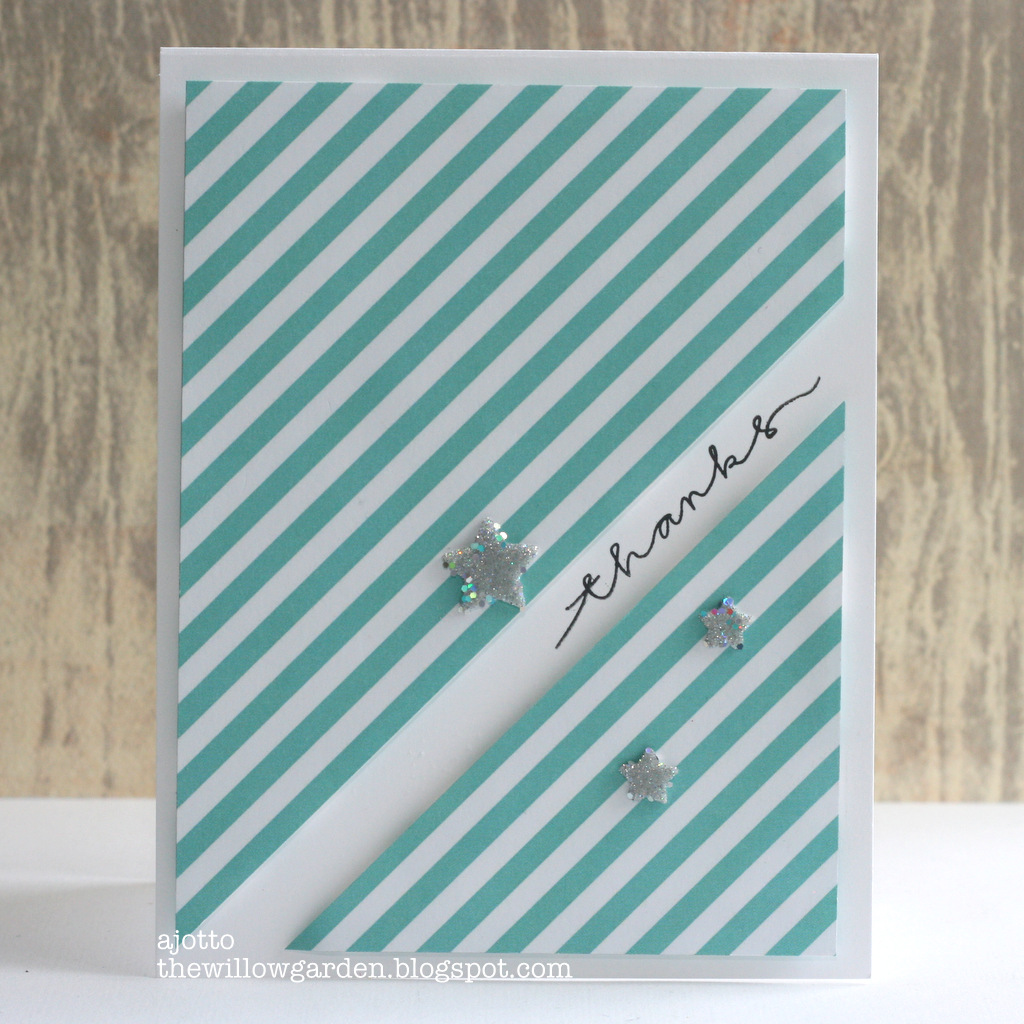
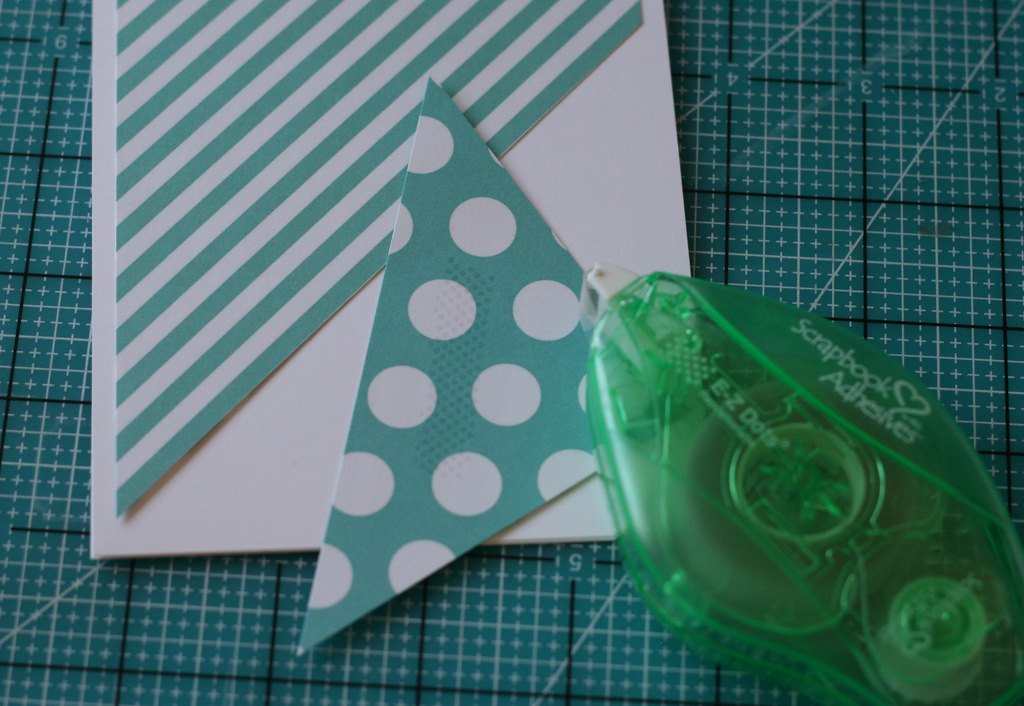
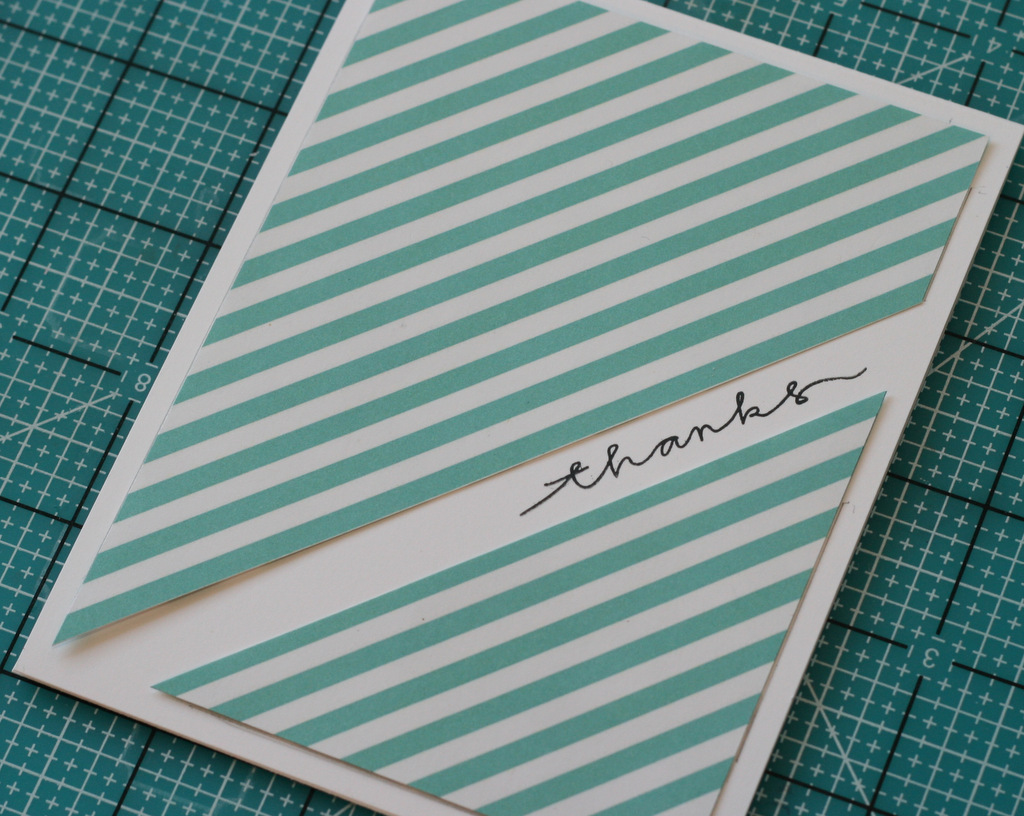
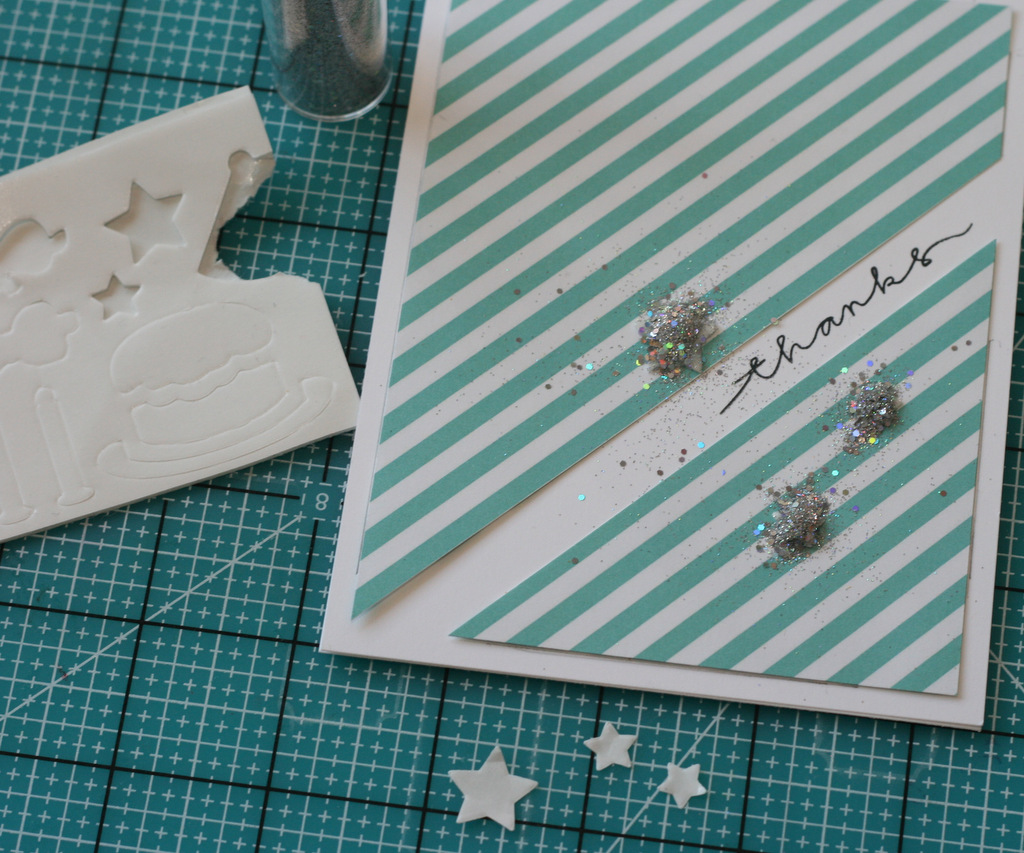
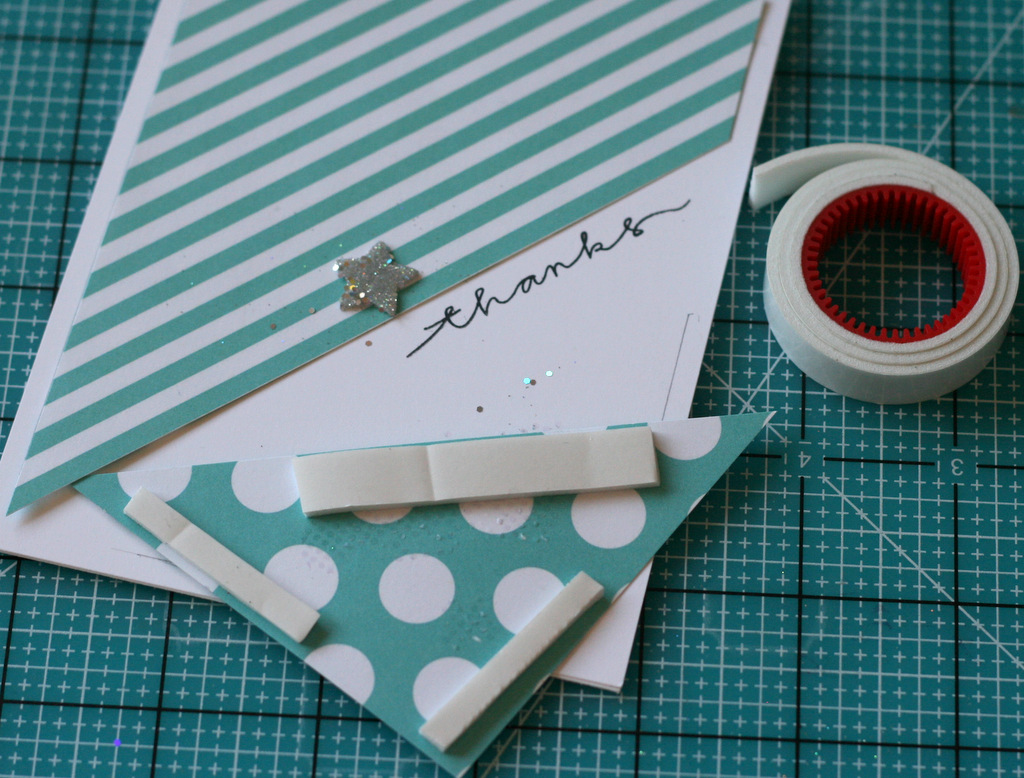
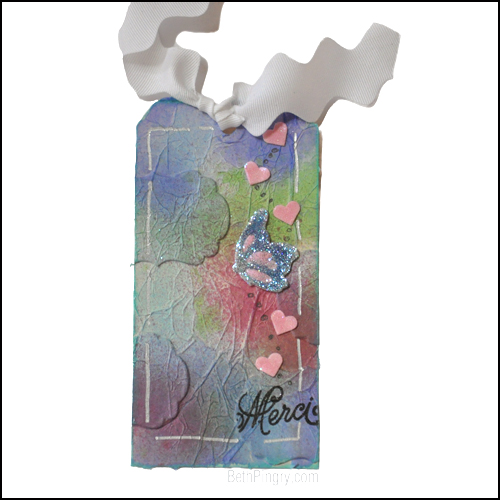
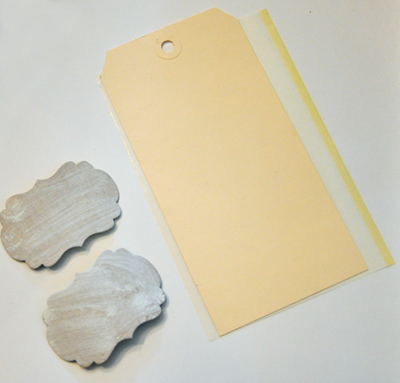
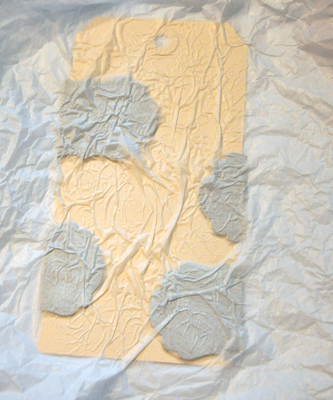
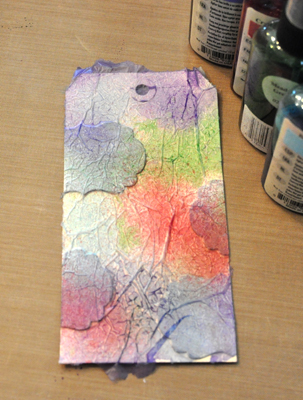
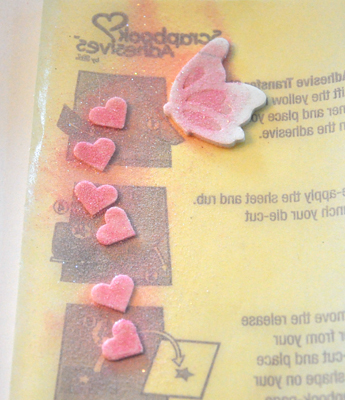
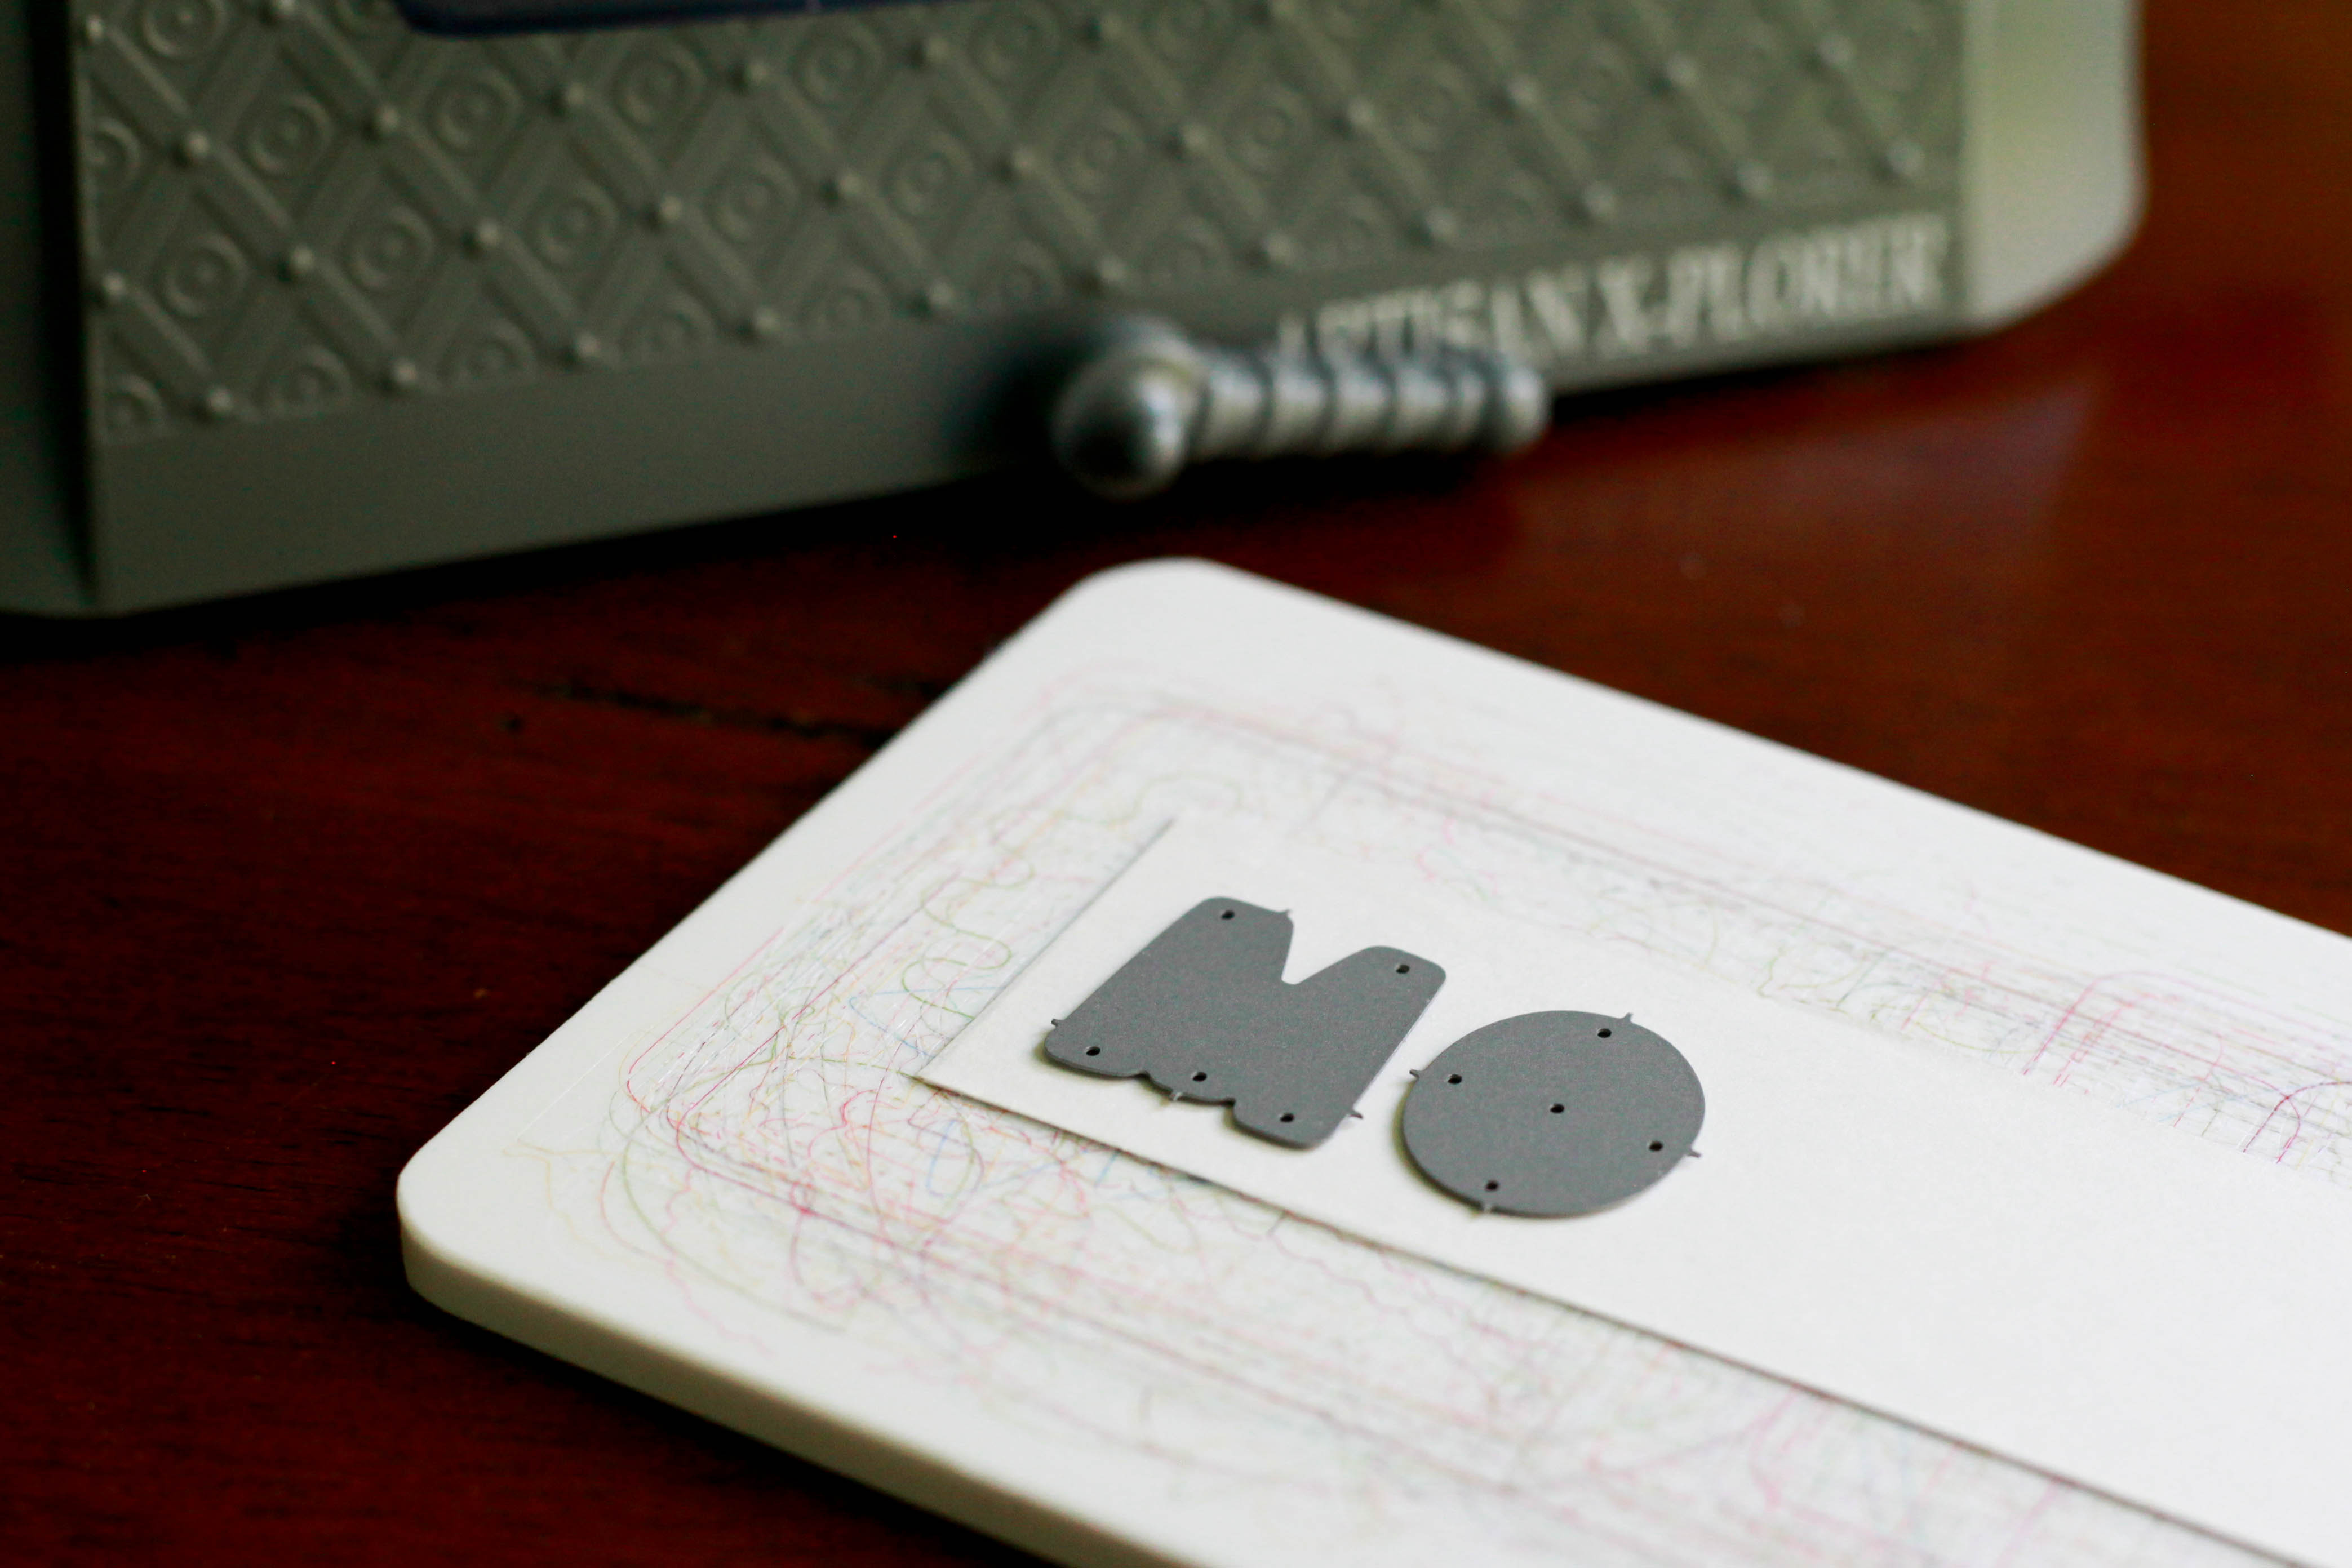
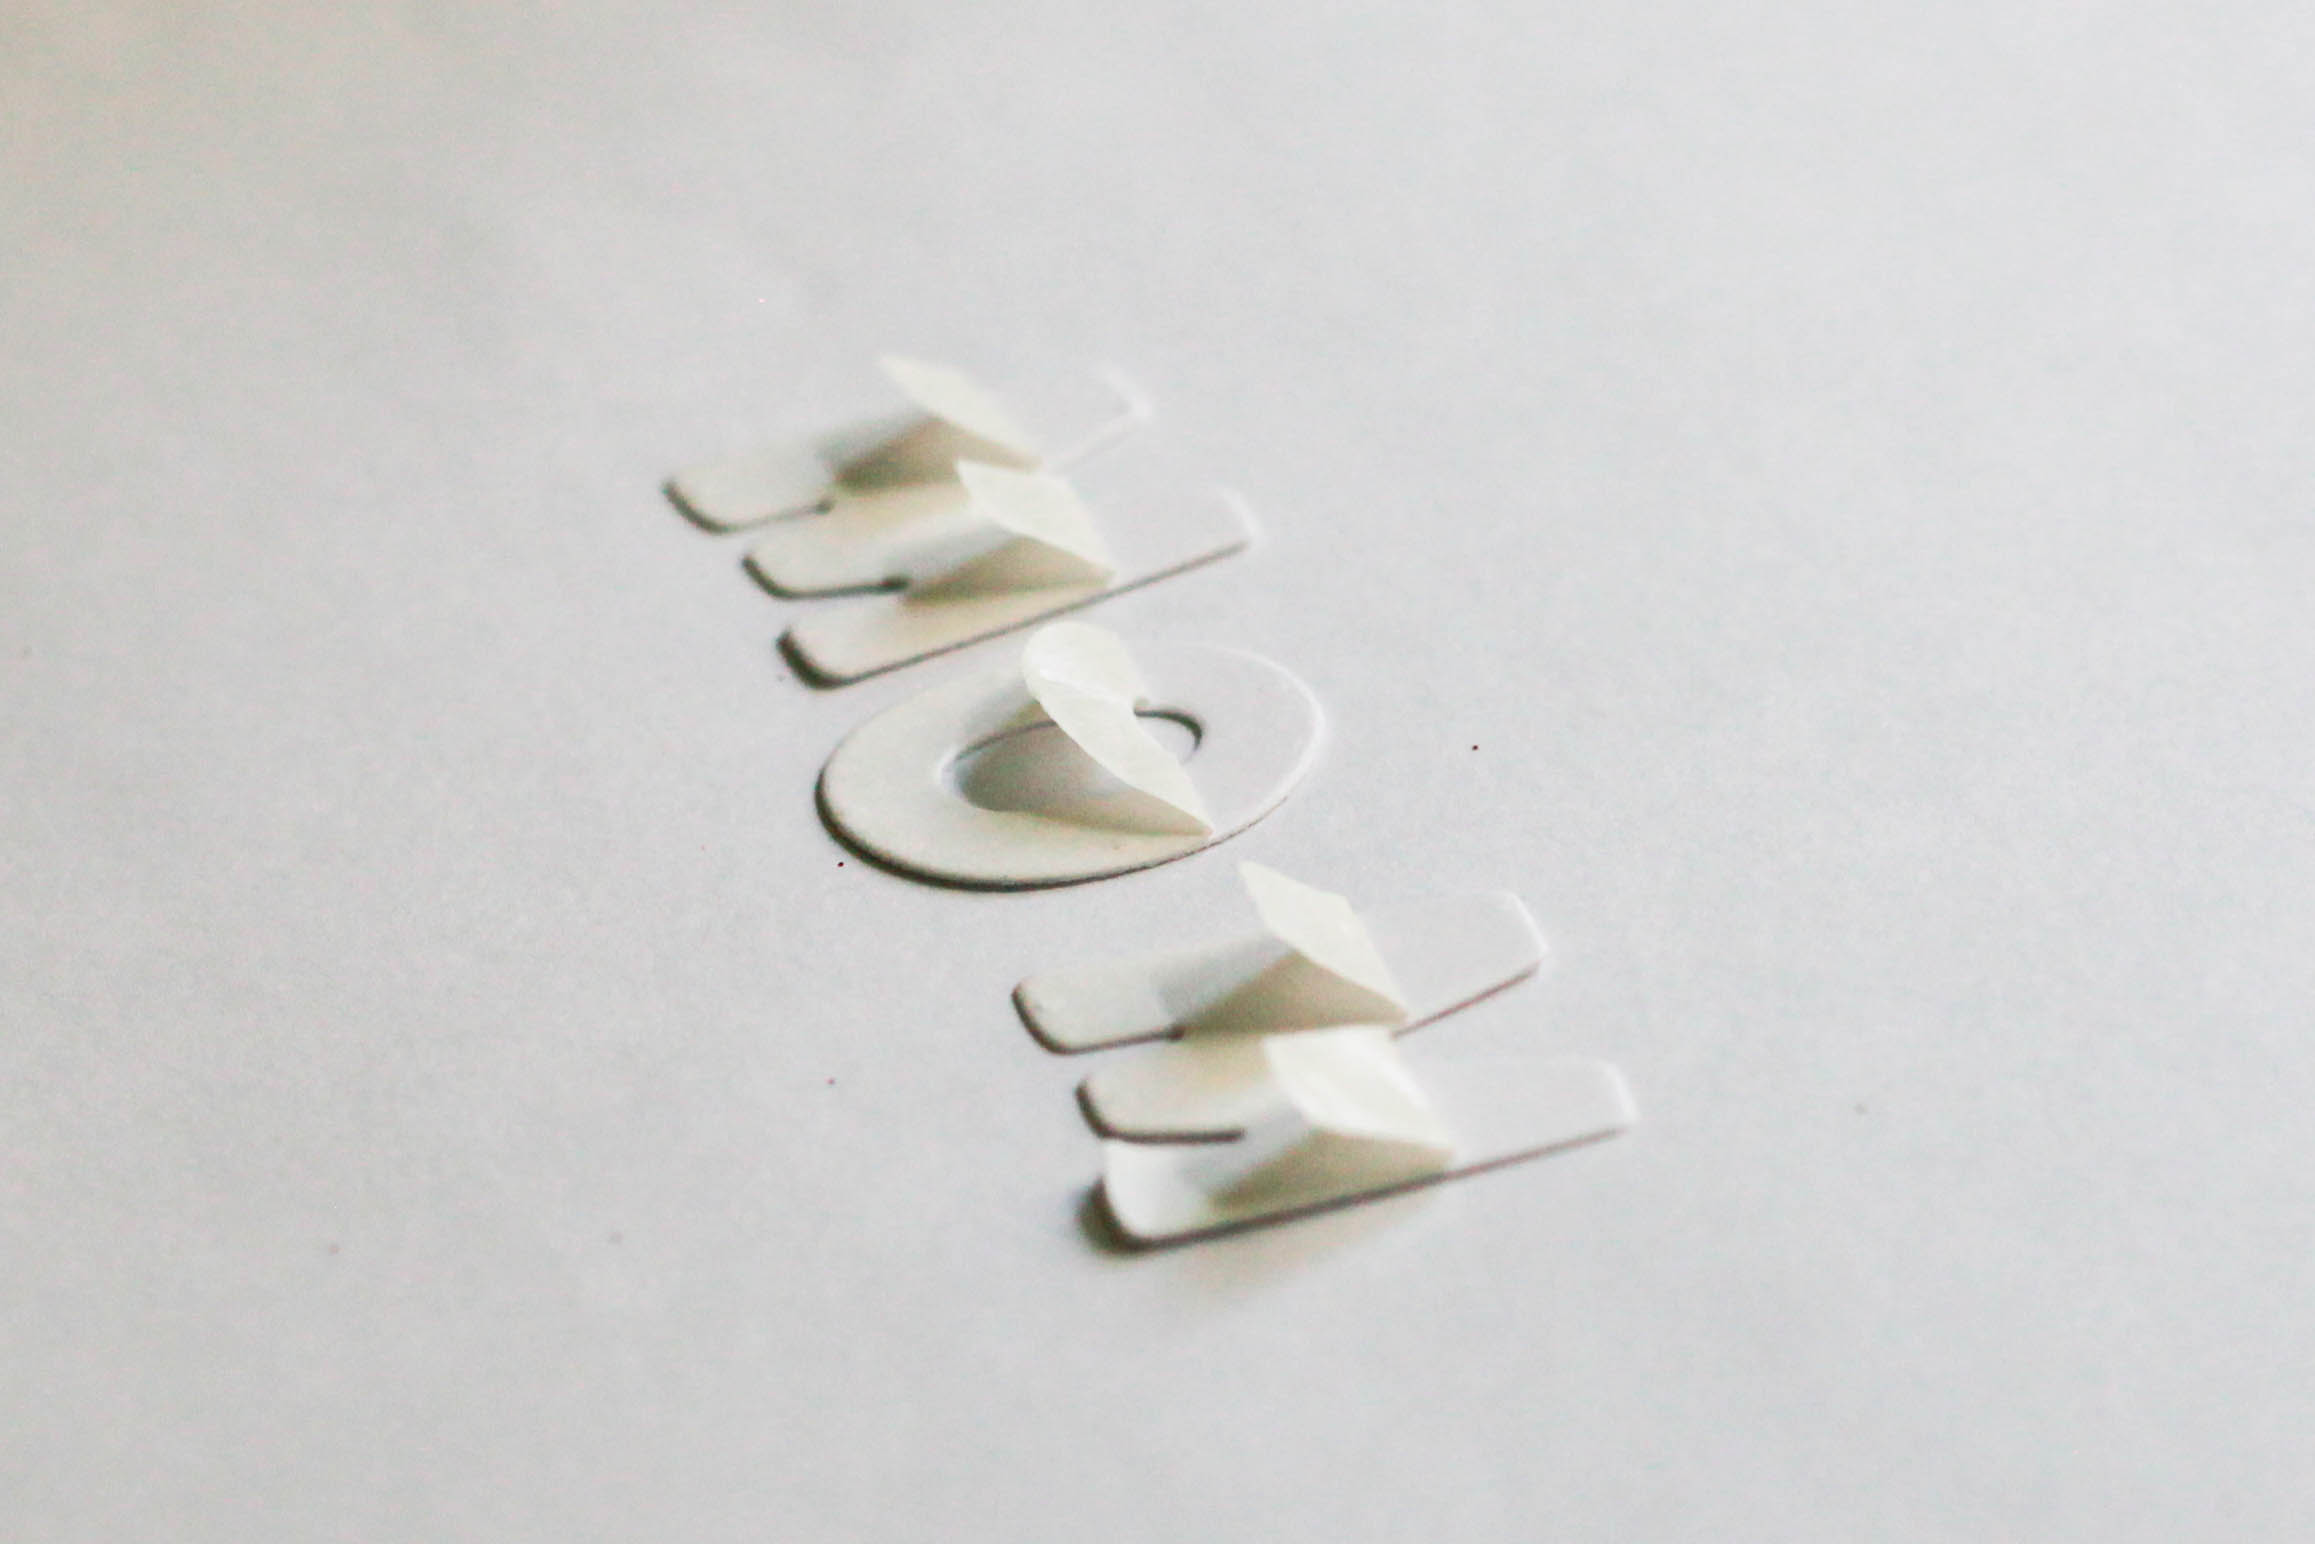
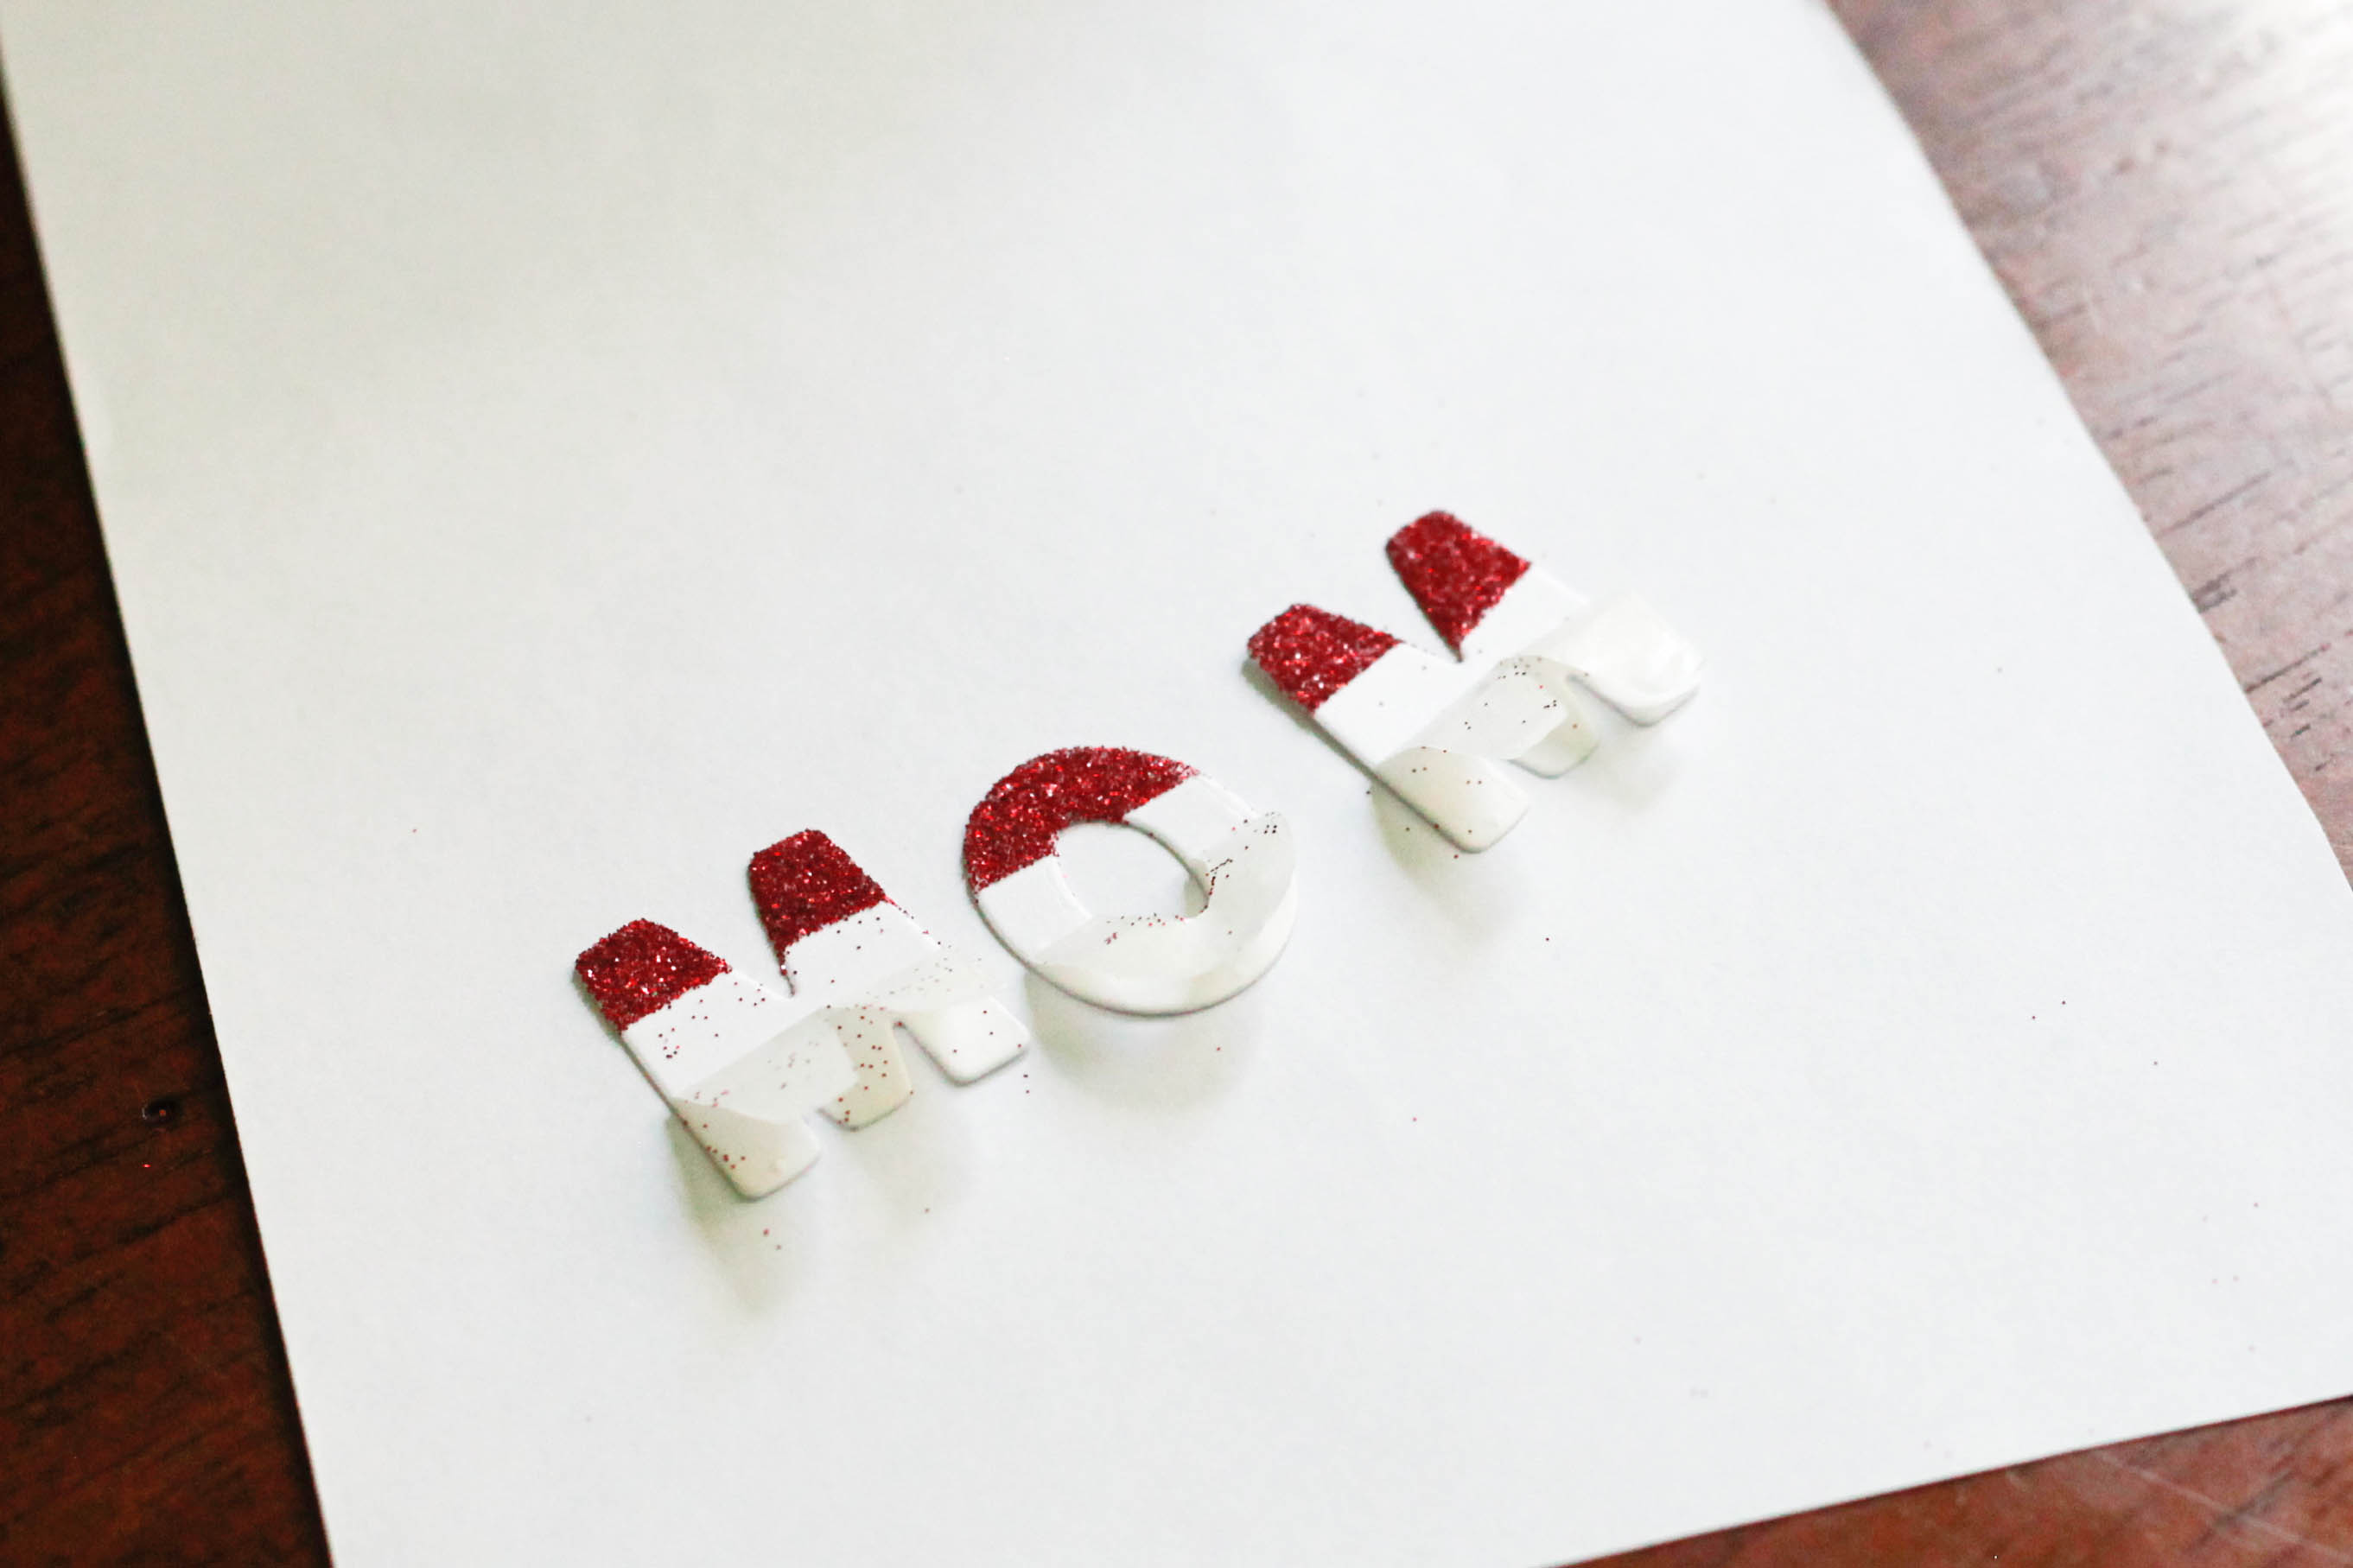
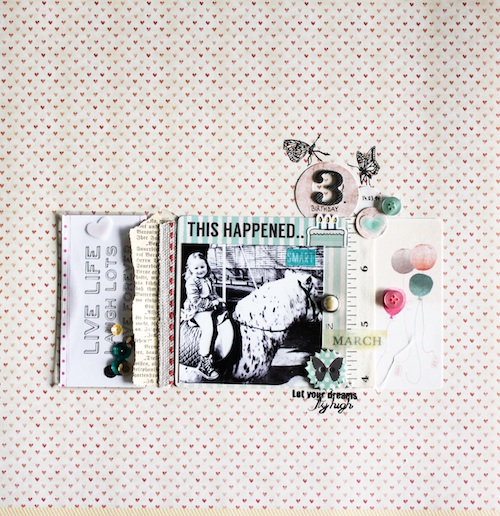
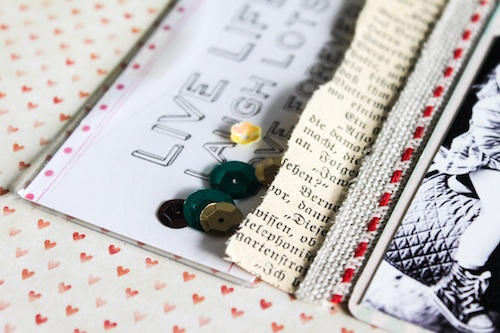






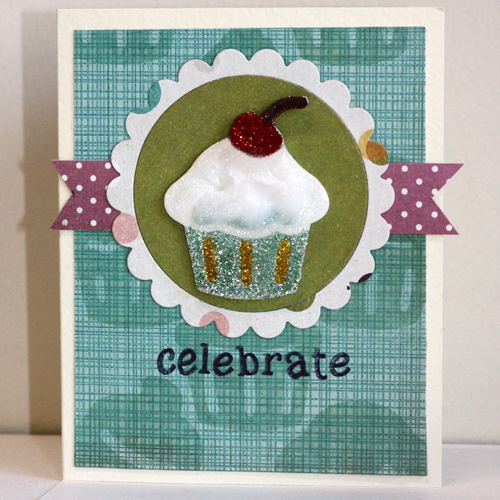 Can you see how I used the shape in 2 different ways? One is the focal point and the other is the clear embossed image in the background. Let me show you how I did both!
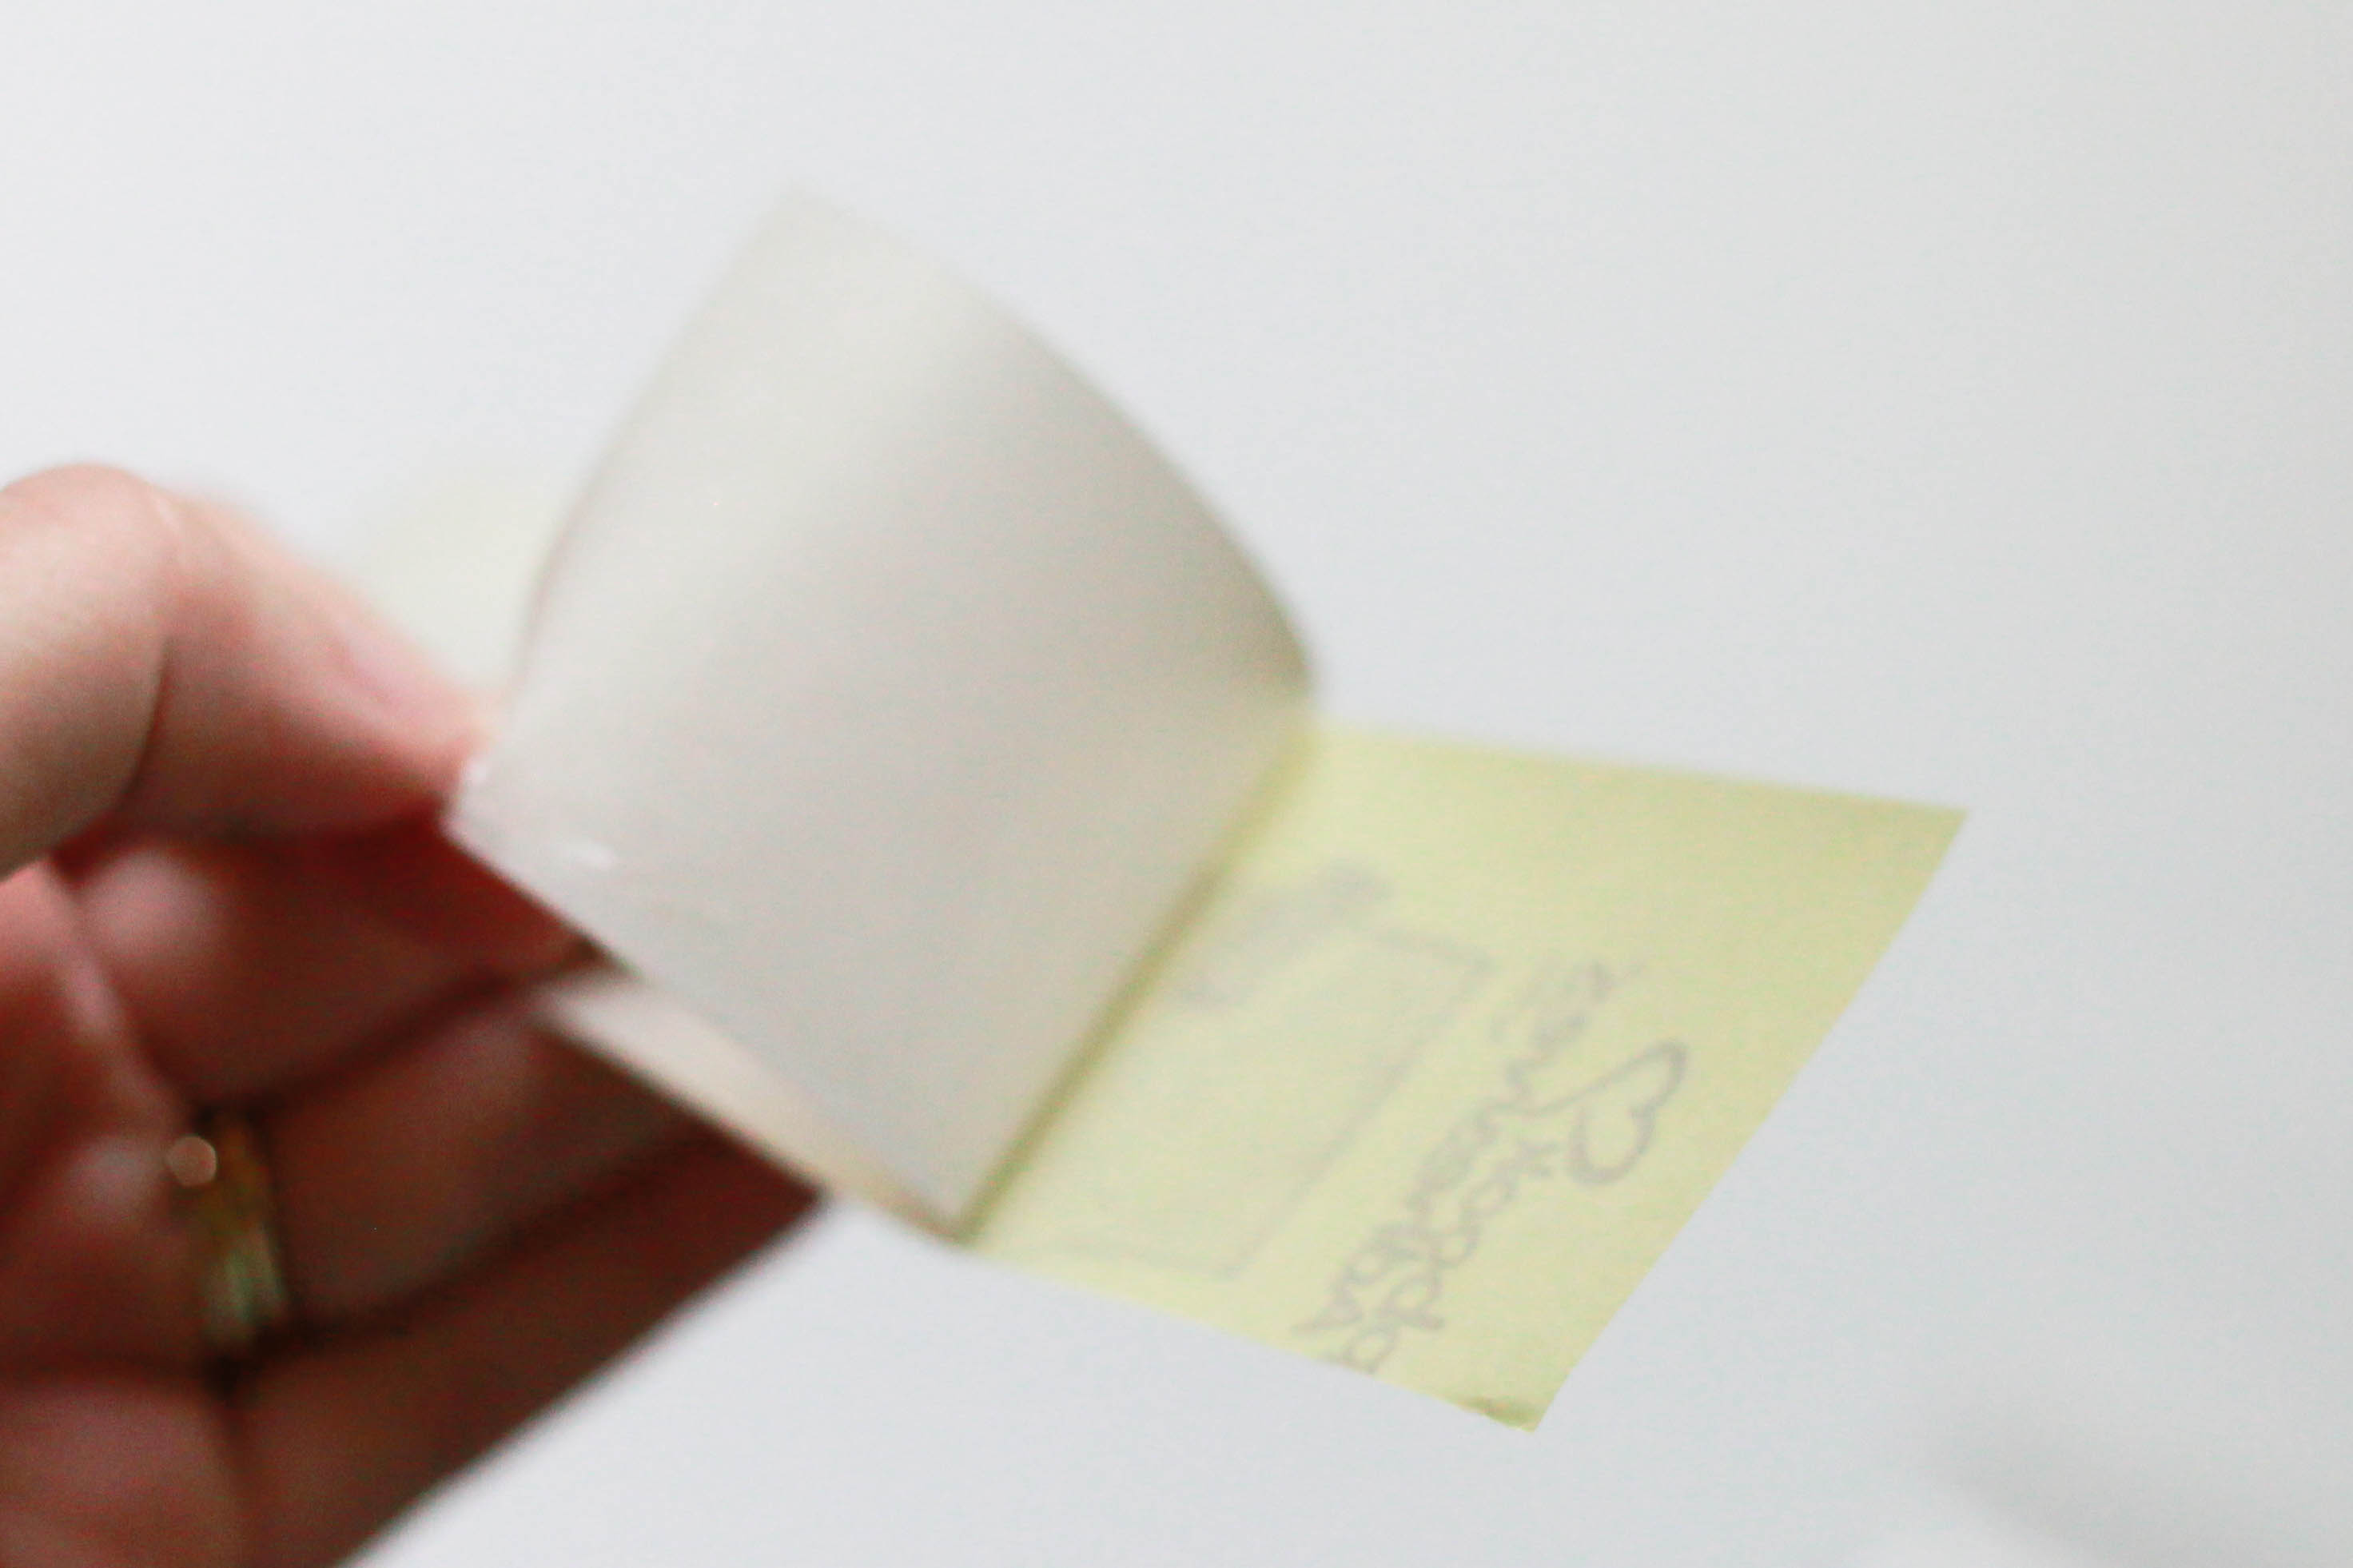
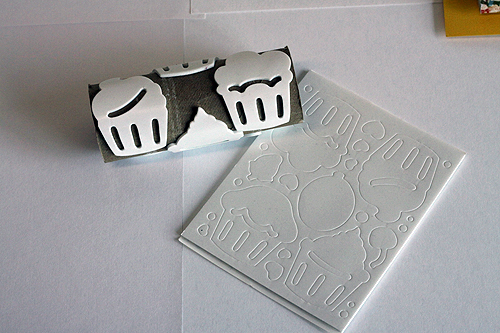 2. Remove the protective backing from the shapes and ink them with an embossing ink. Insert a wooden dowel into the toilet paper roll and use it to apply the custom roller stamp to the patterned paper.
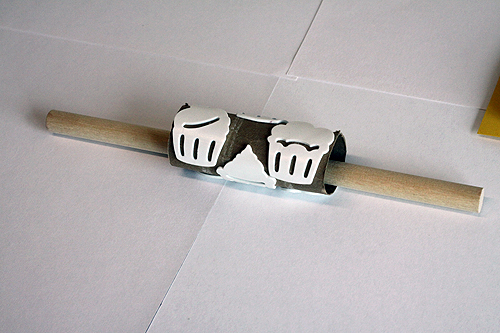 3. Sprinkle with clear embossing powder, shake off excess and heat to set.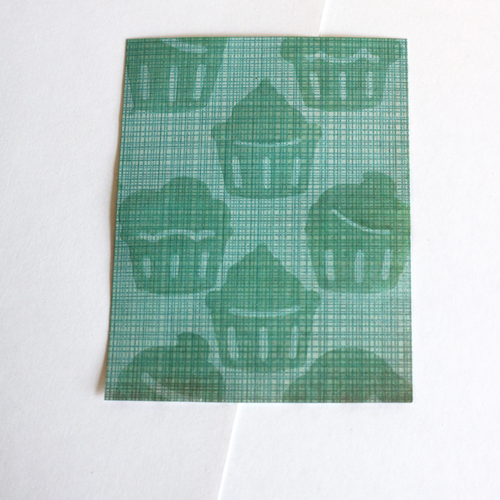
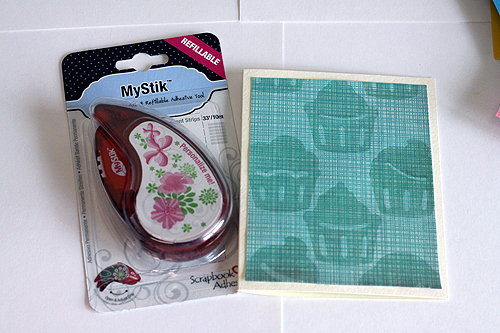
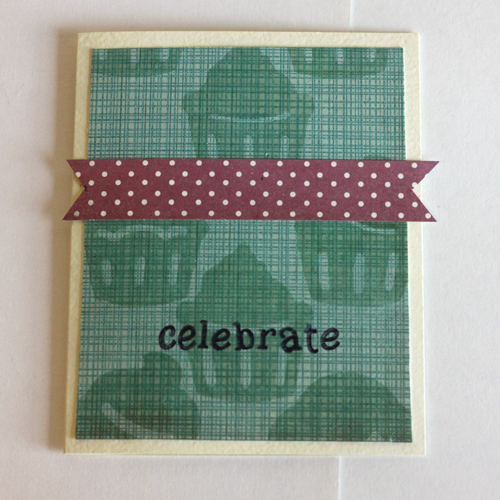
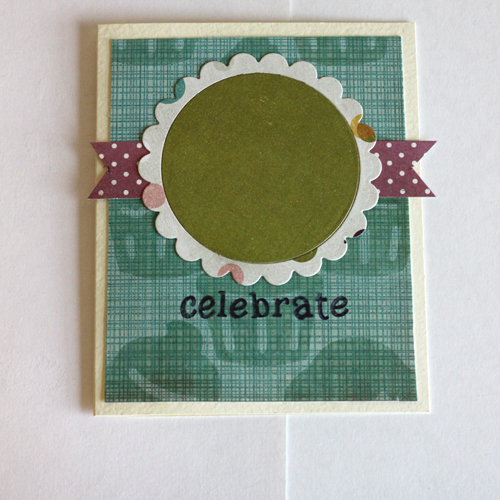 7. Remove the backing and cover the bottom of the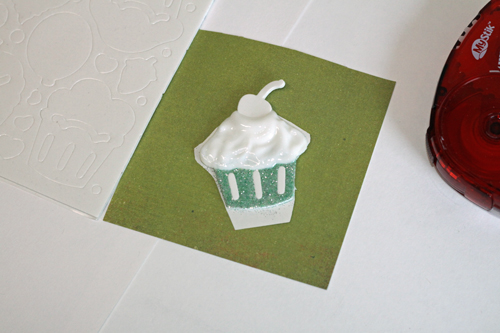
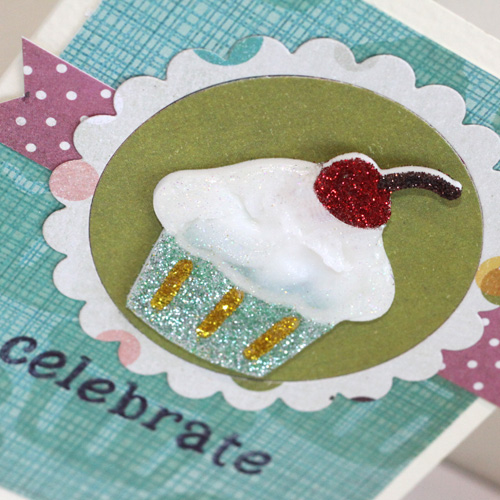 I love it when an idea comes together!