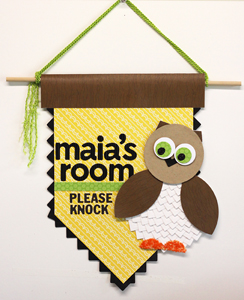
Hello everyone! It’s Angela today, playing with circles, triangles and hearts to create this fun owl room banner for my daughter’s room.
The Banner
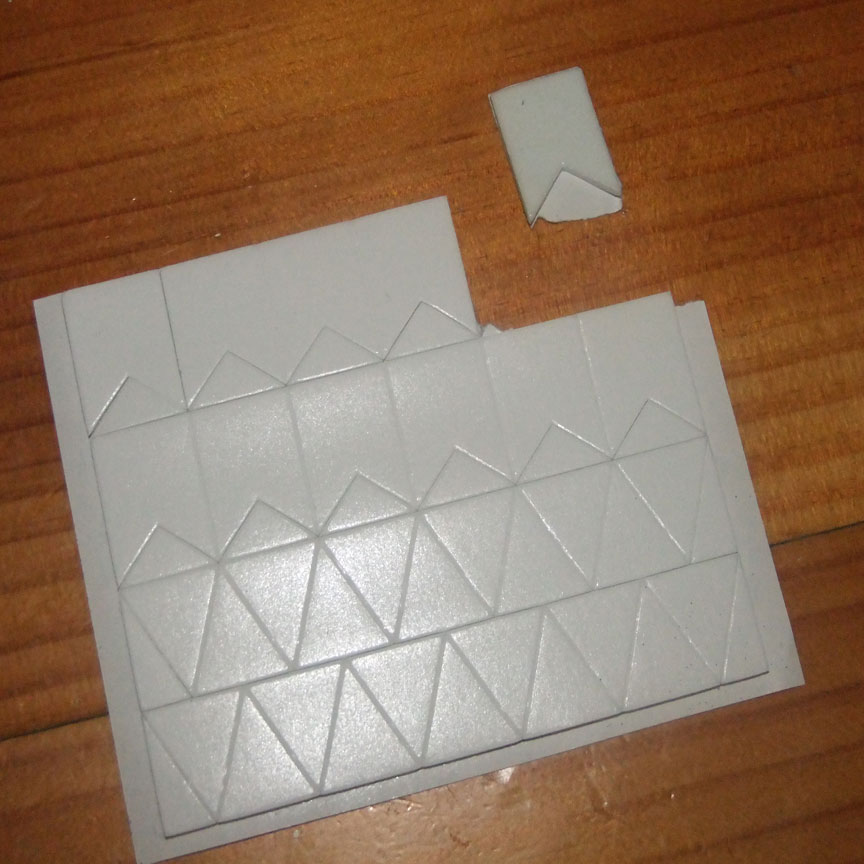
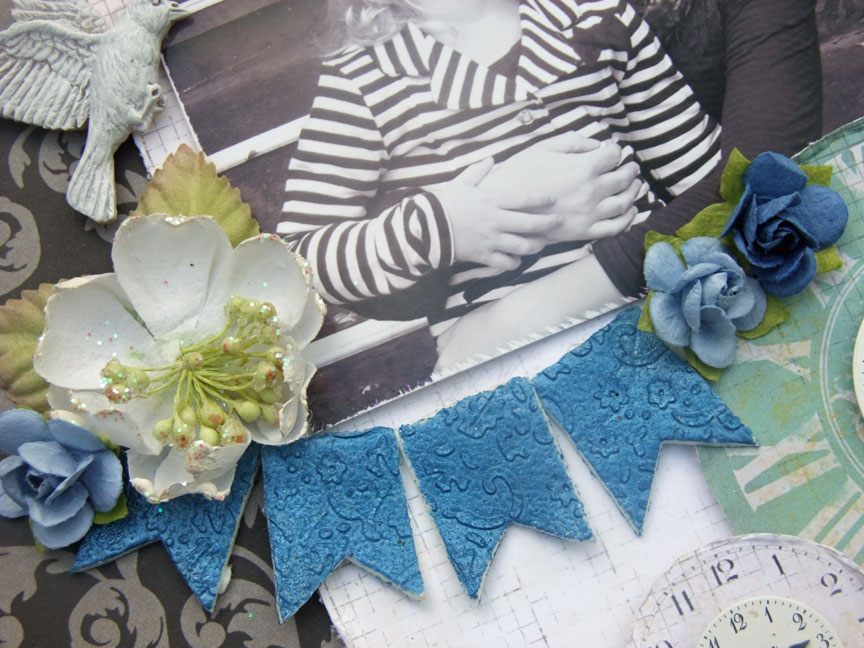
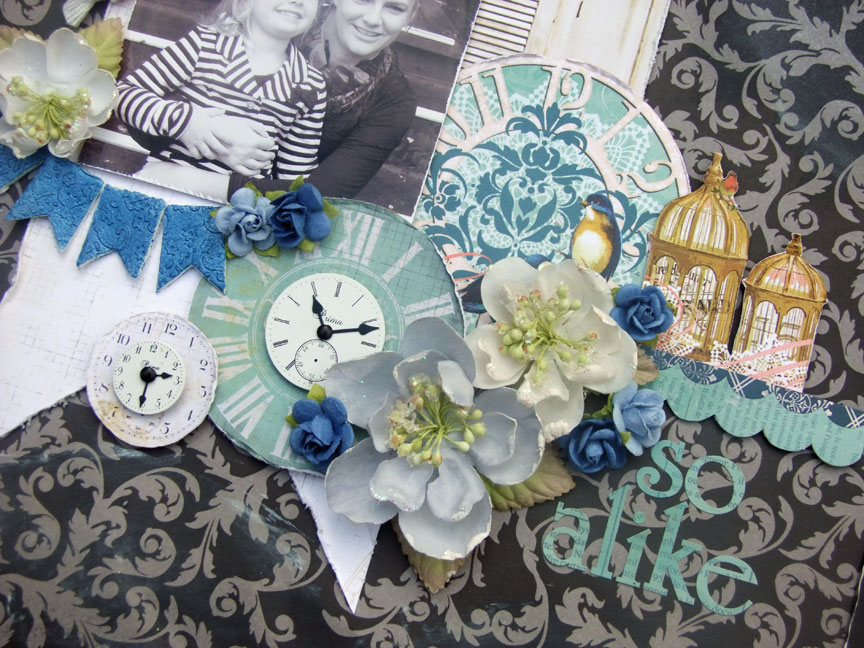
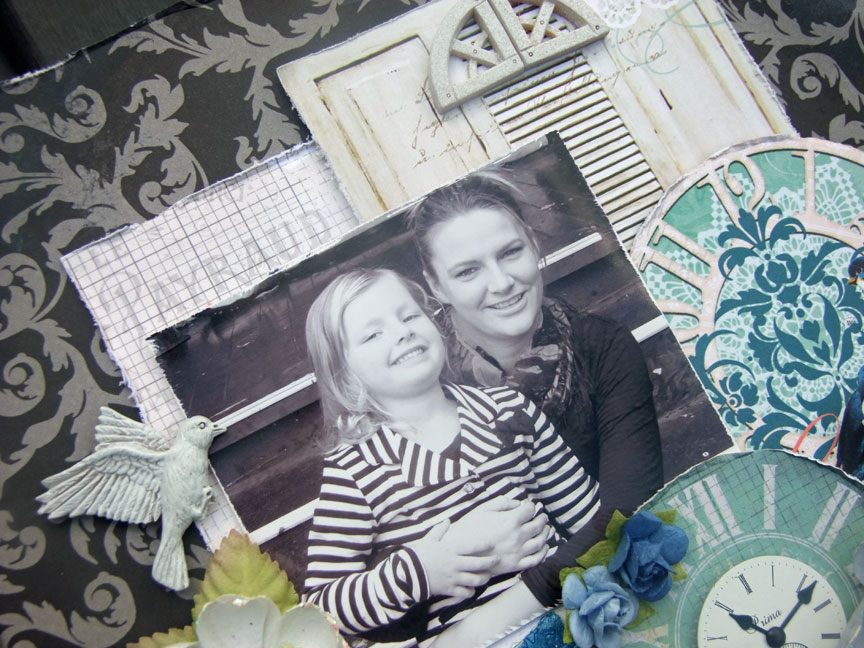
The banner is created from a single 12 x 12 piece of patterned paper, folded in half from corner to corner and then trimmed down to 6 inches in width. Before securing the front and back together with Crafty Power Tape, the inside of the back piece was lined with Creative Photo Corners Black. After assembly, the remaining exposed adhesive on the back side of the Photo Corners was dusted with baby powder to remove the tackiness.
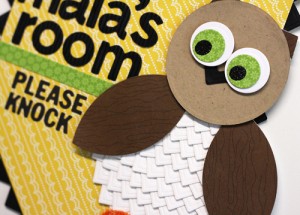
The Owl
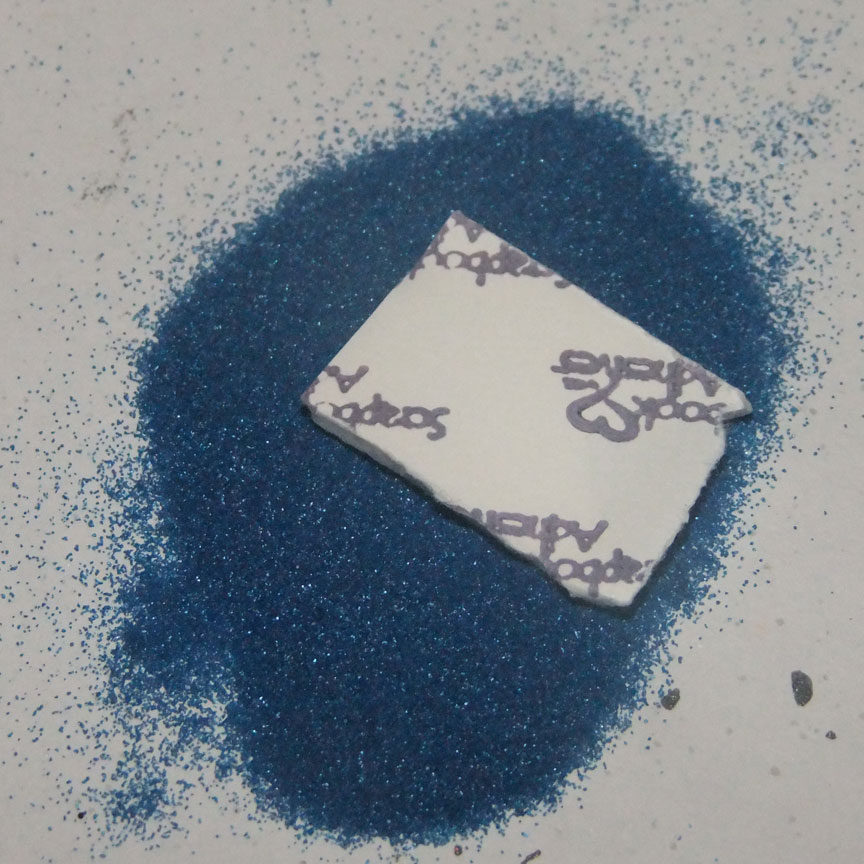
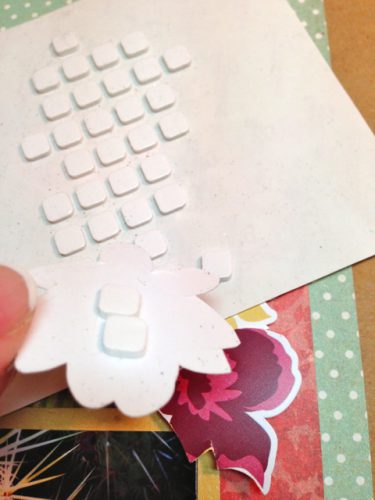
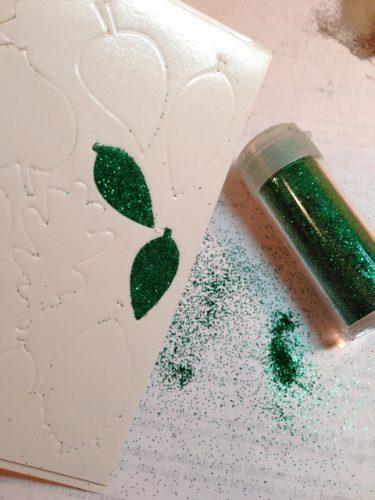
The owl embellishment is created from a variety of different sized circles. The feathers on his body are made by layering the Creative Photo Corners White over the largest circle. His beak is another Black Photo Corner (with a bit of trimming) and his feet are the top of a 3D Foam Heart dusted with colored sprinkles. His ears are the negative space from the 3D Foam Pennants with a patterned paper topper. The center of his eyes are Adhesive Dots Small covered with black glitter.
Some 3D Foam Squares and an E-Z Runner® hold everything together.
I love how this project came together from a collection of simple shapes!
- Creative Time: 1 Hour
- Skill Level: Intermediate
Angela
Scrapbook Adhesives by 3L Supply List:
- Creative Photo Corners Black
- Creative Photo Corners White
- 3D Foam Squares White Regular
- Crafty Power Tape
- E-Z Runner® Permanent Strips
- 3D Foam Hearts
- 3D Foam Pennants
- Adhesive Dots Small
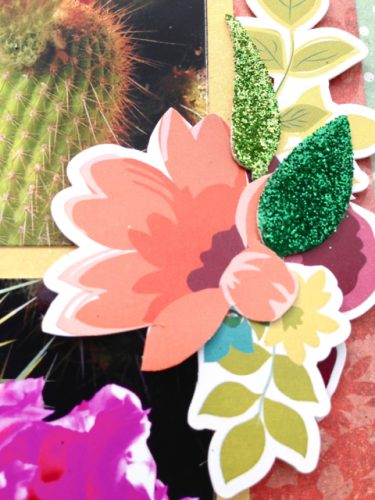
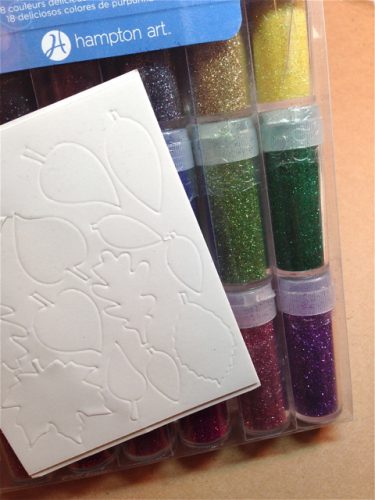
Other Supplies: Pebbles patterned paper and large alphabet letters, Basic Grey small alphabet letters, Spellbinders Nestabilities Standard Circles SM and LG, Bazzill Basics Paper Card Stock, EK Success glitter, Flower Soft colored sprinkles, Doodlebug Design patterned paper (green), misc. dowel and trim.
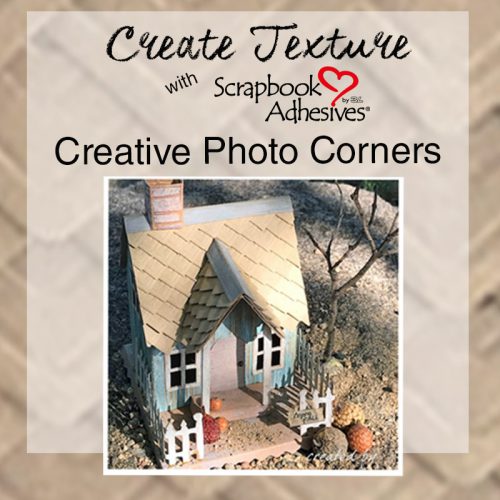
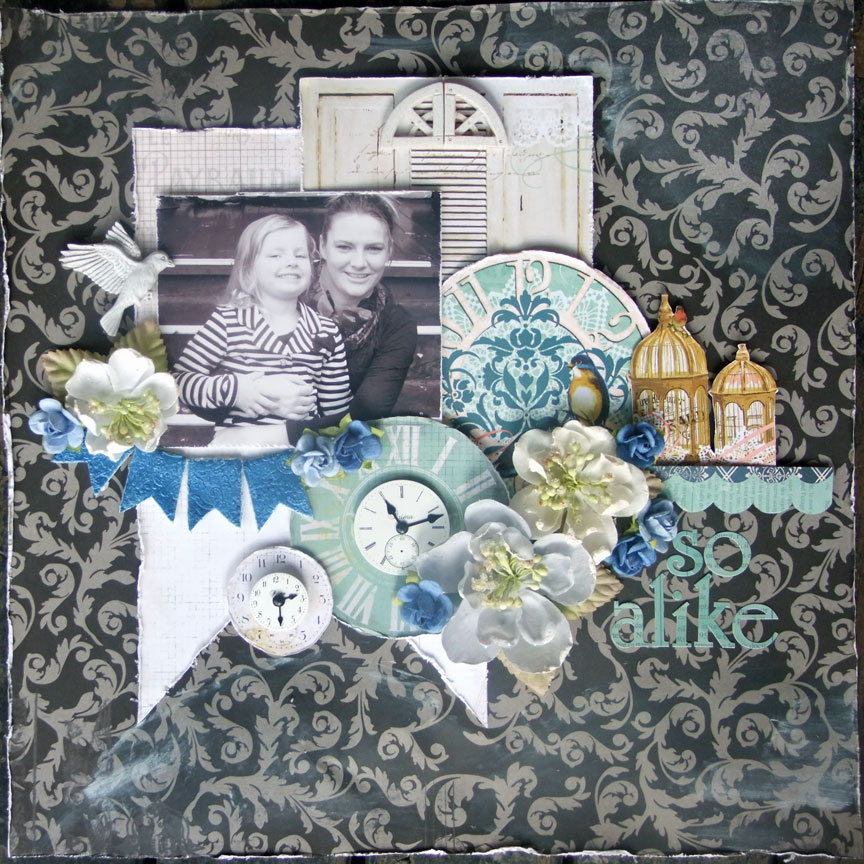
See 10 ideas for using Creative Photo Corners to create texture: