Welcome to Day 2 of the Scrapbook Adhesives by 3L® and Clearsnap® Blog Hop! It’s Angela here sharing a Fun, Foiled, Fall Card (try saying that 3 times fast!).
 Here’s how you can make your own card at home:
1. Cut a 4 x 4 inch piece of water color paper. Make it wet. Pool 2-3 different orange/yellow Clearsnap Smooch Spritz inks onto a non porous surface and dip and swirl the water color paper into the inks. Let dry. Spray lightly with a brown color from the line.
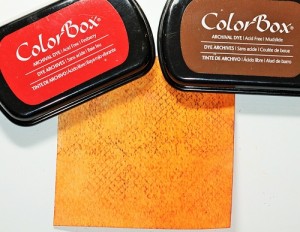
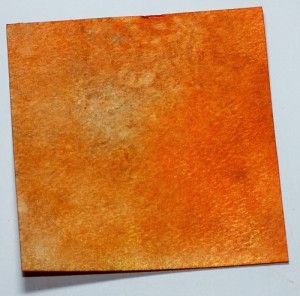 2. Ink a textured background stamp with the Clearsnap ColorBox Archival Dye ink and apply to the watercolor paper.
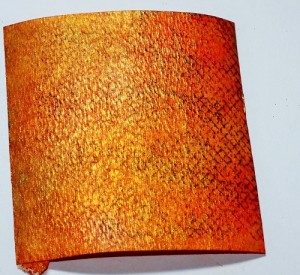
 3. Saturate the paper with Clearsnap Smooch Spritz-Sun Kissed or another transparent color (I added a few squirts of Cherry Ice for some red accents). Let dry.
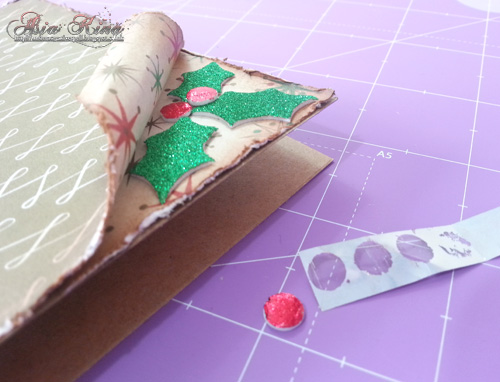
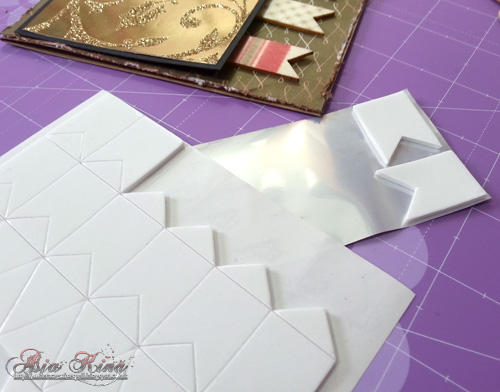
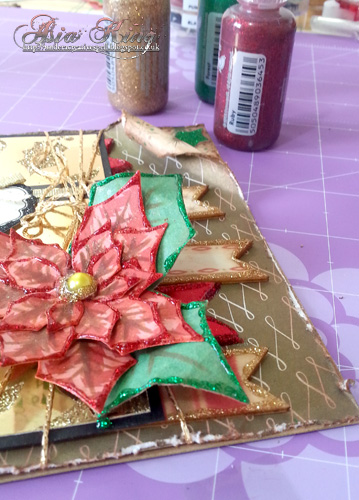
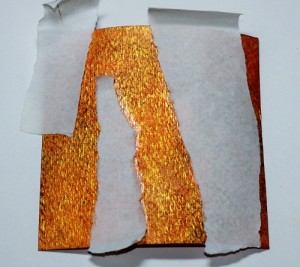
 4. Even though the paper looks too pretty to mess with any further, you want to take it up another notch by tearing some Adhesive Sheets – 4 x 6 into thin strips, peel off the backing and then apply the adhesive to the paper at random.
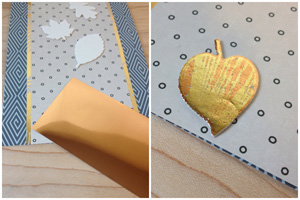
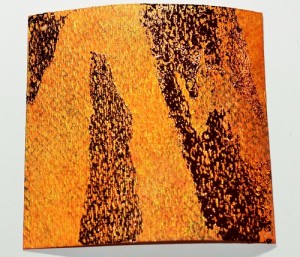
 5. Lightly burnish the white backing and then remove-you’re going for an irregular appearance here, so don’t worry if not all the adhesive transfers to the textured watercolor paper. Apply the Clearsnap Designer Foil-Lucky Penny to the adhesive.
 6. Burnish the foil thoroughly and remove the clear protective sheet.
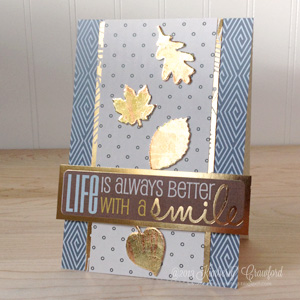
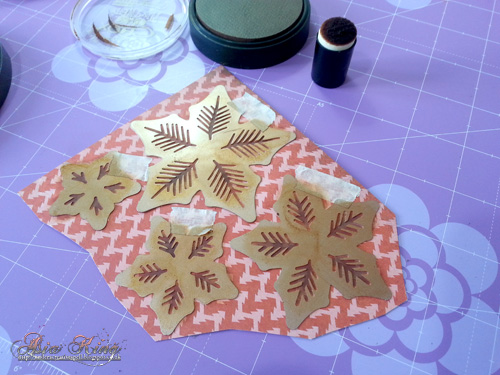
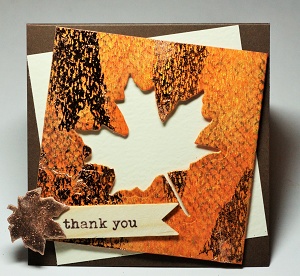
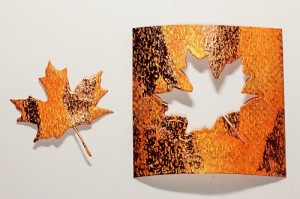
 7. Trim the square to 3.5 x 3.5 inches and die cut a leaf shape from the center.
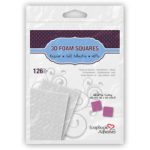
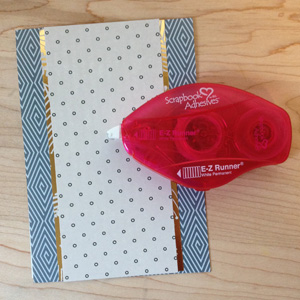
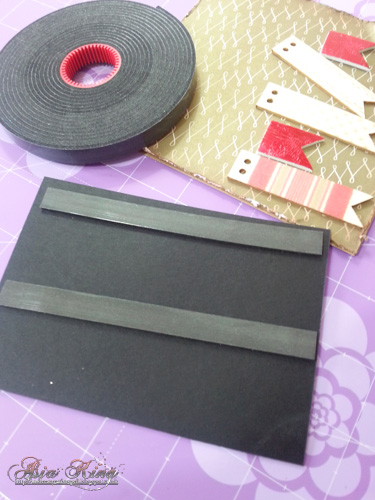
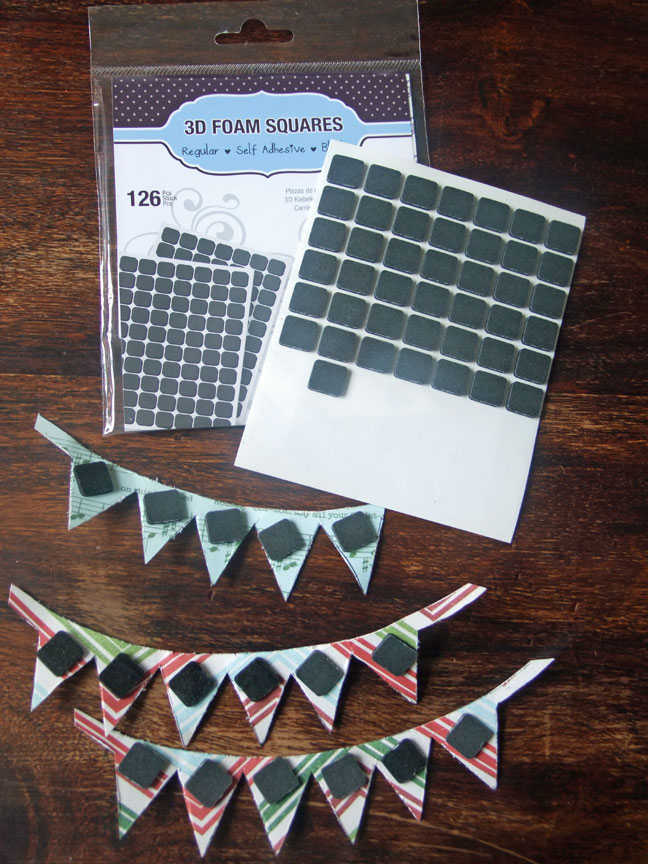
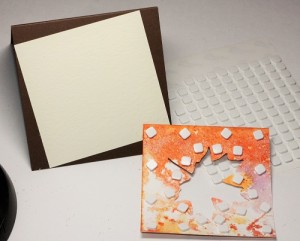
 8. Form a 4 x 4 inch card base from brown card stock. Using the E-Z Runner® Permanent Strips Refillable, adhere a 3.5 x 3.5 square of cream card stock to the card base at a slight angle. Frame the die cut and the outer edge of the die cut square of watercolor paper with 3D Foam Squares (I like the small ones for this as I can hug the die cut image with them and get the watercolor paper to lie down better this way).
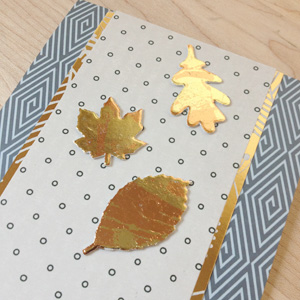
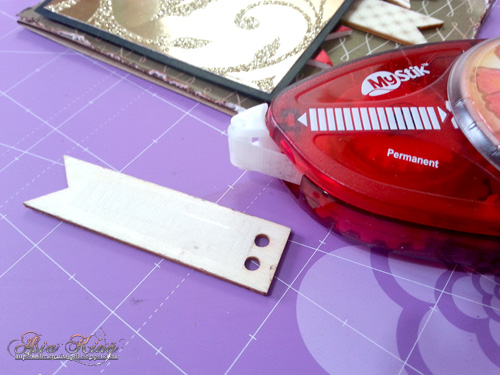
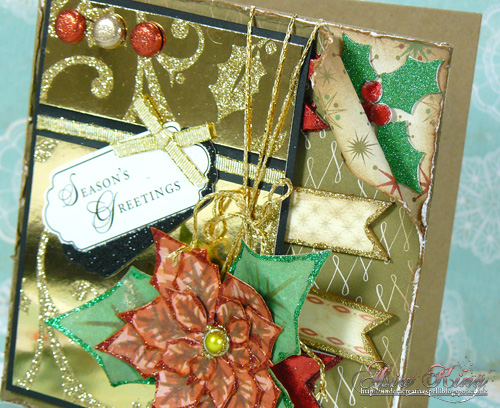
 9. Attach the water color paper to the card base at a slight angle. Embellish with a wooden pennant containing a preprinted sentiment and a leaf from the 3D Foam Leaves Designer Shapes collection covered with some more Designer Foil.

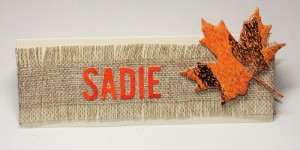
Voila! It’s that easy! I couldn’t let the beautiful die cut leaf shape go to waste, so I also created this fall place card using some burlap trim and die cut letters from another piece of watercolor paper as accents.
 Love, love, LOVE this technique-the foil and Adhesive Sheets work so well together!
Remember, we’re blog hopping with Clearsnap this week! Comment on each post this week to win a fabulous prize pack from Scrapbook Adhesive by 3L®! Then head over to the Clearsnap blog to see their projects and comment for a 2nd chance to win!
Angela
Scrapbook Adhesive by 3L® Supplies Used:
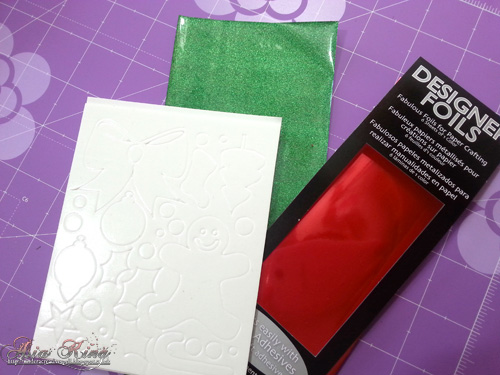
Clearsnap® Supplies Used: Designer Foils (Lucky Penny), ColorBox Archival Inks (Mudslide and Fireberry), Smooch Spritz® Pearlescent Sprays (Sun Kissed, Log Cabin, Cherry Ice, Carrot Cake, Gingersnap and Gold Glow)
Other Supplies Used: Bazzill Basics Card Stock (brown, cream), Studio 490 by Wendy Vecchi Background Stamp, Spellbinders Fall Foliage die set, Maya Road burlap trim, Tim Holtz for Sizzix Alphabet Die, Jillibean Soup wooden tag.
Save
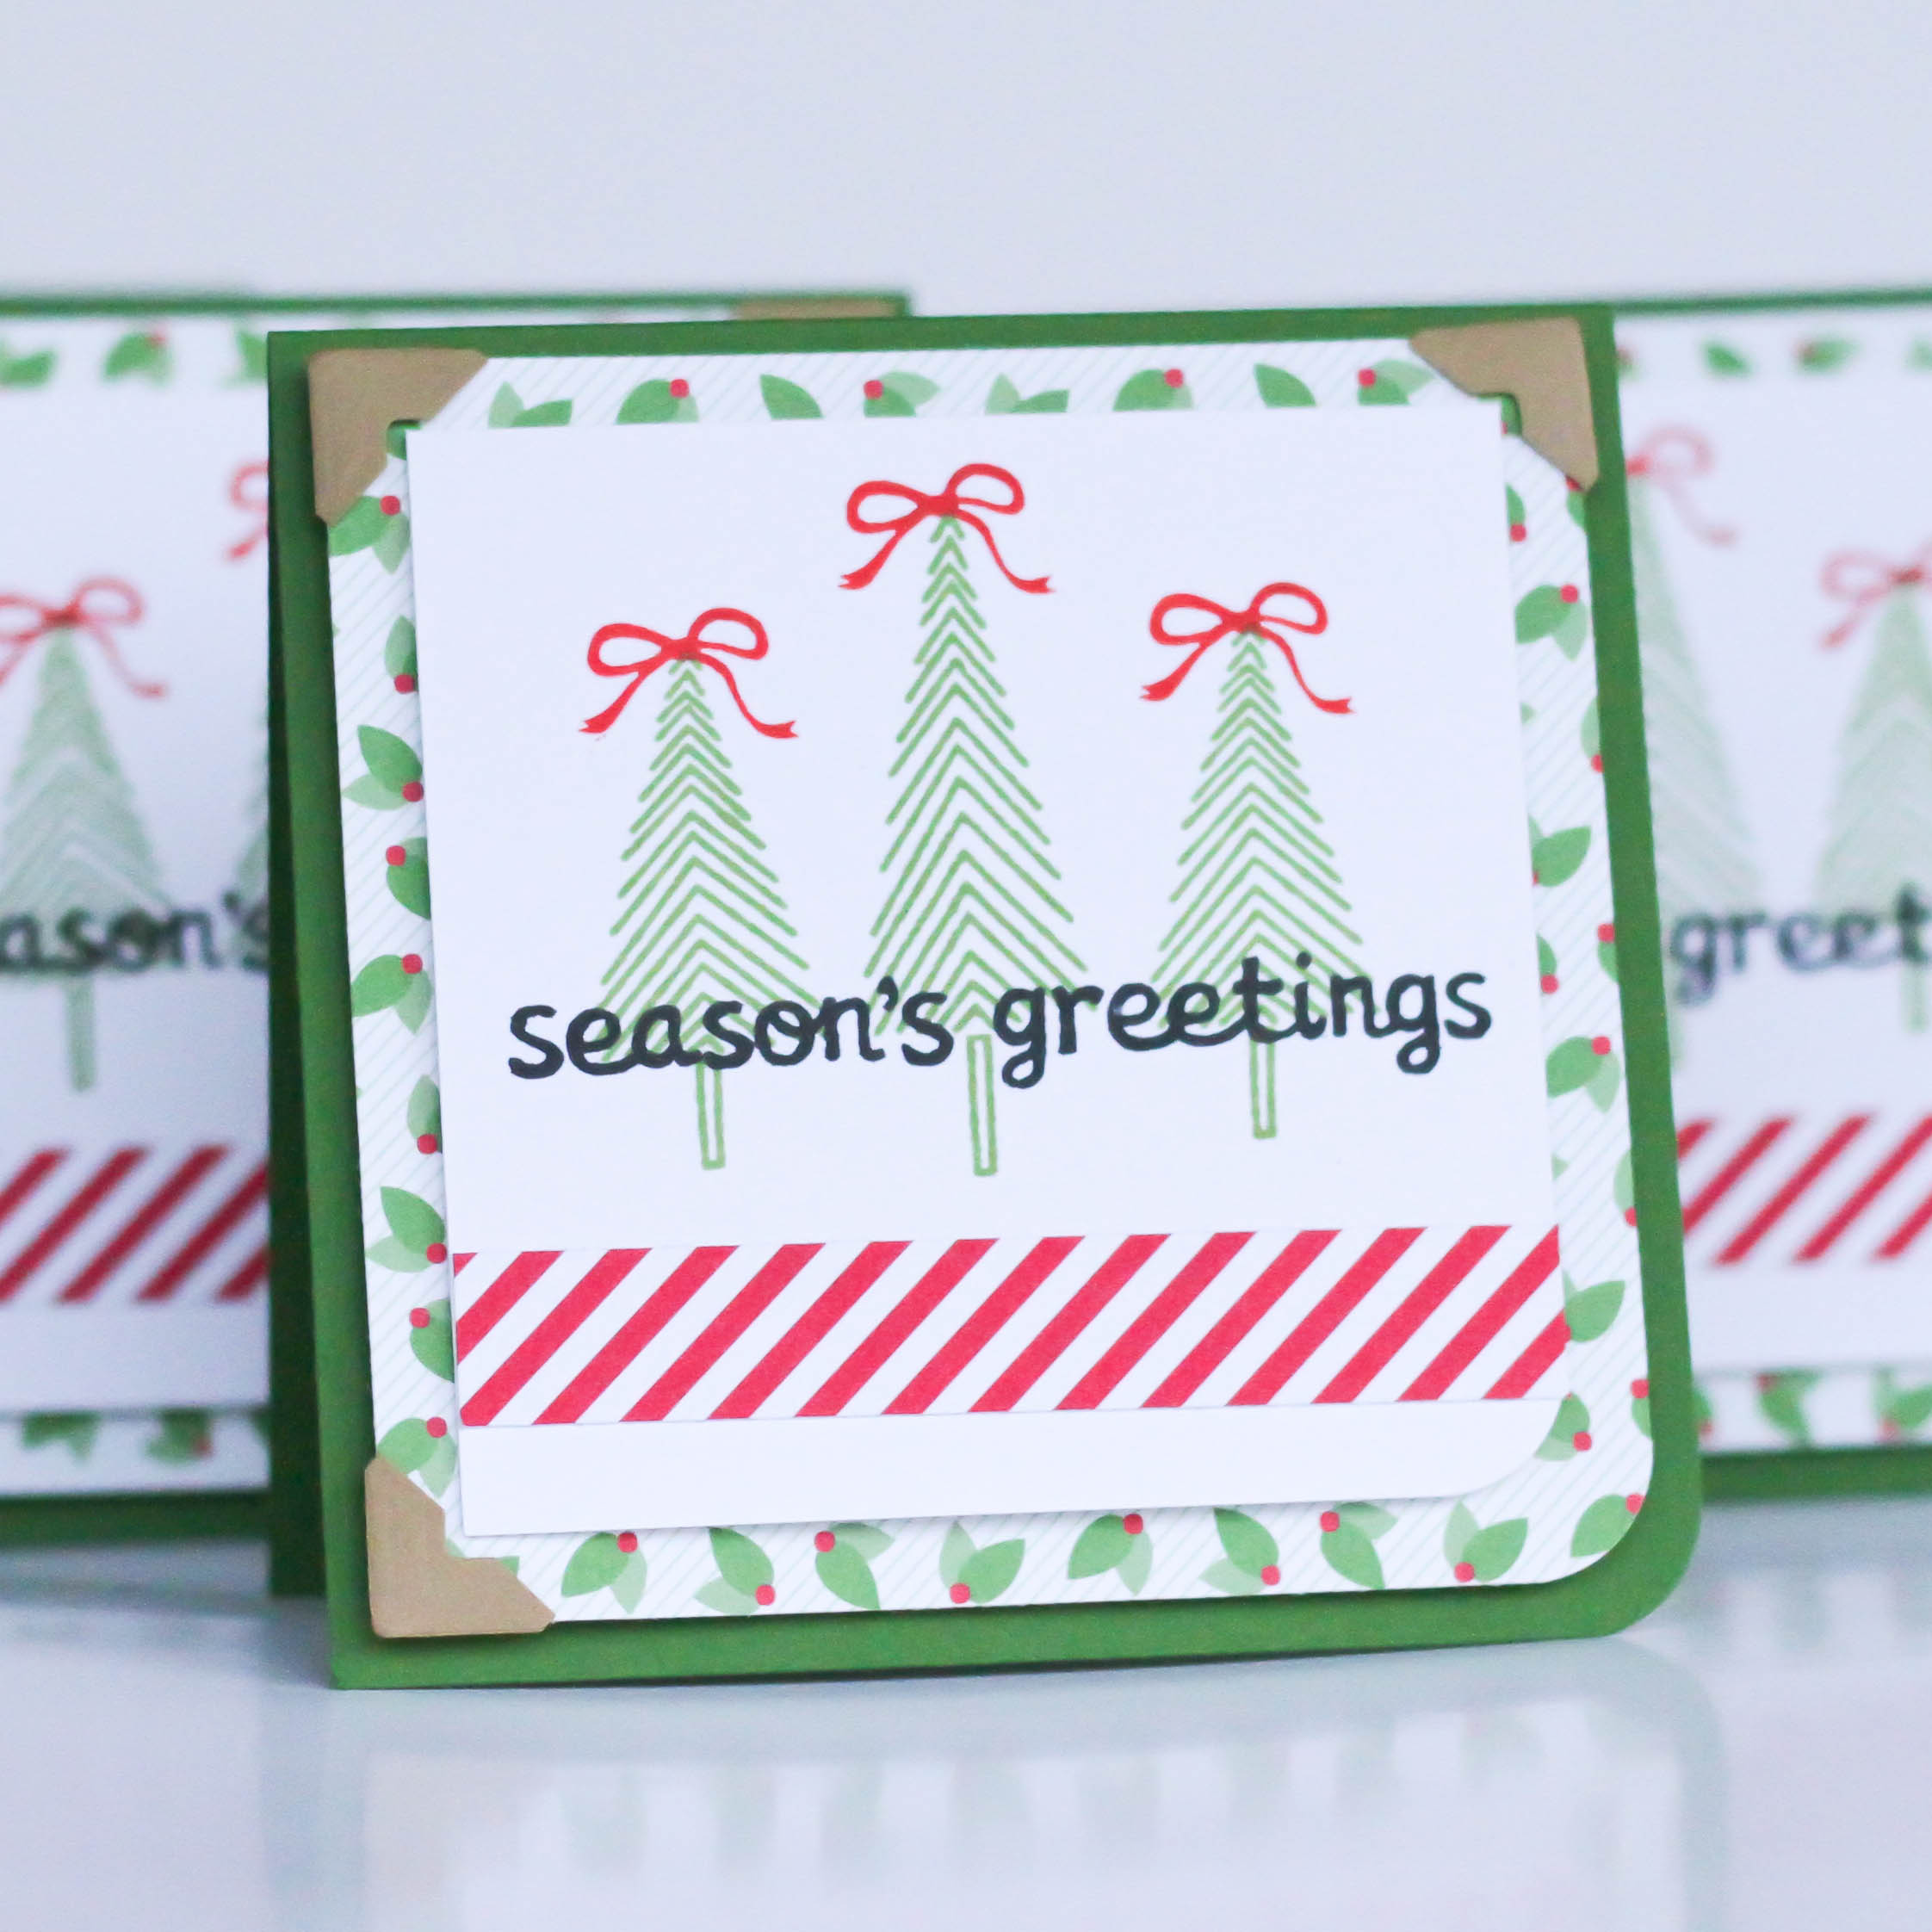
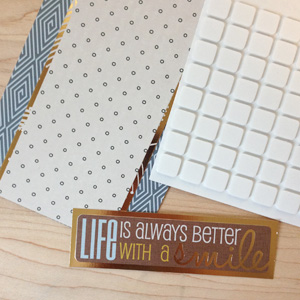
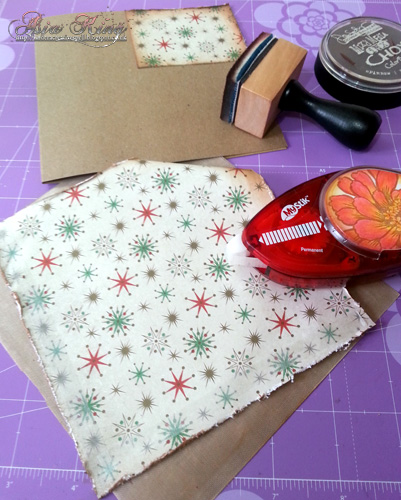
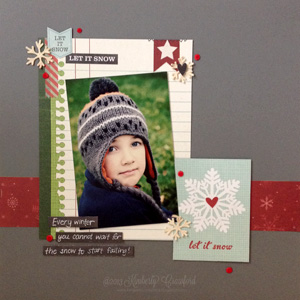
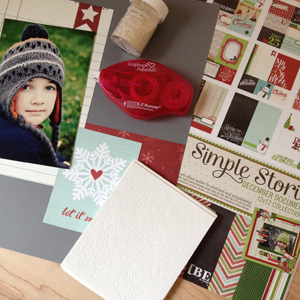
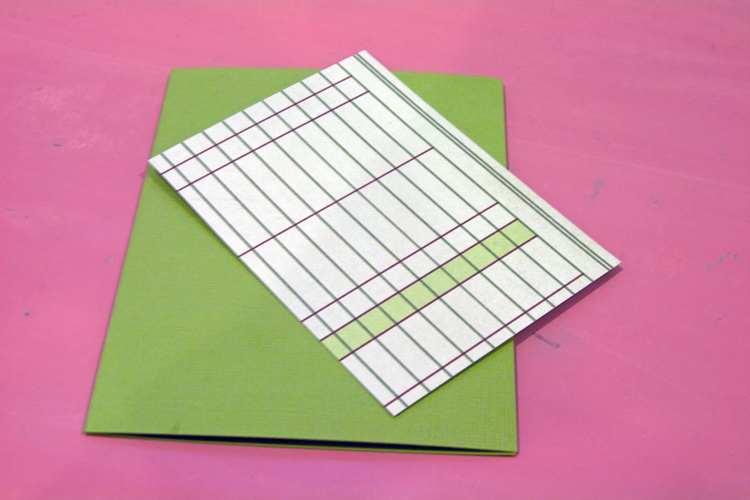
 First, I gathered my materials. The four card bases, are created from a single sheet of 12×12 paper. So make sure you grab a sheet of that.
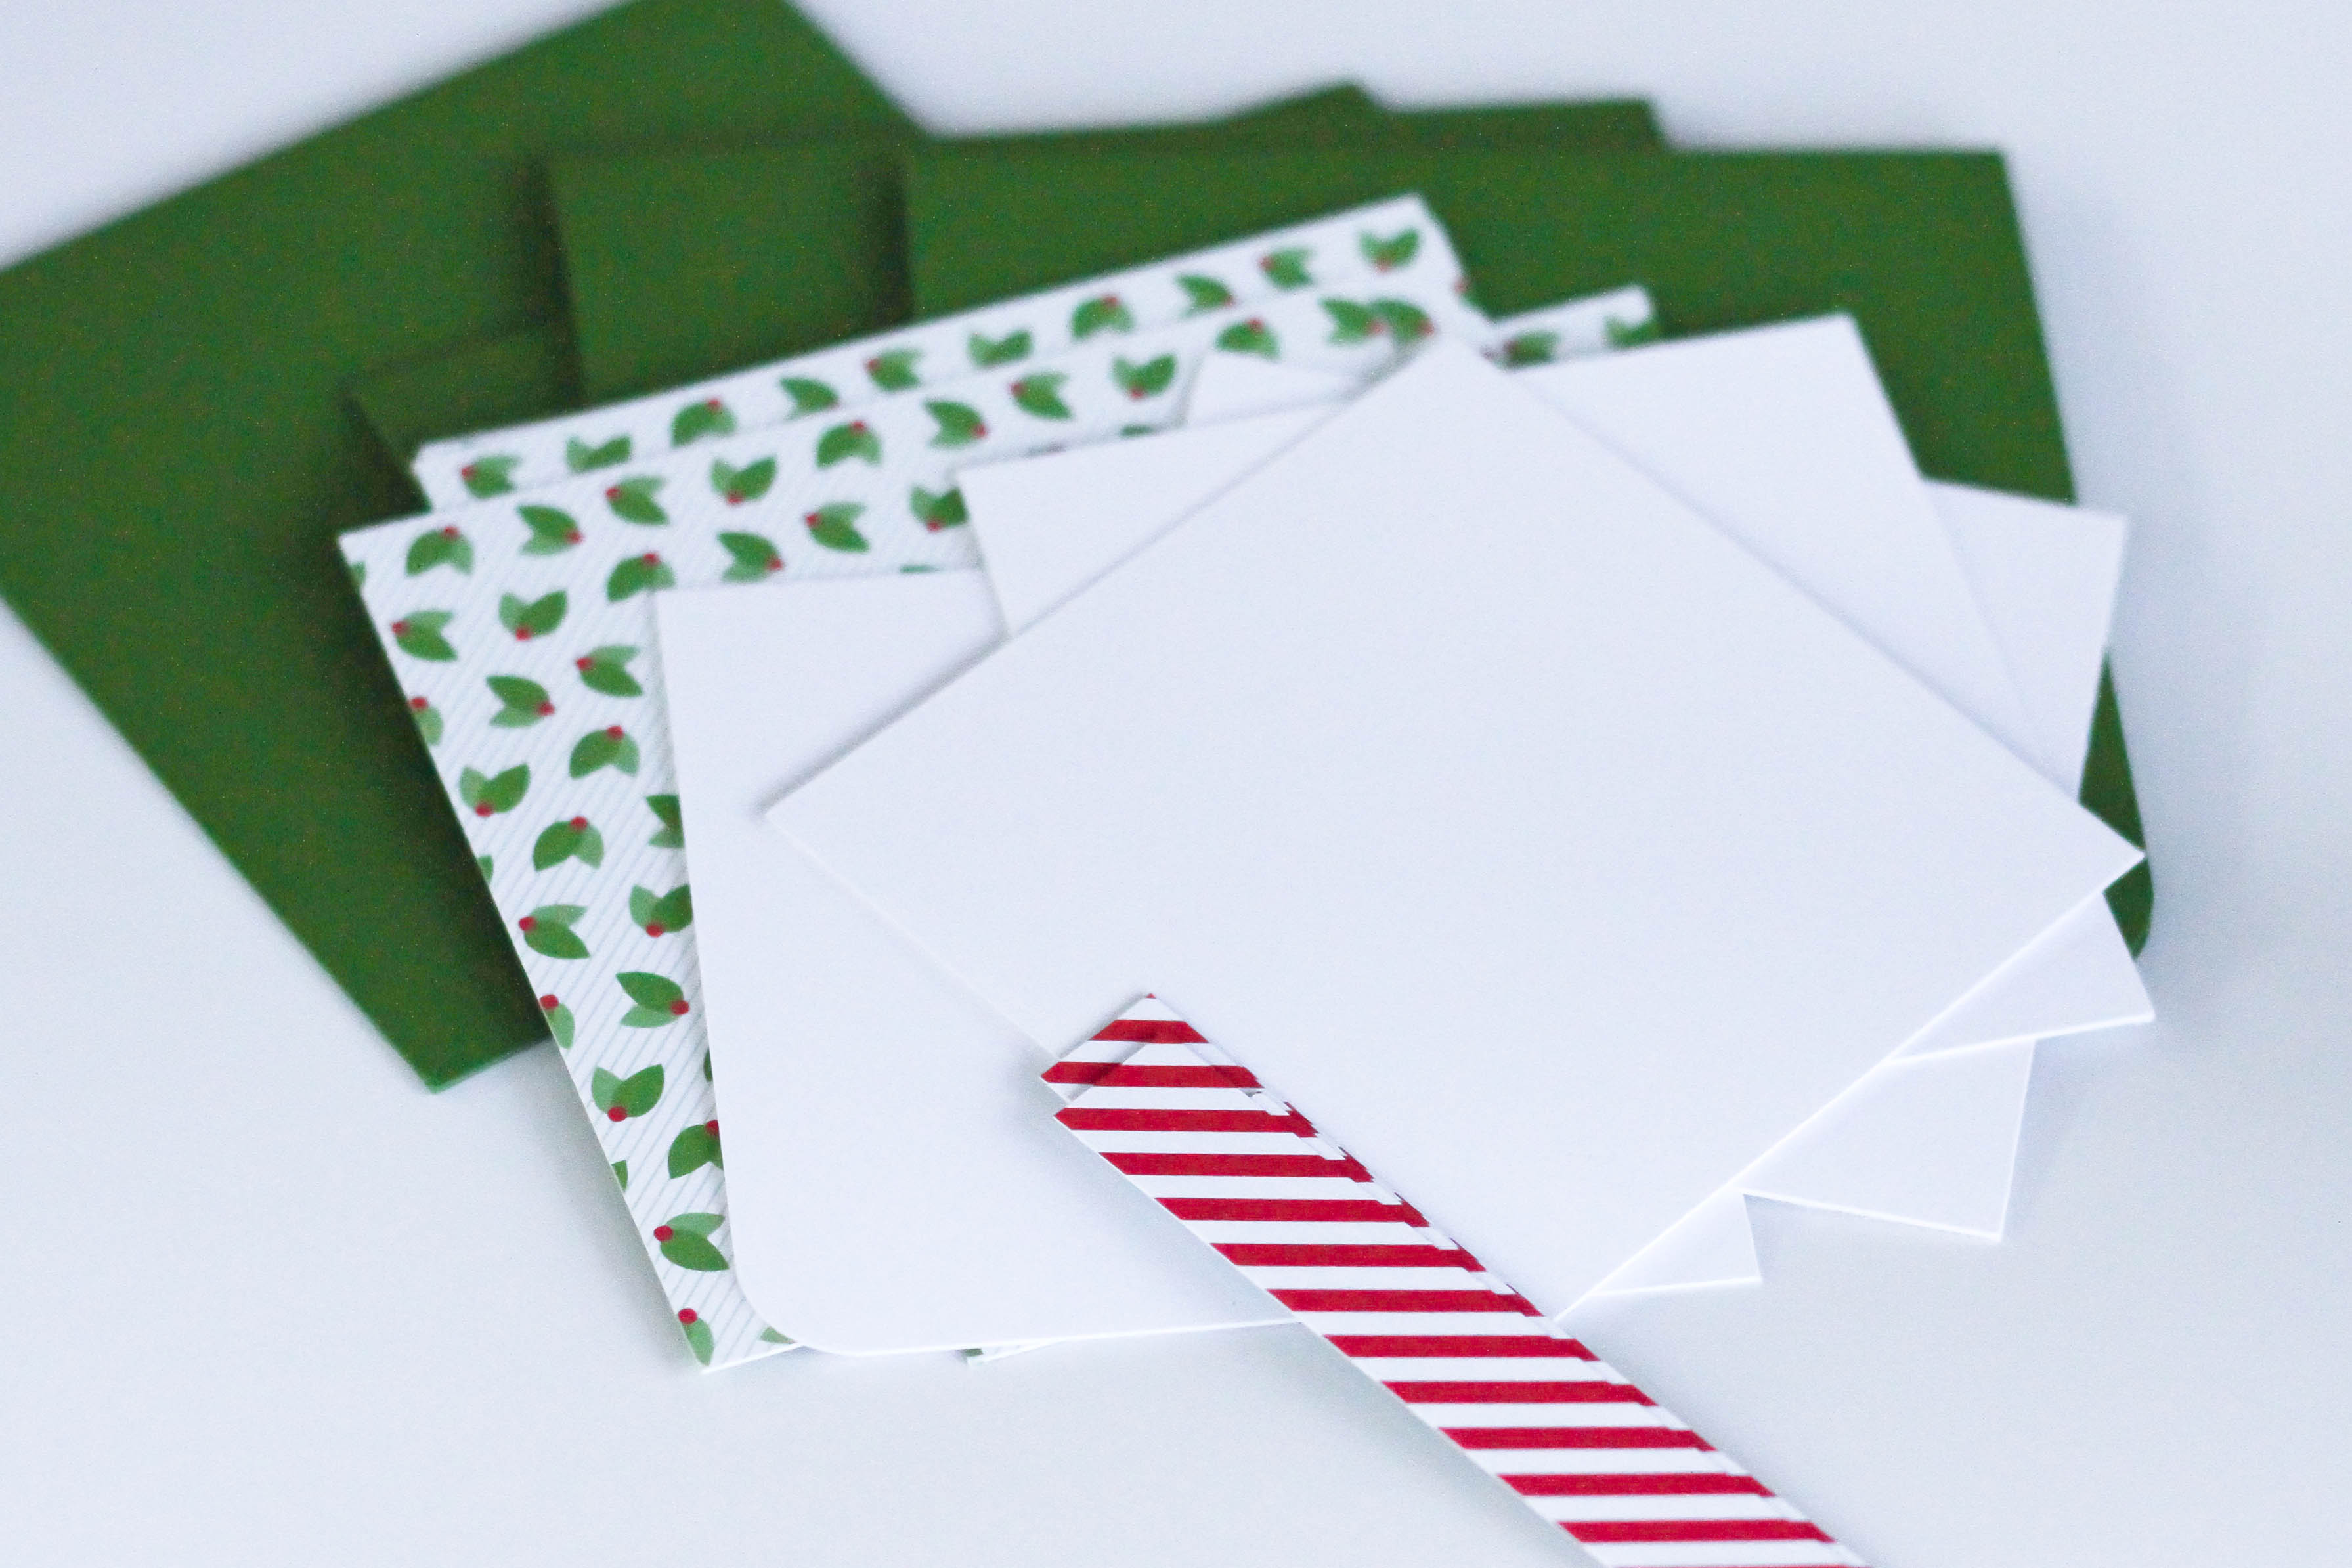
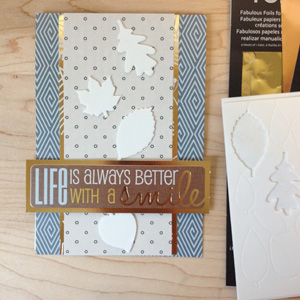
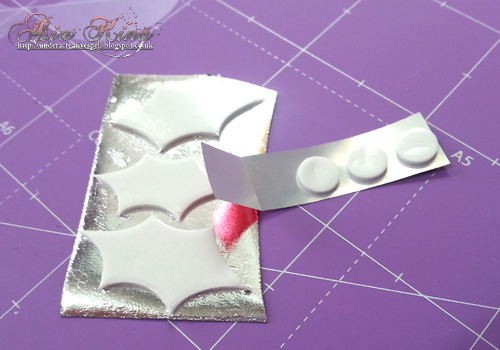
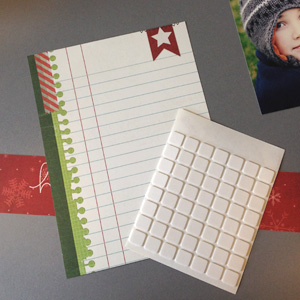
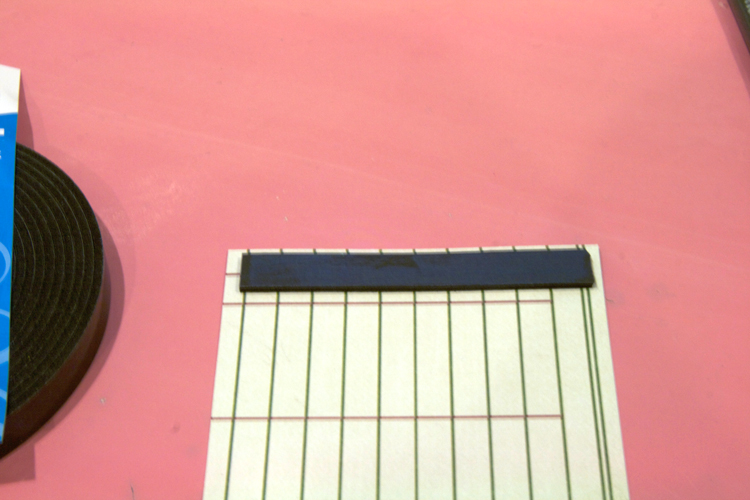
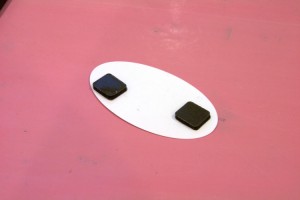
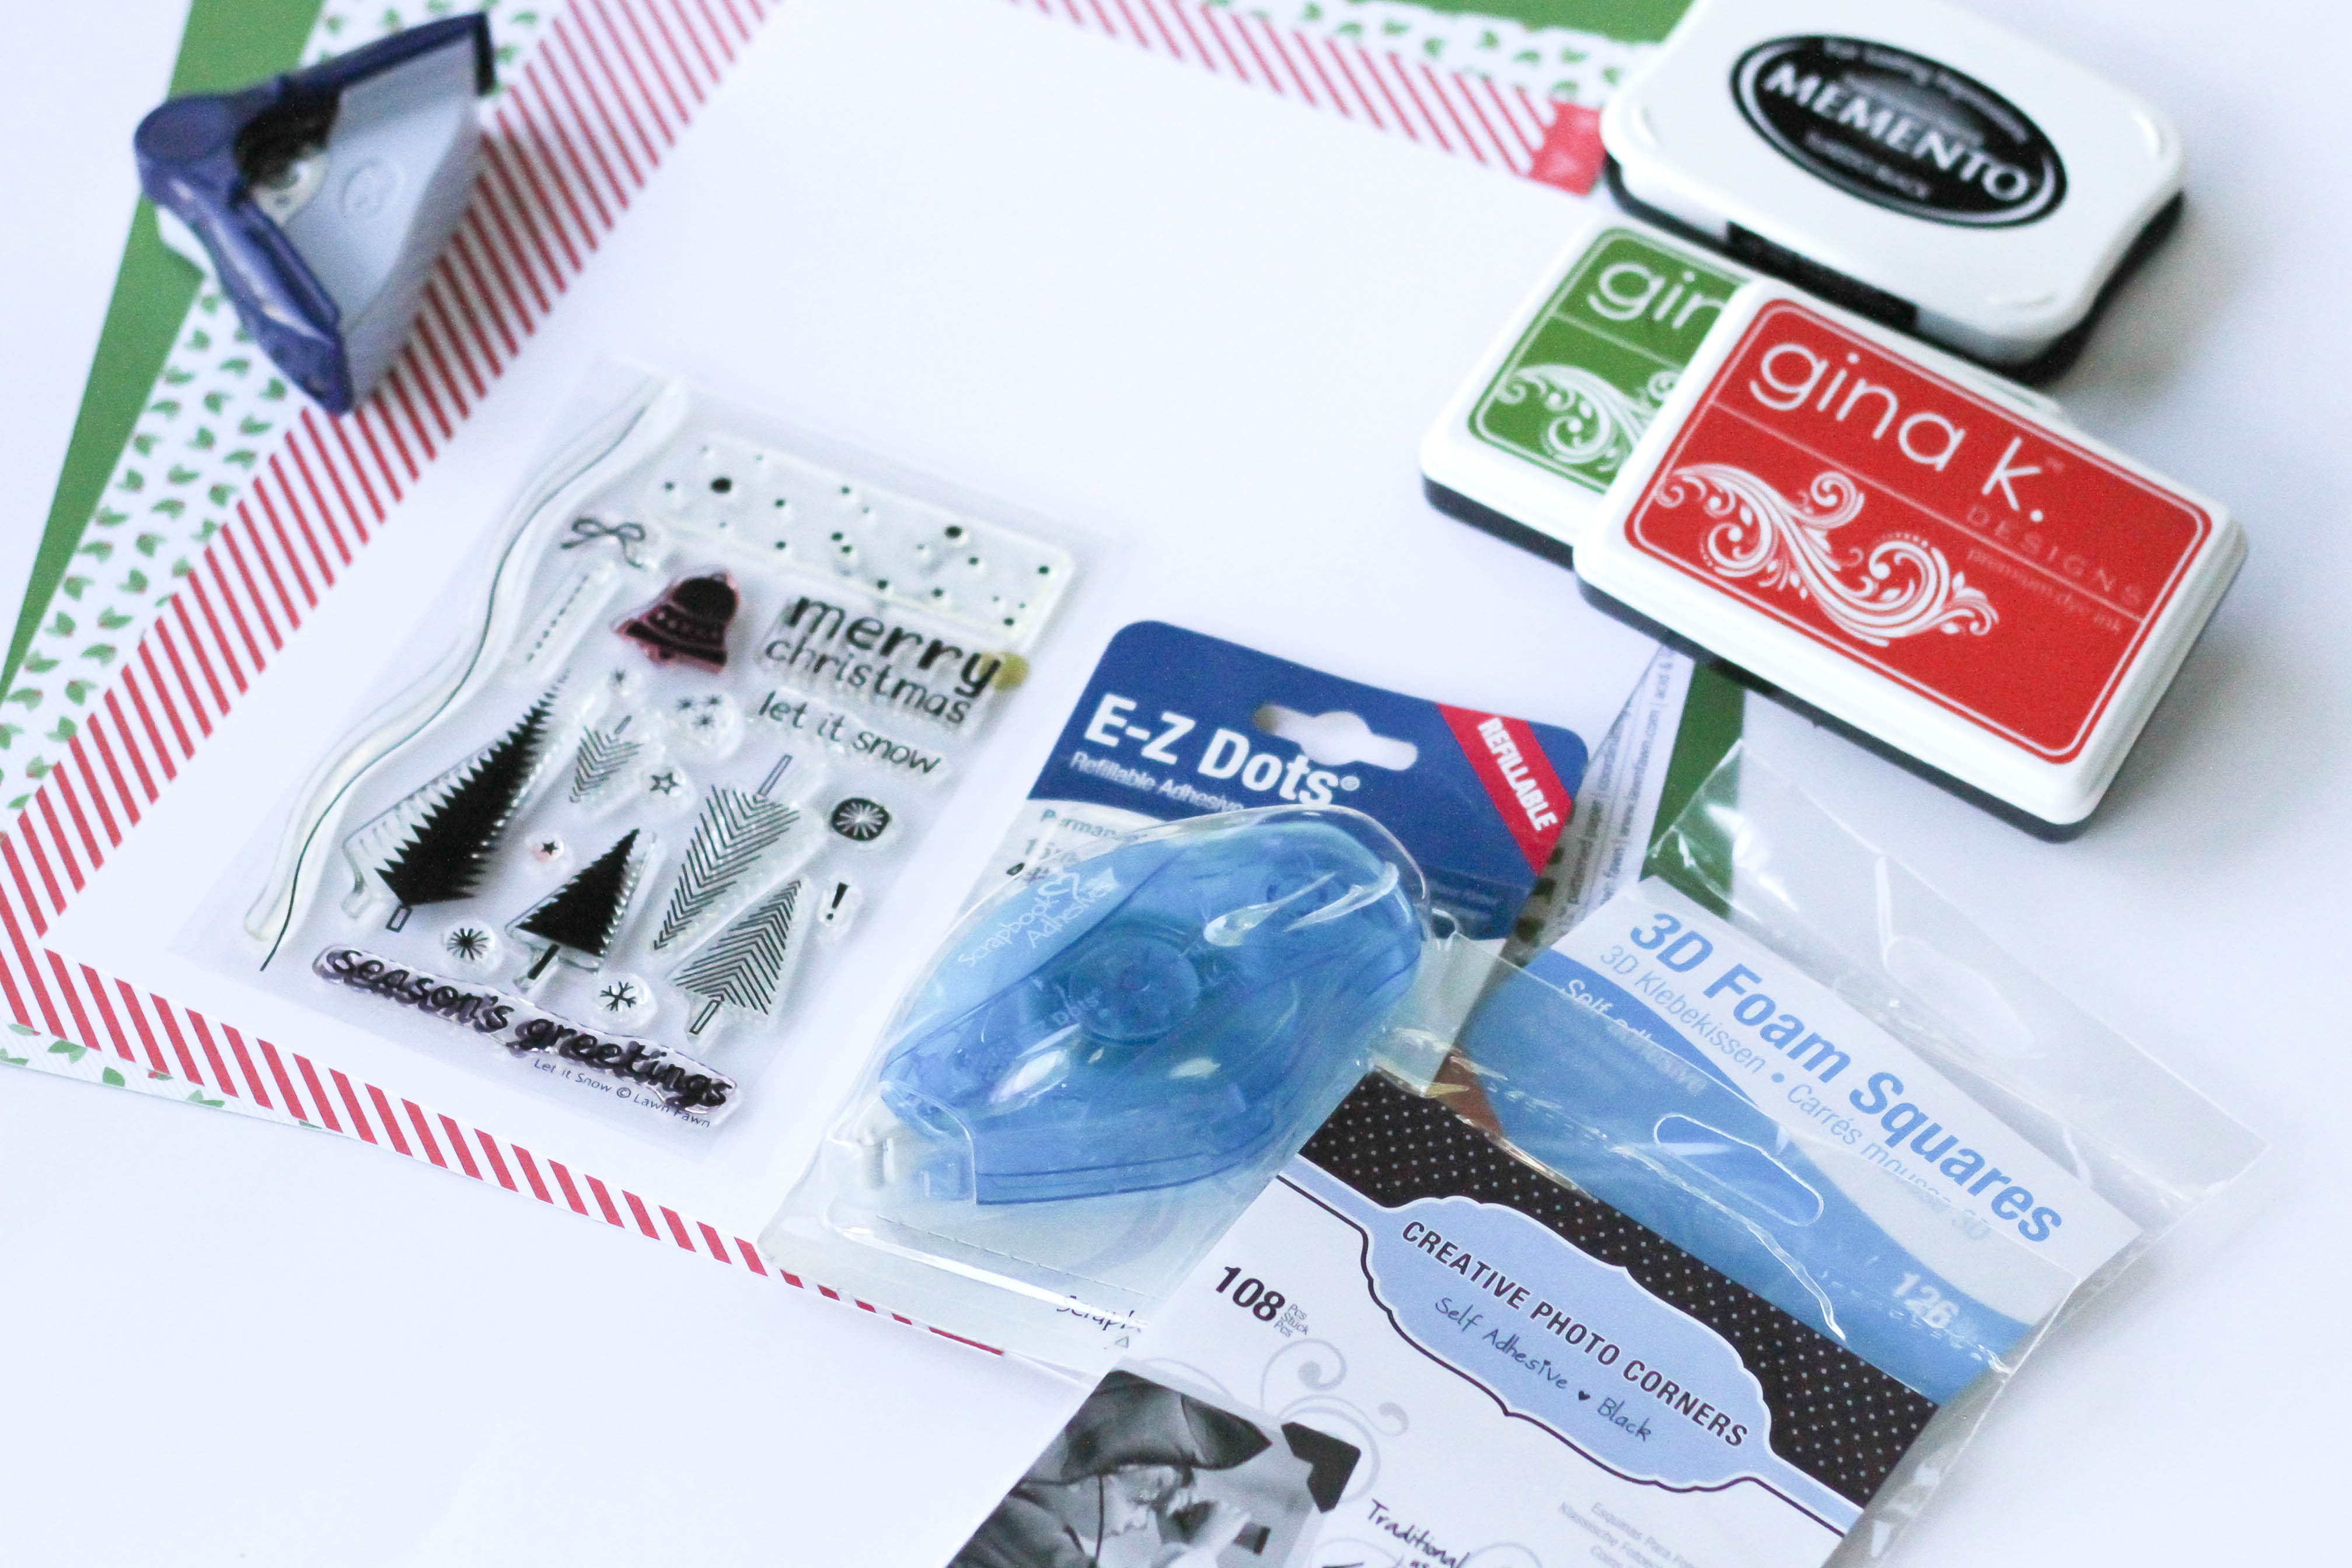
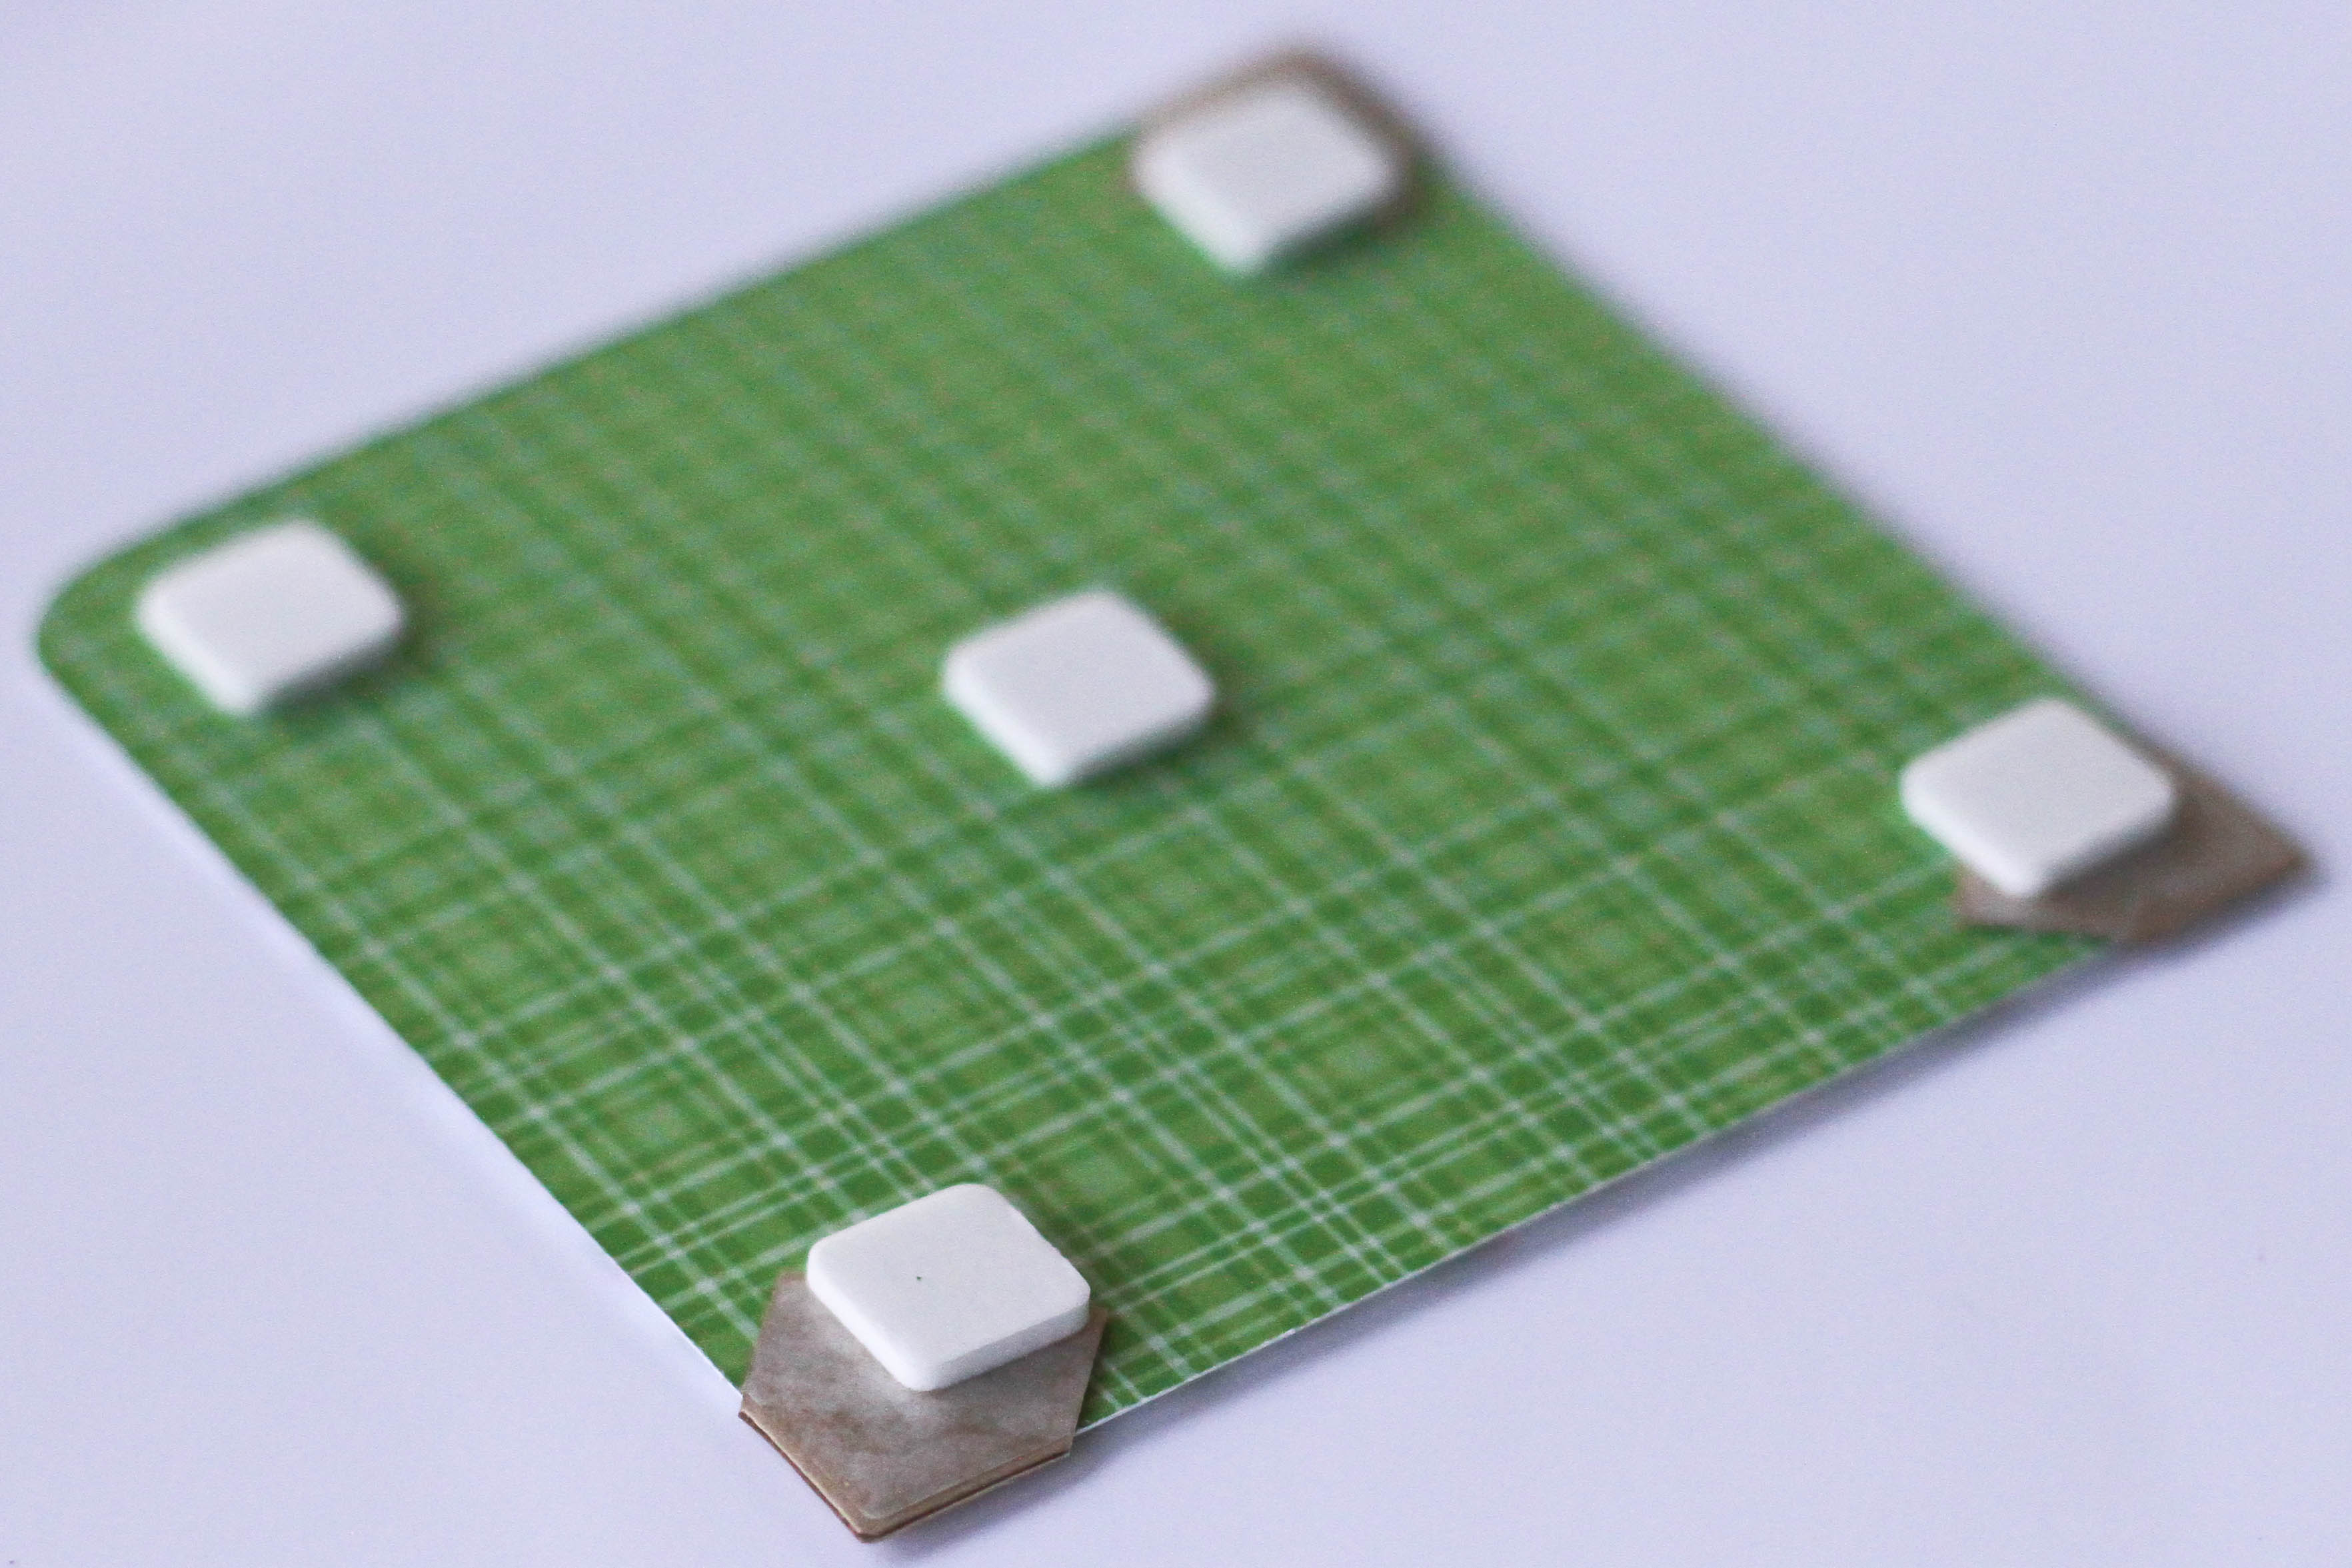 Add Scrapbook Adhesives by 3L 3D Foam Squares and Classic Photo Corners – Kraft
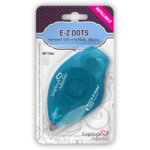
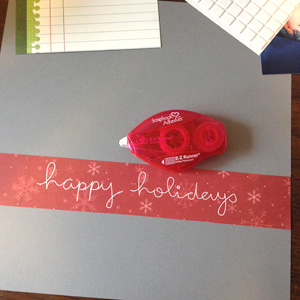
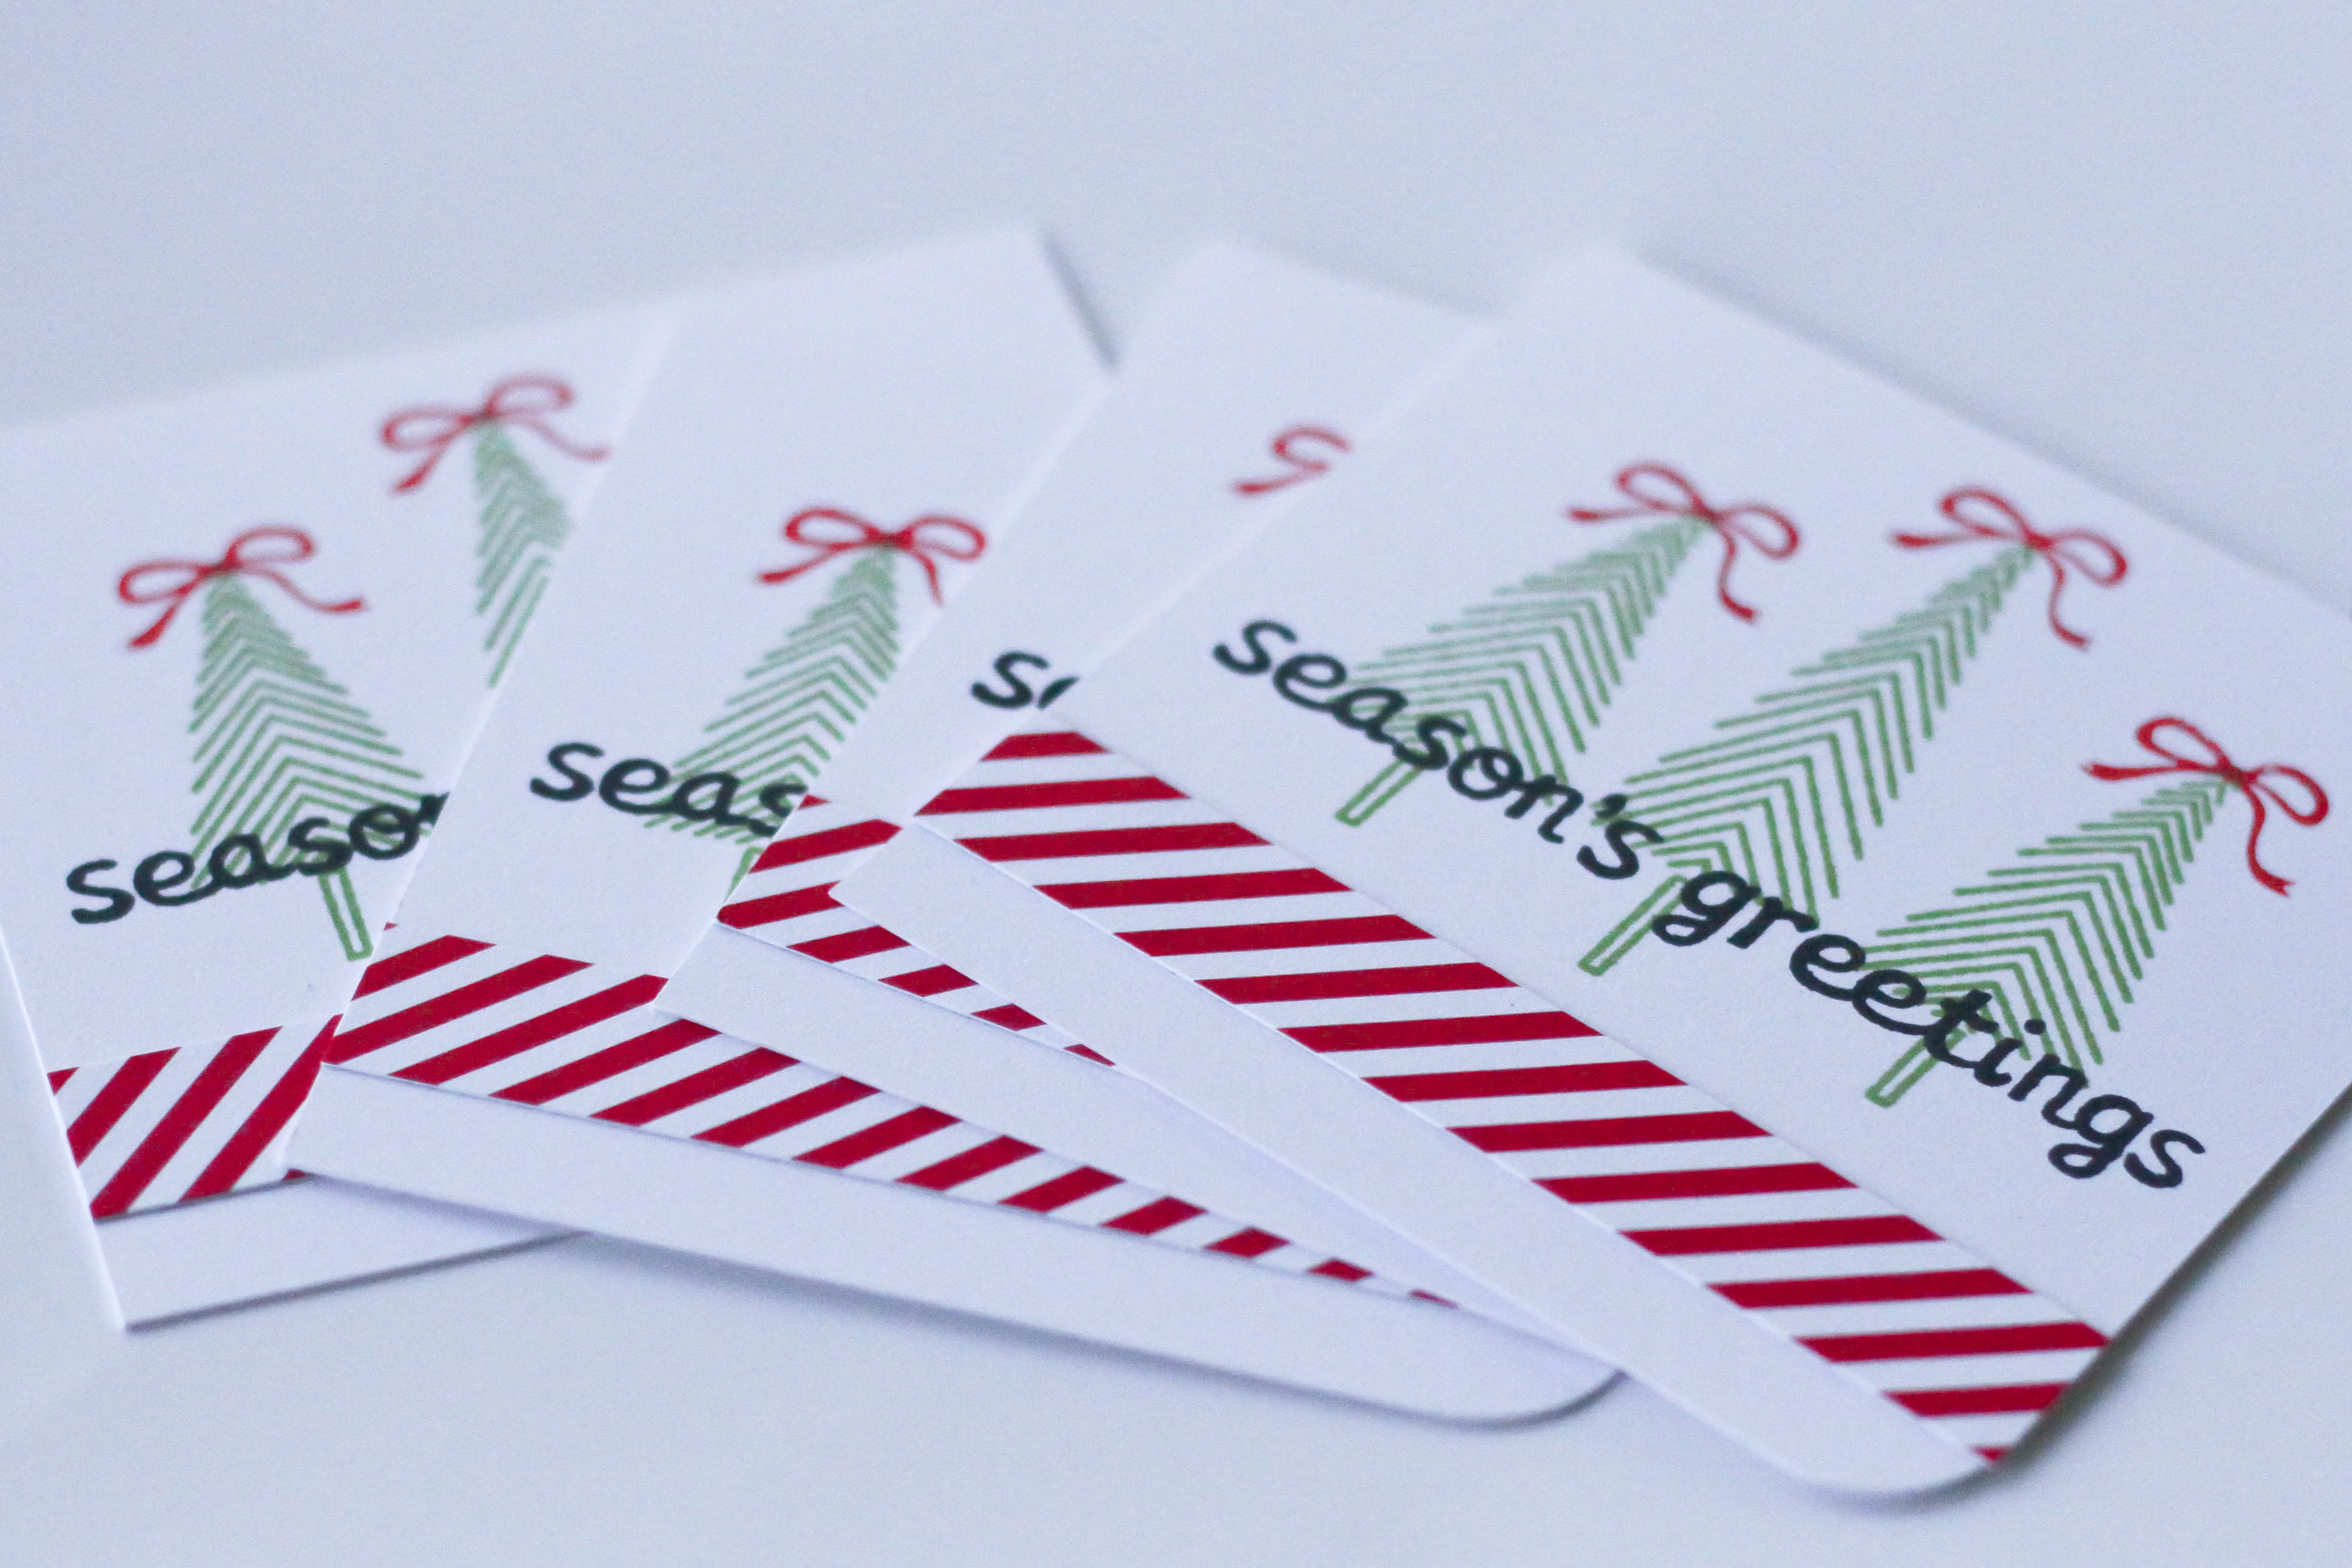 Stamp images & sentiments. Then adhere the pattern paper strips using the E-Z Dots Permanent refillable dispenser.
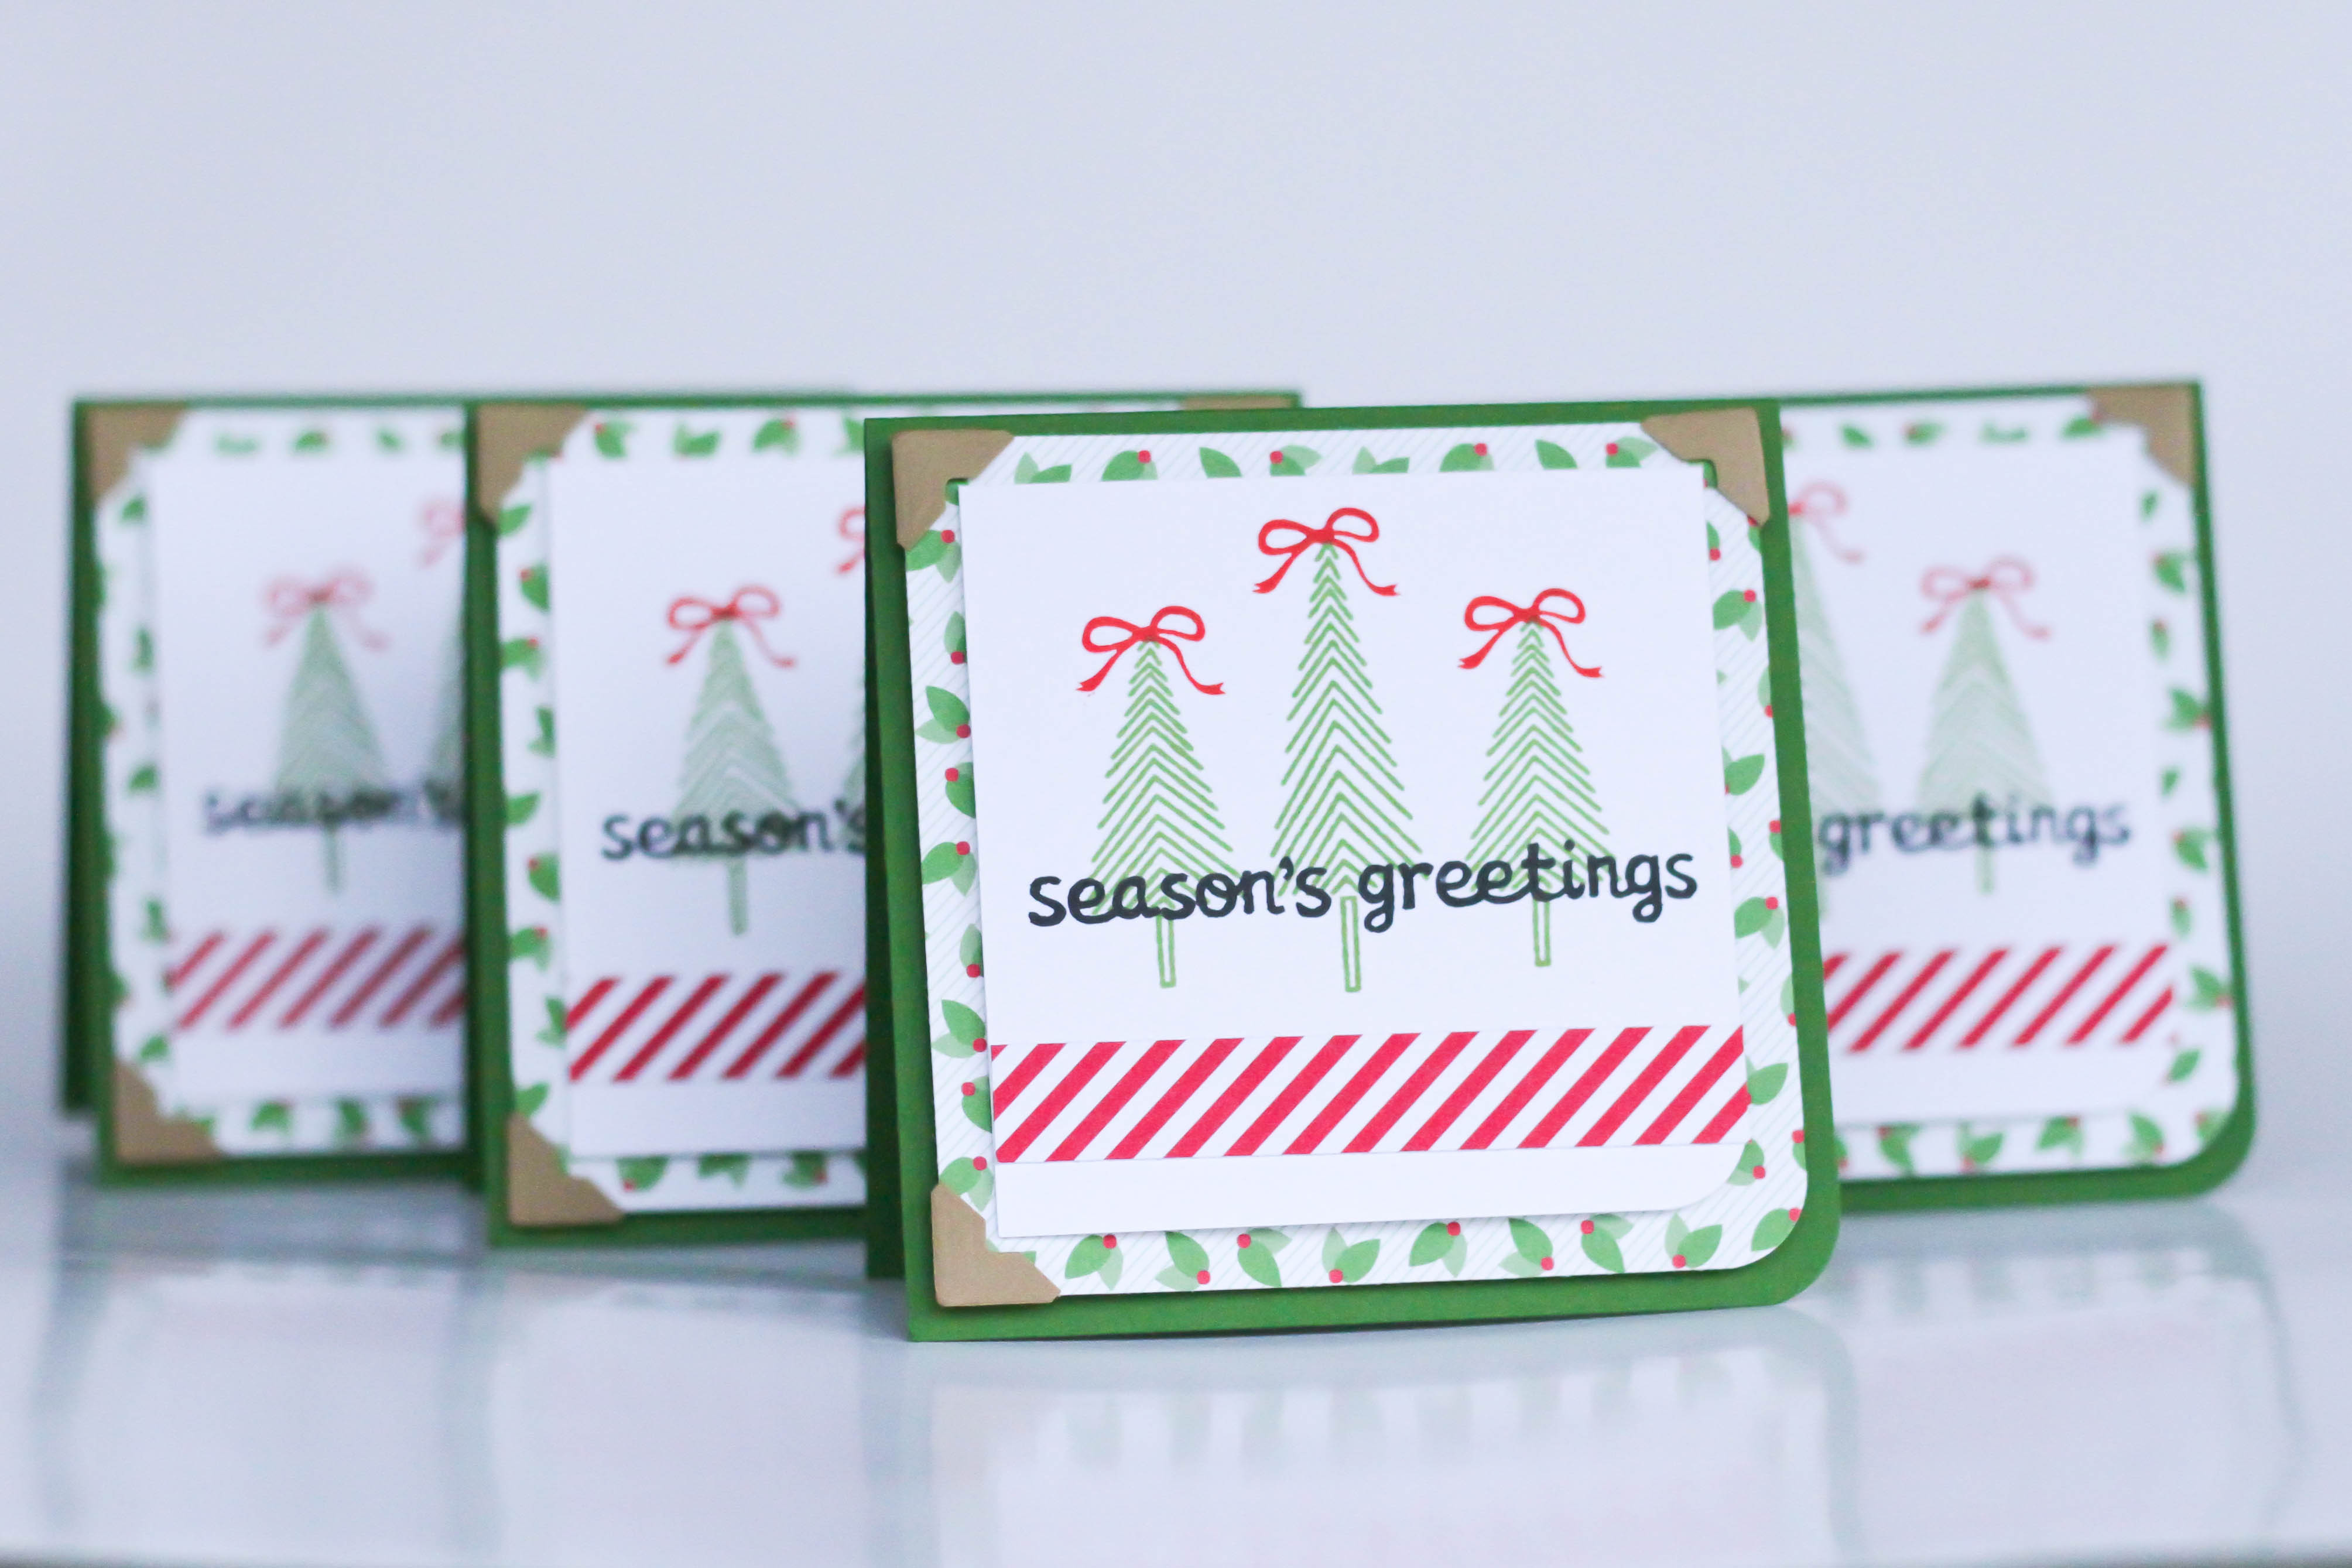 Assemble the cards, and you have 4 cards ready to be packaged together as a gift, or sent away in the mail to friends and family.