I’m hoping Mother Nature isn’t playing a Spring April Fool’s joke on us. The groundhog covered that with his promise of an early spring…and we are still waiting! Maybe reminding that dear sweet Mother that we’re waiting on her splendor, to turn the brown lawns to green, to convince the buds on the trees and the flowers in the ground to show themselves…
Hi, it’s Beth here today with this scrapbook page to hopefully convince her to get some Spring in her step…like yesterday!

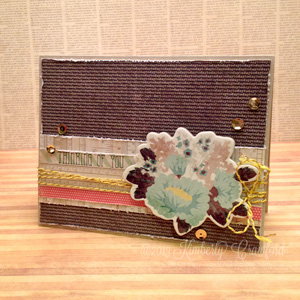
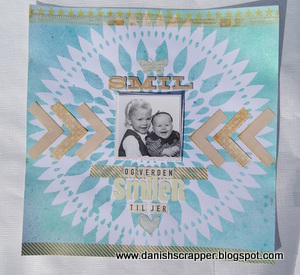
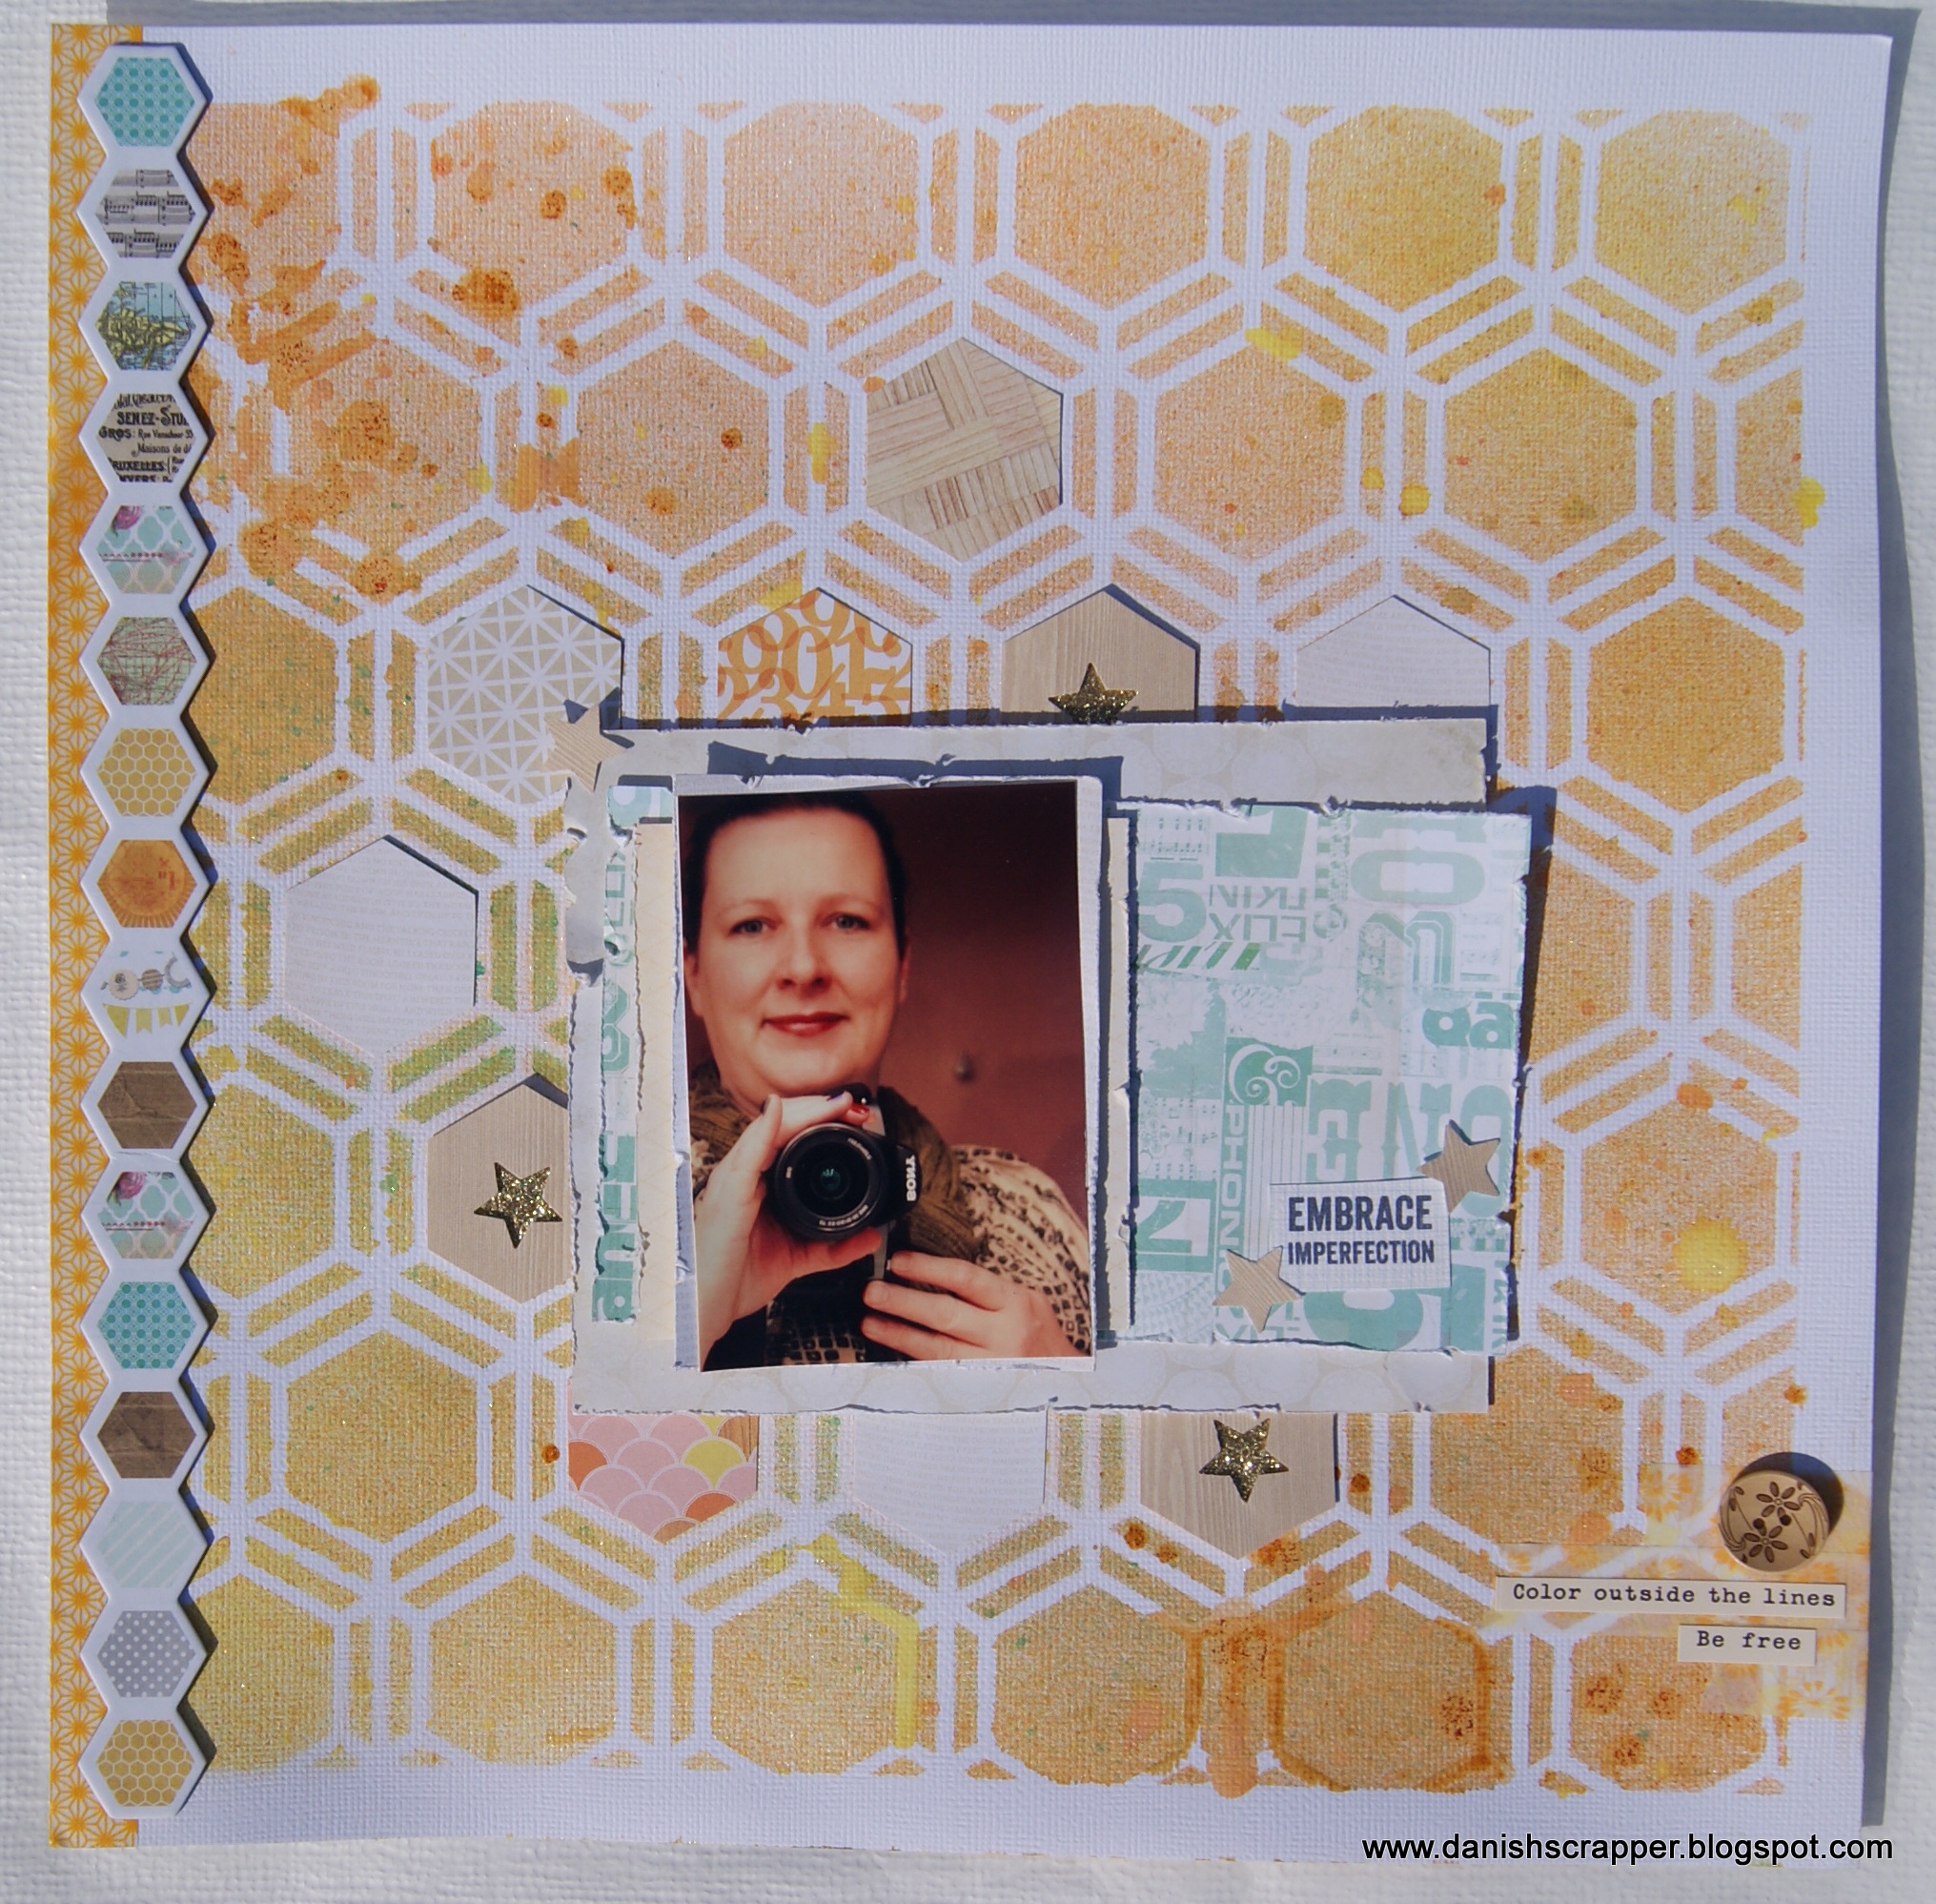
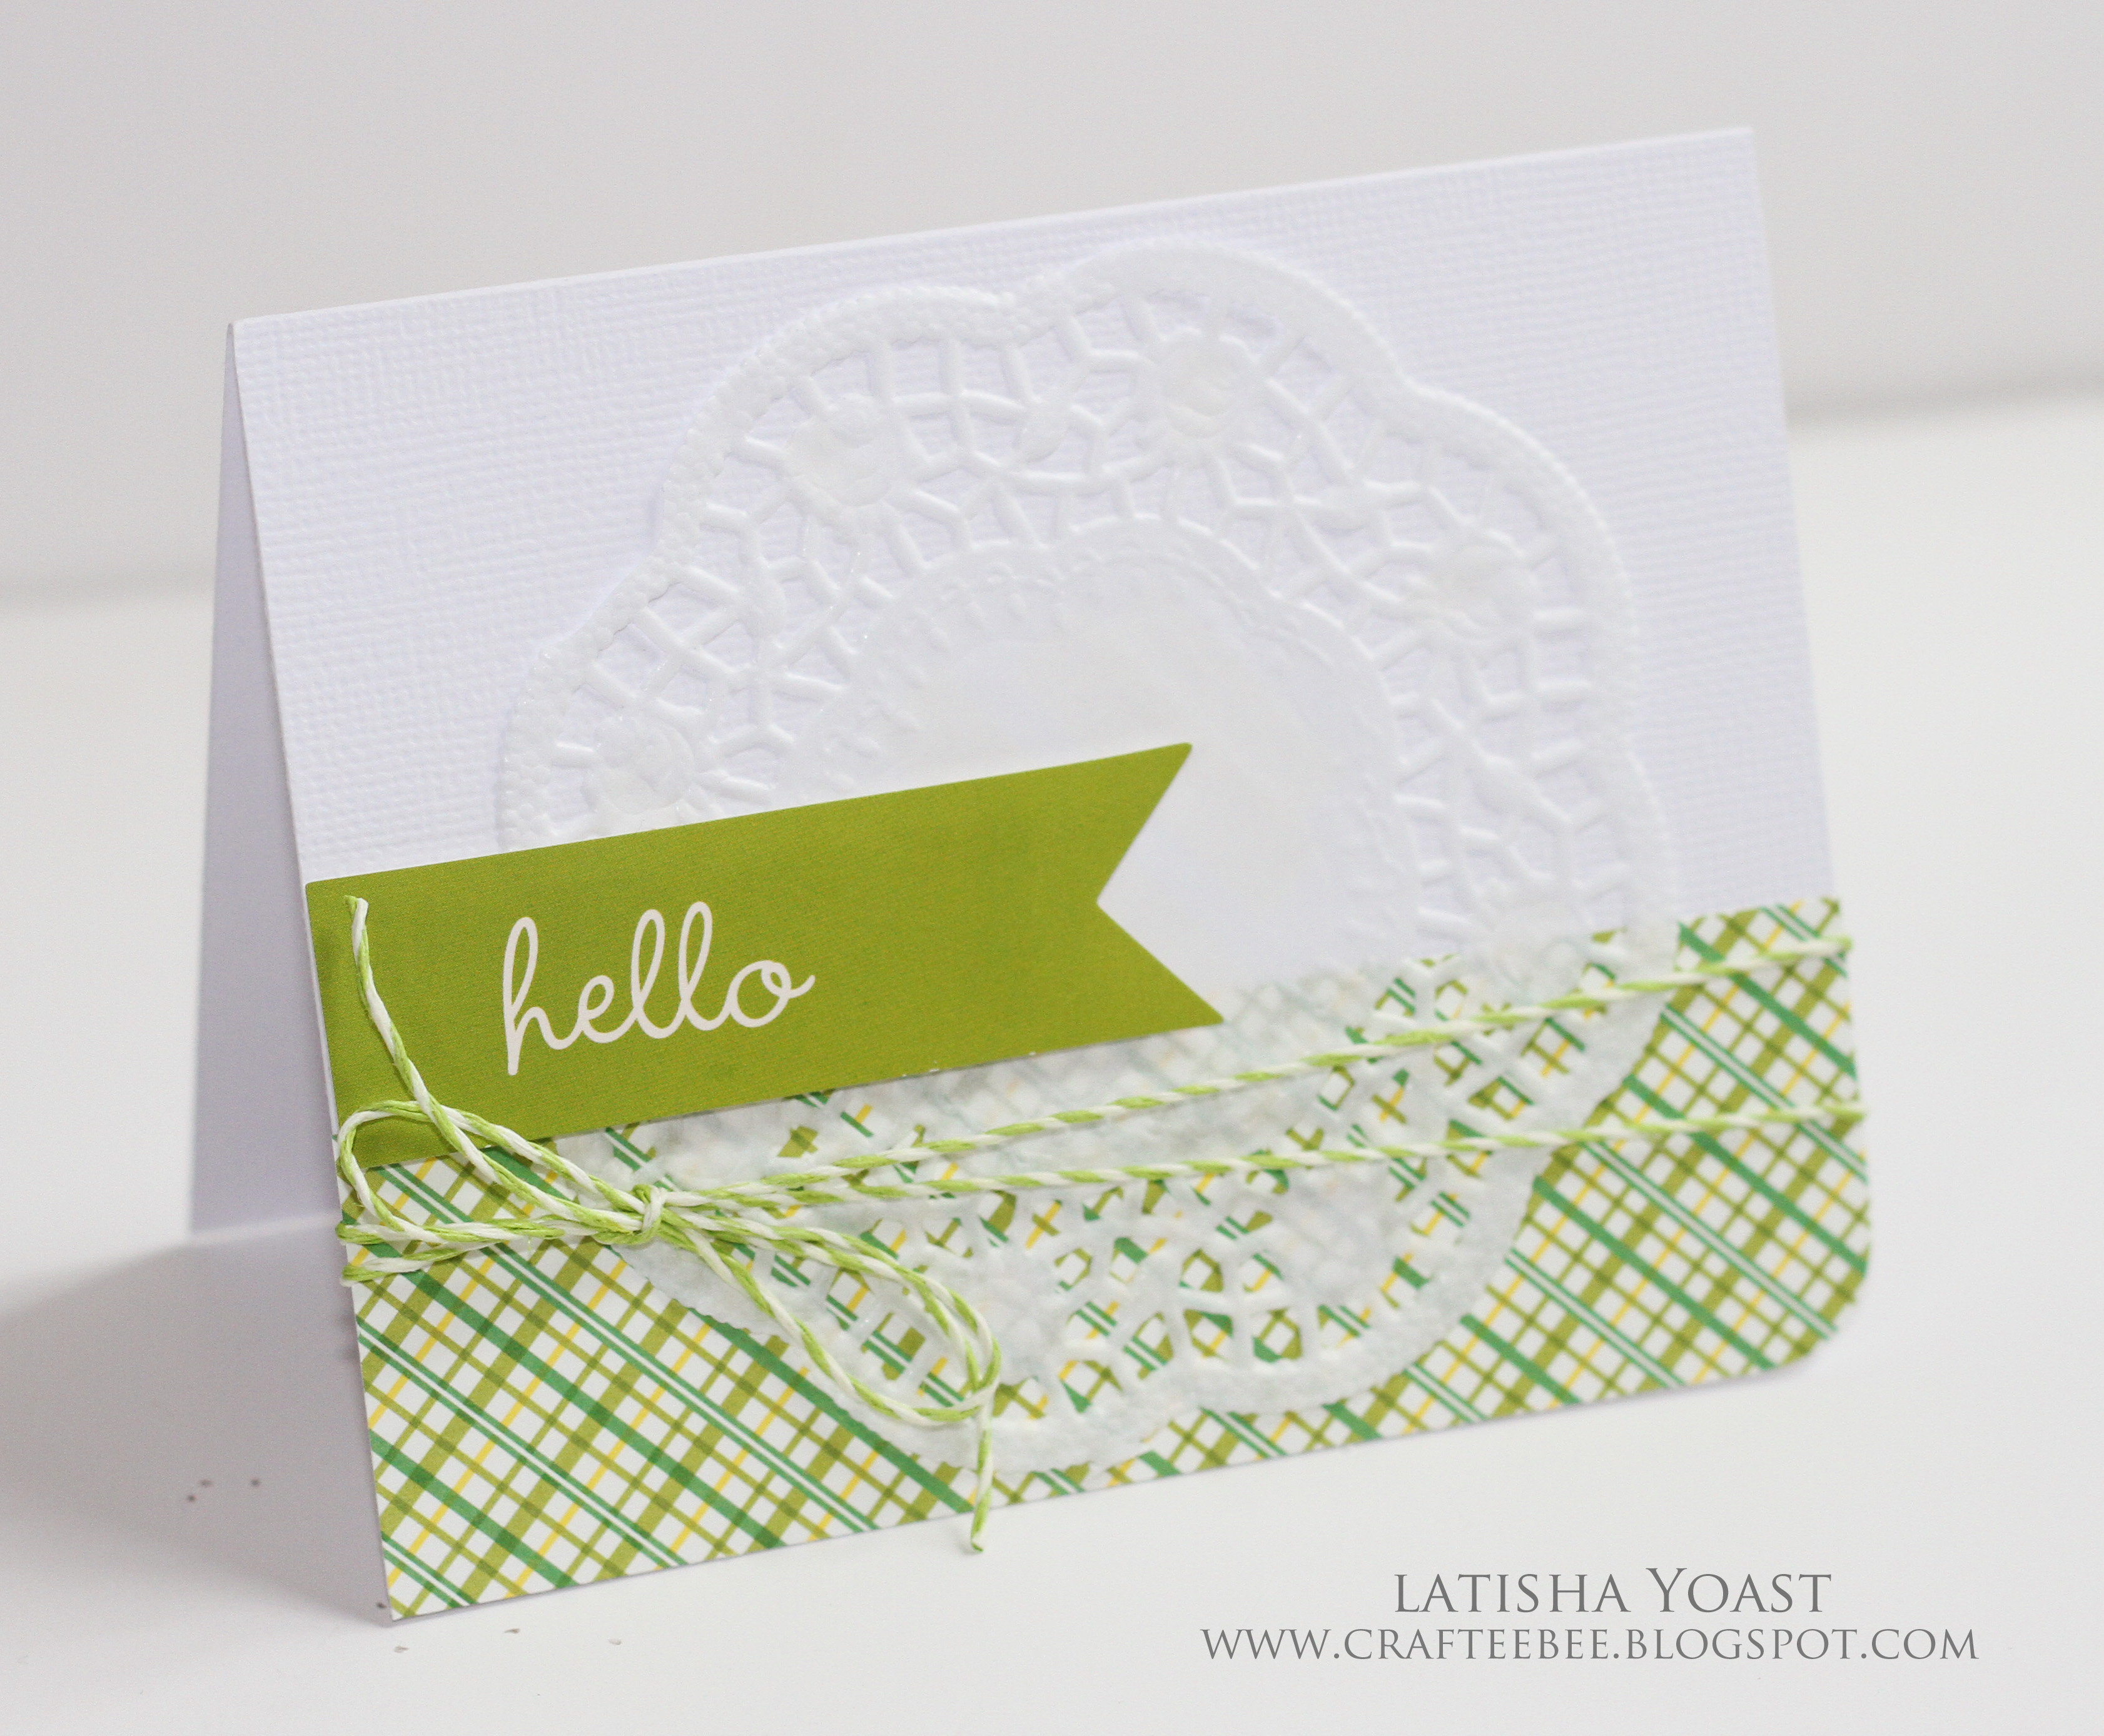
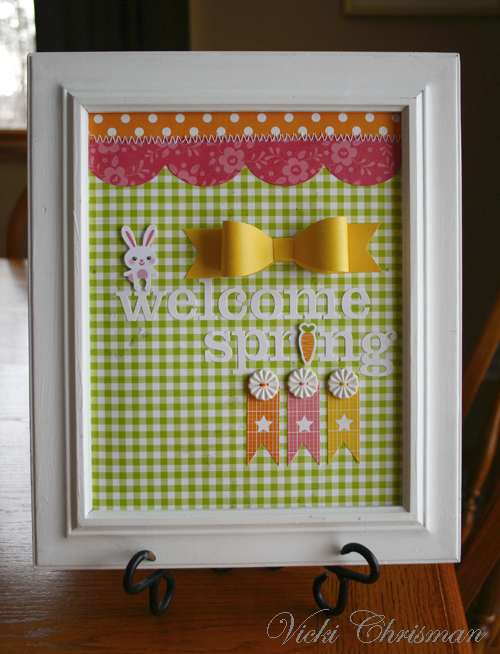
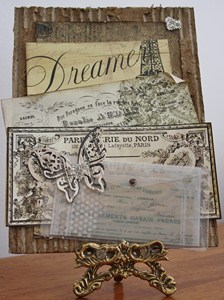
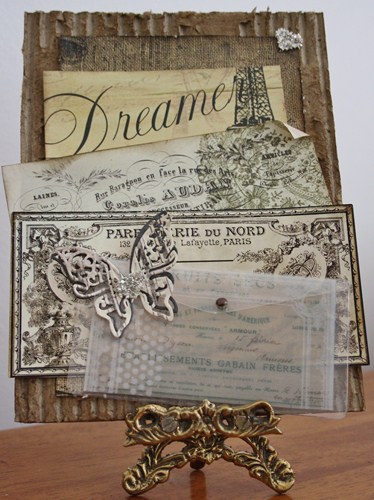
Making Spring Happen!
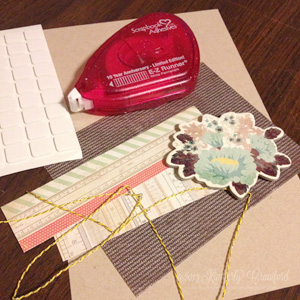
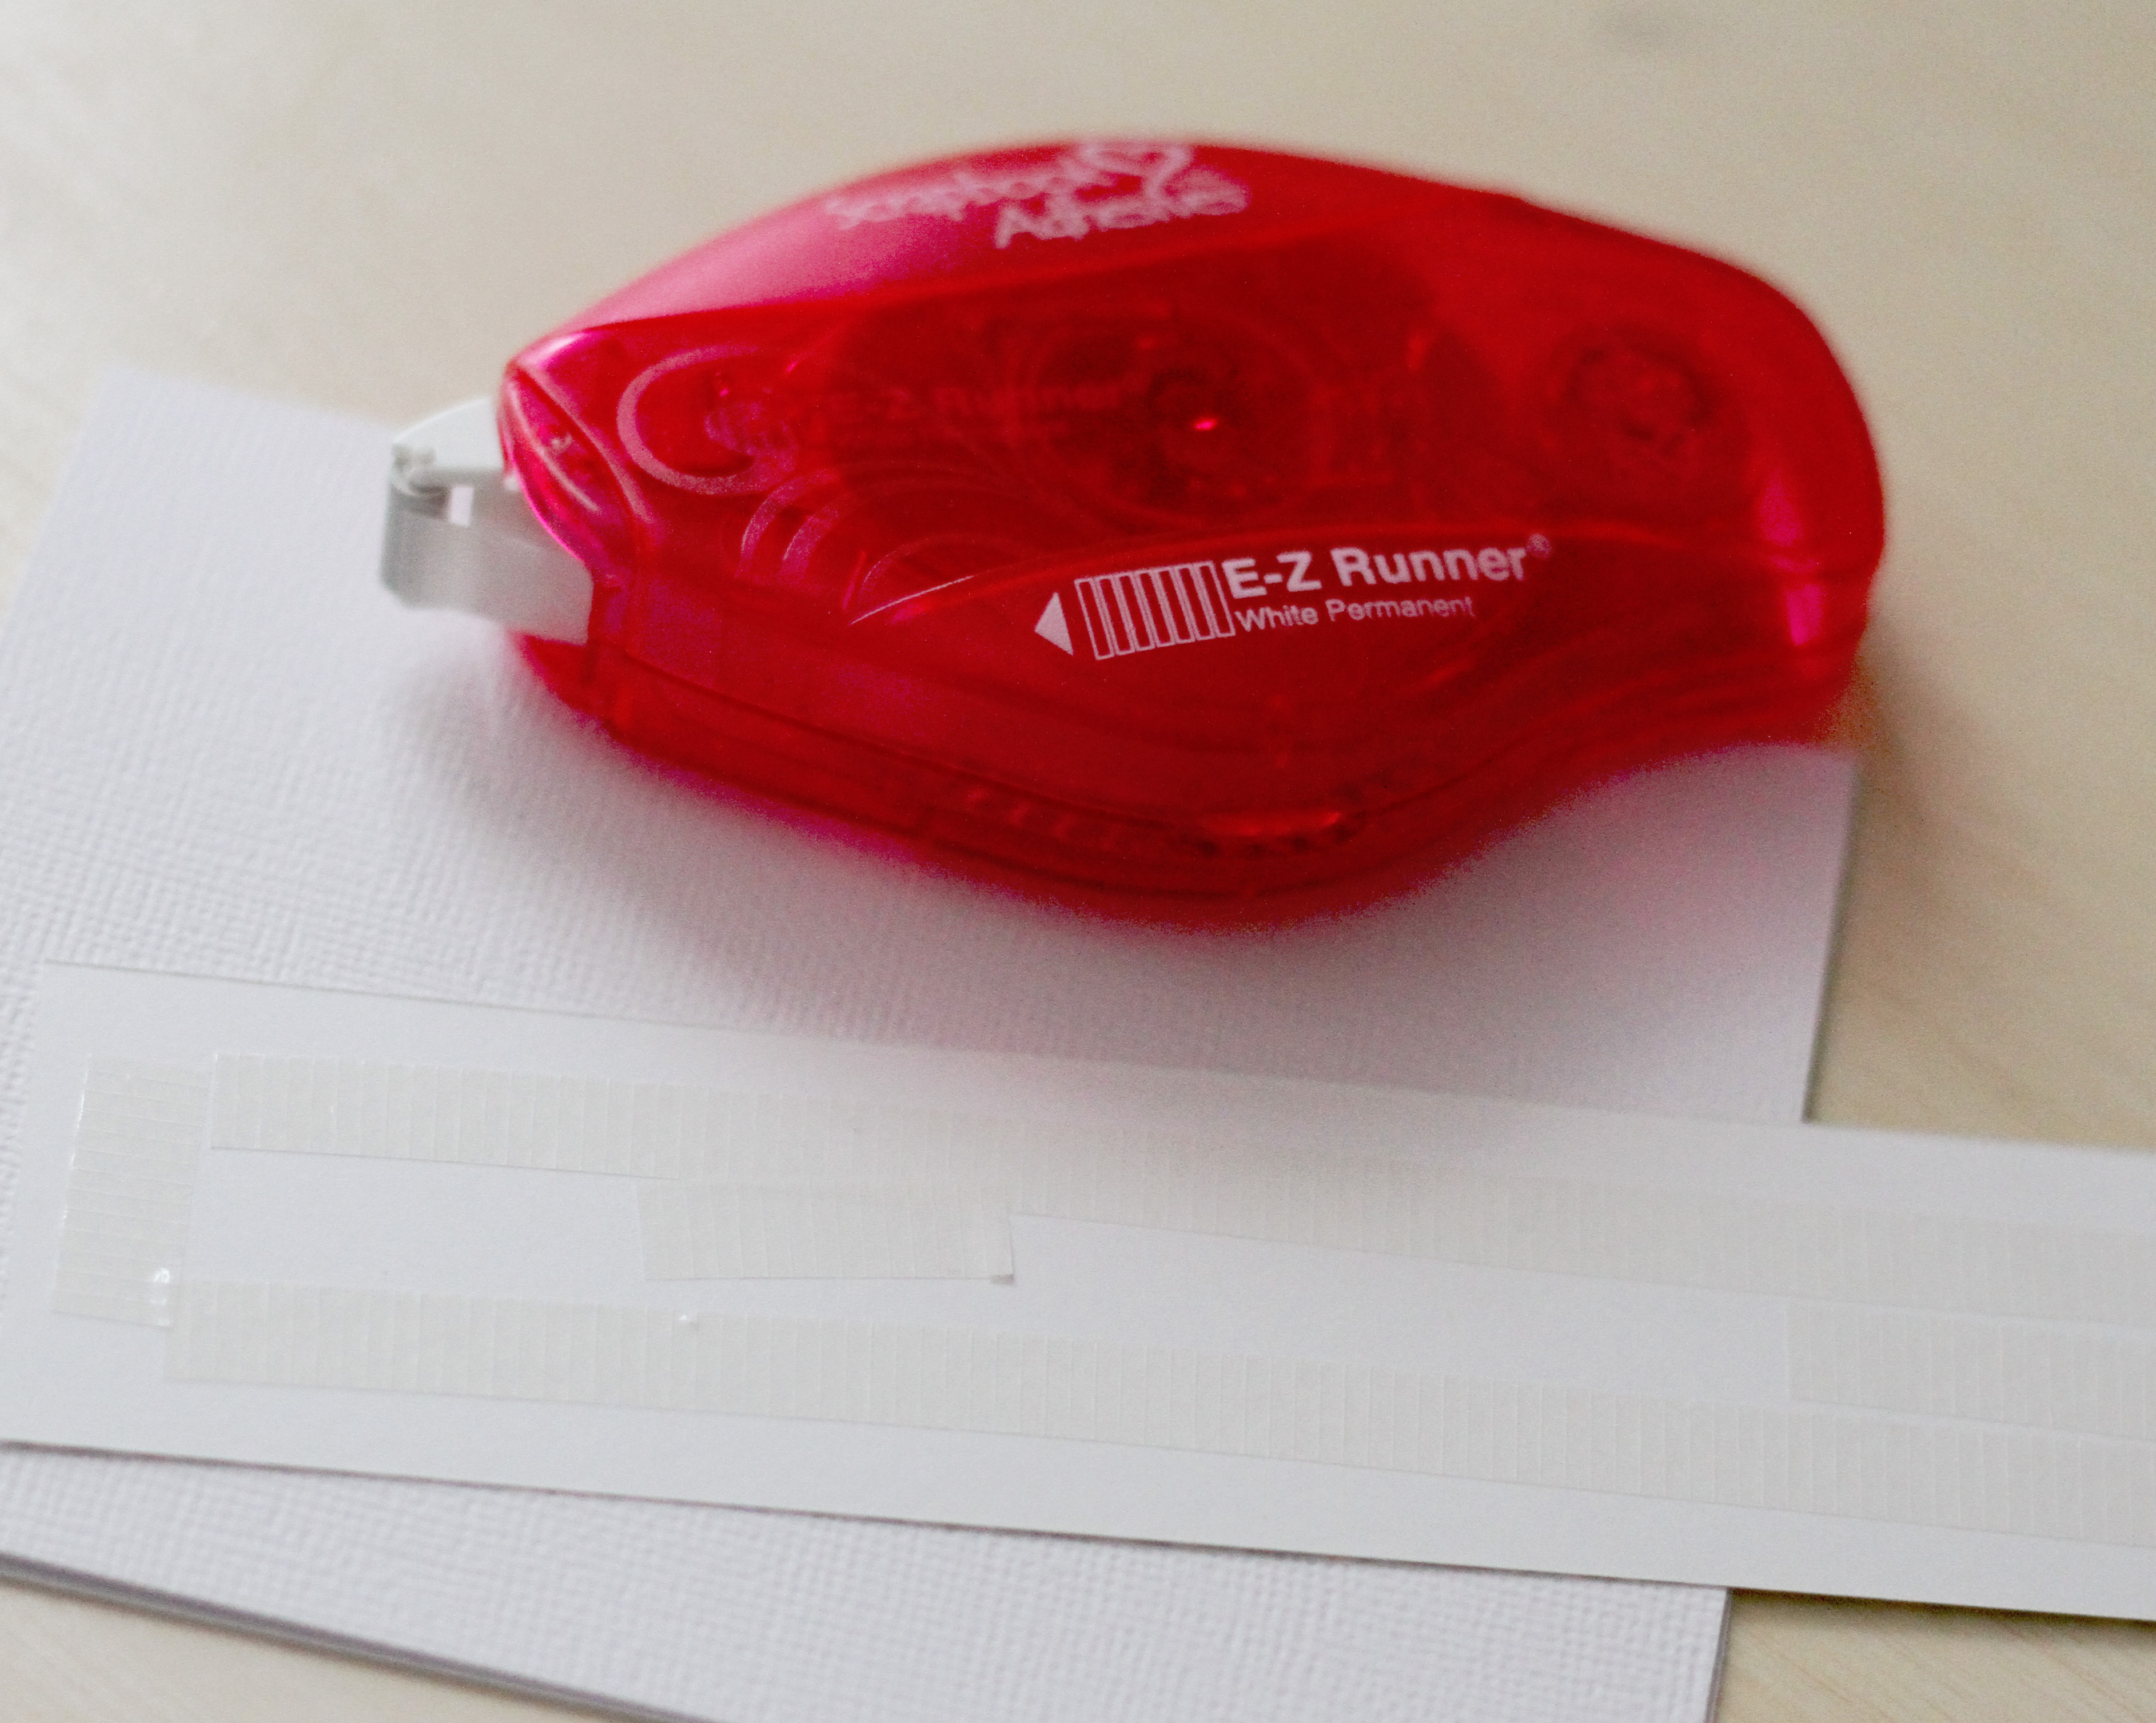
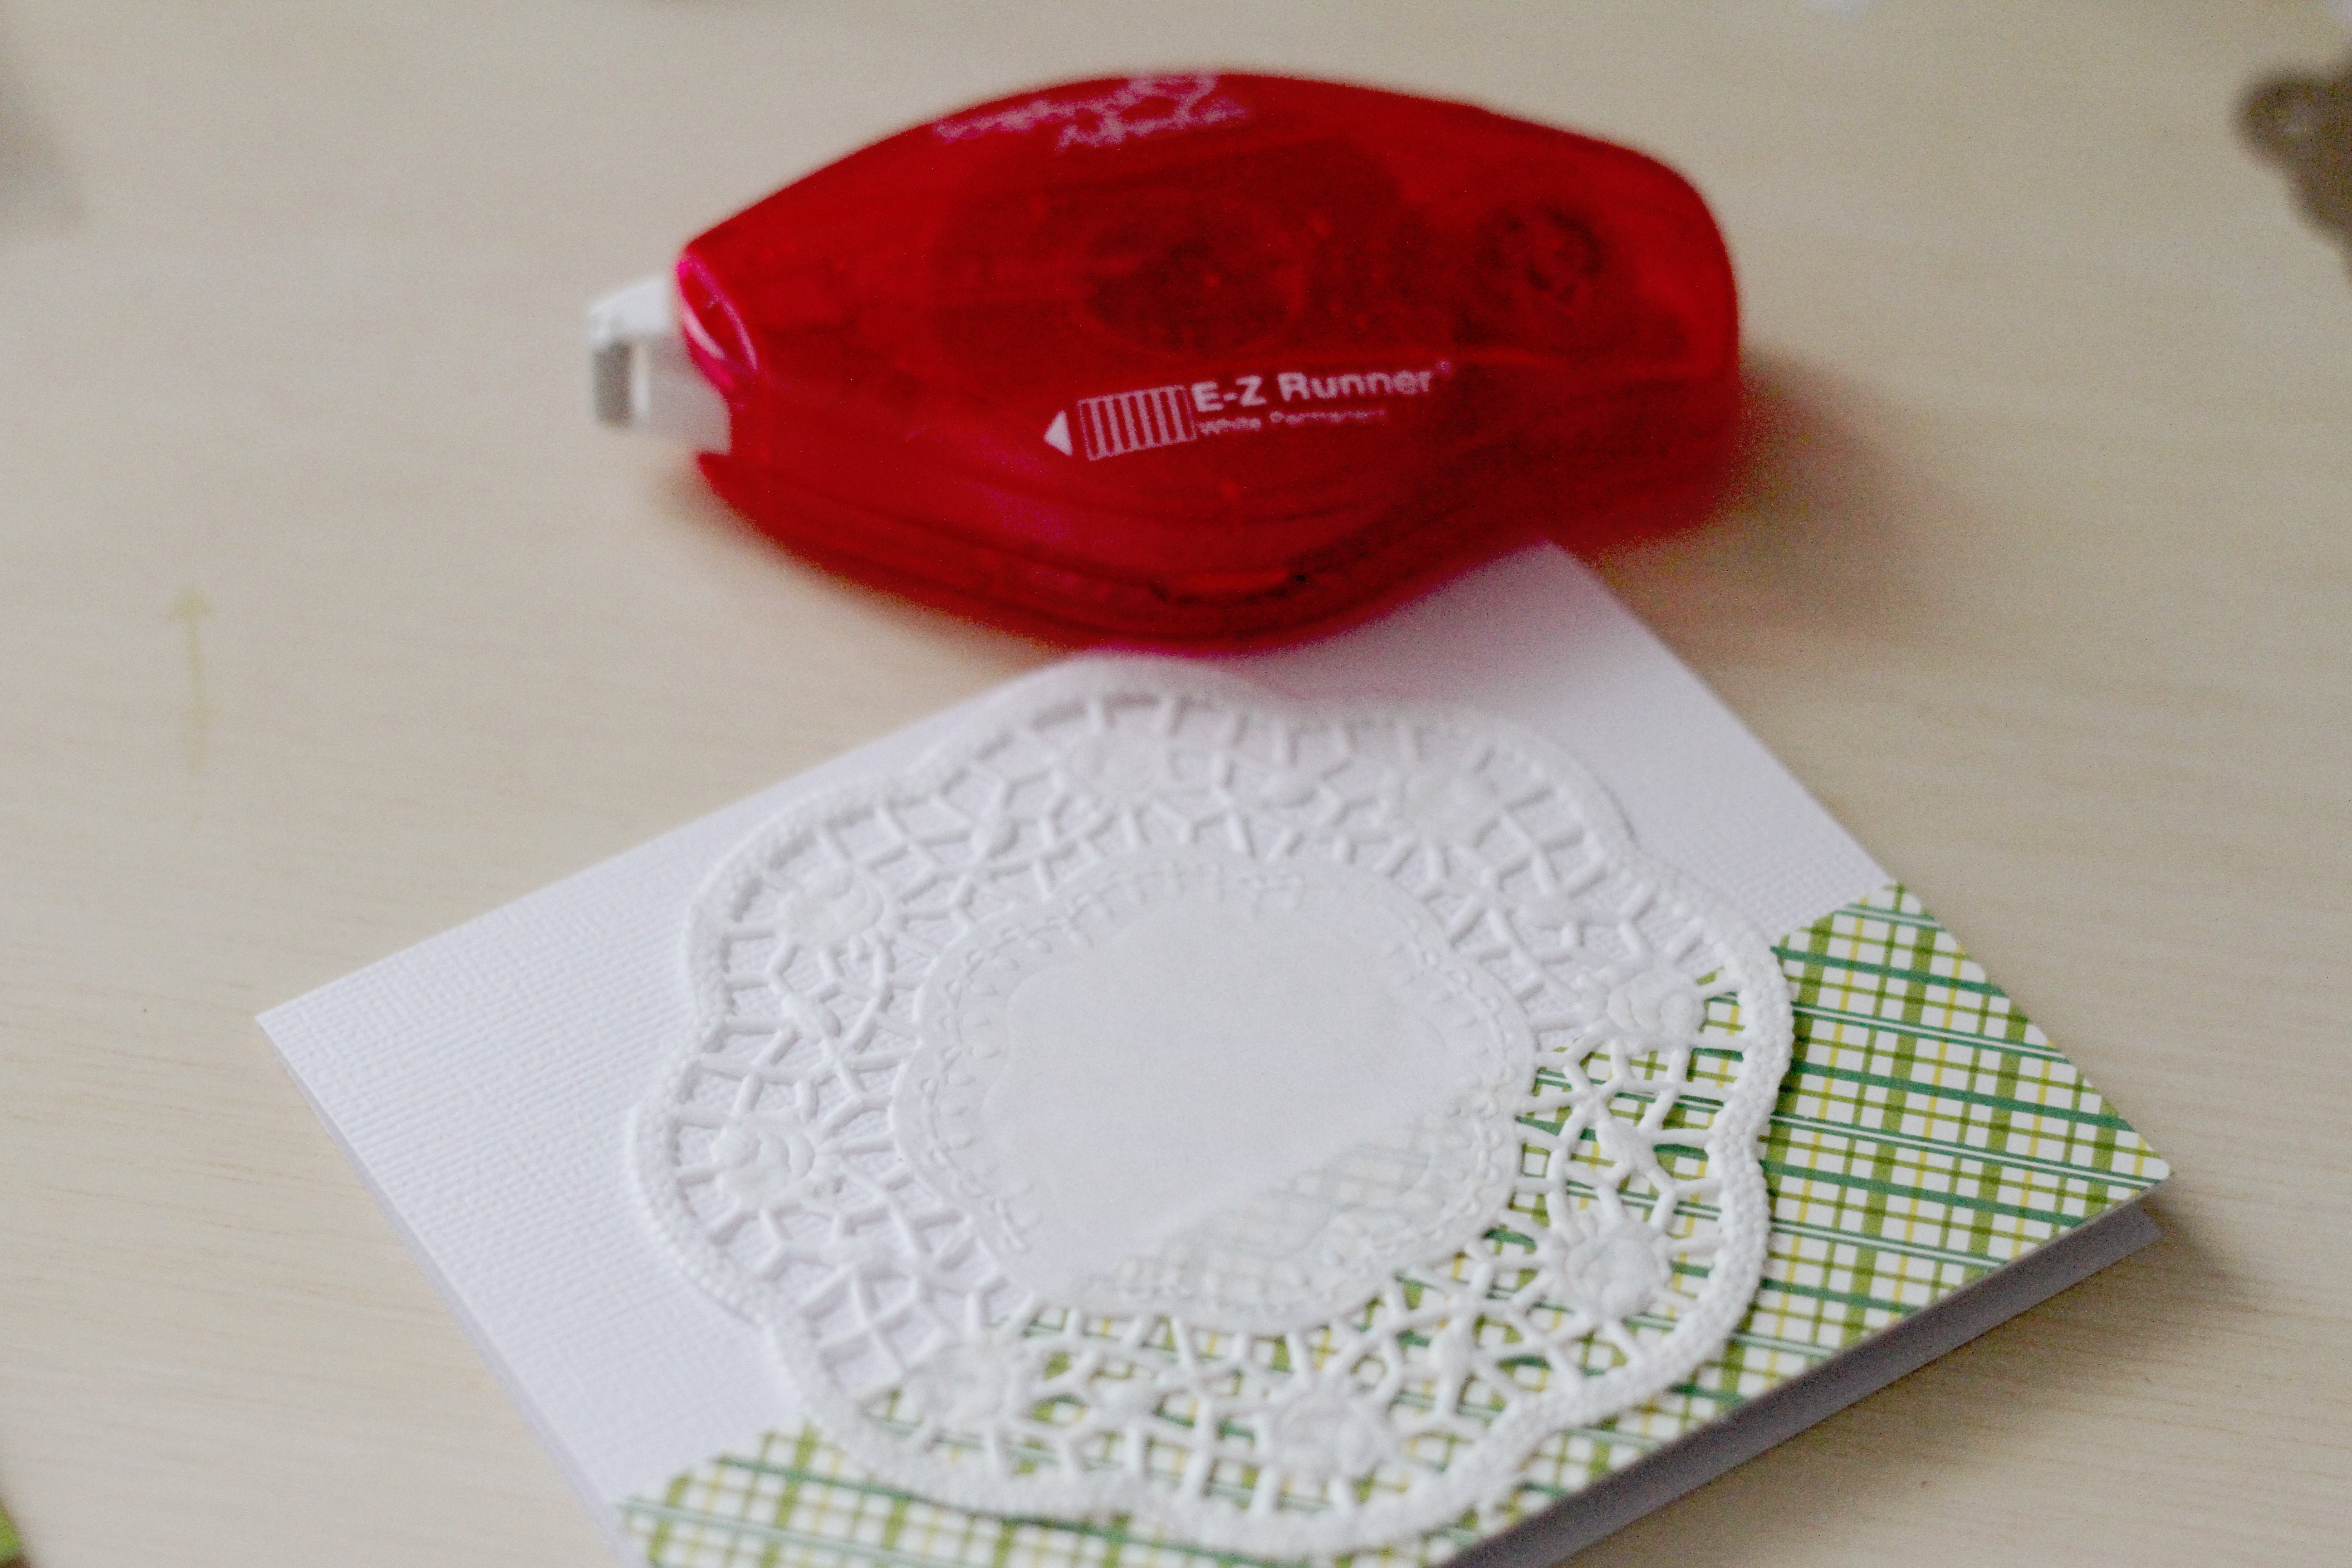
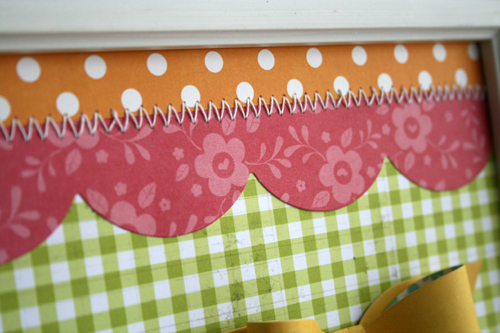
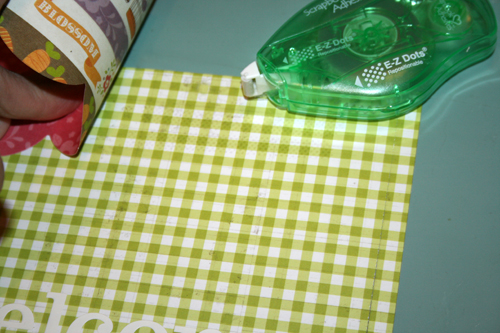
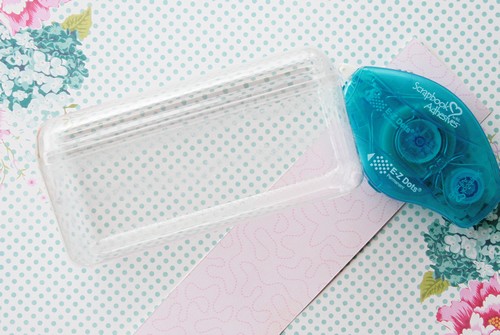
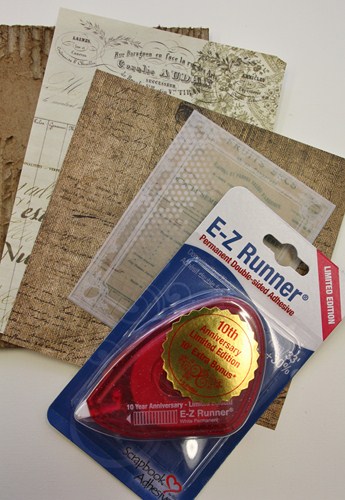
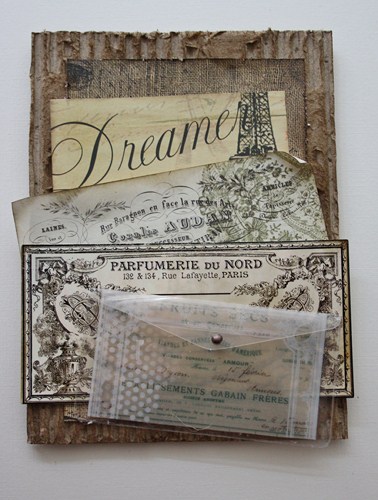
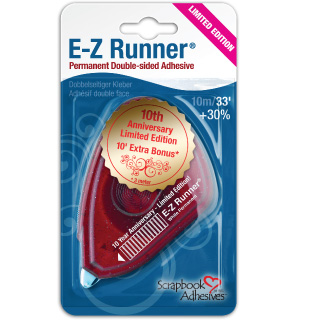
To start, I matted the patterned paper onto kraft cardstock, added Creative Photo Corners in White, and cut a circle from flower patterned paper. I used the E-Z Runner Permanent to adhere all the papers on this layout.

Next, I printed, cut and matted flower photos (from previous years) and added them on the circle, along with more Creative Photo Corners in White and in Kraft. I love to double up the corners to add emphasis and draw focus to a photo!
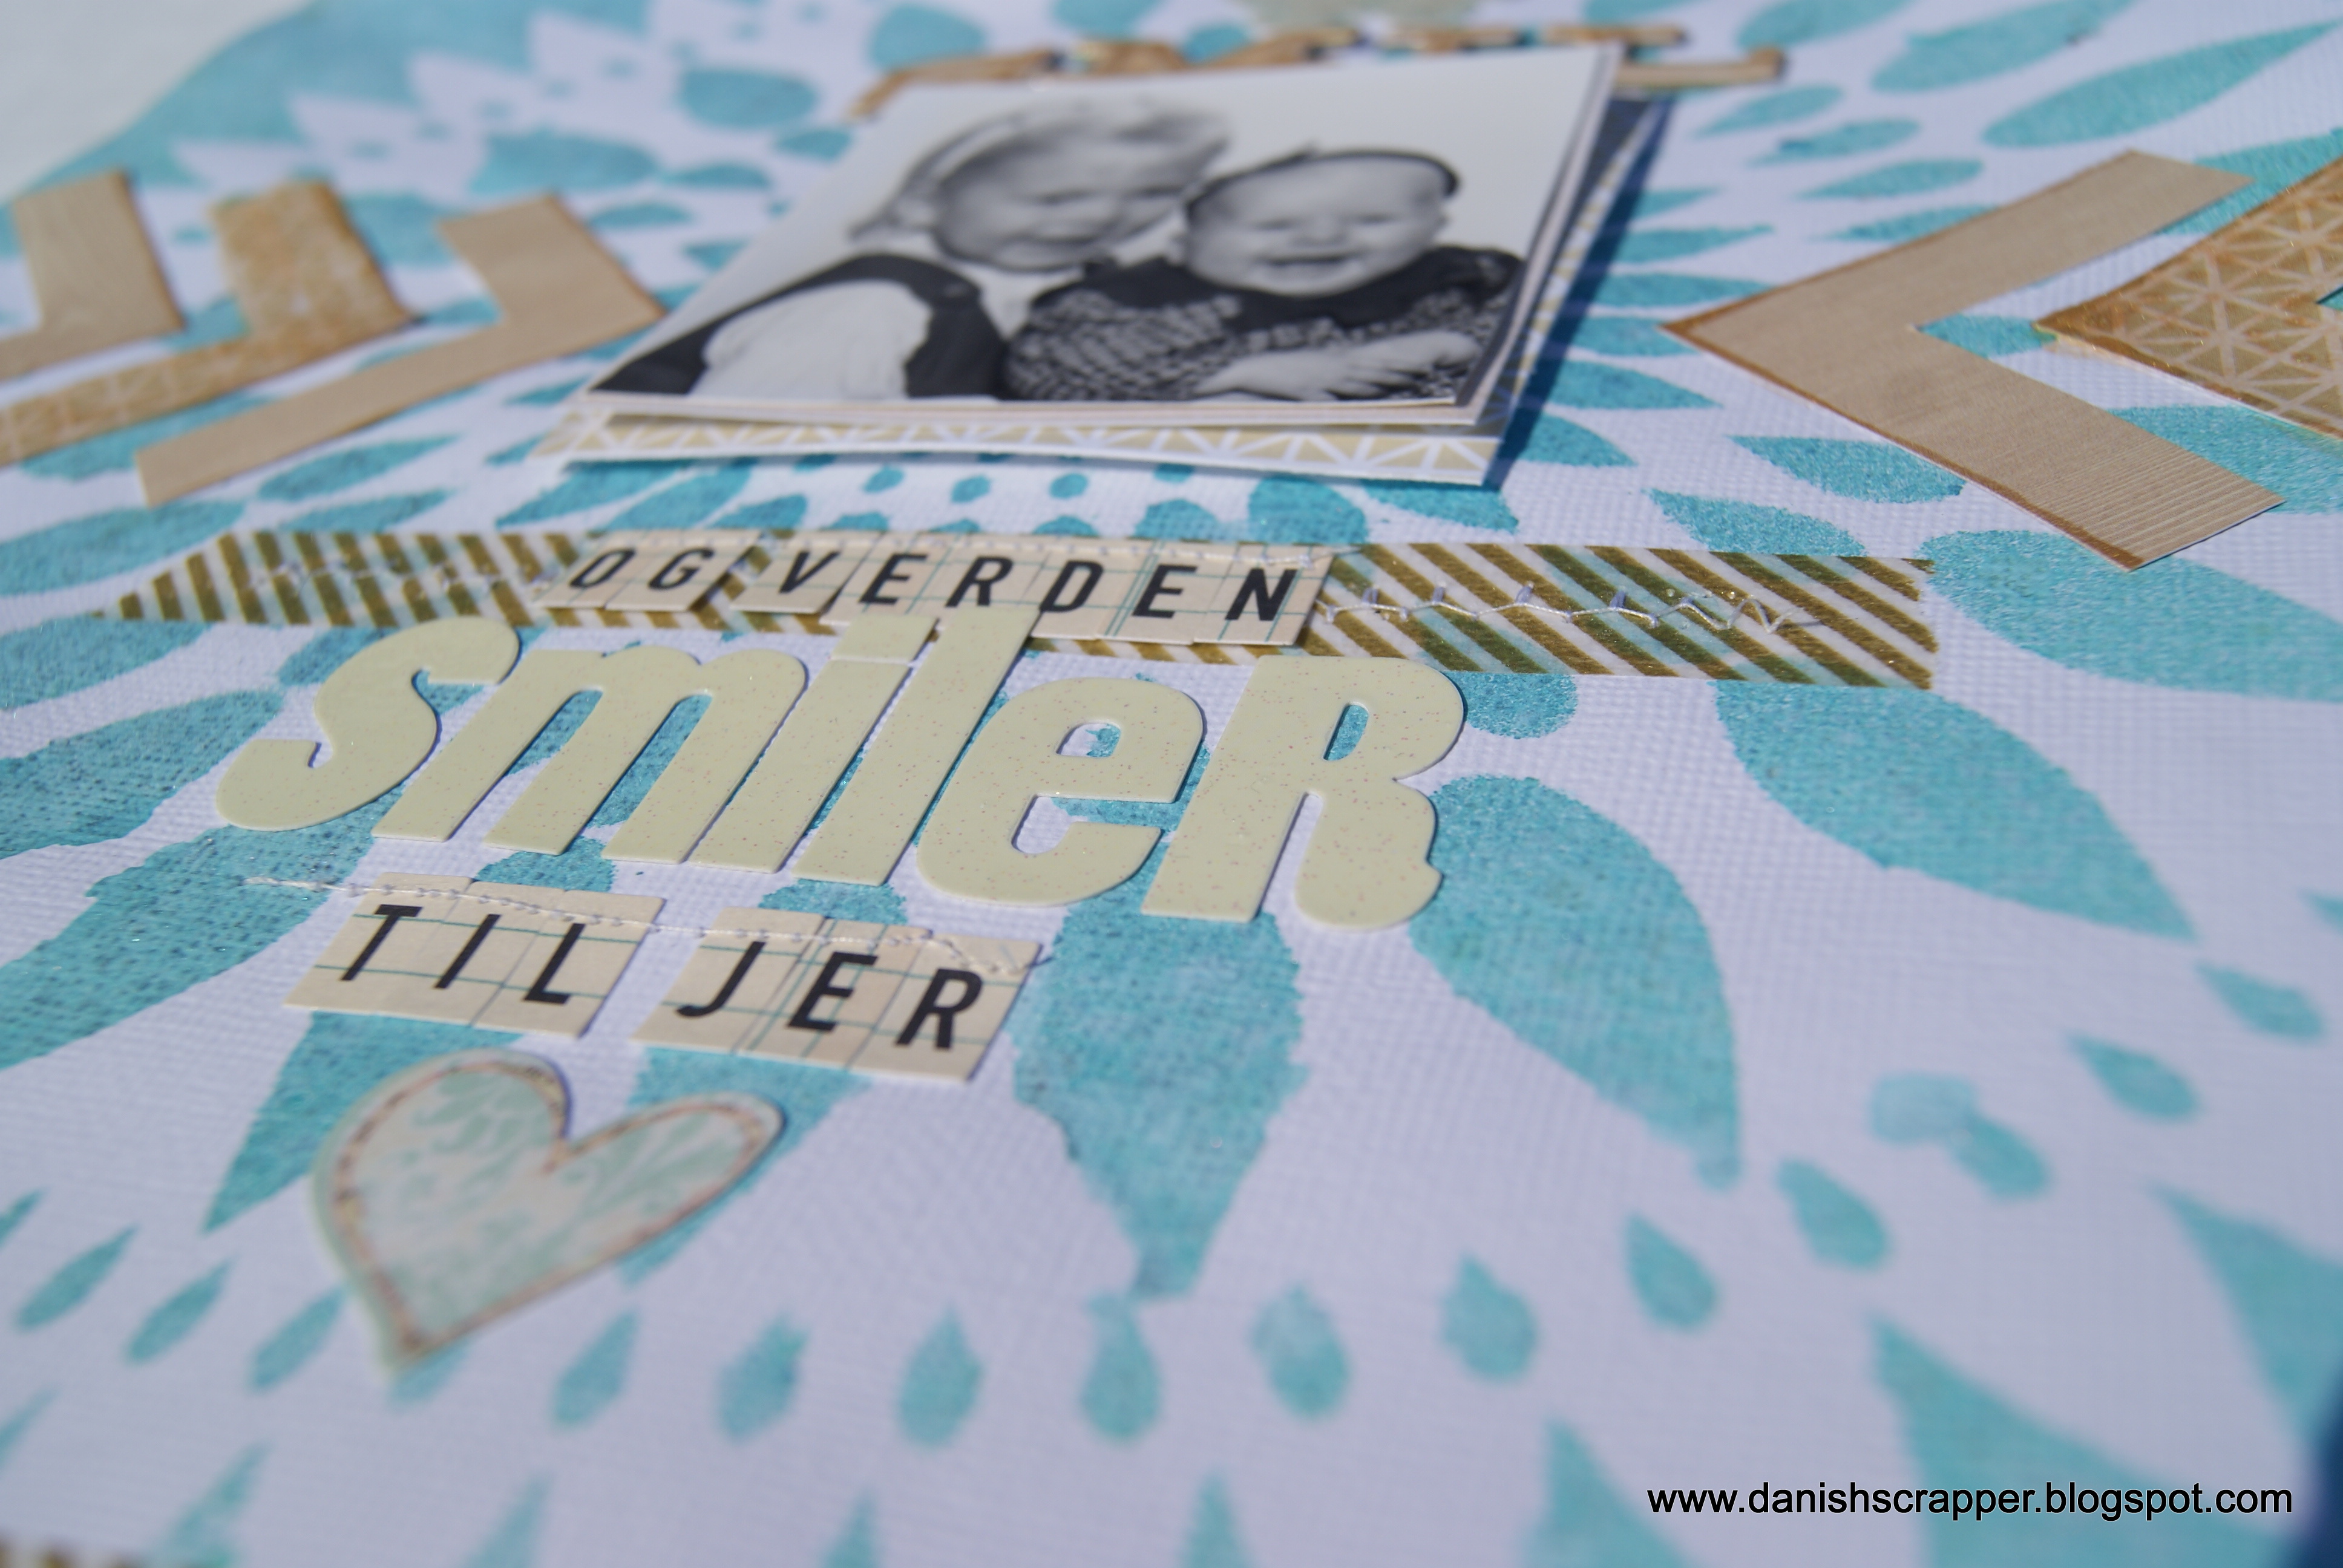
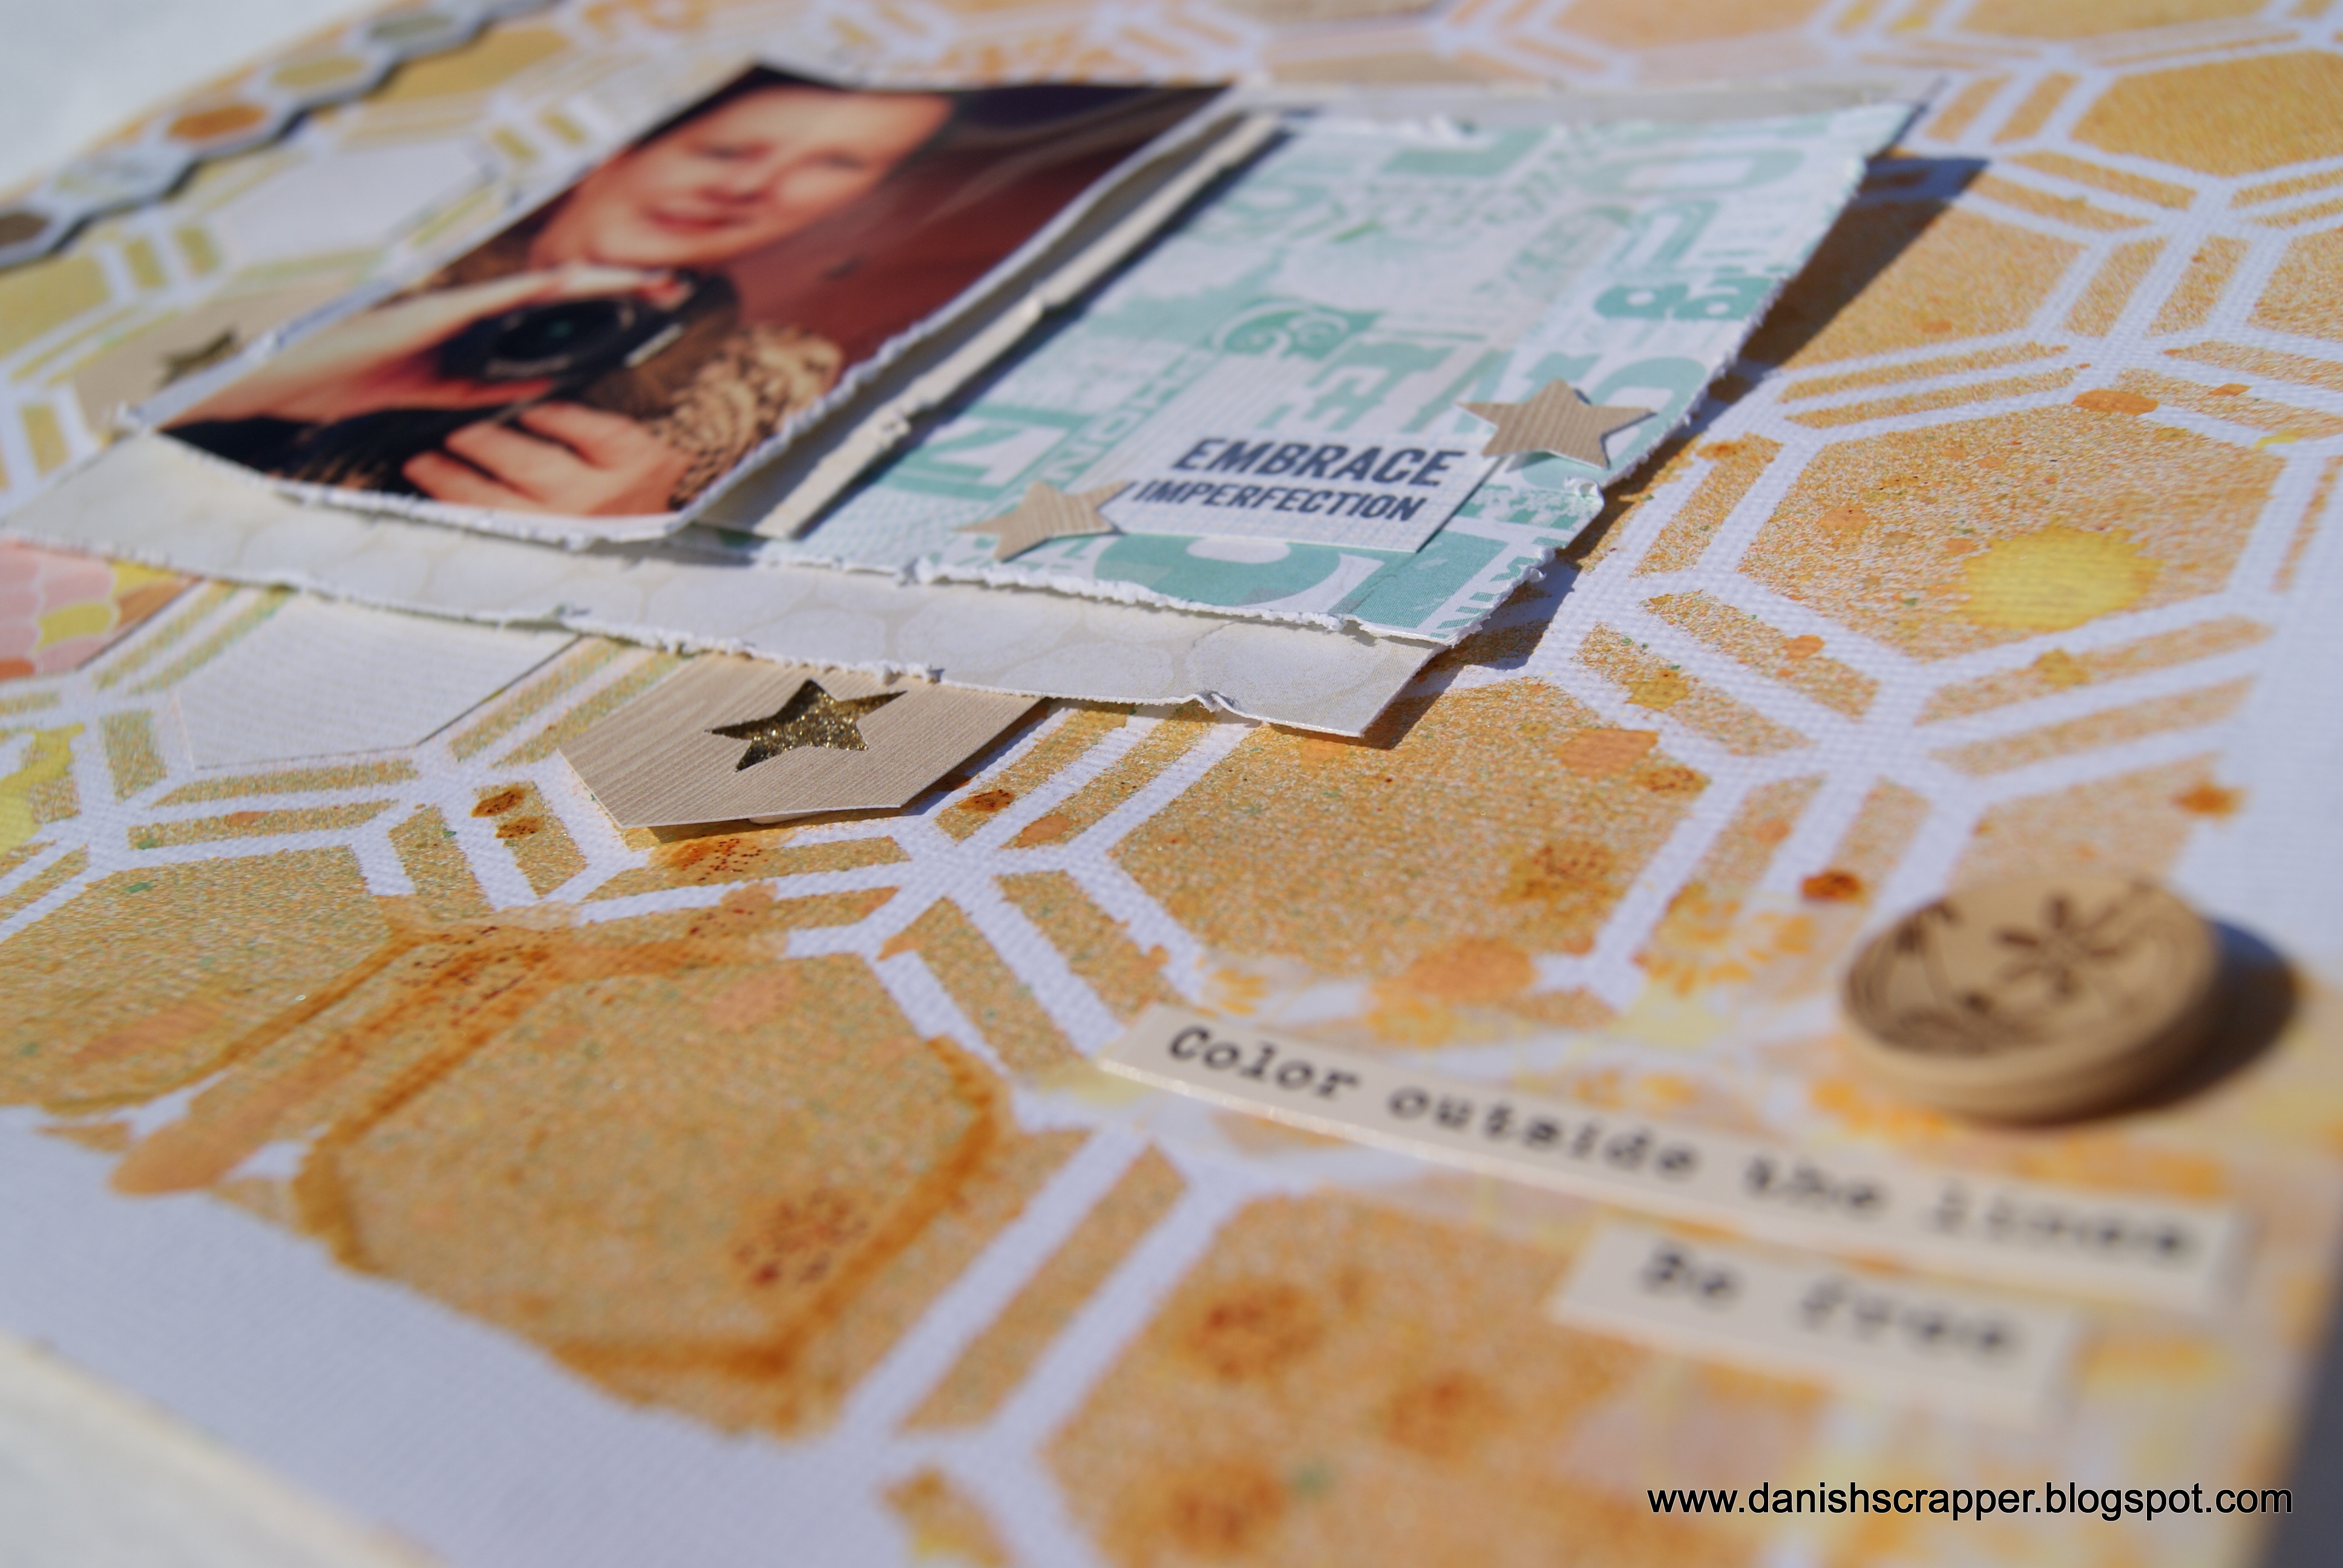
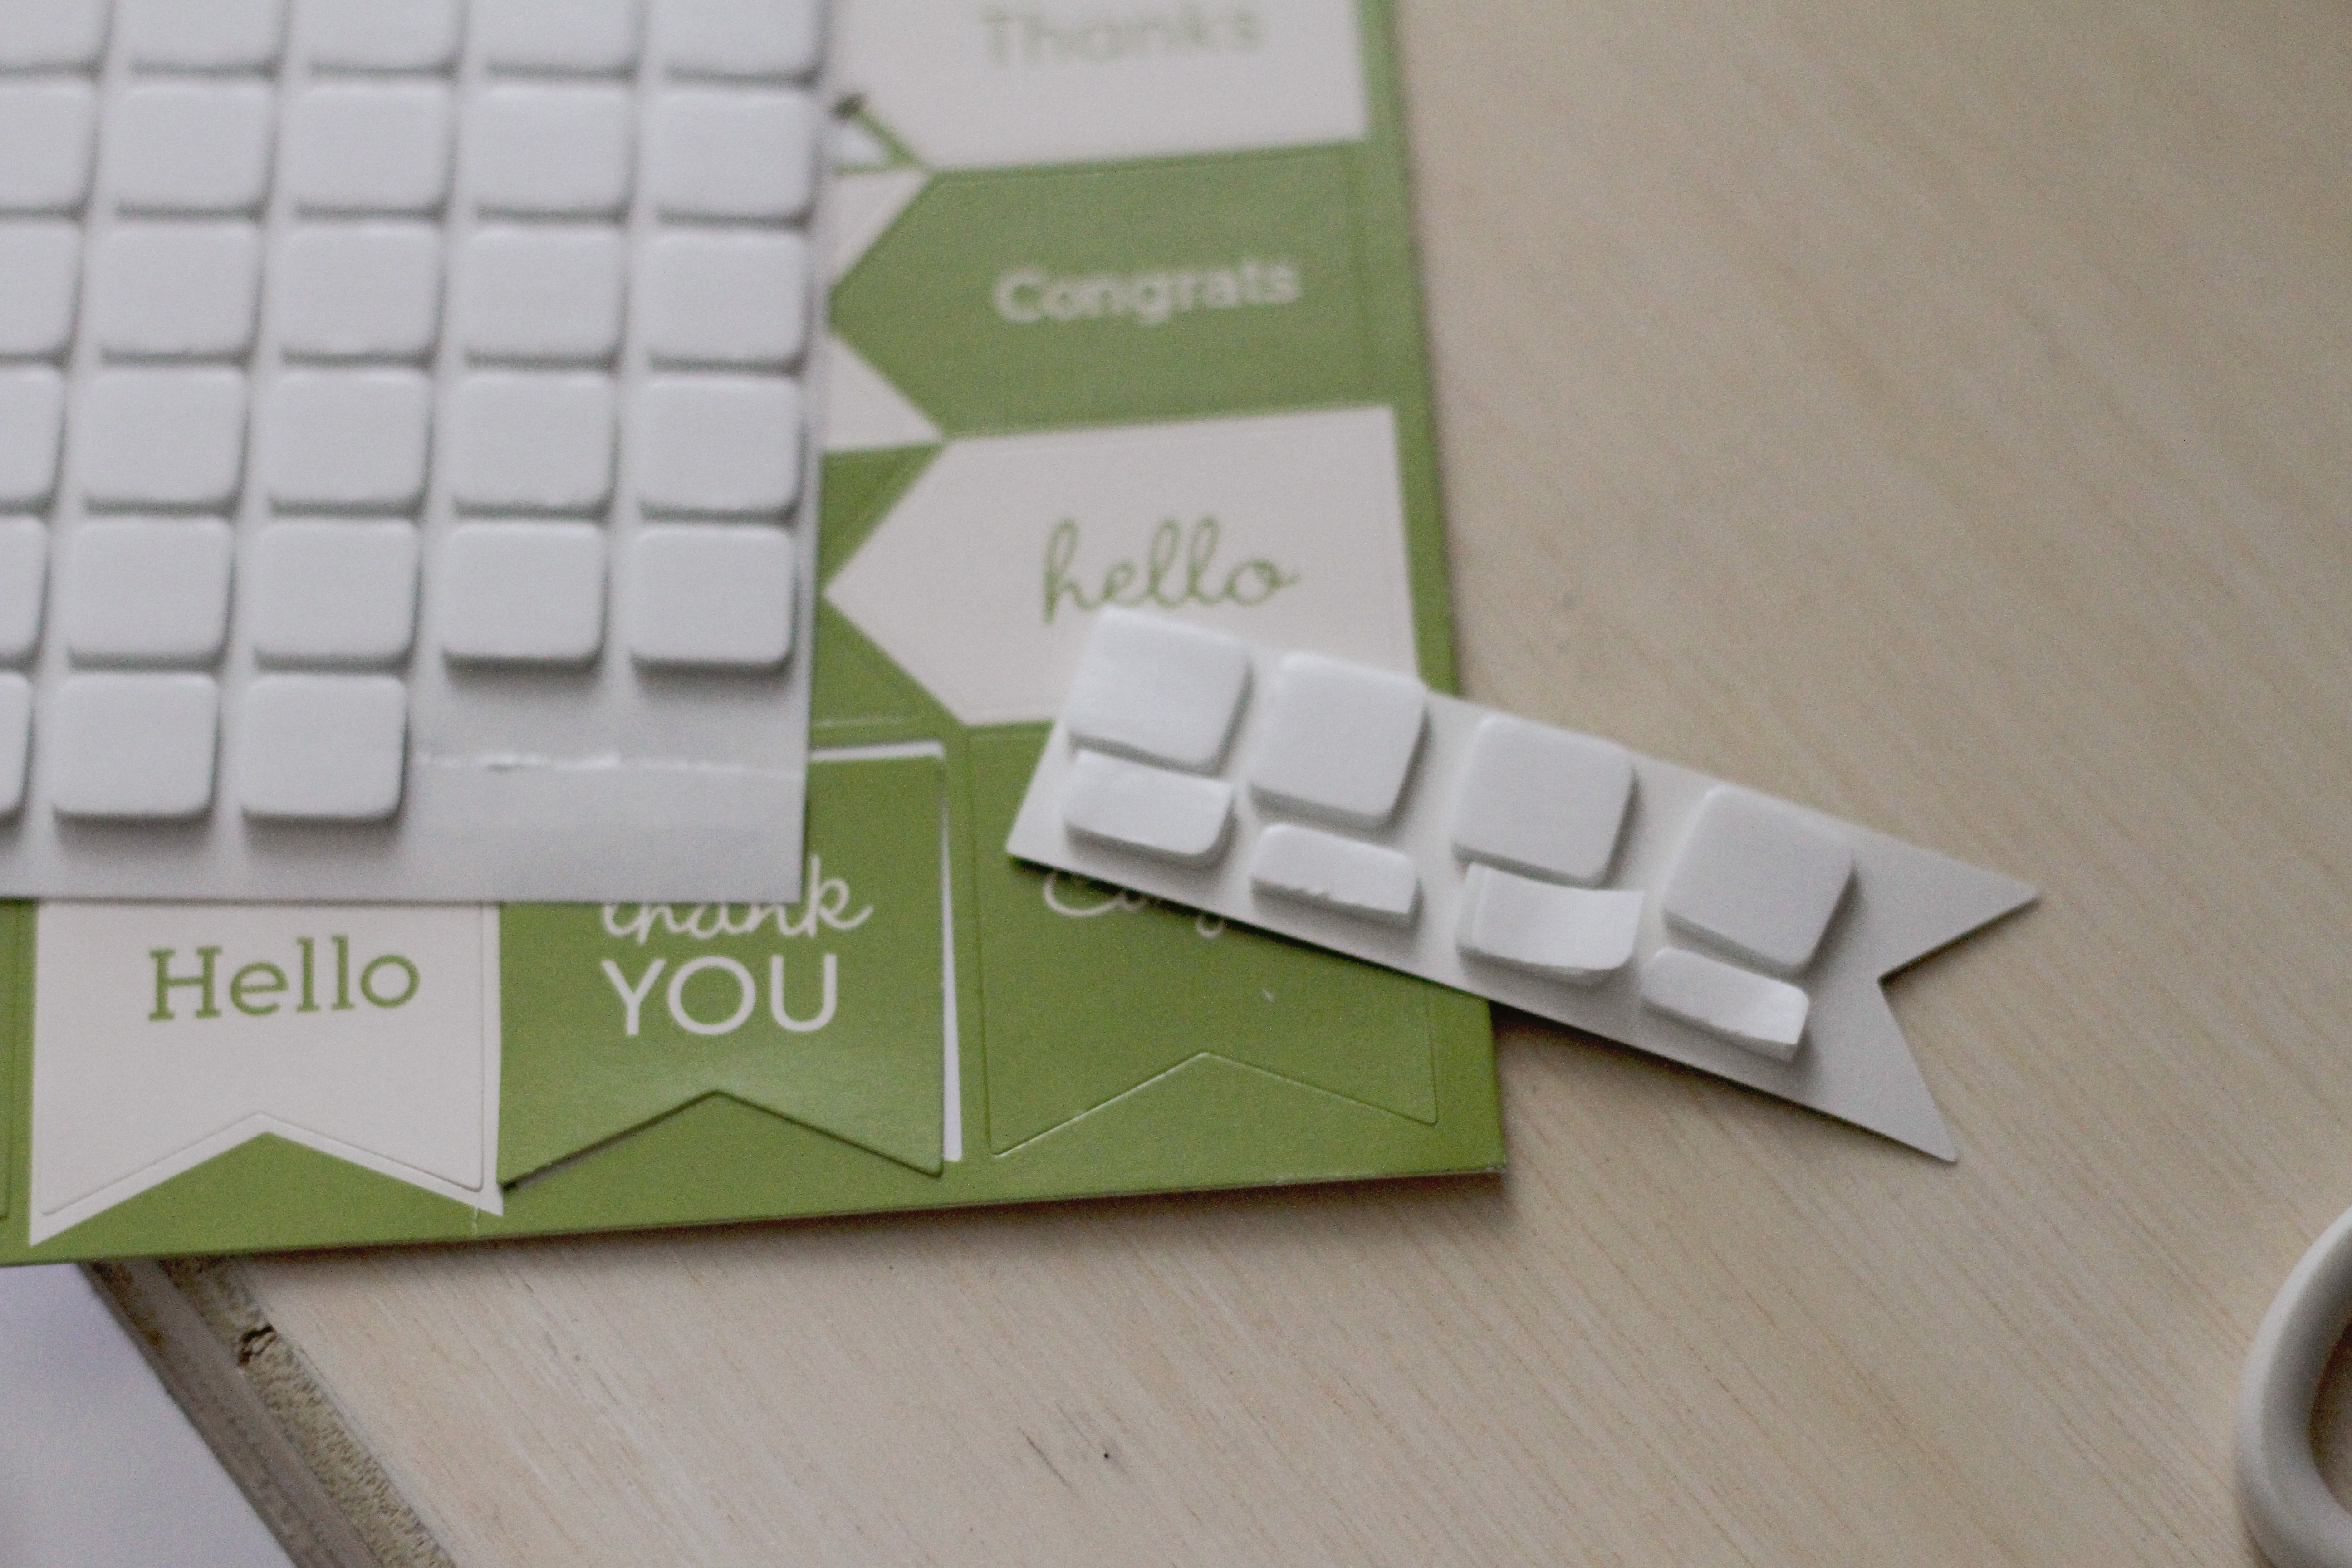
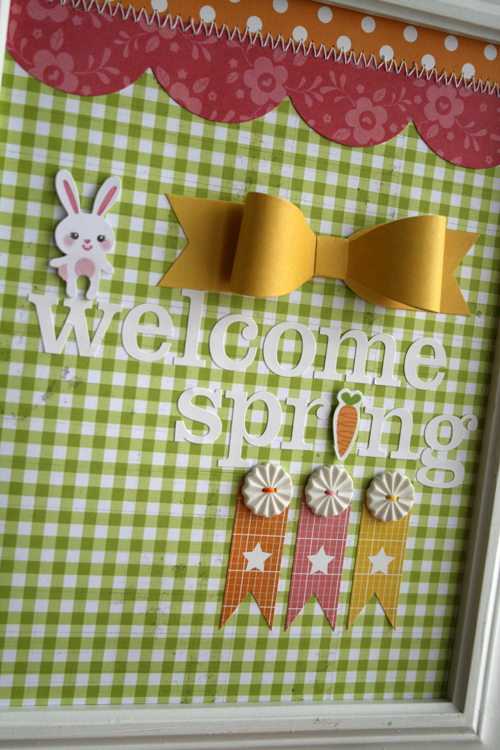
The words are all stickers or chipboard letters. Let me show you how I altered the chipboard letters:
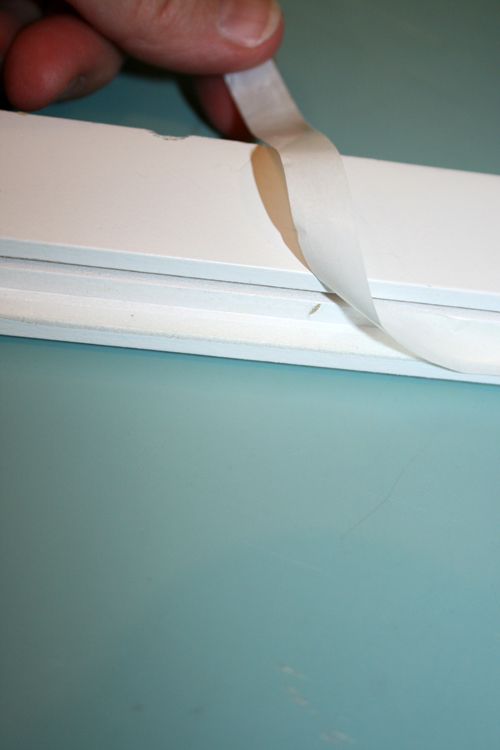
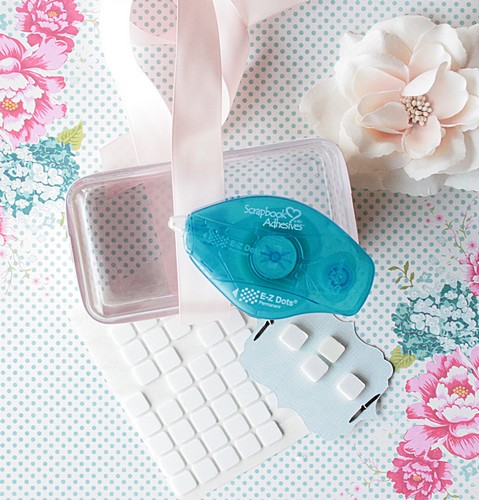
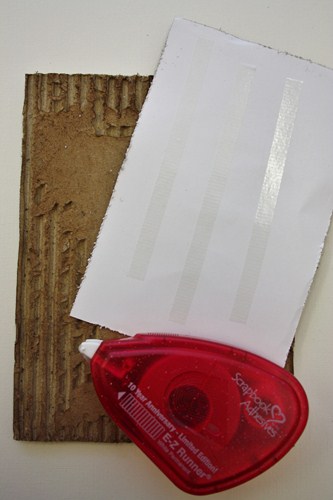
First, they don’t stick well, so I applied them to the sticky side of an Adhesive Sheet 6×12″.

Then added a piece of Adhesive Sheet 6×12″ to the TOP of the letters.

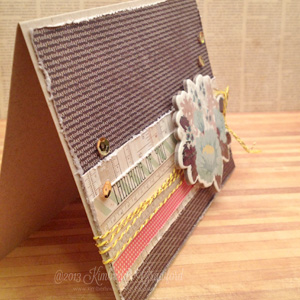
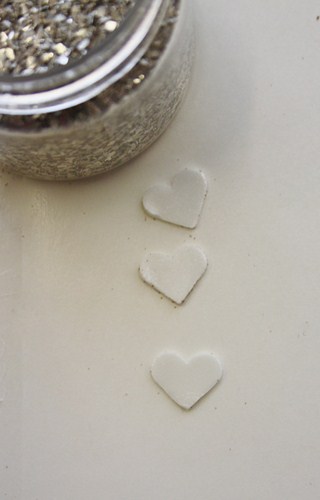
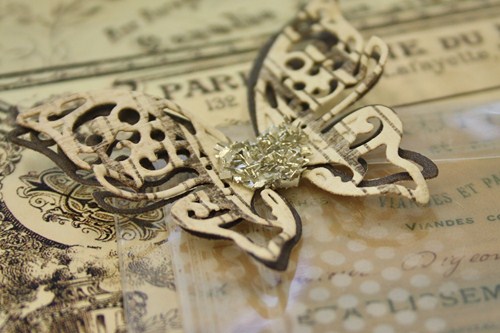
With a small paint brush, apply pigment powder to the sticky top side. I used green, so it gave the white letters a shimmery green tint. We call this “Wear Your Adhesive on the Outside” when you use your adhesives as a decorative element instead of hiding it between the papers.

To decorate the page more, I added extra stickers and I also inked the edges of all the papers with light green ink. Totally optional, but I love to finish the edges of the cut papers.
Now hopefully Spring will appear!
Beth Pingry
Scrapbook Adhesives by 3L® Supplies:
E-Z Runner Permanent
Adhesive Sheets 6×12″
Creative Photo Corners in White
Creative Photo Corners in Kraft
Other:
Patterned Papers and Stickers: Jillibean Soup (Coconut Lime Kit; Ink and Pigment Powder: Ranger Ink (Distress Ink and Perfect Pearls); Kraft Cardstock: WorldWin Papers; Chipboard Letters: The Paper Studio


