You are in our US store • Switch to Europe store

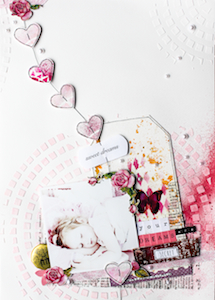
“Be Yourself” Scrapbook Layout

Hi everyone!  It’s Kelly here today to share a few thoughts about my latest scrapbook layout.

Have you ever hung around with 13-year-old girls and really listened to what they talk about?  I have the pleasure of doing so on a regular basis because of my youngest daughter and her friends.

Most days, they  make me laugh…with their funny stories and playfulness.  They are still at that age of awkward innocence, trying to figure out who they are, but not taking themselves too seriously.

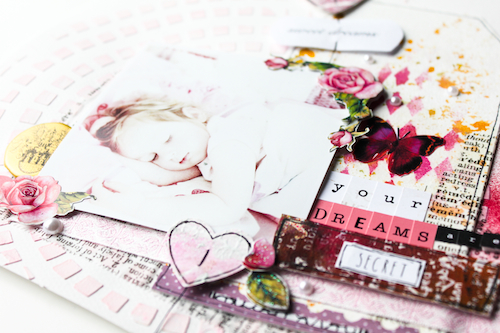
But sometimes they make me feel sad, when I hear them commenting on their appearances, and the words “ugly” and “fat” are thrown about.  It’s hard for me to bite my tongue, and last week when my daughter and her best friend were sitting in the kitchen making flower headbands, there was some negative chatter.  Right then and there I told them to put on their headbands and come outside for some photos!  I wanted them to see themselves as they truly are….young, beautiful….but most of all, I hoped they would always believe that not matter how old you are,  you can “Be Yourself”, be confident and feel good about life!

And that is the story behind this layout.

I used the new July sketch from Canadian Scrapbooker’s Sketchy Challenge to design this layout, and three different adhesives helped me put it all together.

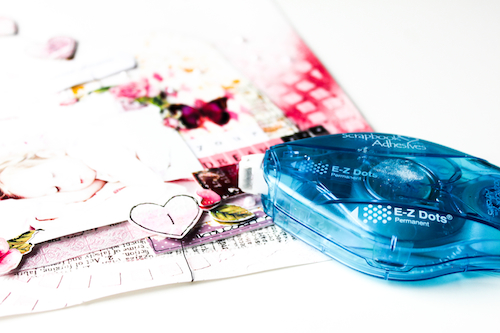
I used my E-Z Runner™ Refillable Permanent Strips to adhere my paper:

You can see that my ‘red’ E-Z Runner™ Permanent Strips Refill is inside my ‘green’ E-Z Dots™ Repositionable dispenser.  I love these interchangeable runners and dispensers!

I  used the Click ‘n Stick™ clear mounting squares to adhere my photo:

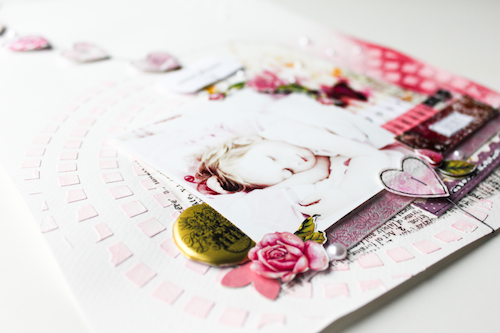
The Adhesives Sheets were perfect to help stick down the chipboard circles:

Maybe seeing her photo on a layout like this will inspire one 13-year-old girl to believe she truly is beautiful!  I hope scrapbooking brings some beauty into your life too 🙂

Happy Crafting!

Kelly Klapstein (aka KellyCreates)

ADHESIVES USED: E-Z Runner Permanent Strips Refillable dispenserAdhesive Sheet 4 x 6"Other Supplies: Pink Paislee Papers and Embellishments

Celebrate Today and Every Day Card

Happy weekend!!  Summer is officially here in the Pacific Northwest…Around here the joke is that summer doesn’t start until after the 4th (the weather can be iffy sometimes! 😉 but it’s BLAZING hot all of a sudden- and we haven’t even hit July!

Celebrate Patriotic card by AJ Otto for Scrapbook Adhesives by 3L

So, I am kicking off the Independence Day Celebration a few days early with this card!

I adhered the larger white panel with 3D Foam Squares, I usually use Crafty Foam Tape for these larger panels, but I can’t find it in my mess.  The thin cardstock strips are adhered with E-Z Dots® Permanent Refillable- this is awesome adhesive for the smaller pieces you want to adhere.

Patritotic cards, scrapbook pages, banners & projects

Click to see more patriotic projects!

Supplies:

  • E-Z Dots Permanent Refillable
  • 3D Foam Squares Regular White
  • Stamps- Avery Elle
  • Ink- Memento by Imagine Crafts/Tsukineko
  • Kaiser Scrapbook gemstones

enjoy!

AJ

Save

Summery Card

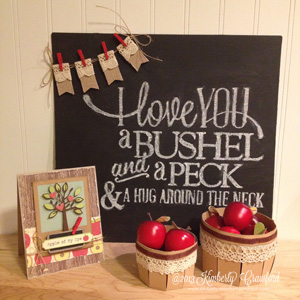
Hello again! Kimberly here, hoping that your summer is off to a fabulous start! I don’t know about you, but my time is pretty limited these days, with a busy little boy, so when I need to make cards, I need them to be quick and easy, but still cute. Scrapbook Adhesives by 3L has so many products that make it a snap to make cards!

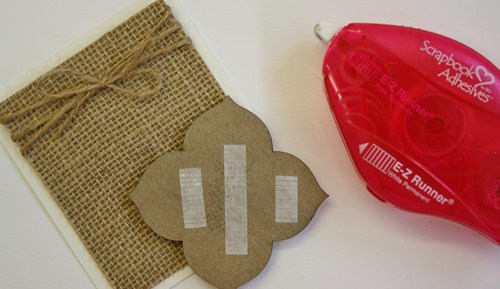
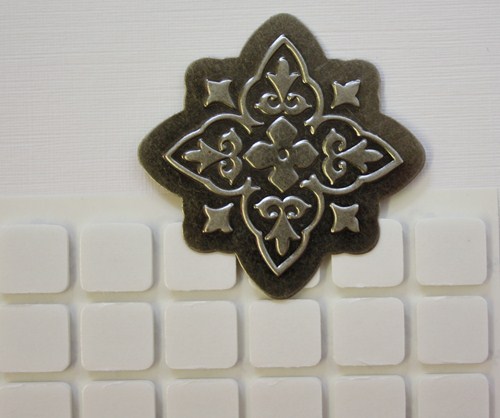
For this card, I rounded the corners on a journaling card and foam mounted it to my card base using 3D Foam Squares White Small.

To adhere the little strip of paper, I used my E-Z Runner®  Permanent Strips Refillable Dispenser . Its so easy to control,  it makes it easy to get the adhesive where you want it. And not in other places.

And finally I applied 3D Foam Squares White Small to the back of the chipboard. For more about this process, including how to remove the sticky from the chipboard, where you don’t want it left behind, check out this blog post here-Using Stickers and 3D Foam Squares.

E-Z Runner Permanent Strips Refillable dispenser

3D Foam Squares White Small

thanks for stopping by!

Kimberly Crawford

Supplies: Adhesives-Scrapbook Adhesives by 3L (3D Foam Squares White Small,  E-Z Runner®Permanent Strips Refillable Dispenser), Journaling card, chipboard-Simple Stories (I Heart Summer), Cardstock-Avery Elle

Layout Sunshine

Today I want to share a layout about the first sunny and hot days this year. It’s just another pic from our trip to the lake. I’m so in love of this pose and of course it has to go into the album too.

Here is the tutorial.


1 – doodleing around the stencil (wood veneer) with a black pen
2 – spraying Tattered Angels Glimmer Mist onto the paper
3 – first paper layer using the E-Z Dots Permanent refillable dispenser
4 – adding a silver grid, using the Crafty Power Tape – 81′ Built-in dispenser
5 – fixing the photo on another paper layer with Crafty Foam Tape – White 13′
6 – fixing a pearl brad above the photo


7 – fixing the photo with Crafty Foam Tape – White 13′
8 – adding a little paper bow tie using the 3D Foam Squares White – Mix – 217 pcs
9 & 10 – I forgot to add the Classic Photo Corners – white – Paper (108) I wanted to use, but no worries I cut it a little bit and added it afterwards – I love the look with it!
11 – fixing a little clock circle using the 3D Foam Squares White – Mix – 217 pcs on a butterfly chipboard
12 – adding the butterfly on my layout using the Crafty Power Tape – 81′ Built-in dispenser


13 – adding Chrystals at the left corner of the photo
14 – adding text sticker and a flower sticker using the the small squares of the 3D Foam Squares White – Mix – 217 pcs
15 – Coloring the wooden butterfly with a yellow Big Brush from Faber-Castell and doodling with a black pen
16 – adding mini tags
17 – distressing the edges of the layout and a little bit right from the photo with blue distress ink
18 – finished

Supplies by Scrapbook Adhesives by 3L:

E-Z Dots Permanent Refillable dispenserCrafty Power Tape 81' Built in DispenserCrafty Foam Tape White 13"Photo Corners White3D Foam Squares White Mix

Other supplies:

Wood Veneer from Studio Calico
Say it in Crystals from Prima Marketing
Vintage chic: mini tags from Heidi Swapp
Sticker from Amy Tangerine (American Crafts)
Pearl Brad from American Crafts
Patterned Paper from For the Record 2 from Echo Park
Butterfly Chipboard from Wyczinanka
Distress Ink Tim Holtz from Ranger
Big Brush yellow from Faber Castell, black pen from Micron
Glimmer Mist from Tattered Angels

Thanks for visiting!
Stephanie (alias scrapmanufaktur)

Mini Album with Box

Hi there ! Today i show you a project that fits for the celebrations we do in spring and summer.
A very sweet project, perfect for weddings or baptisms. A box with a mini album inside.

Here are some explanations.
Cut a square of cardboard (6*6 inches). Also prepare three cuts of foam in the same dimensions.
Fix the first foam layer on the cardboard with E-Z Dots® Repositionable – Refillable Dispenser – 49’/15m. Overlap the two above.

Changed the refill of the dispenser. Exchange with E-Z Runner® Permanent Strips – Refill – 49’/15m

Turn the cardboard square on a little piece of fabric. Wrap the carboard with the fabric and mark the fold with an iron. Attached with E-Z Runner® Permanent Strips – Refill – 49’/15m.

The cover of the box is ready.

Add on the back side a square of fabric for a beautiful finish. If you’re better seamstress than me , hem the edges. Ha ha !

Finally, add tassels at each corner with a needle and thread.

To create the bottom of the box:
Draw and cut out in paper the following template:

Mount de box.

To bind this box with the cover, cut out paper the following template and fix inside.

The box is ready. Now decorate to your taste and add a little album inside.

Supplies :
E-Z Dots® Permanent Refill

E-Z Dots® Repositionable – Refillable Dispenser

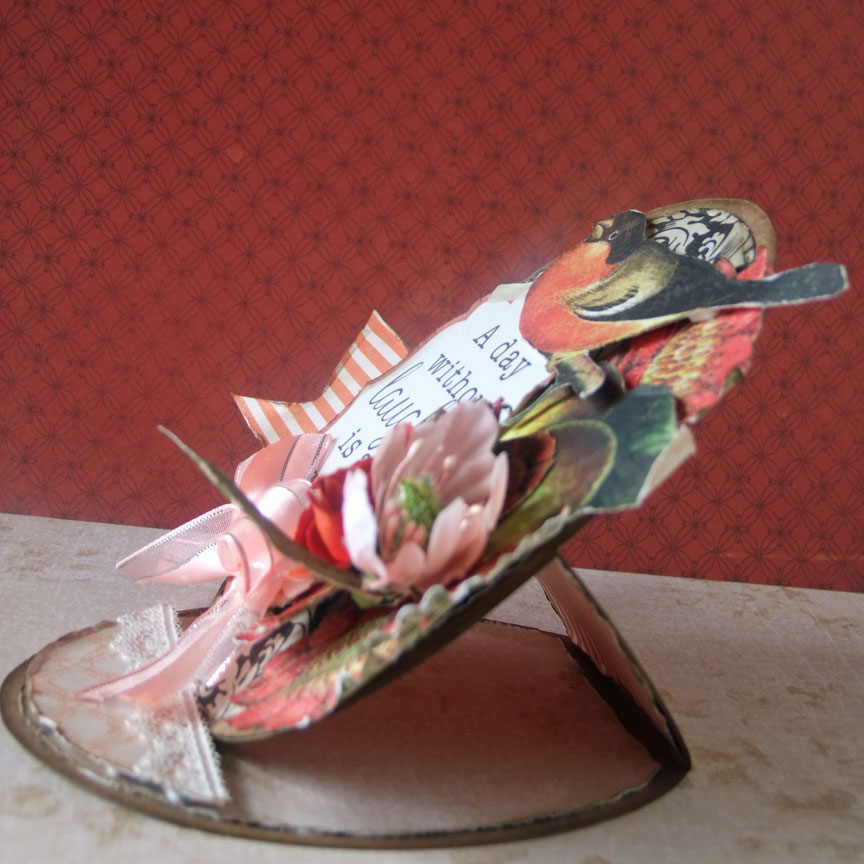
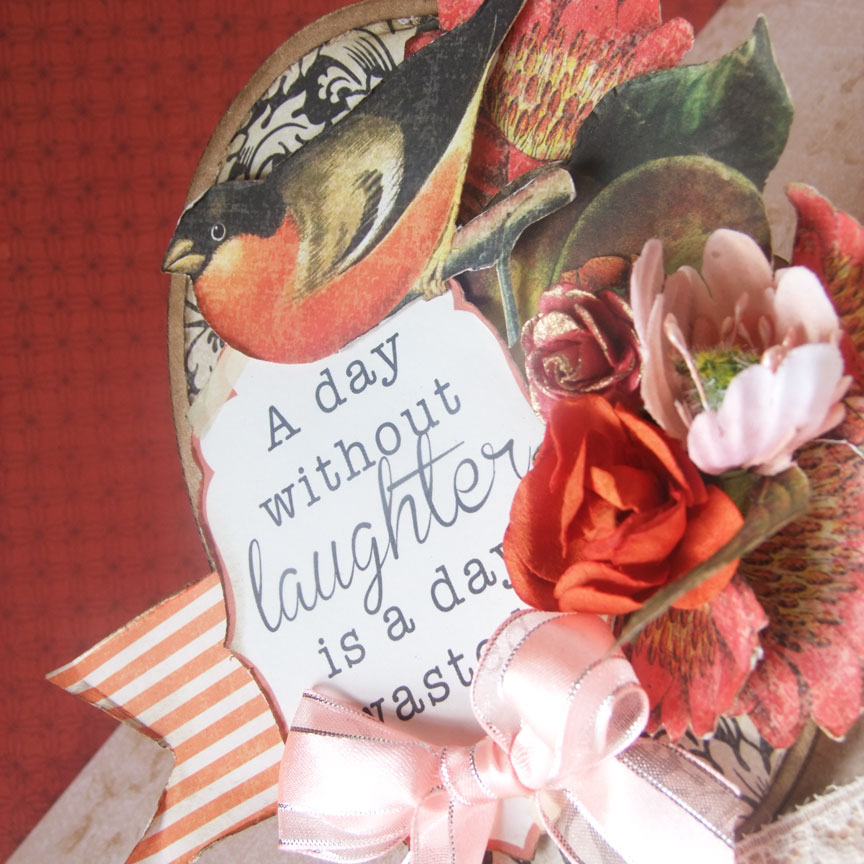
Pink Paislee papers and die cuts
Prima Marketing flowers
Melissa Frances resin and ribbons
Thank you for stopping by our blog today!
Flo Floliescrap Blog

Video Tutorial: Glittered Grad 2013

Hello Everyone! It’s Tiffany here again with another Video Tutorial! I decided to “wear my adhesive on the outside” for this colorful Glittered Graduation Card! I used the E-Z Runner® Refillables, including the E-Z Dots® Permanent Refillable and the E-Z Dots® Repositionable Refillable.

Video Tutorial:

Here’s a closer look:

Thanks so much for dropping in,

Adhesives Used:

E-Z Dots Permanent, E-Z Dots Repositionable

Products Used:
Reverse Confetti Stamps (Dream in Color)
Martha Stewart Glitter
Sizzix eClips with eCAL software
Bebas Font
Bazzill Card Shoppe Cardstock
Washi tape

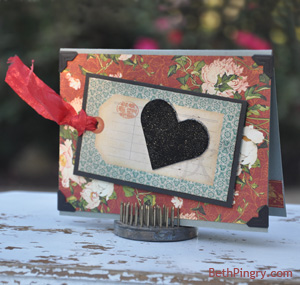
Celebrate Dad with a Card on Father’s Day!

Happy Father’s Day to all the Dads out there!

Any day is a great day to celebrate all that Dad has done for you! This card is easy, a little rough around the edges, and and it’s got some plaid, just like Dad!

Core’dinations cardstock, die cut with a Spellbinders die, and stamped with a Unity stamp gives me the center piece. I sanded the embossed lines and edges, and added Want2Scrap black bling. This is adhered with 3D Foam Squares to give it some lift. The background plaid is Jillibean Soup paper on top of more Core’dinations, both sanded at the edges, and I also embossed and sanded lines into the green paper. For these I used E-Z Squares Refillable adhesives.

Take a minute and give dad a hug and a smooch and let him know you appreciate him (and apologize for all the grey hair you caused)!

Thanks for coming by,

Beth Pingry

Supplies I used today:

Scrapbook Adhesives by 3L: 3D Foam Squares, E-Z Squares Refillable


  • Spellbinders Paper Arts: Classic Squares Small die
  • Core’dinations: Kraft Core Nostalgic collection, sanding tool
  • Jillibean Soup: Irish Farm House Sliced Turnip paper
  • Unity Stamp Co: Everything Wonderful
  • Tsukineko: Memento Tuxedo Black ink
  • Want2Scrap: Black blink
  • Scor-Pal: Scoring board

Save

Glittered For You Card

Hello there!  Latisha here with you today.  I am sharing a quick and easy way, on how to adhere glitter to wood veneer embellishments.

To start, I grabbed my wood veneer peacock feather embellishments, a few colors of glitter, and the E-Z Dots® Permanent Refillable Adhesive.  The reason I chose this adhesive, is because the E-Z Dots only adhere to the pressure that is underneath the opening of the adhesive.  Meaning, adhesive strips would not be hanging off of the wood, only to the edge.  Once my wood pieces are coated with the adhesive, I sprinkled glitter over the them, then tapped off the excess glitter onto a sheet of paper.

I stamped the “for you” sentiment by Avery Elle, onto the white card stock.  Then using Scrapbook Adhesives by 3L 3D Foam Squares, I adhered the glittered feathers onto the card.  I admire a simple card, and this simple embellishment gives this card such a a bold new look.

E-Z Dots Permanent Refillable dispenser3D Foam Squares White Small

Thanks for joining me today!

Latisha

1, 2, 3 & 4 Easy Cards

Today I will show you an easy model for a quick card that you can use for many occasions.

These are the tools and products used:

First I punch a circle and cut the 3×4″ paper into a banner.

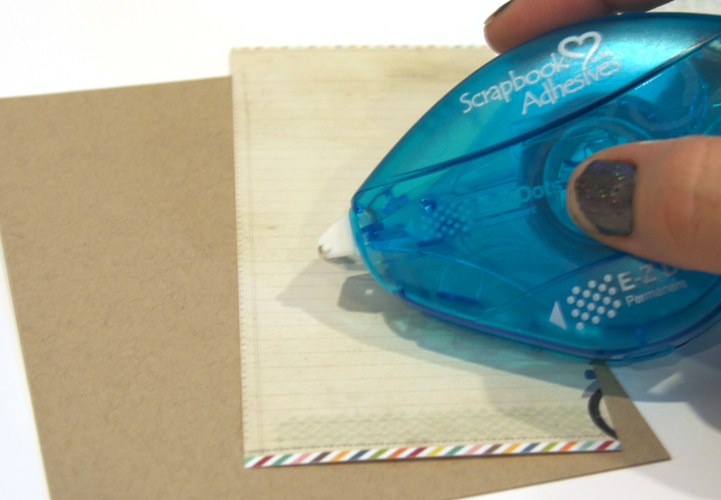
I adhere a punched border or ribbon.

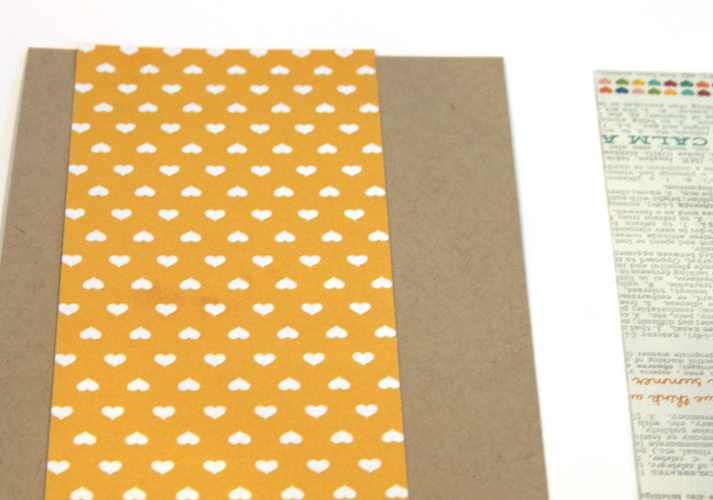
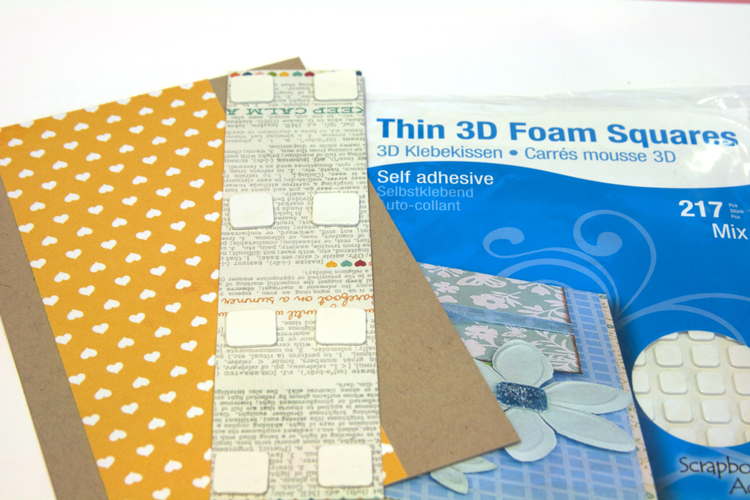
And mount the banner onto the card with the Thin 3D Foam Squares in white – to give it a nice lift 🙂

Now it’s time to bring out the butterfly punches.

I punch 2 different sizes of butterflies and a 2″ scallop circle.

The butterflies are only adhered down on the middle part of the body, and the wings are slightly bend. A couple of pearls or gems will make it real pretty.

To add some more dimension to the card, I used the Regular size 3D foam squares to mount the butterfly part with.

And Voilá – A very easy card + some more samples with other papers from my scraps stash:

Have fun being creative today.

Iben

Supplies:

Thin 3D Foam Squares White

3D Foam Squares White Mix

E-Z Dots Repositionable Refillable

E-Z Runner Permanent Strips Refillable

Save

See How Easy It Is!

Hey there!  Today I want to share with you my love of the E-Z Runner Refillables.  I love love love the fact that they are now refillable!  Just seriously makes me happy.  So for today I have decided to show you how easy they are to use and refill.  Enjoy!

You can find the E-Z Runner® family HERE.

Super easy right!?!

See you next time!

Ashley Harris