You are in our US store • Switch to Europe store

True Romance Easel Card and Gift Box

Hi There! Shell Carman here today. I’m sharing 3 projects I created with a truly beautiful shabby chic collection, Kaisercraft True Romance. The pink, peach & sea-foam green colour palette is so gorgeous and girly and I had so much fun creating these projects.


First up I have created a gift box. I simply pulled a tea bag carton apart & traced around it on some white cardstock. I then cut it out & put it together. I wanted to make sure the carton was stuck together properly so I used the very sturdy Crafty Power Tape. To decorate I cut some pattern paper to size using the E-Z Runner® Permanent Strips Refillable Dispenser to stick them down.


I used some lovely shapes from the collectables pack creating layers & dimension with the 3D Foam Squares White Mix Pack. Using my favorite product Adhesive Dots Medium I adhered an arrangement of flowers.


Oval Easel Cards are my favourite card to create. The shape gives that extra special something while still allowing plenty of space for decoration. I did a tutorial on the Oval Easel, click here.


Again I have used Adhesive Dots MediumE-Z Runner® Permanent Strips Refillable Dispenser3D Foam Squares White Mix to add decoration to my easel card.


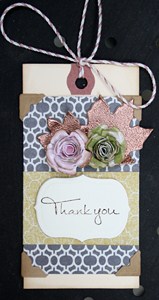
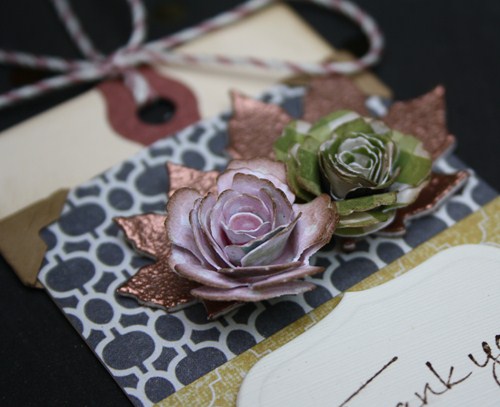
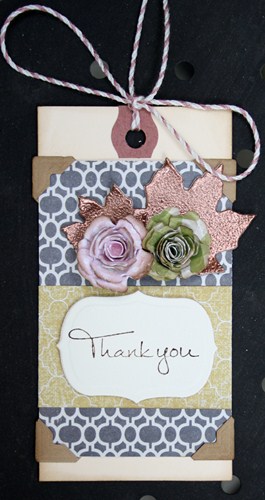
Lastly I created a tag to match the card.


Scrapbook Adhesives by 3L® products used

E-Z Runner® Permanent Strips Refillable Dispenser 
Adhesive Dots Medium
Crafty Power Tape  
3D Foam Squares White Mix

Kaisercraft True Romance papers, collectables, sticker sheet
Prima Tatiana Coral Flowers, Icicle Flowers

Thanks for Looking!
Cheers
Shell Carman Another Scrappy Day

Smile Card With New Designer Shapes

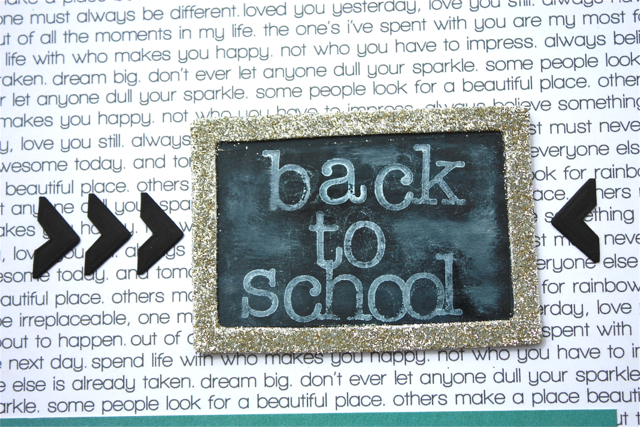
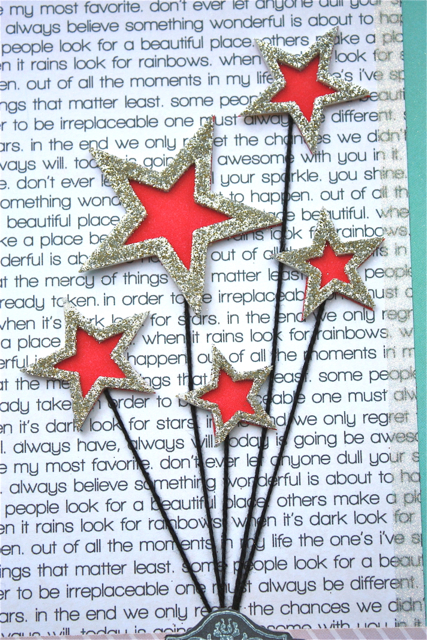
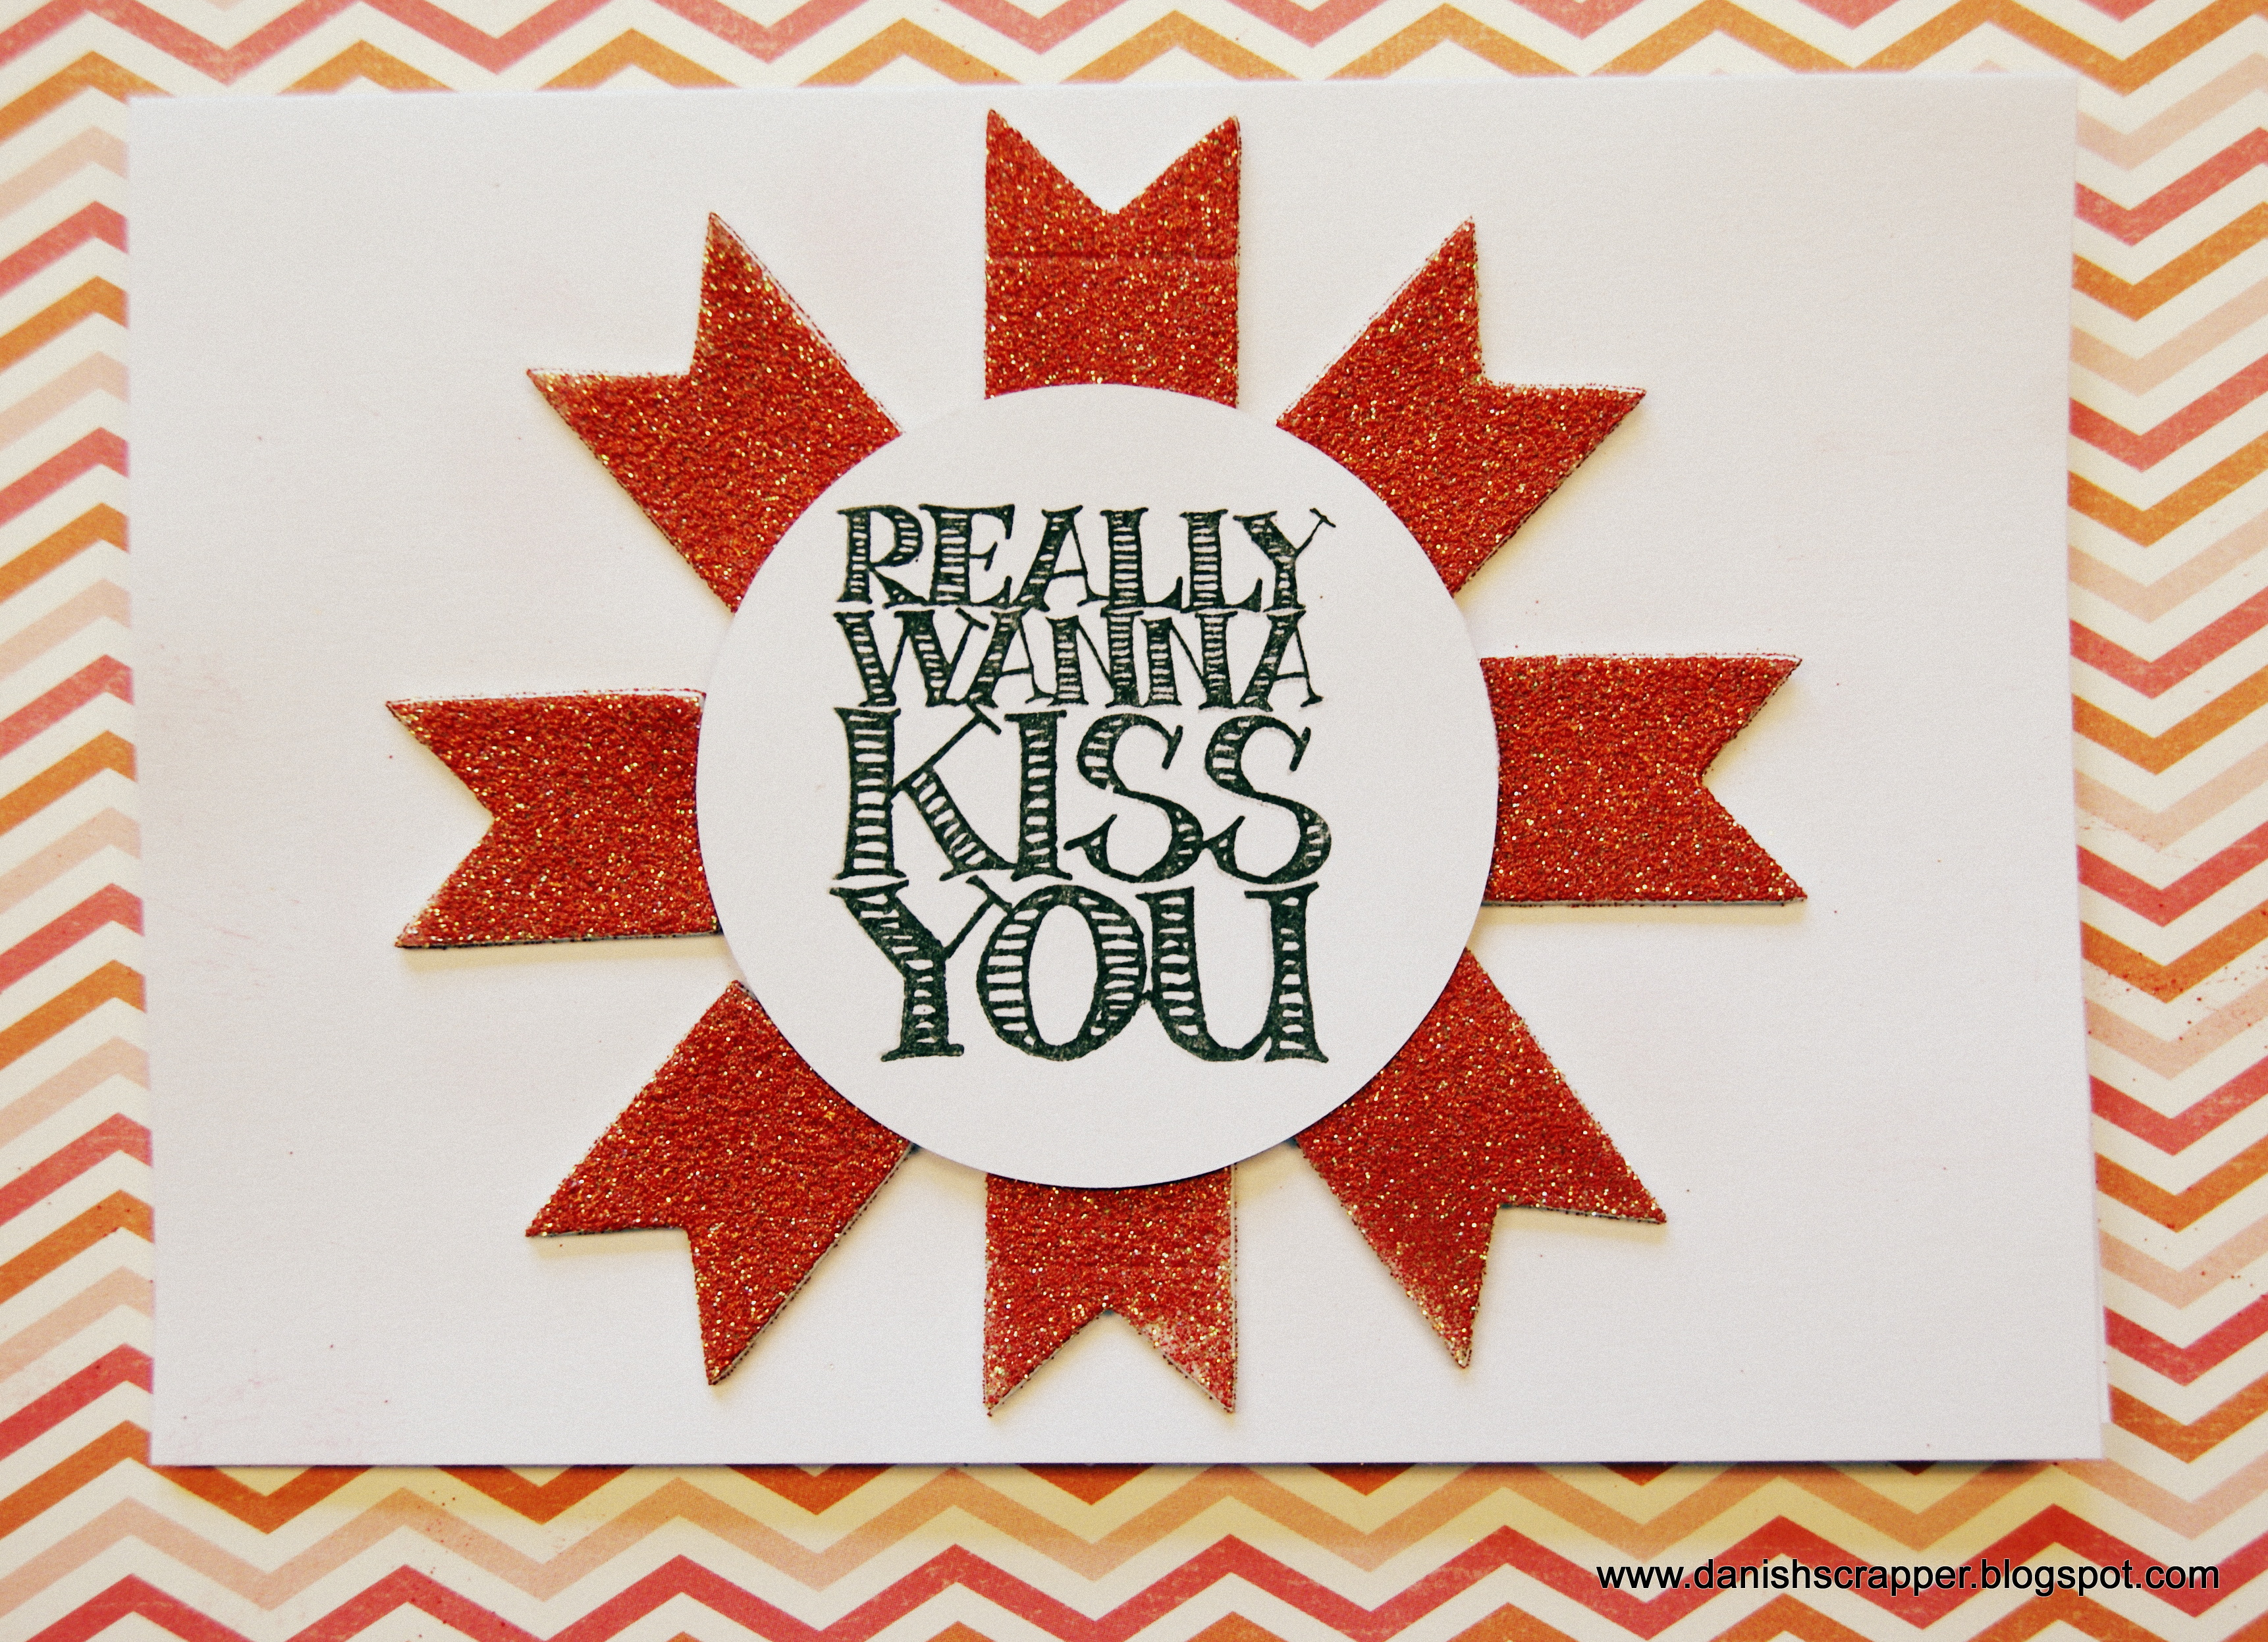
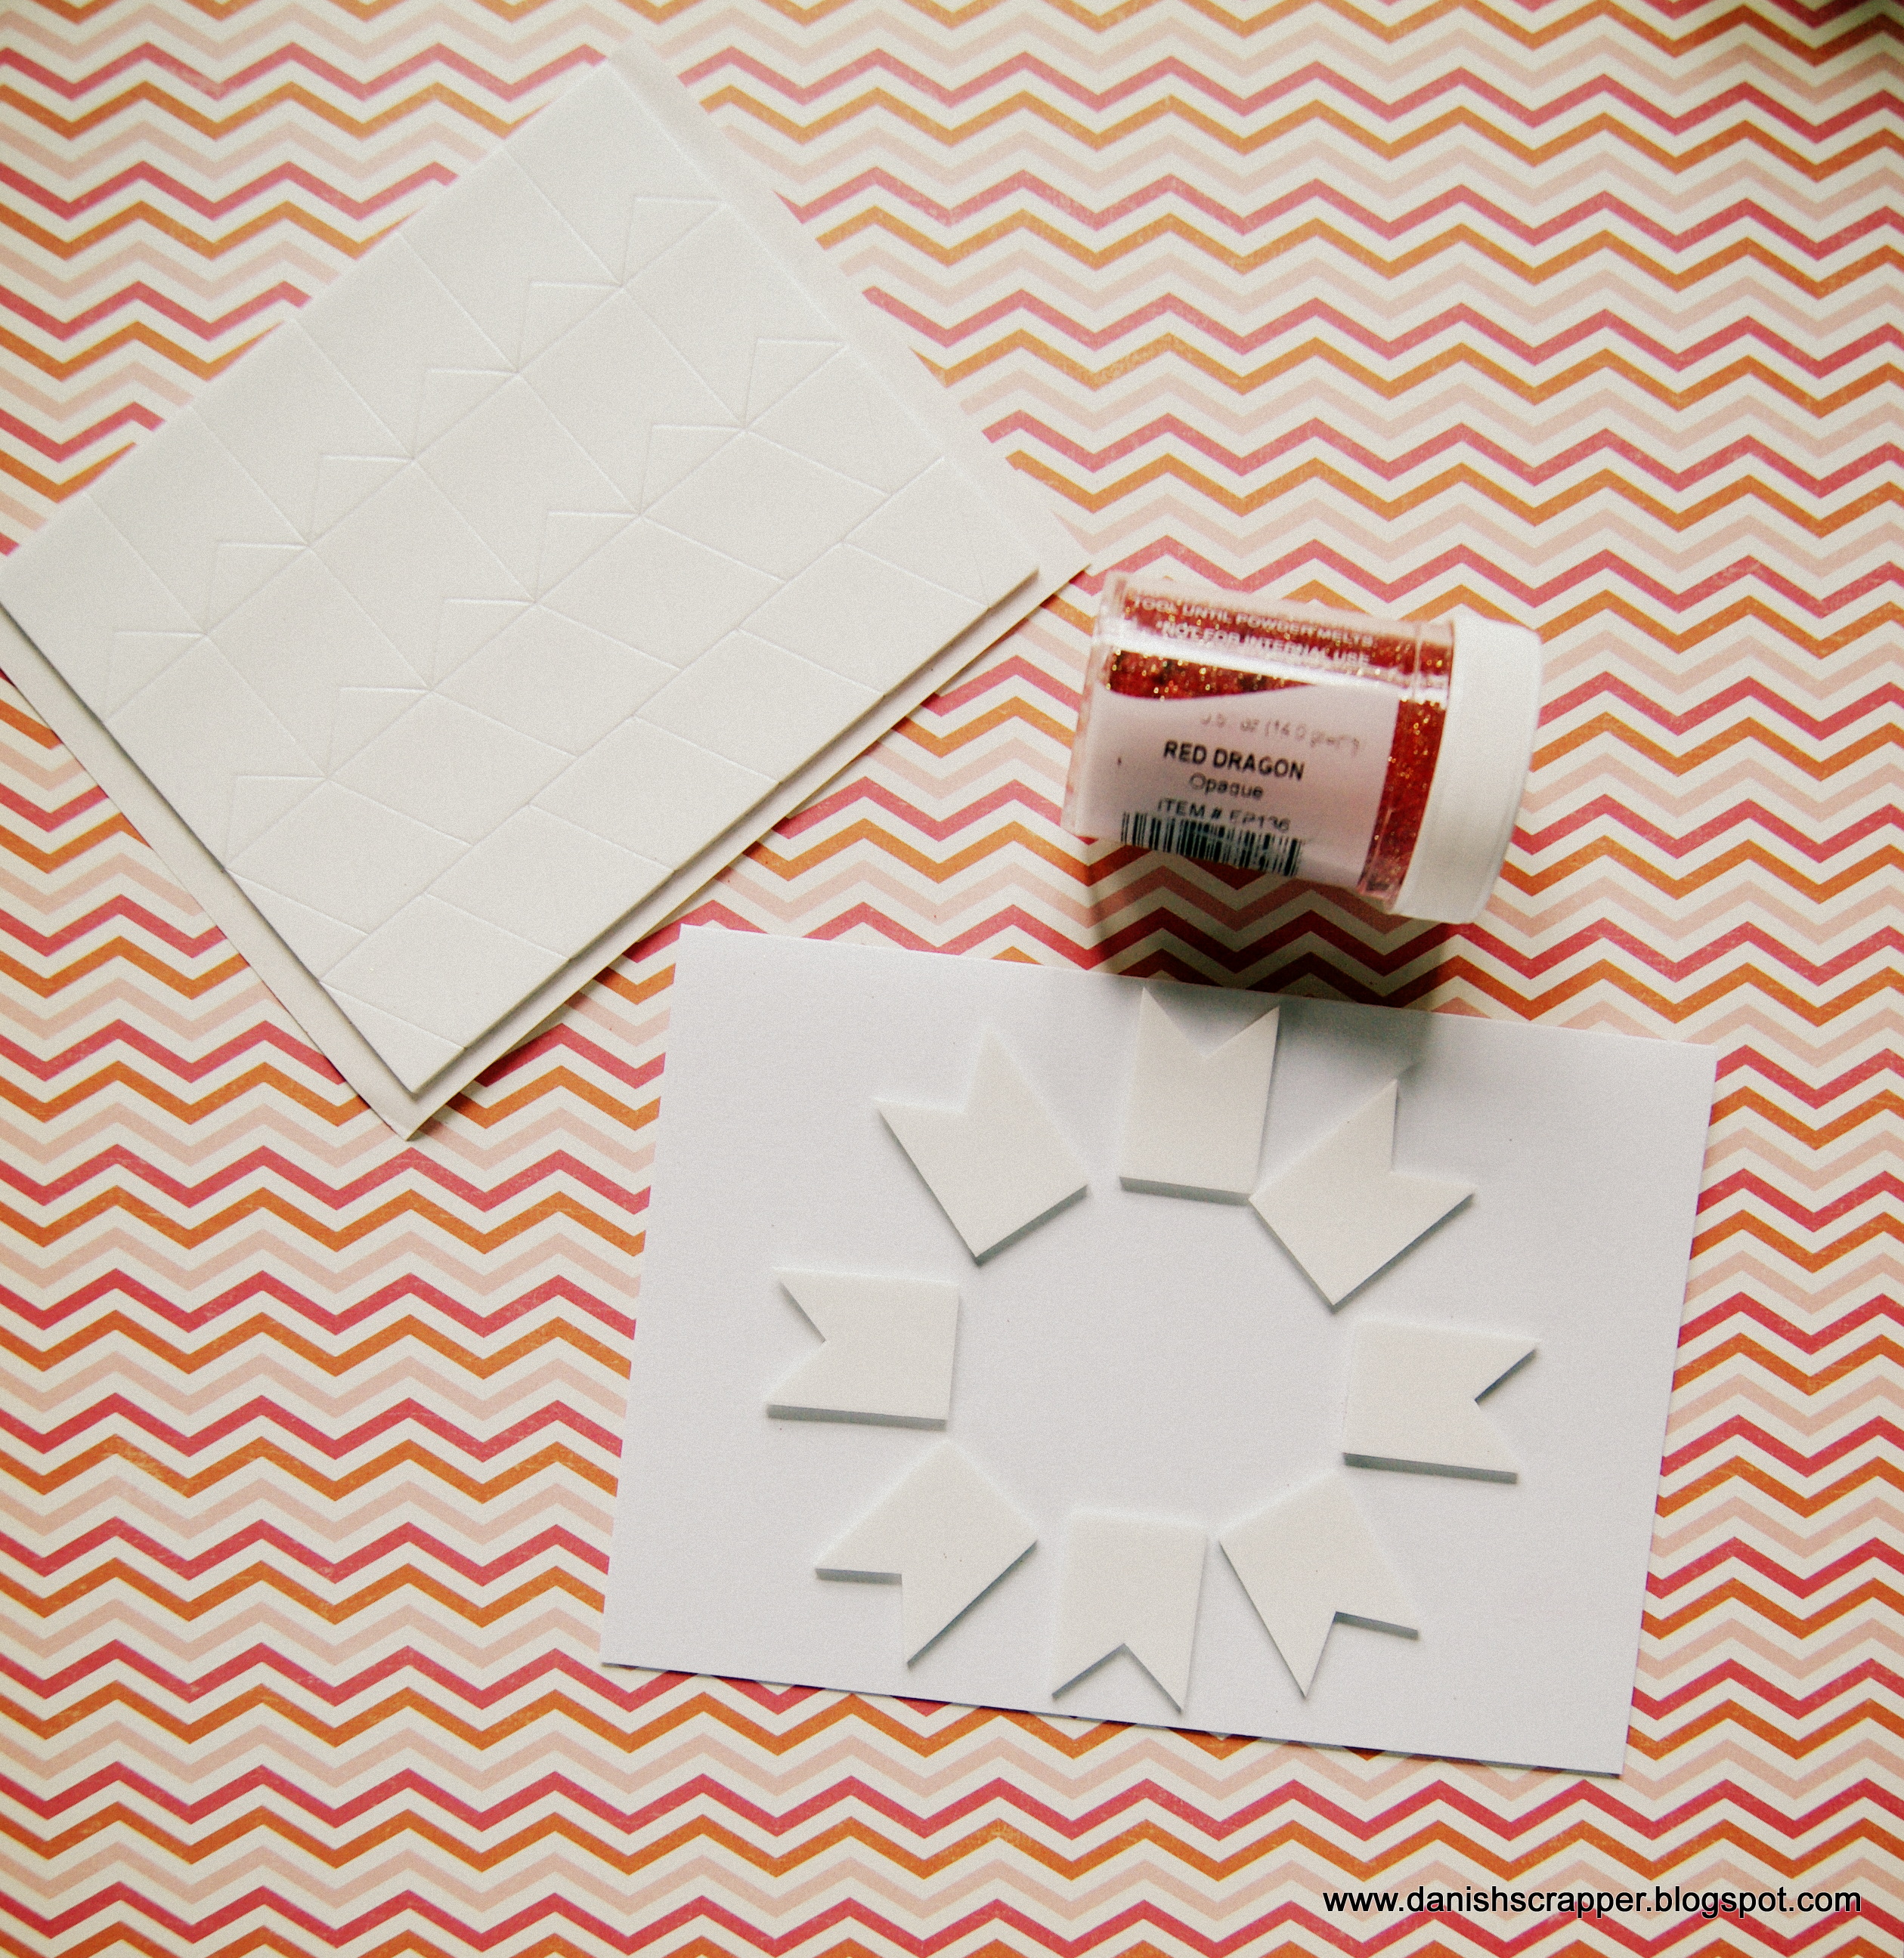
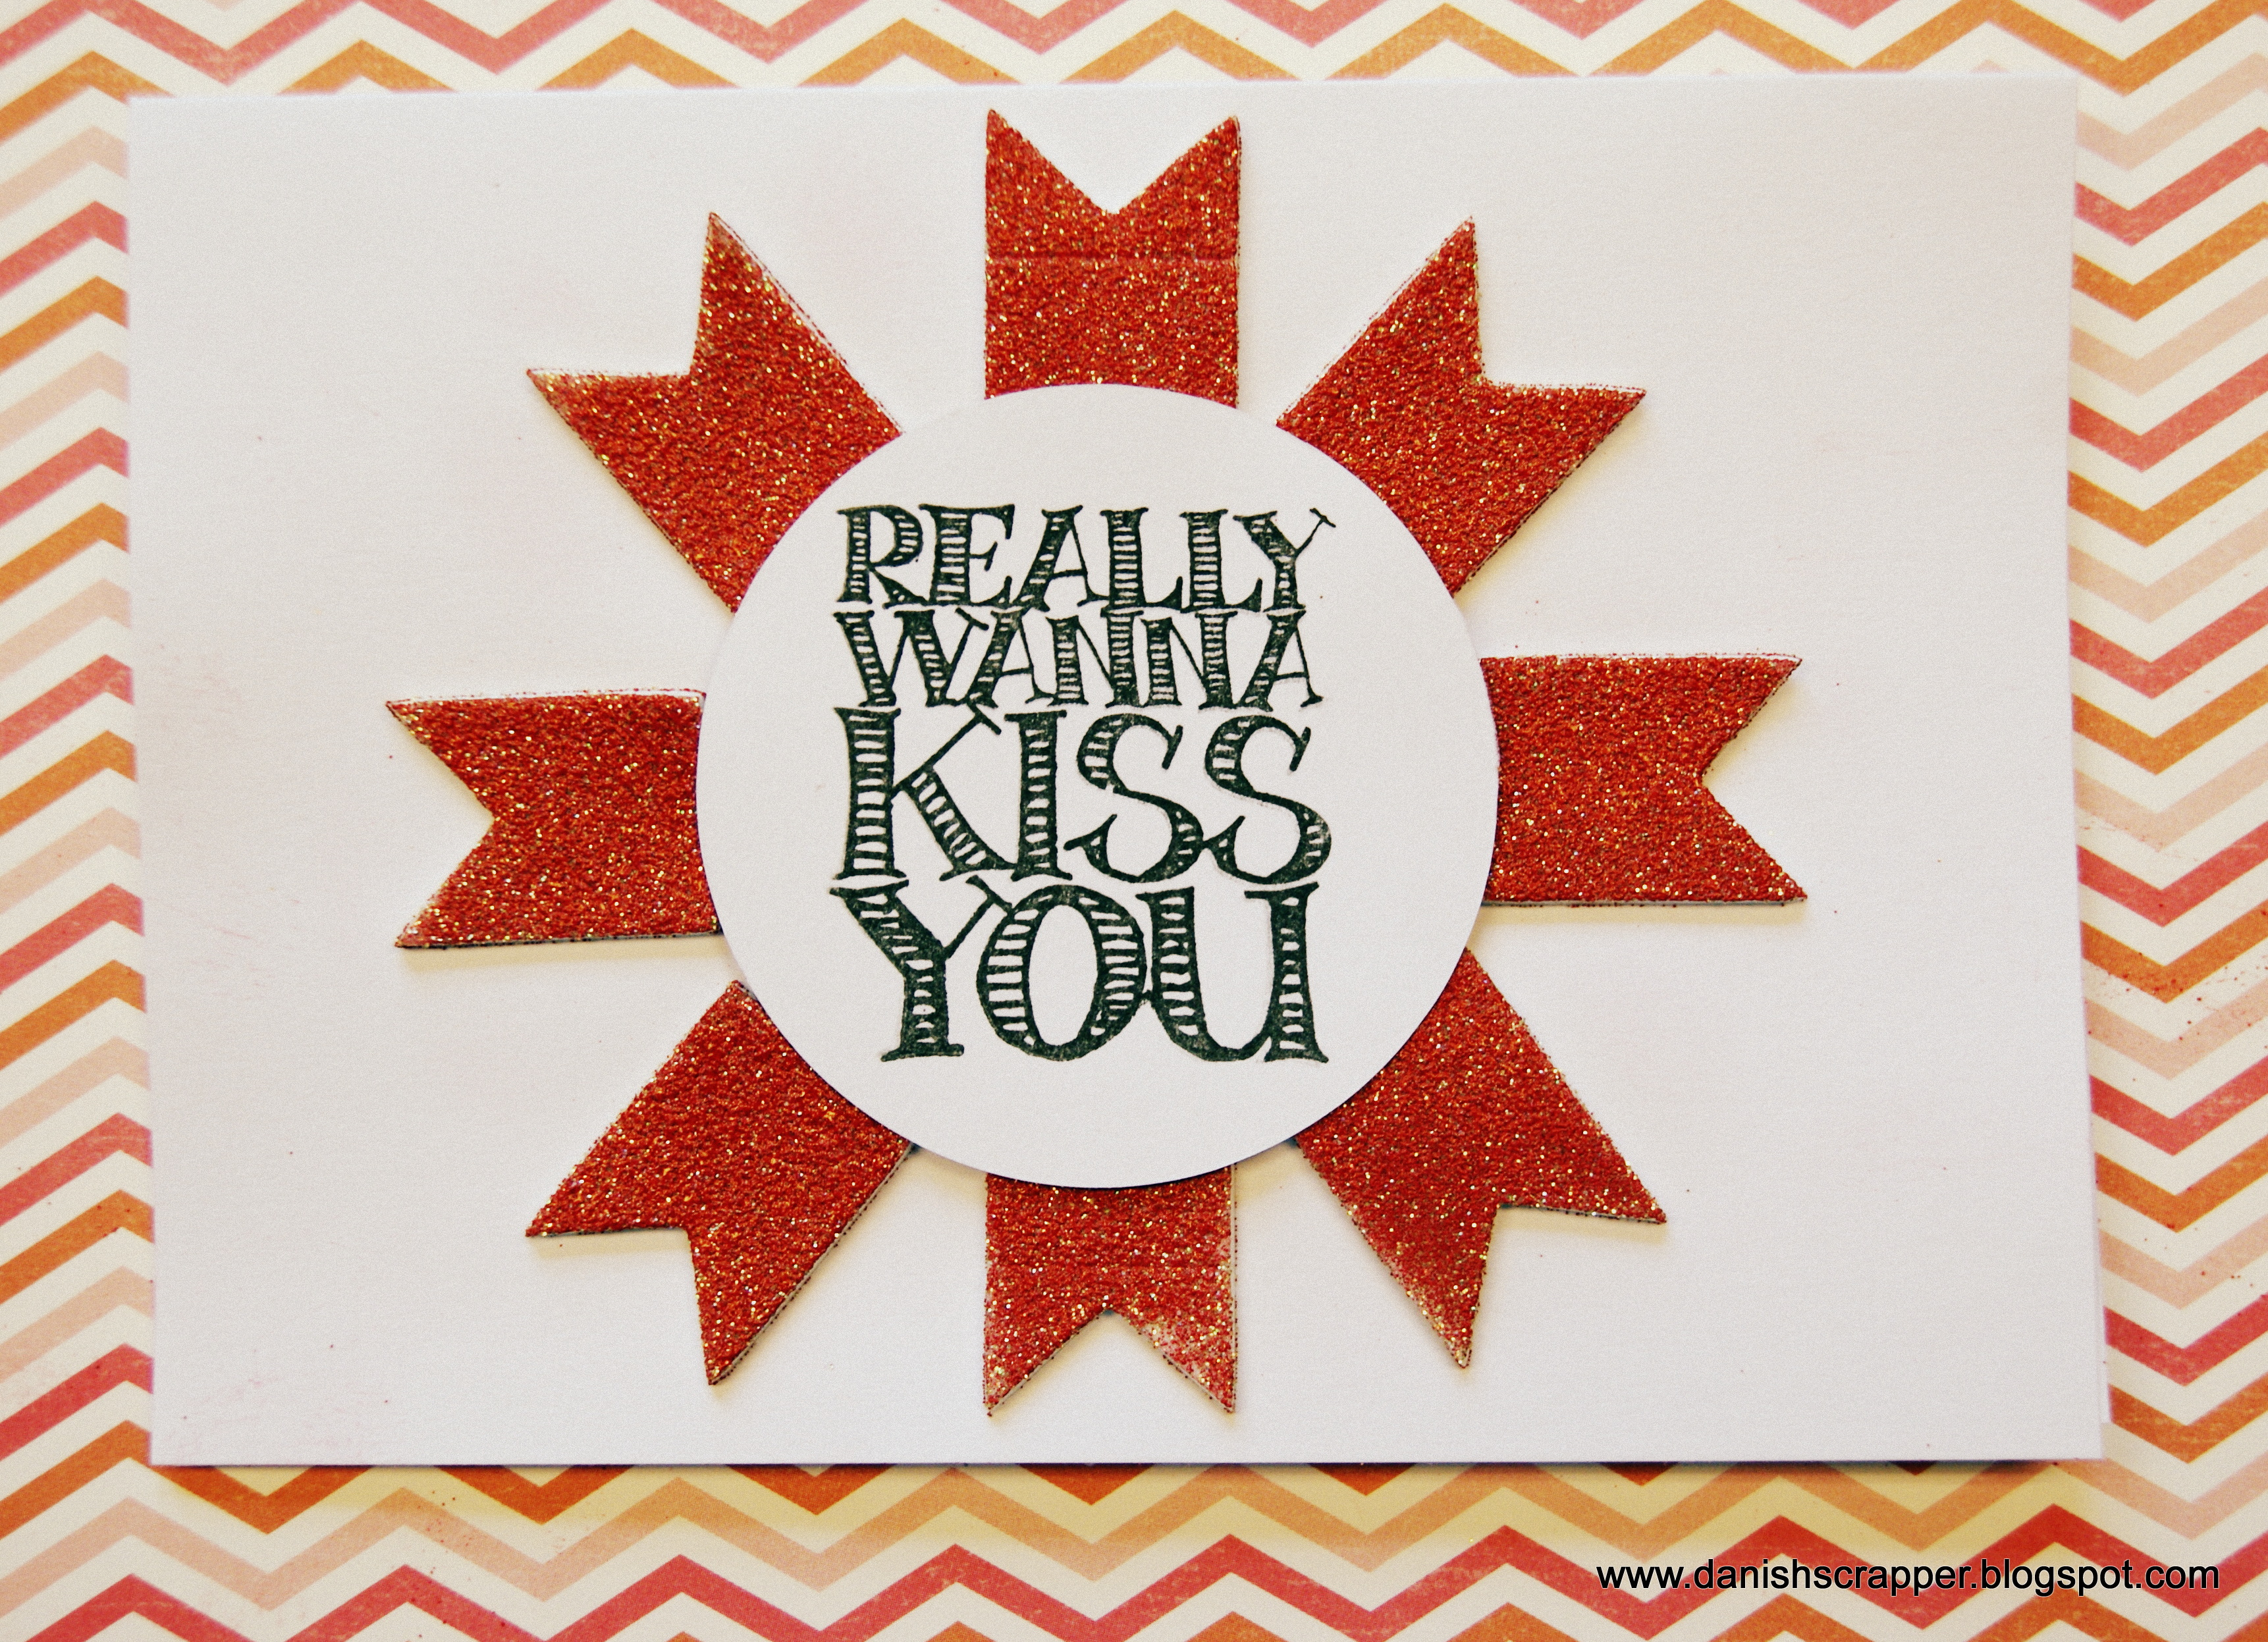
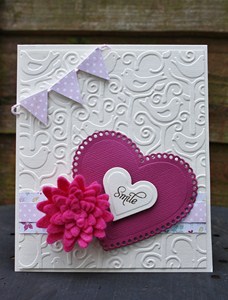
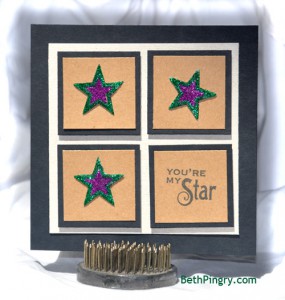
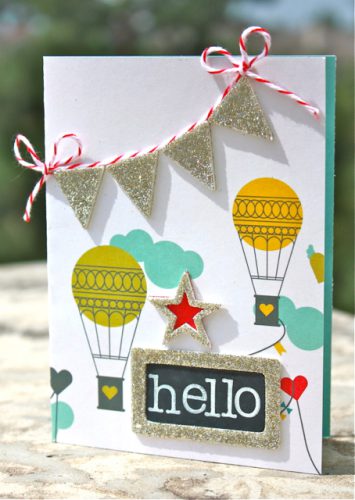
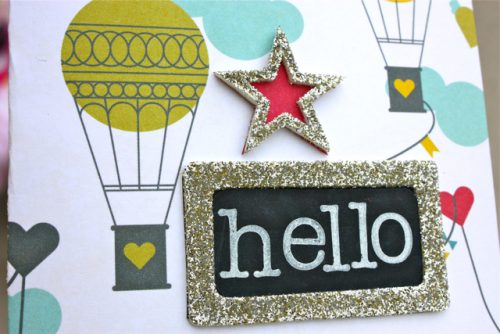
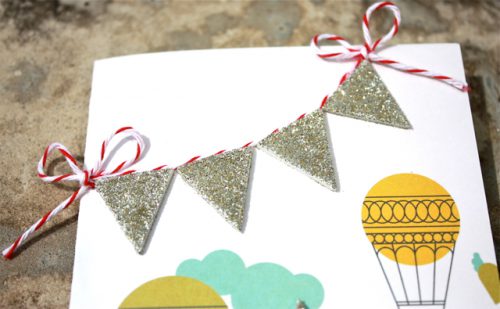
Hello, Latisha with you today.  The Create & Connect Trade Show is wrapping up.  This is where Scrapbook Adhesives by 3L just debuted new product!  How exciting!!  One of my top five favorite adhesives product by them,  has to be the Foam Squares.  Who is with me?  Well, at the trade show, Scrapbook Adhesives by 3L showcased more of the Designer Shapes.  Today, I am showcasing a card I made using the banners, stars and rectangles.  I am so excited about these!

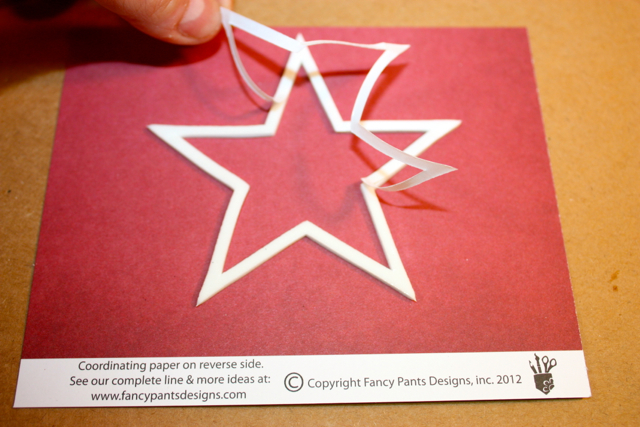
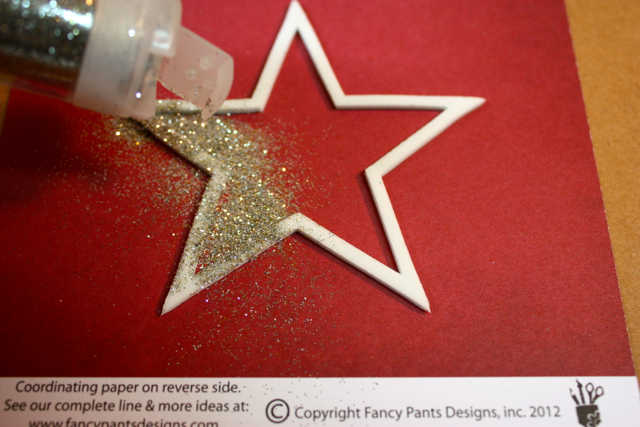
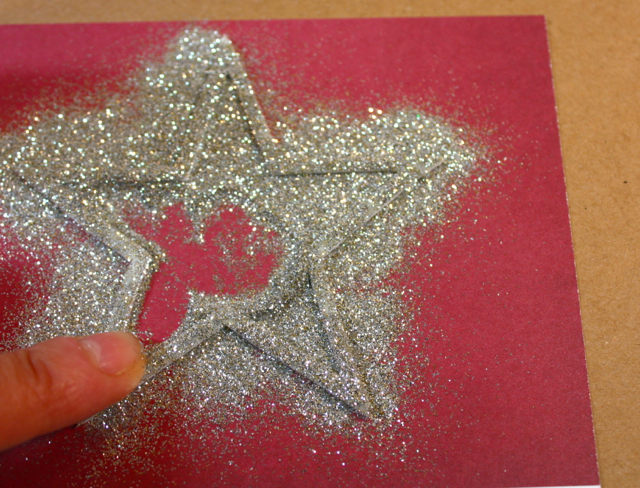
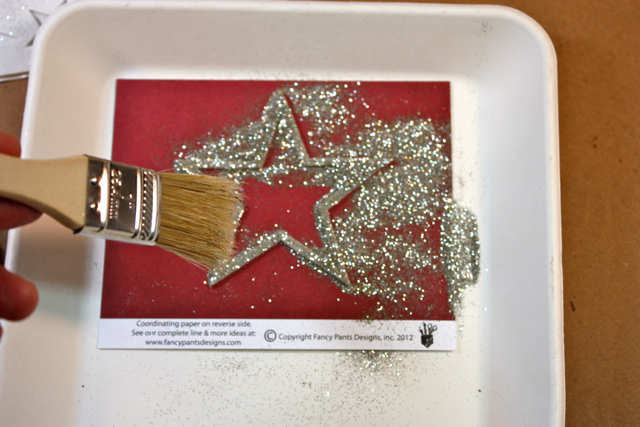
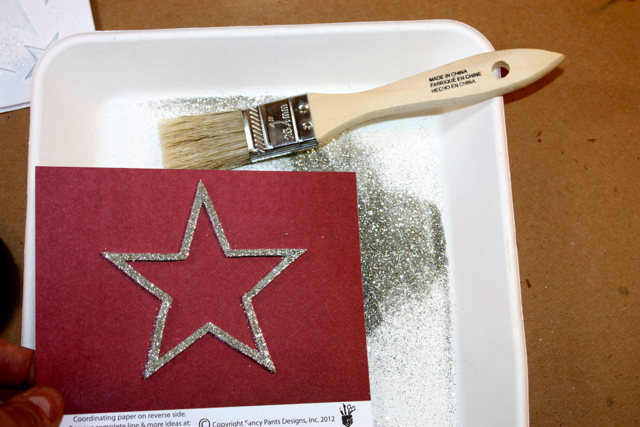
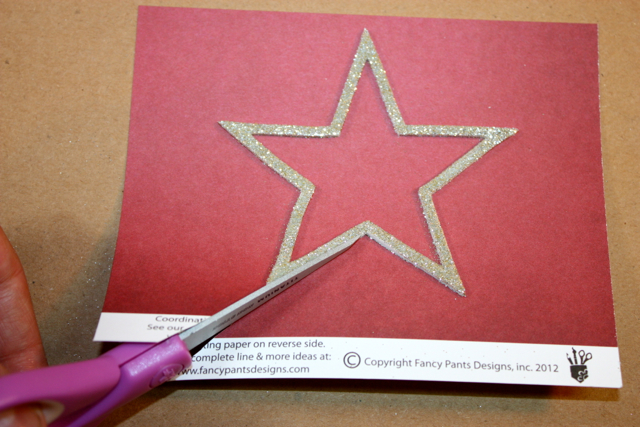
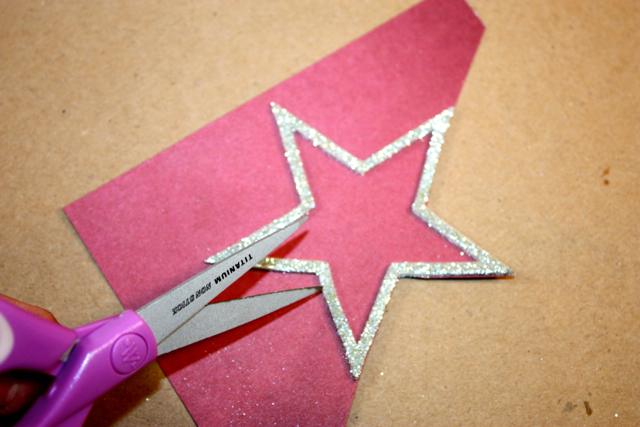
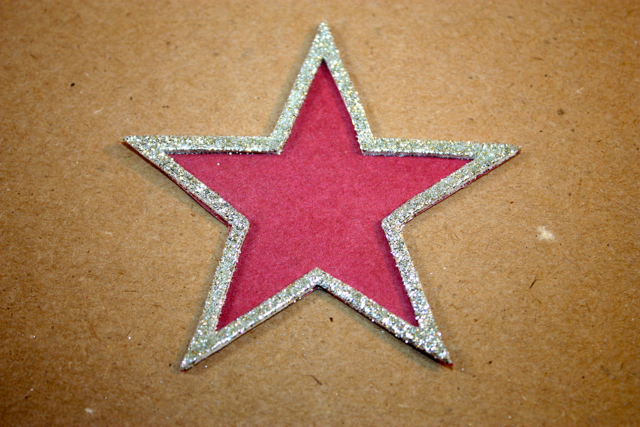
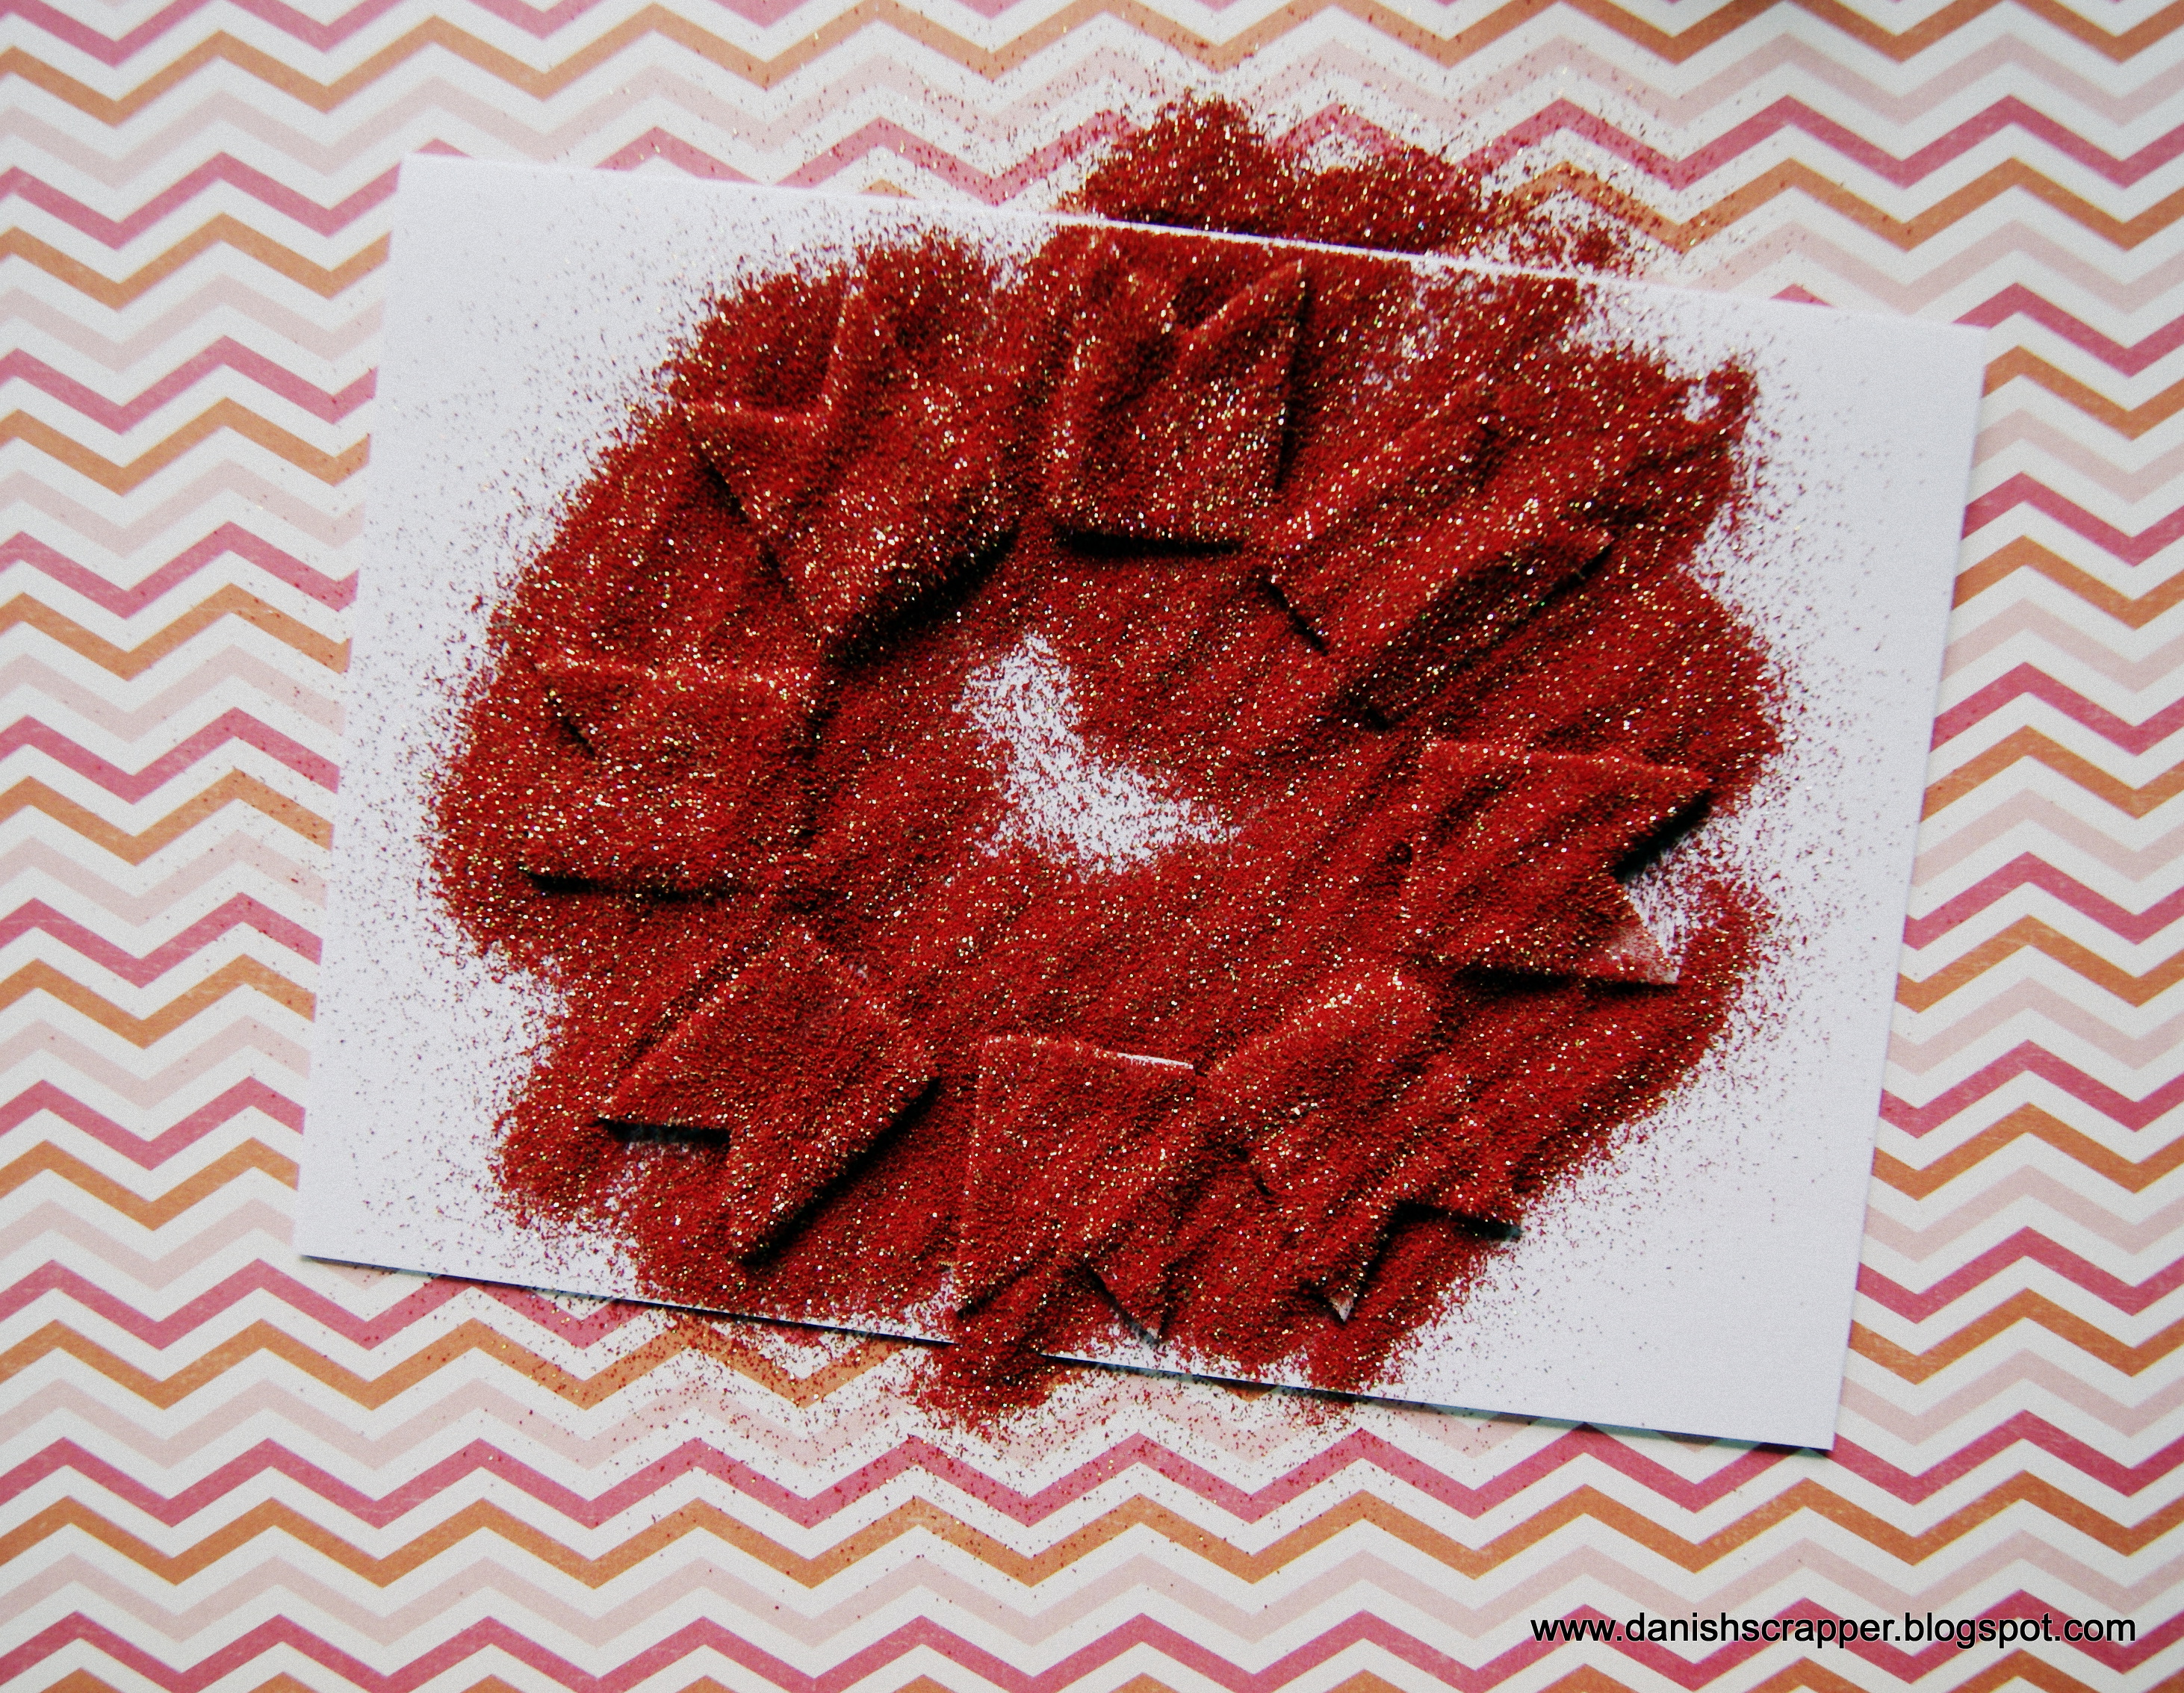
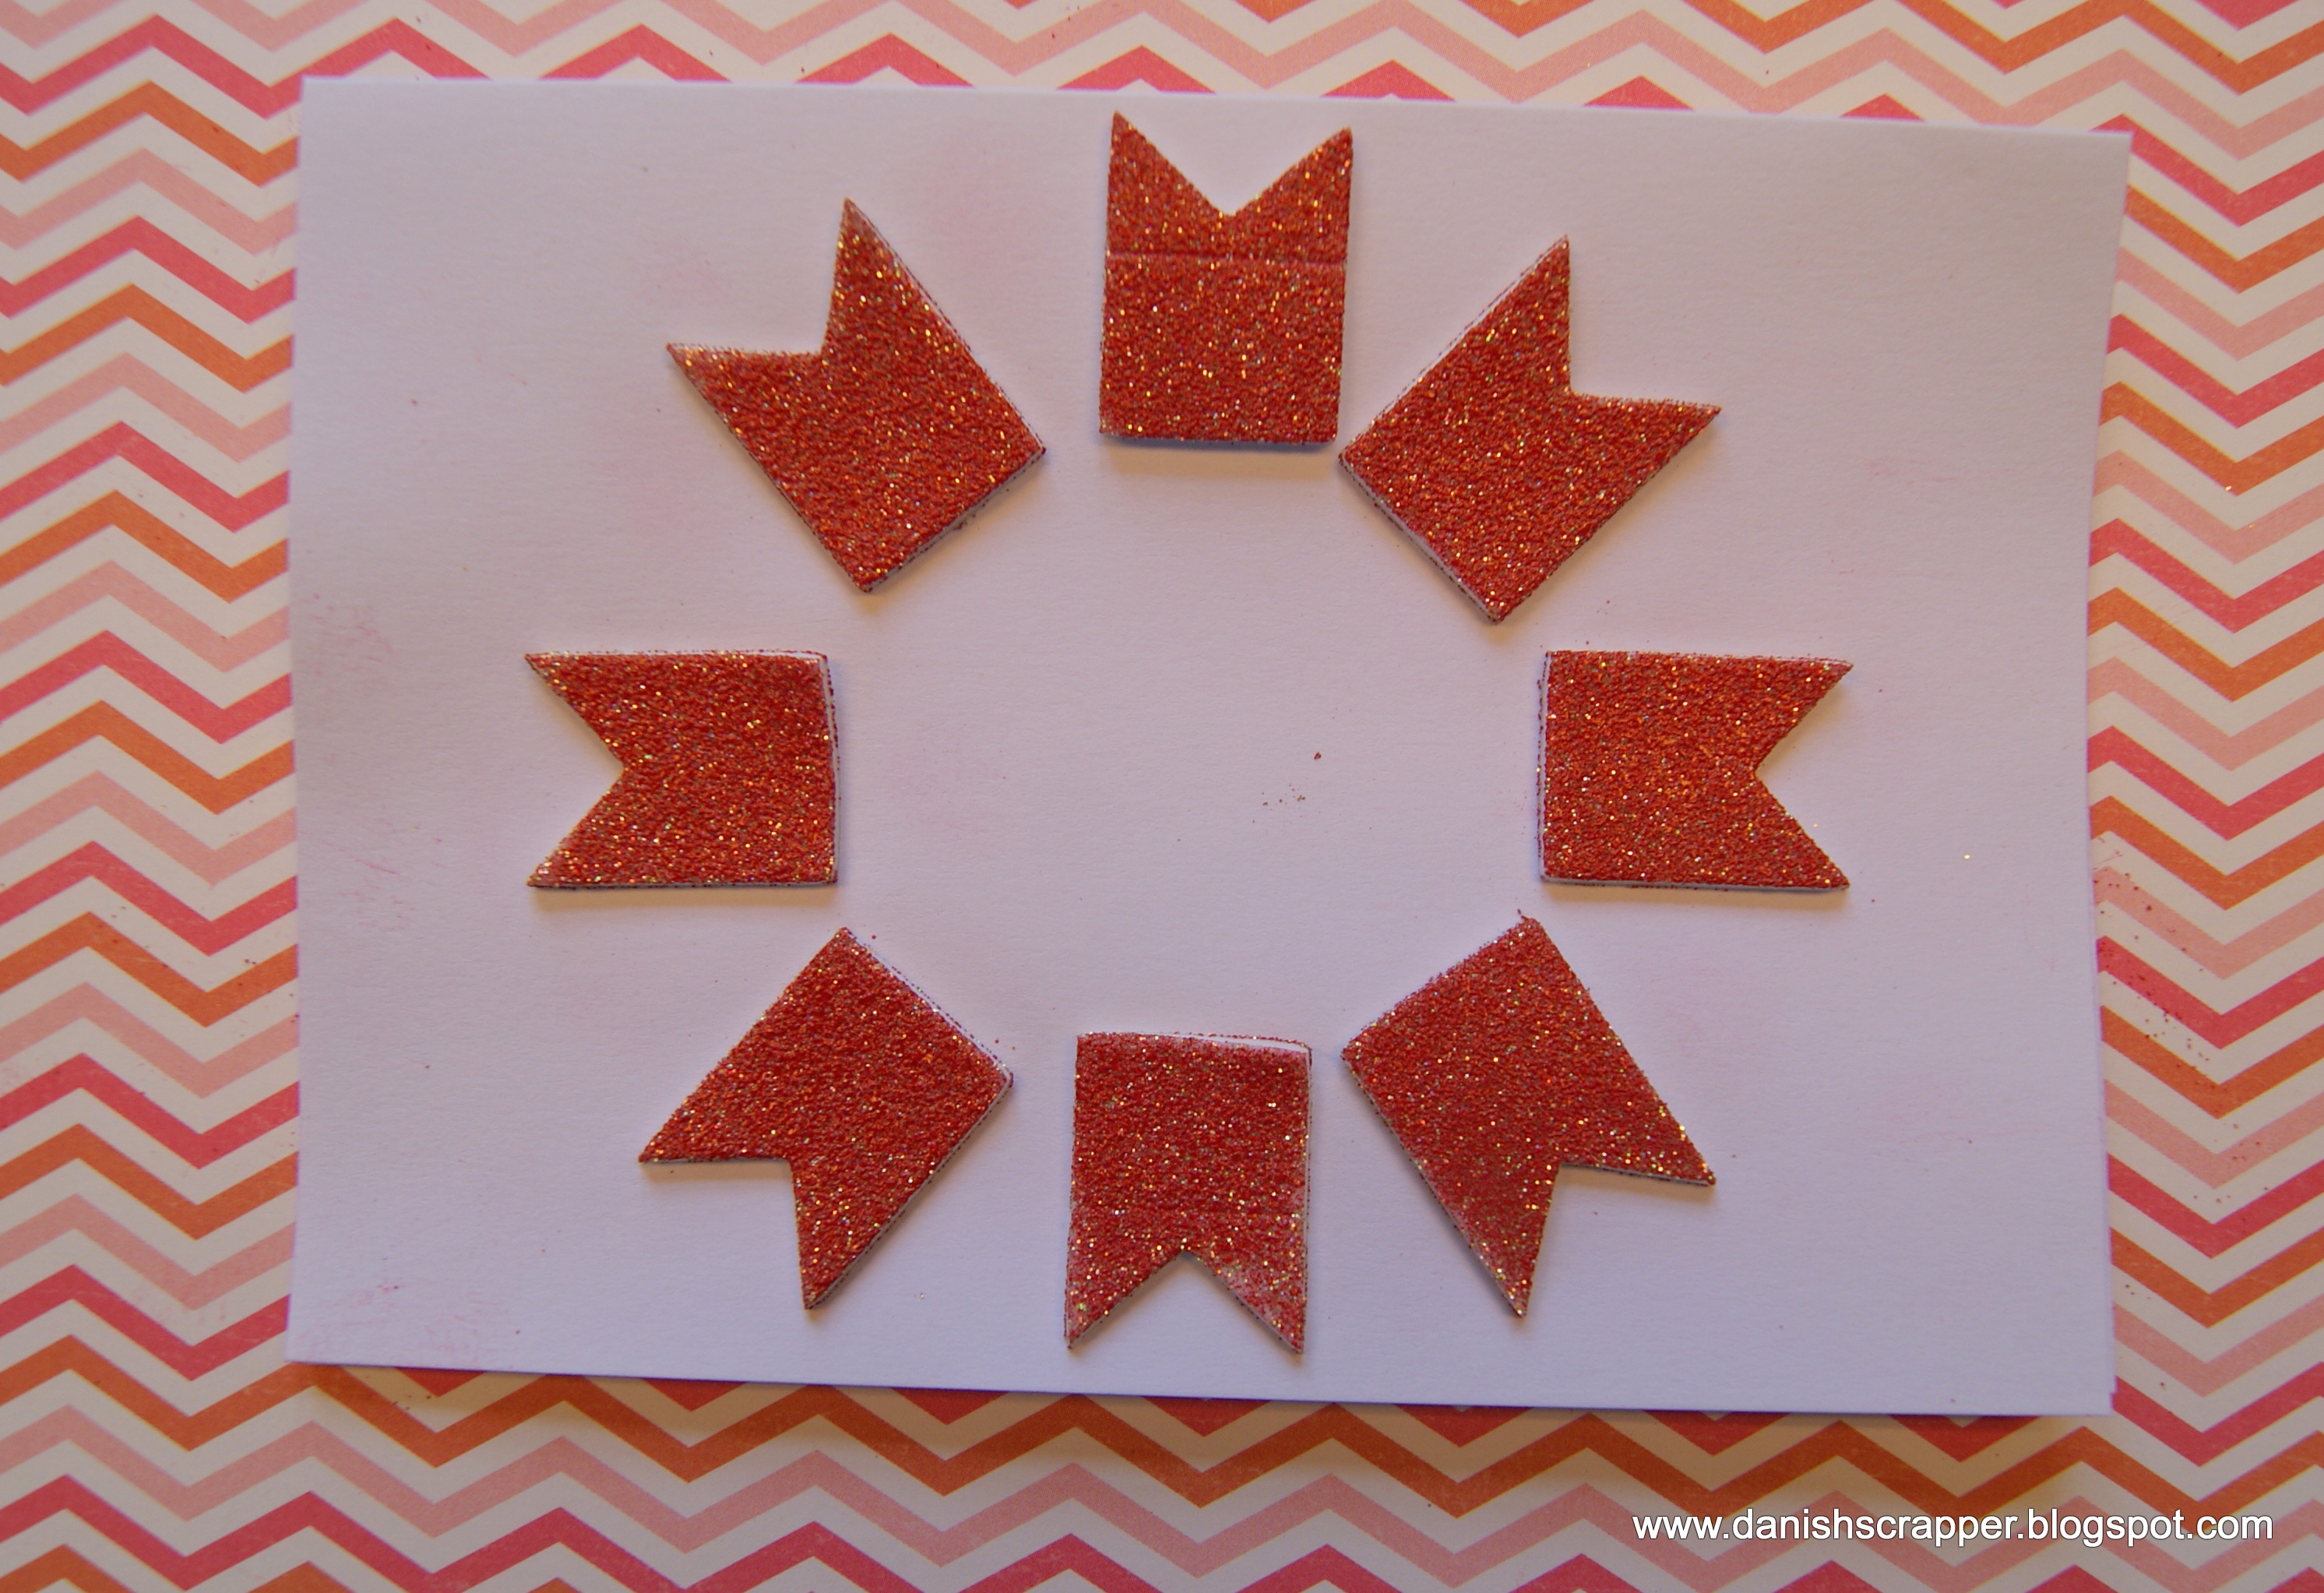
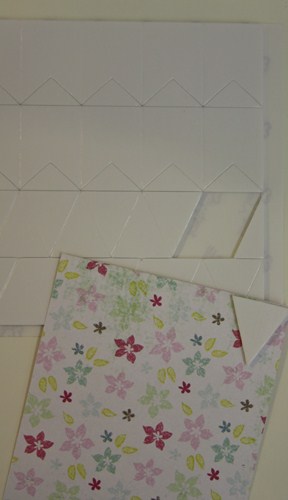
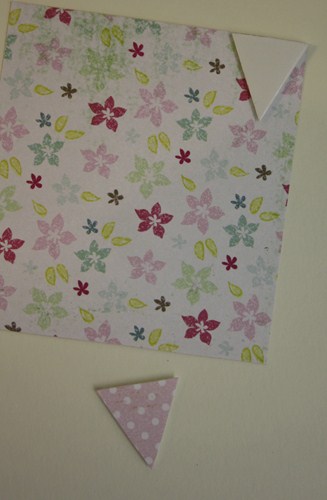
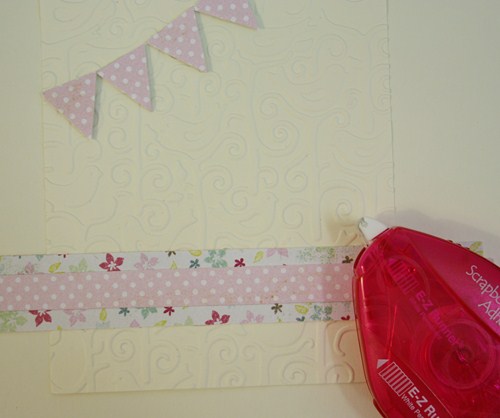
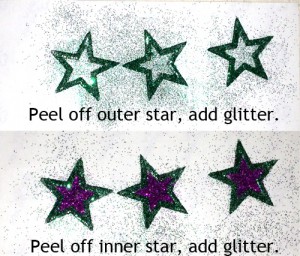
The rectangle and stars were coated in glitter, and I stuck pattern paper to the banners (then trimmed to fit).  These were so easy to work with, and I cannot wait to play more with all of the shapes!

Thank you for visiting today!

Latisha

adding dimension to journaling cards

Hi there! Kimberly here, with my usual quick and easy cards! It doesn’t make them any less heartfelt, though, so enjoy the presto card and the joy the recipient feels when they get it!

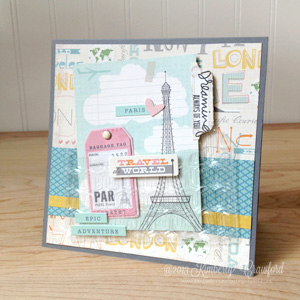
The patterned paper on this card is actually a pre-made journaling card that has been die cut. I thought it would be cool to use a circle sentiment stamp inside the circle that has been die cut, but to help make the whole thing pop, I knew I would need to use my all-time favorite 3D Foam Squares White Regular to adhere the journaling card.

3D Foam Squares Regular

I hope that when my husband finds this card tomorrow, it makes him smile!

Thanks for stopping by!

Kimberly Crawford

Supplies-Adhesives-Scrapbook Adhesives by 3L (3D Foam Squares White Regular), Journaling card-Echo Park, Stamps-Technique Tuesday (Good Day), Enamel dots-My Mind’s Eye, Ink-Tsukineko (Memento Lady Bug)

Birthday Decoration – Number 4

Welcome, it’s Stephanie here today with a Birthday Decoration for a young little girl.

I will show you how I made a birthday decoration for my daughter by using a lot of cute little embellishments and different supplies from Scrapbook Adhesives.


1 – This is my base, a number 4 I painted with white Gesso.

2 – I used Chalk Edgers from Ingvild Bolme to color it in a ombre look of red/rosa.

3 – Then I used a stencil and Modelling Paste to create little roses.

4 – Next step was to varnish the surface with acrylic varnish.

5 – Applying the photo by using the Regular Size White 3D Foam Squares from Scrapbook Adhesives by 3l.

6 – I added the photo an some pearl sticker. For the little crown I also used the 3D Foam Squares


7 – To fix the white roses ribbon I used the MyStik Permanent Strips Dispenser

8 – Each circle and button I adhered with the 3D Foam Squares Small White

9 – More fun with Foils and 3D Foam Hearts

10 – I combined a butterfly and a ballerina by using the Dodz Adhesive Dots Small

11 – I adhered them on the number with the 3D Foam Squares Small White

12 – For the glitter on the ballet skirt I applied some adhesives with the E-Z Dots Permanent refillable dispenser and filled it off with pink glitter.

As you can see I also used some sticker and more pearls and other sweet things like little girls like it. The birthday of my daughter is already gone and I can tell you she was very very excited about her Number 4.

Thanks for visiting and have a nice creative day!

Save

Best Wishes Card

Hello, Christine here today with a best wishes card.

Once I assembled my card base and die cuts it was simple and speedy to construct using the new E-Z Runner® Permanent Strips Refilliable.   Should I run out of adhesive it is so easy to just slot in a refill, also all my dispensers are interchangeable – so handy for when my desk gets a little busy!  The pretty papers are Pink Paislee – Cottage Farms.  The die cut curve is created with Spellbinders® A2 Scalloped Borders.

By using the small black 3D Foam Squares I was able to raise the sentiment frame created from Spellbinders® Labels Twenty.

The finished card with Bitty Blossoms and Foliage.

A close up photo.

Thank you for stopping by today.  Here is a list of the brilliant sticky products I have used.

E-Z Runner Permanent Strips Refillable dispenser3D Foam Squares Small Black -1613

Butterfly Suncatchers

Hello everyone!  It’s Kelly here with a fun summer craft that will brighten your day!

With summer in full swing, I thought it would be fun to ‘catch’ some sunshine with these pretty butterflies…

The black butterflies were cut with my Cricut from black card stock, and I used two adhesives in my design:

Here is a video tutorial that shows you how easy it is to make these pretty butterflies with supplies you probably have on hand:

You can also click on this to watch it on YouTube: BUTTERFLY SUNCATCHERS

I hope you are enjoying lots of summer sunshine wherever you are!

Kelly  (aka KellyCreates)

Thank You!

Hey there!  Ashley here today to give you another card that uses more than one adhesive type!  Here is the card:

Here are the instructions on how to create this card.

1.  Make your card from cardstock and adhere the patterned paper with the E-Z Dots®Permanent Refillable runner.

2.  Stamp your sentiment onto canvas and trim.

3.  Place your canvas on an Adhesive Sheet to make sure you get even adhesive coverage that will hold your canvas tot he card and adhere it to the card.

4.  Lay your piece of lace down and adhere Crafty Power Tape to the top edge, remove the backing and adhere to your card.

5.  Tie burlap twine around the card and add pearls to finish it off

There you go!  Hope you have a wonderful day!

Ashley Harris

Supplies:

Cardstock: Bazzill Basics Paper

Patterned Paper:  Basic Grey Hipster Collection

Clear Stamps:  Simon Says Stamp!

Dye Ink:  Close To My Heart

Lace and Twine:  May Arts

Pearls:  Kaisercraft

Canvas:  misc


Romantic Layout – Beauty

Hello there!

It’s Stephanie here today with a romantic layout made with the Hope Chest kit from Pink Paislee.

It was a great pleasure to work with it and I’m so in love with the golden alpha stickers. They glisten so lovely in the light!

For the layering behind the photo and the left corner I cutted some flowers out of the paper and I also used some journaling cards and butterlies. To adhere the paper I used the MyStik™ Permanent Strips Value Pack – 1 Dispenser + 2 Refills.

Material:

Scrapbook Adhesives by 3L: My Stick Permanent Stripes

MyStik Permanent Strips Value Pack 1-2

Pink Paislee: Hope Chest Kit

Thanks for visiting and have a nice day!

You Inspire Me

Hi There!

Shell Carman here to share a step by step to create a shabby chic mixed media page

Steps 1-9

Steps 10-18

1. Start with Kaisercraft Base Coat 1 Bark as the background. Use gesso, paint & Shimmerz Texturez with a mask to create a mixed media background.

2,3,4 Apply a thick piece of lace to Adhesive Sheets 6X12″ . Start by slowly peeling back the yellow liner. Stick down lace as you go until the yellow liner is completely peeled off. Firmly press/rub lace onto adhesive sheet. Remove lace from adhesive sheet (the adhesive will have rubbed off onto lace) Apply lace to the page so it is slightly crumpled. Use the E-Z Runner Permanent Fine Adhesive to stick down any lumpy bits.

5,6 Use the E-Z Squares Refillable Dispenser to stick down X 2 pieces of 2X4″ Kaisercraft True Romance Lovestruck paper

7,8 Alter the Imaginarium Designs clockface without centre & hands using paint & Shimmerz Texturez. Cut the Clock in half. Stick down using E-Z Dots Mini Permanent. This is a perfect adhesive to use on curves & chipboard as it is very flexible.

9,10 Place Photo Corners Classic Style White on the corners of a Black & White 4X4″ photo (distress edges of photo). Use Crafty Foam Tape to stick photo down

11,12 Use Crafty Foam Tape & 3D Foam Squares White Small to stick down True Romance Collectables & Tag

13,14 Use Dodz Medium to stick down a variety of flowers.

15,16,17 Use Adhesive Sheet 6X4. Peel off yello liner & place Imaginarium Designs Chipboard Phrase You Inspire Me face down. Press firmly so that adhesive transfers to chipboard. Sprinkle some fine glitter in a glitter tray & place the phrase sticky side down so that glitter transfers onto chipboard. Use E-Z Dots Mini Permanent to stick phrase onto tag.

18. Stick Butterflies down using 3D Foam Squares White Small


Scrapbook Adhesives by 3L Products Used
E-Z Dots Mini Permanent Adhesive Sheets 6x12 Adhesive Sheet 4 x 6" Dodz Medium E-Z Squares Refillable dispenser E-Z Runner Permanent Fine 3D Foam Squares White Small

Other Products
Kaisercraft Base Coat paper, True Romance Paper, True Romance Collectables & acrylic paint
Prima flowers & mask
Imaginarium Designs Chipboard
Shimmerz Texturez

Thanks for looking!
Shell Carman Another Scrappy Day

Anniversary Duo

Hello – it is Christine here today, I’ve been absent for a while but happy to be back and sharing a very clean and simple project today.  It is a pyramid gift box with matching gift card.  Each one features the superb 3D Foam Hearts.  These little gift box templates can be found on the internet or in magazines.

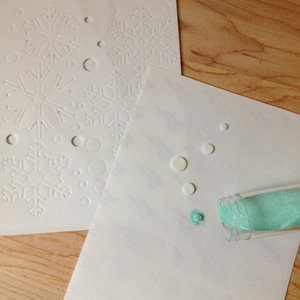
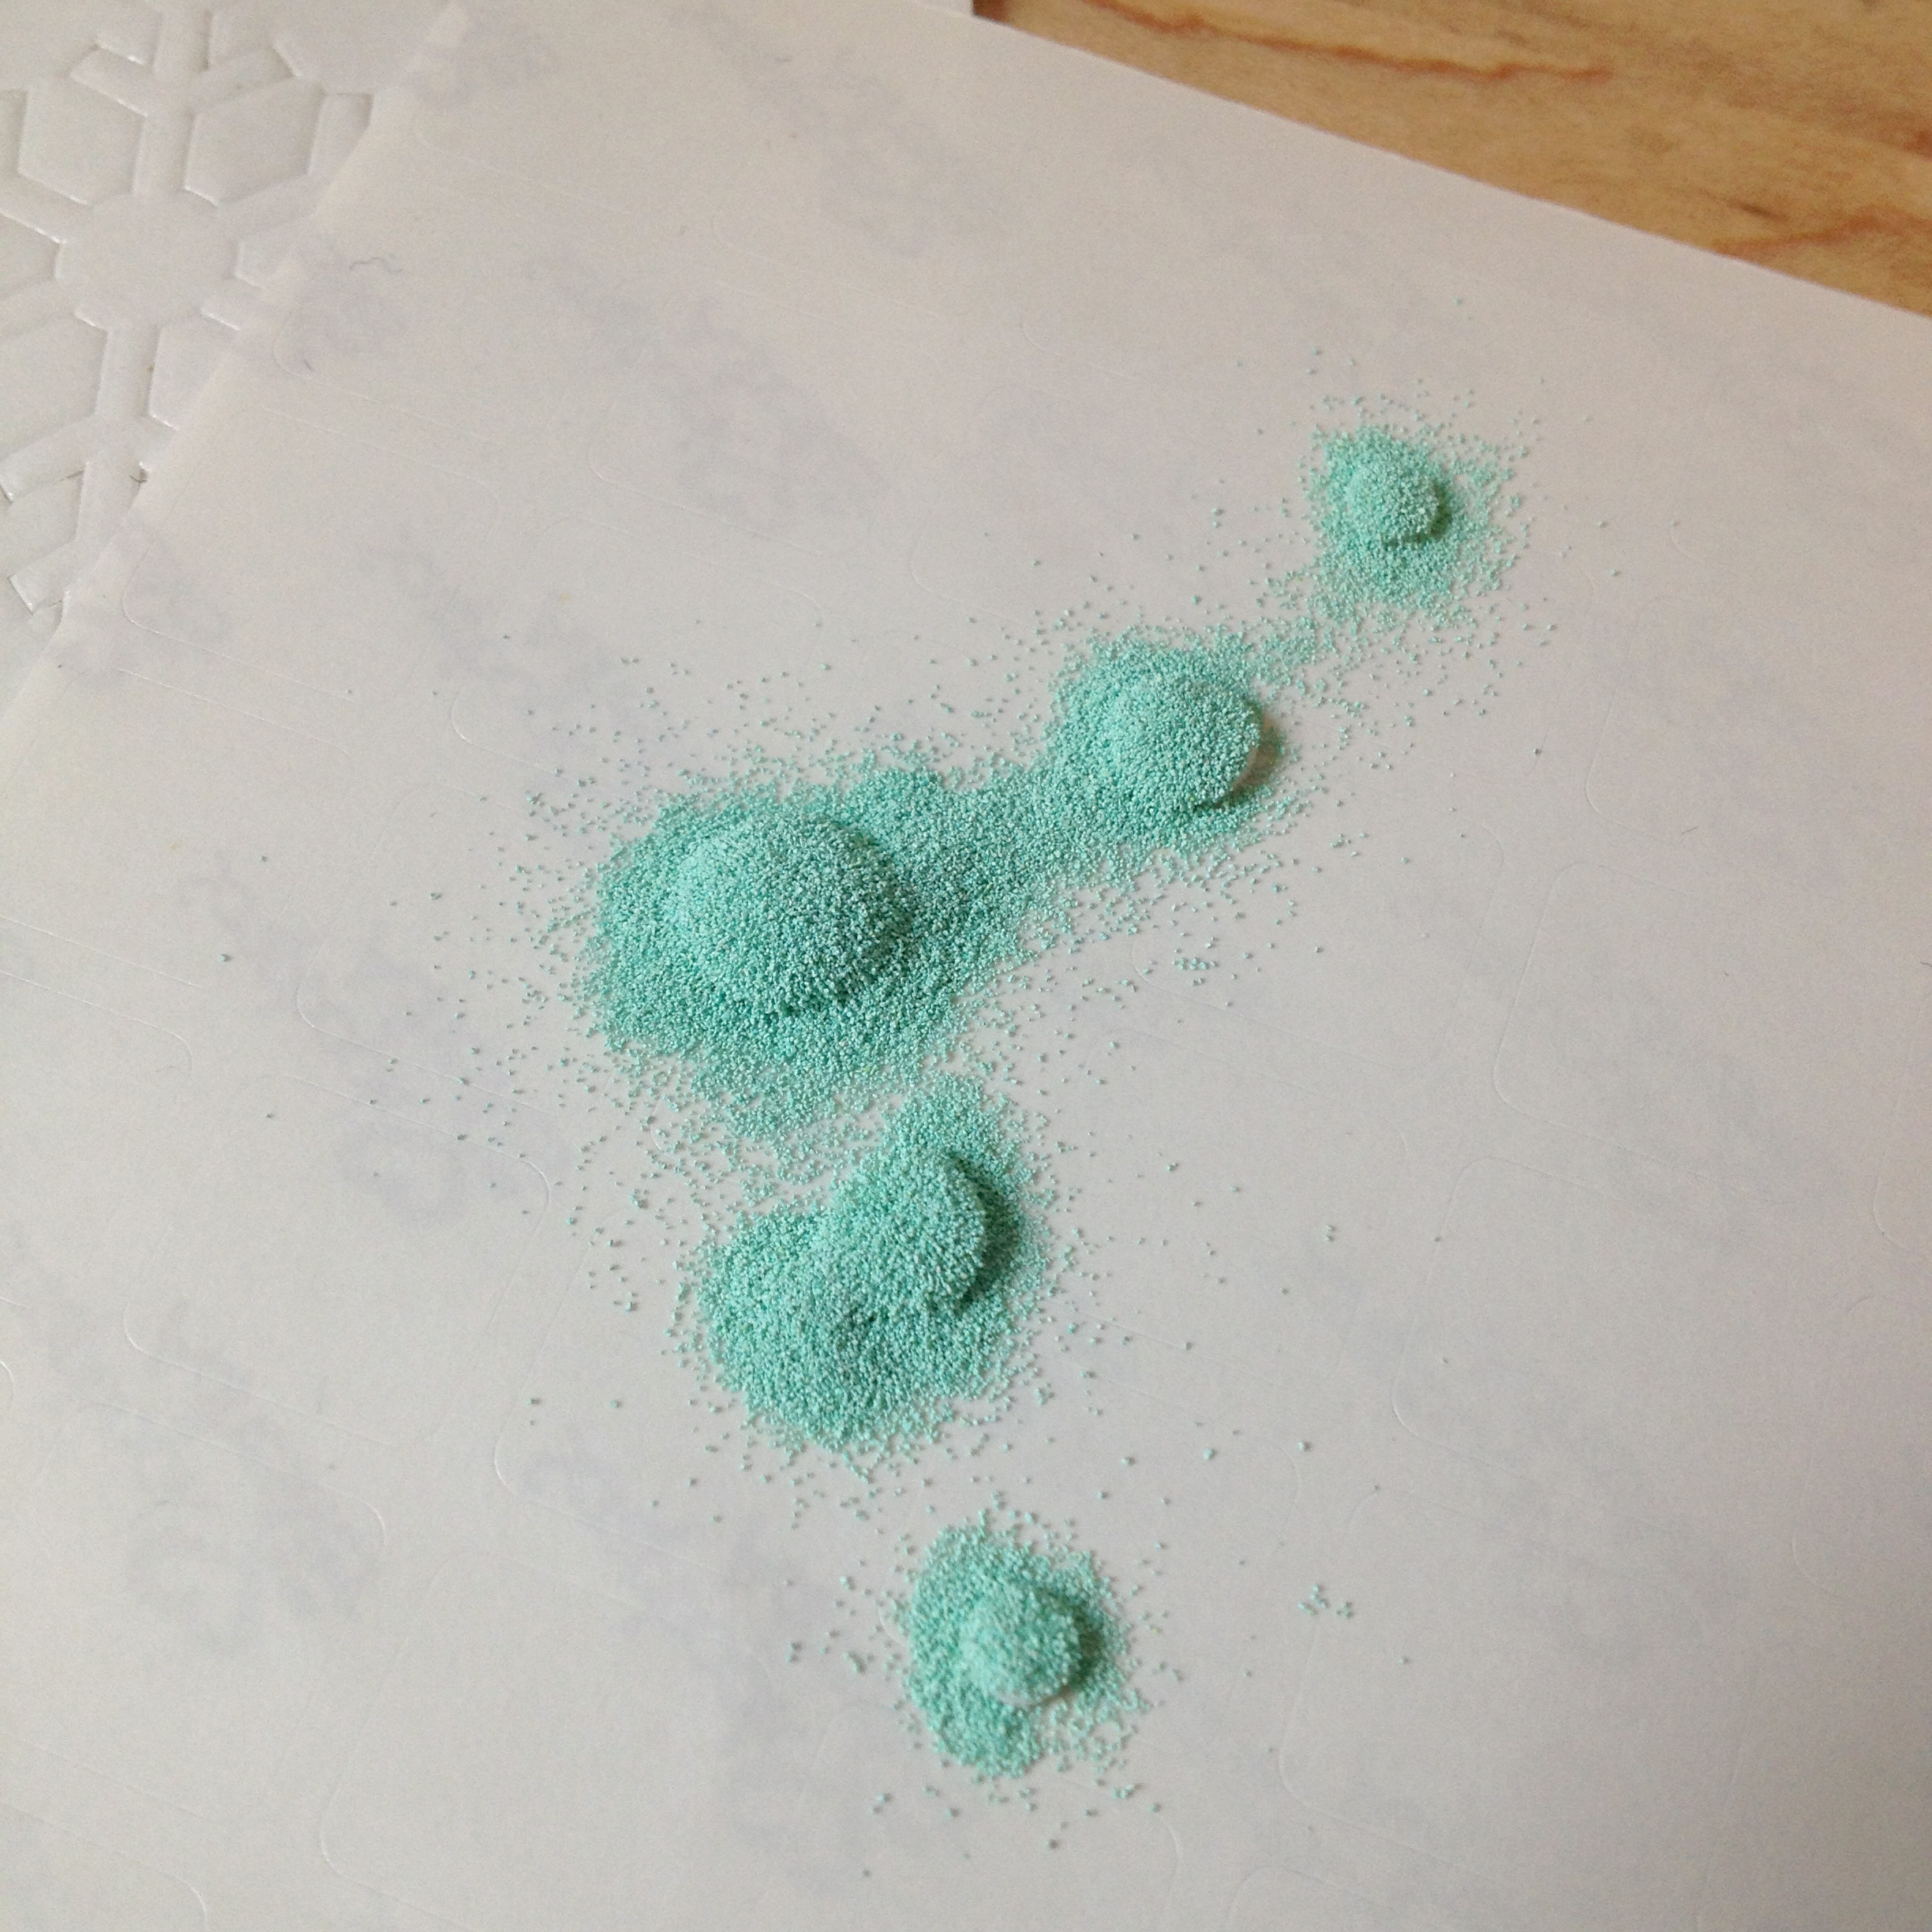
I have chosen to heat emboss the 3D Foam Hearts using silver embossing powder, I love the metal-like effect.

The card is simply stamped and the single petal flower is Spellbinders® Jewel Flowers and Flourishes – the colour is picked up by the ribbon on the top of the box.  Affix the flower with a 3D Foam Square.

An ideal project for weddings too, table favour gift boxes.

Thank you for joining me today – here is a list of the super sticky products I have used.
3D Foam Squares Regular3D Foam Hearts