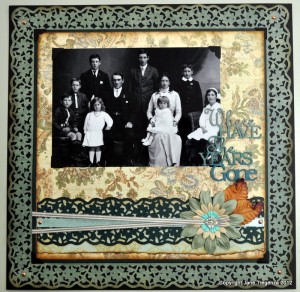
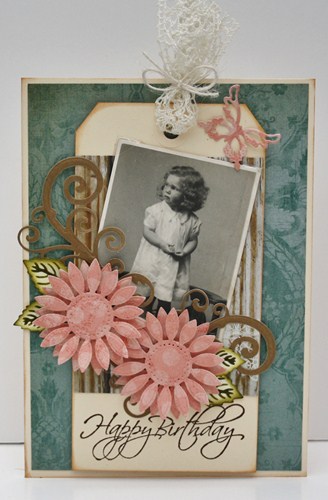
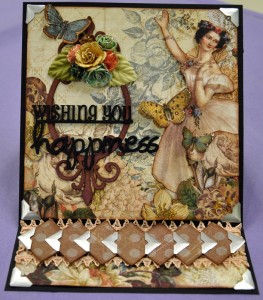
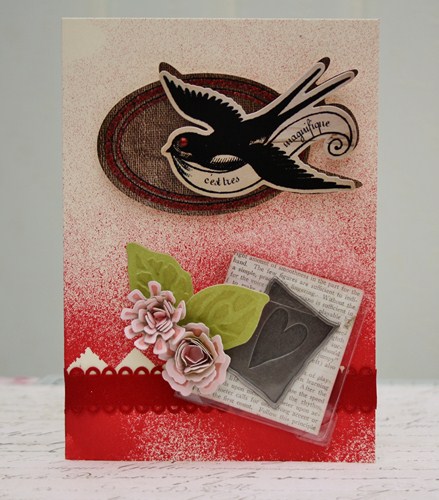
Hello Everyone, today I have a family heritage layout done as part of my family album. For this vintage layout I used papers from K&Company. The photo is of my Grandfather when he was about 5 years old. He is the one sitting down on the left.
Making a Vintage Scrapbook Page
I used a border and corner punch set to punch all around the page. The trick to get it to go all the way around the page is to make sure your paper is the right measurement before you start. Punch the four corners first then work your way around the page.
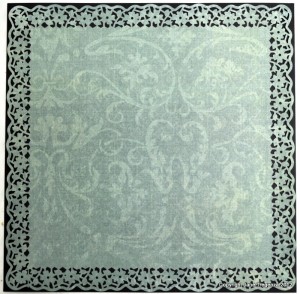
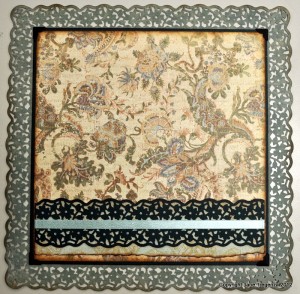
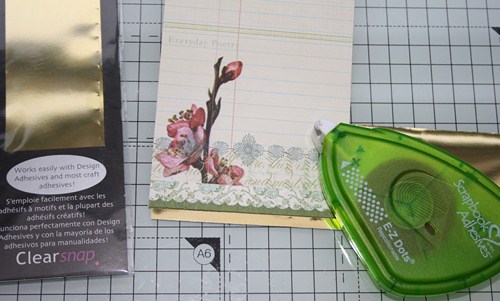
Next I cut a piece of print paper to 9 1/2 inches x 9 1/2 inches square. Ink around the edges using Distress Inks and a sponging block.

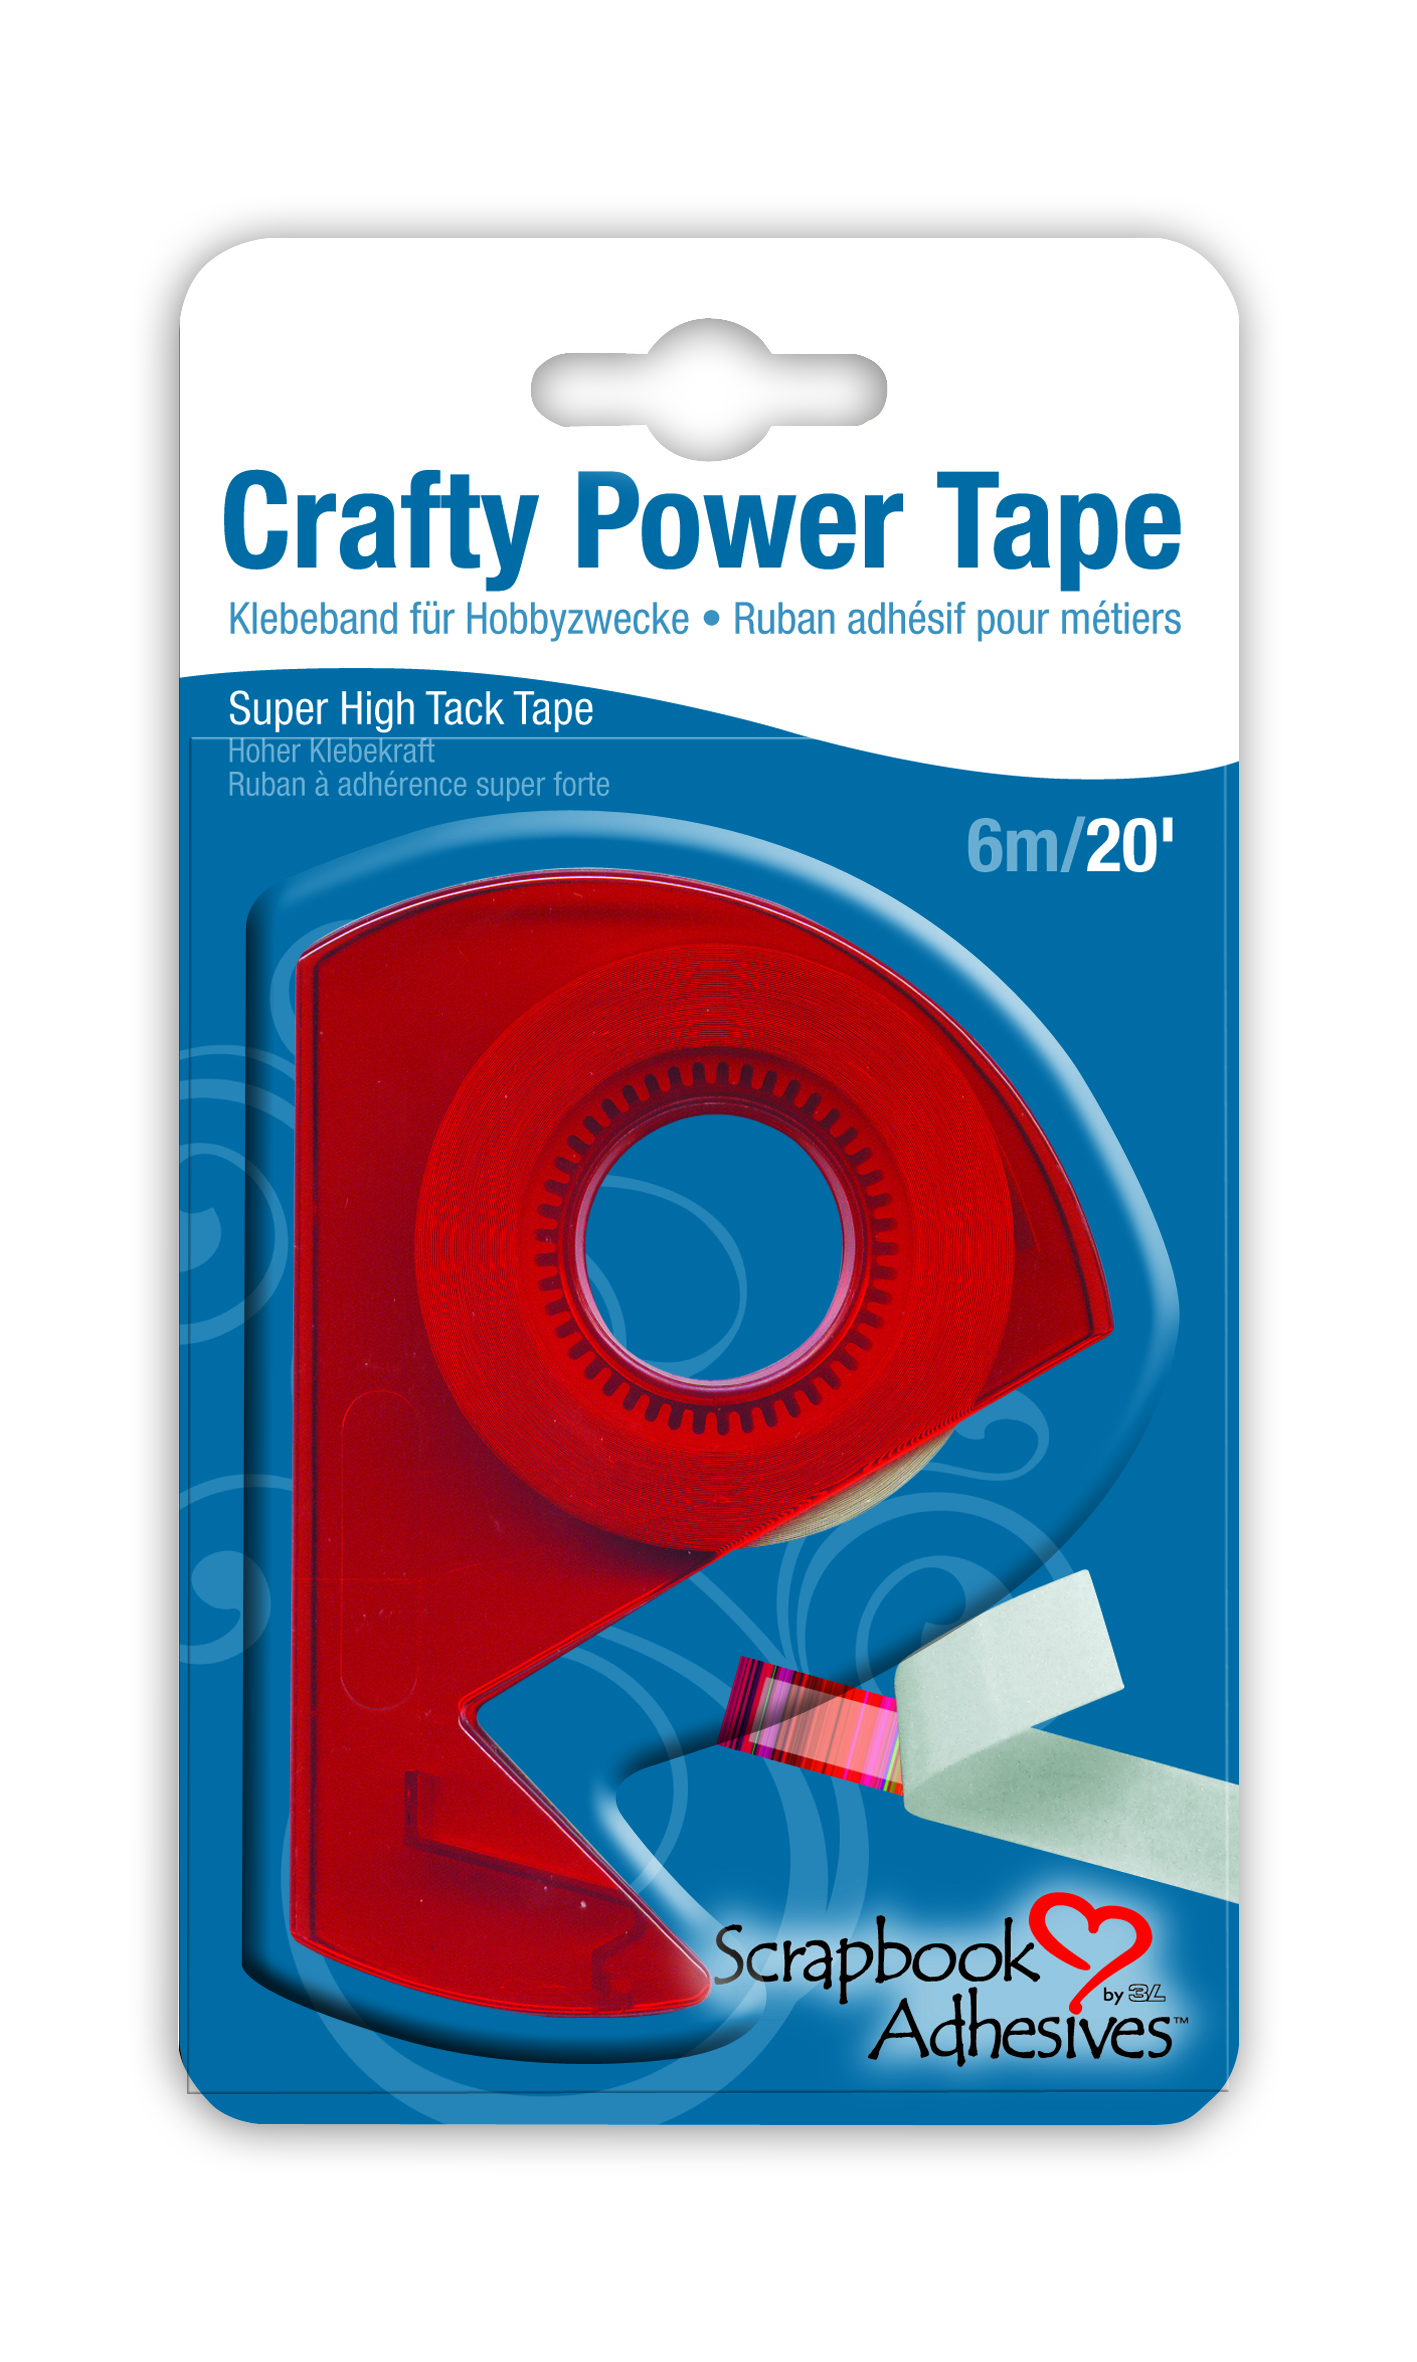
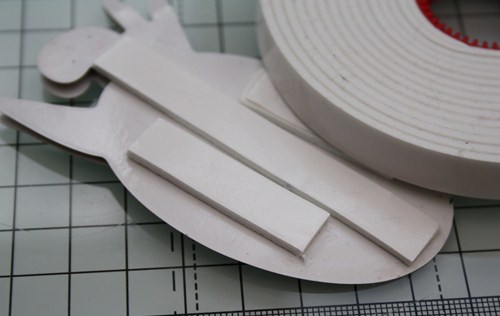
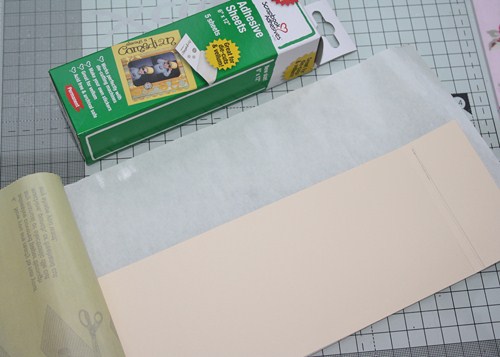
I used my E-Z Runner® Dispenser Combo set for this project. I used the E-Z Squares®, it as 650 tabs of permanent double-sided adhesive squares. It was perfect for this project as I didn’t want tape all the way around my papers.
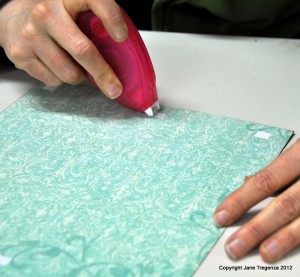
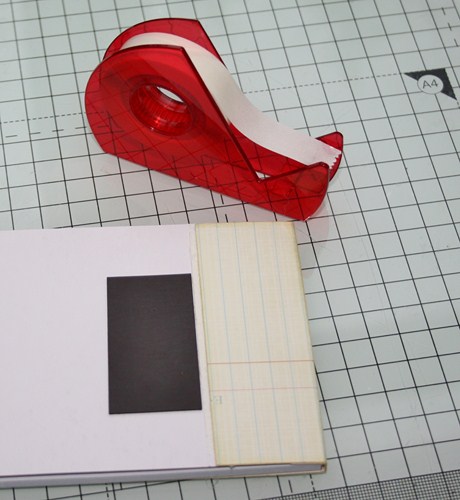
To start, cut a piece of cardstock to 9 3/4 x 9 3/4 inches and inked around the edges. I used the E-Z Squares again and placed three along each side of my cardstock square. I made sure I didn’t put any in the corners as I wanted to add some photo corners. Then I adhered this to my punched print paper in the middle making sure I had it in the middle. On top of this I added my smaller square of print paper.
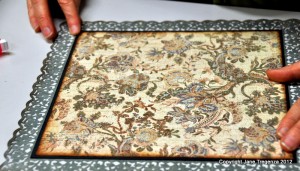
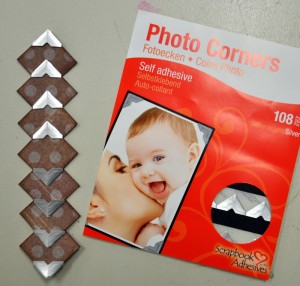
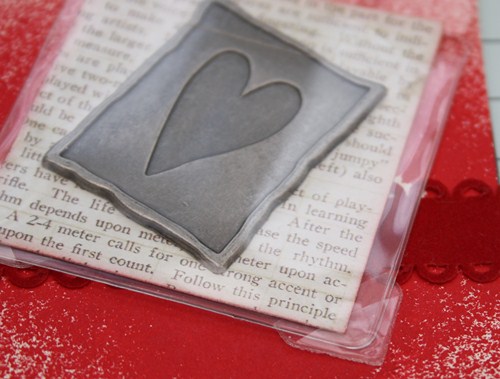
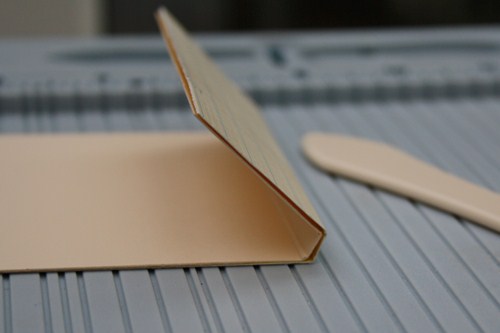
I lifted up the corners and added my favorite Scrapbook Adhesives by 3L product – Creative Photo Corners Black. Because I didn’t put my adhesive tabs in the corners it was easy to add the photo corners this way. I find this easier than adding the four corners to my print paper and then try to get it onto my layout straight and with the photo corners in the right place.
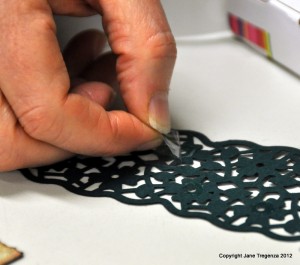
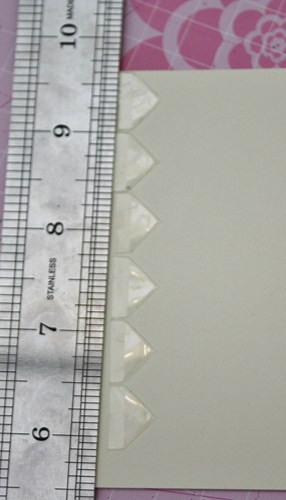
From a spare piece of cardstock I cut a border using my punch to match the border around my page. The punched border has little flowers as part of the design. I turned it over to the back and using my Adhesive Dots Small, I put one over the hole in the middle of the flowers all the way along the border. I then turned it over and added it to a another piece of print paper which I had cut slightly wider than the punched piece.
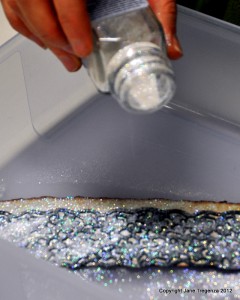
Next I placed it in some glitter, the holes in the middle of the flowers picked up the glitter and gives my border a sparkle. I shook off the excess glitter.
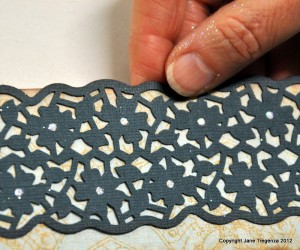
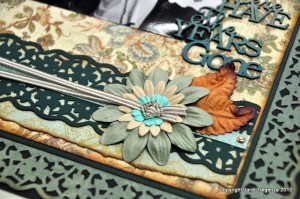
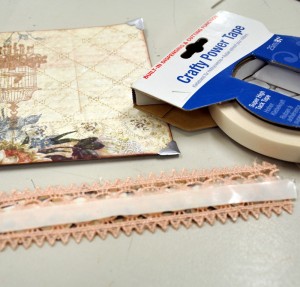
Crafty Power Tape was added as a strip of tape down the middle of the border. Then I added teal ribbon. I find this the easiest way of adding ribbon to my layouts, rather than putting the tape on the back of the ribbon.
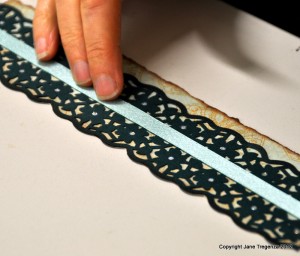
Then I adhered the finished piece to my layout near the bottom of my central print paper.
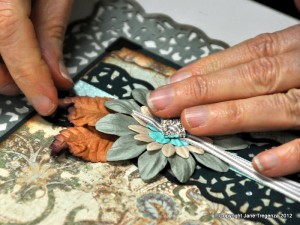
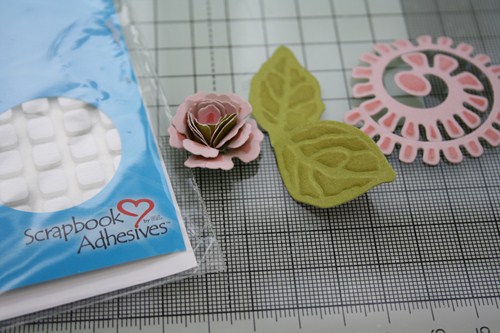
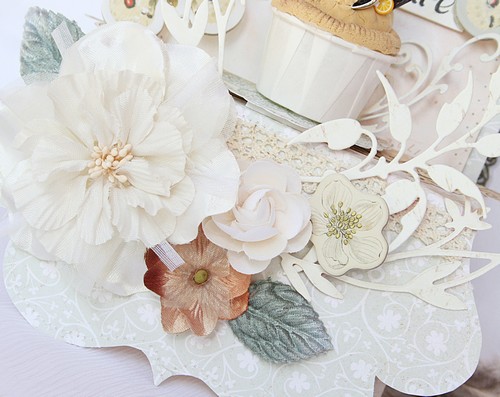
 Paper flowers were used with Adhesive Dots Small between the flowers, as I layer them on top of each other. I placed the finished flower over my ribbon again using my Adhesive Dots again.
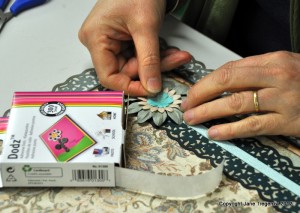
A thin striped ribbon was chosen, and cut two pieces the length of my page. I chose a buckle and threaded the ribbons onto it. I used an Adhesive Dot to to adhered the buckle it to the middle of my flower.
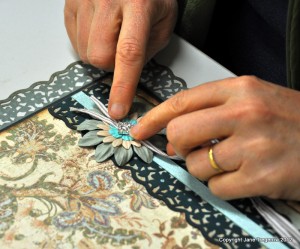
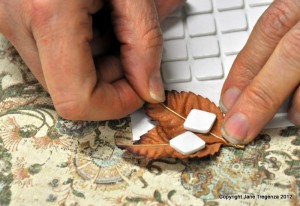
Next I stretched the ribbons across my page and fanned them out each side of my teal ribbon. I tucked the ribbons to the back of my center square and used my E-Z Squares to stick the ribbons down.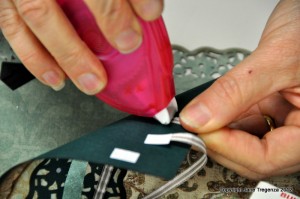 3D Foam Squares were attached to my leaves. I lifted up the petals of my flowers and slipped them under.
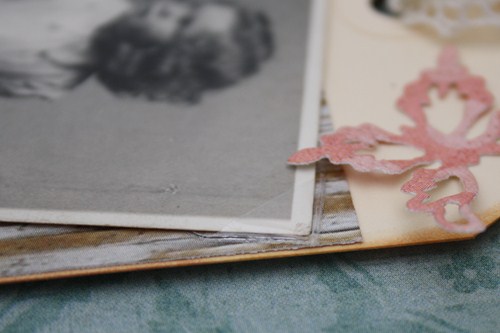
 To finish my layout, I added my photo using Creative Photo Corners Black. I inked a title from to match my print papers and added it over the photo.
Oh the colours, and the way the layout came together! Using Scrapbook Adhesives by 3L made the layout so easy. I really do love the photo corners and I use them on just about every layout I do.
Thanks so much for looking
Jane Tregenza
Materials Used
Save
Save


