Its summer time at the lake, and it’s almost Fathers Day too! I wanted to make something for my dad to decorate the lake house. I love text and signs, so I put the two together to make this “ON Lake Time” sign.
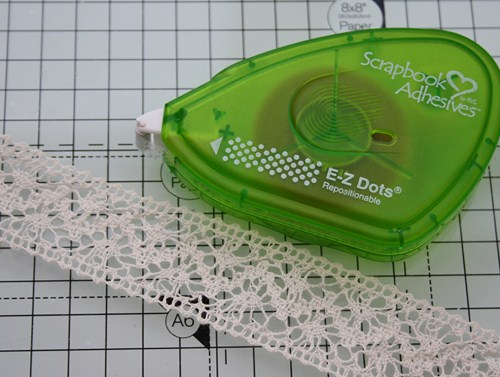
This project is unique because although I used E-Z Dots® Repositionable adhesive to create the sign, but there are no E-Z Dots® on the finished product!

This piece is a 10 x 10″ primed canvas. I painted a layer of light blue paint, the thinned it out with water to make the base. Next I typed, printed and hand cut the letters. Die cut letters or a digital die cut machine would work too!

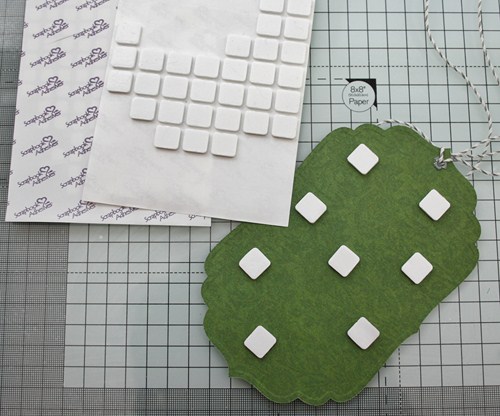
I applied E-Z Dots® Repositionable Adhesive to the back side of each letter.

Next I arranged the letters on the canvas, I used blocks of pink cardstock to make sure things were even and centered. I used E-Z Dots® to hold the pink cardstock in place too!

Once the letters were aligned, I simply removed the pink cardstock. I used a scrap of paper as a mask, with E-Z Dots® along the folded edge, so that the mask didn’t move.

I airbrushed with 4 colors of Copic Markers, from the bottom up to the mask with the lightest at the bottom.
Next, move the paper mask to cover the bottom section, and airbrush the top with the 3 lightest colors. I cut a cloud mask from paper, added E-Z Dots® to the edges and moved it around to create the sky.

I also made a mask of waves to use on the bottom section. Then I peeled off the paper letters, rubbed away any E-Z Dots® from the canvas. I rubbed sandpaper lightly over the surface for a more distressed look. Then I sprayed with clear Glimmer Mist (but should have left the letters on for that, as some of the paint from the first layer bled).
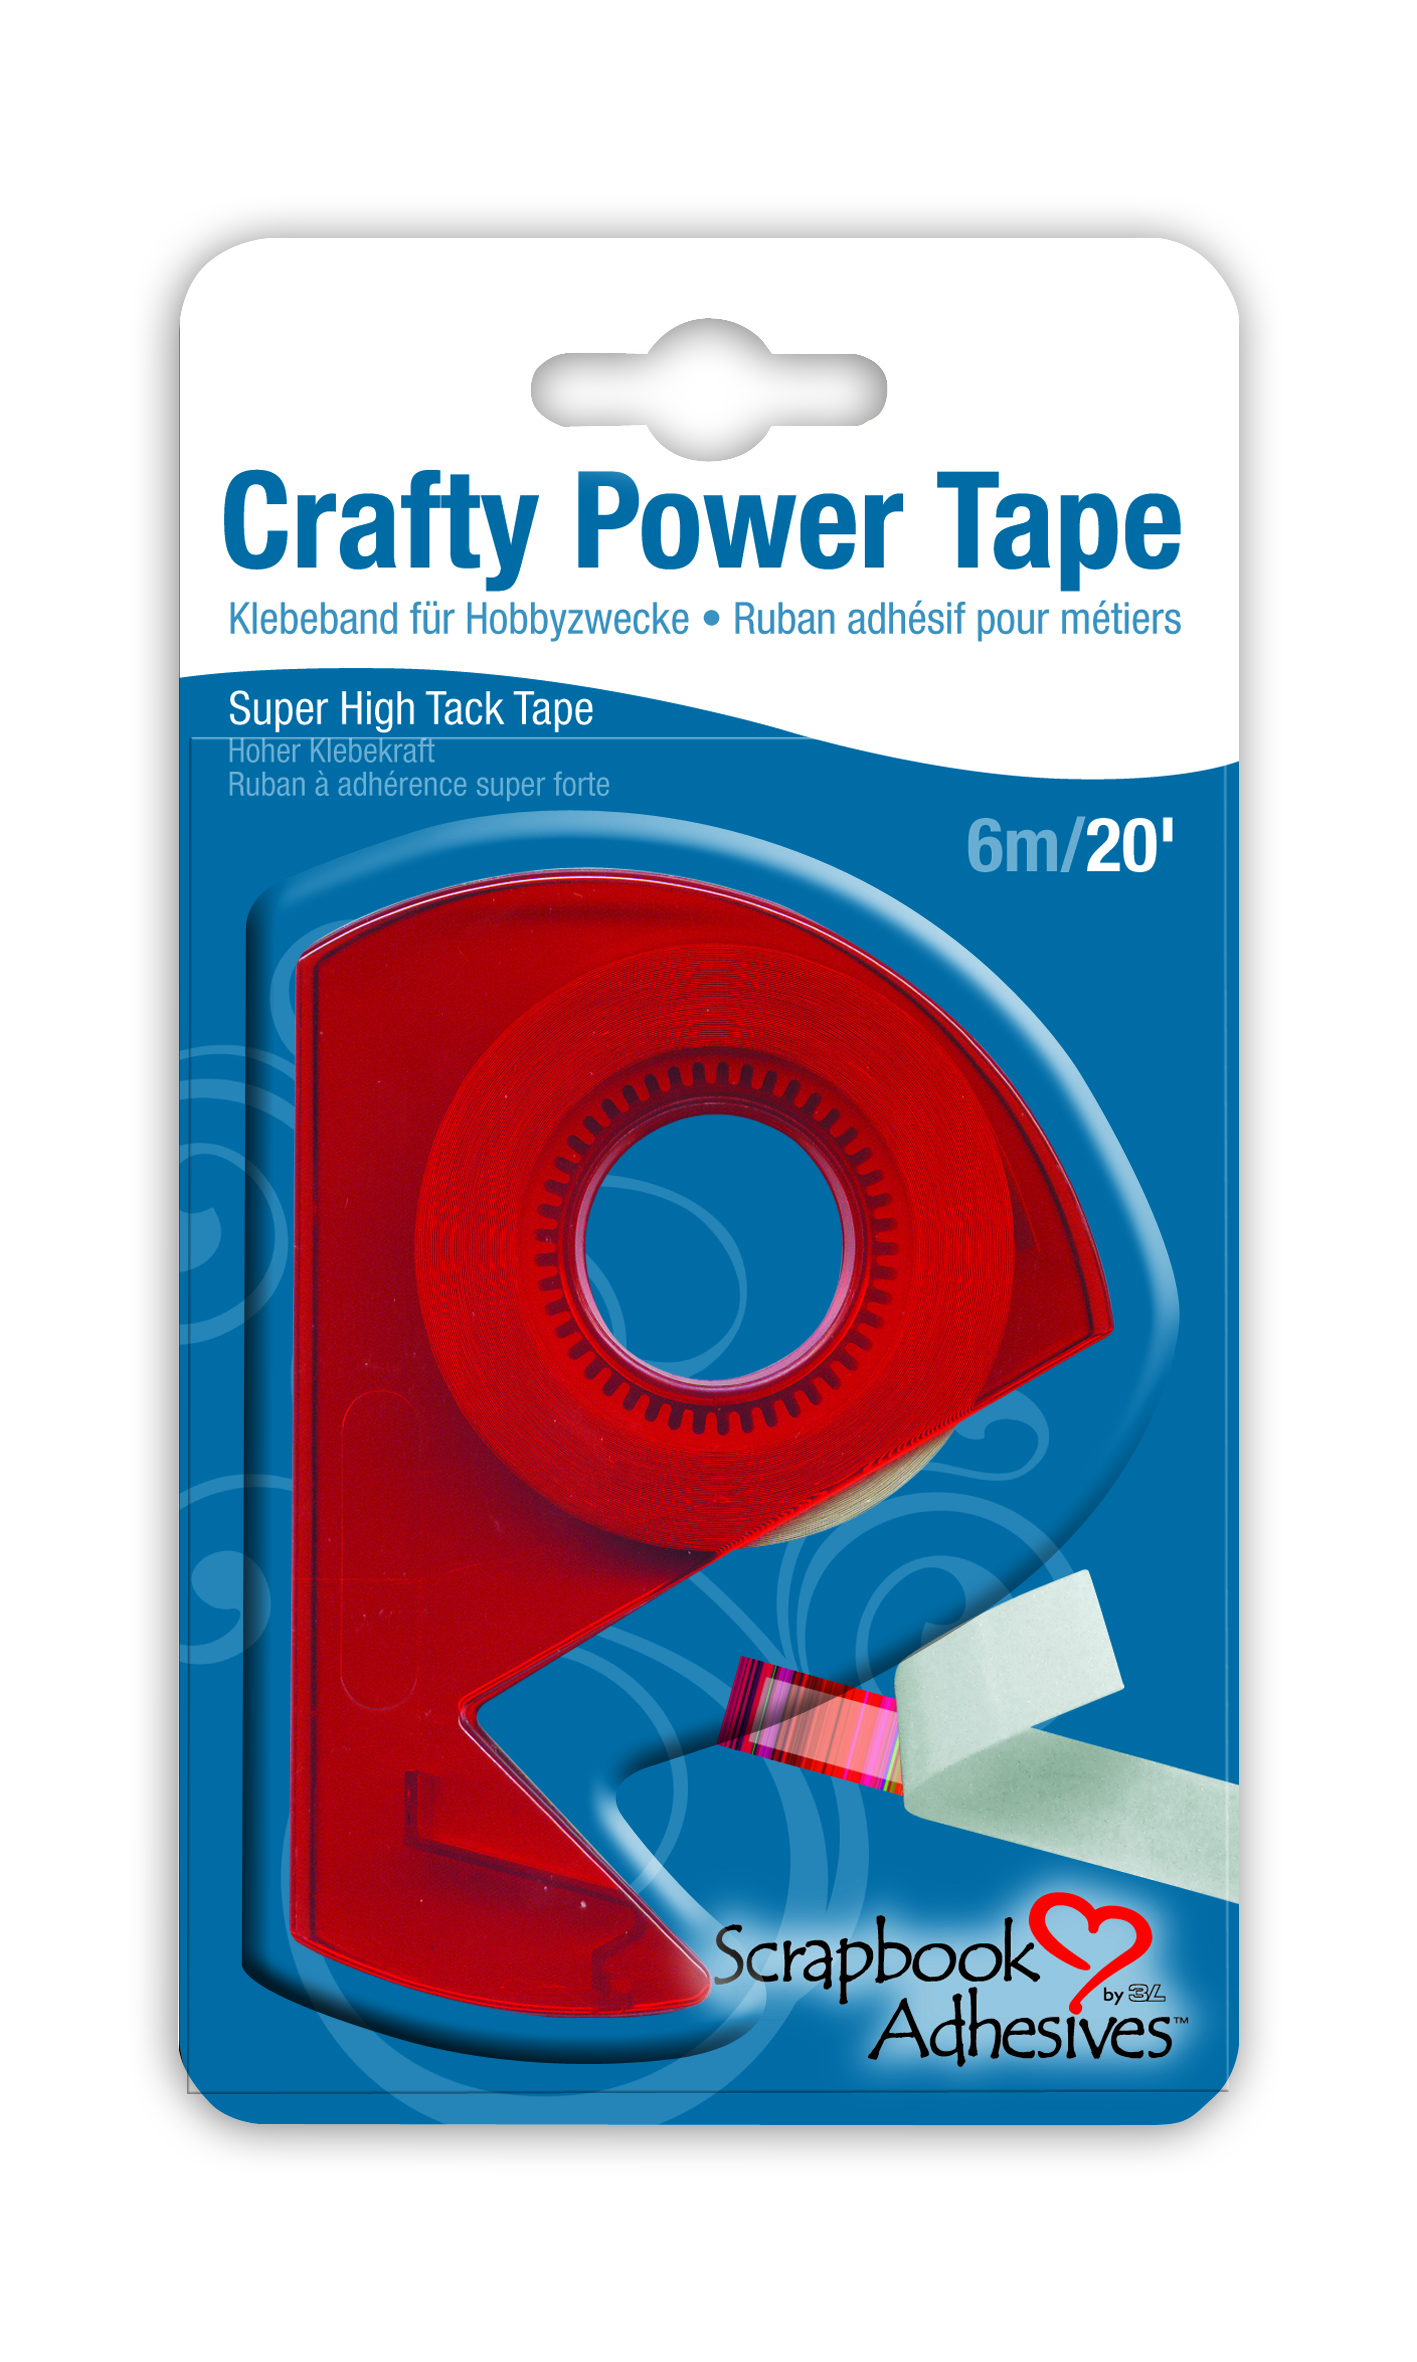
I finished the sides with blue ribbon from my stash, which I attached that with Crafty Power Tape.

Now you can see there are no E-Z Dots® on the finished project! I used them to hold down the masks while I created. Without E-Z Dots®, the papers would have moved, lifted and make a mess.
And it’s off to the lake we go!
Supplies used:
- Scrapbook Adhesives by 3L™:
- E-Z Dots® Repositionable, Crafty Power Tape
- Blick Studio: Traditional Profile 10 x 10″ Canvas
- Copic Markers: B93, B95, B97, B99, Airbrush System
- Tattered Angels: Pearl Glimmer Mist
- Making Memories: Fresh Anthology Country Blue acrylic paint
- Misc: ribbon
Happy Father’s Day!


