It’s Beth again, and I’m back with another Creative Photo Corner idea. Seriously, who knew they were so versatile? Let me show you how I used them to enhance this gate fold card.
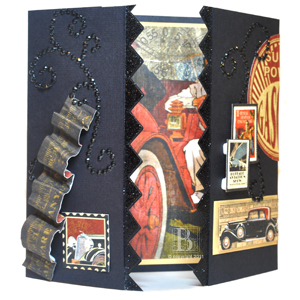
The Gate Fold Surprise!
This gate fold card opens to reveal the large car image on the inside center panel. It can be used to write a message to the car loving guy in your life. I used images from the Graphic 45 “A Proper Gentleman” to embellish the inside and outside panels. Some of the images fold with the card, and have dimension from 3D Foam Squares.
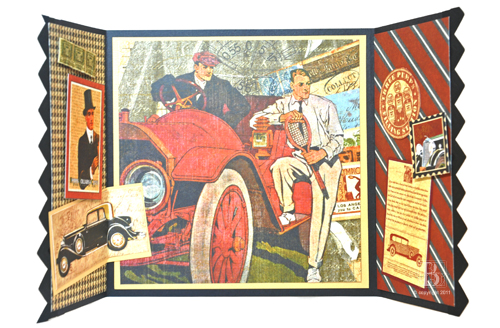 Most significantly, the Photo Corners align at the center when the card closes.
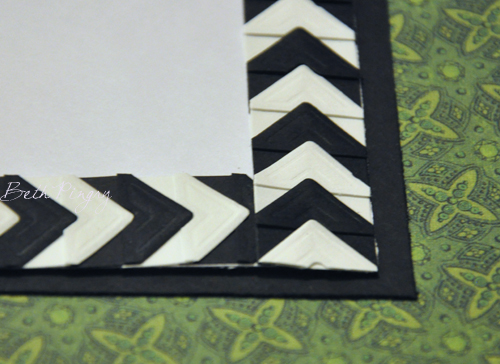
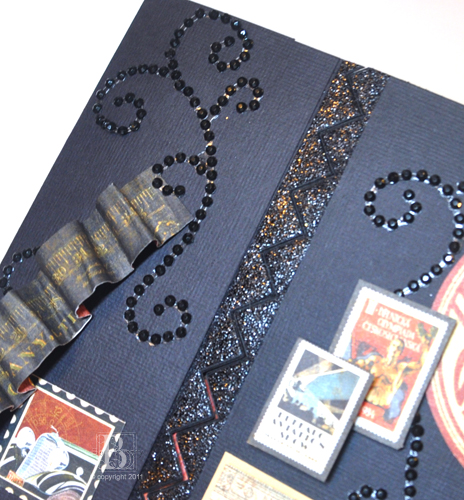 The Photo Corners were positioned so that the adhesive ‘back’ sides were facing up, and the ‘tab’ part is adhered to the inside flap, then covered with the patterned paper.
The exposed adhesive on the Creative Photo Corners was covered with embossing powder. Quick work with the heat tool set the powder to a glossy and sparkly finish.
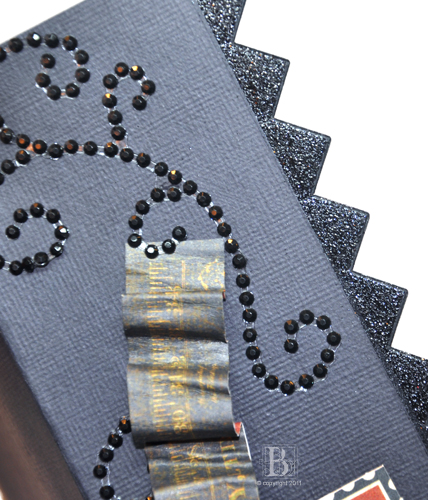
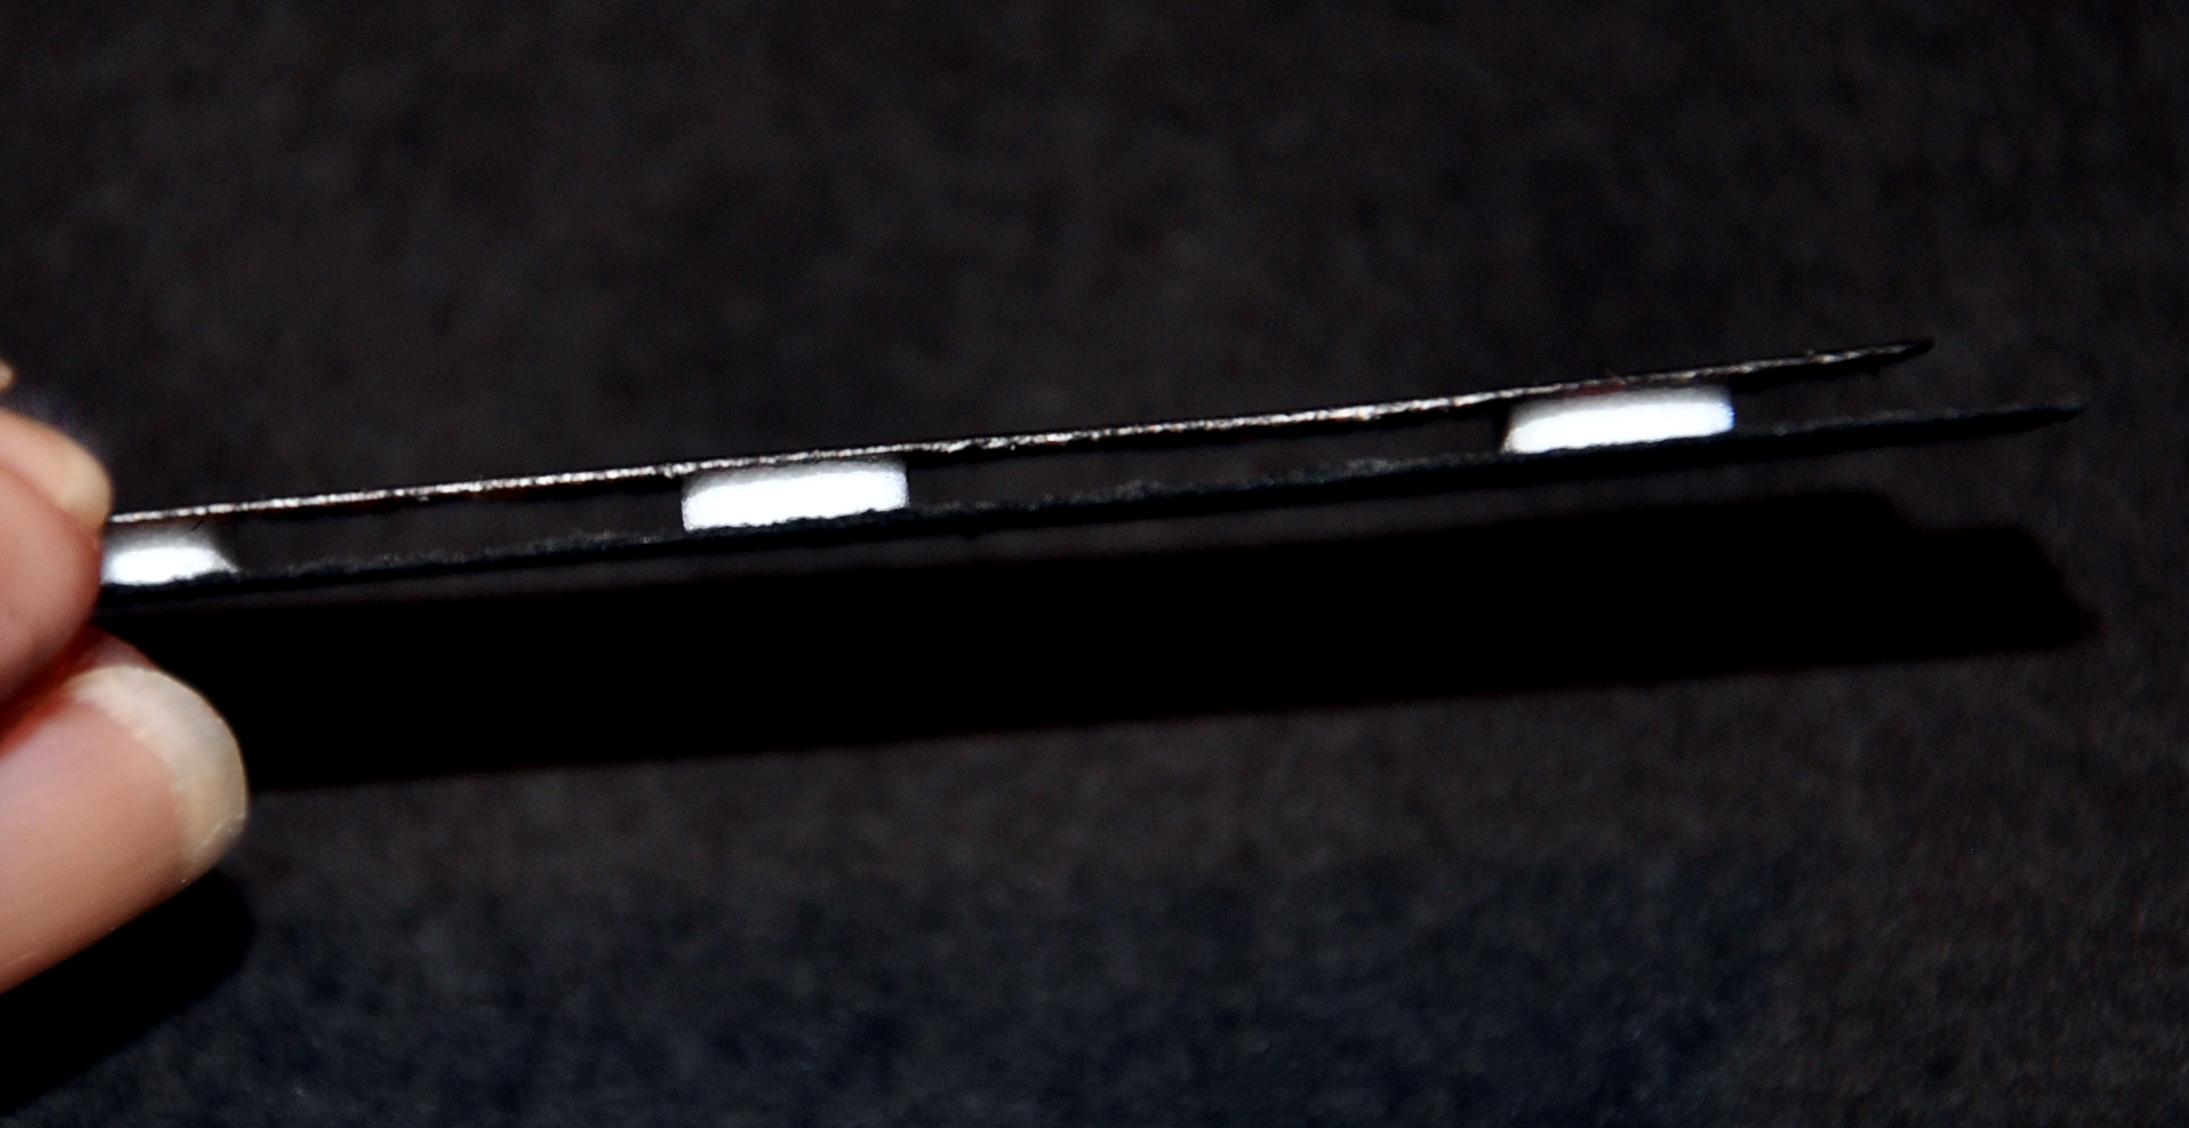
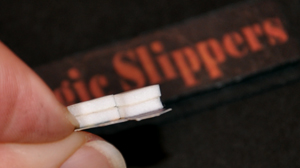
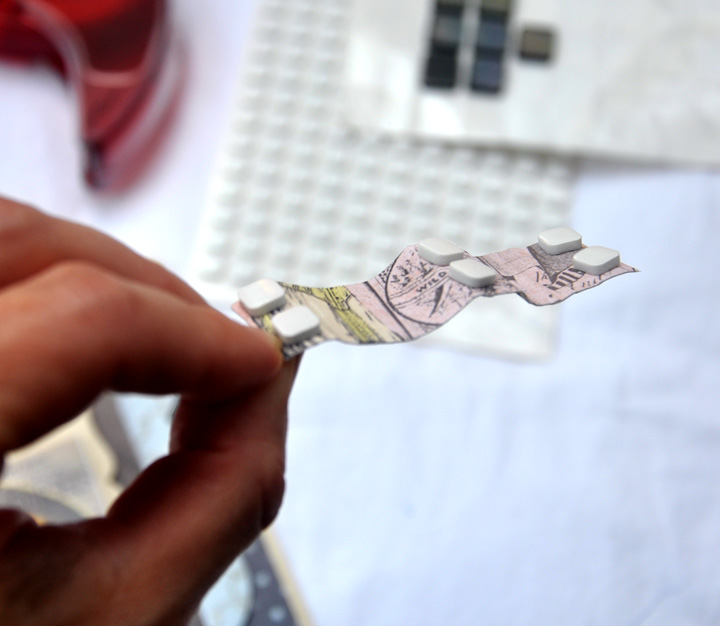
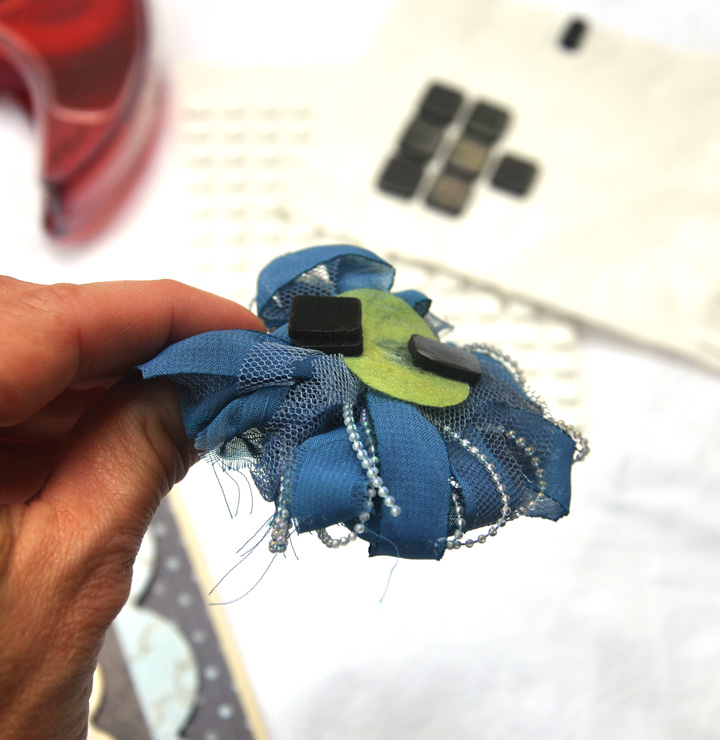
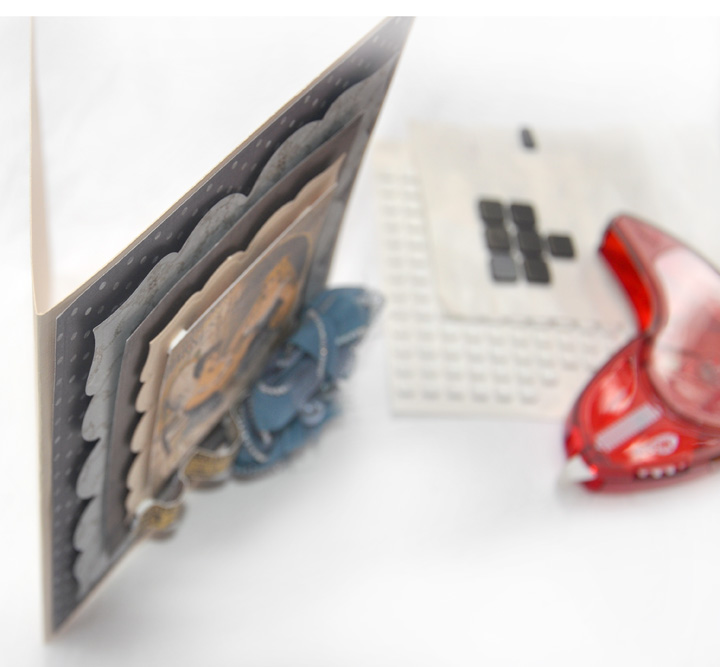
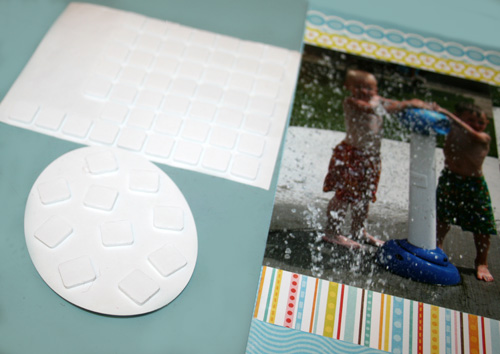
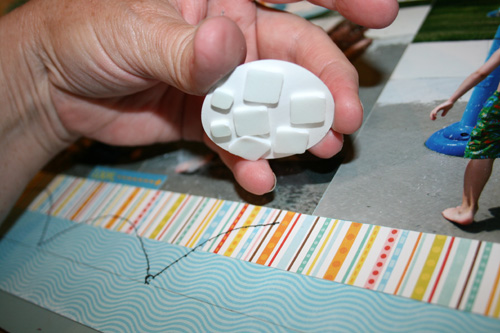
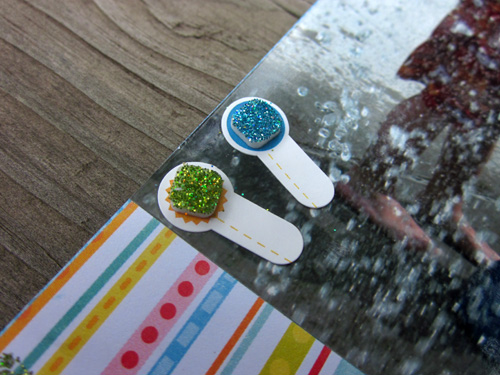
Next, I used 3D Foam Squares to add dimension to several pieces. For additional height and dimension, notice that I stacked the 3D Foam Squares on top of each other.
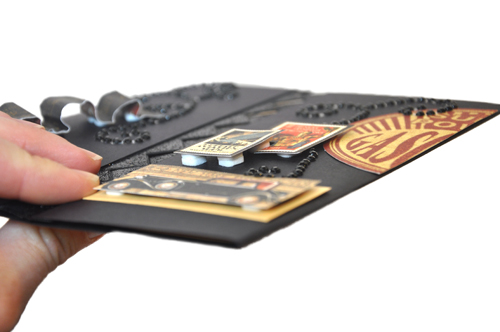
For a more stealth look, I could have used Black 3D Foam Squares, which would have blended into the background better. Hindsight is 20/20 you know!
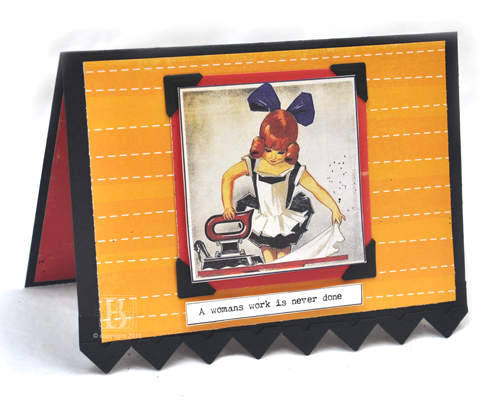
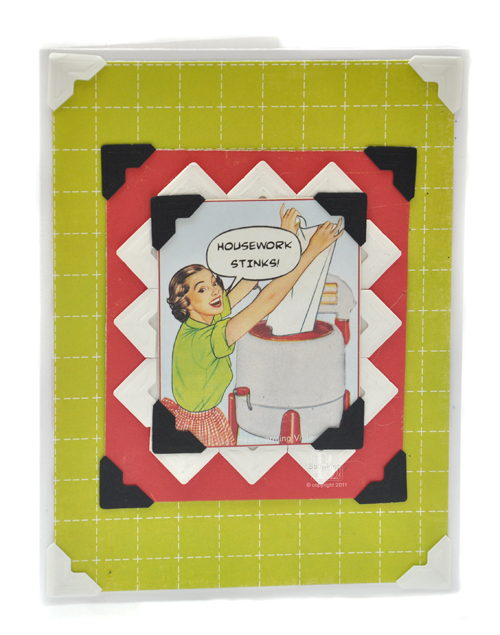
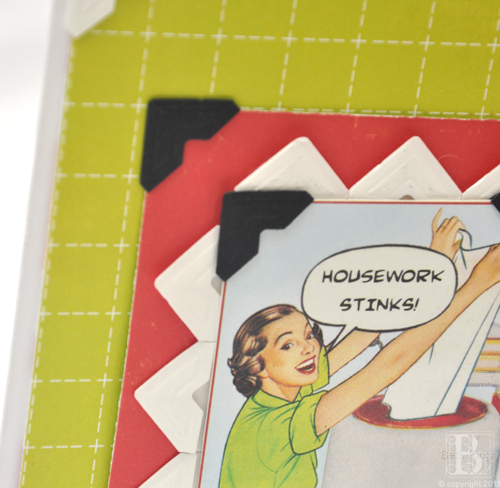
The zig-zag look of the Photo Corners along the opening of the card adds an unexpected element to an ordinary card.
- Creative Time: 1 Hour
- Skill Level: Intermediate
Supplies:
- SCRAPBOOK ADHESIVES BY 3L: Black 3D Foam Squares, White 3D Foam Squares, E-Z Runner® Permanent Strips, Black Creative Photo Corners
- Graphic 45: A Proper Gentlemen paper pack
- Sparkle N’ Sprinkle: Ebony Spark Embossing Powder
- WorldWin: Black, Maroon, Honey Cardstock
- Want2Scrap: Say It With Bling, black rhinestones
Thanks for stopping by!
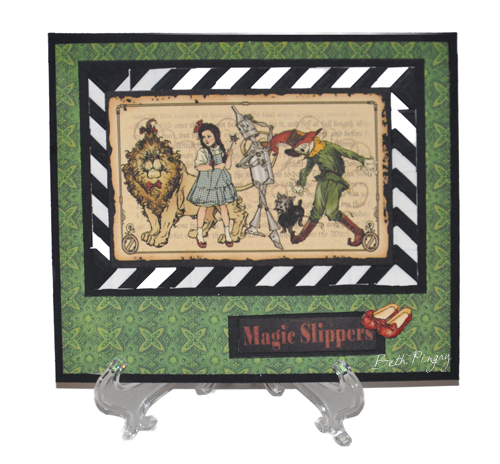
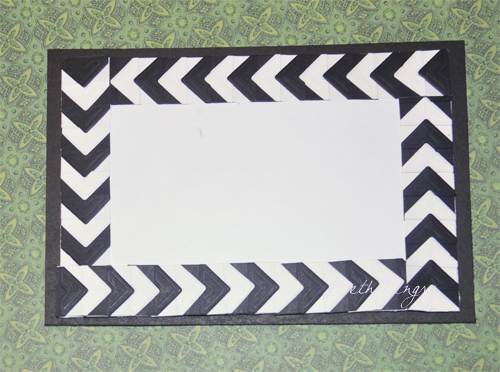
 I cut out the image from the patterned paper pack and then cut out a mat about ½-inch wider and longer than the frame.
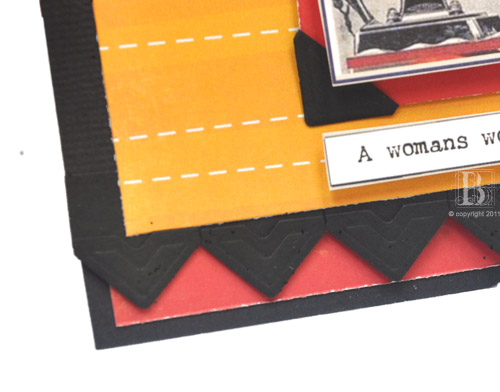 The thing with Photo Corners is that they have adhesive on the back side of them. If you used them the normal way, they stick to paper. Since I didn’t want my card stuck shut, I had to figure out a way to use the adhesive to my advantage.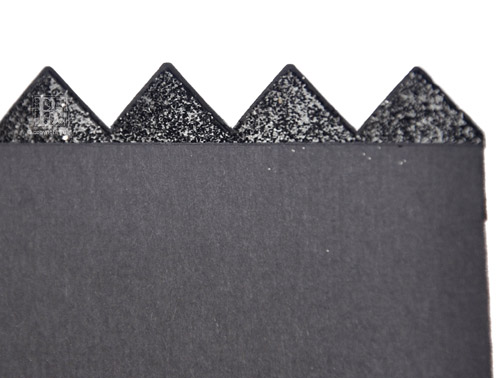
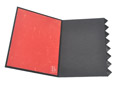 So that when the card is closed, you can really see the fun edge the Photo Corners make when lined up next to each other!
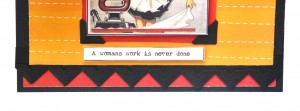 And when the card stands open, it stands on the points of the Photo Corners! You can appreciate the embossed design on the front of of the Corners too!
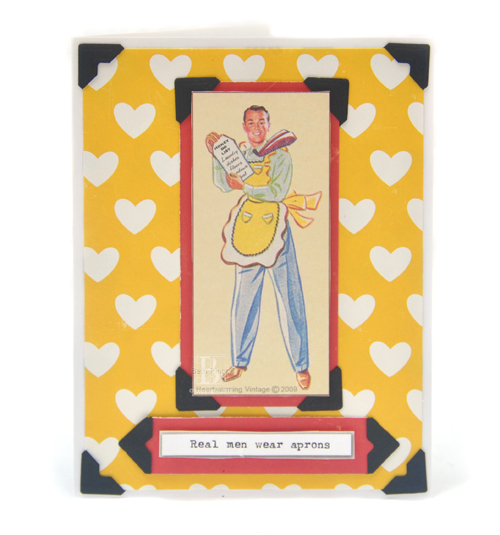 My second card starts with the Honey Do List Guy mounted onto red paper using 3D Foam Squares, then mounted onto the heart patterned paper (Cupcake Casey) and the card front with Black Photo Corners.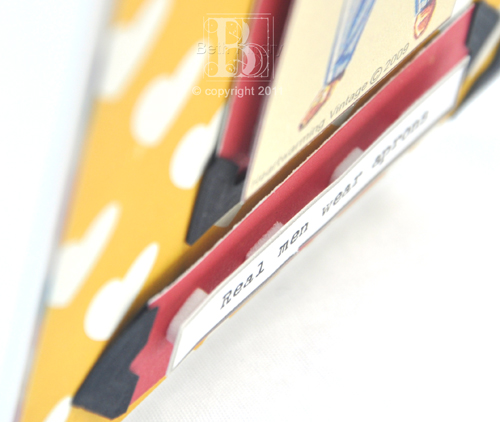
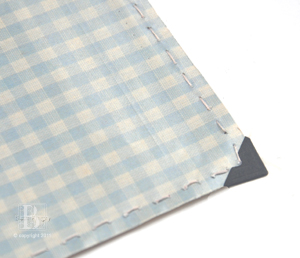
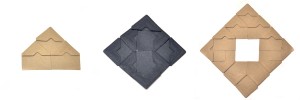 For the larger black square, I didn’t like the way they lined up on their own so I cut a square and aligned the edges of the