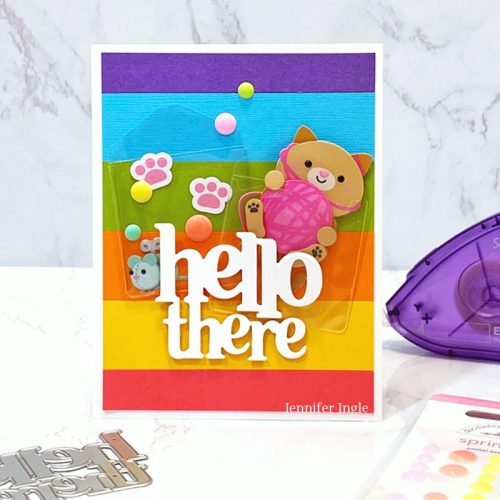
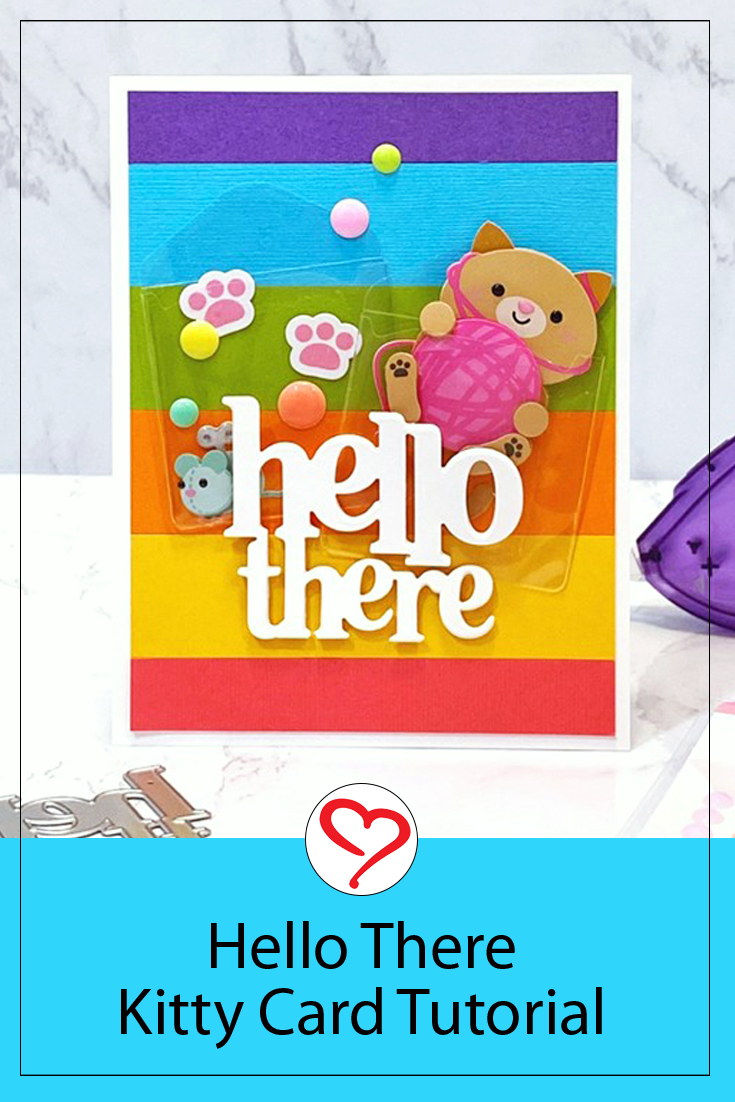
Hello, friends! Jennifer Ingle here with you today and this is my final post as guest designer! I am so sad, but also so VERY happy to have been here with you for the last couple of months. I have absolutely loved designing with these amazing products! Today I have an adorable card, Hello There Kitty Card, to share with you using some super fun products!
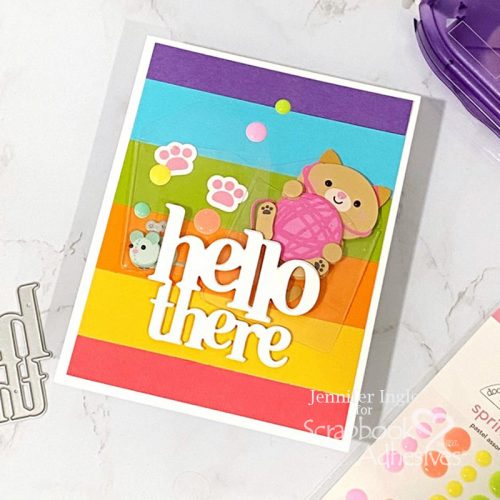
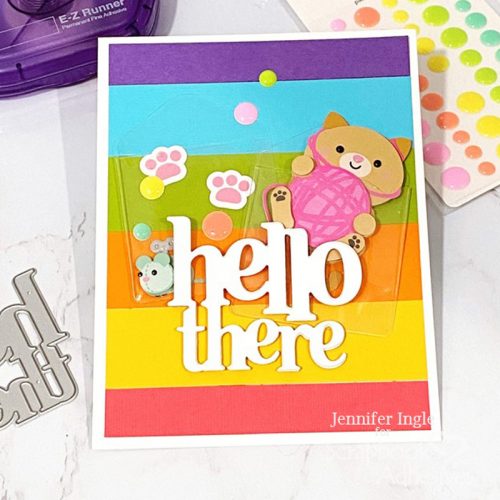
To create this design, I stuffed some super cute Doodlebug Design Inc. Doodle Pops inside the envelopes, allowing that cute kitty to peek out over the top. Because I was leaving them open, I gently removed the adhesive that allows you to seal the Keepsake Envelopes (but that is so perfect if you use them for scrapbooking!)
Create the background by adhering the stripes to a panel with the Adhesives Sheets 4 x 6in. to get full coverage. For a subtle lift, I added the sentiment using the Thin 3D Foam Squares White Mix. It was perfect as secured even on a bit of a bumpy surface.
This was a super fun card to create and I hope you check out the Keepsake Envelopes for both card making and scrapbooking! They really are so fantastic!
Other: Stamp and Die Set: Hero Arts (Hello There Stamp and Die Cut Set); Dimensional Stickers and Enamel Dots: Doodlebug Design Inc. (Doodlepops and Sprinkles); Colored Cardstock: Spellbinders Paper Arts
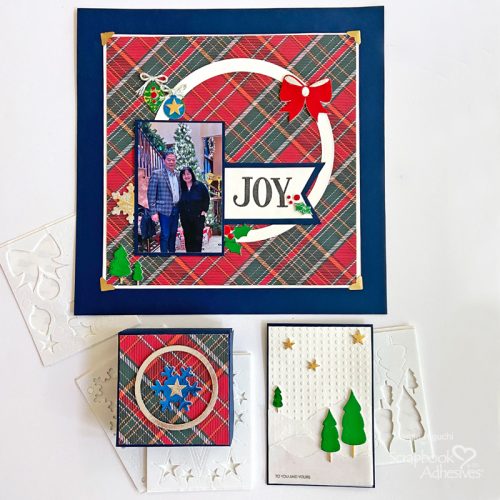
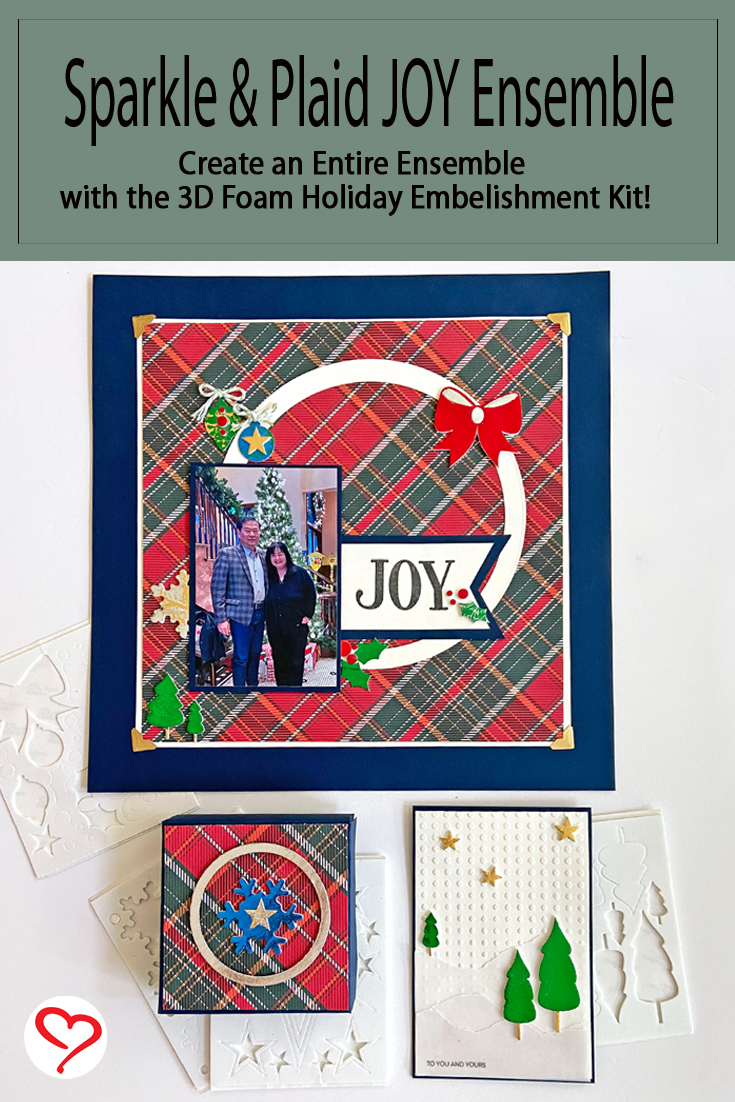
Did you know we have a kit that contains pre-cut holiday-themed foam shapes and a combination of colored foils? Hi, Margie here today and I like to showcase the 3D Foam Holiday Embellishment Kit with Foils. Inspired by the items in the kit, I’ve created a three-piece ensemble, Sparkle & Plaid JOY Ensemble.
ETA (8/28/23): Giveaway Closed. We have a Winner!! Congratulations to Eva W. from Louisiana!! Thanks to all who entered and left such lovely comments. ❤
We have a Partner’s Celebration Giveaway with Scrapbook & Card Today going on until Sunday, August 27th, 2023 at 10 PM Eastern Time. Scroll all the way to the end for details and a link! 👇👇👇
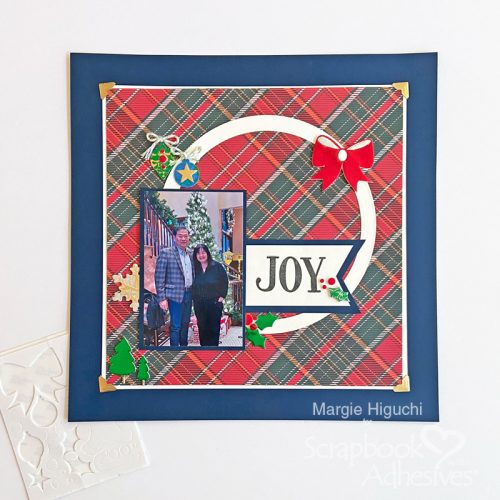
Sparkle & Plaid Scrapbook Page
Cut the Following:
10-inch square from cream cardstock
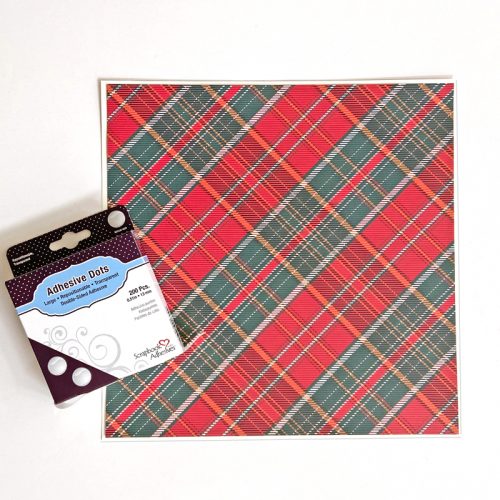
9 5/8-inch square from plaid patterned paper
7-inch ring from cream cardstock
3.5 x 5.25-inch rectangle from navy cardstock
4 x 2-inch rectangle from cream cardstock
5.5 x 2 3/8-inch rectangle from navy cardstock
The Scrapbook Layout Base
Place an Adhesive Dots Large Repositionable in the center (back side) of the 9 5/8-inch square plaid patterned paper and mat it on top of the 10-inch square cream cardstock.
Designer’s Tip: If you are like me, I do not always center correctly the first time! LOL! This adhesive dot is forgiving!!! Simply pull off the cream mat and try again.
With a circle cutter, cut a 7-inch ring from cream cardstock and center it to the page with Adhesive Lines. Mat the 3.5 x 5.25-inch rectangle from navy cardstock with the photo with the E-Z Squares® Refillable Dispenser. Place it on the lower left side of the cream 7-inch ring with the Crafty Foam Tape Black 108ft. (leave space on the sides to tuck in the embellishments).
Stamp JOY in black ink on the 4 x 2-inch rectangle from cream cardstock and cut a fishtail on the right end. Adhere it to the 5.5 x 2 3/8-inch rectangle from navy cardstock. Leave enough room on the right end to cut a fishtail.
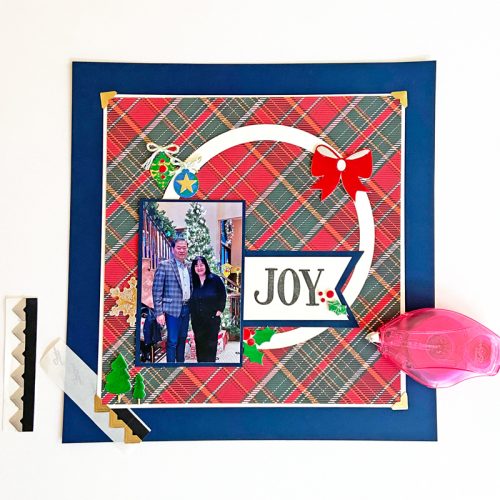
Wear Your Adhesive on the Outside with Foils
Pick out your desired shapes and foil colors from the 3D Foam Holiday Embellishment Kit with Foils and place them on the layout. One by one, lift the top liner and apply the foil (color side up) over the exposed adhesive. Rub gently with fingertips to transfer the color to the shape. Peel off the foil. If there are missed areas, simply reapply the foil. Please view the video below, I started where the crafter started foiling her shape…
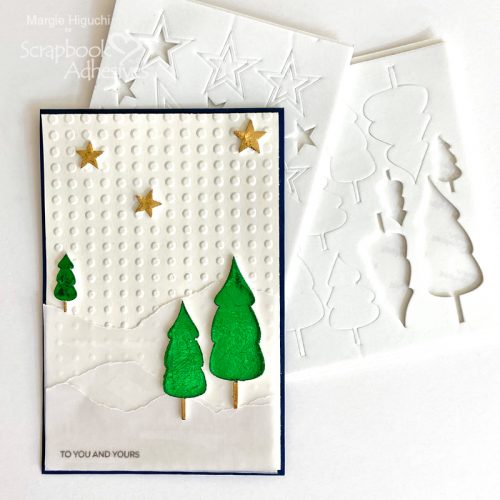
Let’s start the second piece of the Sparkle & Plaid JOY Ensemble. Fold in half a piece of 4 x 12-inch navy cardstock to make a top-fold card base. Cut and emboss a 3.75 x 5.75-inch cream cardstock panel. Hand tear a piece of 3.75 x 5.5-inch vellum to form three slopes and secure to the bottom half of the panel with the E-Z Runner® Permanent Fine Adhesive Dispenser (aka Vellum Runner).
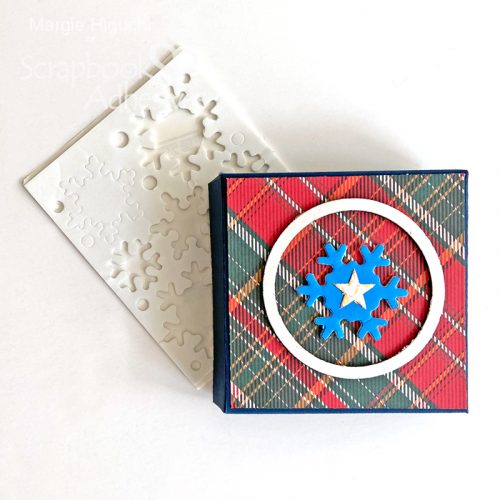
Sparkle & Plaid Snowflake Box
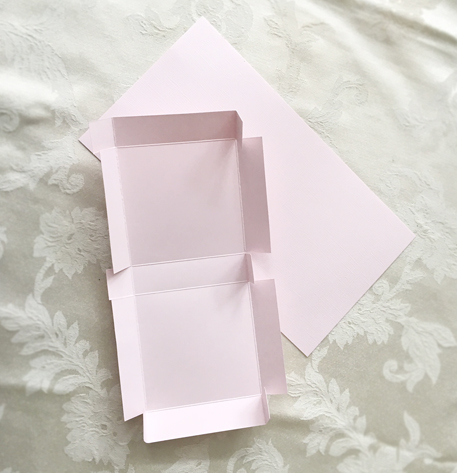
On a piece of 6 x 11-inch navy cardstock, score with the 6-inch side up at 1 and 5 inches. Flip to the 11-inch side to score at 1, 5, 6, and 10 inches. On the same side, cut the scored lines up into intersecting lines to create tabs. Here’s an image from a past project to give you an idea.
Decorate the Box Top
Let’s decorate the top with a 4-inch square patterned paper, center the largest 3D Foam Snowflake, and foil it with the blue foil (both from the 3D Foam Holiday Embellishment Kit with Foils). Next, layer a 3D Foam Star in the center of the snowflake and apply silver foil on the star (again, from the same kit). Frame the layered snowflake with the second largest 3D Foam Circle Frames White and foil it with silver.
Secure the layered box front with E-Z Squares® Refillable Dispenser on the box. Next, with the same adhesive, adhere the outer tabs inside the box to form your hinged box to finish.
I hope you enjoyed all three pieces of this Sparkle & Plaid JOY Ensemble. Change out the theme by choosing several pre-cut foam shapes from our 3D Foam Designer Shapes offerings.
Other: Patterned Paper and Cardstock: Photo Play Paper (Christmas Boughs of Holly Paper – It’s a Wonderful Christmas Collection + Navy Cardstock); Stamp: Photo Play Paper PEACE/JOY 4 x 6″ Word Stamp Set); Black Ink; Cream Cardstock; Vellum; Embossing Folder; Baker’s Twine
We are excited to sponsor the Partner’s Celebration Giveaway with Scrapbook & Card Today! Click Partner Celebration with SCT to take you there to enter.
Don’t wait too long! It is going on until Sunday, August 27th, 2023 at 10 PM Eastern Time. The winner will be announced on their blog will be announced on Monday, August 28th, 2023. Good luck!
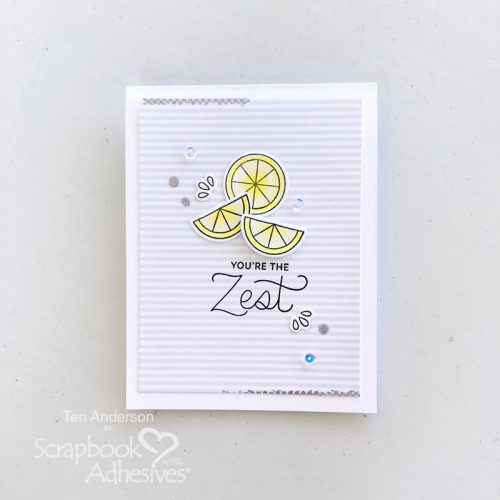
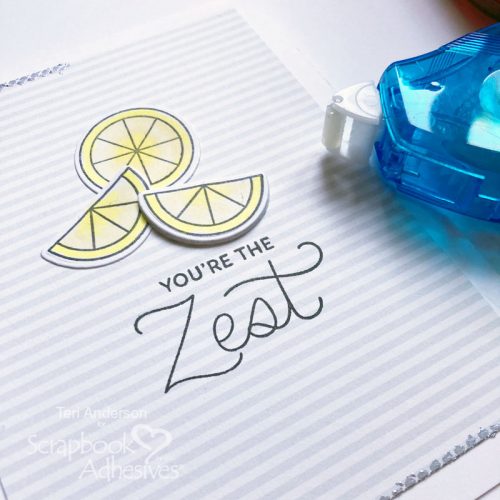
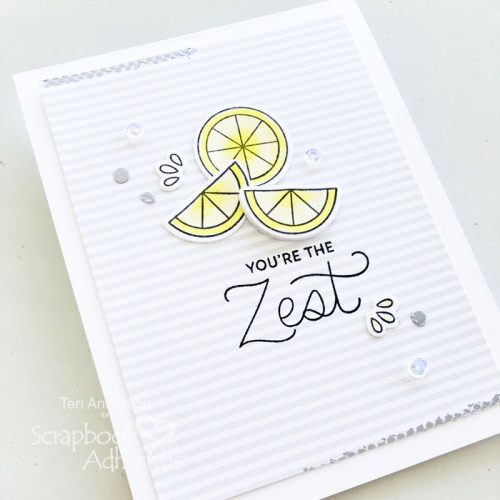
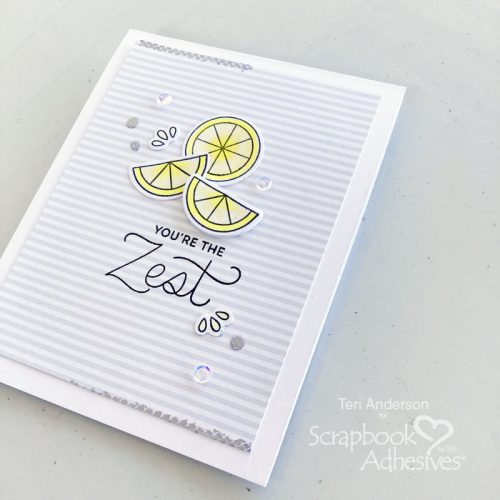
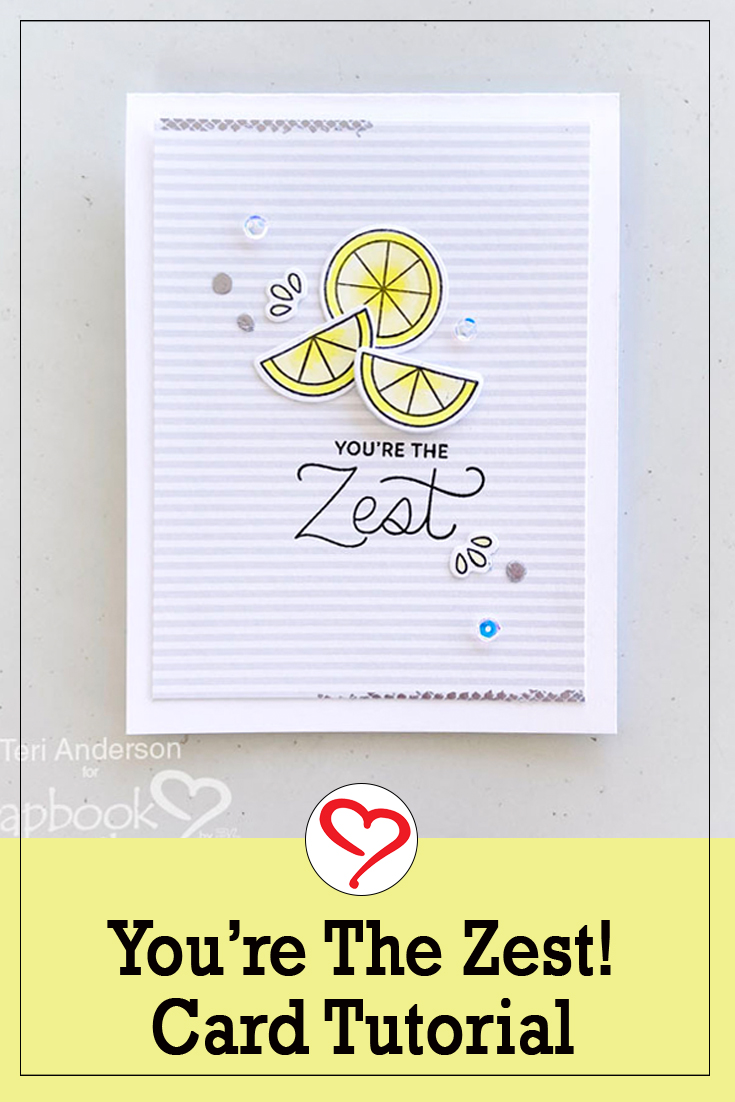
Hi, everyone! Looking to send some cheer through the mail to one of your favorite peeps? Teri here to show you how to make a card to tell them are the very “zest”…. or best! Let me show you my You’re the Zest Card.
Zest Card Elements
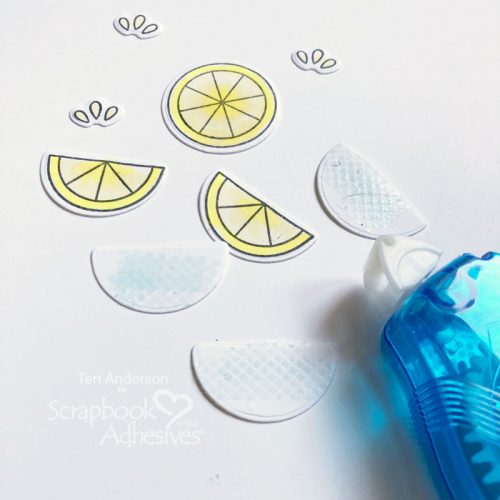
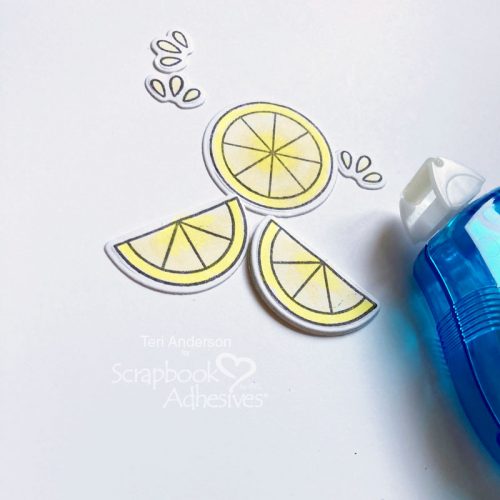
Stamp and die-cutting lemon-themed images from white cardstock. Color them in with markers or pencils. Cut a few extra lemon dies! No need to stamp on them! Use them to add depth and height to one of your stamped lemons by stamping and adhering them on top of each other with the E-Z Runner® Petite Permanent Dots Refillable Dispenser.
Embellish the Card Panel
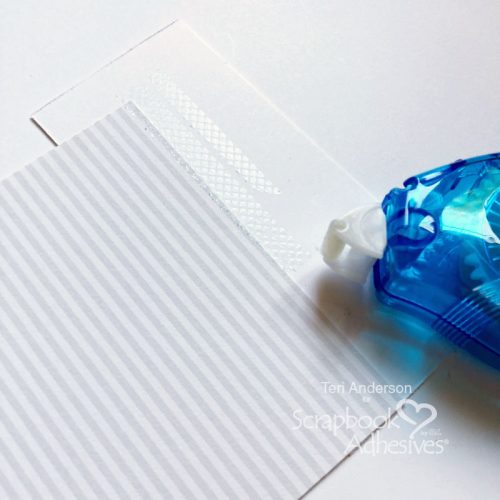
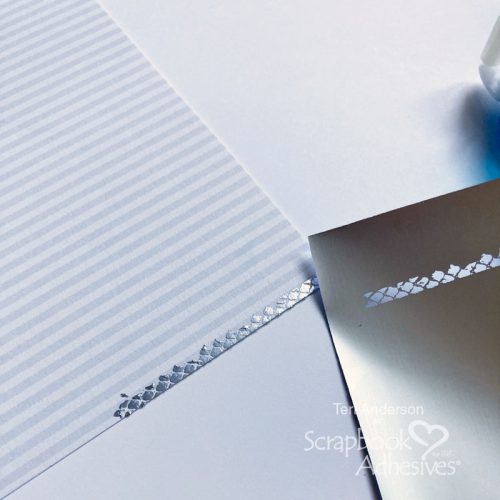
Take a piece of patterned paper and cut it down to fit on a card. Set the panel on scratch paper and roll some E-Z Runner® Petite Permanent Dots Refillable Dispenser onto it at the top and the bottom. Put as little or as many as you want on it!
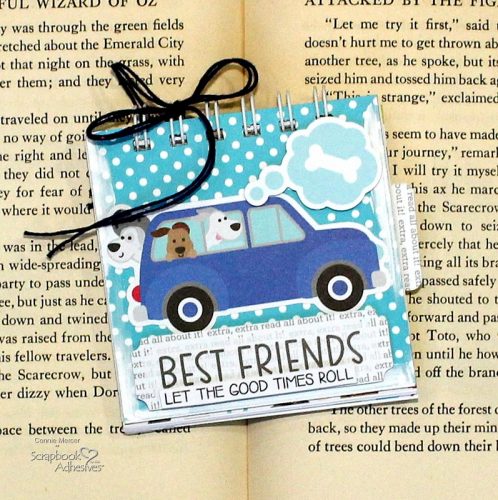
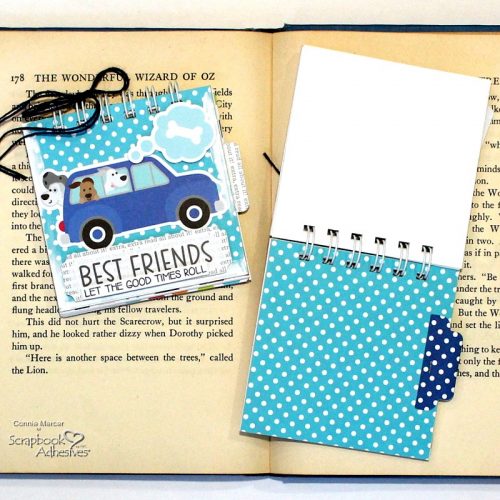
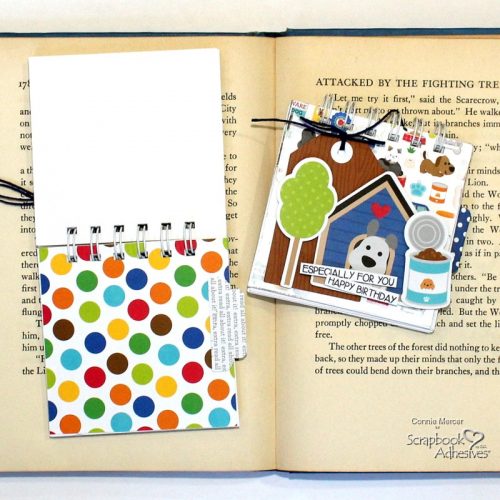
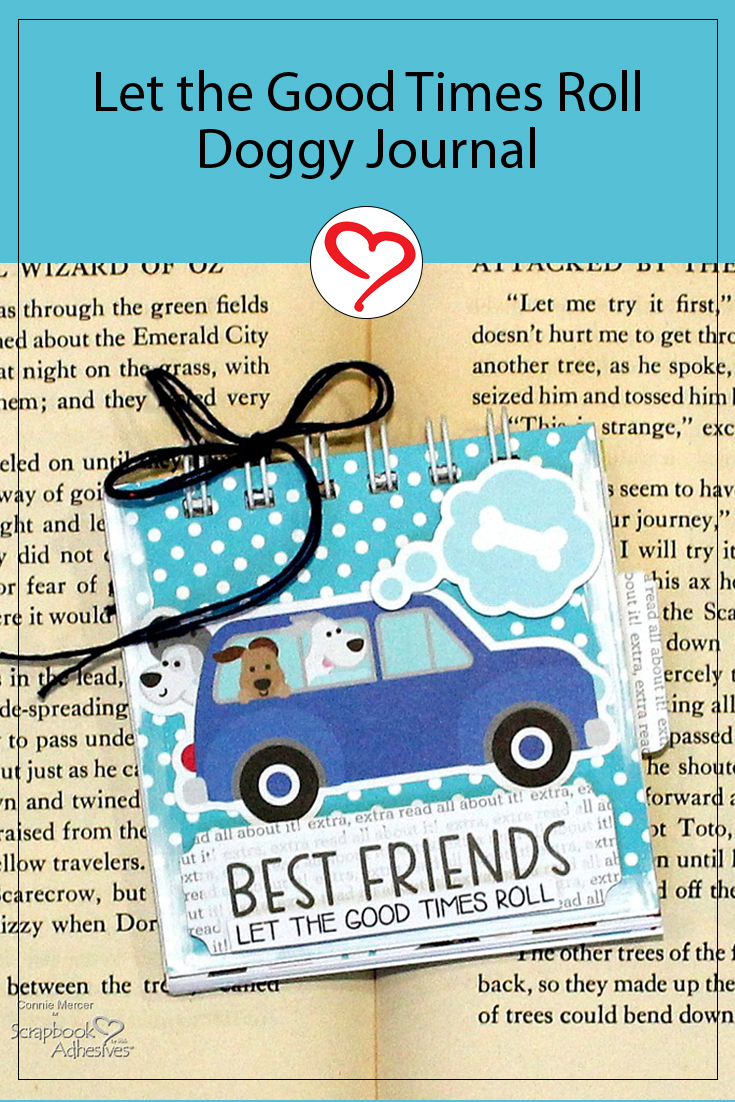
Hi, Connie here with a fun “doggy journal” project using patterned papers by Doodlebug Designs and some awesome Scrapbook Adhesives by 3L® products. You will need the Premium Double Sided Tape 1″ to secure the paper to the front covers.
I used my Zutter paper cutter to get the 4″x 4″ size for the cover and the pages. If you don’t have a way to do this think about just covering a spiral notebook.
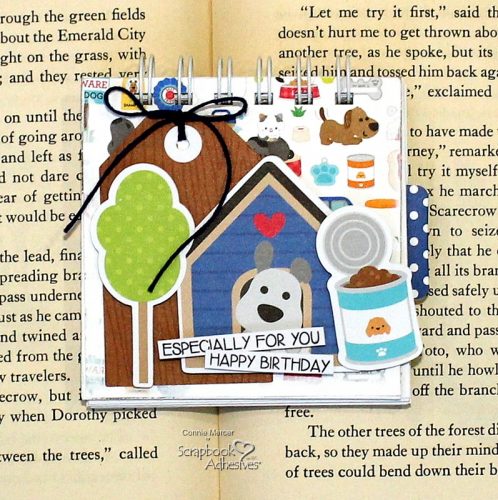
Creating the Doggy Journal Covers
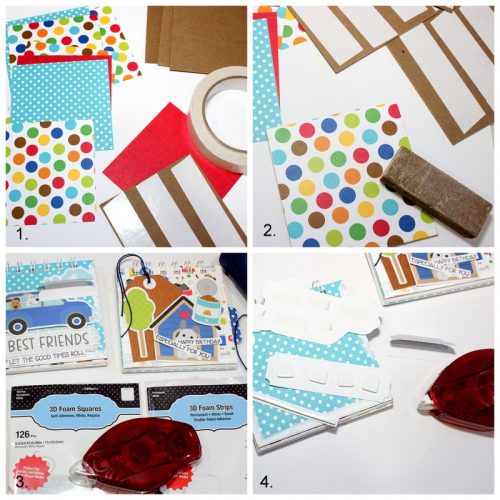
1. Cover the cardboard 4″x4″ pieces with the Premium Double Sided Tape 1″ on both sides of the cardboard. Remove the release paper and adhere the patterned paper to the front and the back of the cardboard pieces. 2. Sand the edges for a smooth finish. 3. Bind the journal and arrange the front cover with the die cuts for the front covers. 4. Use the 3D Foam Squares White Mix, 3D Foam Strips, and the E-Z Runner® Permanent Strips Refillable Dispenser to adhere the die cuts to the fronts of the journals. Add twine and the sentiments at this time.
I also added a couple of pages of the pattern paper in each journal. The sentiments are for Whimsy Stamps. The journals are really fat and chunky to hold lots of words or stories. I hope you enjoy this!! Fun project for a doggy lover!! Thanks for stopping by! Connie
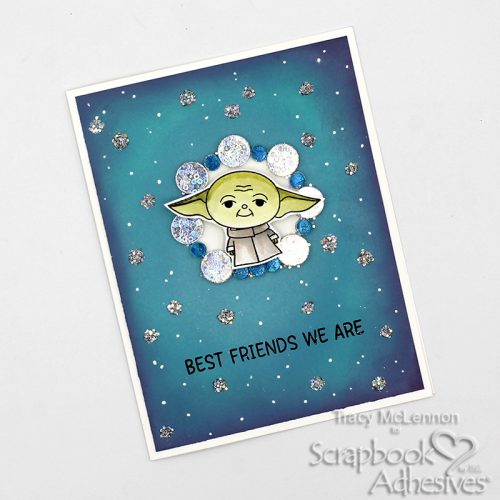
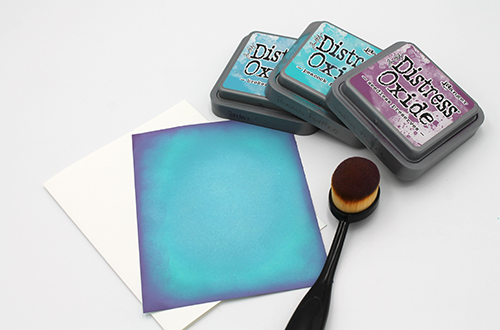
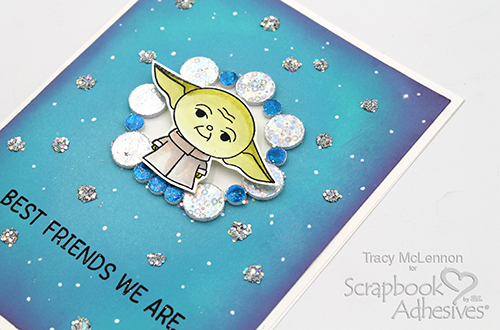
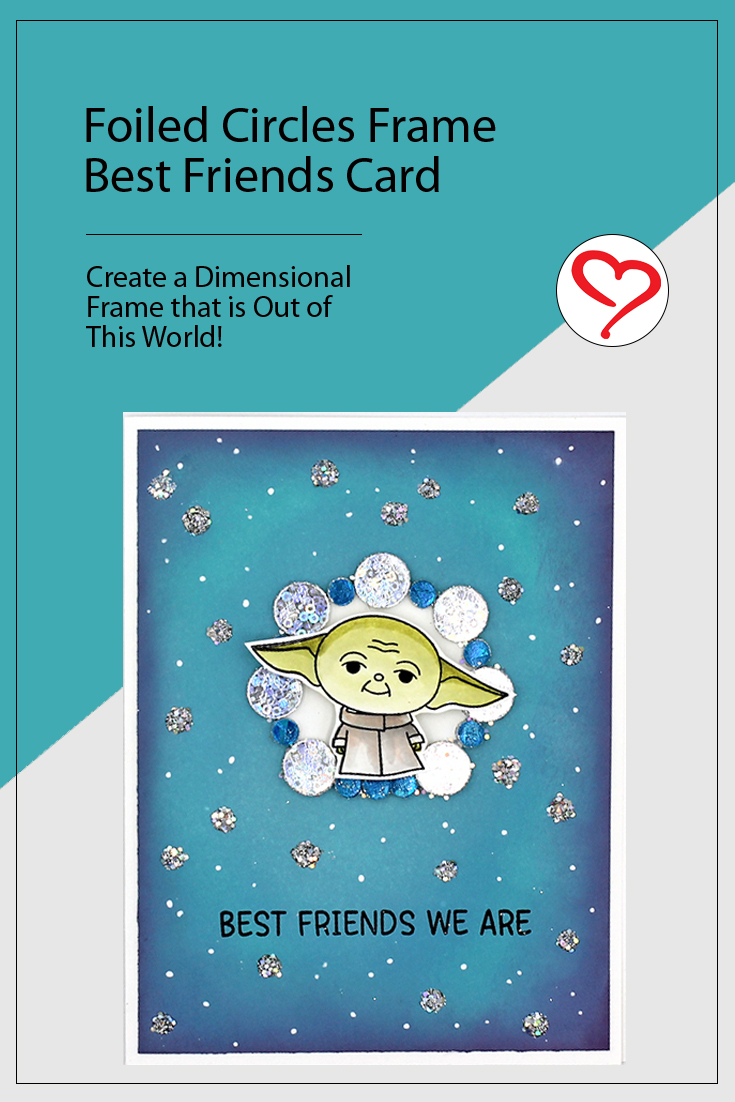
On a white cardstock card panel, I colored it with Distress Oxide Inks and a blending brush to custom-create my color.
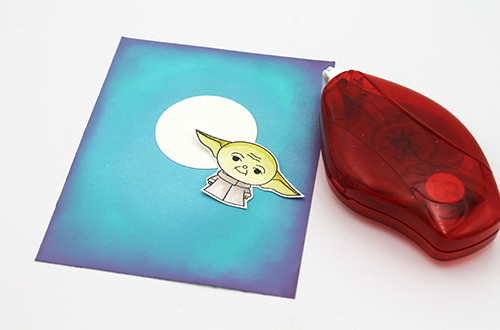
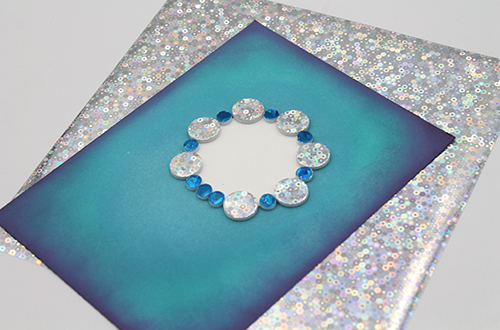
Stamp a focal image onto white cardstock with black ink and add color using Zig Clean Color Markers and a water brush. Fussy cut it out and set it aside. Next, punch out a circle shape from a piece of white cardstock. Make sure to choose a size large enough to frame your stamped image. This will be the base of the dimensional frame. Place it on the inked panel using the E-Z Runner® Permanent Strips Refillable Dispenser.
Framing Out the Frame
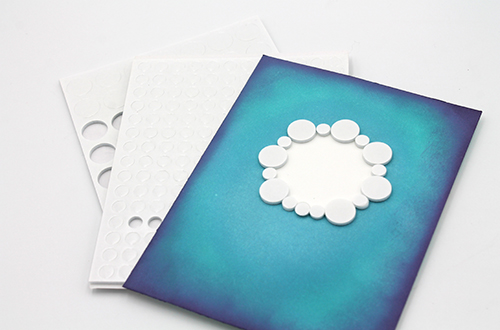
Using 3D Foam Circles White Mix create a design around the white cardstock circle. This creates a dimensional frame.
Wear Your Adhesive on the Outside with 3D Foam Circles
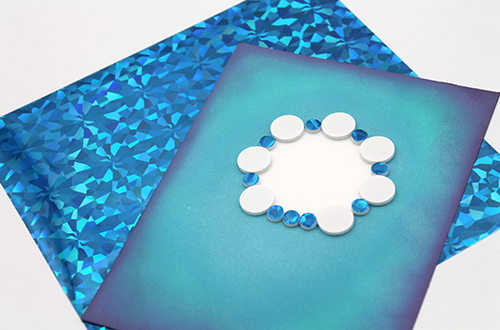
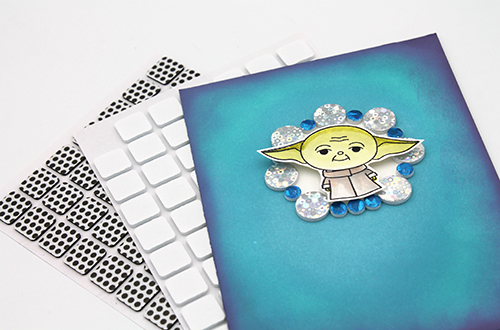
To determine the color design for the frame, I decided to use the blue and silver foils from the Metallic Transfer Foil Sheets Celebrate Colors. These two combinations will give me the contrast I was looking for.
First, I added the blue foil to the smaller 3D Foam Circles White Mix. Simply remove the liner, place the foil color side facing you, and rub the foil to transfer the color to the shape. Next, peel off the liner to reveal the color. If there are missed areas, reapply the foil in the same manner. Repeat the steps to the other circles.
Now let’s add the silver foil to the larger 3D Foam Circles White Mix. Repeat the above foiling steps to achieve the Wear Your Adhesive on the Outside technique.
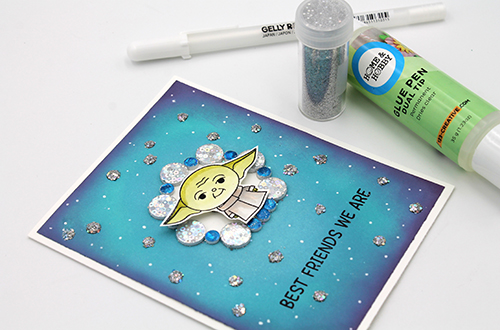
Adhere the card panel to the card base with the E-Z Runner® Permanent Strips Refillable Dispenser. Use the Dual Tip Glue Pen to randomly dots around the card front. Add glitter to them for a little galactic sparkle! Finish off the look by adding white gel pen dots and stamping the sentiment with black ink.
Other Stamps: Kindred Stamps; Ink: Ranger Ink (Distress Oxide Ink in Peacock Feathers, Broken China, and Seedless Preserves, and Archival Ink in Jet Black); Markers: Kuretake Zig (Zig Clean Color Markers); White Cardstock; Blending Brush; Glitter; White Gel Pen; Waterbrush
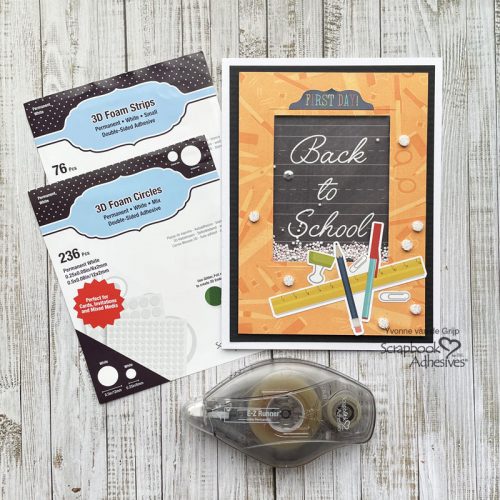
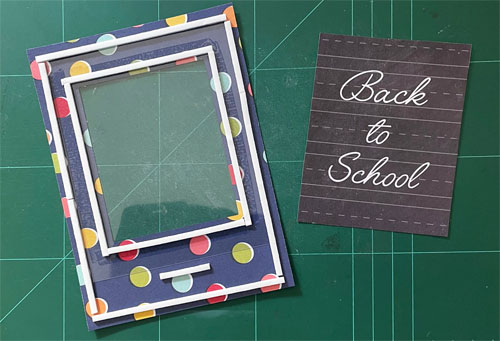
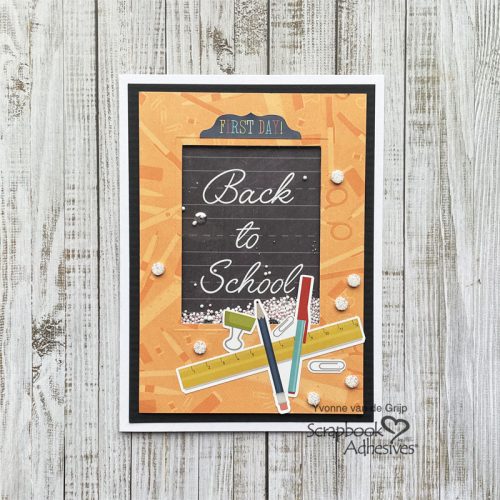
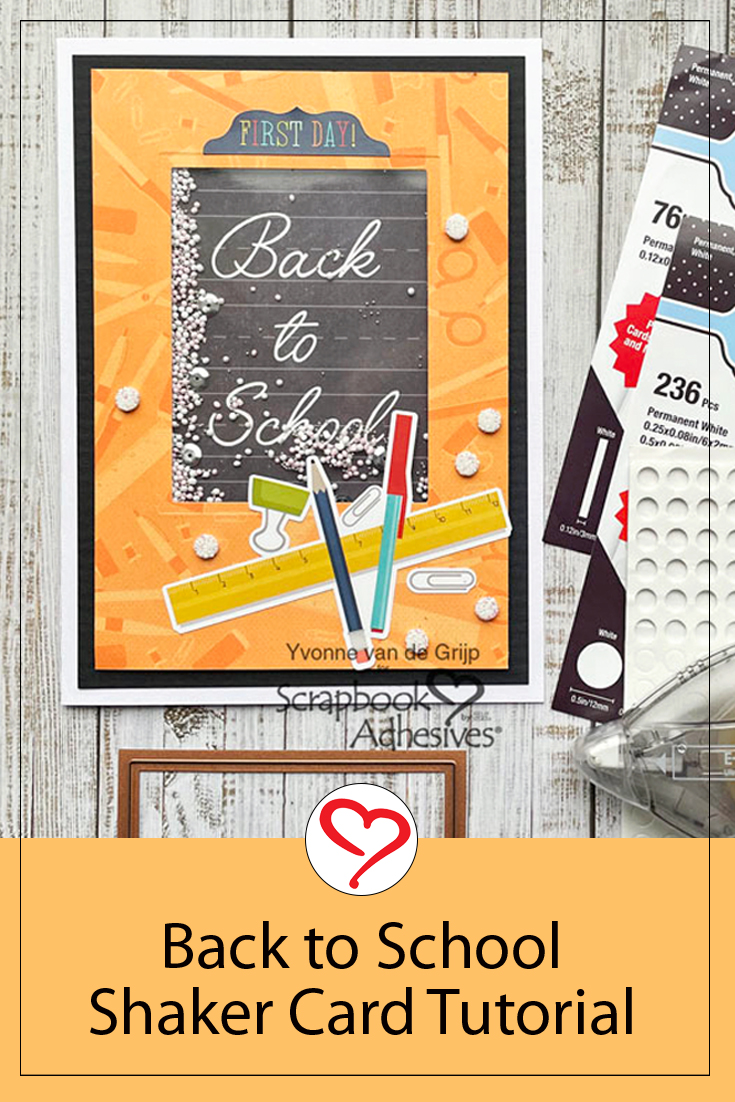
Hi everyone, Yvonne here with a Back to School Shaker Card. A new school year is about to start and a moment to encourage and wish all the best on a new adventure! Bring a smile to a child’s or teacher’s face with this easy-to-create shaker card.
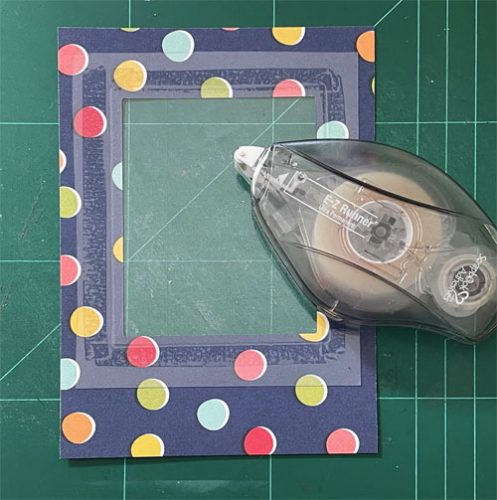
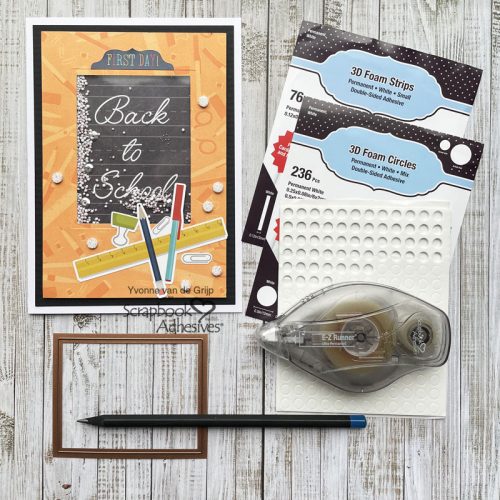
Die-cut a frame from a piece of patterned paper. Make sure the frame is slightly smaller than the Back to School panel you want to use. Next, adhere a piece of acetate on the back and cover the frame with the E-Z Runner® Ultra Strong Refillable Dispenser.
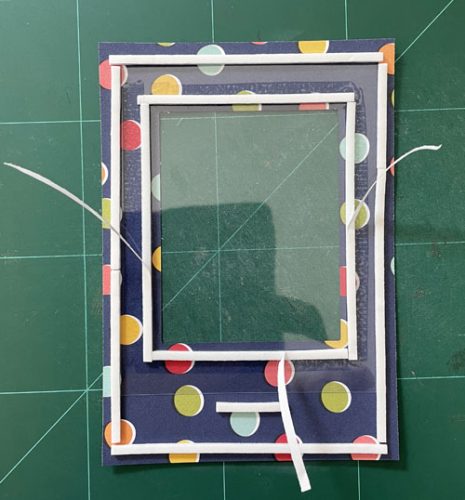
Shaker Feature
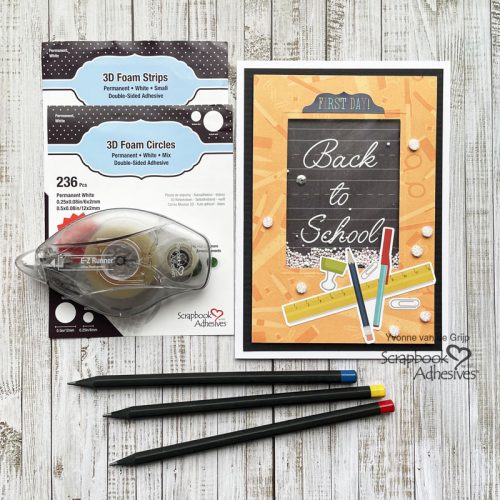
Place 3D Foam Strips to the back of the panel around the frame to enclose the shaker part to prevent shaker bits from escaping. Also, to keep the panel from sagging place the 3D Foam Strips around the outside of the frame as pictured.
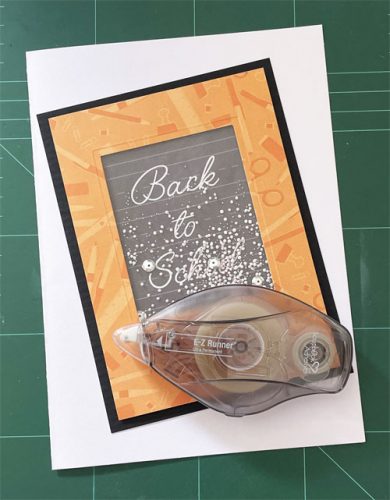
Remove the liners from the inside frame, and fill the shaker with micro beads and sequins. Cover the inside frame with the Back to School panel, and press to secure to close.
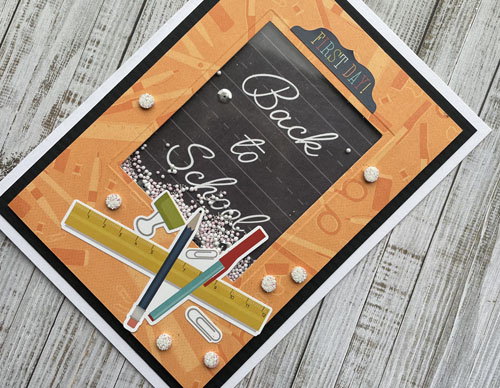
To embellish the Back to School Card, adhere school-themed stickers on the card. For the finishing touch, use 3D Foam Circles White Mix and glitter to accent the card front. Randomly place 3D Foam Circles White Mix on the front card. Remove the liners and sprinkle glitter over the exposed adhesive. Press the glitter to secure and tap off the excess. This technique of taking your adhesive from between layers to become embellishment is called Wear Your Adhesive on the Outside.
Voilá, your Back to School Card is ready to make a child (or teacher) very happy to start a new and exciting School year! Wishing you happy crafting!
Patterned Papers: Simple Stories (School Life Collector’s Essential Kit); Craft Dies + Die-Cutting and Embossing Machine: Spellbinders Paper Arts® (Platinum 6 Machine; Classic Rectangles Small); White and, Black Cardstock; Glitter; Scissors; Paper Trimmer
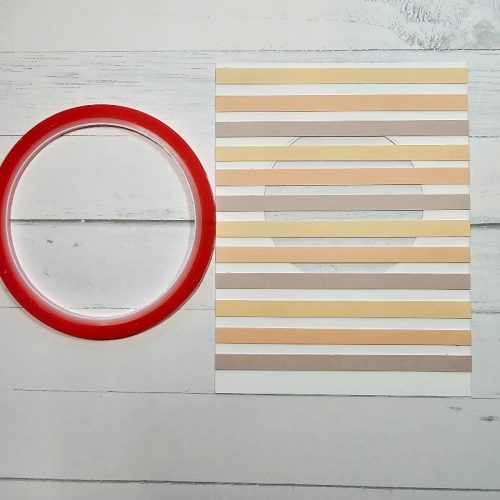
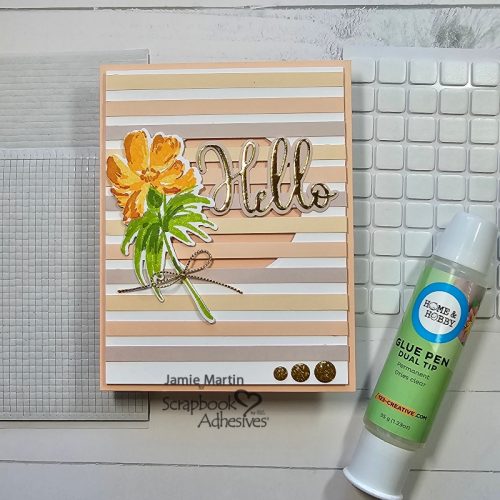
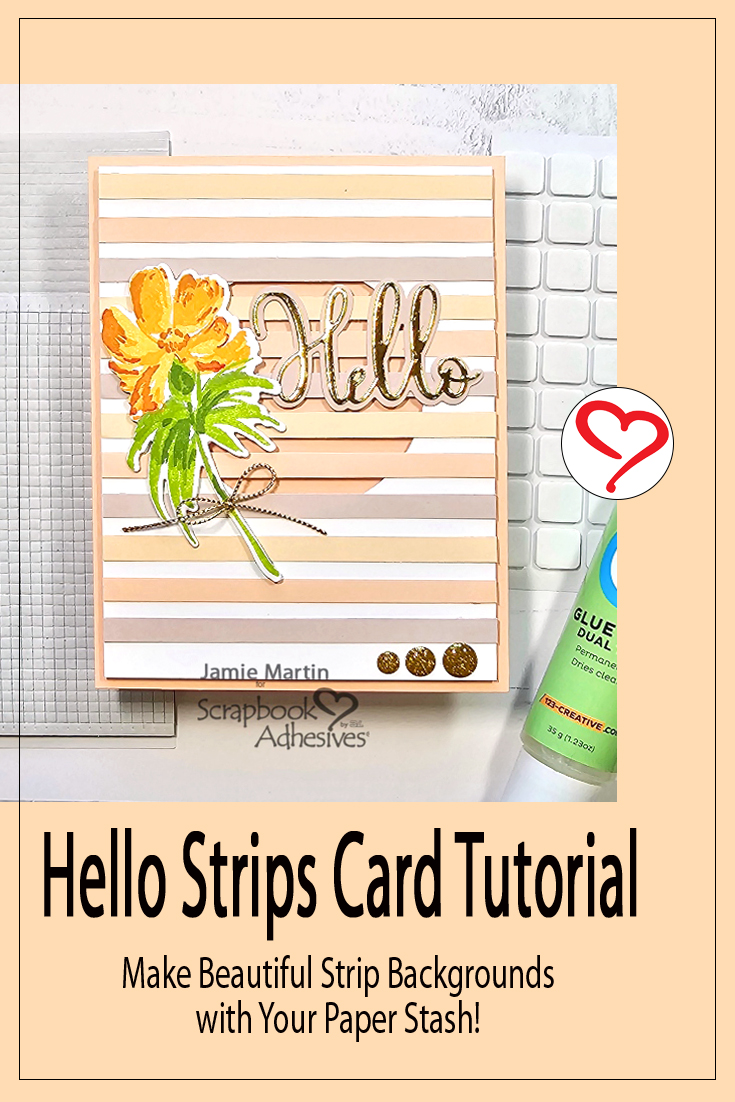
Hi, Jamie here today! If you’re like me, you have lots of scraps that you just can’t bear to throw away but don’t know what to do with them. I had these pretty strips laying around and decided to make a Hello Strips Card. My strips are all the same size, but they don’t have to be, just let your creativity flow!
Hello Strips Panel
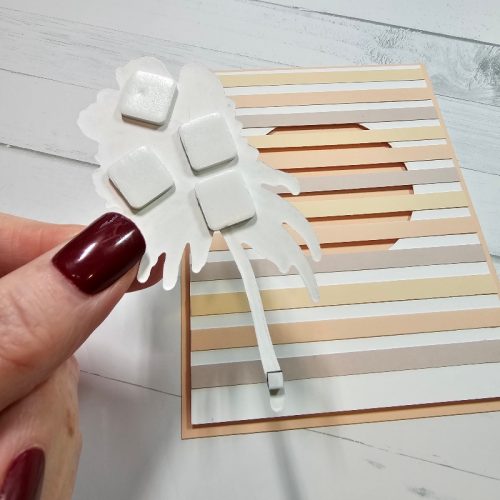
To make my card I cut white cardstock to 4″ x 5 1/4″ and die-cut a circle in the upper center. Extreme Double-Sided Tape 1/8in was placed on the back of the strips EXCEPT for the strips that go over the die-cut circle. These strips only had the Extreme Double-Sided Tape 1/8in placed on the sides so that if the strips get pushed down, they won’t stick to the card base.
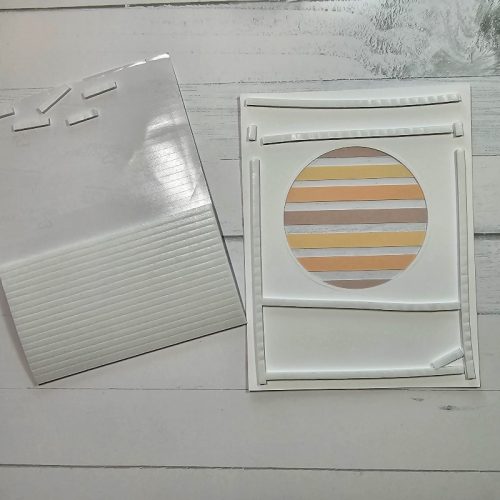
Pop Up the Panel
To lift the panel up on the card, I placed 3D Foam Strips on the back of the panel. Make sure the strips are close to the outer edge and closer to the circle to prevent sagging. For the middle part (the strips over the circle), I decided to place 3D Foam Squares Micro Black on the back of those strips. Remove the paper backing from all and pop the panel on a tan card.
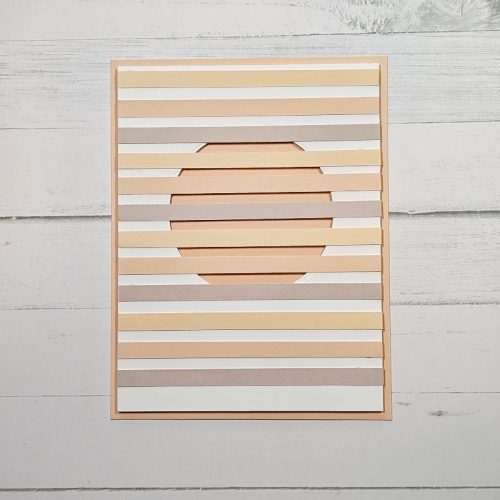
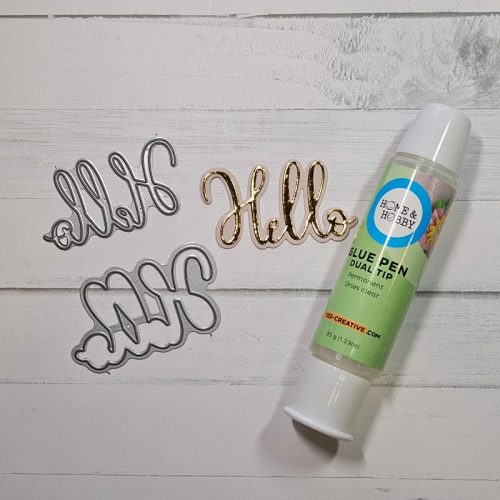
Die-cut the Hello from gold cardstock and its shadow from one of the colors of strips. Use the Dual Tip Glue Pen to adhere together and to the card as shown. For the final touch, add gold glitter enamel dots on the bottom right of the card.
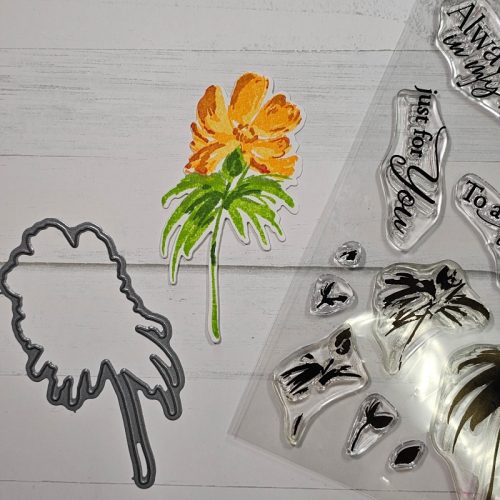
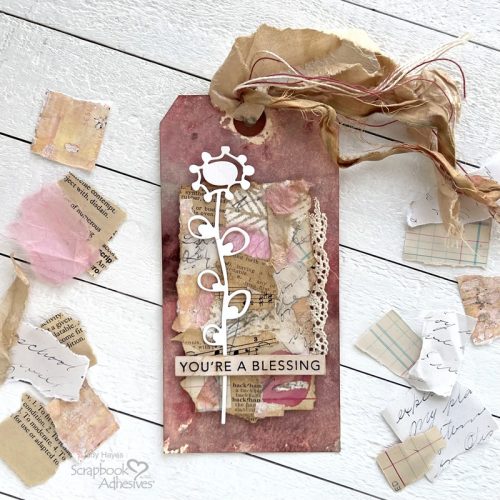
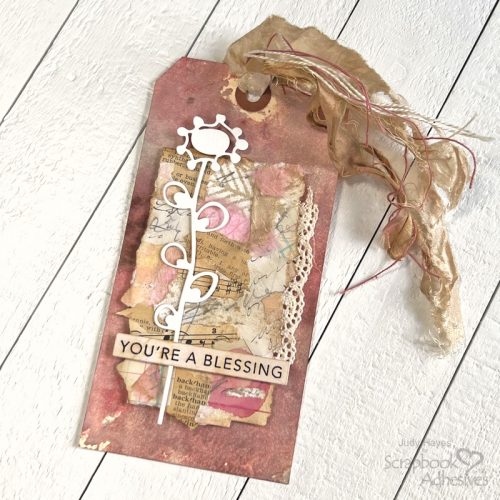
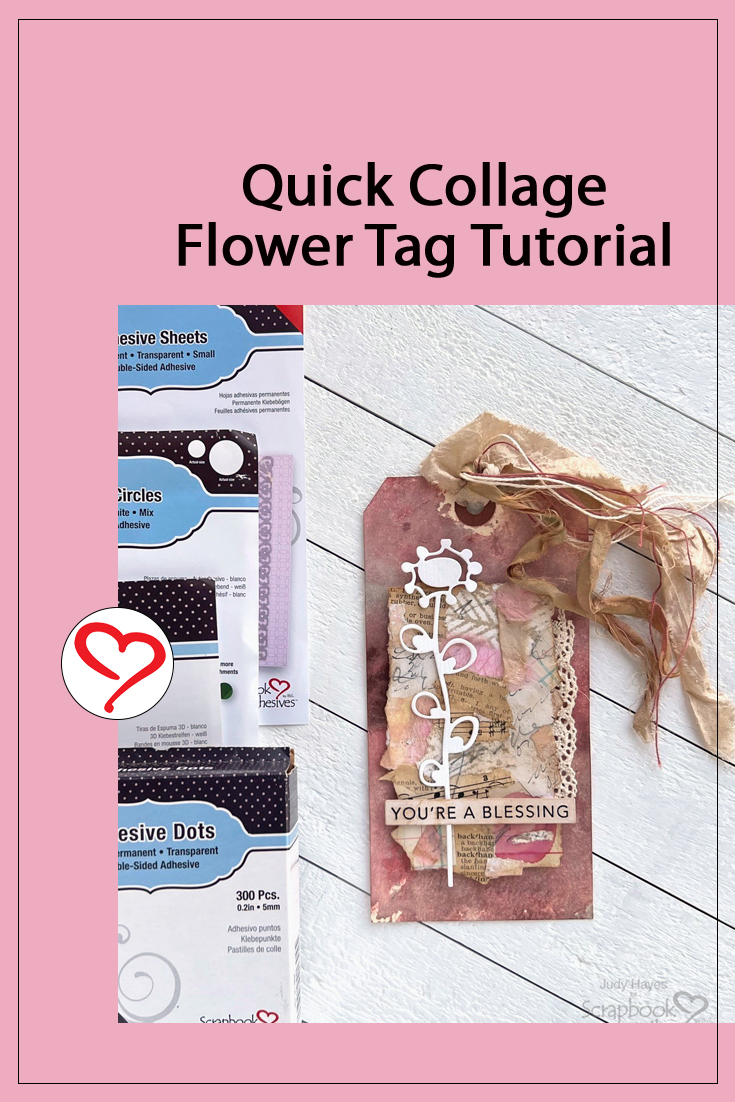
Hi, Judy here today! I put together a very easy collage with Adhesives Sheets 4 x 6in on this tag. I used supplies from my stash: a tag previously sprayed with color, a verse strip, scrap papers, and die-cut flowers…quick and easy!
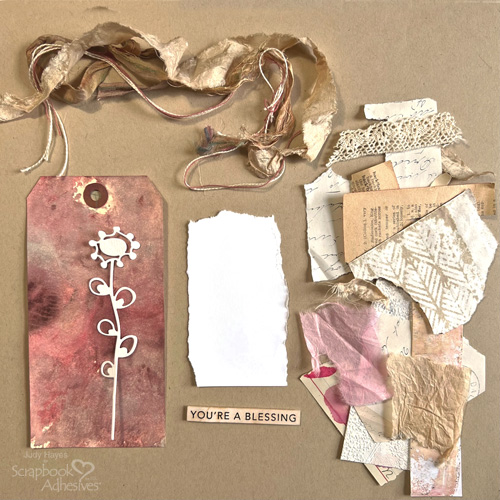
Supplies for the Collage Flower Tag
Gather supplies: #8 tag sprayed or inked with color, torn scrap of white cardstock about 2.25 x 3.75 inches, small scraps of old book pages, printed papers, tissue paper, handwritten notes, lace, white die-cut flower, stamped verse strip inked with Distress Vintage Photo ink and ribbons and strings.
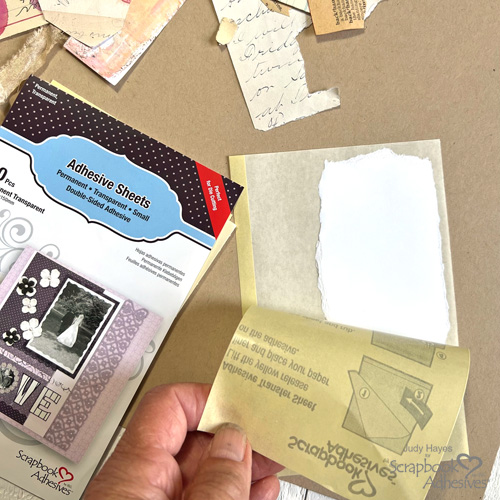
Make a Collage Element
Peel the back yellow liner on Adhesives Sheets 4 x 6in and place a white cardstock piece on it. Replace the liner and rub well to transfer the adhesive to the cardstock. Lift the liner and remove cardstock. Place it adhesive side up on work surface.
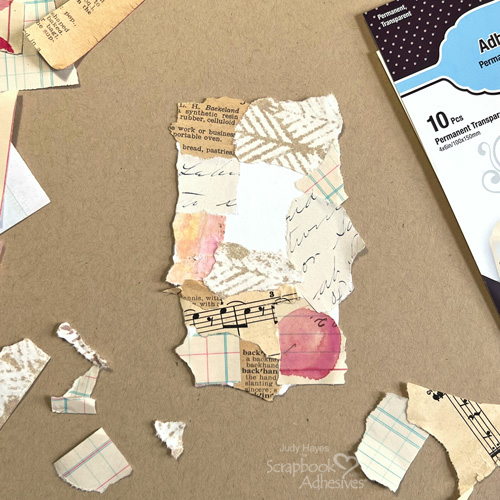
Place small pieces of torn paper on the adhesive overlapping slightly until the cardstock is covered completely. Tear away any edges that extend beyond cardstock.
Use a sponge applicator to apply Distress Vintage Photo ink to the edges and on the collage as desired. Scribble or make marks with a pencil on it. Place a small piece of ribbon on Adhesives Sheets 4 x 6in to pick up adhesive and place on the collage.
Attach Collage to Tag
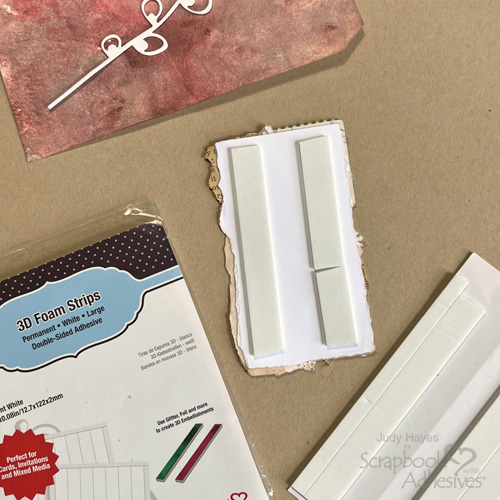
Cut and place 3D Foam Strips Large on the back of the collage piece and peel the liners. Fasten a piece of lace behind the collage on the 3D Foam Strip and then secure the collage to the tag.
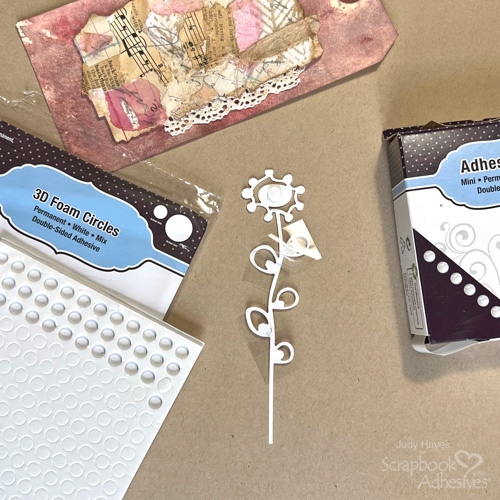
Add Flower
Stack two small 3D Foam Circles White on the back of the flower and Adhesive Dots Mini on the leaves. Peel off the liners and attach the flower over the collage.
Fasten Verse
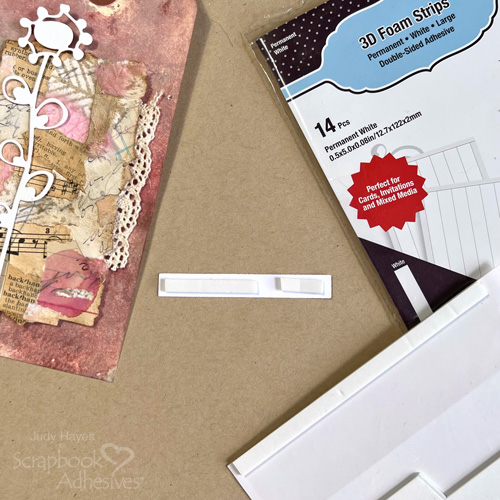
Cut strips of 3D Foam Strips Large to fit the back of the verse strip, peel liners, and adhere across the flower and the collage.
Tie Fibers to Tag
Cut several pieces of string and ribbons and tie them on the tag.
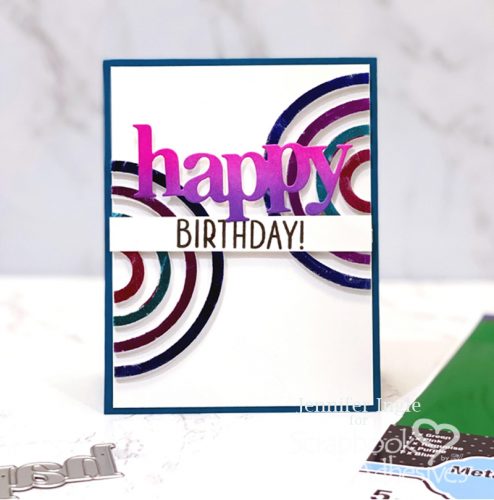
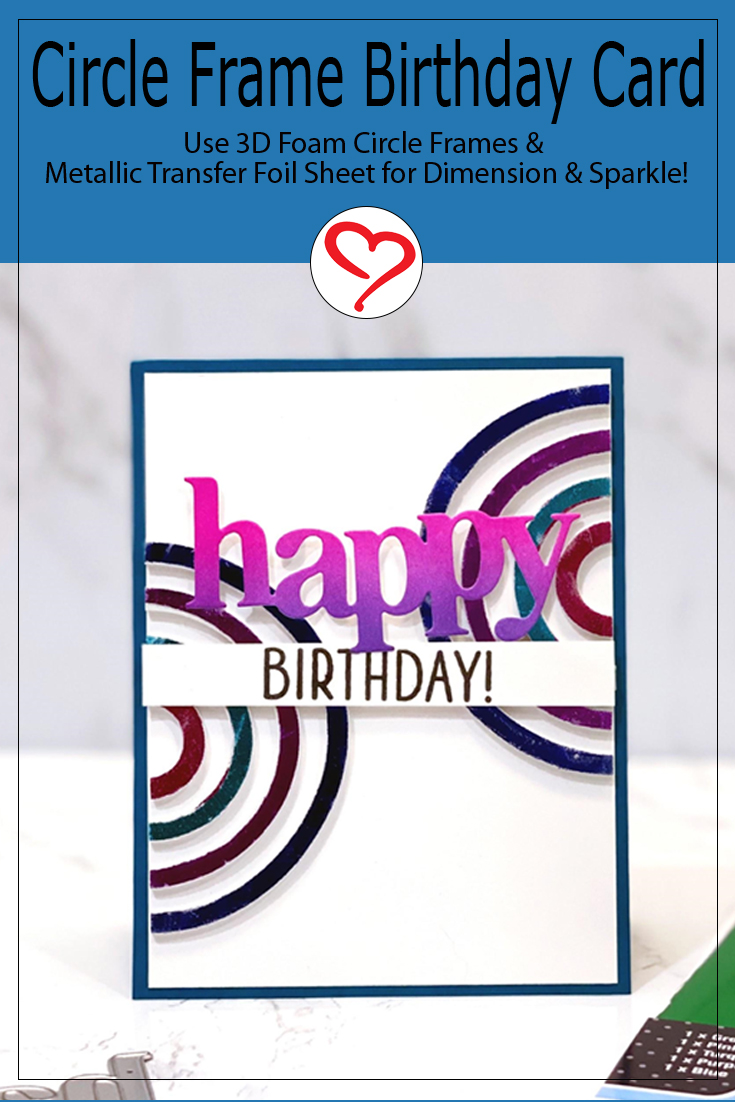
Hello, folks! Jennifer Ingle here today! Back with another fun guest post. This time I pulled out some of the amazing Metallic Transfer Foil Sheets Variety Colors for a super fun look! As you know, it is always fun to Wear your Adhesives on the Outside! I am going to show you how I created this super fun Circle Frame Birthday Card design.
Circle Frame Birthday Card Supplies
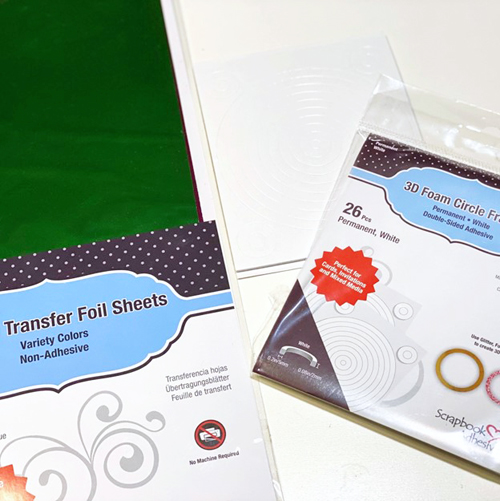
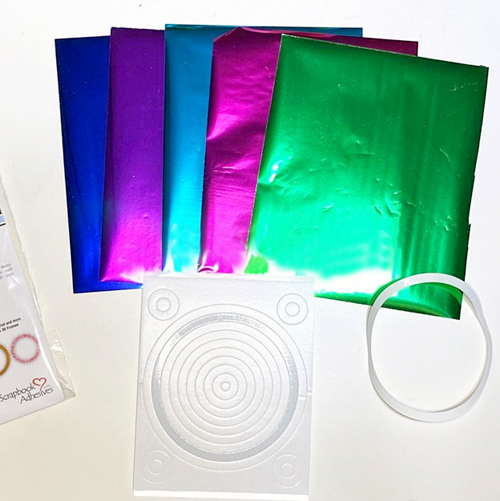
To begin, you will need a cardstock panel (4 x 5.25 inch) and a package of the Metallic Transfer Foil Sheets and the 3D Foam Circle Frames from Scrapbook Adhesives by 3L. These frames are AMAZING and have so many awesome possibilities!
Wear Your Adhesive on the Outside with 3D Foam Circle Frames
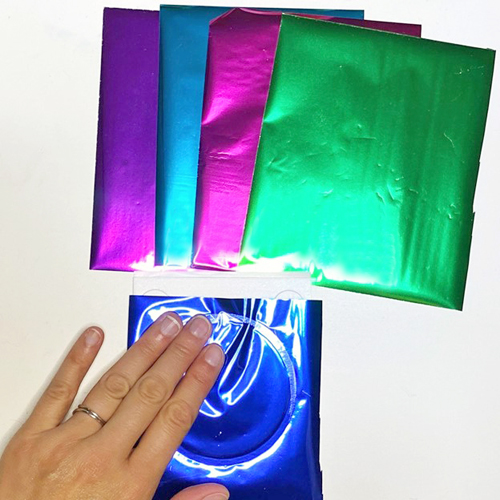
Leaving the 3D Foam Circle Frames White in place, gently peel the liner off the largest circle you plan to use for your card. I used the second largest circle frame.
Place a piece of the metallic transfer foil over the exposed 3D Foam Circle Frames White. Make sure the color side is facing you. Then use your fingers to gently press it into place to transfer the color to the ring.
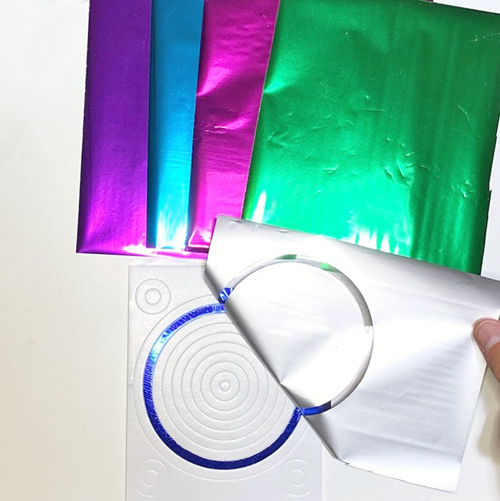
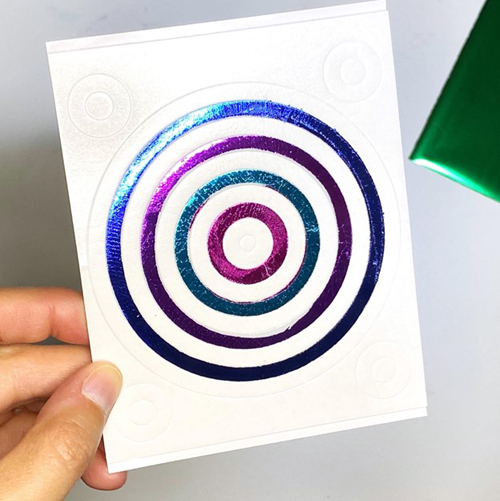
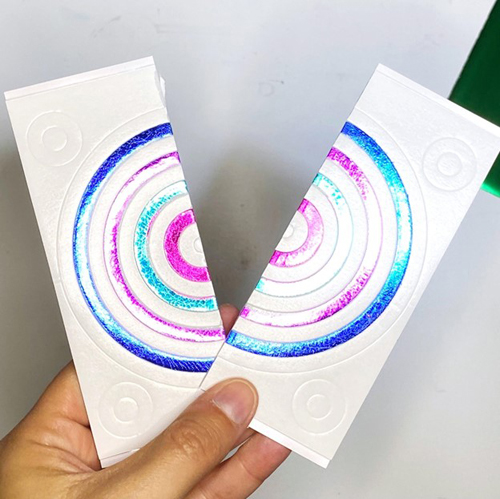
Gently lift the foil to reveal your perfectly foiled ring! If there are missed areas, simply reapply the foil. Repeat the foiling steps for each color and ring size you plan to add to your card. Here you can see the four rings I foiled for placement on my card.
Create the Card Design
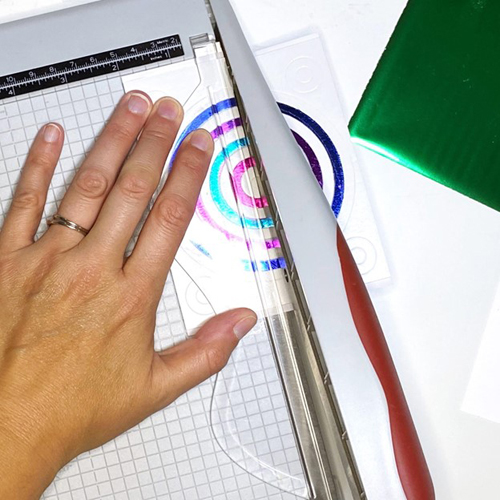
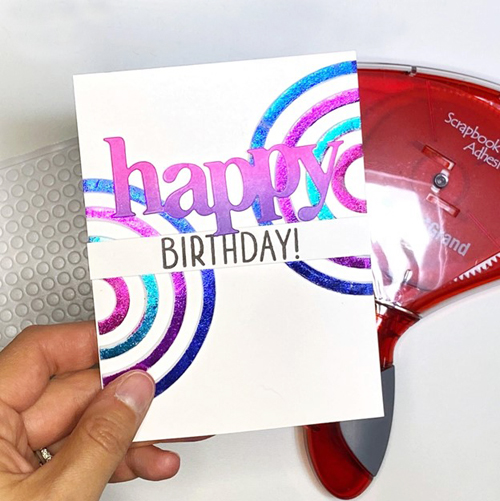
Next, I cut the entire sheet, still on the backing, in half so I could use both sides of the rings on my design. This does mean I now have cut rings for a future project, but that is totally fine. You could absolutely foil all of them and create two designs at once using this same technique.
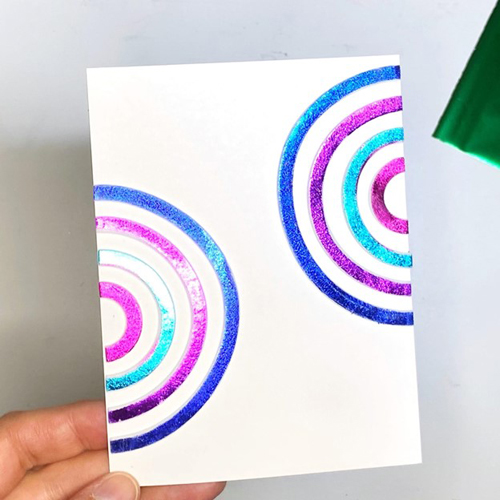
Carefully place the half-rings on the card panel.
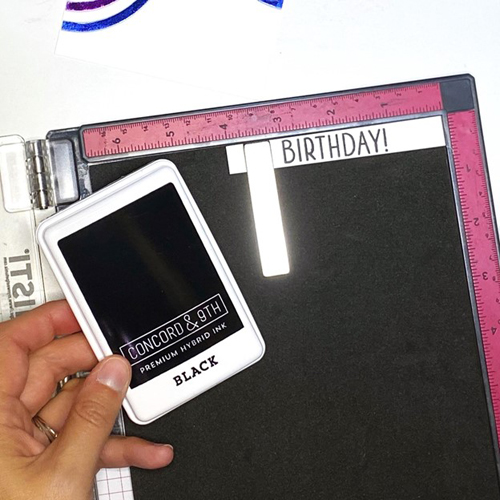
Prep the Sentiment
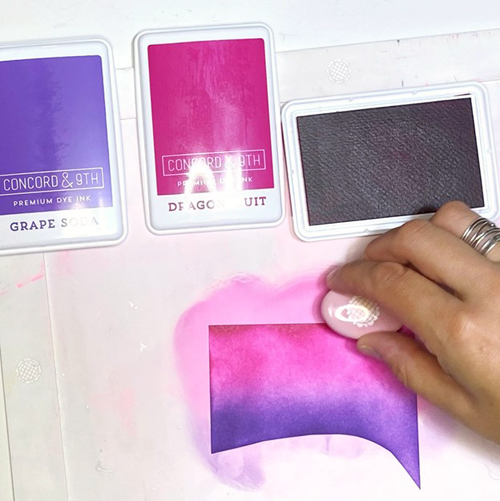
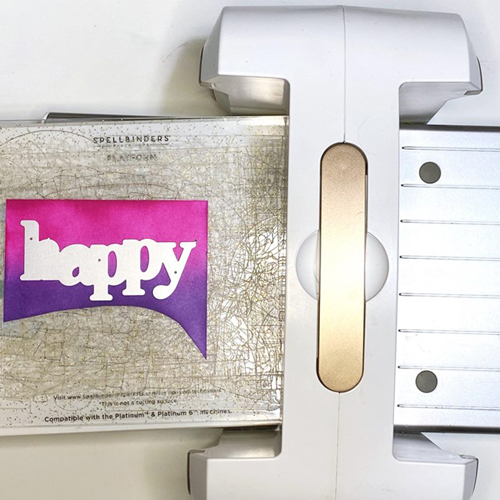
Next, you want to blend Grape Soda and Dragonfruit ink on a scrap of white cardstock for the sentiment. Die cut the word Happy from your blended scrap. Stamp Birthday on a strip of cardstock in black ink. Adhere the sentiment to your card, using foam circles for the die-cut portion (to raise it to the same level as the rings) and using the E-Z Runner® Permanent Strips Dispenser for the strip to ensure it stays put!
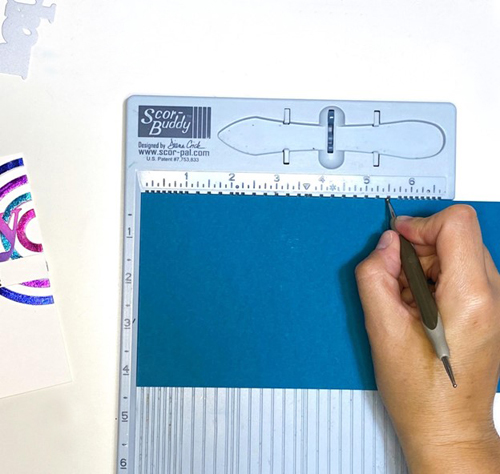
Assemble the Card
Cut and score a sheet of coordinating cardstock for your card base. I used Hero Arts Adriatic for my base.
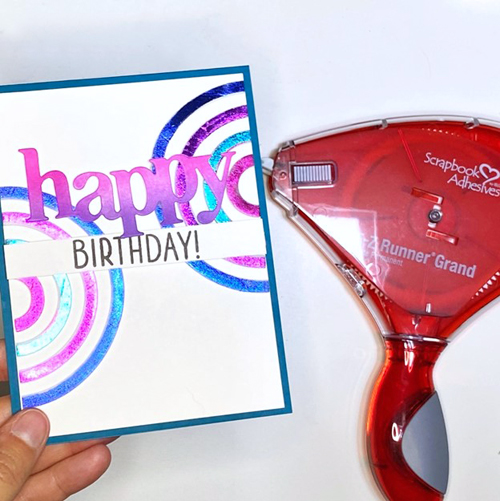
Finally, adhere your panel to the card base with your E-Z Runner® Permanent Strips Dispenser to complete your design. The shine really is absolutely wonderful!
Thank you so much for joining me today with the Circle Frame Birthday Card and happy foiling! Jennifer
Other: Stamp, Craft Dies and Cardstock: Hero Arts (Happy Thanks Stamp and Cut XL Set, and Adriatic Cardstock); Ink: Concord and 9th (Grape Soda, Dragonfruit and Black); White Cardstock: Hammermill; Scoreboard and Crease Tool
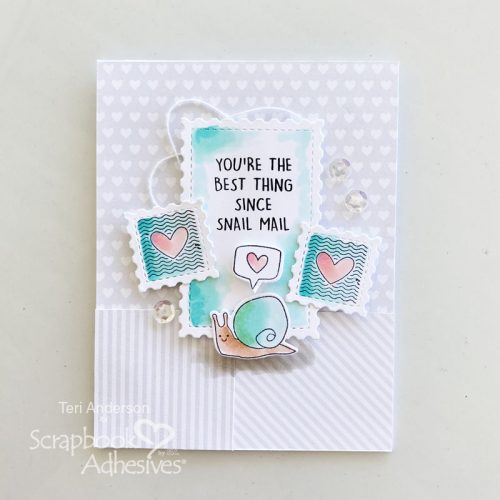
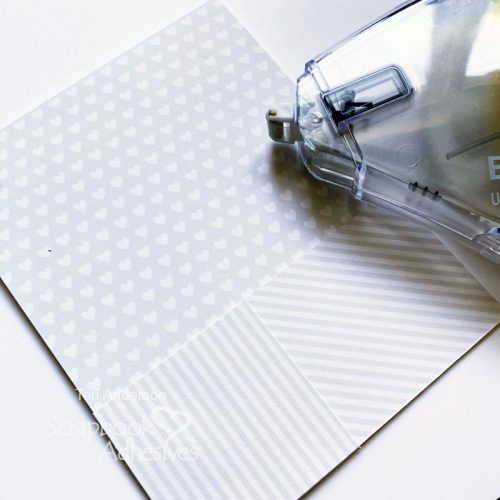
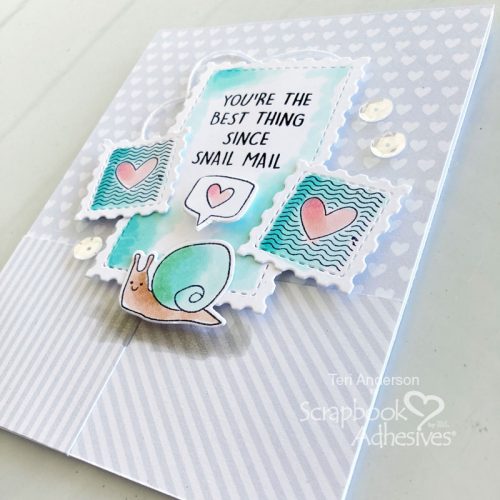
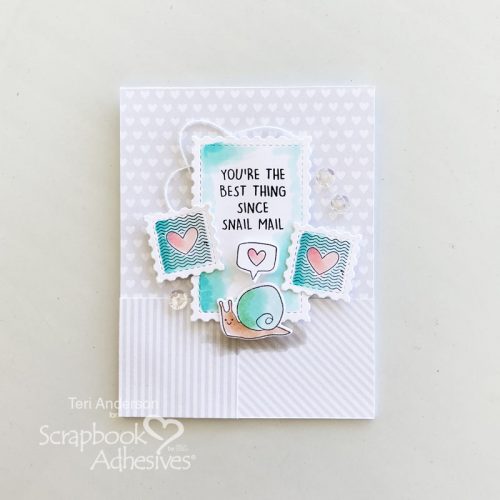
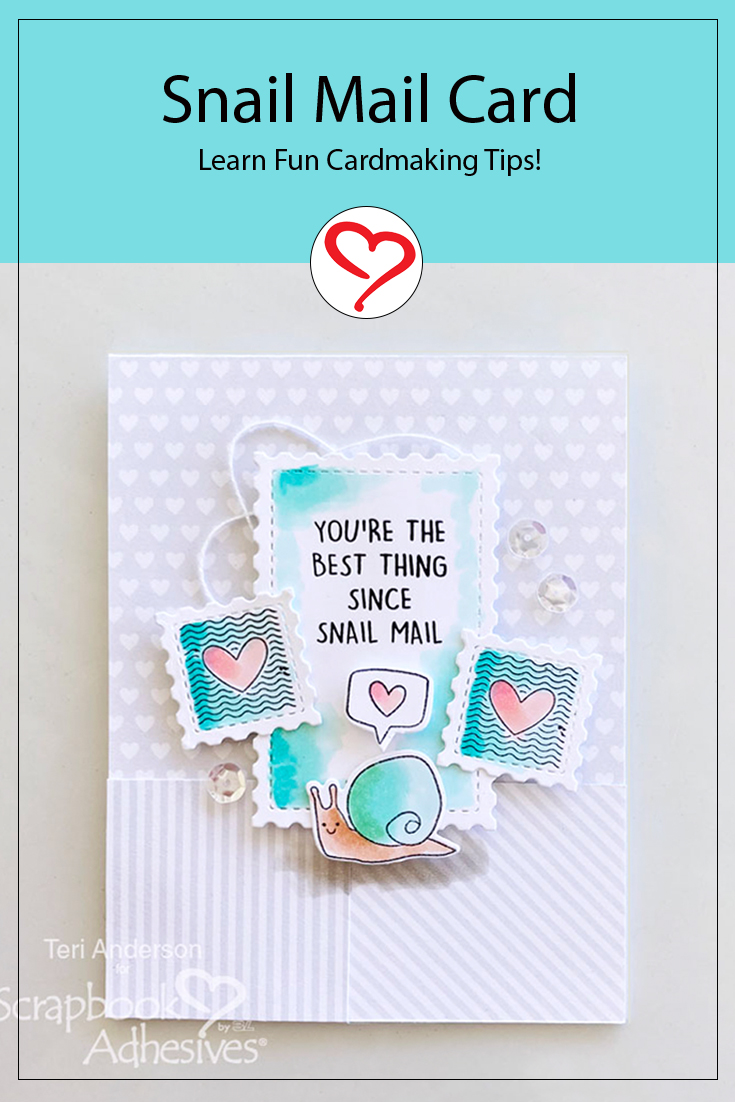
Hi, everyone! Raise your hand if you love sending cards to your friends and loved ones! Teri here to show you to make a super cute card to drop in the mail next time you go to send out some happy snail mail!
Stamped Images and Shapes
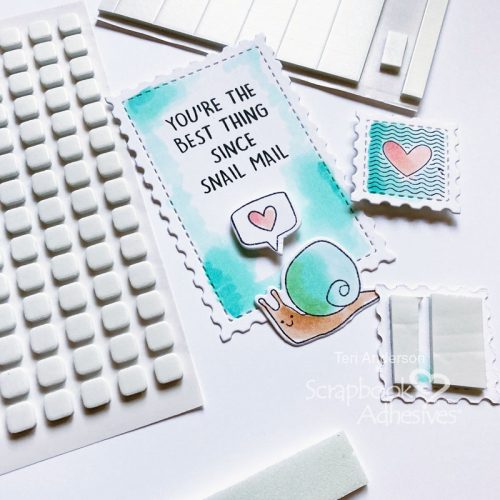
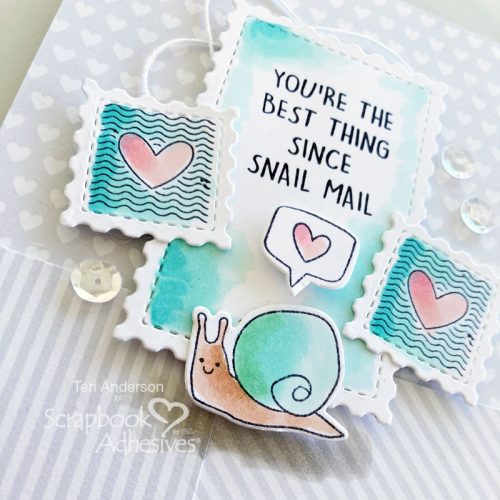
Start by stamping and die-cutting a few mail-themed images and sentiments. Color them in with markers (or pencils)!
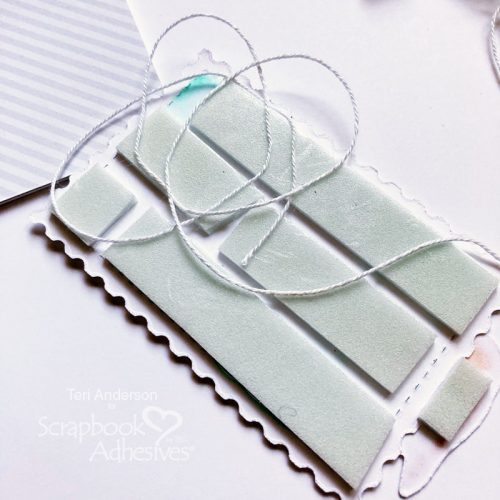
Pop Them Up
Use a combination of 3D Foam Squares Mix in White and 3D Foam Large Strips in White on the back of them. Is your strip or square too large? No problem! Use your scissors to cut the foam down to fit perfectly on your die-cut elements!
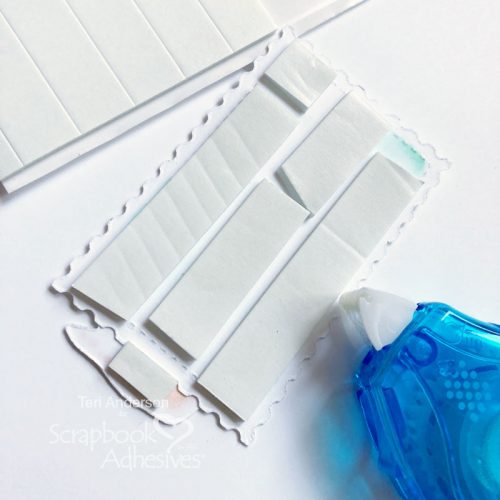
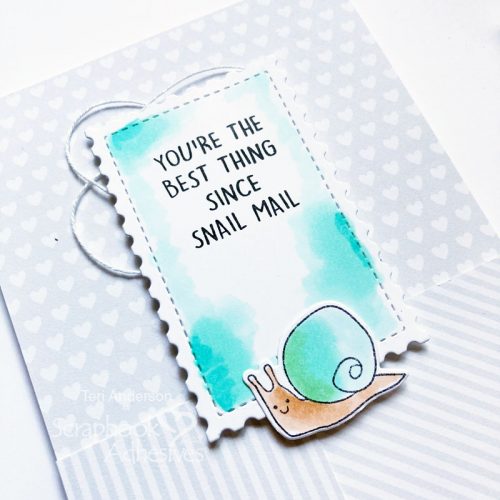
Set your largest die-cut element upside down and apply 3D Foam Strips Large White on the back. Next, take a piece of thread or twine and randomly place it across it, allowing some of the fiber to “peek out” from behind the die-cut. Place the die-cut shape on your card.
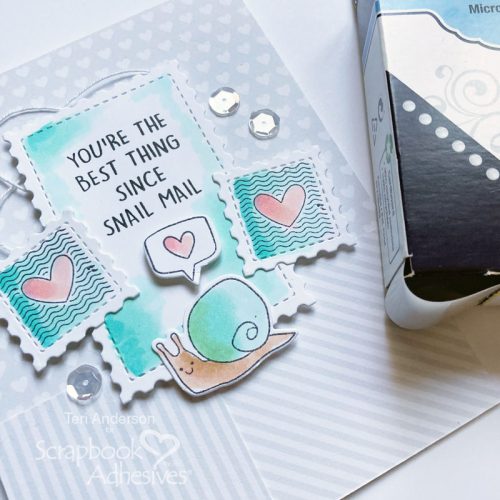
Add your other stamped images to the card as well. Complete your card by embellishing it with sequins. Adhesive Dot Micro works well for this – the size is perfect! Simply place an Adhesive Dot on your card and set a sequin right on top!
I felt like the snail was floating a bit after I completed my card so I took a marker and scribbled a little shadow underneath it. Another fun idea would have to put some adhesive under it and add some flock or glitter to it. Maybe I’ll try that with my next card!
I hope you enjoyed today’s tutorial and are inspired to make some cards of your own to send out!