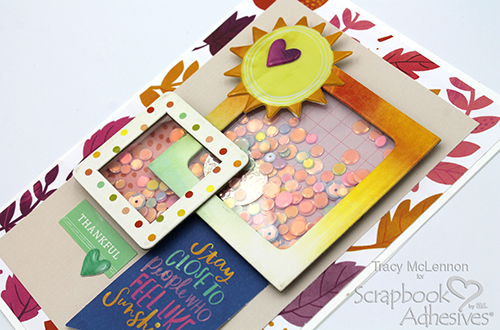
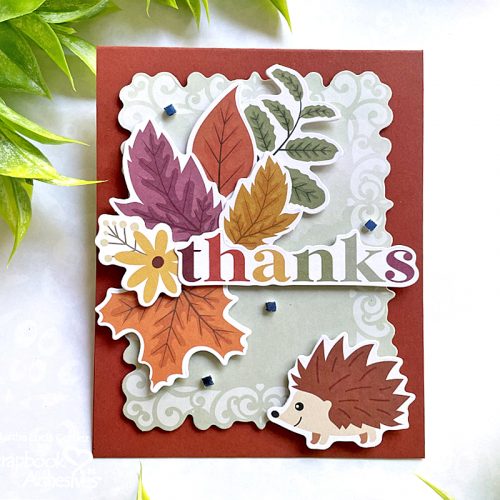
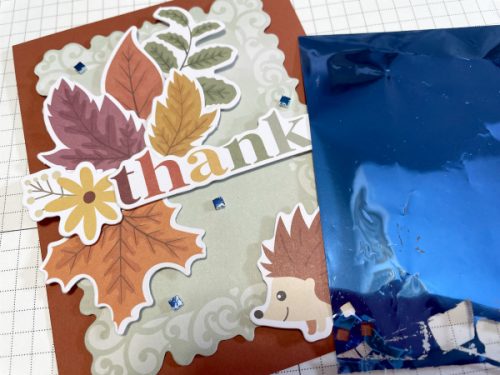
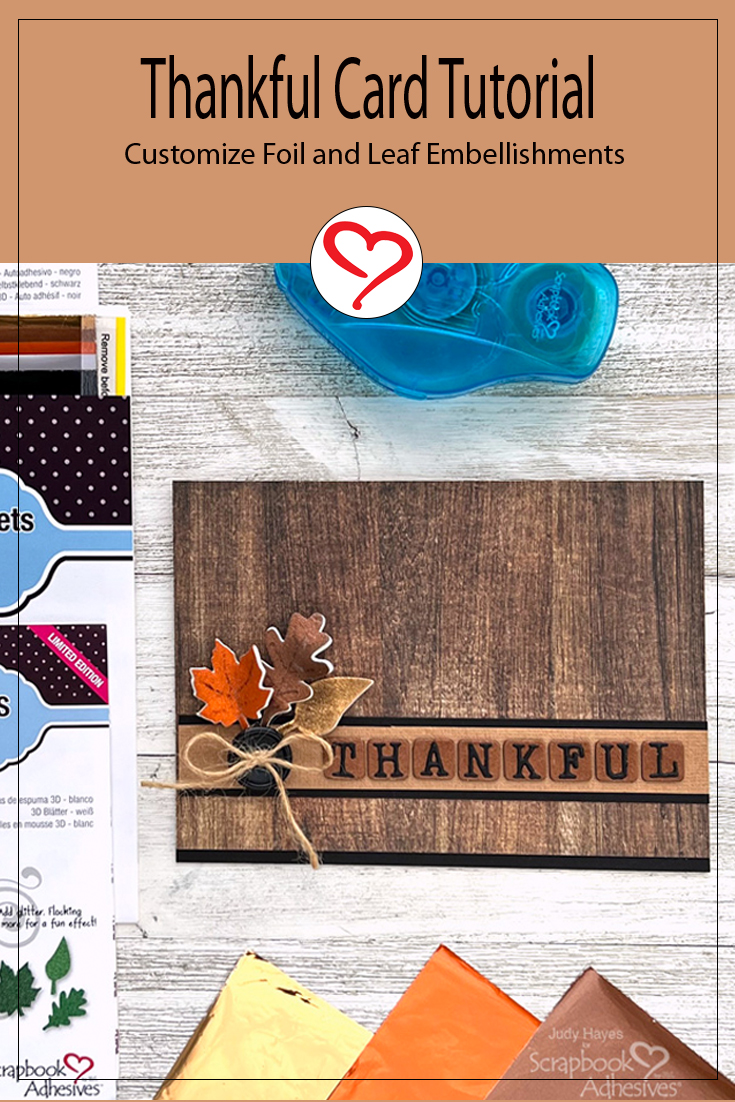
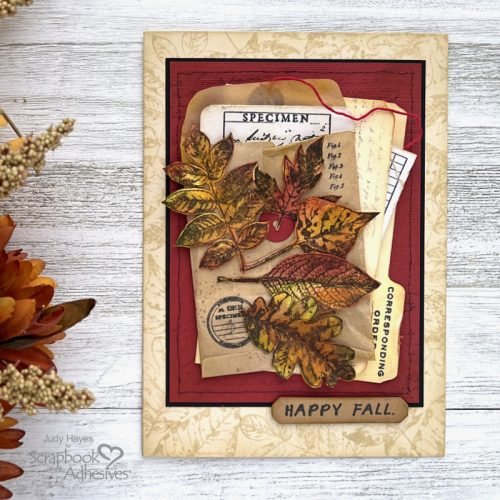
Happy Fall everyone! The days are getting cooler where I live, and fall colors are beginning to appear. I love the rich earthy colors of fall! That is my inspiration for this Specimen Fall Leaves Card.
Make Leaves
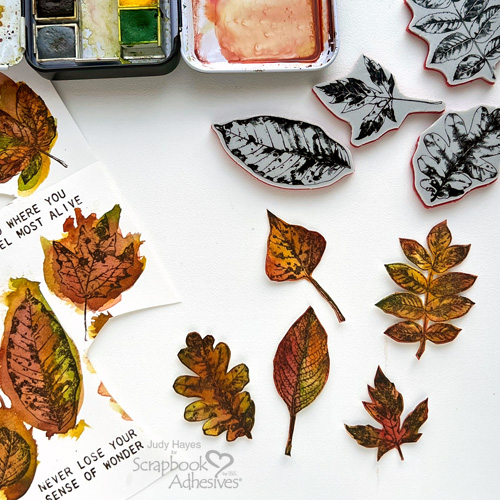
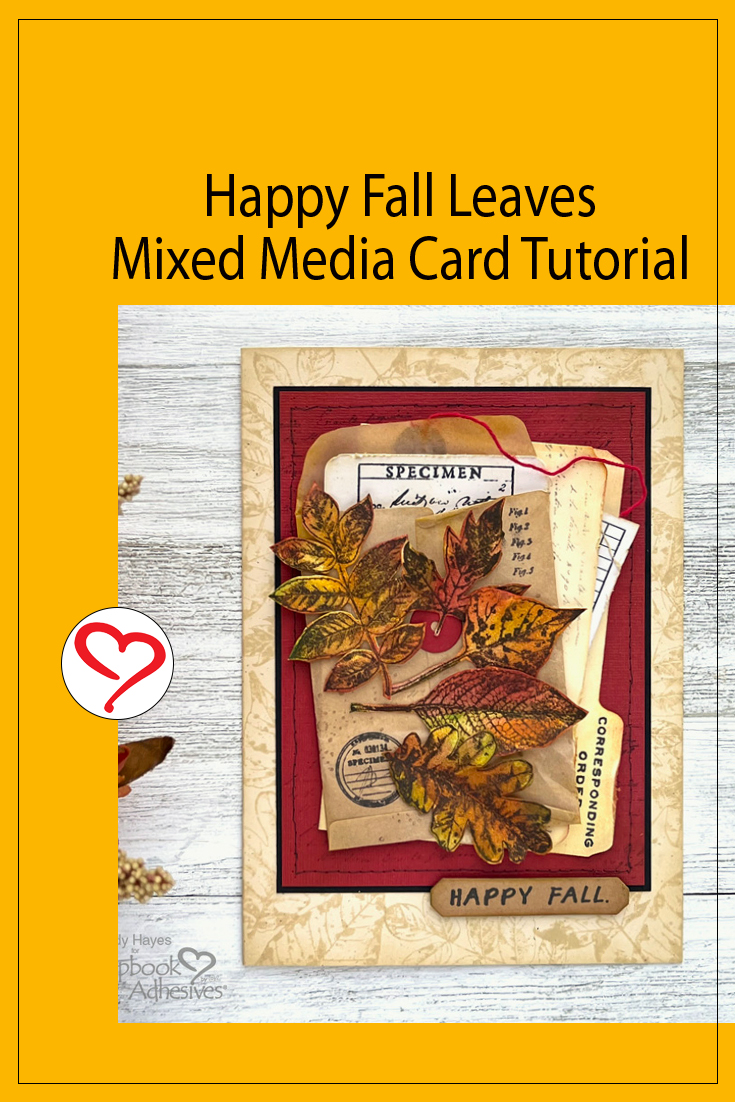
Stamp 5 different leaves on mixed media paper using Archival Hickory Smoke ink using stamp position platform. Paint leaves with watercolors. When dry, use stamp positioning platform to stamp leaves again using Archival Ground Espresso ink. Fussy cut out each leaf.
Make Envelope and Insert
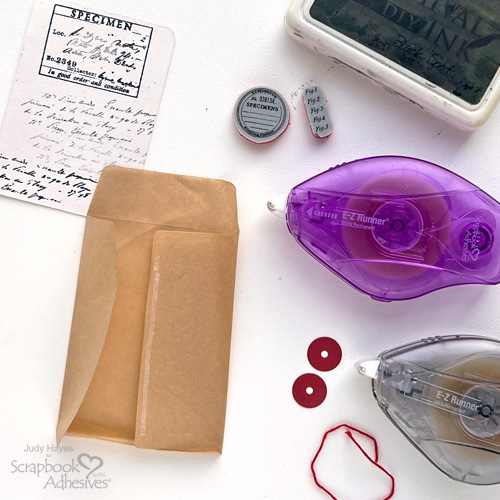
Use envelope die and die cutting machine to cut bakery parchment paper. Fold envelope and fasten together with E-Z Runner® Micro Refillable Dispenser, its narrow size works well for this. Also cut fastener circles from red cardstock. Attach them to envelope using E-Z Runner® Ultra Strong Refillable Dispenser with string under circle on flap. Stamp on envelope with black ink
Cut insert from off white cardstock using die and die cutting machine. Stamp on it with black ink. Apply small amount of adhesive to back with E-Z Runner® Ultra Strong Refillable Dispenser and tuck into envelope so that it extends out of envelope.
Maker Folder
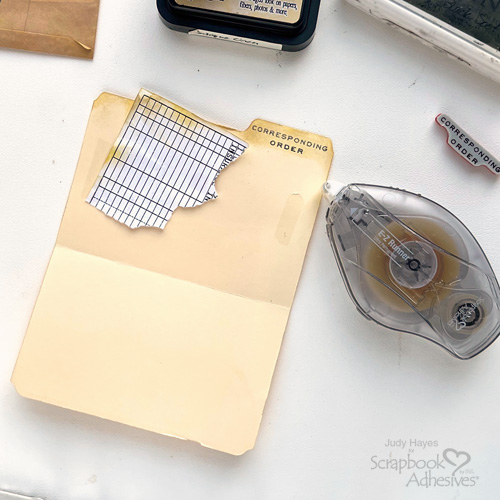
Cut folder from ivory cardstock using die and die cutting machine. Stamp on tab of folder and add some faint stamped script. Tuck a scrap of ledger paper in folder, apply adhesive inside folder with E-Z Runner® Ultra Strong Refillable Dispenser and press folder closed.
Stamp Greeting
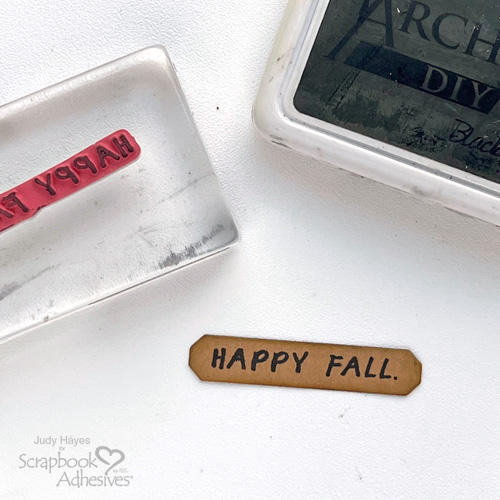
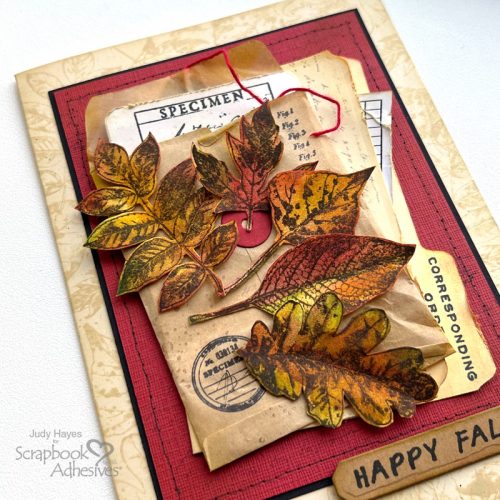
Die cut label from Kraft cardstock and stamp “Happy Fall” on it with black ink
Card Base
Form 5 x 7 inch card from Balsa cardstock. Randomly stamp assorted leaves along edge with Antique Linen ink. Also rub ink along card edges.
Cut 4.25 x 5.75 inches black cardstock
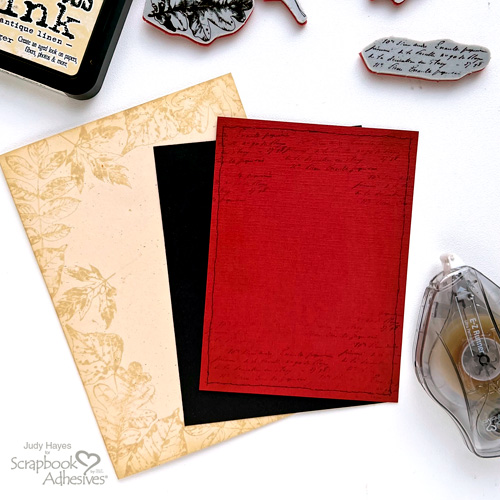
From red cardstock cut 4.125 x 5.625 inches piece. Use needle tool or push pin to poke holes along edges (I used Tim Holtz ruler which has evenly spaced holes). With fine point black pen, draw faux stitching over holes. Lightly stamp random script with black ink near top and bottom.
Use E-Z Runner® Ultra Strong Refillable Dispenser to fasten red piece to black mat and then fasten both to card.
Assemble Card
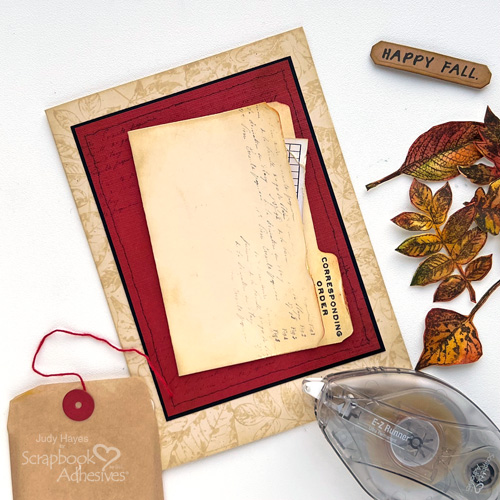
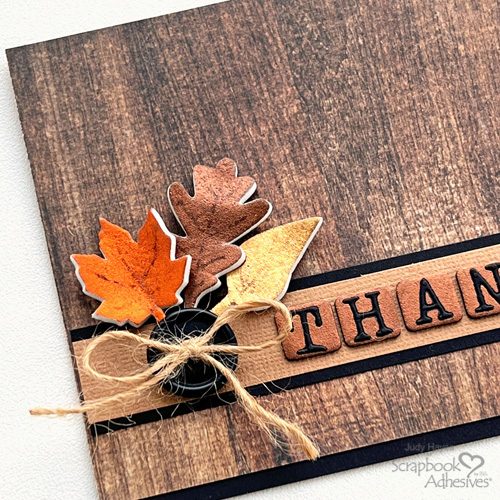
Arrange folder and envelope on card and fasten in place using E-Z Runner® Ultra Strong Refillable Dispenser
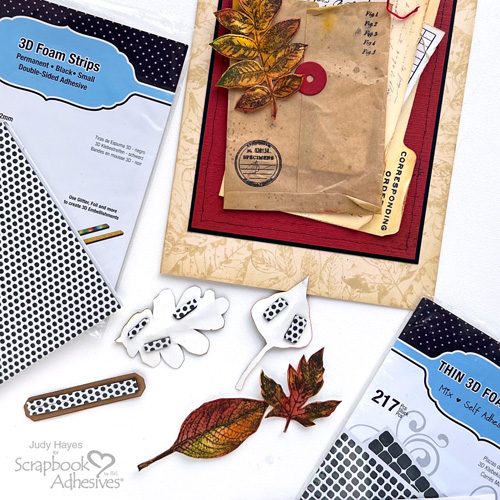
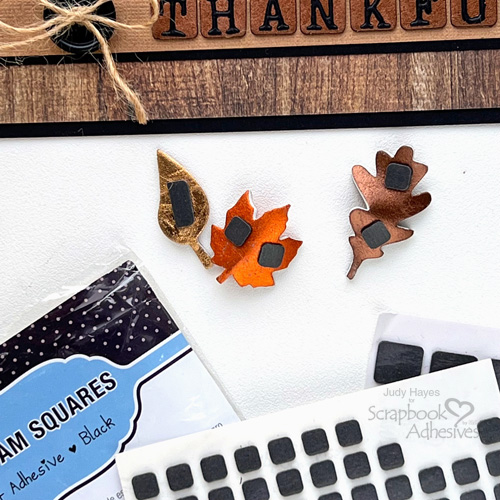
Cut Thin 3D Foam Squares Black Mix as needed and attach to backs of leaves. Arrange leaves on envelope, remove liners from foam squares and press in place.
Cut 2 pieces of 3D Foam Strips Black and place on back of greeting label. Peel liners from foam strips and attach greeting to card.
Thanks for Visiting!
Judy Hayes
Creative Time: 45 mins
Skill Level: Advanced
Materials Needed:
Scrapbook Adhesives by 3L®
Thin 3D Foam Squares Black Mix
E-Z Runner® Ultra Strong Refillable Dispenser
E-Z Runner® Micro Refillable Dispenser
Other – Bazzill Basics Paper (Maraschino); Ranger Ink (Distress Ink Antique Linen, Archival Distress ink Hickory Smoke, Ground Espresso and Black Soot); Sizzix Tim Holtz (Specimen, Collector); Stampers Anonymous TIm Holtz (Nature’s Wonder, Field Notes, Tiny Toadstools, The Scarecrow); Cardstock (Black, Ivory, Balsa, Birch); Red String; Bakery Parchment Paper (Not kind for baking. I found it in cake decorating area, similar to tissue paper); Uni-ball Signo Micro Pen (Black); Mixed Media Paper
Save to Pinterest!
Visit our Website and Blog!
Sign up for our Newsletter so you never miss a contest or giveaway!