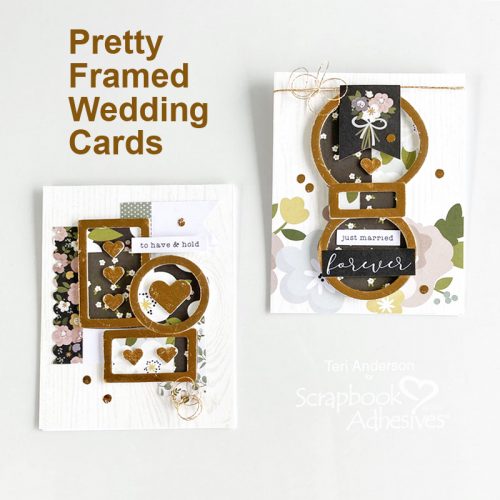
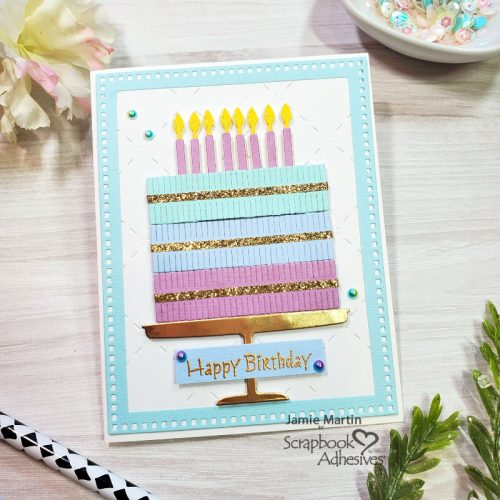
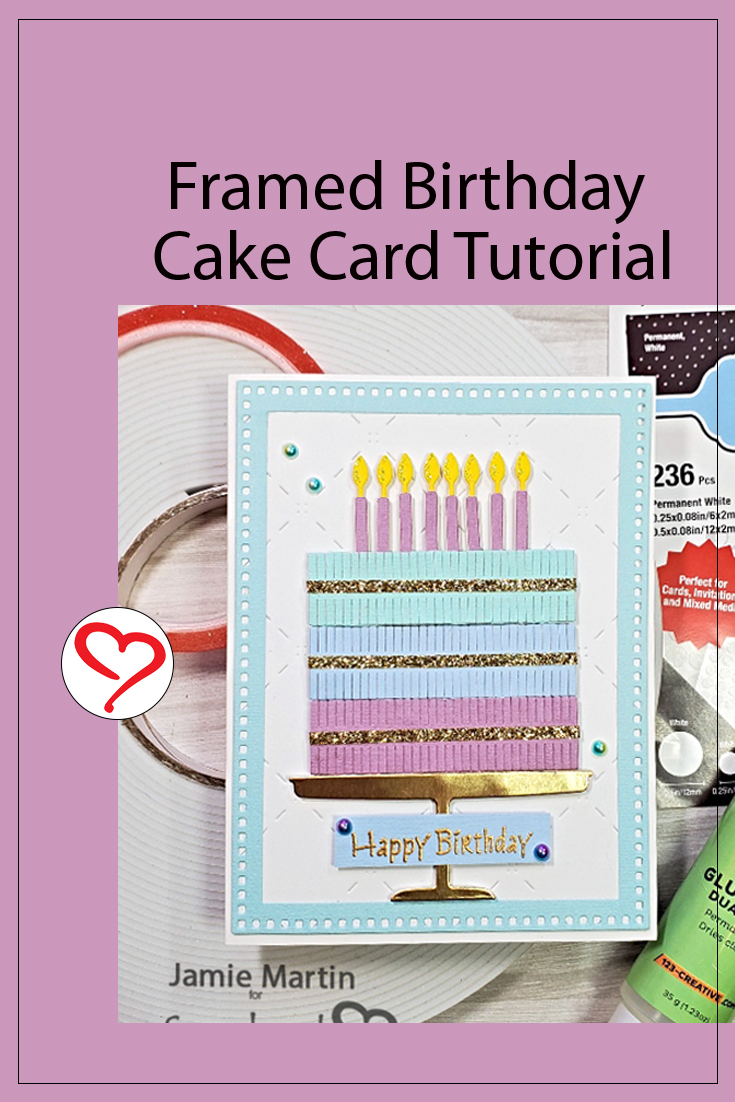
Happy March! Jamie here today and boy do I have a lot of birthdays coming up this month! So I am sharing a fun Framed Birthday Cake Card. If you’re coloring challenged or just don’t have the time, this is the card for you.
Assemble the Birthday Cake
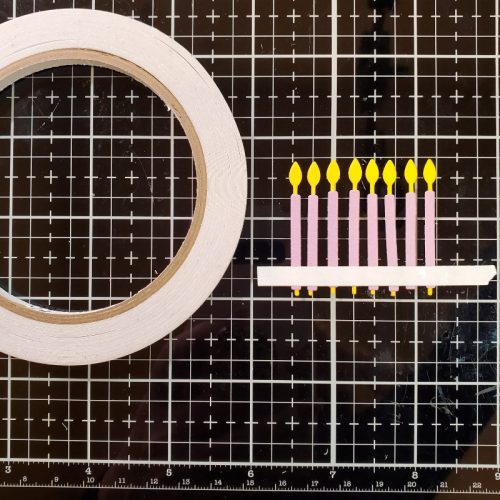
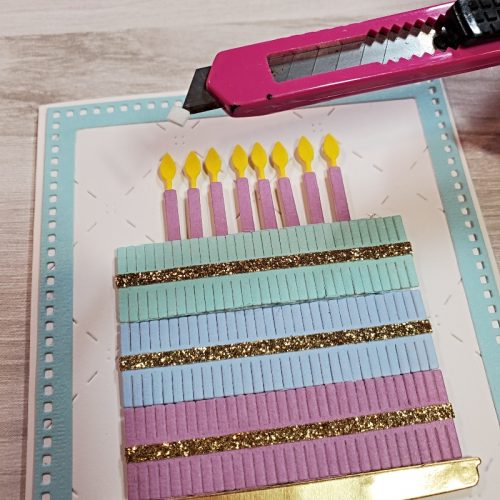
Firstly, I die-cut all of the pieces from the Stitched Fringe Cake, which includes three layers of the cake from pastel cardstock and the cake plate from mirrored gold glossy paper. The candles were die-cut from purple cardstock. Lastly, the flames were cut from yellow cardstock.
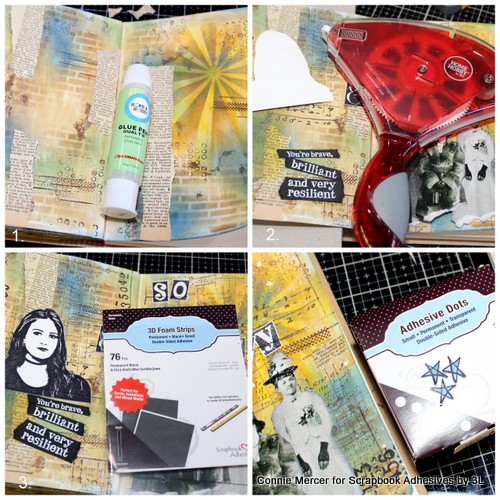
Gold glitter washi tape was placed across the center of each layer. Because the washi tape didn’t stick well, I dabbed some Dual Tip Glue Pen on it.
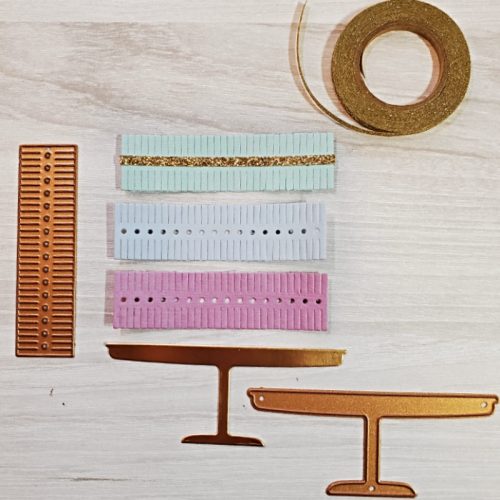
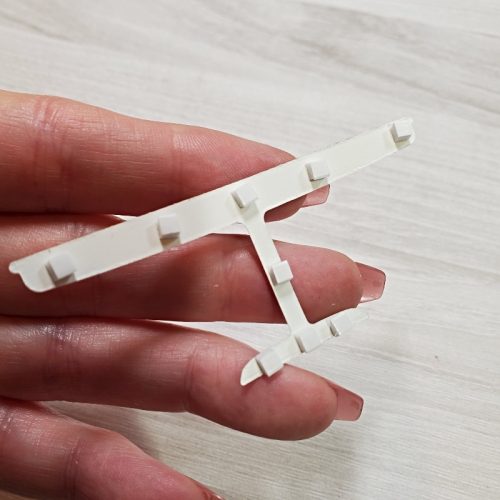
For the cake plate, I placed 3D Foam Squares Micro White on its back and set it aside.
Framing the Card Front
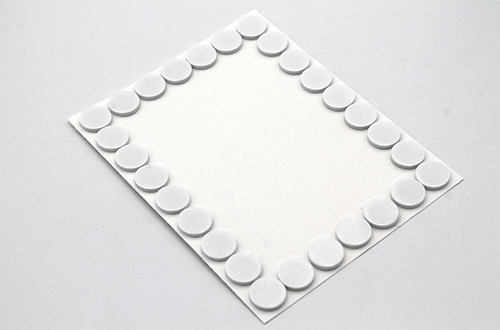
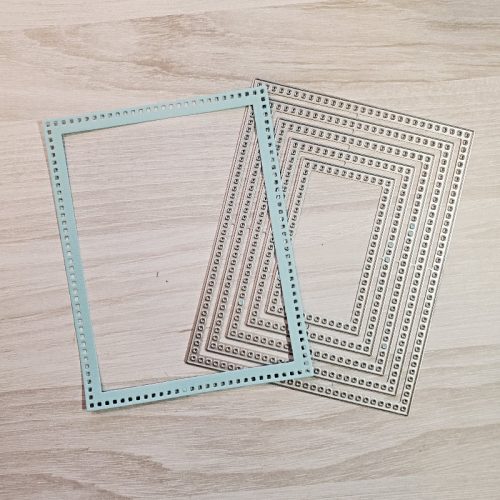
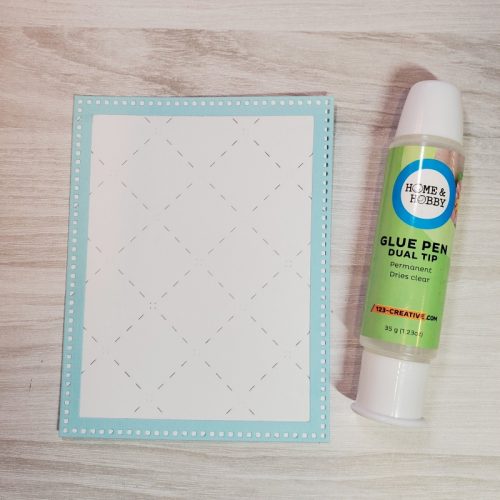
A frame was die-cut from blue cardstock using the Nested Rectangle with Square Holes Die.
Use the Dual Tip Glue Pen to glue the frame to a white cardstock panel. By the way, I embossed the panel with a Quilted Stitched Pierced Cover Die for texture.
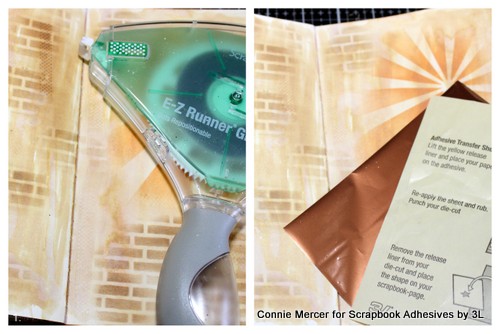
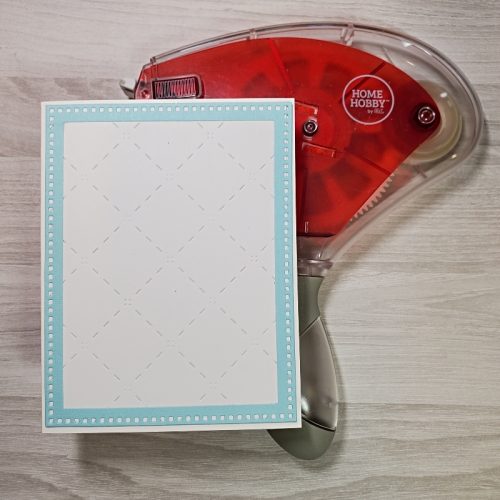
Mount the panel to a white card using the E-Z Runner Grand Dispenser.
Finishing the Birthday Cake
The cake plate is popped up at the bottom of the card. Using strips of Crafty Foam Tape, lift the two bottom layers of the cake. Leave the top layer to the side for now.
Glue the candle flames to the back of the candles with the Dual Tip Glue Pen. Line up the candles with a strip of Premium Double-Sided Tape 1/4″ placed across the bottom.
Then add the top layer on top of the adhesive to keep them straight. Adhere a piece of the Crafty Foam Tape across the back of the top cake layer and place it on the card. Behind each flame, apply a 3D Foam Squares Micro with a craft knife.
Finishing Touches
Stamp the sentiment on a blue cardstock strip with VersaMark Ink, and heat embossed with Champagne Embossing Powder. Then popped up and adhered across the stem of the cake plate using 3D Foam Circles White Mix. Randomly place enamel dots on the card. Then add touches of Crystal Stickles to each of the flames.
Skill Level: Intermediate
Creative Time: 35 minutes
Materials Needed:
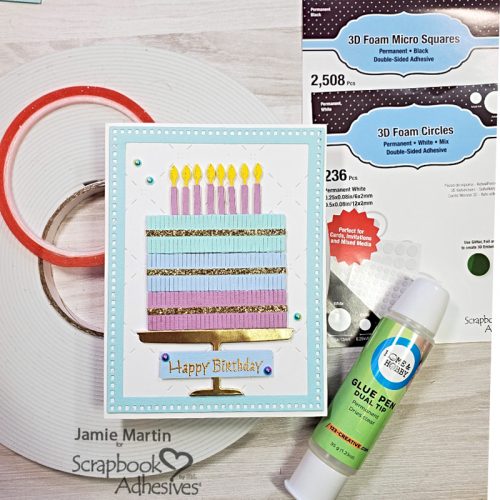
Scrapbook Adhesives by 3L®
E-Z Runner Grand Dispenser
Crafty Foam Tape 108 ft
3D Foam Squares Micro White
3D Foam Circles White Mix
HomeHobby™ by 3L
Dual Tip Glue Pen
Premium Double-Sided Tape 1/4″
Plus
Rubbernecker Stamps- Happy Birthday Stamp Set, Quilted Stitch Cover, Nested Rectangle with Square Holes Die
Spellbinders- Stitched Fringe Cake, Champagne Embossing Powder
PrintWorks Specialty Paper- Cardstock
Save to Pinterest!
Visit our Website and Blog!
Sign up for our Newsletter so you never miss a contest or giveaway!