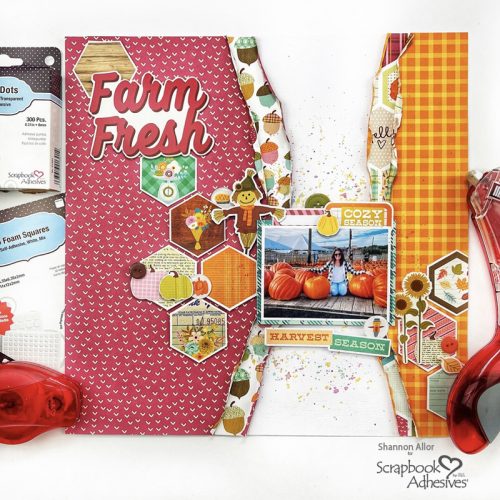
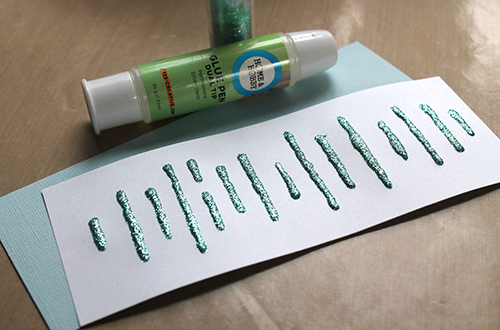
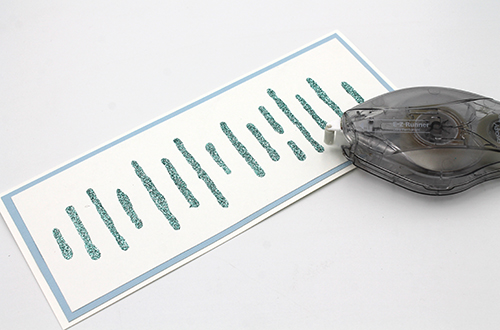
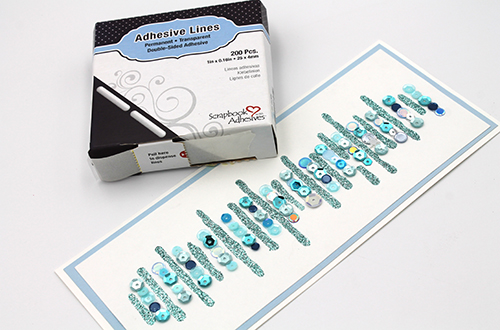
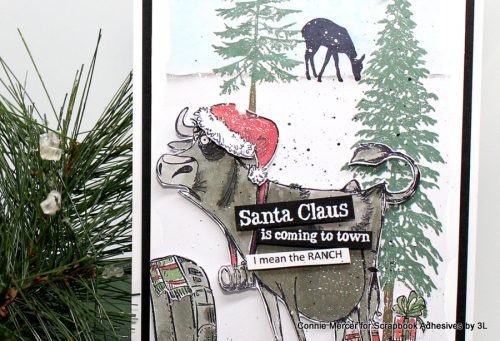
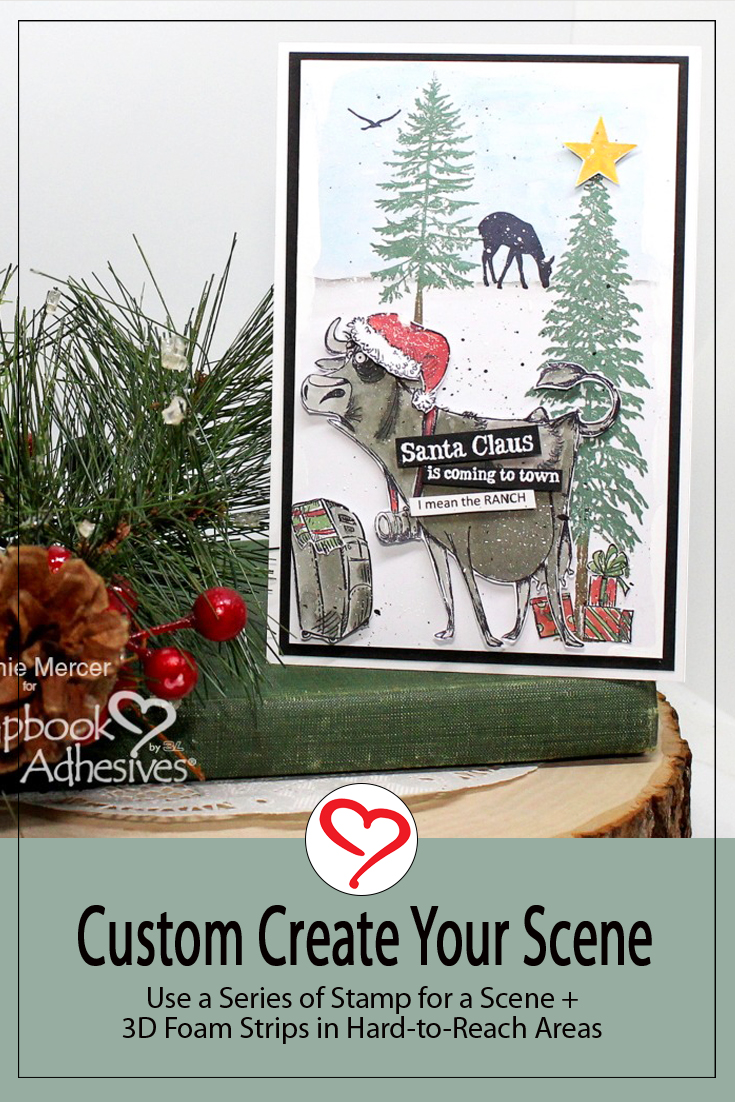
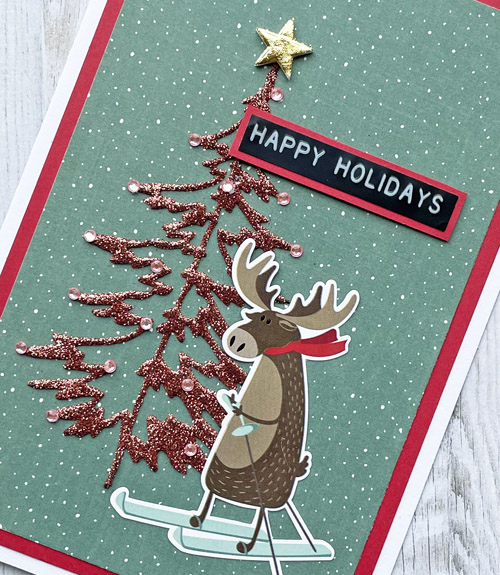
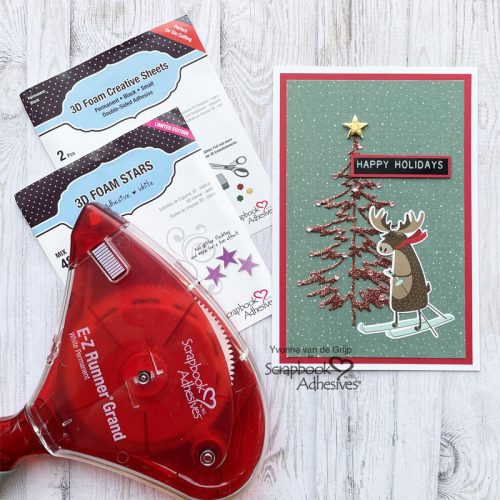
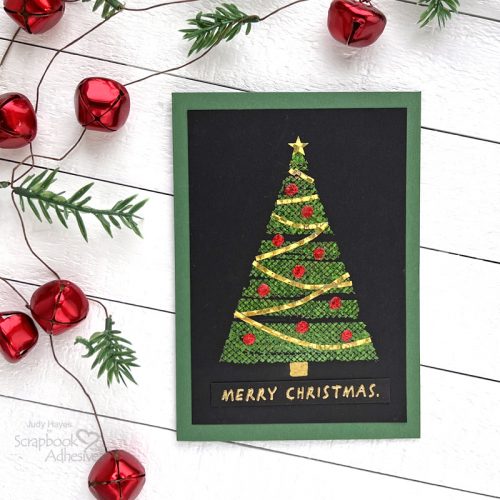
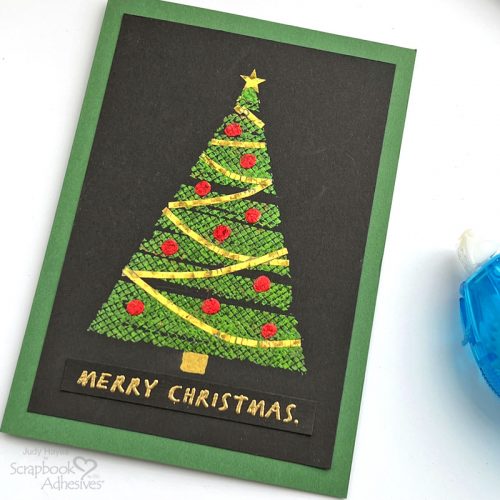
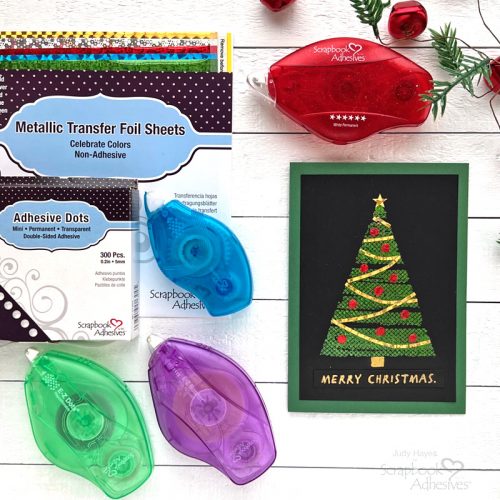
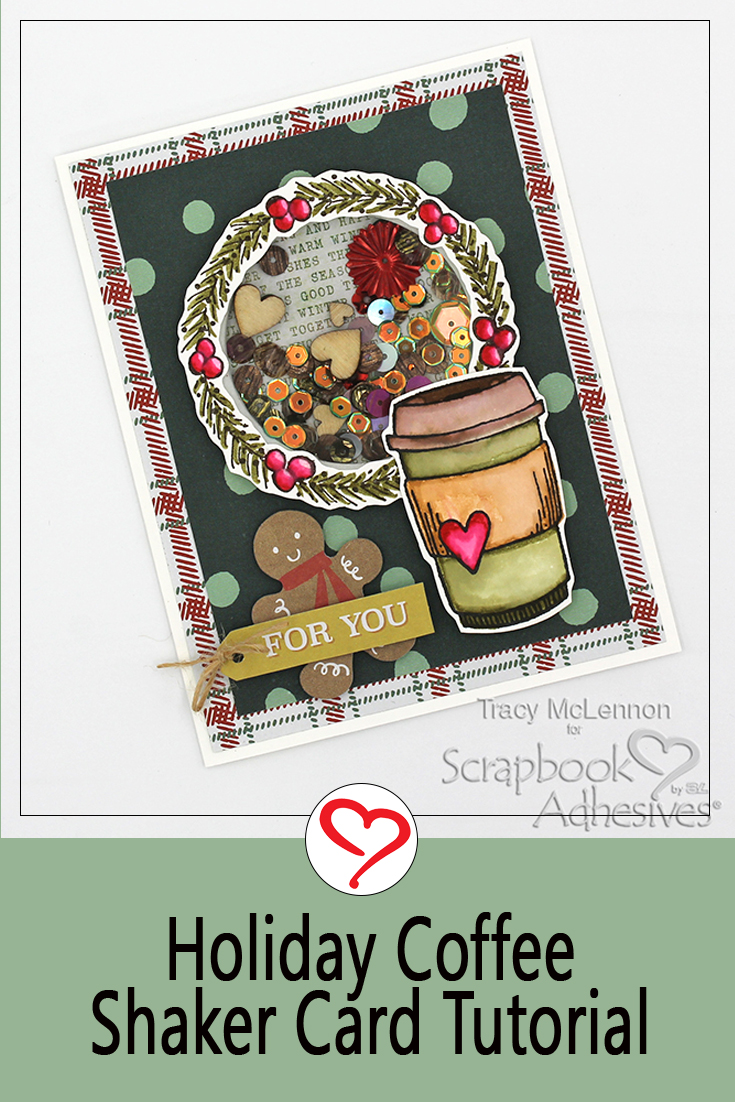
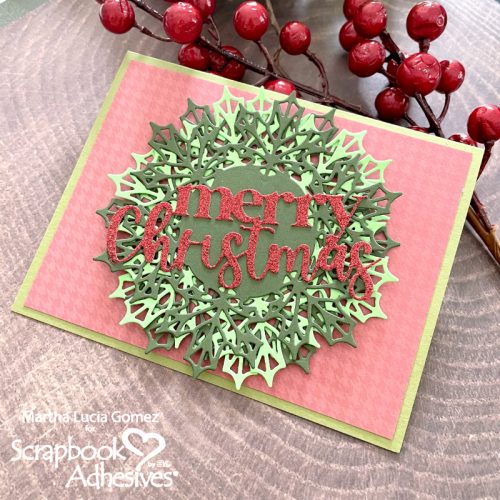
Hello! Here’s a fun Christmas card to make with foil! This Foiled Christmas Tree Card shows off foil applied over adhesive applied with E-Z Runner adhesives and Adhesive Dots Mini!
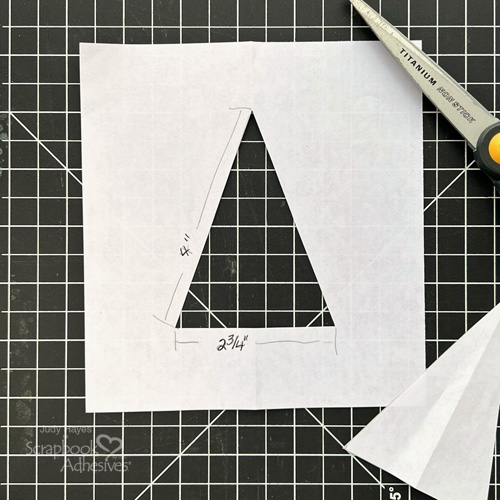
Make a Tree Stencil
Fold a piece of printer paper (scrap paper) in half. Towards the lower end of the fold measure 1.375 inches from the fold and make a dot with a pencil and draw a line from the dot perpendicular to the fold (bottom of the tree). Use a ruler to measure 4 inches from the dot to fold (top of the tree) and draw a line. Then cut along pencil lines and open the paper to reveal the stencil.
Cut Layers
Before starting the focal design, let’s cut the card layers! Cut a piece of 8.5 x 6-inch green cardstock, and fold it in half to form a 4.25 x 6-inch card base. Set aside. Next, cut a piece of black cardstock to 3.75 x 5.5-inch plus scraps for a sentiment.
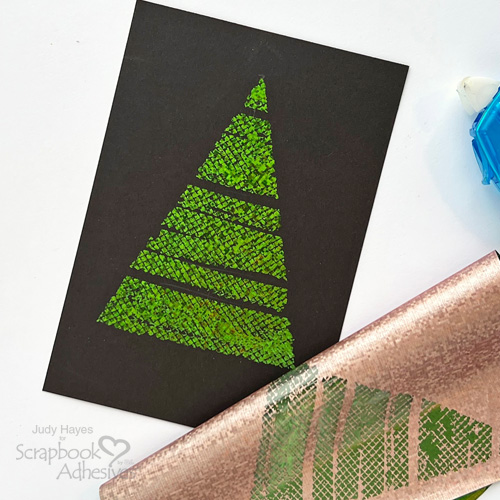
Place Mask on Background
Use a pencil to lightly mark the vertical center of black cardstock (marks won’t show after the foil is applied) and make a pencil dot .5 inches from the top at the center.
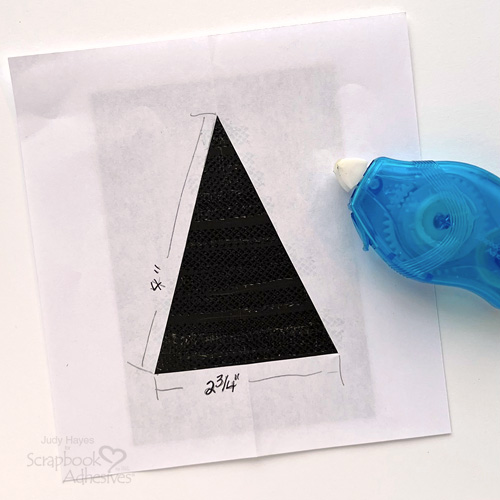
On the back of the stencil, use E-Z Dots® Repositionable Refillable Dispenser to apply a few adhesive spots near the tree opening. Align the tree opening top at the pencil dot, use pencil marks to align it straight, and press in place.
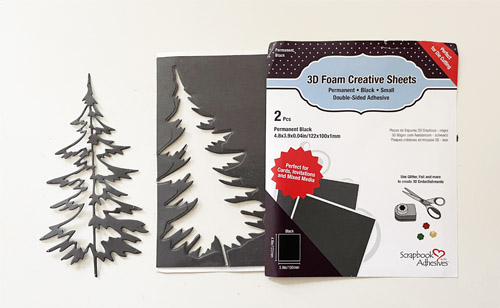
Apply Adhesive and Green Foil
At top of the tree opening, apply the adhesive with E-Z Runner® Petite Permanent Dots Refillable Dispenser starting on the stencil, across the tree, and ending on the stencil. Continue to apply rows of adhesive in the same way to cover the tree.
Remove the stencil. Check for any residual adhesive from E-Z Dots® Repositionable Refillable Dispenser on the black cardstock and rub off any found.
Place green holographic foil from Metallic Transfer Foil Sheets Celebrate Colors over adhesive, rub well with fingers and then peel foil away. If there are any places without foil, reapply and rub.
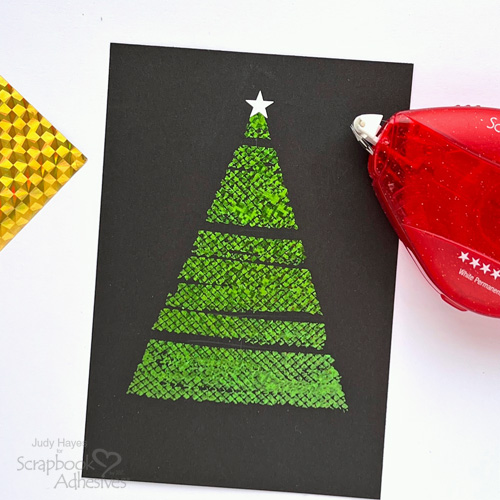
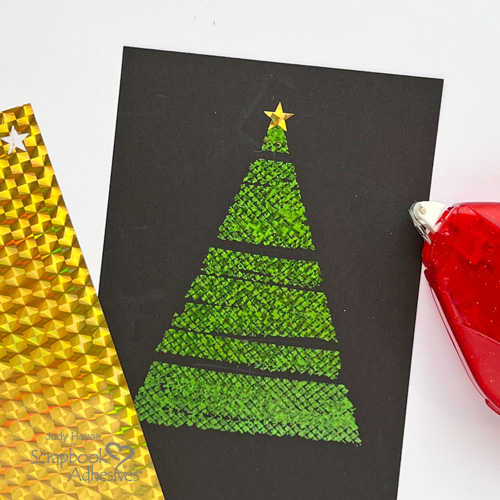
Apply Star
Use E-Z Runner® Stars Refillable Dispenser to apply one star on top of the tree, cover with the gold foil from the Metallic Transfer Foil Sheets Celebrate Colors, rub well and peel away the foil.
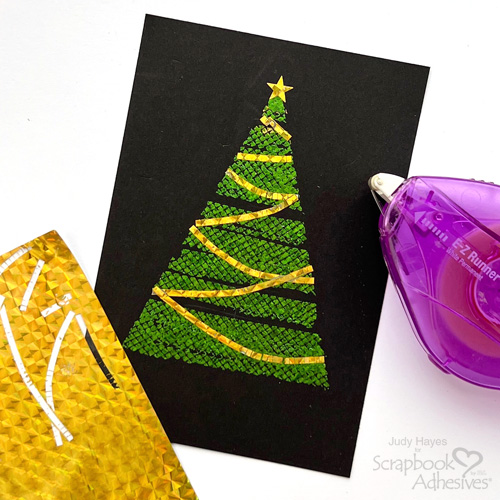
Apply Garland Foil
Place the stencil in place over the tree again. Use E-Z Runner® Micro Refillable Dispenser to apply adhesive in garland-shaped curves going from the stencil, across the tree, and ending back on the stencil. Repeat as desired.
Remove the stencil. Place gold foil from the Metallic Transfer Foil Sheets Celebrate Colors over the tree and rub well to transfer foil to the garland, then pull the foil away. Repeat if necessary to fill in any places without foil.
Apply Red Foil Balls
Place one Adhesive Dots Mini on the tree, peel away the liner and cover with red foil from Metallic Transfer Foil Sheets Celebrate Colors. Rub well before pulling away the foil. It takes a little more care to pull foil away from Adhesive Dots. Repeat to add more ball ornaments over the tree.
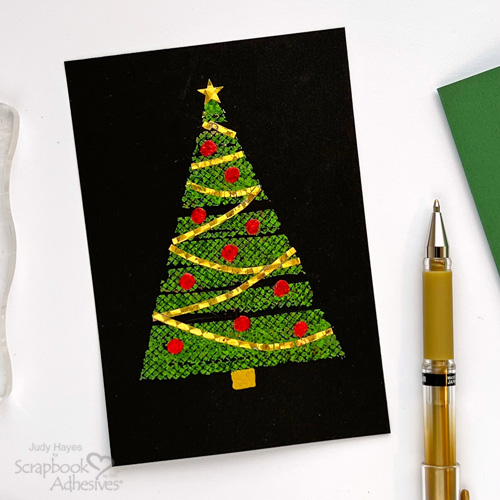
Draw the Tree Trunk
Use a gold pen to draw a short tree trunk. Isn’t it striking against the black cardstock?!
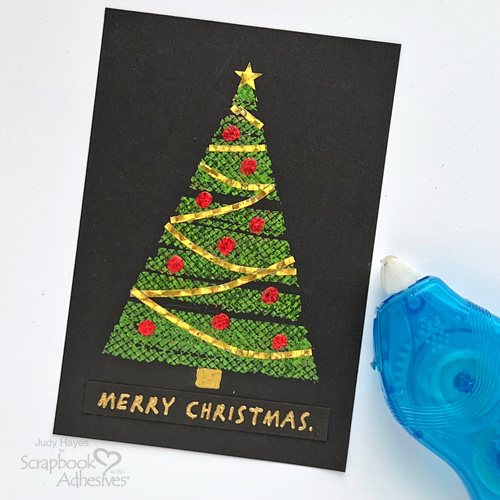
Stamp the Greeting
On a piece of black cardstock, stamp the greeting with Versamark ink and add gold embossing power on top. Tap the excess off and melt it with a heating tool. Cut around the greeting to a narrow strip.
Apply adhesive to the back using E-Z Runner® Petite Permanent Dots Refillable Dispenser and fasten below the tree.
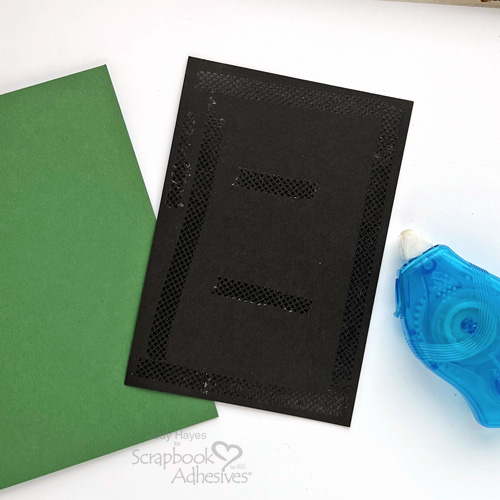
Assemble the Card
Apply E-Z Runner® Petite Permanent Dots Refillable Dispenser to the back of the tree panel and attach it to the front of the green card base.
Enjoy!
Thanks for Visiting!
Judy Hayes
Creative Time: 30 mins
Skill Level: Intermediate
Materials Needed:
Scrapbook Adhesives by 3L®
E-Z Runner® Petite Permanent Dots Refillable Dispenser, E-Z Runner® Micro Refillable Dispenser, E-Z Runner® Stars Refillable Dispenser, and E-Z Dots® Repositionable Refillable Dispenser
Metallic Transfer Foil Sheets Celebrate Colors
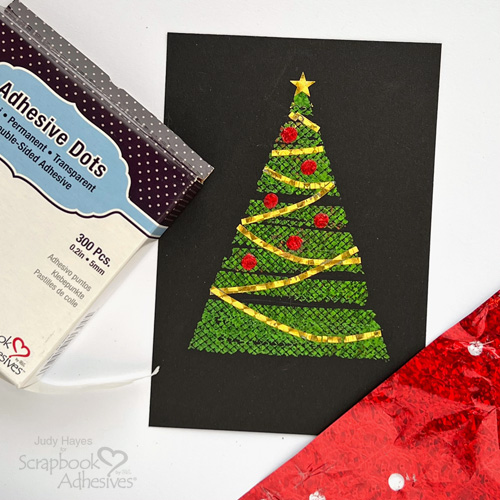
Adhesive Dots Mini
Other
Ink: Tsukineko (Versamark Ink); Embossing Powder: Ranger Ink (Gold Embossing Powder); Stamps: Stampers Anonymous (Holiday Sketchbook by Tim Holtz); Black and Green Cardstock; Gold Metallic Pen
Save to Pinterest!
Visit our Website and Blog!
Sign up for our Newsletter so you never miss a contest or giveaway!