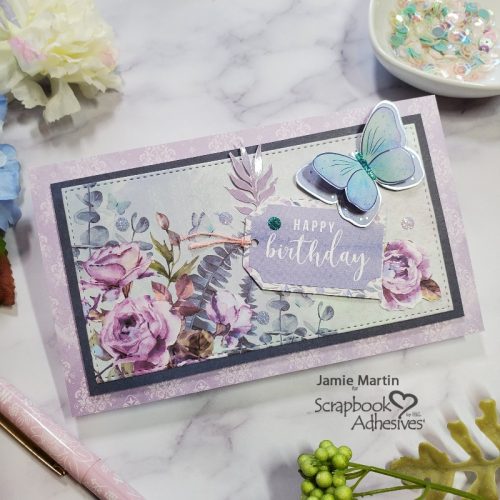
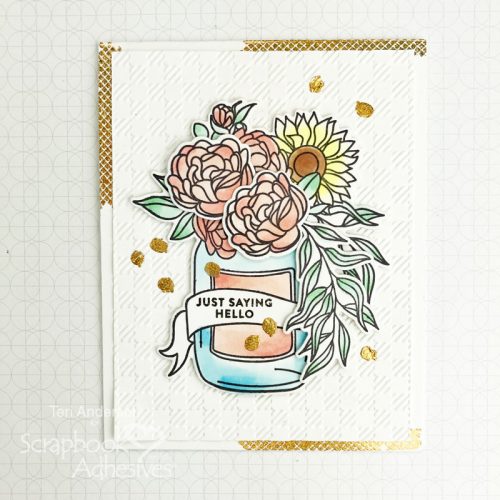
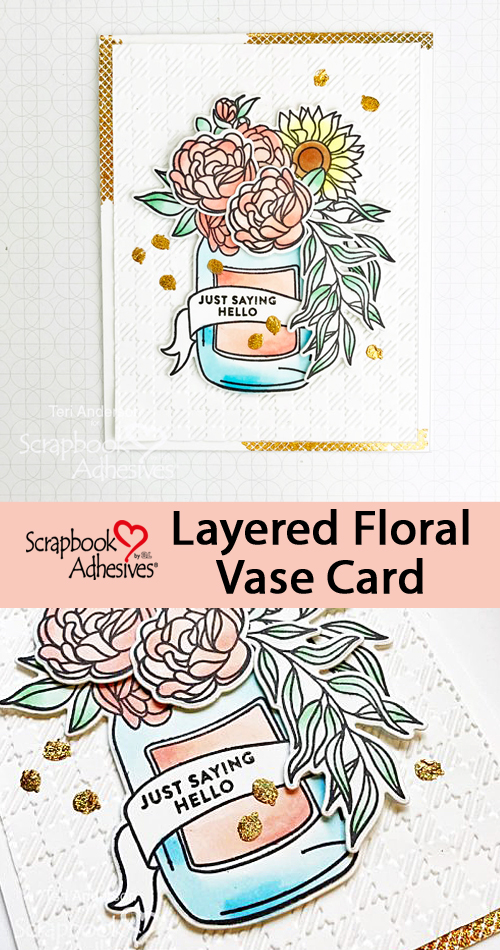
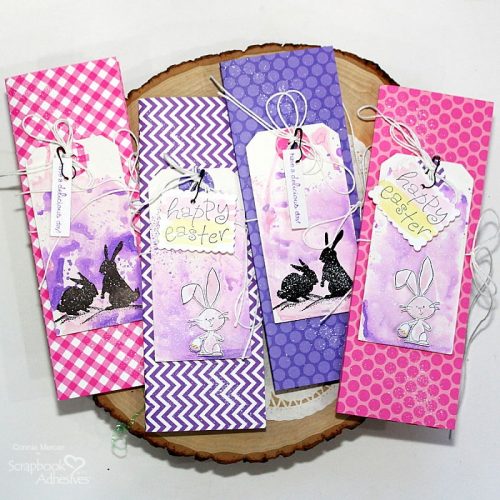
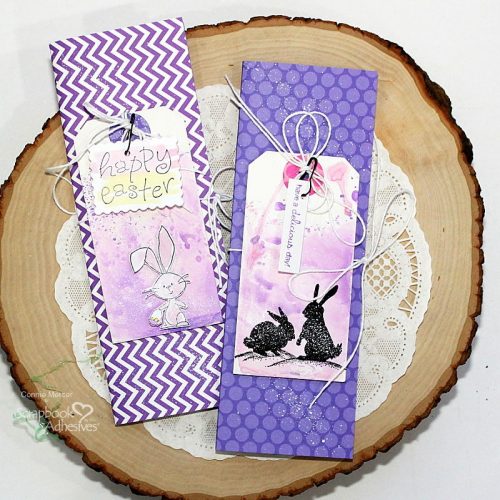
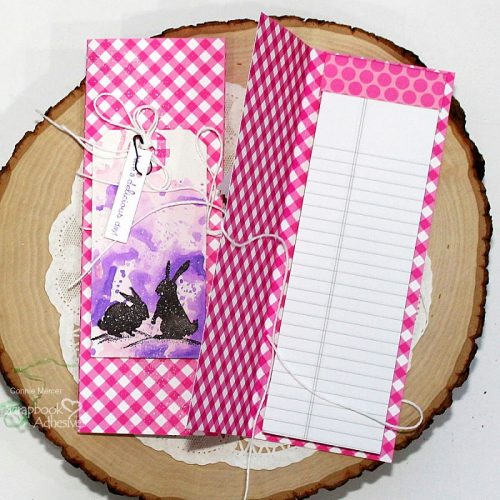
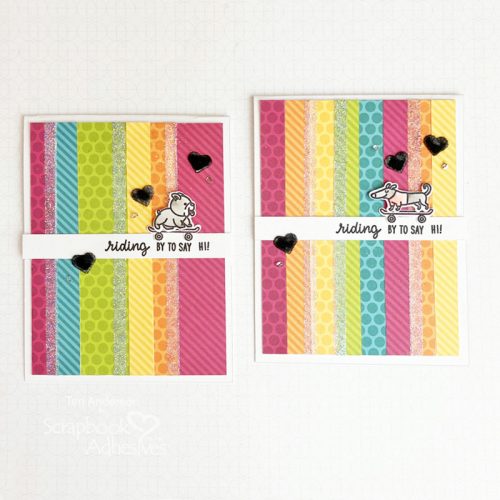
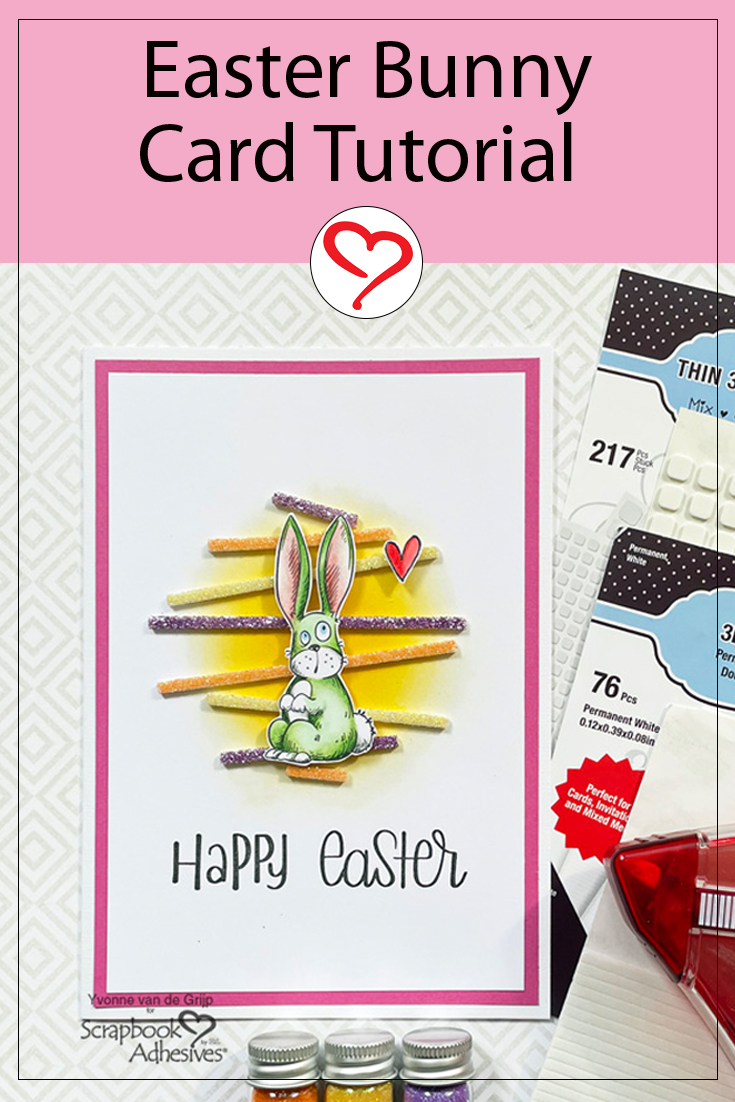
Hi everyone, Yvonne here with an Easter Bunny Card that is super easy and quick to make. It might come in handy when you need a last-minute card.
With a technique called Wear Your Adhesive on the Outside and glitter, you have a sparkly background within minutes! Wanna join me in creating this Easter Bunny card? Let’s go!
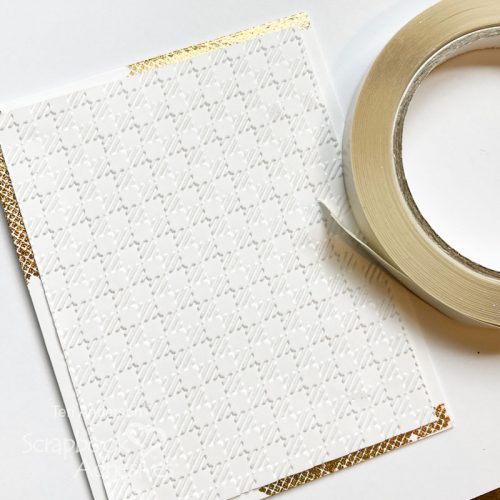
Making the Top Card Panel
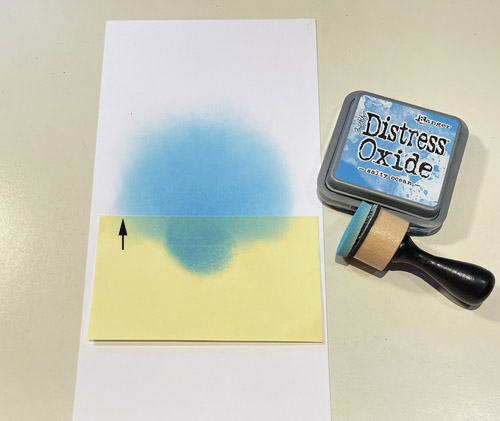
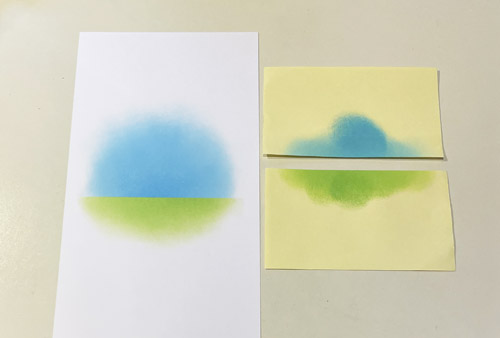
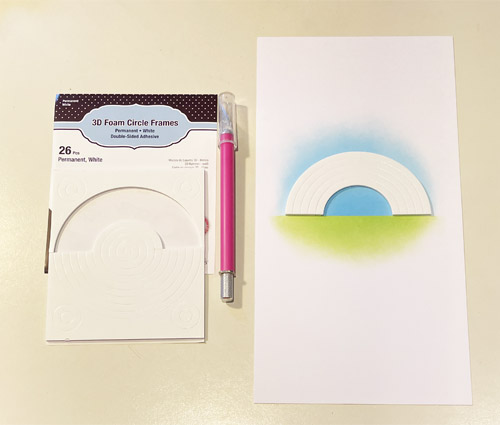
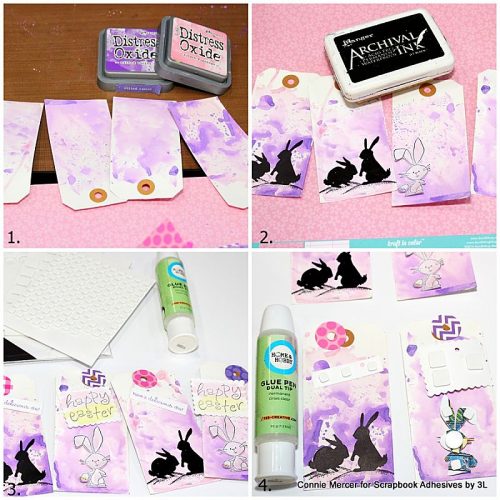
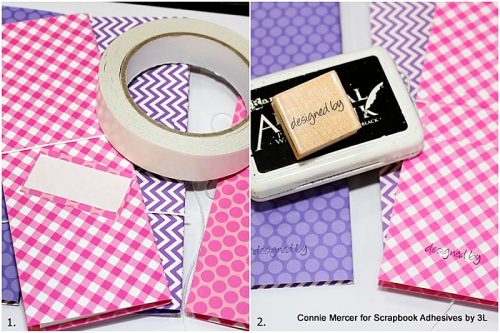
First, make a yellow circle on white cardstock using a yellow ink pad and an ink blending tool.
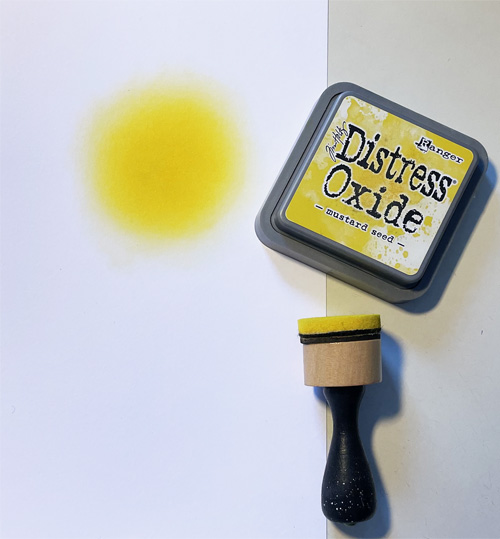
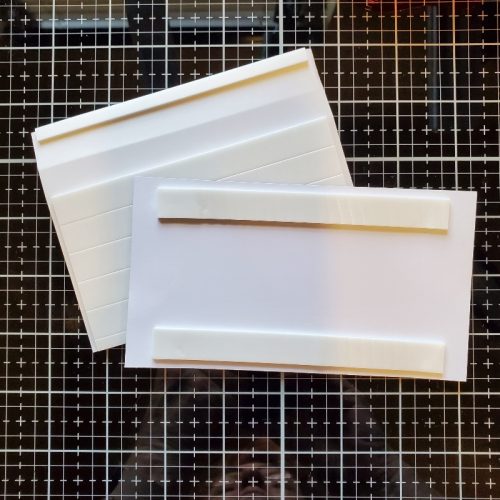
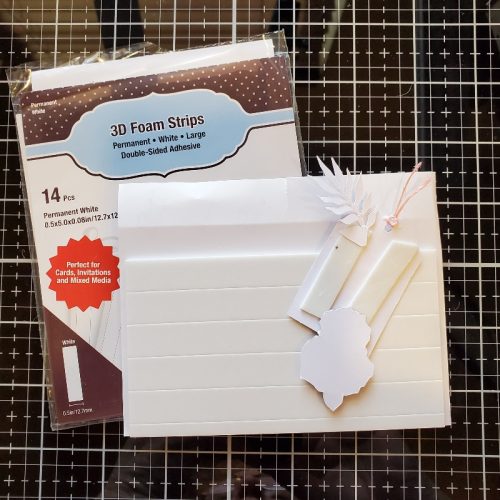
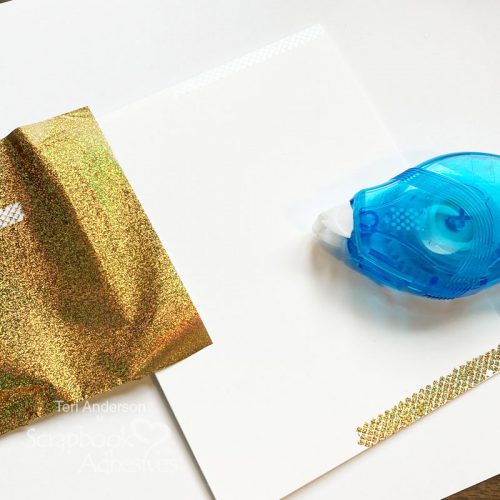
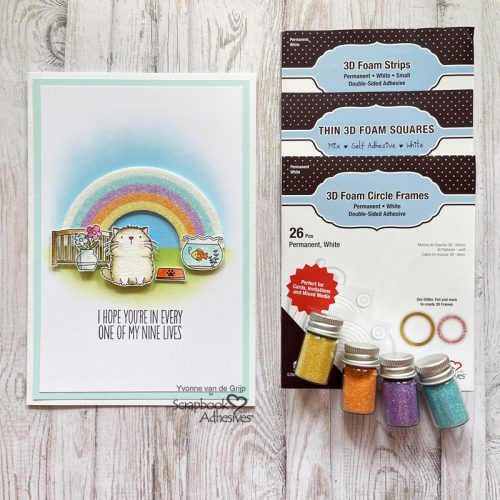
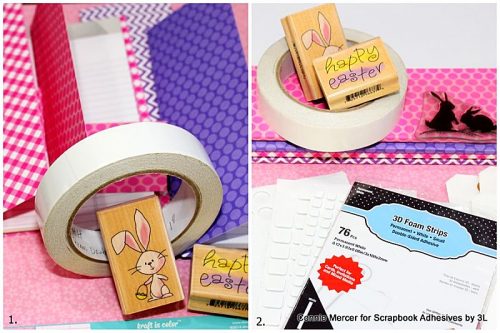
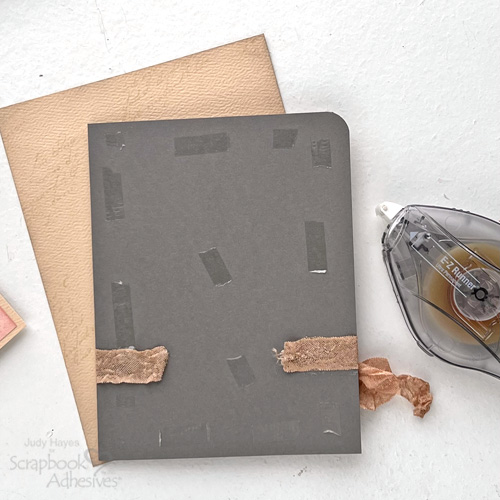
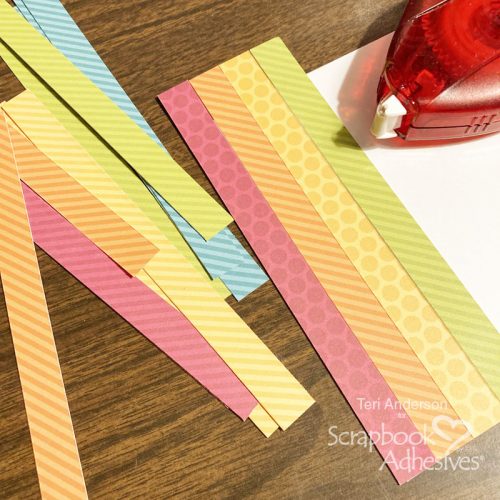
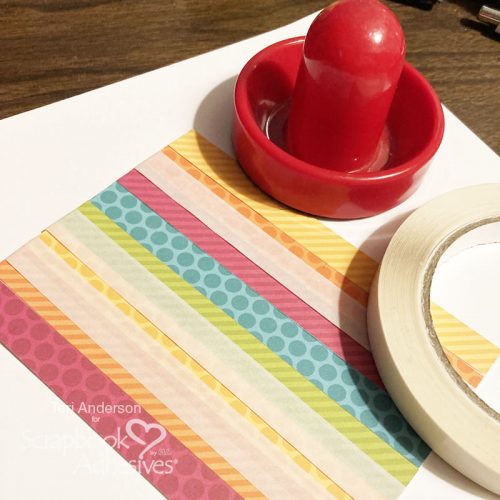
Then stamp Happy Easter below the inked circle. Next, randomly adhere 3D Foam Strips over the yellow circle.
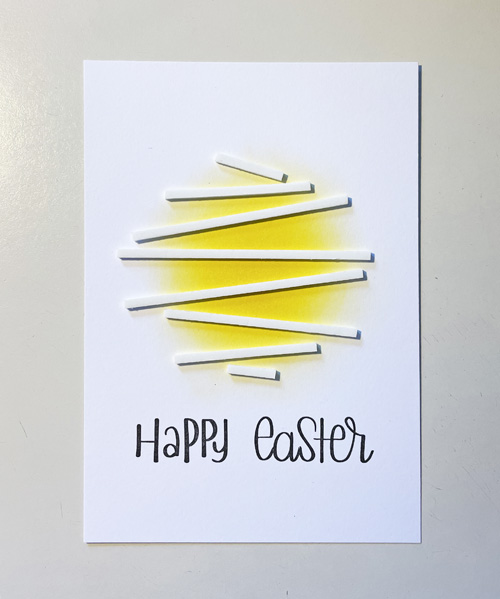
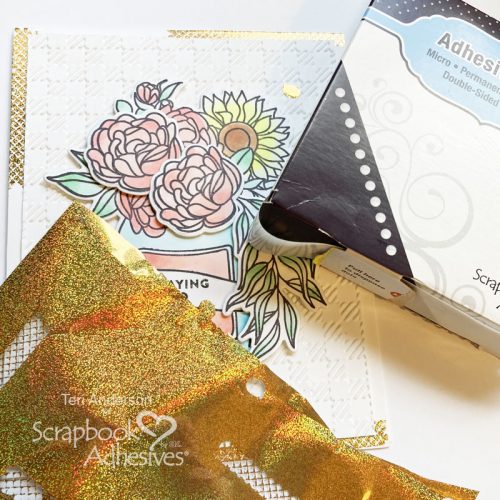
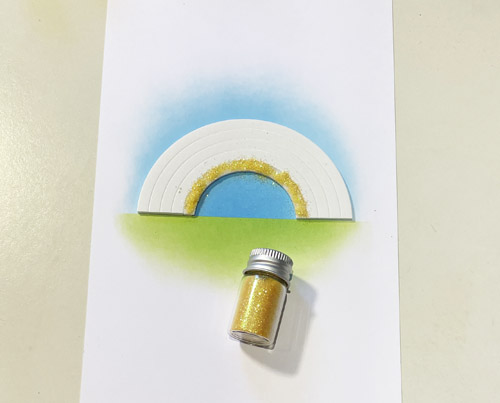
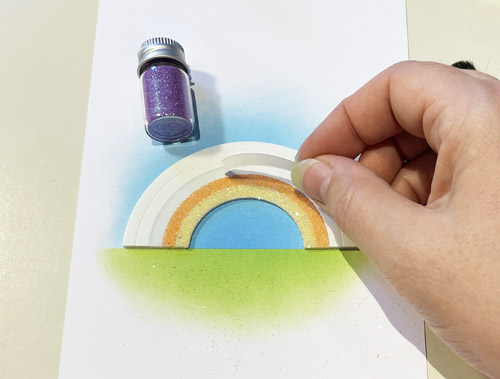
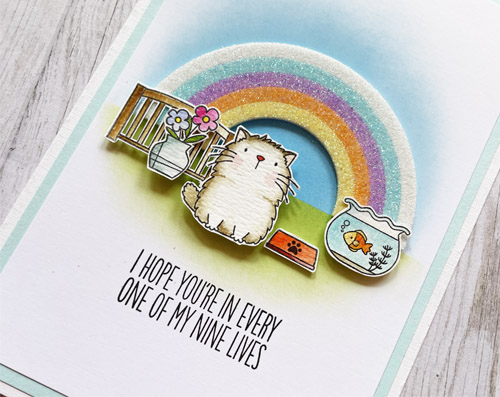
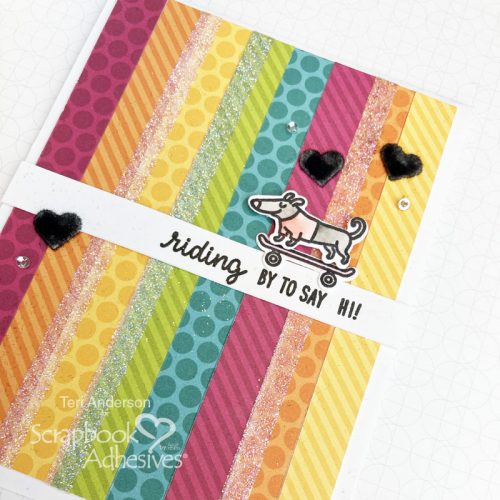
Remove the liner of one of the 3D Foam Strips and sprinkle purple glitter on top. Rub the glitter over it to secure and tap off the excess. Repeat this step with the rest of the 3D Foam Strips using purple, orange, and yellow glitter.
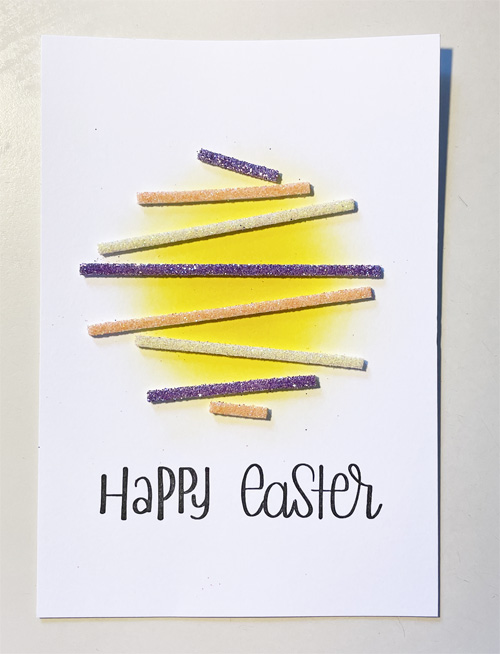
This is what we call Wear Your Adhesive on the Outside technique. In other words, take your adhesive from behind layers of paper and bring them out to use as embellishments.
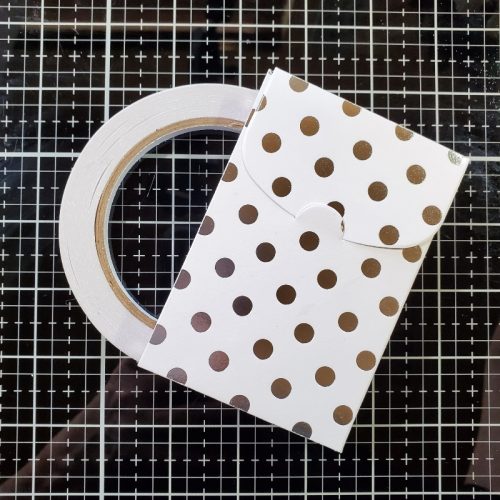
Making the Card Base
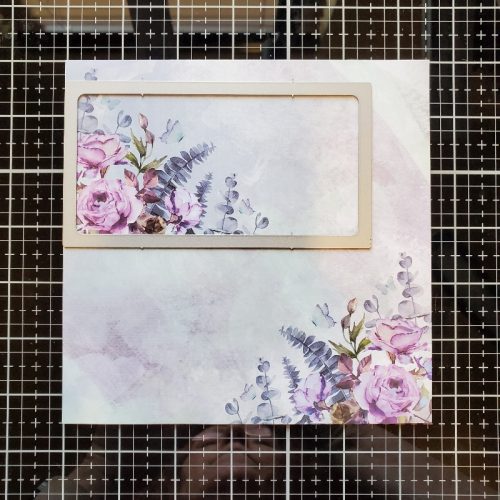
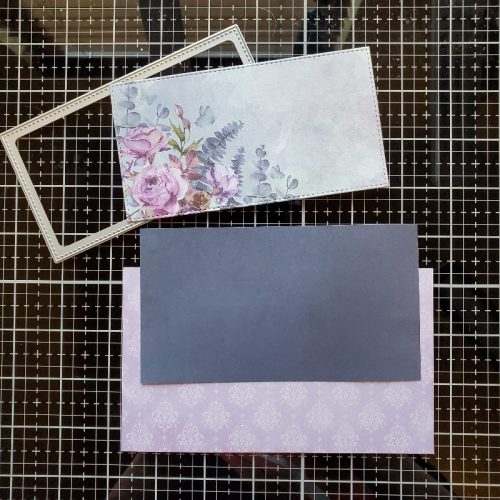
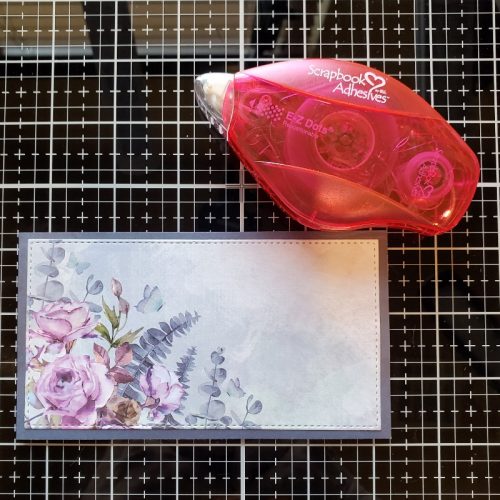
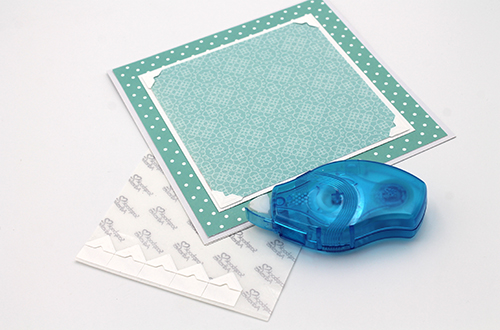
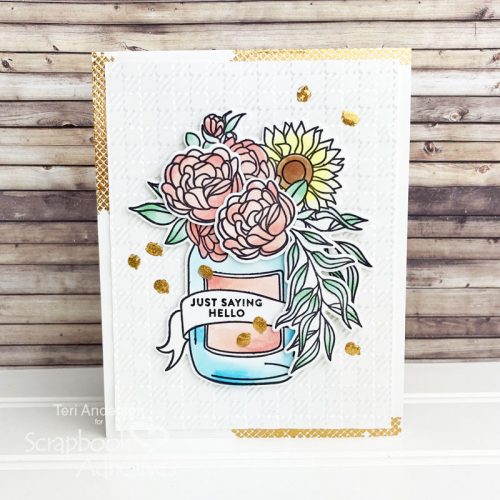
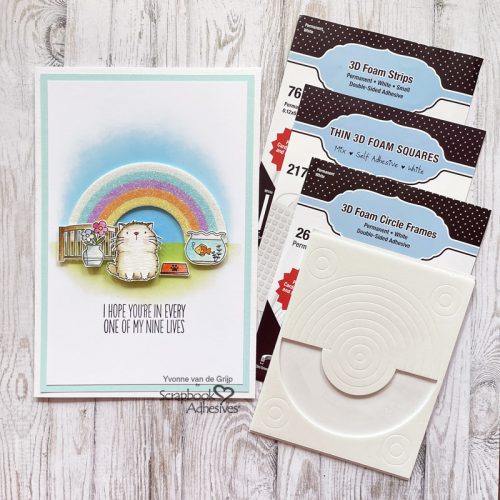
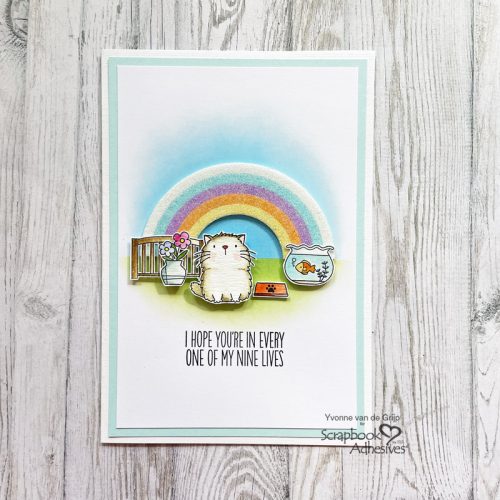
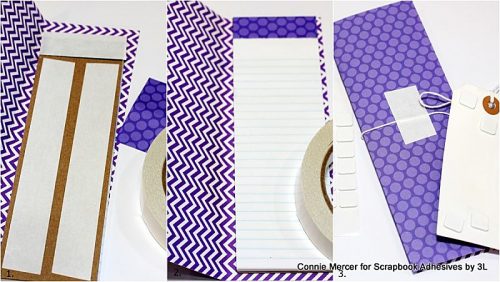
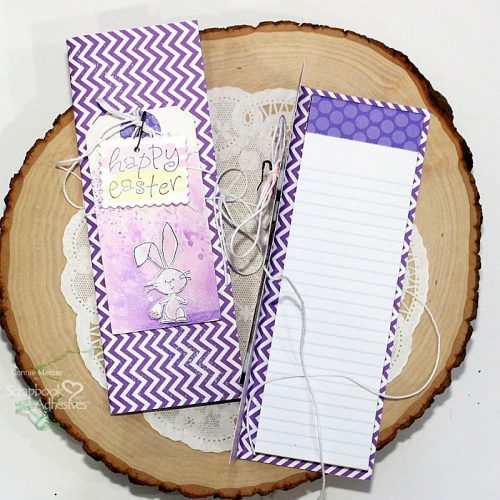
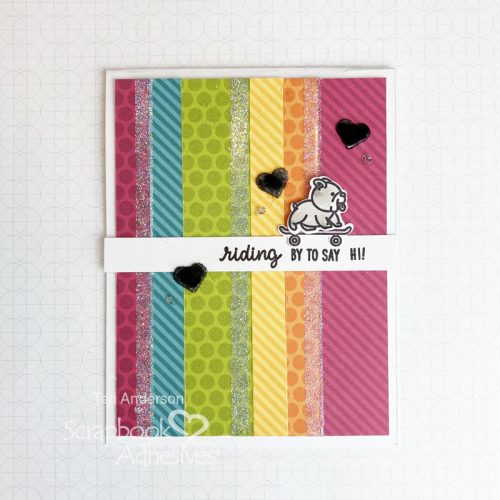
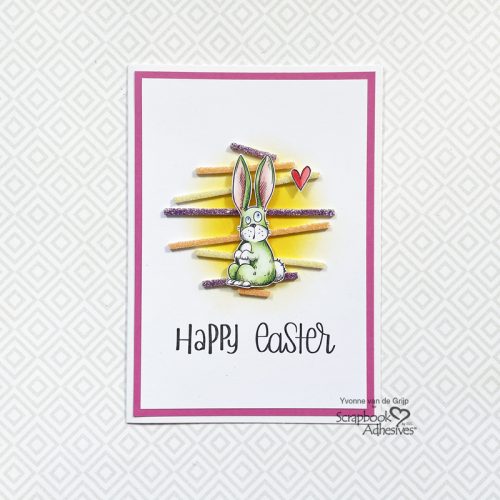
Trim the glittered top card panel to the desired size and mat to a fuchsia cardstock. Add the layered card panels to a white card base with the E-Z Runner® Permanent Strips Refillable Dispenser.
The Easter Bunny
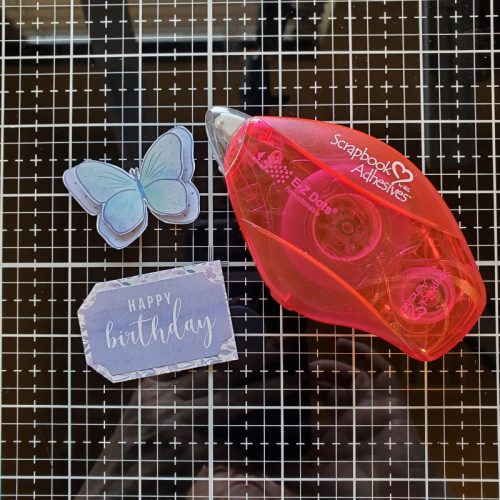
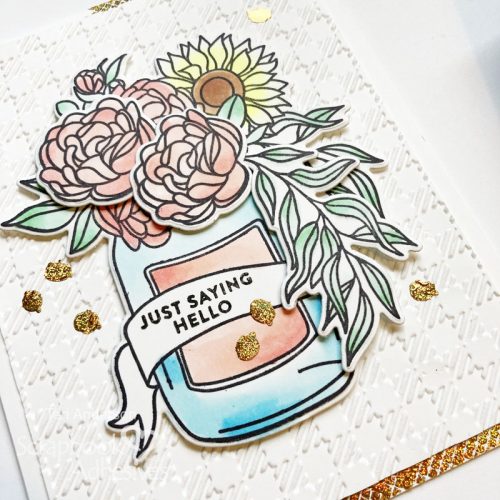
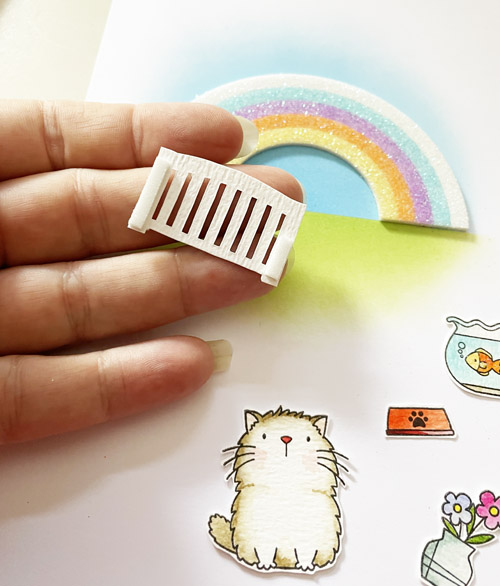
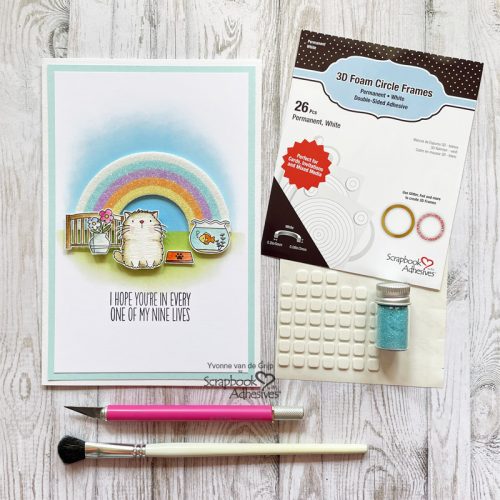
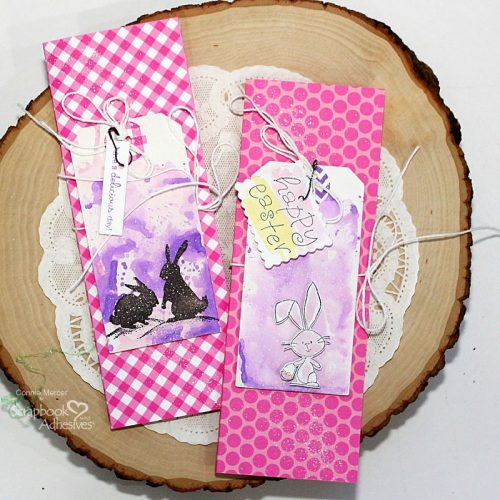
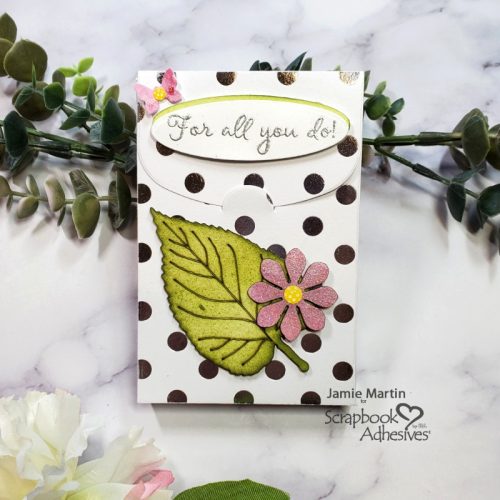
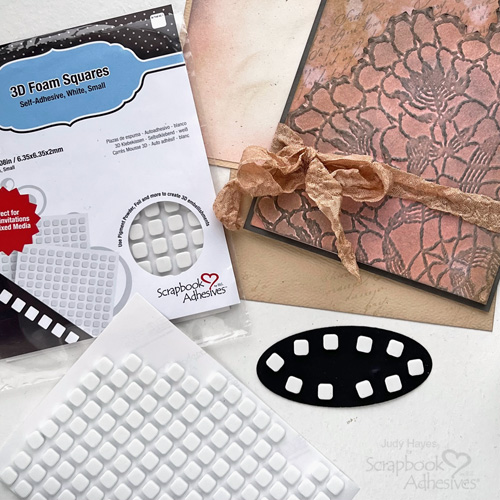
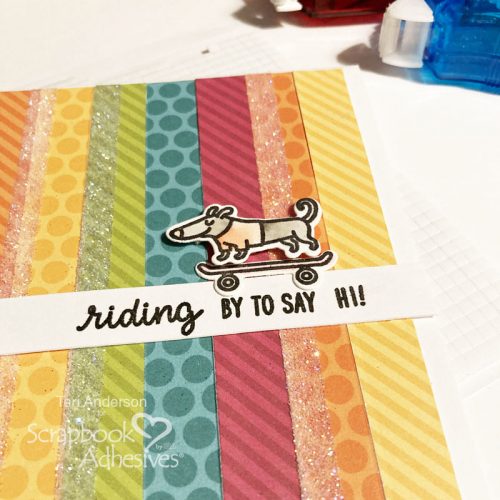
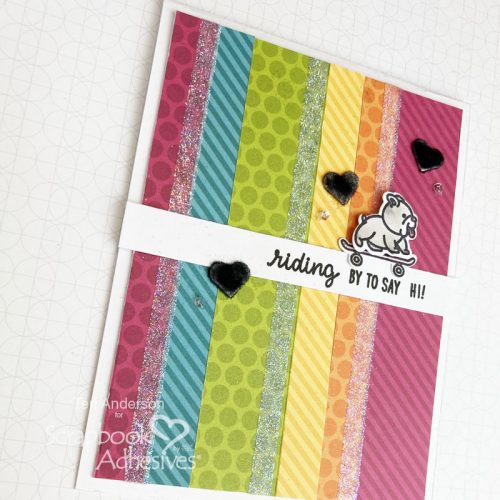
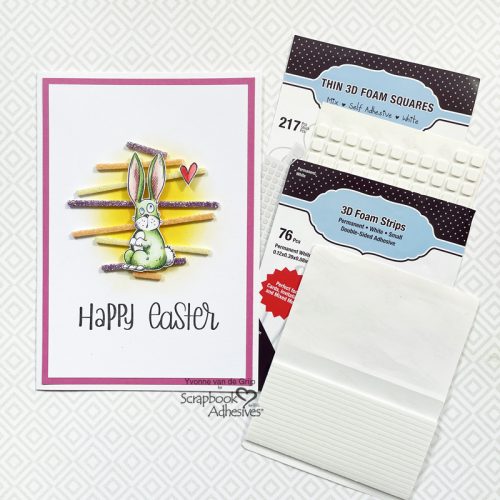
Stamp the Easter Bunny onto a piece of white cardstock using a black ink pad. Color the image with coloring pencils and fussy cut the bunny. Adhere onto the card with Thin 3D Foam Squares White Mix.
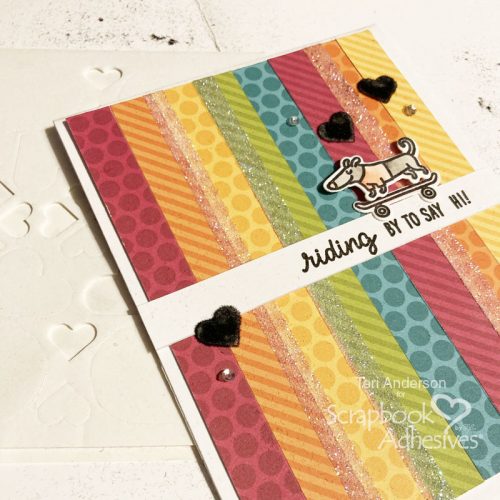
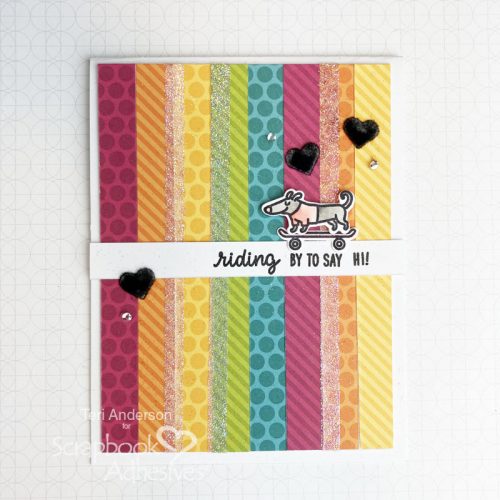
To finish the card, I drew a small heart on white cardstock, colored and fussy cut it. I adhered it onto the card using Thin 3D Foam Squares White Mix.
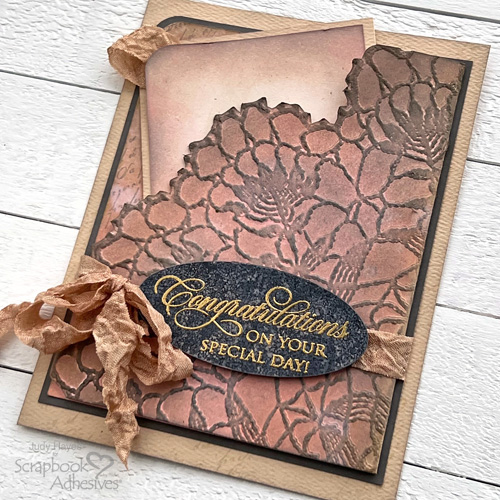
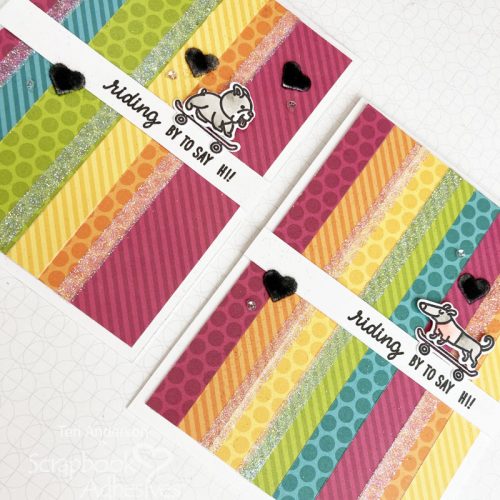
And voilá, your Easter Bunny Card is ready. I hope you enjoyed the tutorial and wish you happy crafting!
Yvonne van de Grijp
Creative Time: 30 minutes
Skill Level: Intermediate
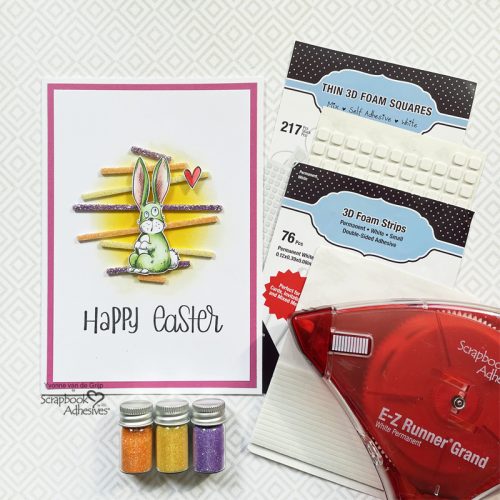
Materials needed:
Scrapbook Adhesives by 3L®
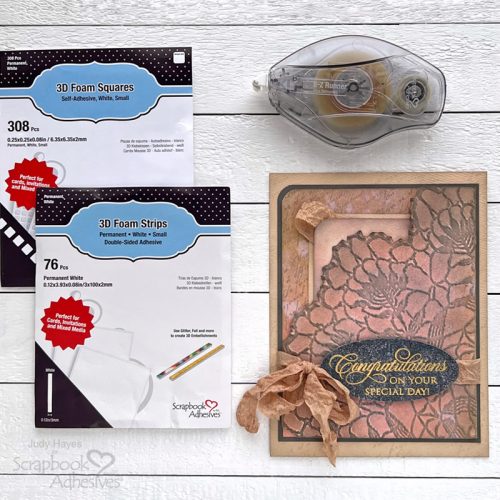
E-Z Runner® Permanent Strips Refillable Dispenser
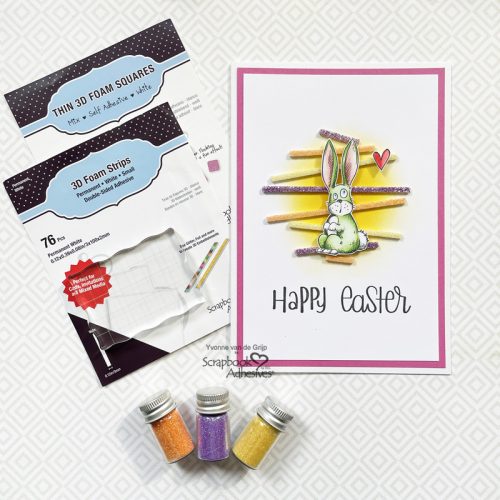
Thin 3D Foam Squares White Mix
3D Foam Strips
Other: Cardstock (White, Fuchsia); Ink (Distress Oxide: Mustard Seed; Versafine: Onyx Black); Ink Blending Tool; Stamp (Katzelkraft: Mini: Lapin; Holidays Quotes); Acrylic Stamp Block; Color Pencils; Glitter (Purple, Orange, Yellow); Craft Knife; Scissors; Paper Trimmer; Black Pen
Save to Pinterest!
Visit our Website and Blog!
Sign up for our Newsletter so you never miss a contest or giveaway!