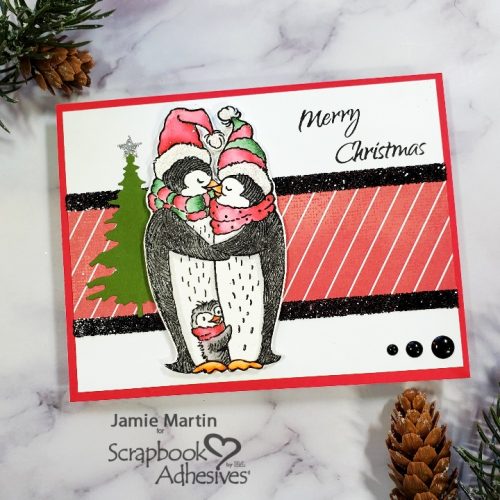
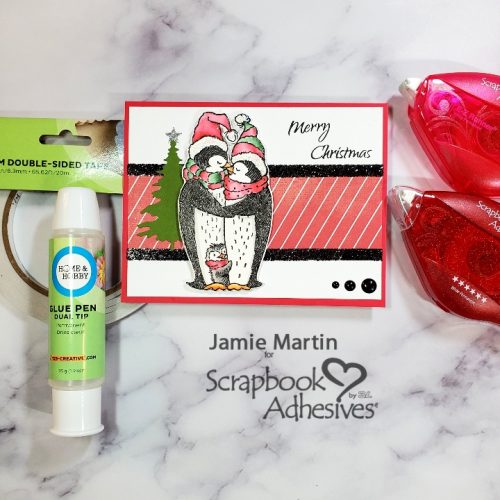
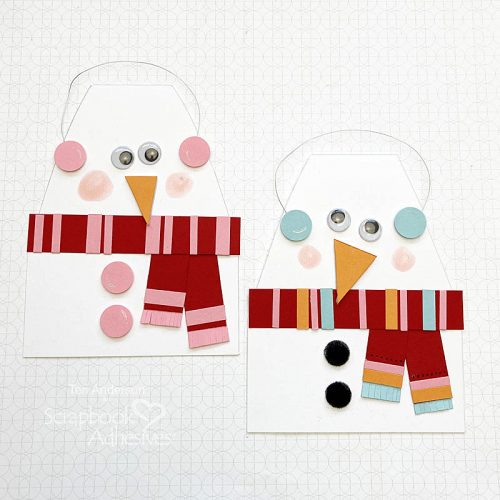
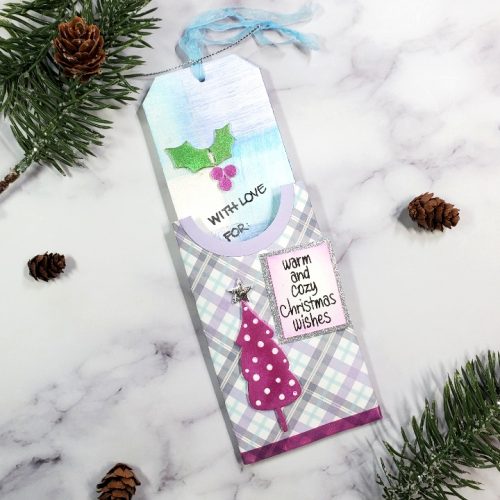
Hi there, Jamie here with you today with a question, were you one of the toilet paper hoarders at the beginning of the pandemic? Well if you were, keep those empty paper rolls and craft with them!! I made Christmas tag holders for holiday tags, read on to find out how easy it is to make.

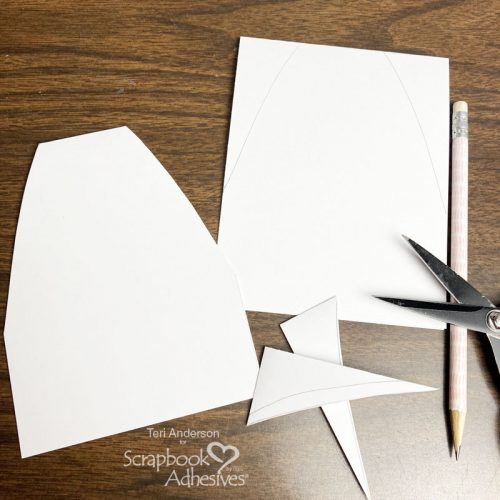
Tag Holder Base
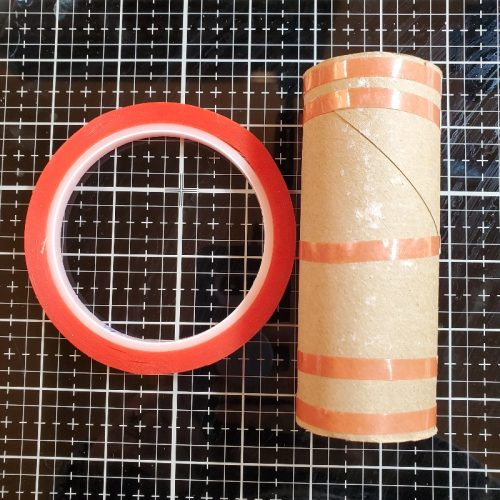
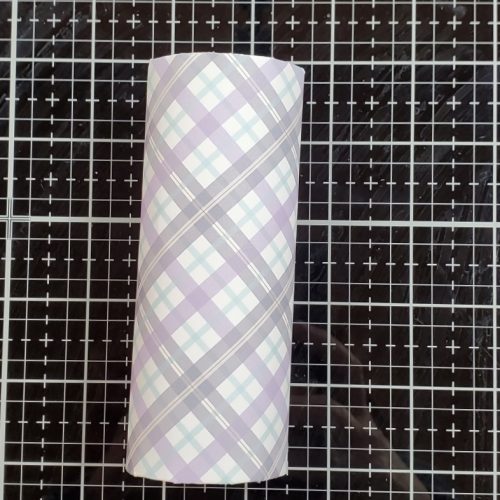
To start, wrap the paper roll with Extreme Double-Sided Tape 1/4″. First, wrap two rows of tape at the top and bottom. To secure even more, add one row in the center.
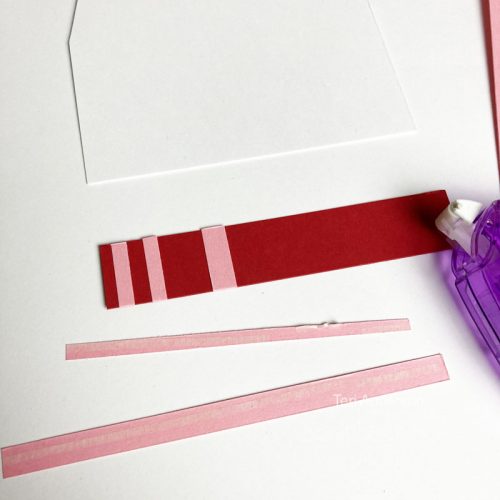
Covering the Tag Holder Base
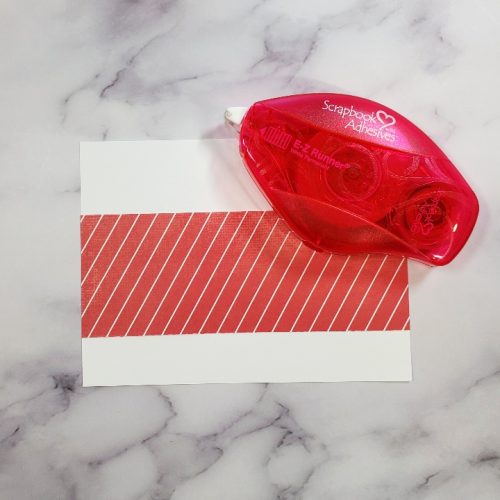
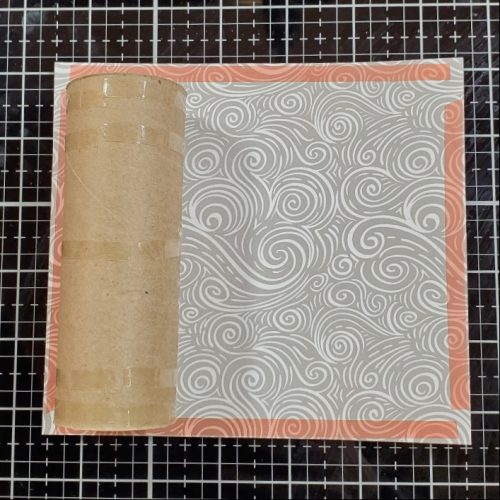
Wrap the paper roll with patterned paper. Make sure to cut the paper so that it would slightly overlap. Each paper roll is different so this is my measuring method.
Place a strip of Extreme Double-Sided Tape 1/4″ along all four sides/edges of the paper. Then roll it from one edge to the other to finishing wrapping.
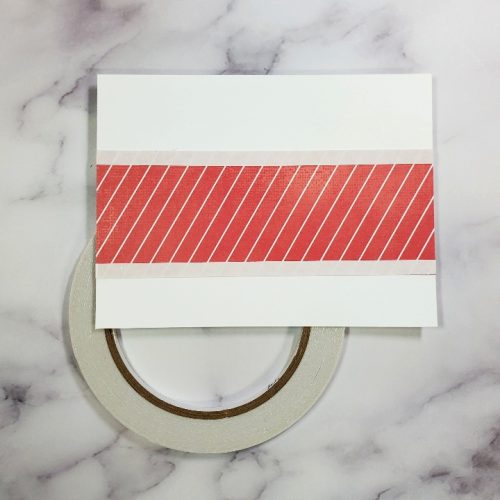
Tuck the paper in from top and bottom by cutting the overhang approximately every 1/4″ and folded down. Since there’s tape at the edge just give it a little rub so that it will adhere.
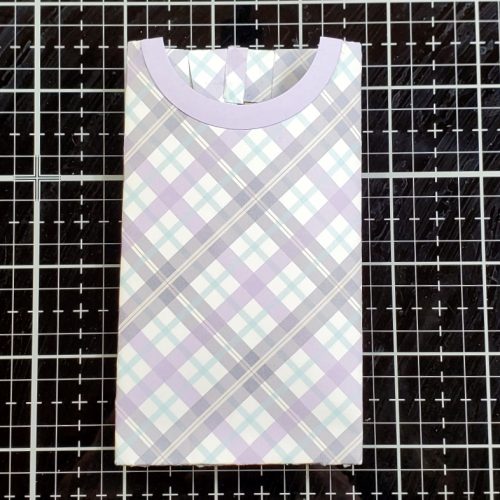
Create a Notch
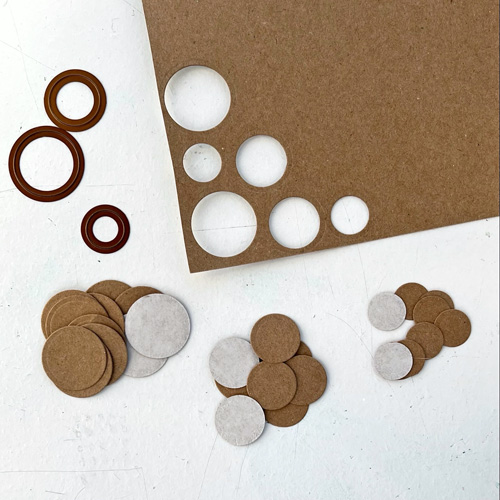
Next, flatten the roll with the seam in the back. To create a notch, place half of a circle die inside the top edge of the roll with the cutting blade facing up, and die-cut it with my CrossOver ll Diecutting Machine.
To make a finished edge around the notch, I nested the die with a larger size die to die-cut with a purple cardstock and adhered it with the Dual Tip Glue Pen. You can see in the picture below, the cut marks of the paper. If this bothers you, you can cut a piece of the same decorative paper and glue a piece inside. But for me, I’m not that picky.
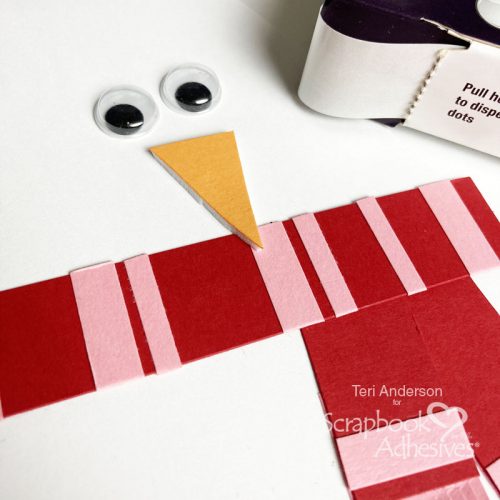
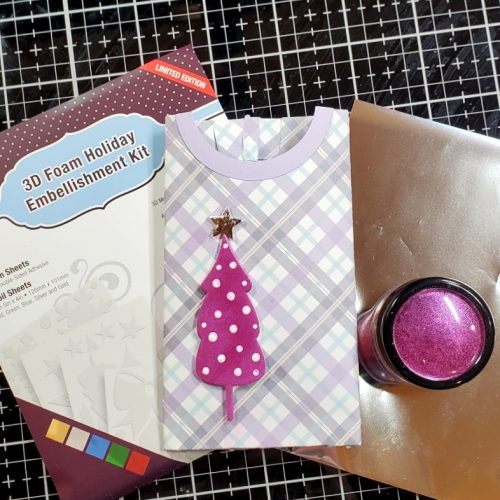
Wear Your Adhesive on the Outside with a Tree + Star
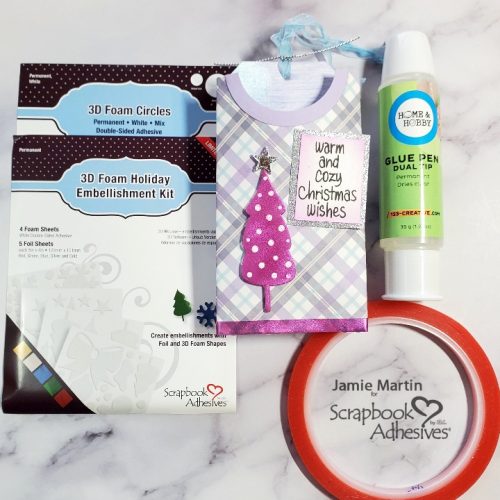
Now it’s time to embellish! Use the taller 3D Foam Tree shape from the 3D Foam Holiday Embellishment Kit and add it to the right side of the holder. Remove the top liner and add pink mica powder by rubbing it into the tree to secure. Accent the tree with white Enamel Accents.
Once it dries, place the smallest 3D Foam Star shape from the 3D Foam Holiday Embellishment Kit and foil with silver foil also from the kit. How? Simply remove the top liner, put the foil color/shiny side UP, and rub to transfer the color.
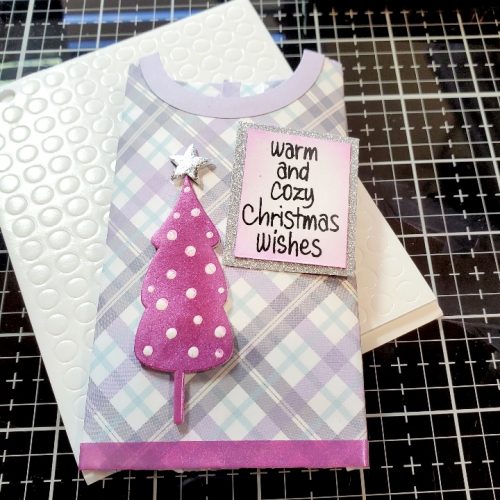
Tag Holder Sentiment
Stamp the sentiment on white cardstock with black ink and ink the edges with Cactus Flower ink. Using a slightly large sliver glitter paper, mat the sentiment with a strip of Extreme Double-Sided Tape 1/4″.
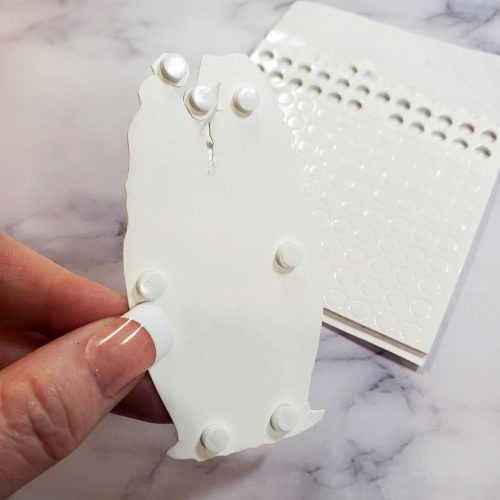
To attach this to the slightly curved holder, turn it over and place a small amount of the Dual Tip Glue Pen on the right with two 3D Foam Circles White Mix on the left side. This combination should help secure it down.
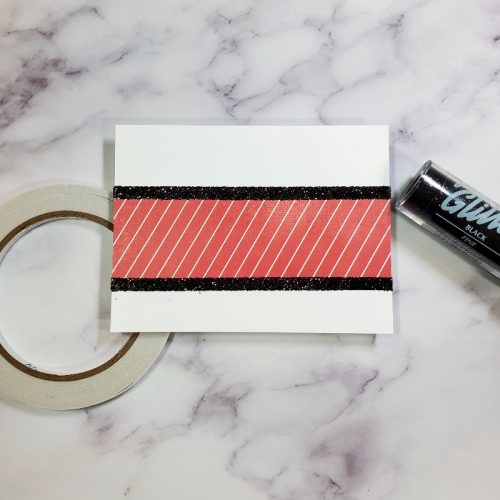
For accent, place a strip of Extreme Double-Sided Tape 1/4″ at the bottom. Remove the liner, cover with the pink mica powder and rubbed to secure.
Add a Sweet Holiday Tag
Die-cut a tag out of white cardstock and is big enough to fit inside the holder. Add color to the tag background by rubbing blue, lavender, and silver inks until you get the desired look.
Place the 3D Foam Holly Leaves shapes from the 3D Foam Holiday Embellishment Kit on the tag. Rub green mica powder for the leaves and pink mica powder for the berries. Next, stamp the sentiment with black ink and thread a ribbon on top.
Skill Level: Intermediate
Creative Time: 35 minutes
Materials Needed:
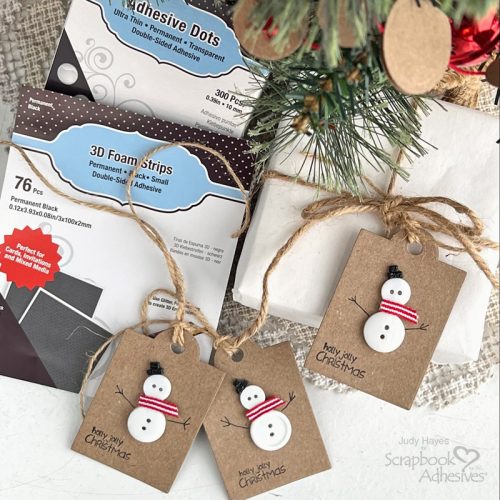
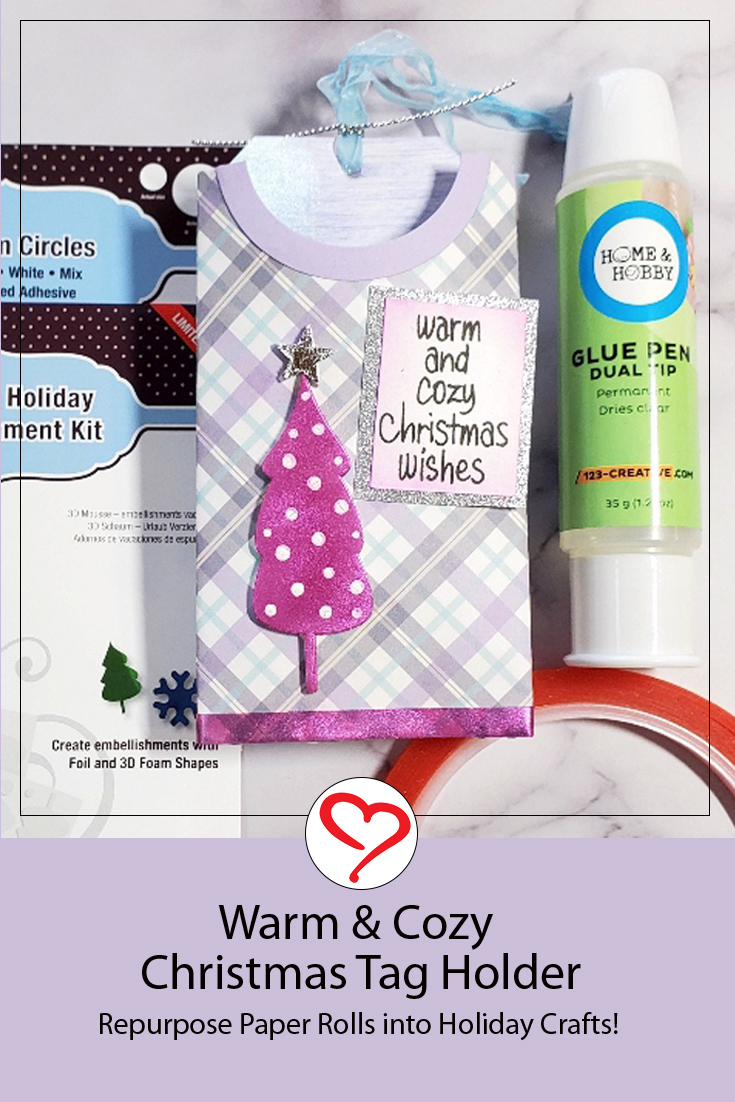
Scrapbook Adhesives by 3L®
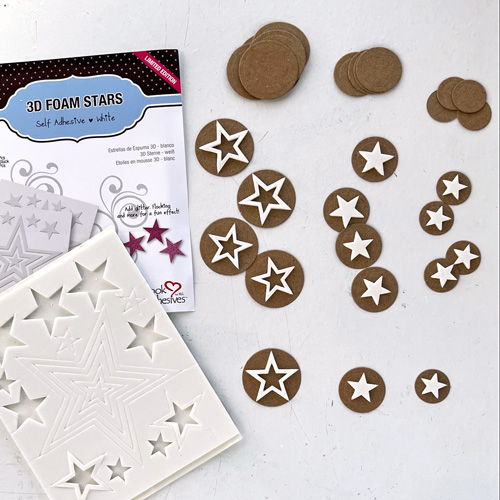
3D Foam Circles White Mix
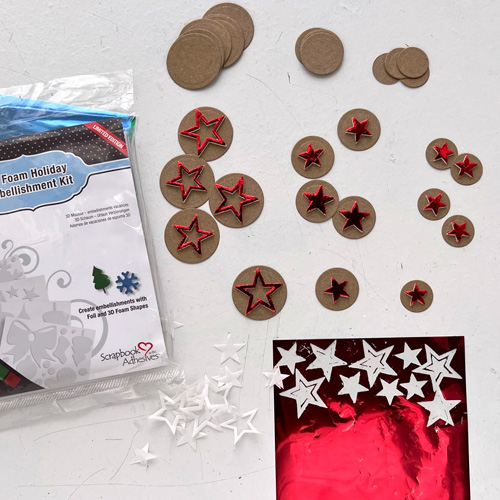
3D Foam Holiday Embellishment Kit
Home Hobby by 3L®
Extreme Double-Sided Tape 1/4″
Dual Tip Glue Pen
Save to Pinterest!
Visit our Website and Blog!
Sign up for our Newsletter so you never miss a contest or giveaway!