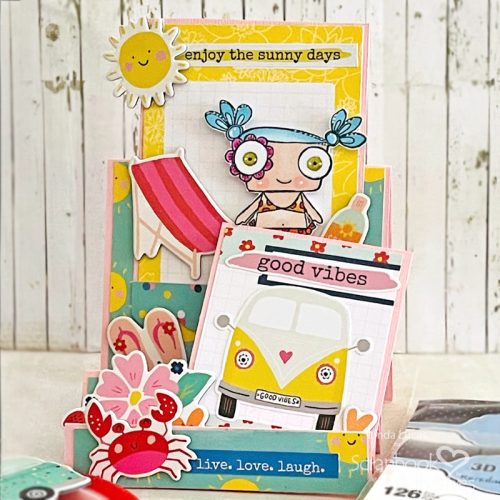
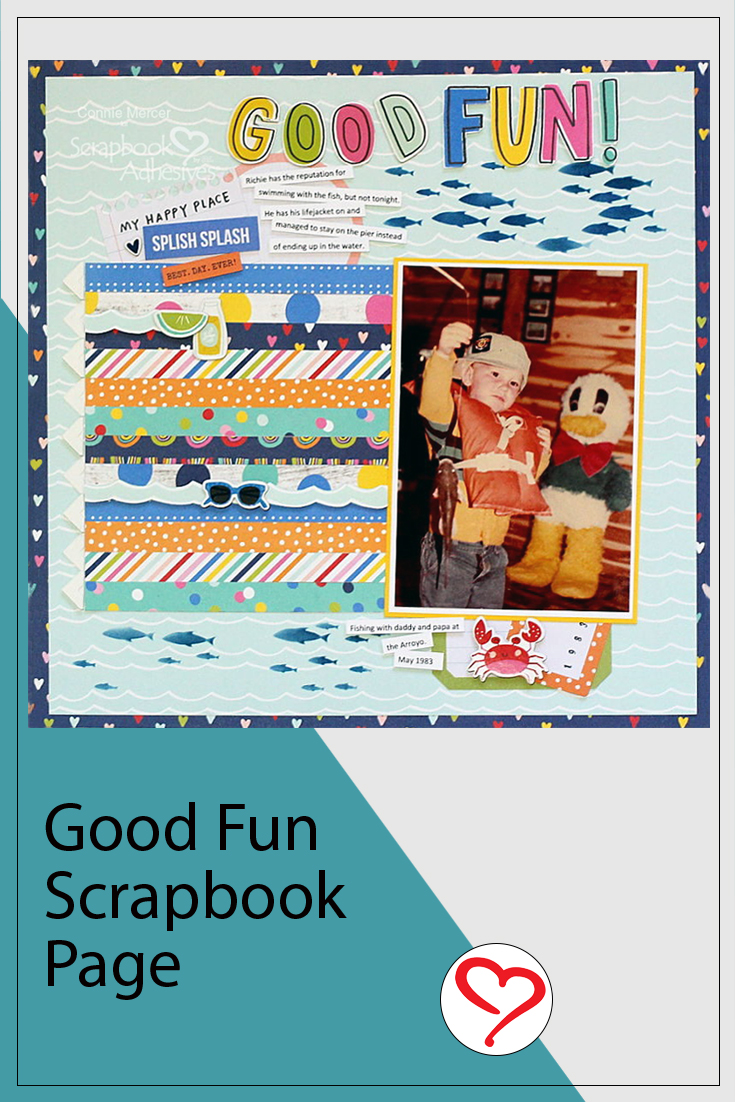
Hi, Connie here with a Good Fun scrapbook page using Sunkissed by Simple Stories and some pretty awesome adhesive. I love the 3D Foam Strips for attaching title letters and the Creative Photo Corners White make a creative border for added dimension. This photo is from 1983 and I remember this fun time just like it was yesterday. This guy is all grown up and has kids of his own but I sure miss this little 3 year old wanna be fisherman!
Edit to Add: Simple Stories Feature Hop & Giveaway is Closed. Thank You for Participating!!
Congratulations to the winners, Amanda W., Connie J + Debra R.! 🎉
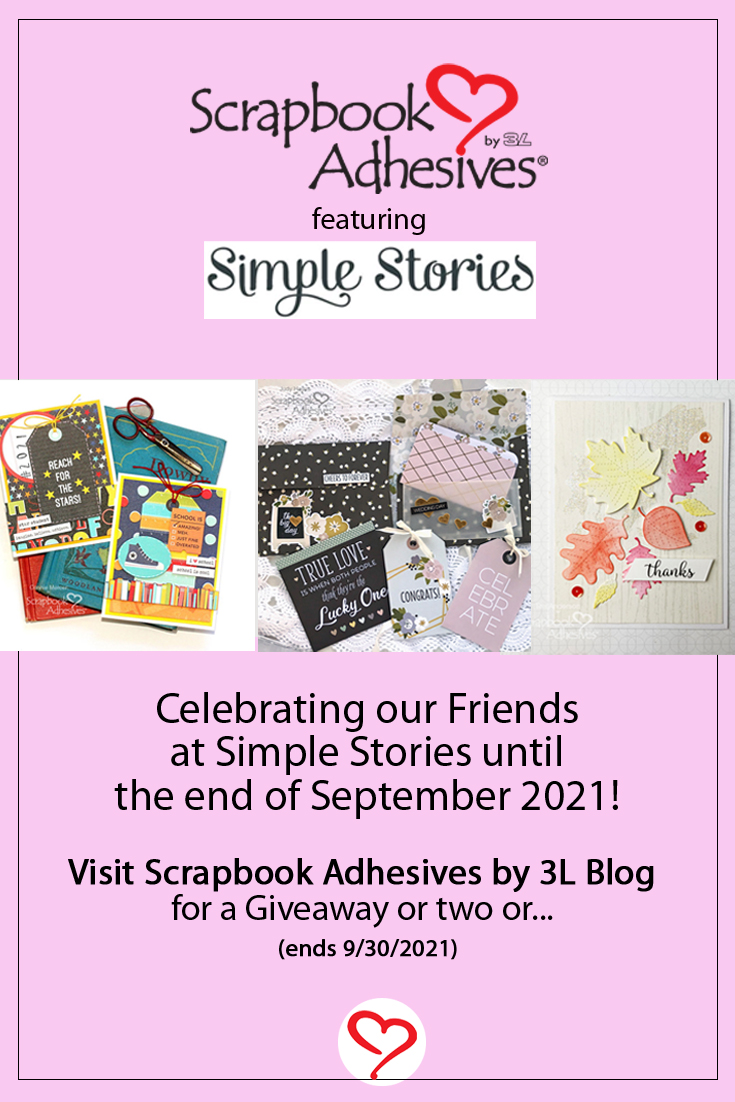
Don’t forget we are having a giveaway featuring our friends at Simple Stories! From 9/15/2021 until the end of September, we are giving away three adhesives and paper pack packages. Please read through Connie’s fun scrapbook page till the end. You’ll find the giveaway details!

Good Fun Patterned Block
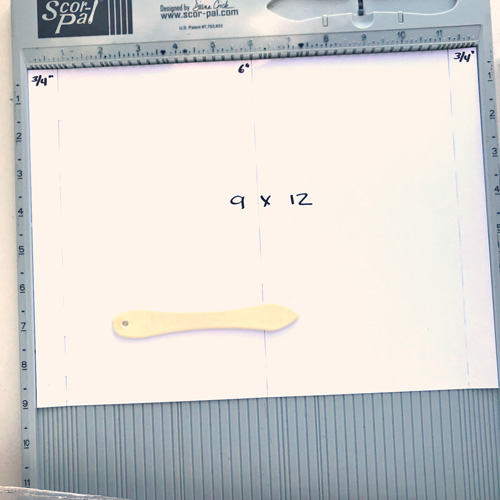
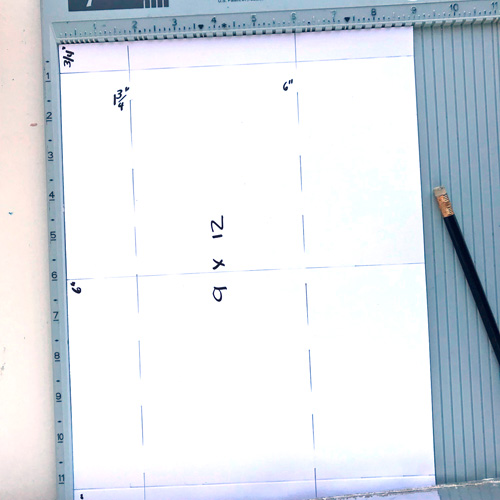
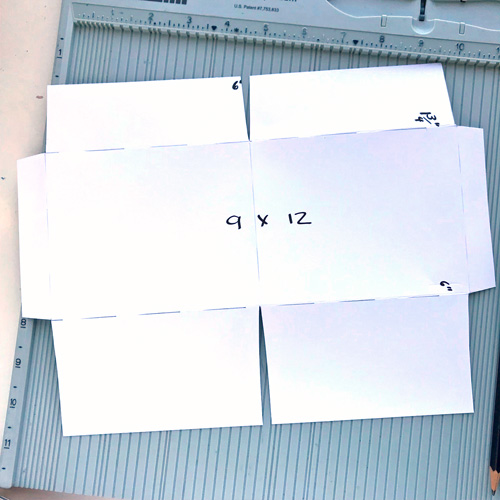
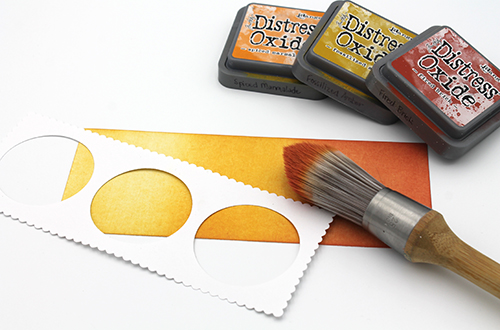
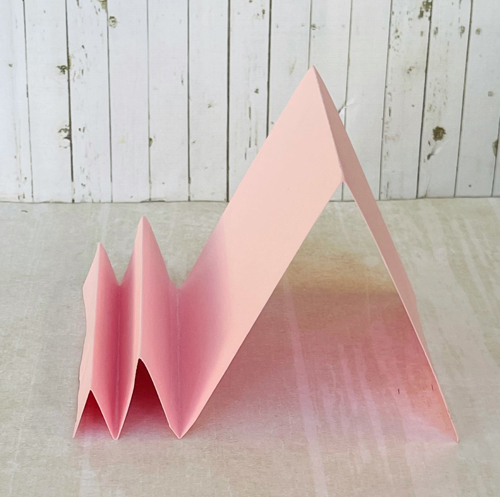
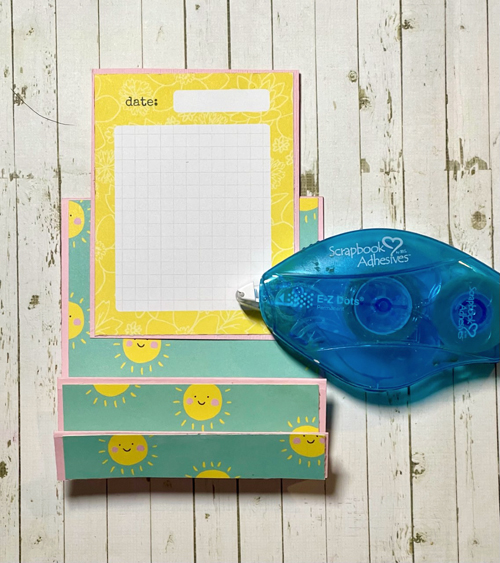
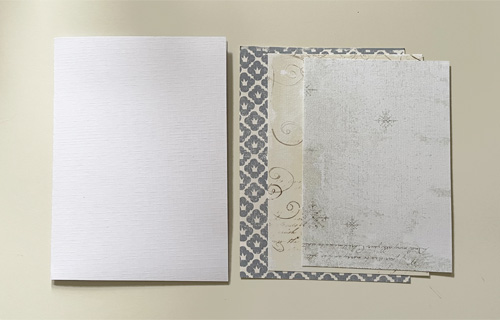
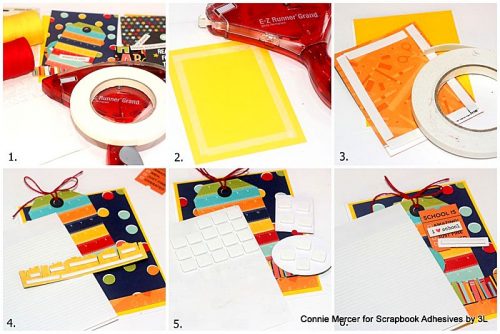
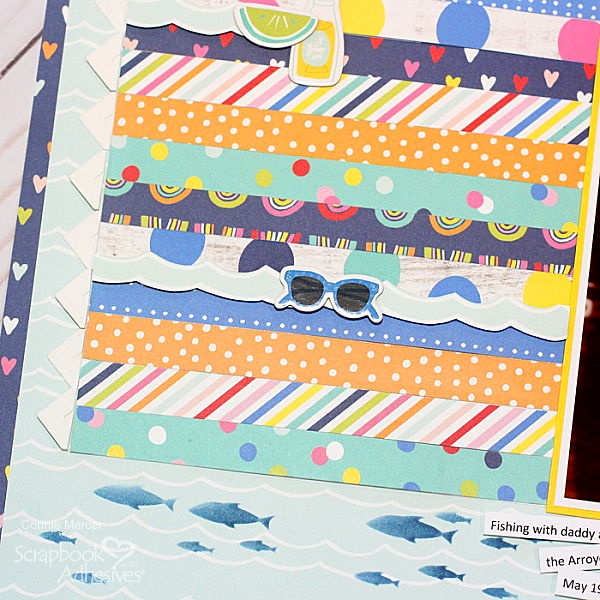
- 1. Depending on the length and width cut the pattern paper strips about a 1/2″ and as many as you need to cover the space needed. Mine is about a 5″X7″, so I cut 12 strips.
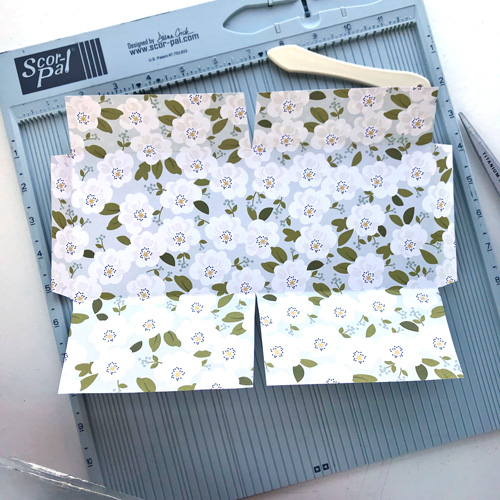
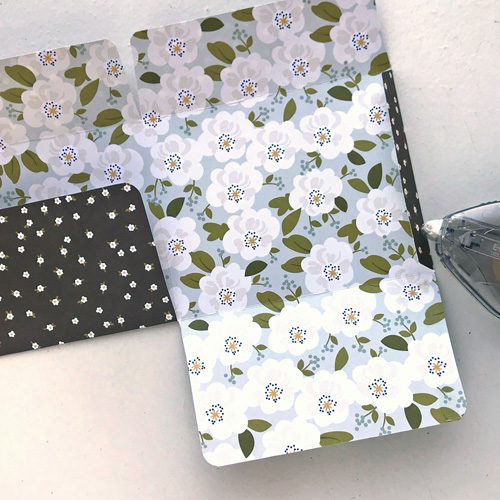
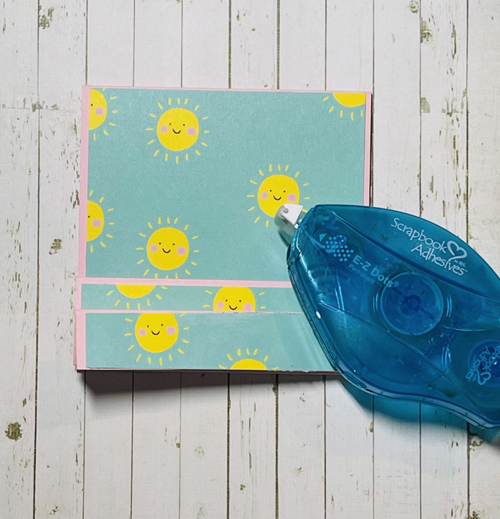
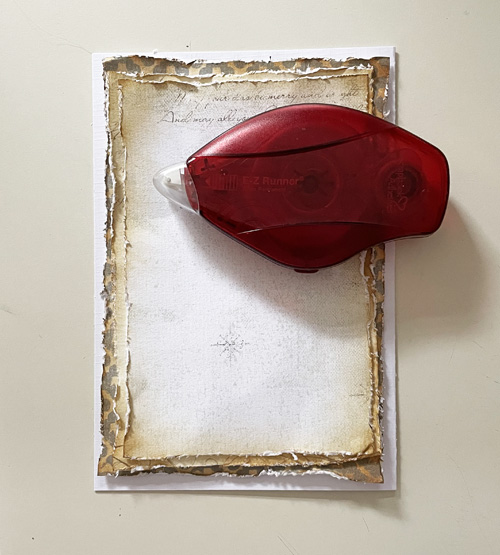
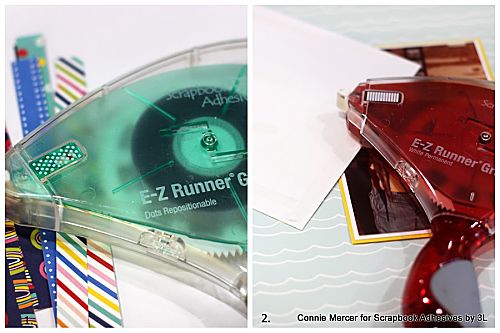
2. Adhere one end of the strip to a white cardstock base (5″x7″) using the E-Z Runner Grand Repositionable Dots Dispenser. Lift the other end up and adhere with the E-Z Runner Grand Refillable Dispenser. This lets you have one end, that can be picked up, to make sure the strips of paper are straight. After completing this process the 5″X7″ strip block is ready to be attached to the front of the page using the E-Z Runner Grand Refillable Dispenser.
Creative Photo Corners Border
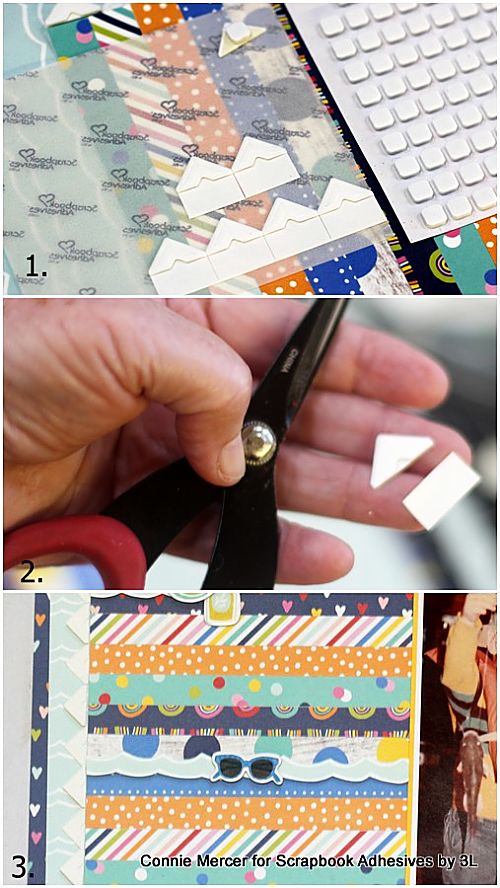
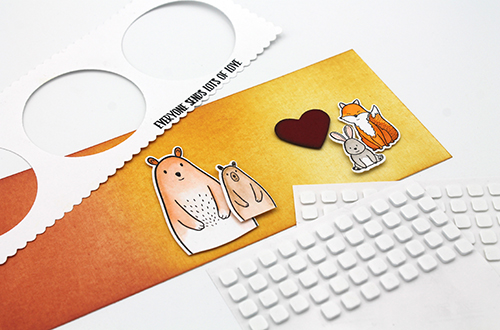
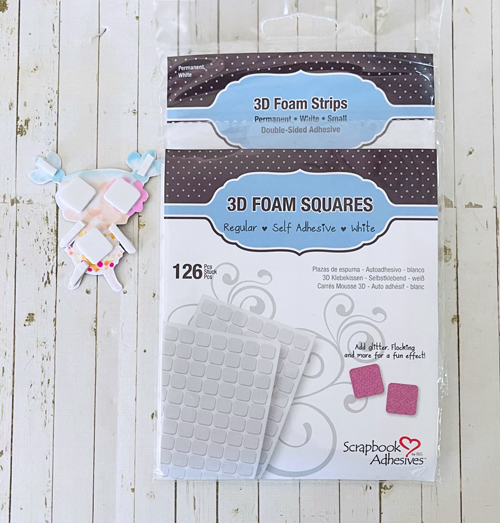
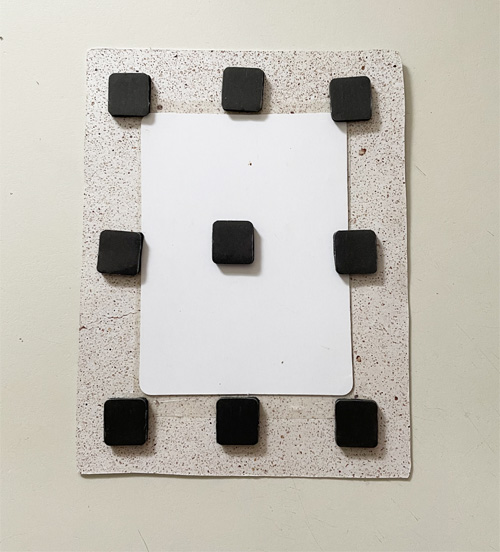
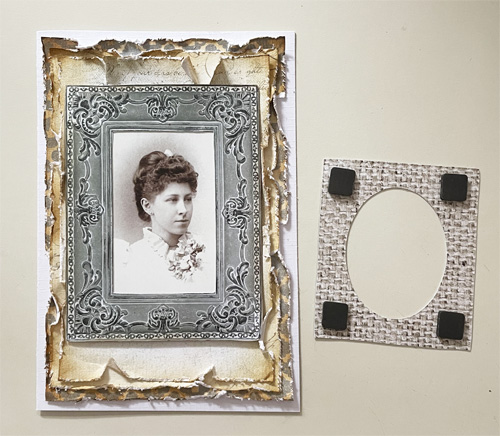
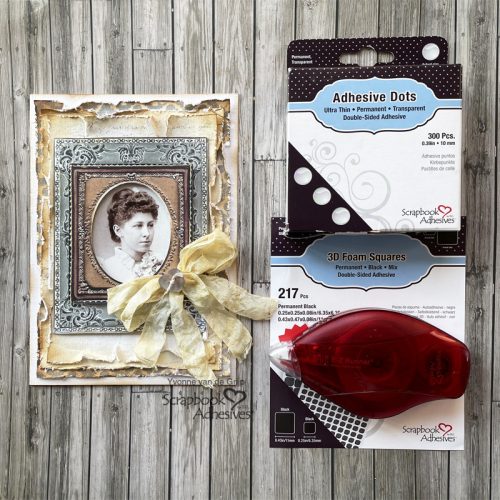
- 1. I used a combination of Creative Photo Corners White and 3D Foam Squares White Mix to create the border.
2. Cut the liner flap off the Creative Photo Corners White , leaving just the corner photo tip.
3. Alter every other photo tip and adhere using the 3D Foam Squares White Mix. This will give you a up and down pattern and some really cool dimension to decorate with stickers and cutouts.
Good Fun Embellishments
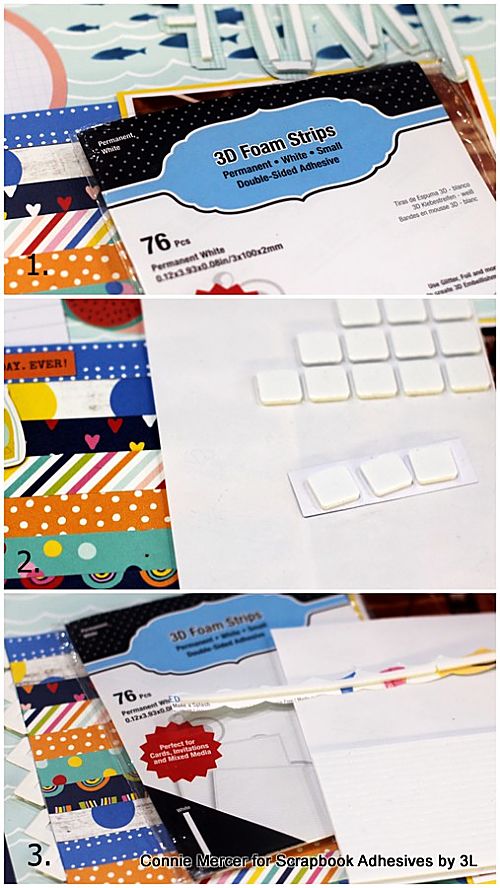
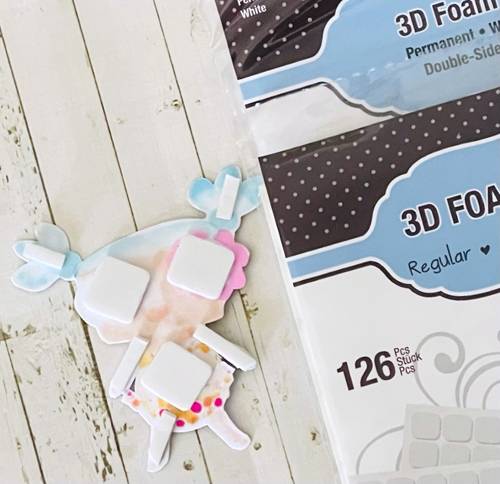
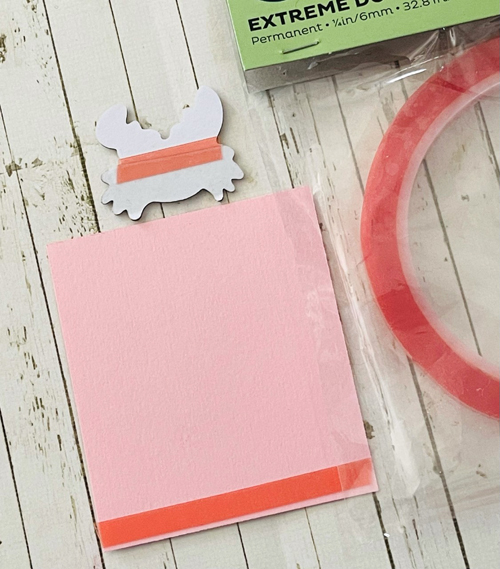
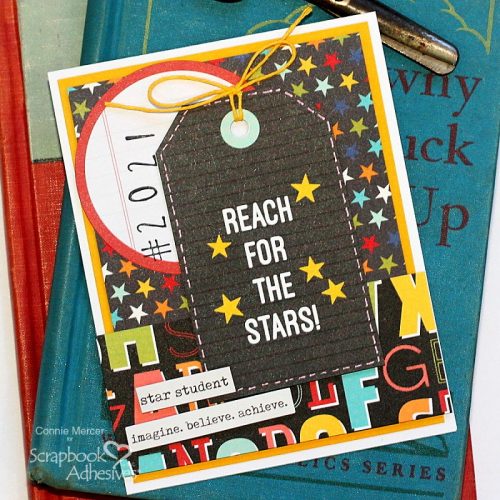
- 1. Adhere the title with the 3D Foam Strips.
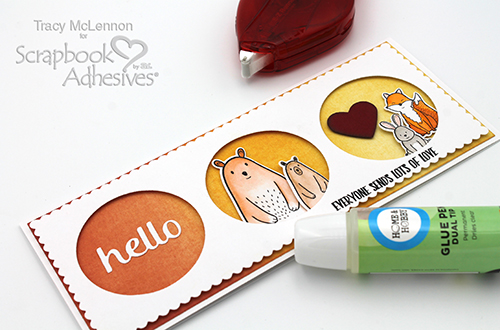
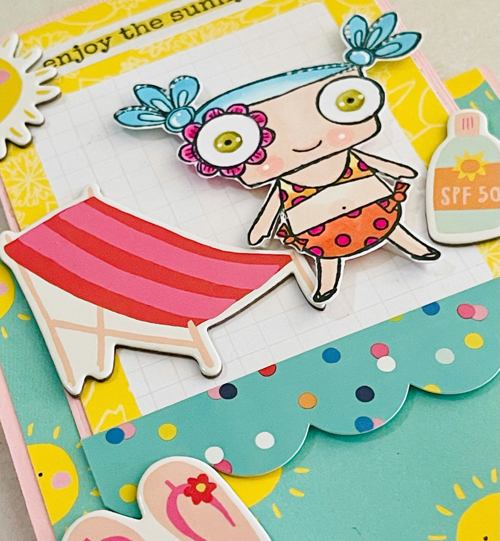
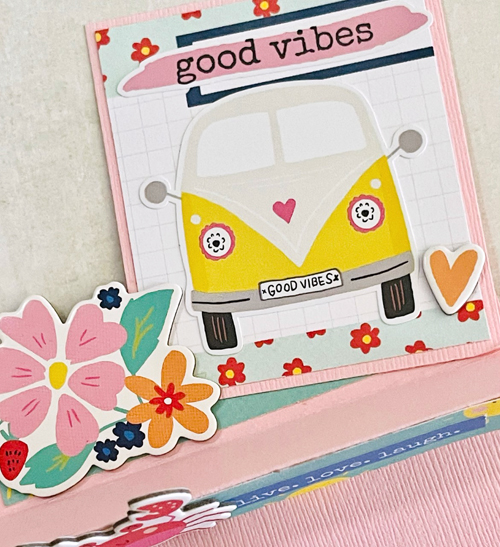
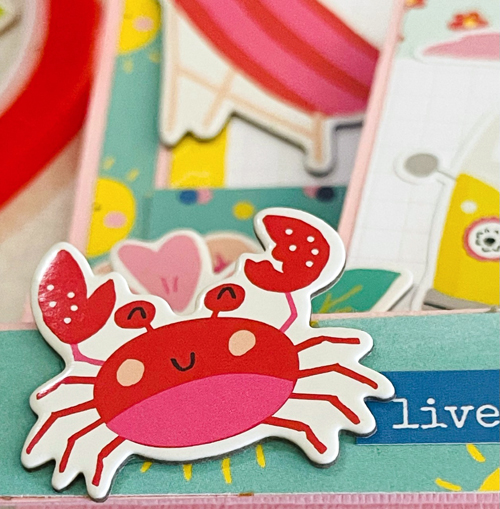
2. Using the 3D Foam Squares White Mix, adhere the word and image stickers to the scrapbook page.
3. For dimension, apply the 3D Foam Strips to the additional strips and place on top as a strip collage.
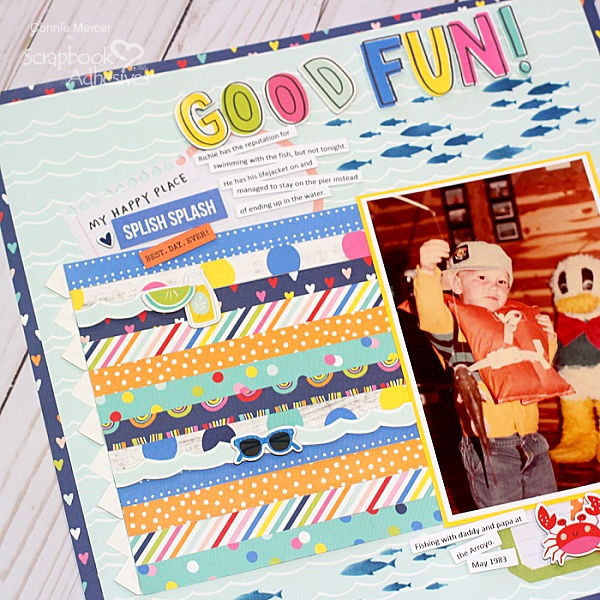
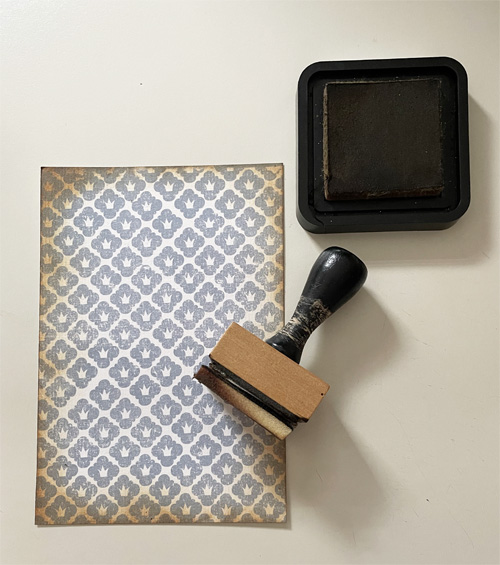
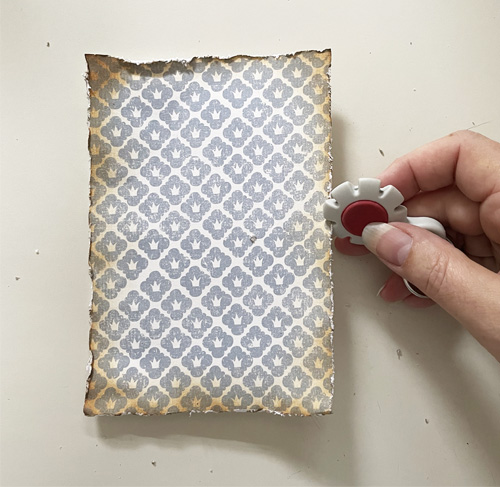
I have covered all the elements of the page with the exception of the blue fish. The fish were added to bring more of the cobalt blue color into the page. It is a stencil and I love what it added to the page.
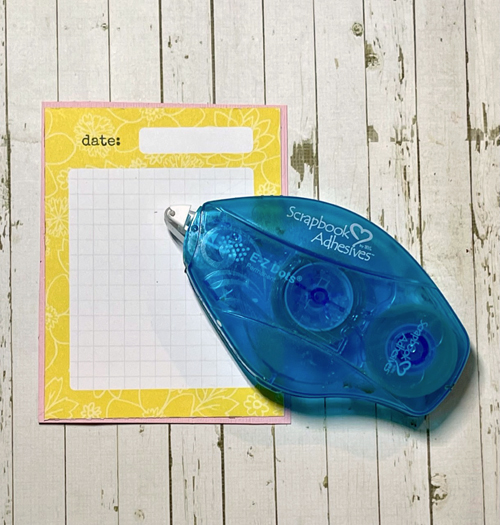
Adhere the embellished page to a coordinating pattern paper from the Sunkissed Collection by Simple Stories with the E-Z Runner® Grand Refillable Dispenser. Finally, add the journal notes, along with the date to complete the Good Fun Scrapbook Page.
Thanks for stopping by!
Connie Mercer
Creative Time: 90 minutes
Skill Level: Intermediate
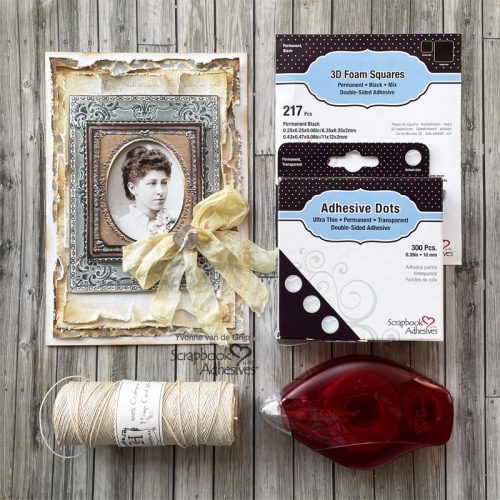
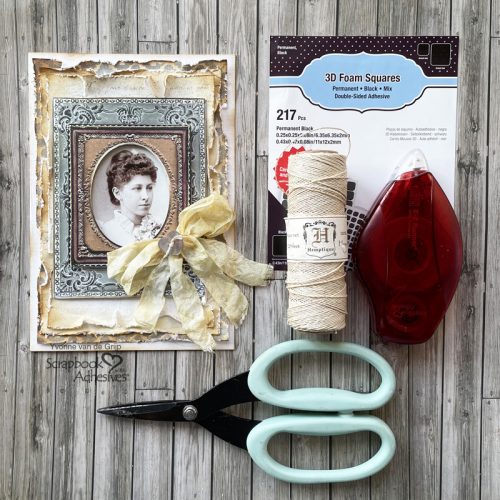
Materials Needed:
Scrapbook Adhesives by 3L®
E-Z Runner Grand Refillable Dispenser
E-Z Runner Grand Repositionable Dots Refillable Dispenser
3D Foam Strips
3D Foam Squares Mixed White
Creative Photo Corners White
Other:
Simple Stories: Sunkissed Collection, Gina Marie Designs: Stencil, Ranger: Archival Ink in Cobalt
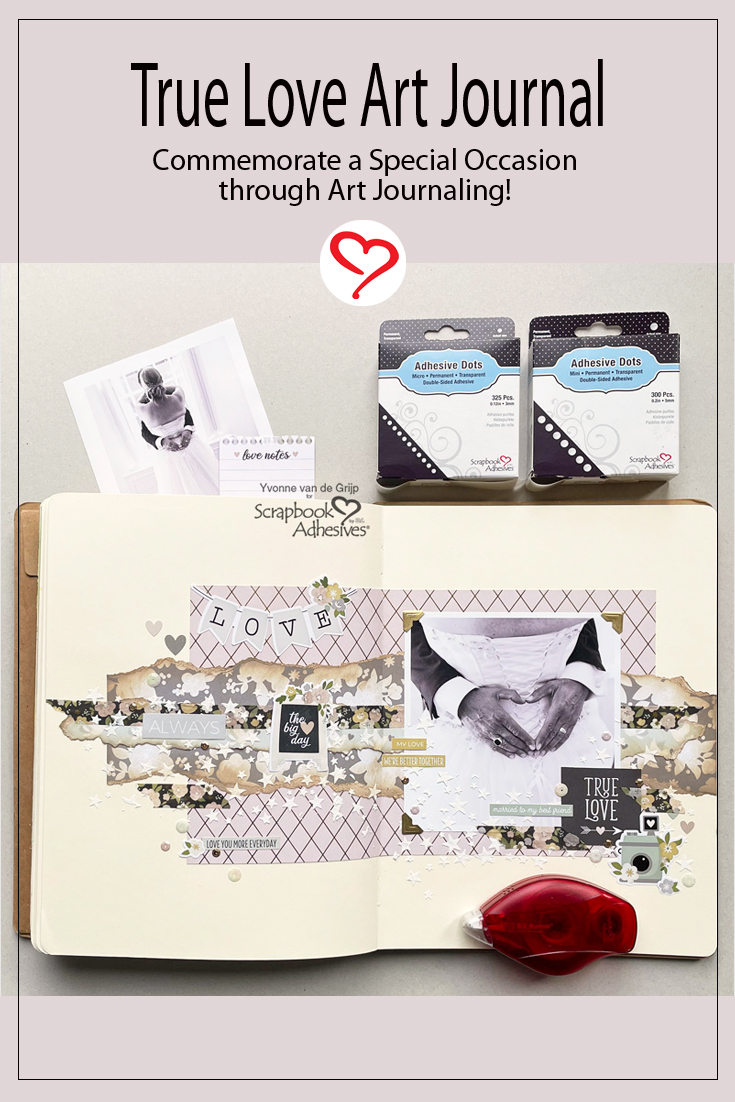
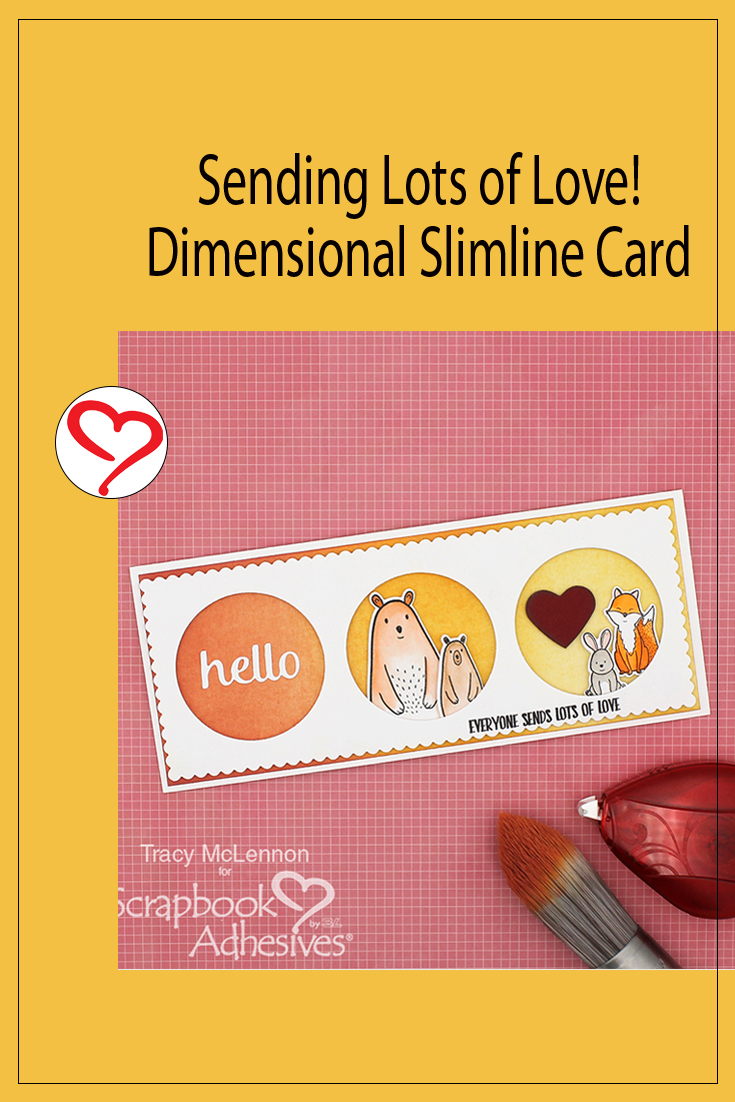
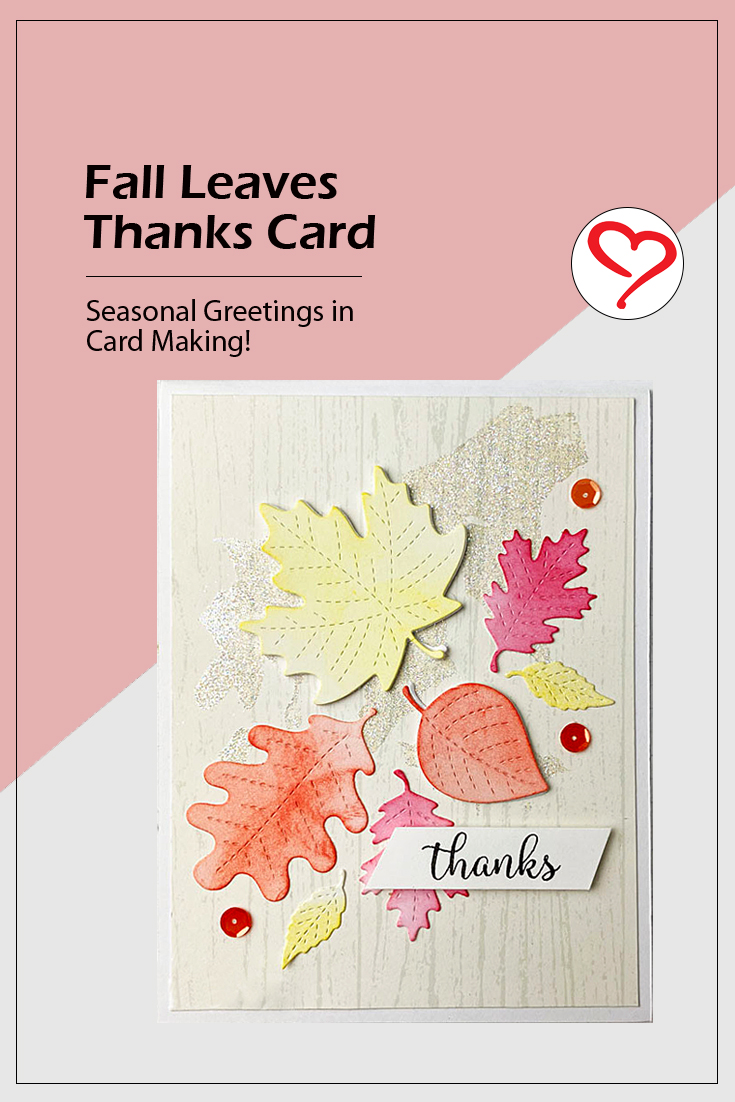
PIN IT!
Scrapbook Adhesives by 3L feat. Simple Stories Giveaway!
Can’t find the comment section at the bottom of this post? Click below and scroll to the bottom of the post. We moderate comments several times a day, if yours doesn’t appear right away, it will be approved before the contest is closed.
Did you visit the other posts?
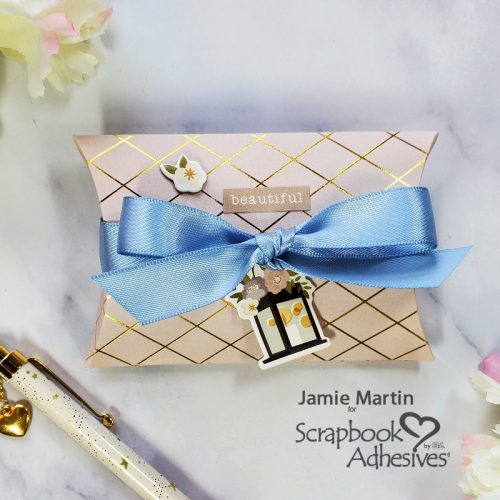
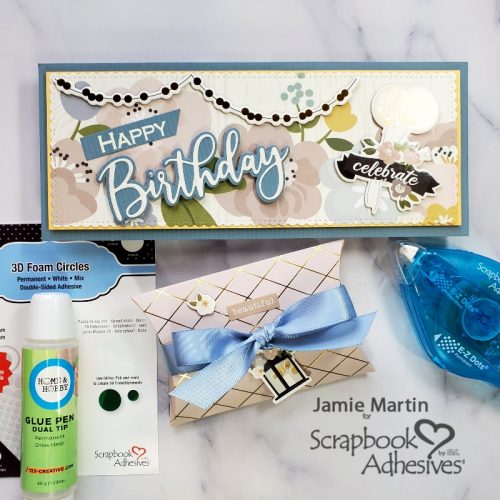
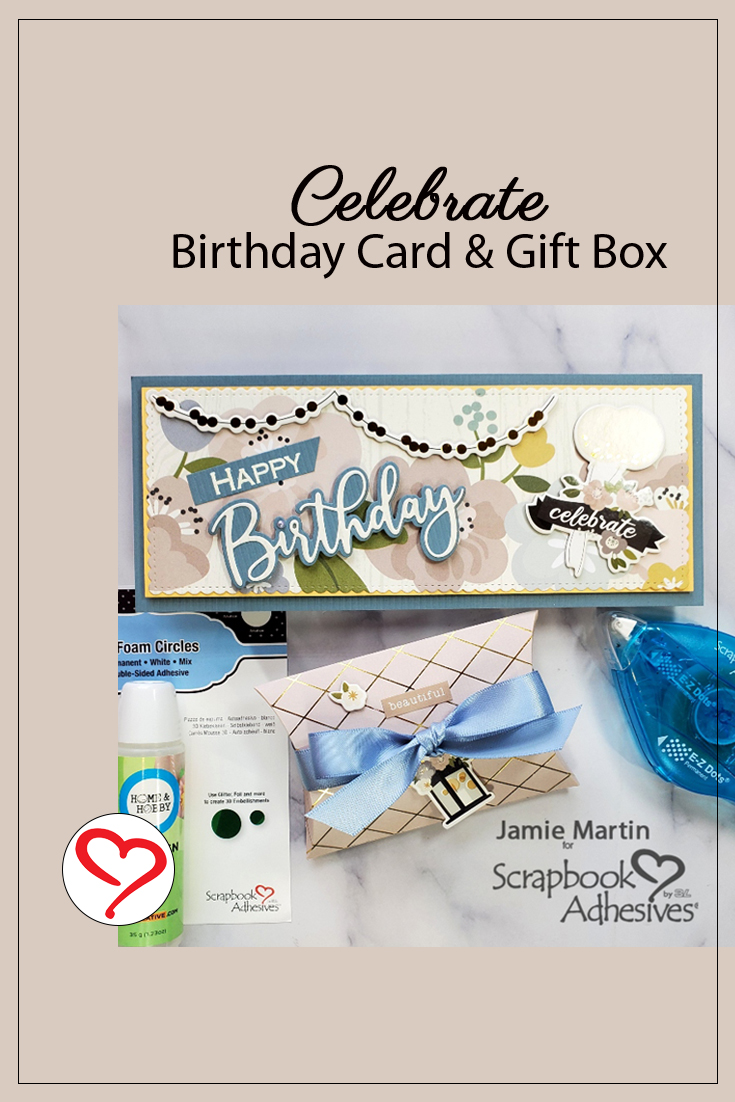
9/15: Celebrate Birthday Card and Gift Box
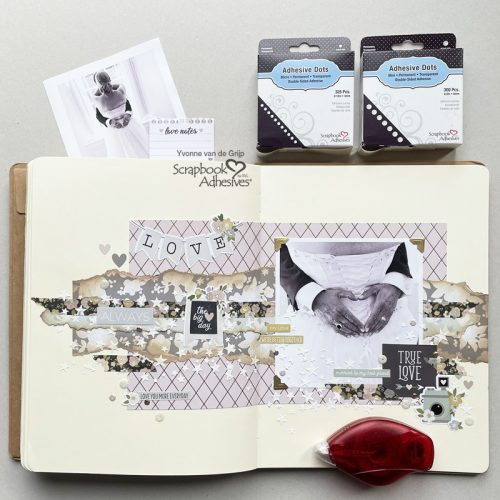
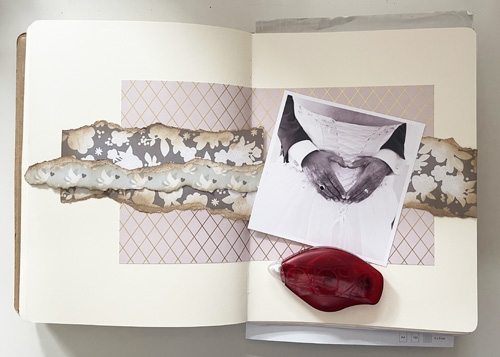
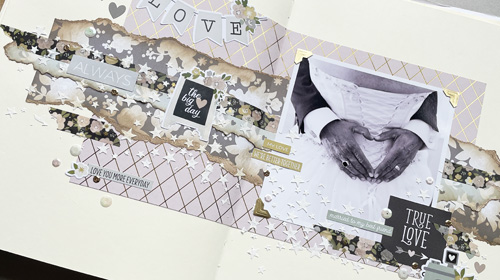
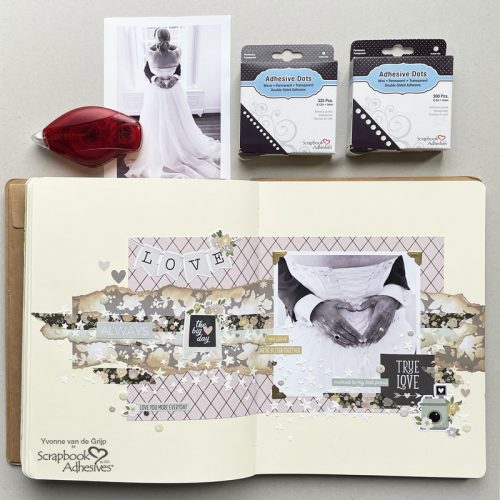
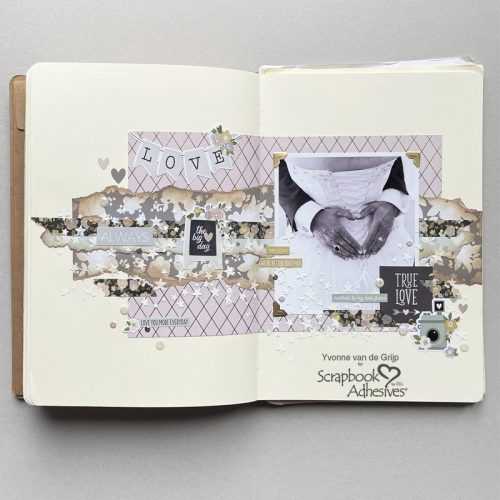
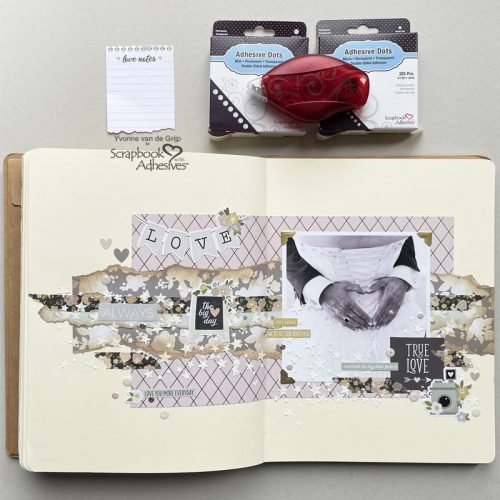
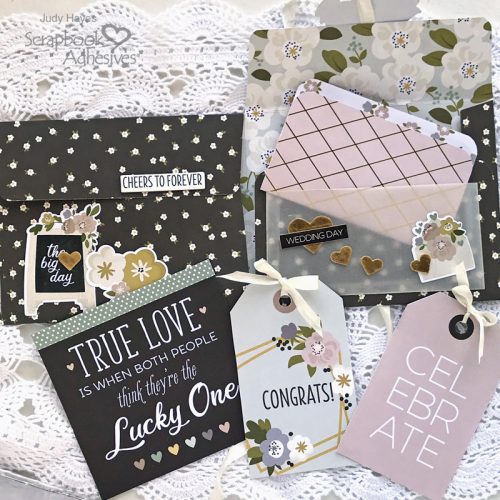
9/17: True Love Art Journal
9/21: Happy Place Layered Embellishments
9/23: Card for Travelers
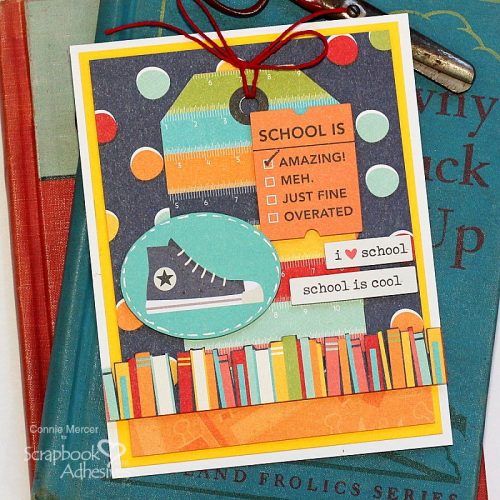
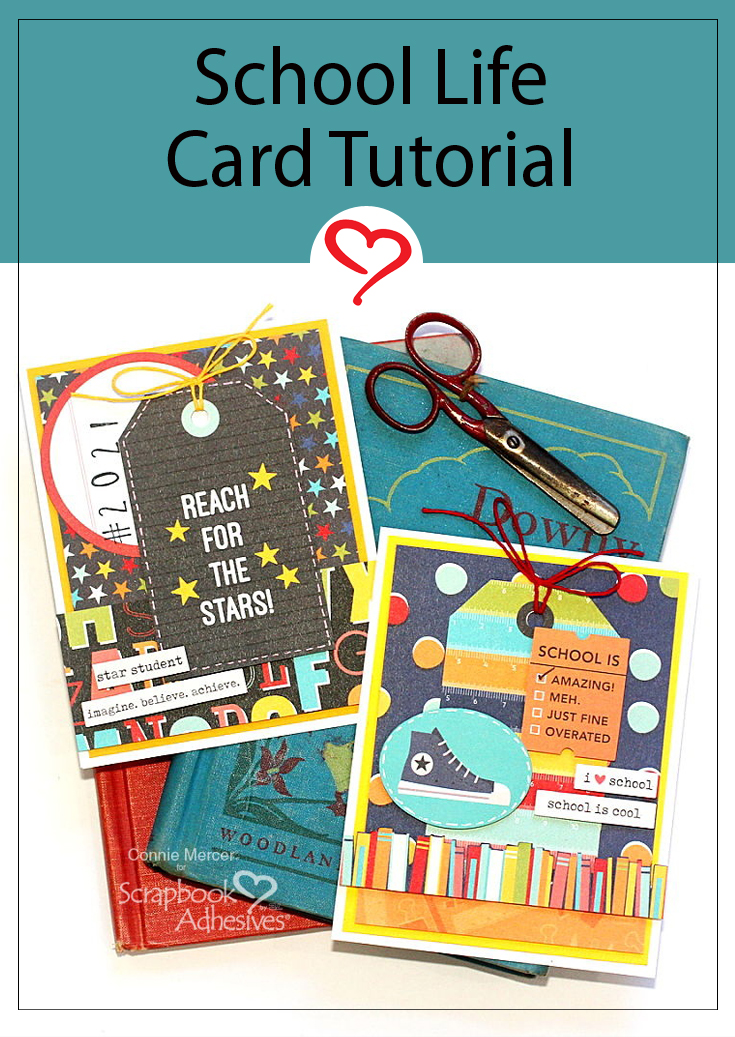
9/25: School Life Mini Tag Album
9/27: First Day of School Scrapbook Page
9/29: Coffee & Donut Scrapbook Page
Enter for a chance to win one of our three GIVEAWAYs of an Adhesive + Patterned Paper Kit Prize Packages! This giveaway is from September 15 through the 30th, 2021! Click the link below and follow the prompts.
http://www.rafflecopter.com/rafl/display/0f302f8d68/?
Visit our Website and Blog!
Sign up for our Newsletter so you never miss a contest or giveaway!