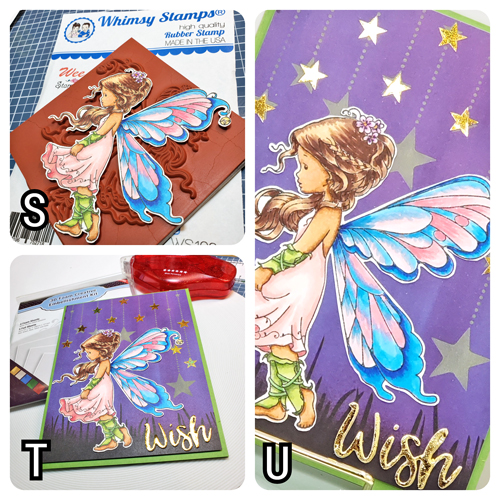
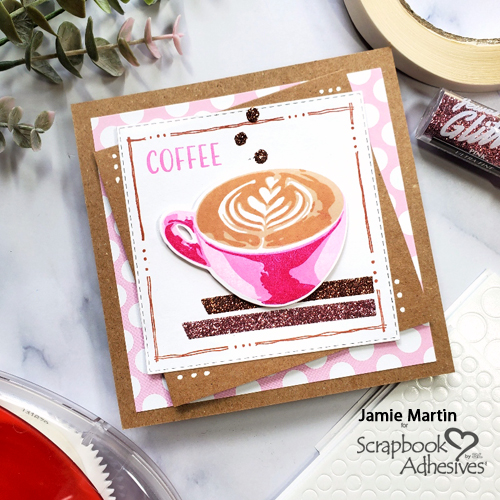
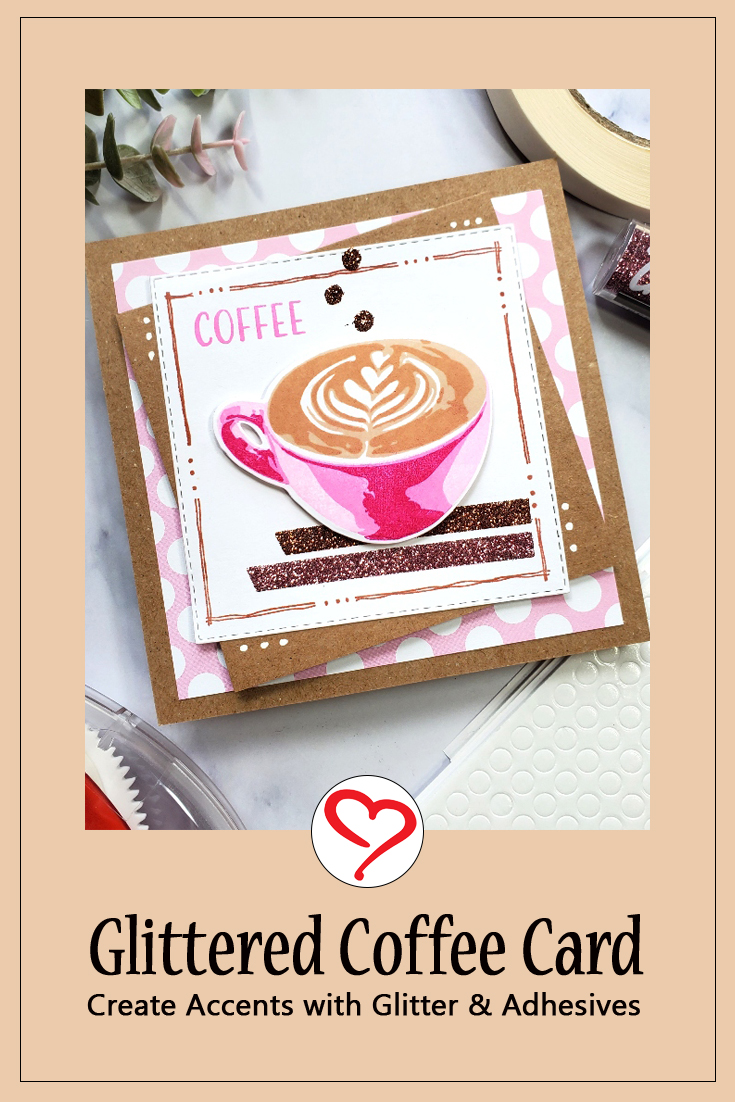
I’ve created a square Glittered Coffee Card that has wonderful accents of sparkle with the help of adhesives. Hi there, Jamie here with you today and I have a card to send to a friend for a get-together over a cup of coffee. It’s so easy to add glitter to your background with Crafty Power Tape and Adhesive Dots Micro. Let me show you how I made this card.
Glittered Coffee Stamped & Inked
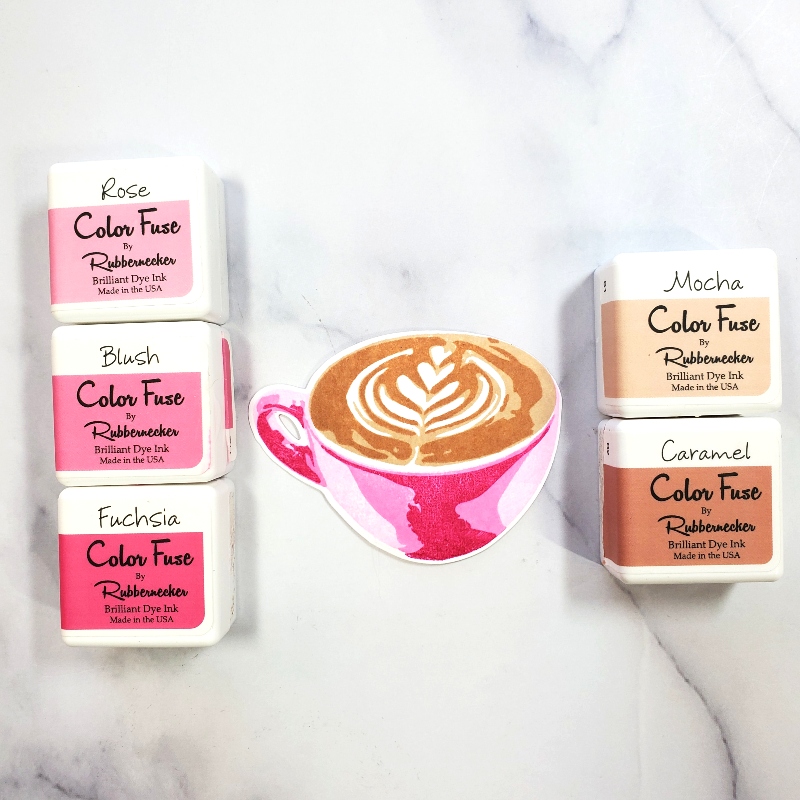
Stamp the Layered Coffee Cup image on white cardstock, using pink and brown inks. Next, cut it out using the matching die. Set this aside.
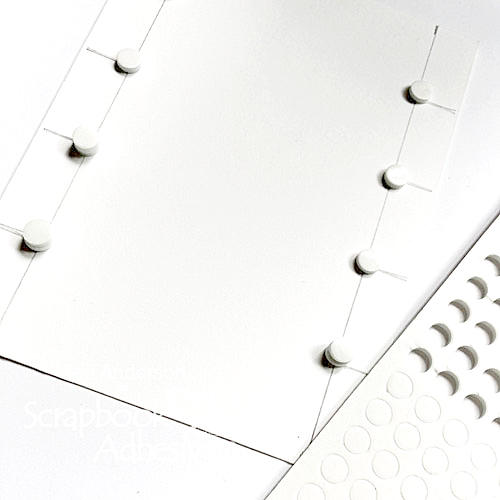
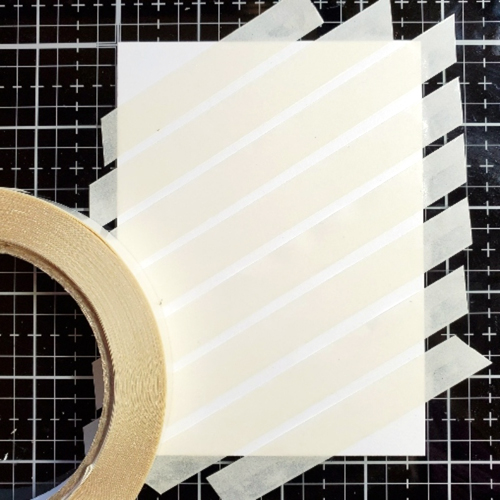
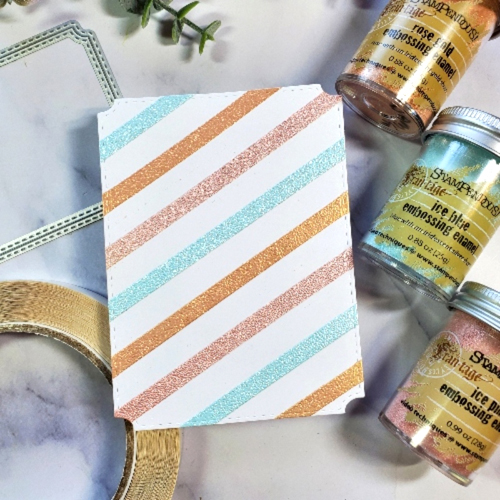
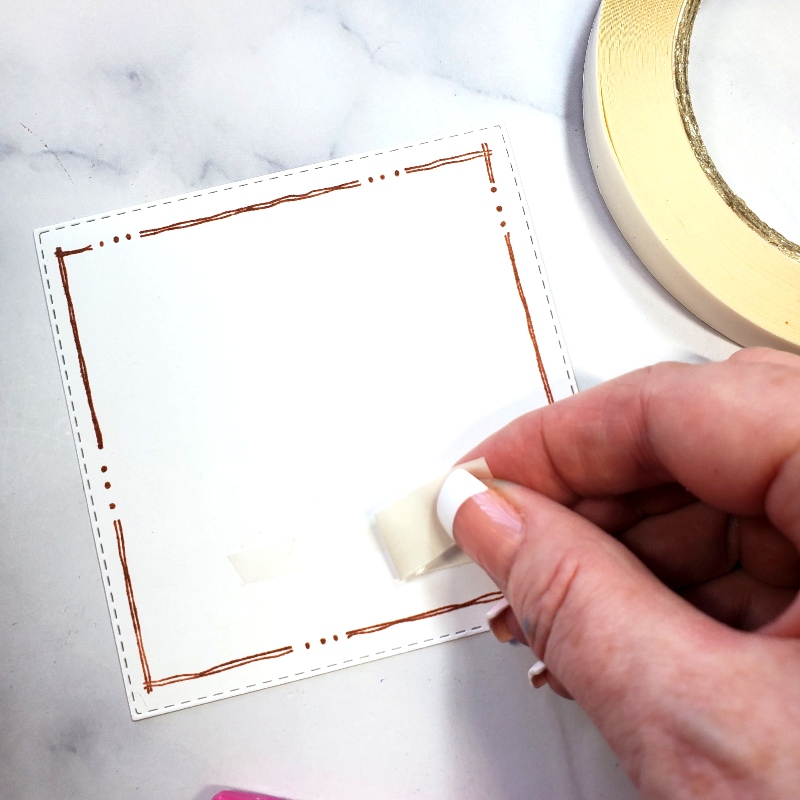
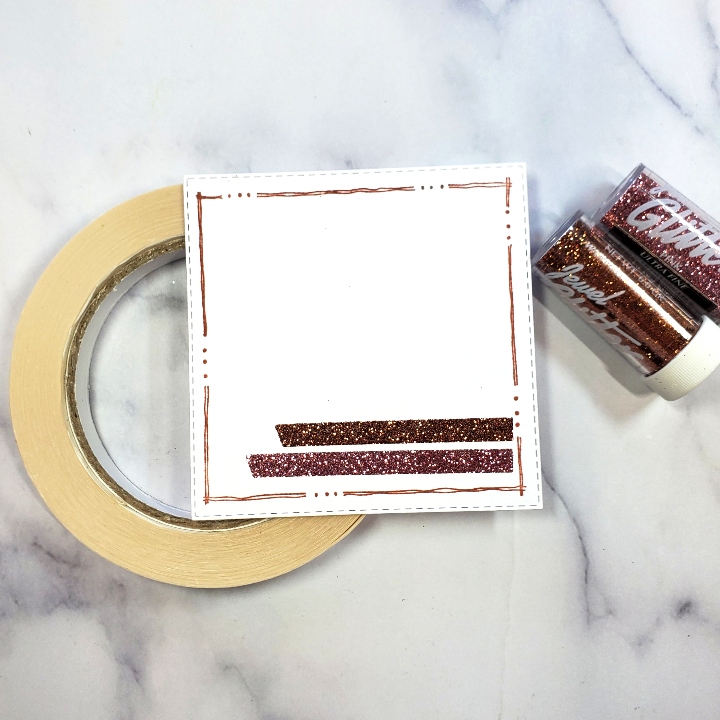
Die-cut a Nested Square Stitched Die with white cardstock. Then stamp with the Freehand Square using brown ink. Apply two strips of Crafty Power Tape near the bottom of the panel.
Wear Your Adhesive on the Outside with Glitter
Remove the top liner from the Crafty Power Tape strip. Sprinkle Copper Ultra Fine Glitter on the top, rub with your finger and remove excess glitter. Remove the liner from the second piece of Crafty Power Tape, sprinkle with Rose Ultra Fine Glitter, rub with your finger and remove excess glitter.
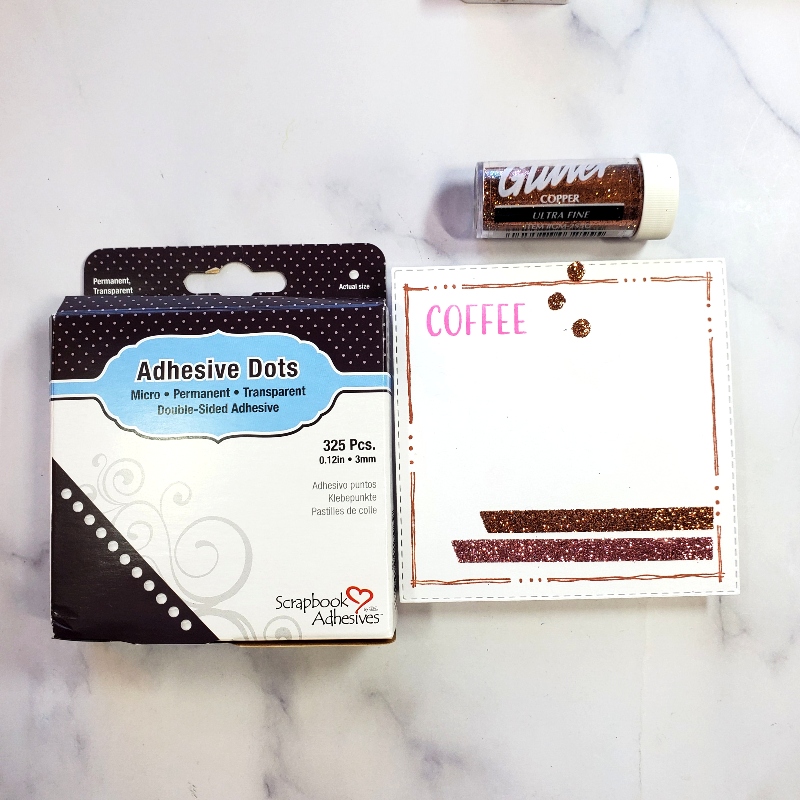
Stamp COFFEE in the top left corner of the panel with pink ink. Apply three Adhesive Dots Micro to the top of the panel and sprinkle with Copper Ultra Fine Glitter.
Assembling the Glittered Coffee Card
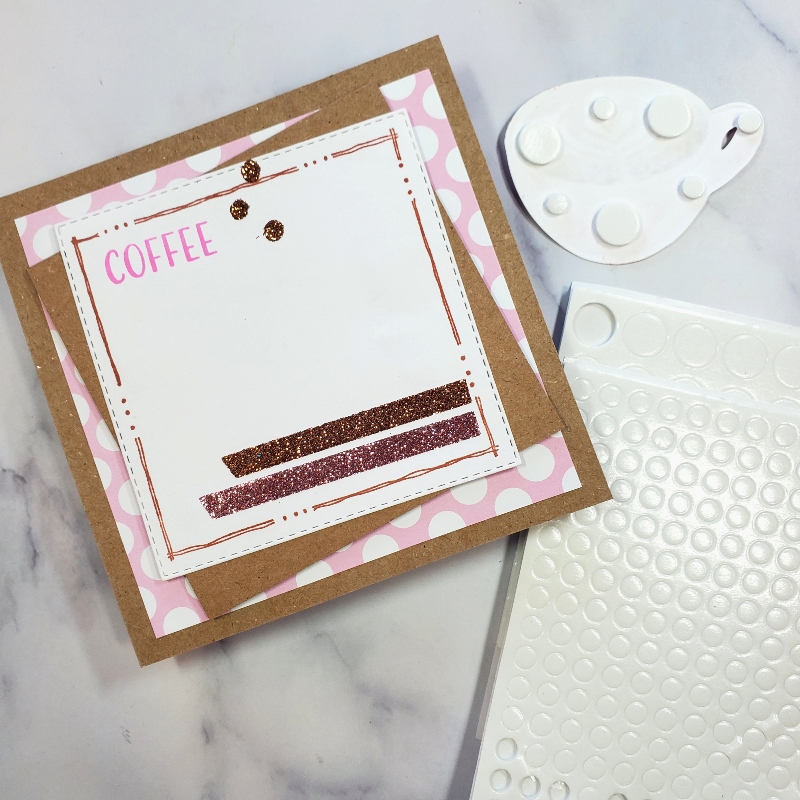
Layer the stamped panel diagonally onto a kraft color square panel using the E-Z Runner Grand Refillable Dispenser. Then pop it on a kraft-colored card base with 3D Foam Circles White Mix. Note the base has a layer of decorative paper for interest. Place 3D Foam Circles from the 3D Foam Circles White Mix on the back of the coffee cup and pop it up on the card.
For the final touch, add white enamel dots to the kraft-colored panel. Your Glittered Coffee Card is done!
Skill Level: Intermediate
Creative Time: 30 minutes
Materials Needed:
Scrapbook Adhesives by 3L®
E-Z Runner® Grand Permanent Strips
Crafty Power Tape PolyBag 81ft.
Adhesive Dots Micro
3D Foam Circles White Mix
Other
Stamps, Dies & Inks: Rubbernecker Stamps (Layered Coffee Cup, Nested Square Stitched Die, Freehand Square, and Color Fuse Inks); Glitter: Stampendous (Rose Ultra Fine Glitter, and Copper Ultra Fine Glitter); Enamel Dots: Ranger Ink (White Enamel Dots)
Save to Pinterest!
Visit our Website and Blog!
Sign up for our Newsletter so you never miss a contest or giveaway!