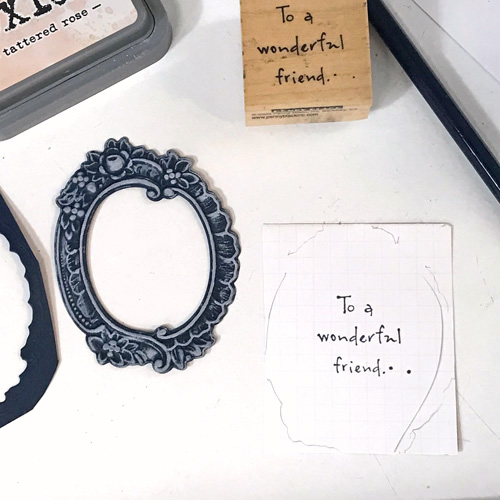
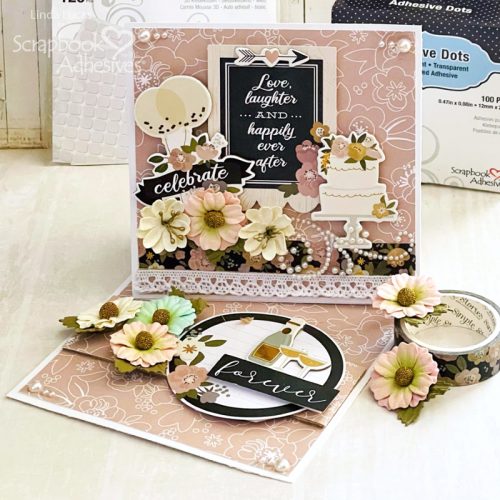
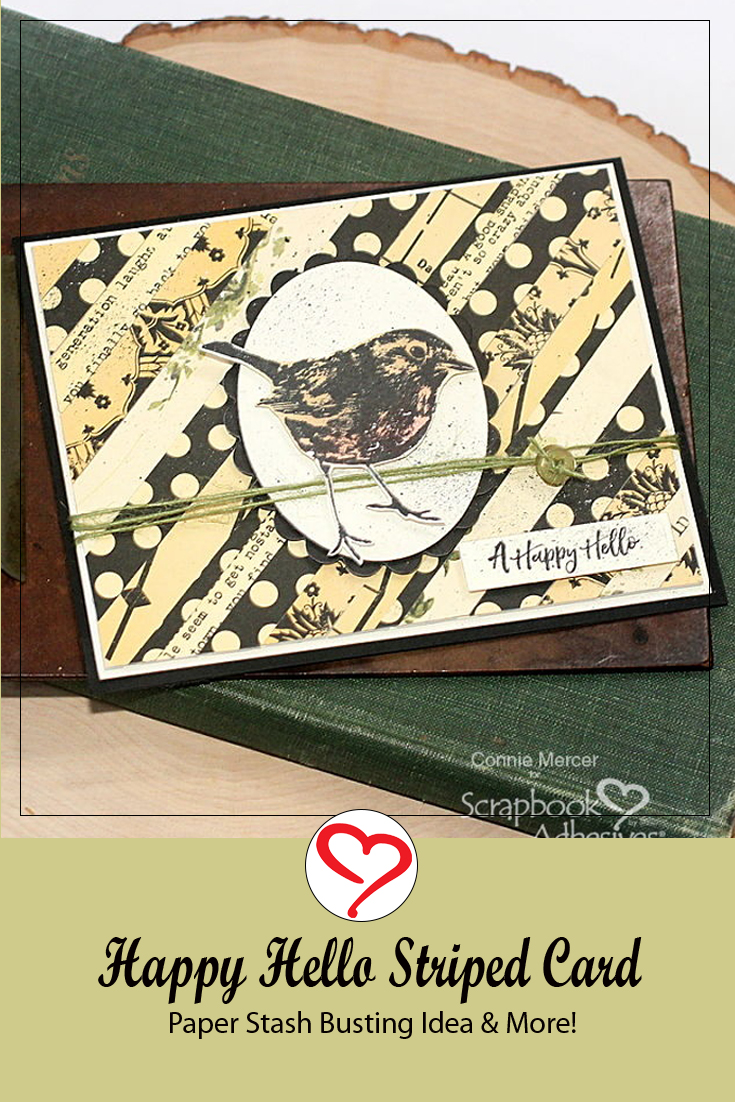
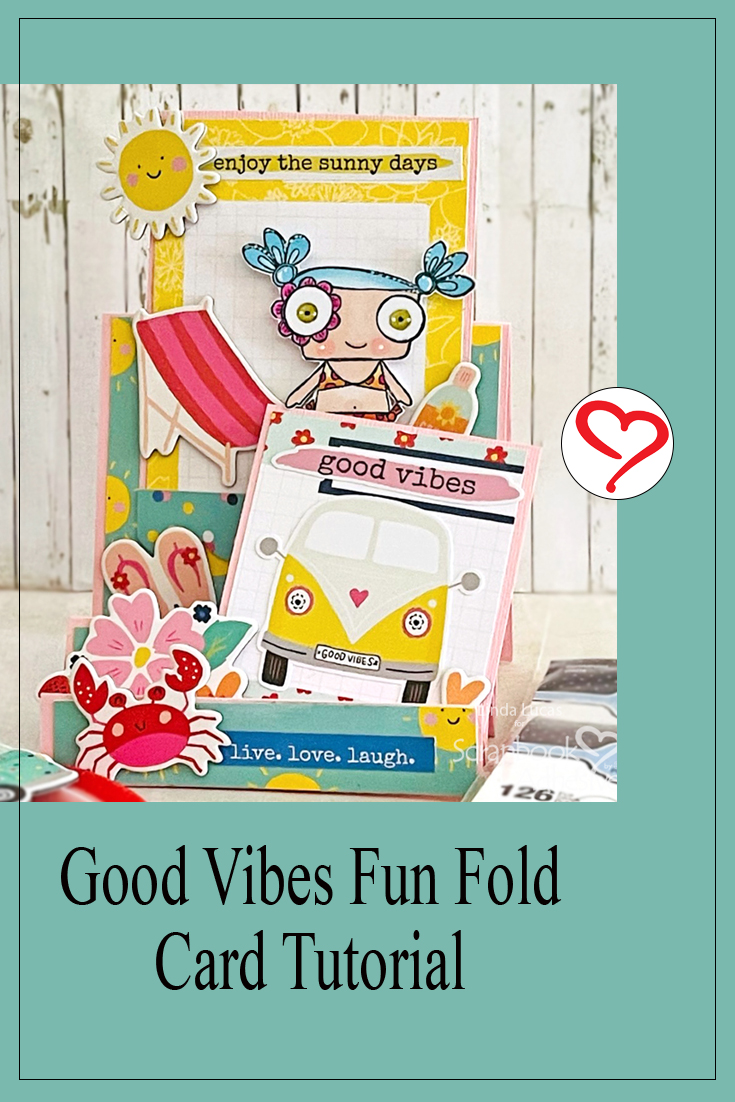
Hello everyone, it is Linda here, sharing a fun fold card made with good vibes of summer in mind. Possibly inspired by the fact that we are on the tail end of winter here in the Southern Hemisphere and dream of warmer days. You can see the step-by-step details as you follow along and make one for you!
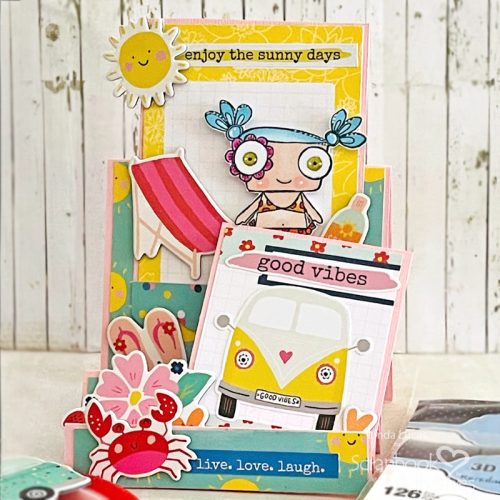
Good Vibes Fun Fold Card Base
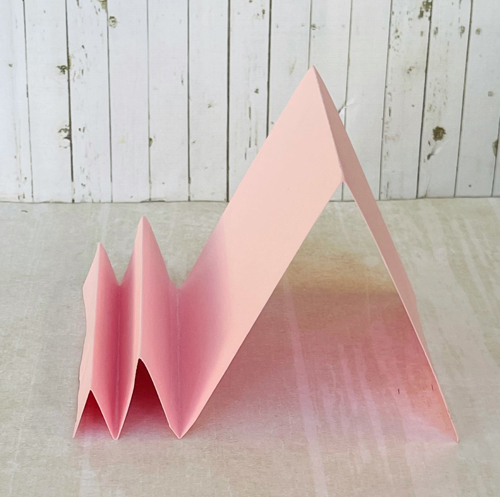
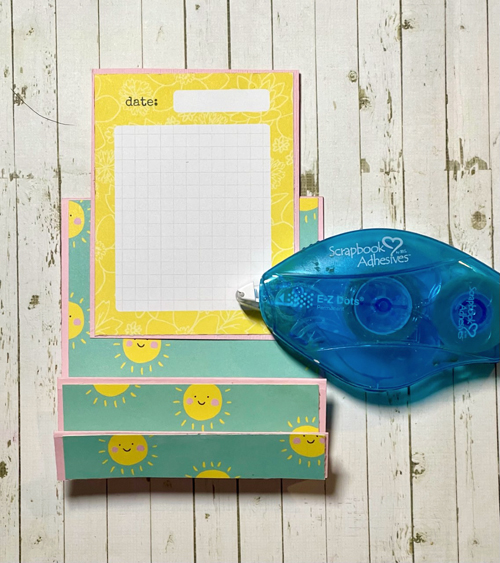
Cut a pink card base to measure 10cm x 30cm. With a scoreboard, score the card base at 2cm, 4cm, 7cm, 10cm, and 15cm to create different height steps.
Fold the card base along the score lines into mountain and valley folds to form the three steps of the card, the smallest at the front.
Embellishing the Card Background
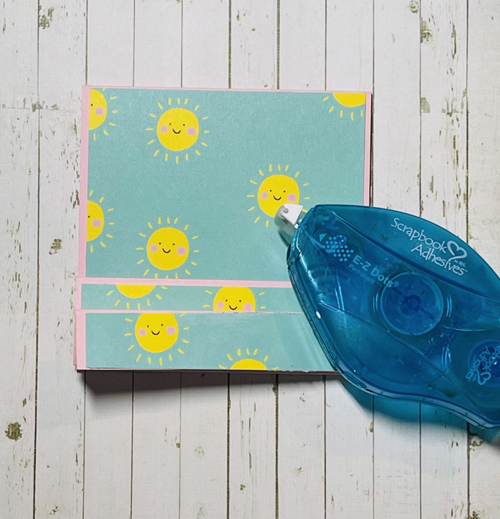
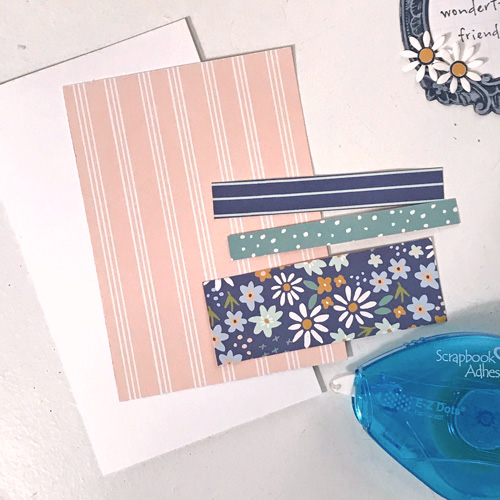
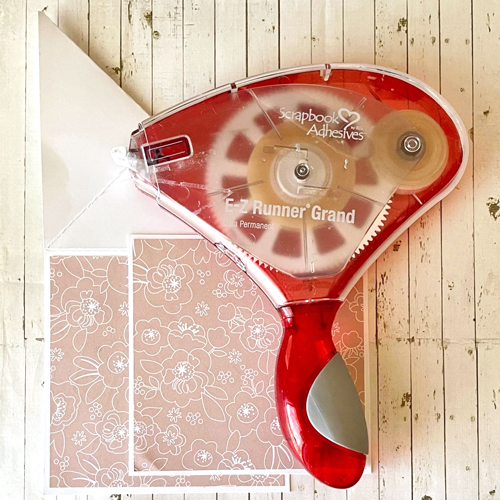
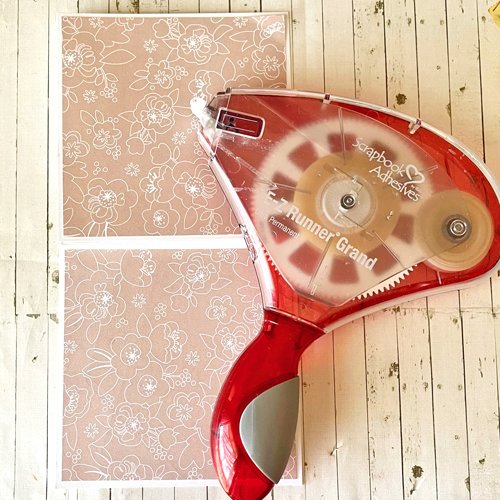
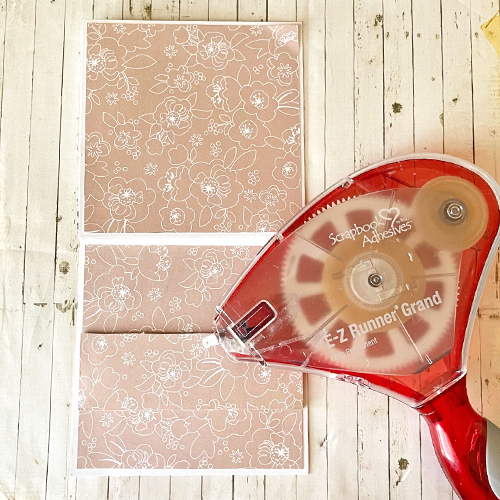
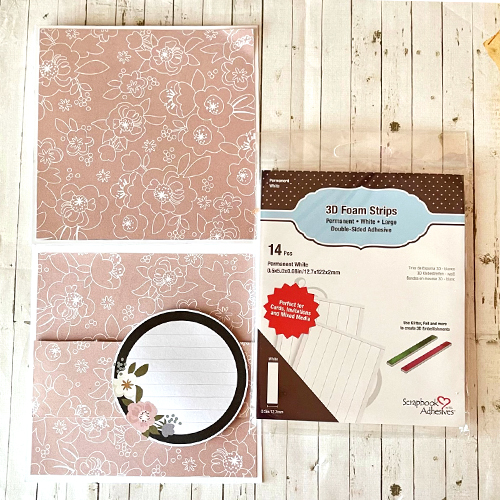
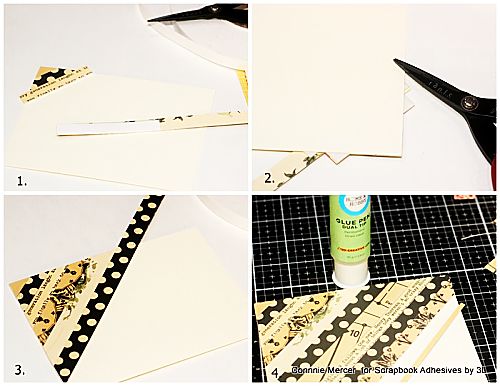
Cut three strips of patterned paper measuring 1.5cm x 9.5cm; 2.5cm x 9.5cm and 4.5cm x 9.5cm. Adhere to the co-ordinating step using E-ZDots Permanent Refill Dispenser 15m
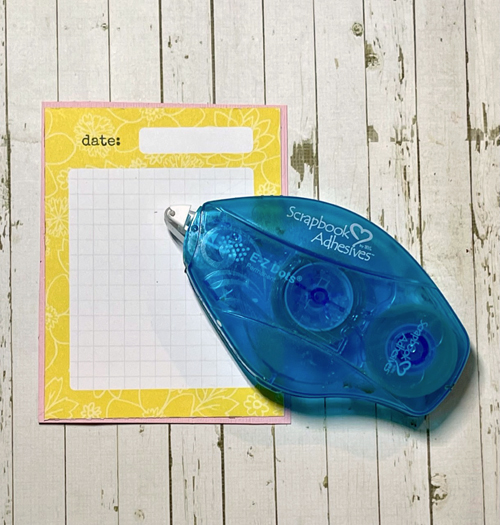
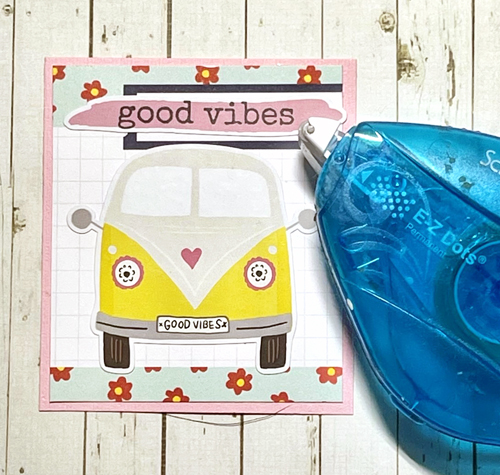
Cut a small patterned panel from the patterned paper and adhere to slightly larger pink card stock using E-ZDots Permanent Refill Dispenser 15m
Adhere to the middle of the highest step on the card base with above the step.
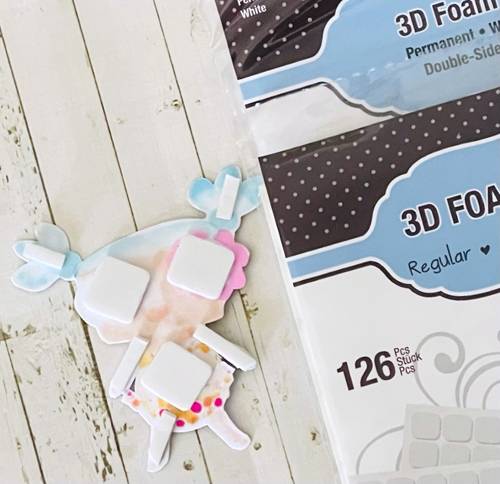
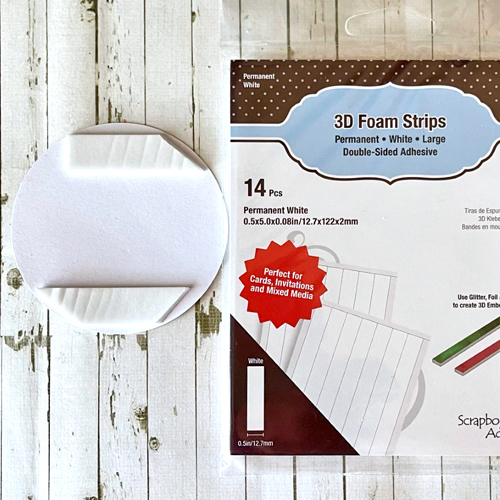
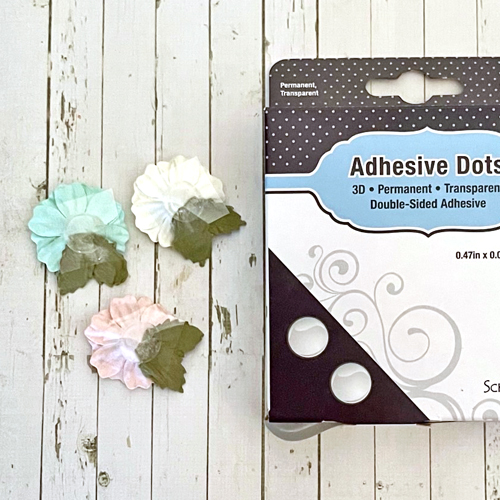
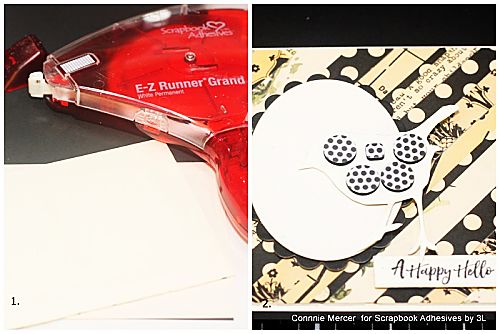
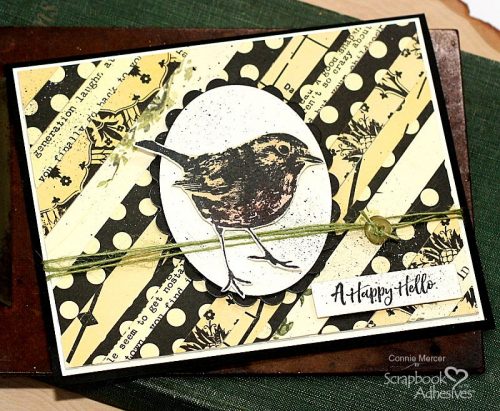
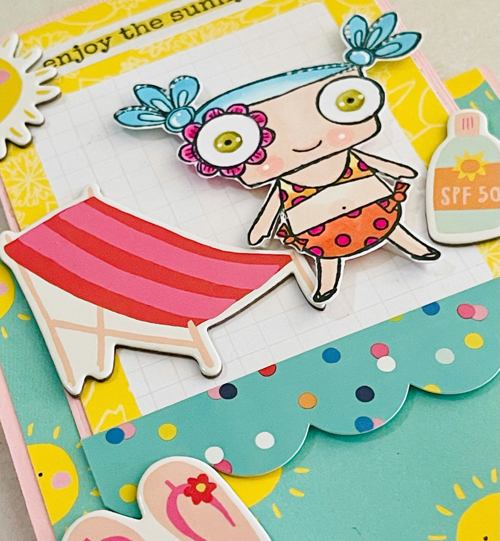
Stamp the image using black ink, colour using Alcohol Markers and fussy cut (hand cut using scissors). Add Adhesive Dots 3D to the body of the image and 3D Foam Strips to the limbs and hair. Adhere to the panel, along with the Chipboard and cardboard Stickers
Decorating the Middle Panel
Cut a second smaller Good Vibes panel from the patterned paper and adhere to slightly larger pink cardstock using E-Z Dots Permanent Refill Dispenser 15m.
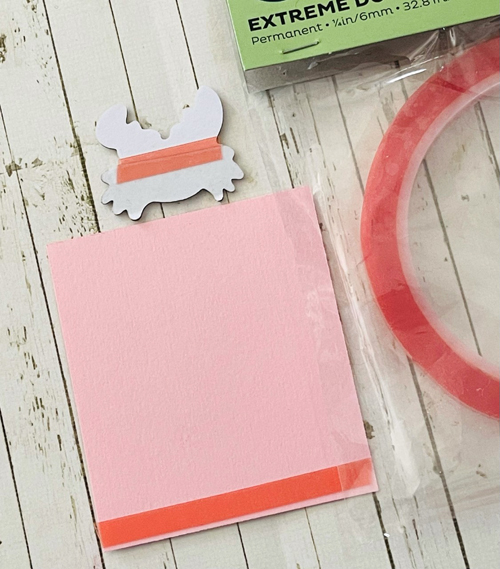
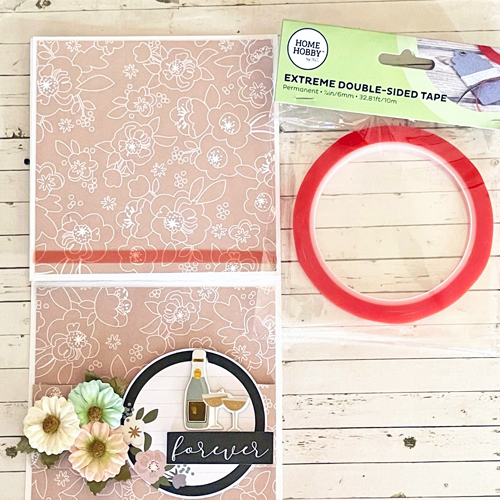
Adhere Extreme Double-Sided tape 1/4in to the lower edge of the panel to ensure the panel is secured securely to the second step of the card base, slightly angled.
Adding More Details
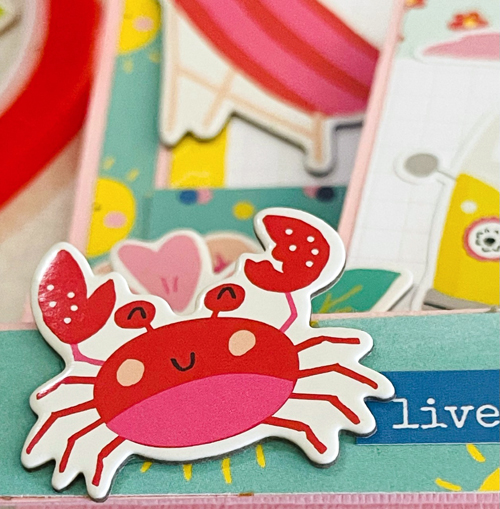
At the same time with any Chipboard Stickers that will have part of the chipboard above the card base, trim the backing off below where it will be showing and add a strip of Extreme Double-Sided tape 1/4in across the sticker making sure it is across the cut seam on the backing, to ensure it stays on. For this Good Vibes card, I have used this technique on the crab and the sun.
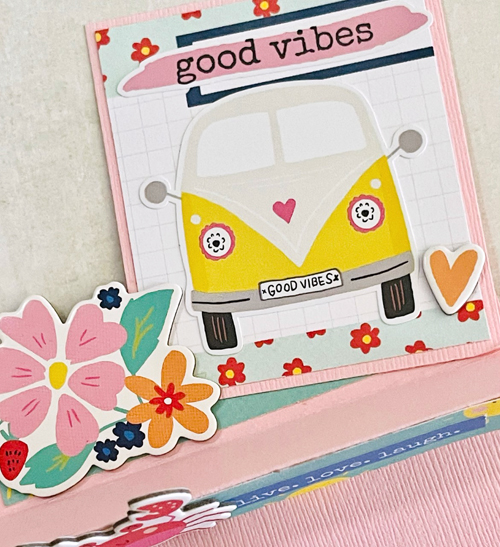
Continue to decorate using both Chipboard and cardboard stickers.
Creative Time: 60 minutes
Skill Level: Intermediate
Materials Needed:
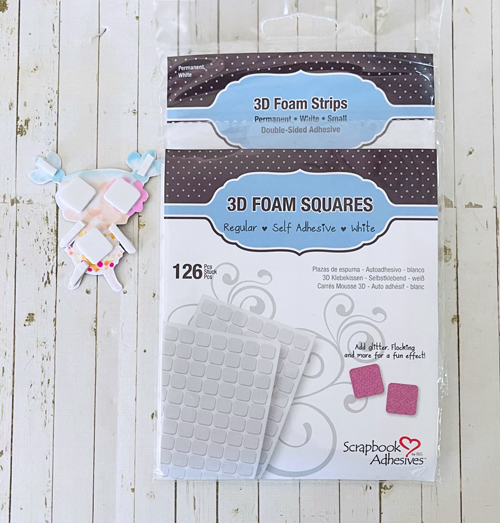
Scrapbook Adhesives by 3L®
Adhesive Dots 3D
3D Foam Strips
E-Z Dots® Permanent Refill Dispenser
HomeHobby™ by 3L
Extreme Double-Sided Tape 1/4in
Other:
Simple Stories (Sunkissed Collection); Pink Cardstock; AALL & Create (Seaside by Janet Klein); Chameleon Art Products (Alcohol Markers); Sponge Dauber; Imagine Ink (Memento Ink in Tuxedo Black); ScorPal Scoring Board and Crease Tool
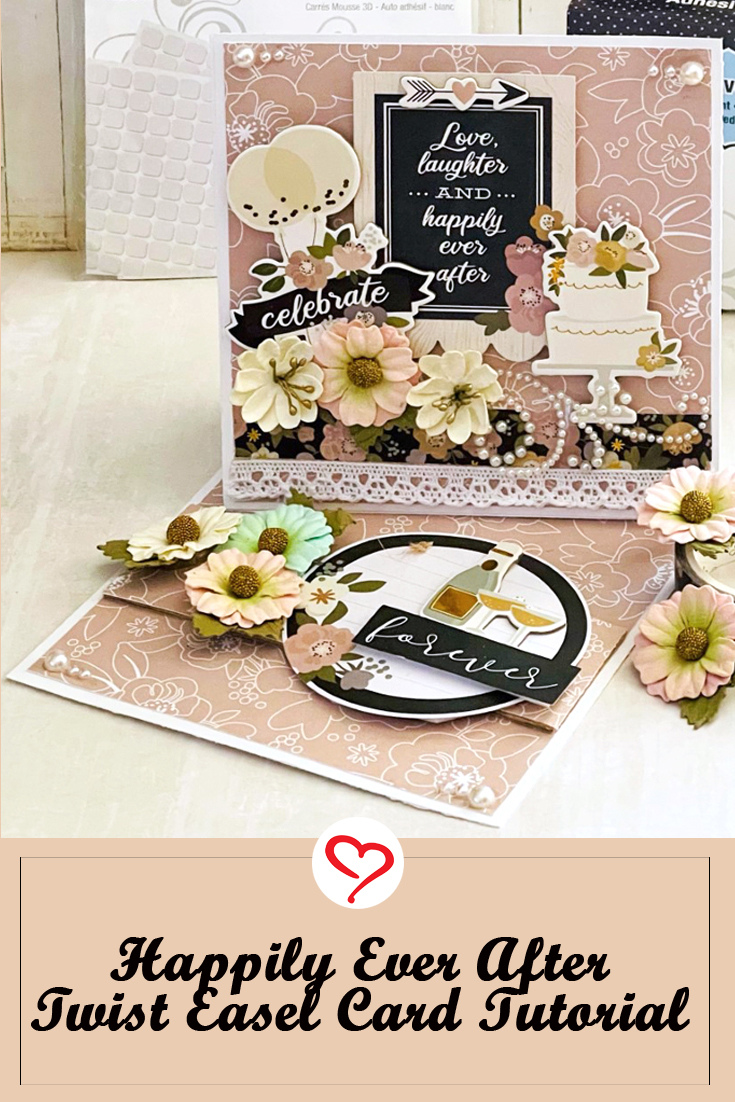
Save to Pinterest!
Visit our Website and Blog!
Sign up for our Newsletter so you never miss a contest or giveaway!