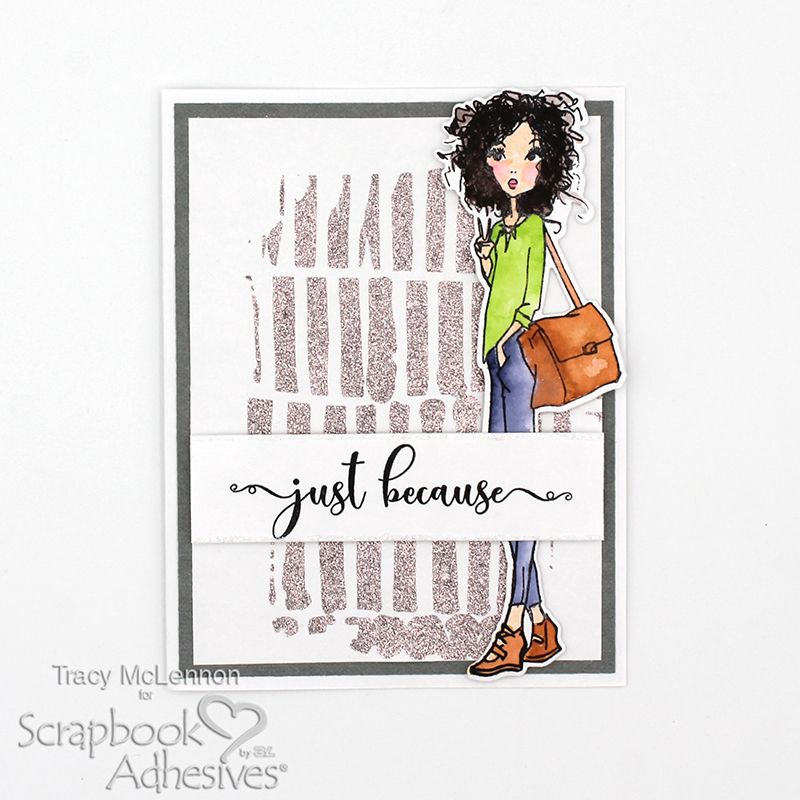
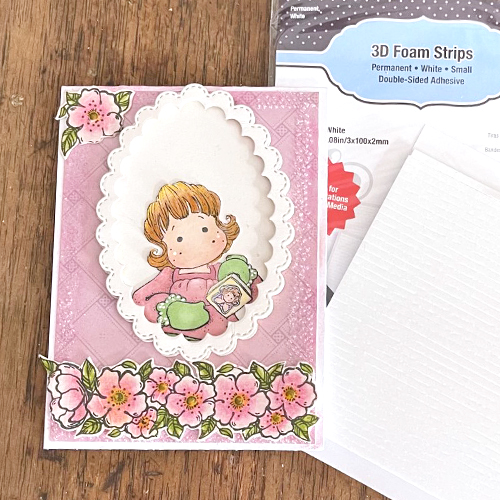
Hi everyone, Yvonne here with an easy-to-make framed birthday card. I always like to have some birthday cards in my stash… always handy when you need to send a card last minute!
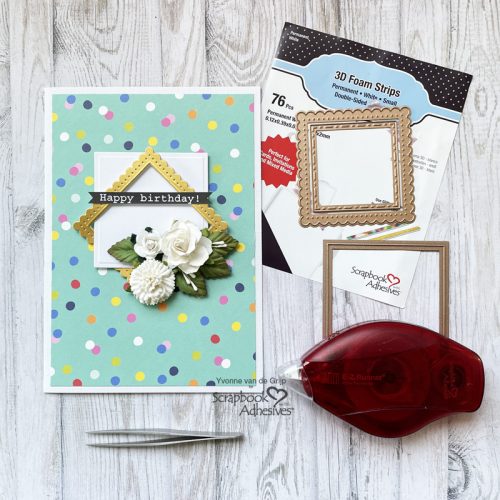
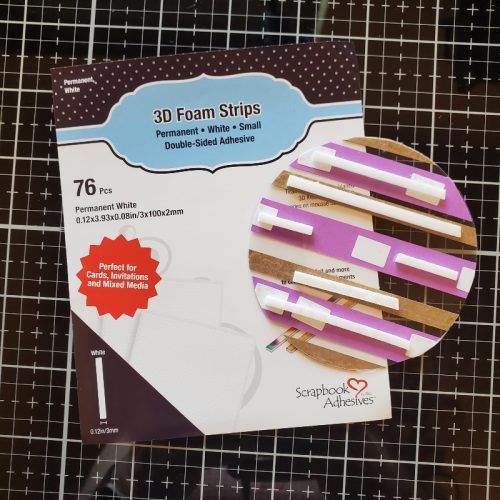
With 3D Foam Strips it’s ever so easy to adhere dimensional frames to a card. Wanna join me in making this framed birthday card? Let’s get started!
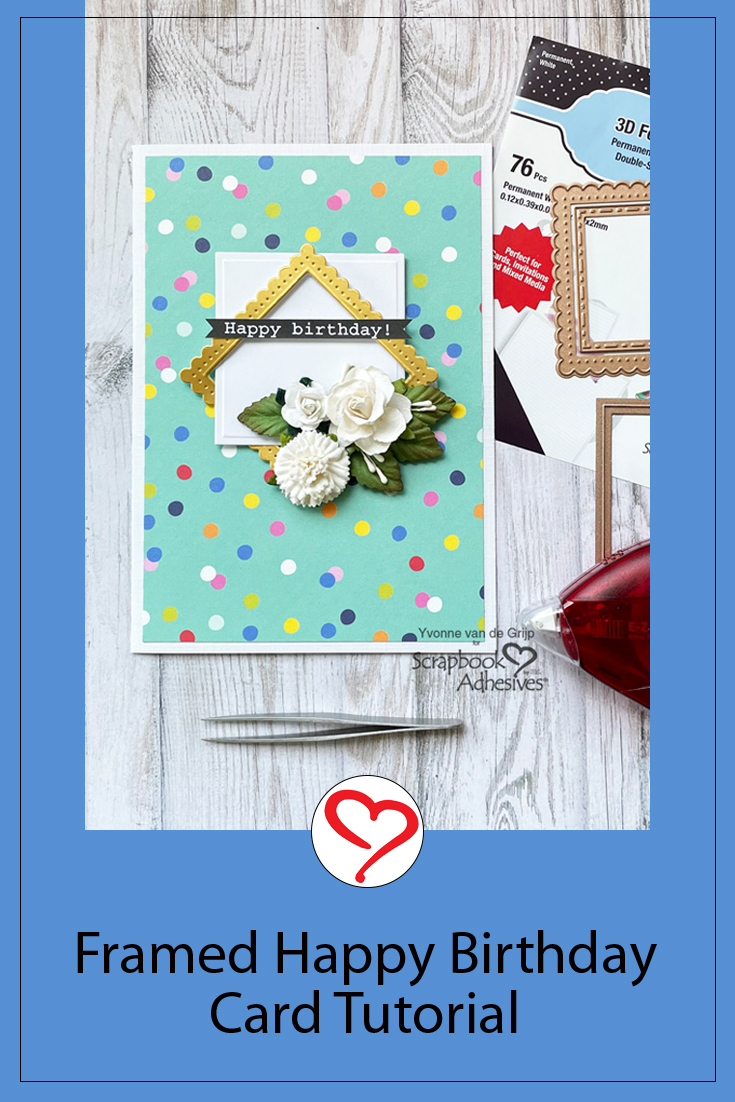
Making the Card Base
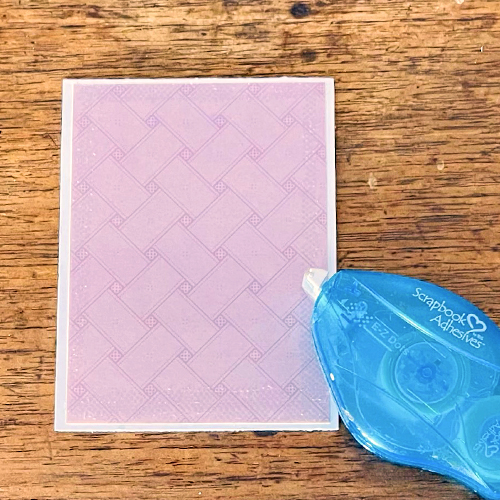
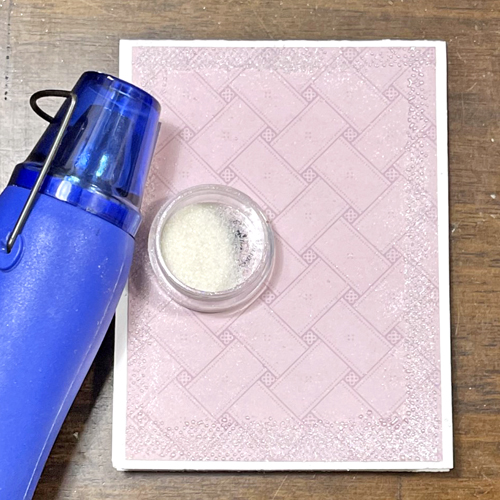
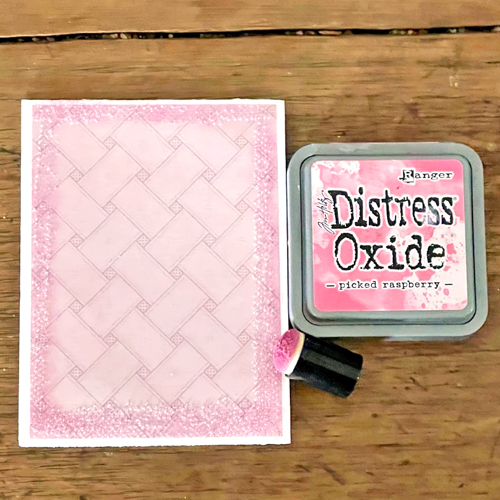
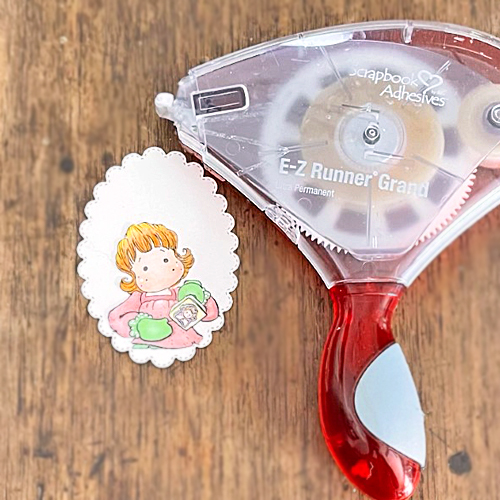
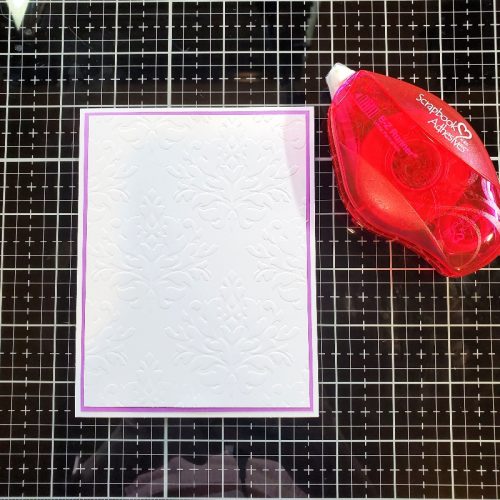
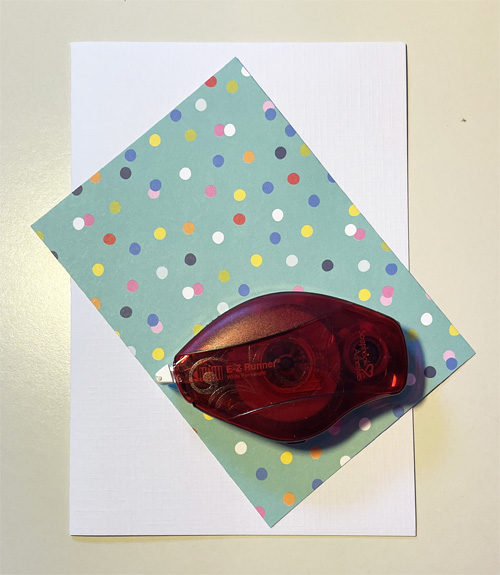
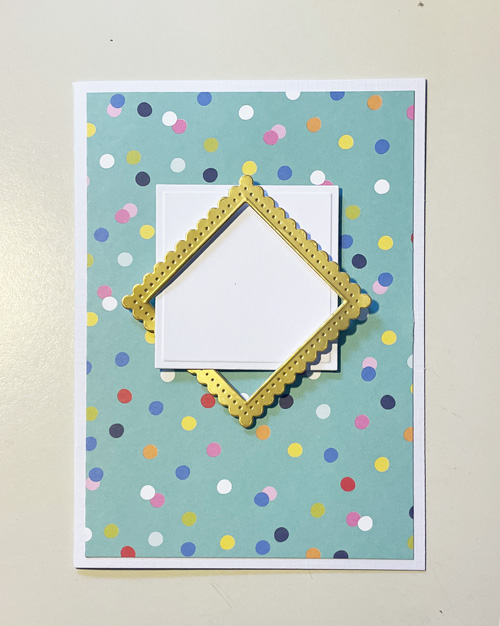
First, fold a piece of white cardstock in half to create a square card. Then adhere to a piece of patterned paper using the E-Z Runner® Permanent Strips Refillable Dispenser. This is all you need to create the base card.
Creating the Frame
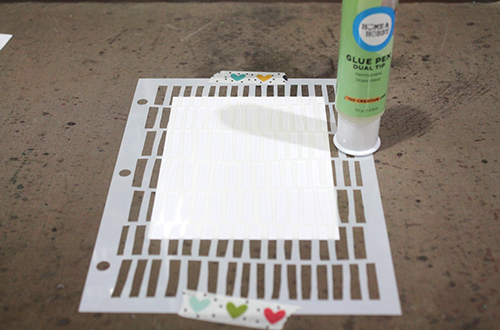
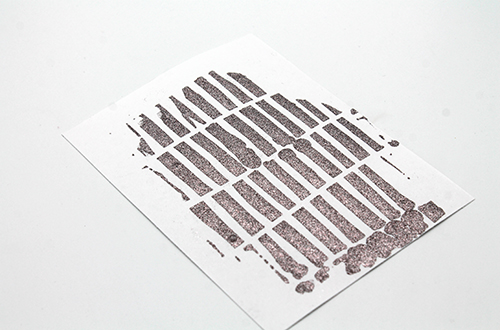
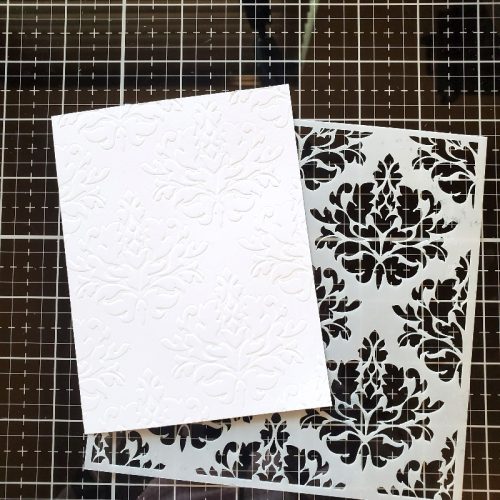
For this card you need two die cuts. First die-cut and emboss a square shape from white paper. Then die-cut and aemboss a frame from gold cardstock.
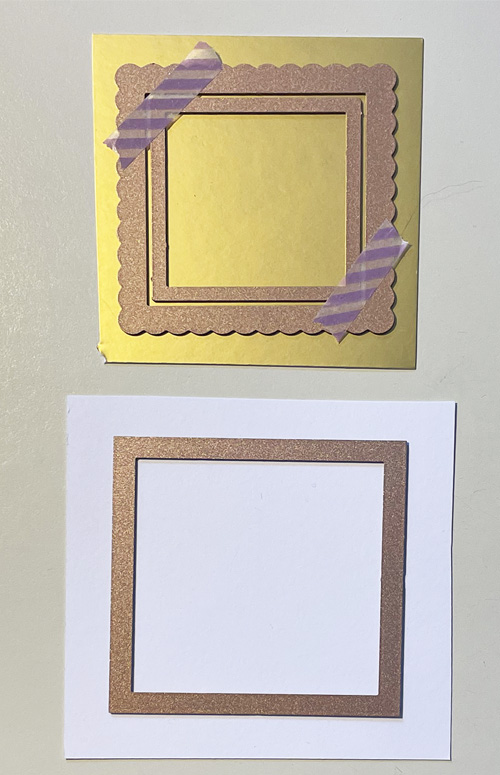
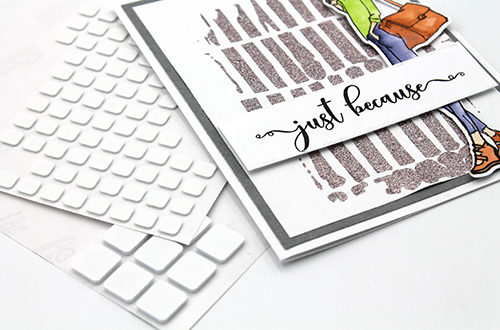
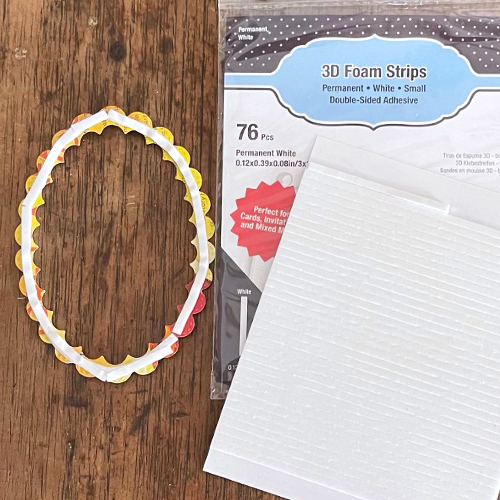
To keep the two metal cutting dies in place I used some washi tape. Now use some 3D Foam Squares White Mix to adhere the white die-cut square onto the card base. Then adhere the frame over the white square and tuck one corner under the white die-cut square. To adhere the golden frame I used 3D Foam Strips.
I trimmed the 3D Foam Strips using scissors to fit the frame.
Finishing the Card
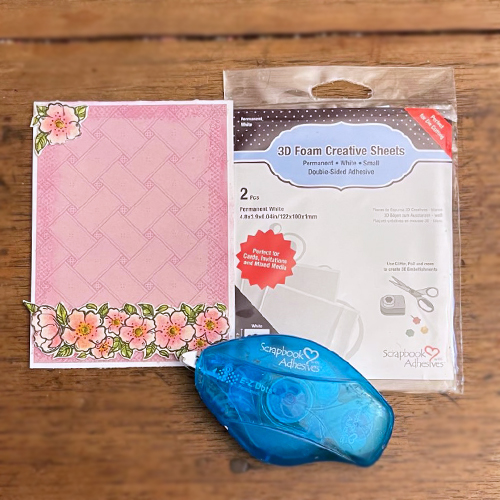
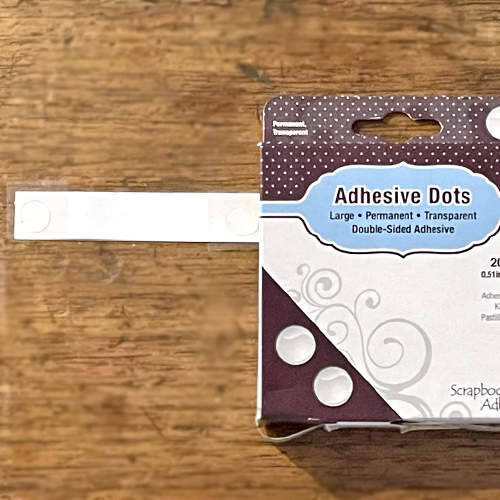
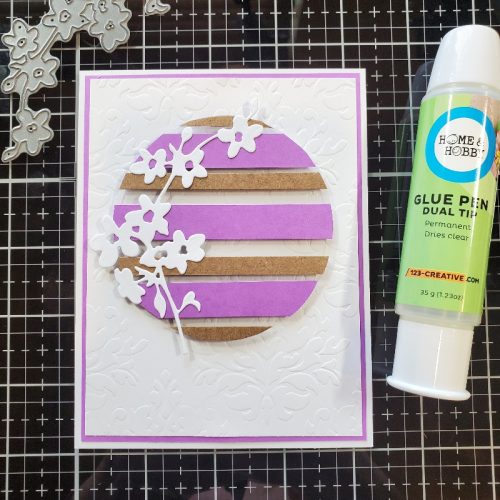
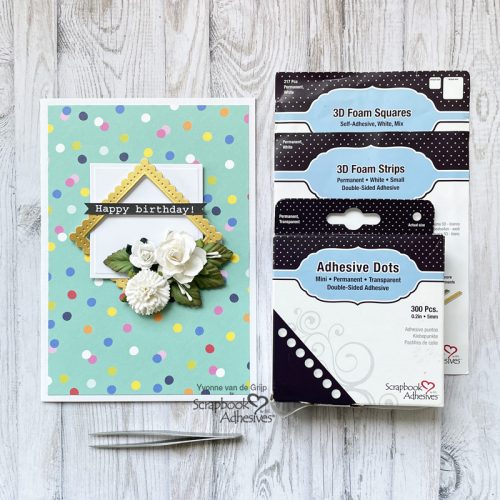
Adhere a sentiment onto the frame using a piece of 3D Foam Strips. Then adhere some mulberry flowers and leaves onto the card using Adhesive Dots Mini for adhering. And finally tuck some stamens under the leaves and adhere using the Dual Tip Glue Pen.
And voilá, your framed birthday card is ready.
I hope you enjoyed this simple tutorial and wish you happy crafting!
Thanks for stopping by!

Creative Time: 30 minutes
Skill Level: Intermediate
Materials needed:
Scrapbook Adhesives by 3L®
E-Z Runner® Permanent Strips Refillable Dispenser
3D Foam Squares White Mix
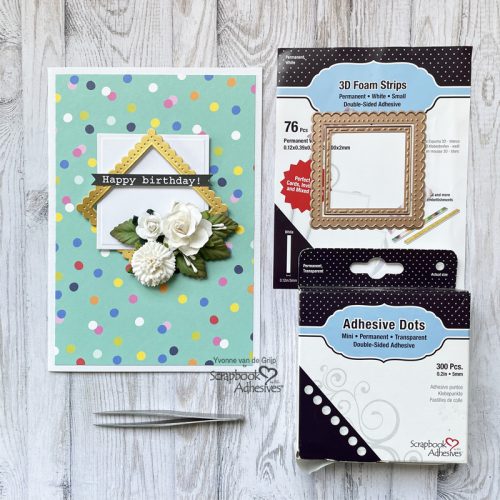
3D Foam Strips
Adhesive Dots Mini
HomeHobby™ by 3L
Dual Tip Glue Pen
Other:
Cardstock (White, Patterned: Simple Stories: Sunkissed); Etched Dies and Die-cutting Machine (Spellbinders® Paper Arts: Fancy Edged Squares, Classic Squares LG; Platinum 6 Machine); Mulberry Flowers, Leaves and Stamens; Tweezers; Paper Trimmer; Scissors
Save to Pinterest!
Visit our Website and Blog!
Sign up for our Newsletter so you never miss a contest or giveaway!