Happy New Year friends! Dana here today sharing a slimline card. I folded up some origami numbers for the front of this card. I’m excited to say goodbye to 2020 and hello to new possibilities in 2021! I chose to use metallic origami paper, glittered cardstock, and foiled chipboard stars to capture a celebratory feeling on this card.
Origami 2021 Folding
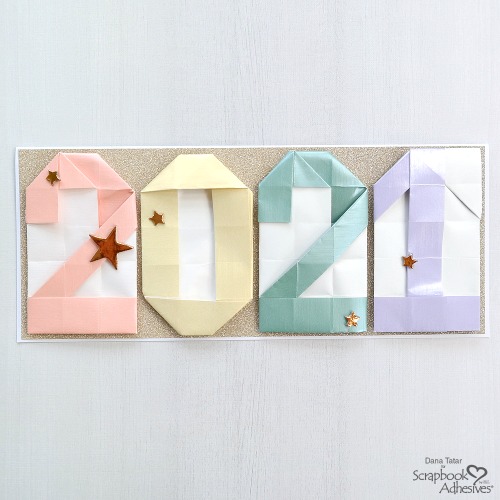
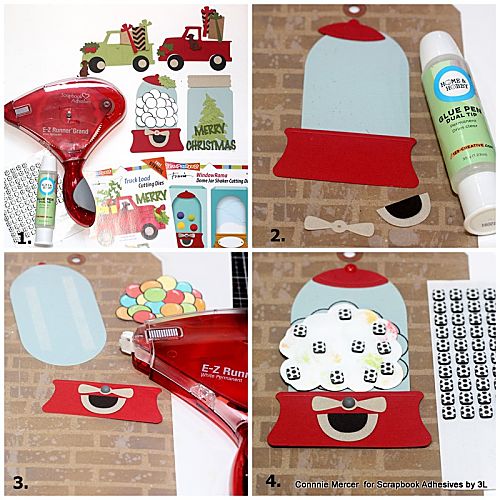
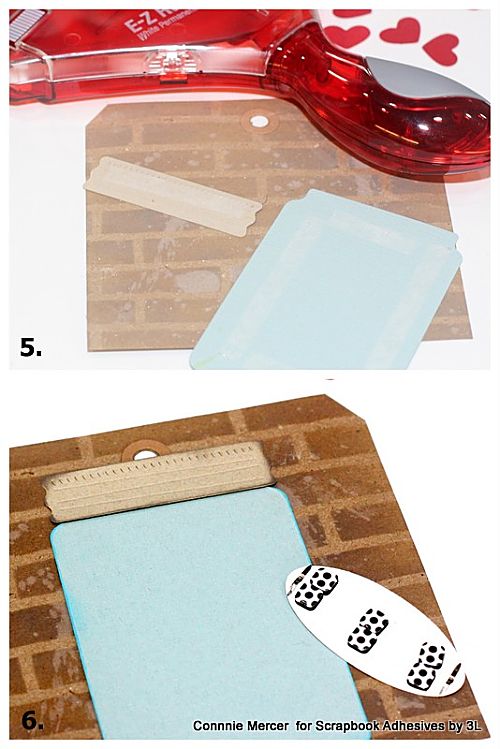
To begin, I folded the origami numbers from 5 7/8-inch square paper. This starting size made these designs easy to fold. Next, I mounted the numbers onto a piece of glittered cardstock using Crafty Foam Tape. Then, I cut the glittered cardstock down to fit onto a white card base and used an E-Z Runner Ultra Strong Refillable Dispenser to attach the card front to the base.
Please stop by my blog for a link to the video tutorial I used to fold these numbers.
Embellishing the Card

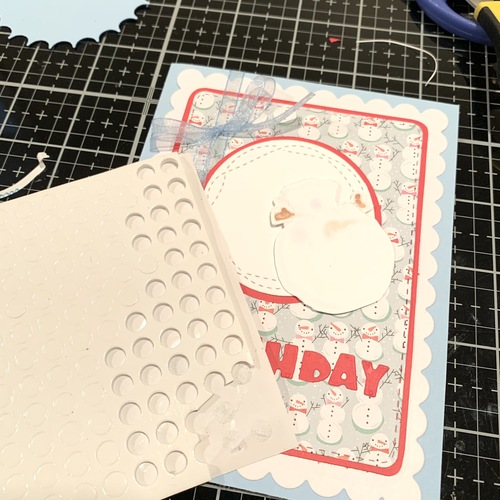
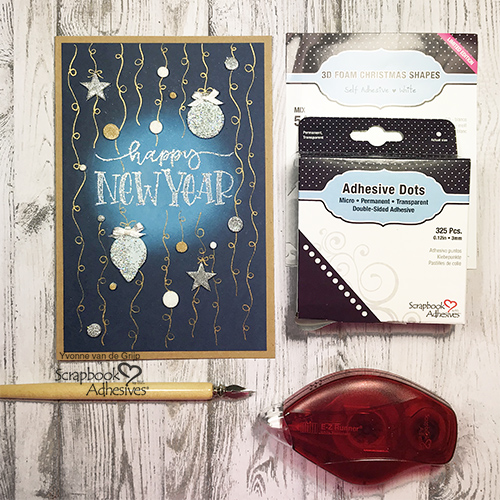
To finish the card, I attached foiled chipboard stars in various sizes to each origami number using Adhesive Dots Micro and Adhesive Dots Small.
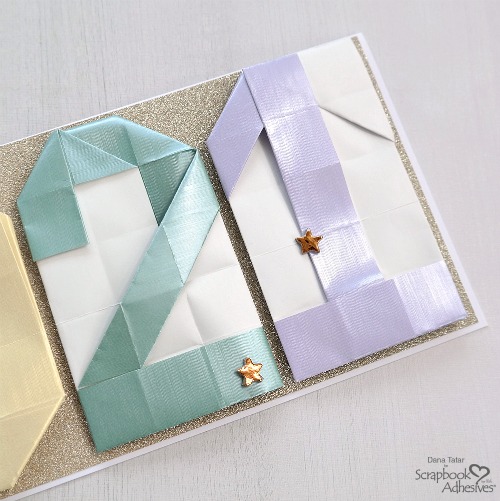
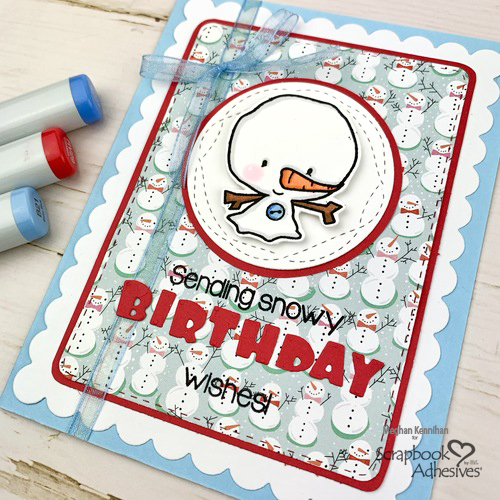
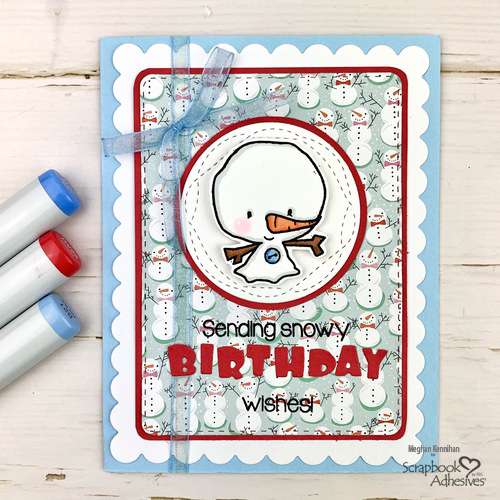
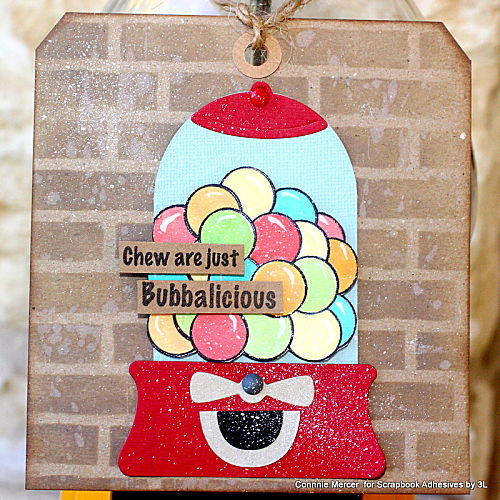
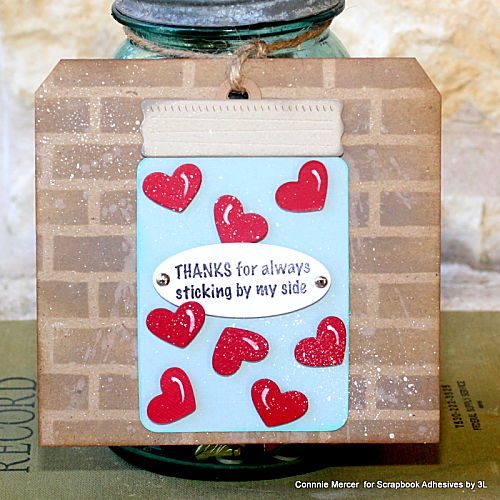
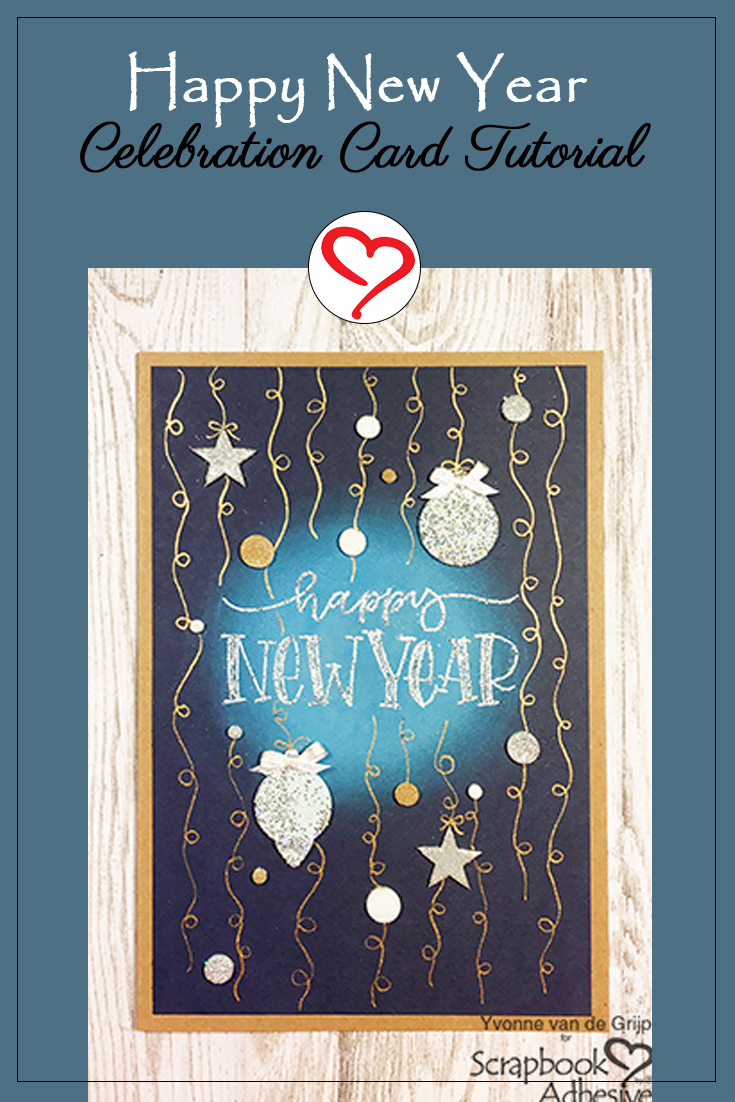
This glittered cardstock, metallic paper, and foiled star embellishments really catch the light for a fantastic shimmer for a perfect Origami 2021 card!
More New Year Card Inspiration
The Scrapbook Adhesives by 3L team has created some fantastic cards to celebrate the new year. Click on the following links for more card design ideas!
DIY Stamp Wheel New Year Card
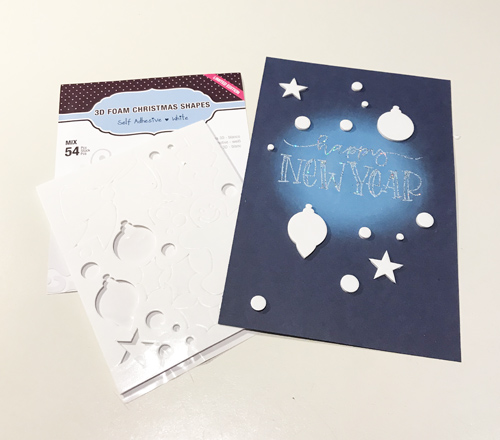
3D Foam Star New Year Card
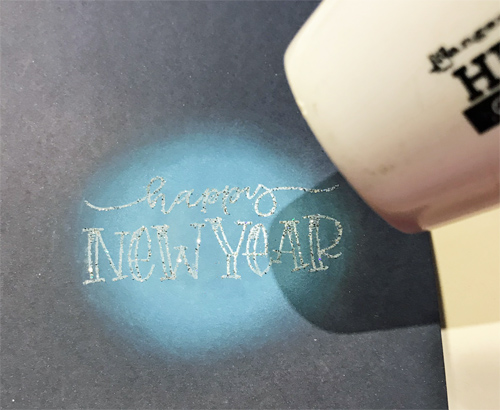
Inked and Embossed New Year Card
New Year Shaker Card
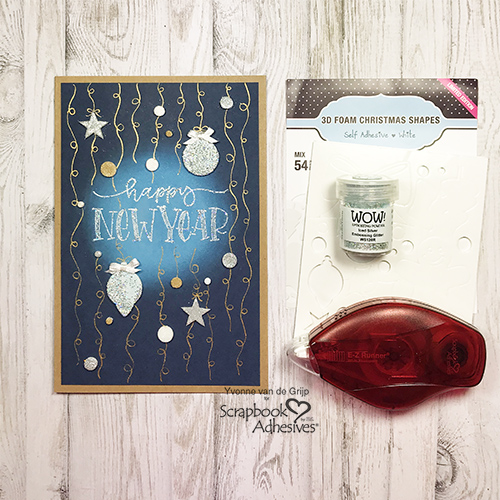
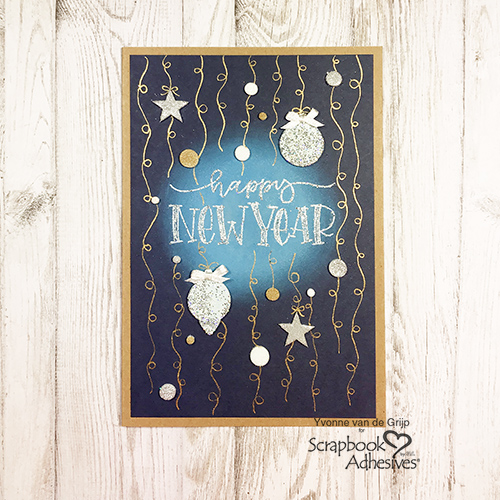
Glittered New Year Card
Thanks for stopping by today! I wish you a happy and healthy year.
~Dana Tatar
Creative Time: 30 minutes
Skill Level: Intermediate
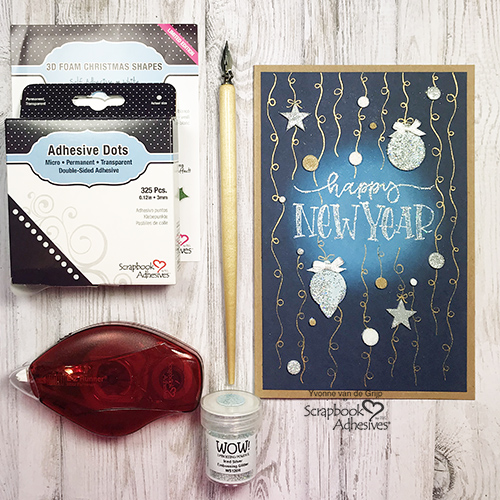
Materials Needed
Scrapbook Adhesives by 3L®
Crafty Foam Tape White
E-Z Runner Ultra Strong Refillable Dispenser
Adhesive Dots Micro
Adhesive Dots Small
Other
White Cardstock; Gold Glitter Cardstock: American Crafts; Metallic Origami Paper: Aitoh; Copper Foil Chipboard Stars: Studio Calico
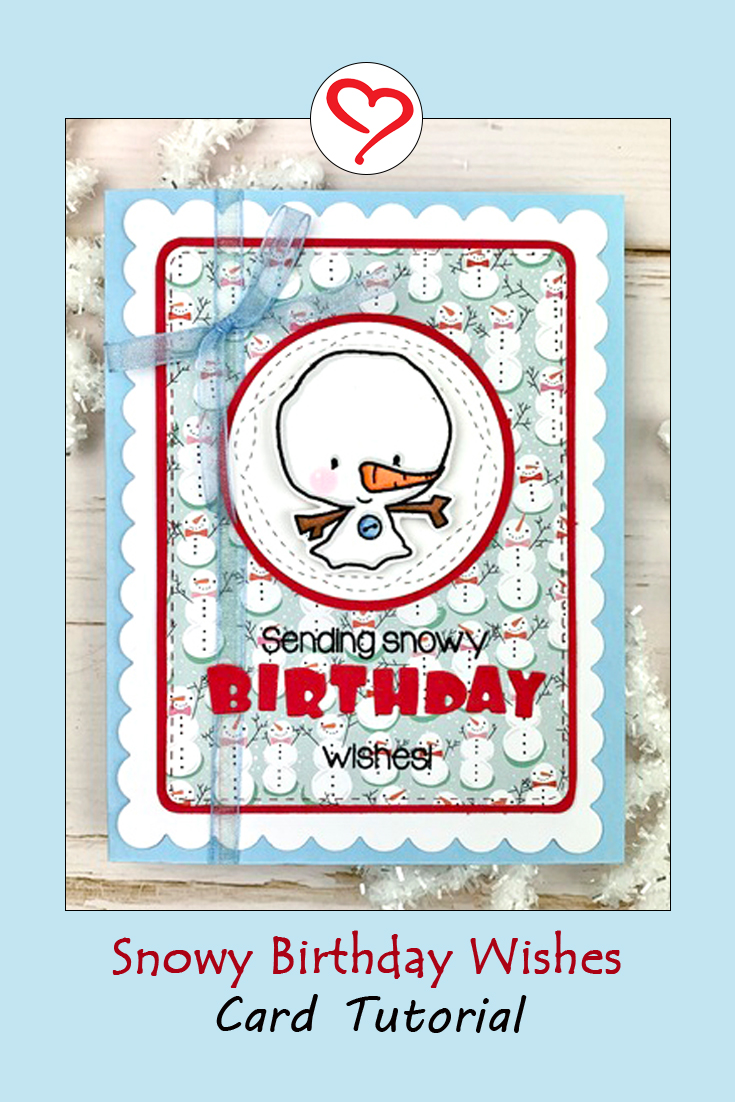
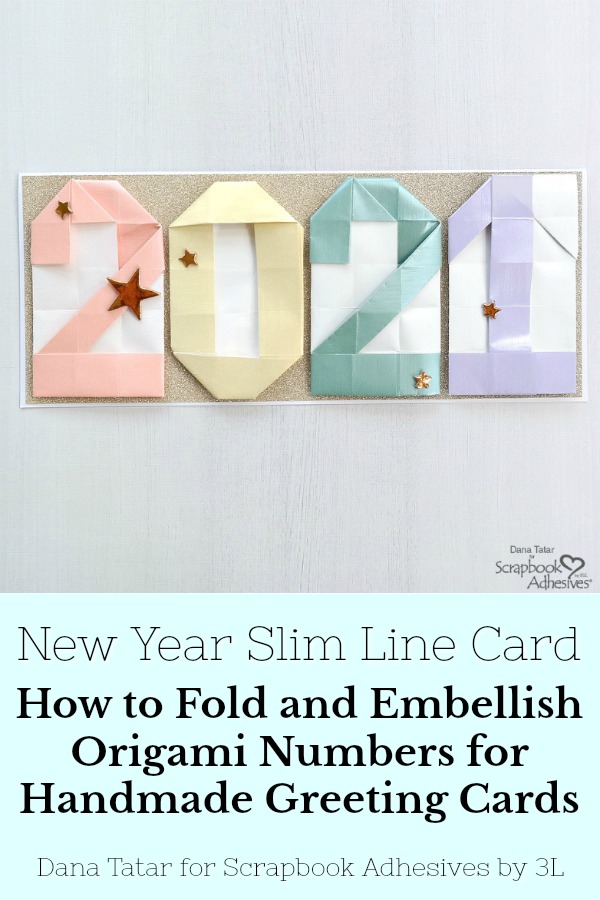
Pin It!
Visit our Website and Blog!
Sign up for our Newsletter so you never miss a contest or giveaway!