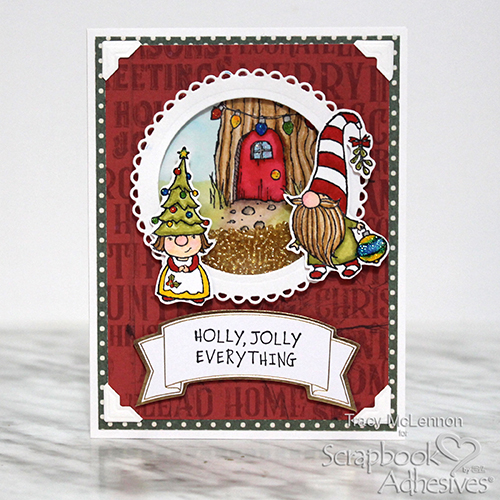
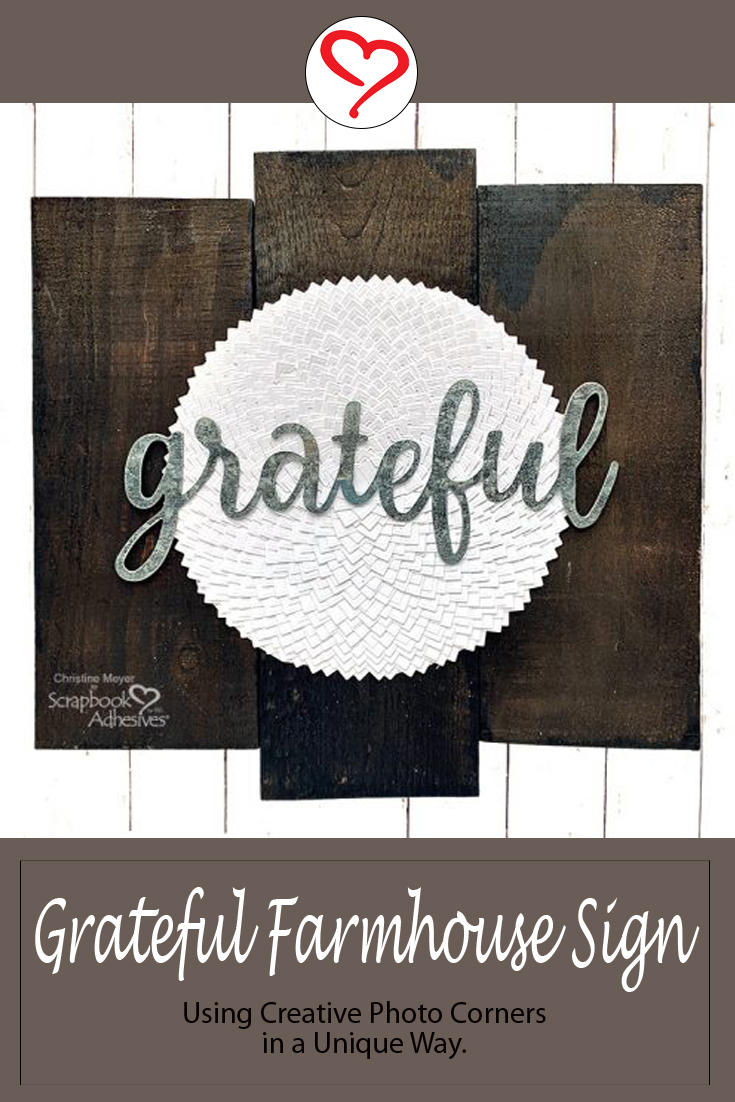
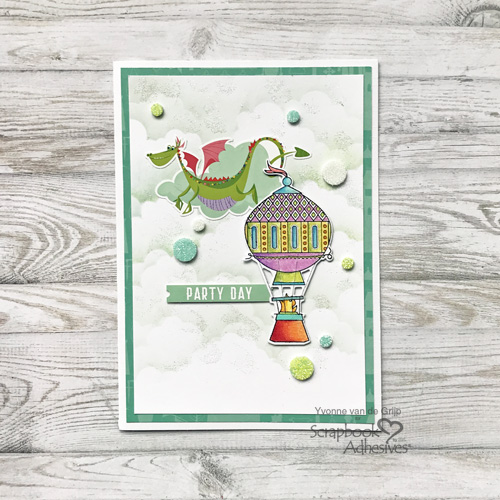
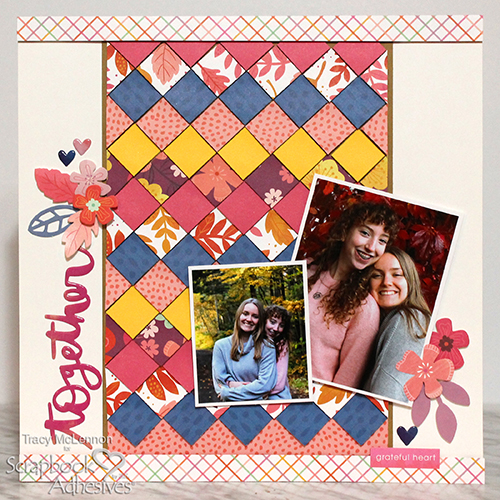
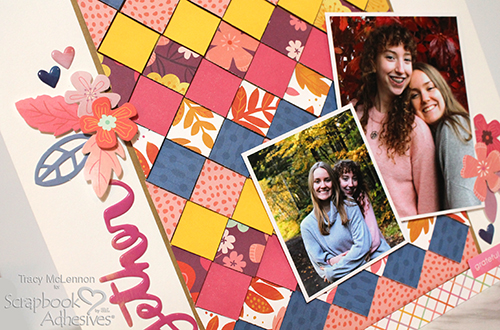
Hello, autumn loving crafty friends! Tracy here, and today I have a fun Together Fall Layout to share. It features a dimensional background using some of my favourite Scrapbook Adhesives by 3L. Here are all of the details.
Together Fall Layout Basics
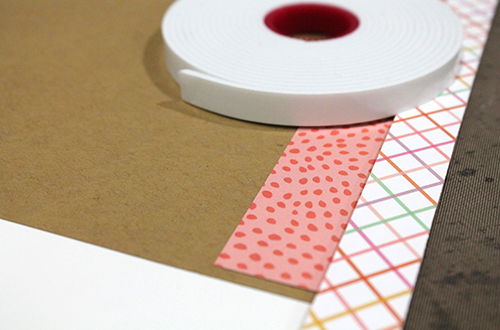
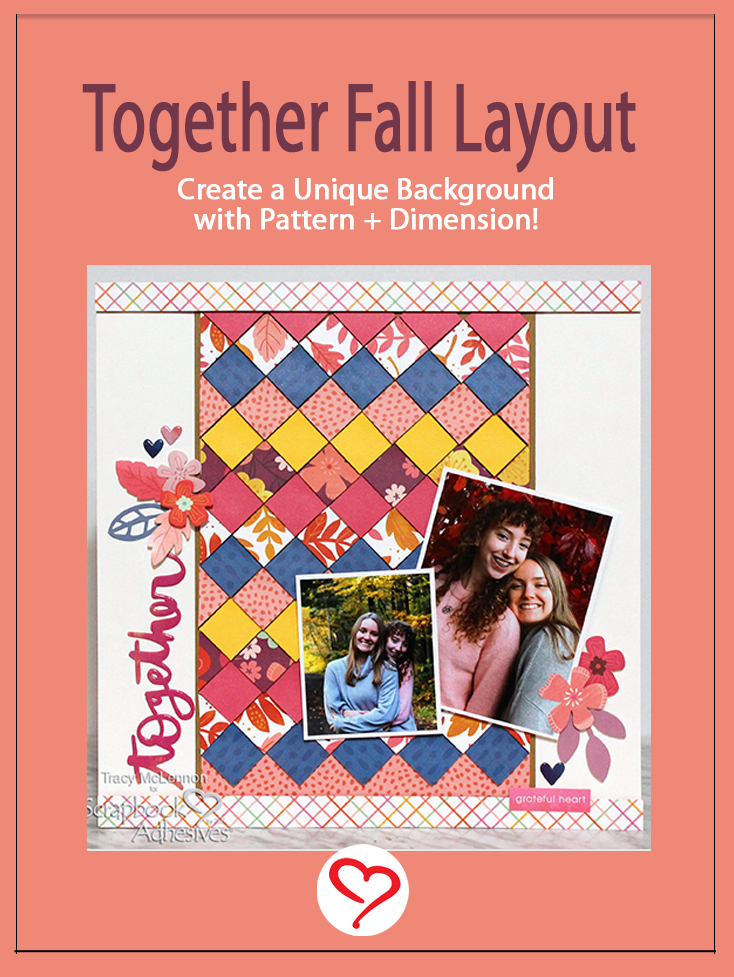
First, you will want to gather your patterned papers and start creating a simple background for this Together Fall Layout. The white cardstock is the base. Cut a piece of kraft cardstock to 7.5 x 12-inch and adhere up the middle of the layout using the E-Z Runner® Ultra Strong Refillable Dispenser.
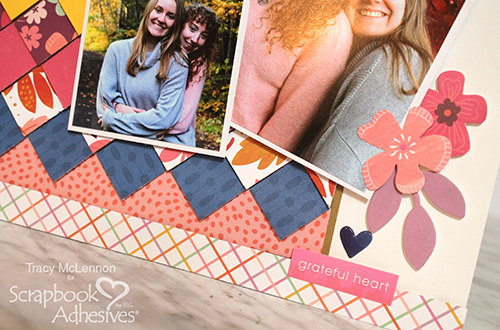
Next, cut two strips of the plaid pattern to 0.75 x 12-inch. Adhere one strip to the bottom of the layout using Crafty Foam Tape108ft. Set the other aside for now.
Background Details
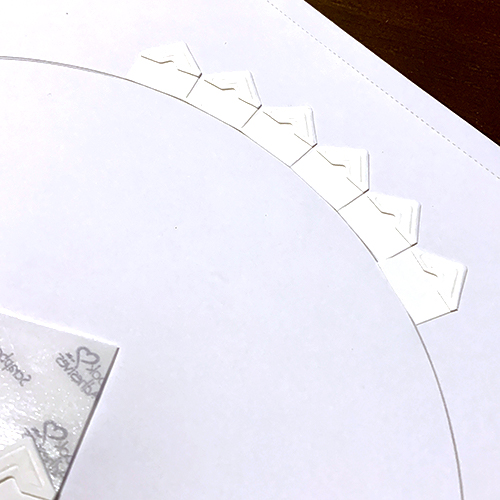
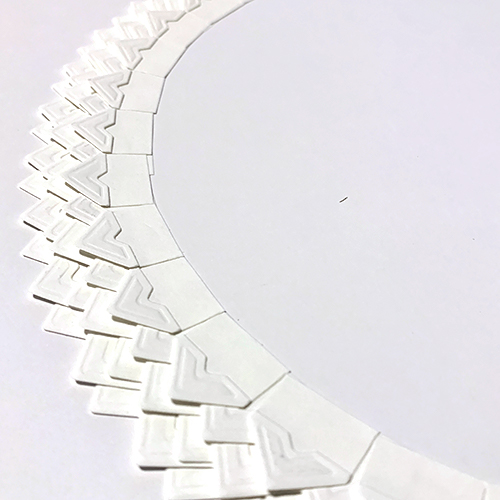
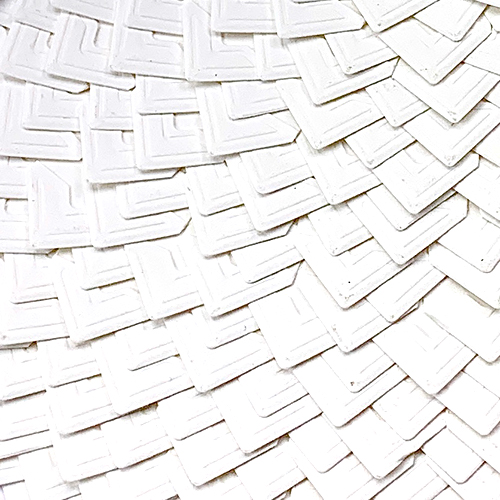
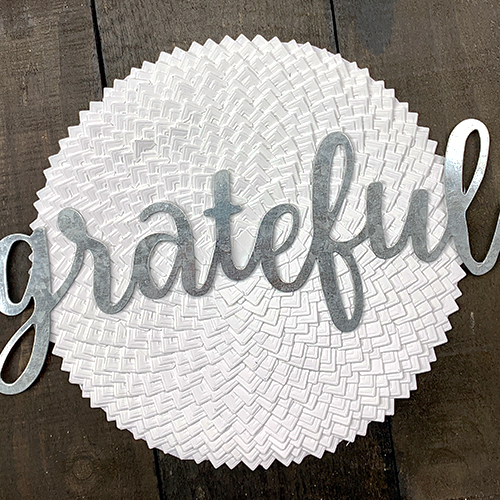
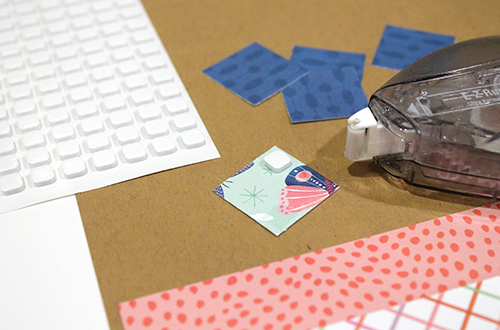
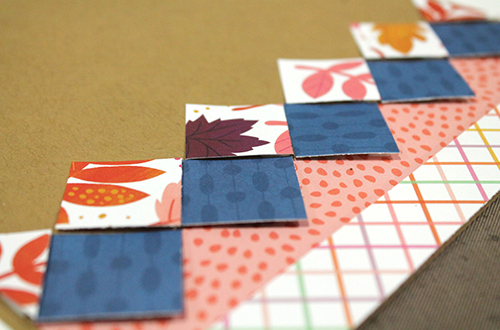
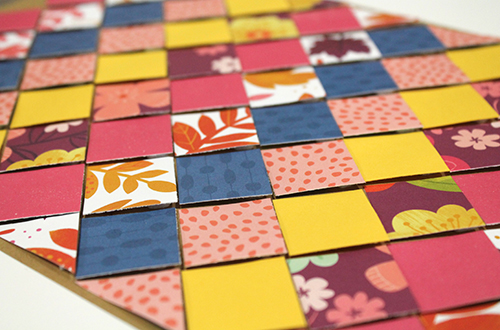
Cut many 1-inch patterned squares. There are five squares in each row, so I cut and piled the squares in the order that I wanted them to appear.
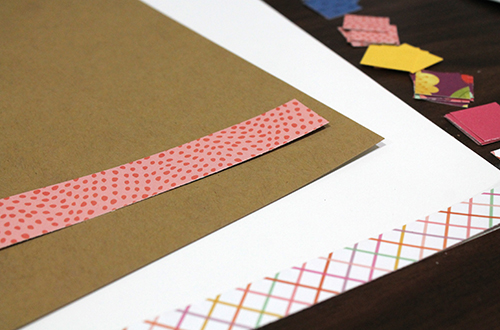
Also cut a strip of the polka dot pattern to 1 x 7.25-inch and adhered it to the bottom of the kraft cardstock using the E-Z Runner® Ultra Strong Refillable Dispenser.
Each row of squares are added using a 3D Foam Squares White Small Size in one corner, and E-Z Runner® Ultra Strong Refillable Dispenser in the opposite corner.
Adhere to the Together Fall Layout with the foam square at the bottom, this lifts each square for that little bit of dimension.
Repeat this for each row, all the way up the kraft cardstock.
Once the squares reach the top of the kraft cardstock. Add the plaid border strip that you previously set aside using Crafty Foam Tape108ft.
The Finishes
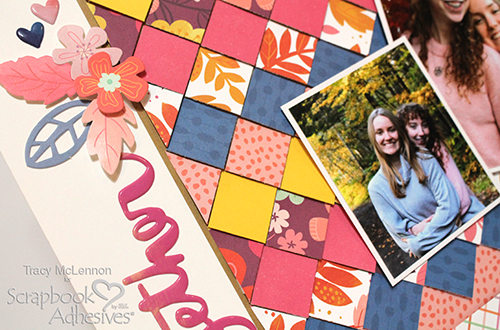
Mat the photos in white cardstock using the E-Z Runner® Ultra Strong Refillable Dispenser, and adhere to the Together Fall Layout with the 3D Foam Squares White Mix.
The sticker title was added to the left-hand side of the layout. Add the ephemera pieces around the matted photo and on the left-hand side of the layout using a combination of 3D Foam Squares White Mix and Adhesive Dots Micro.
Thanks so much for stopping by!
Tracy McLennon
Creative Time: 60 minutes
Skill Level: Intermediate
Materials needed:
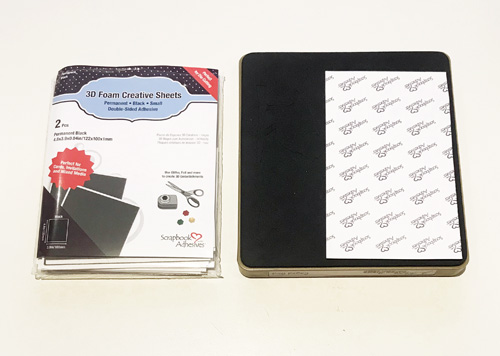
Scrapbook Adhesives by 3L®
3D Foam Squares White Small Size
E-Z Runner® Ultra Strong Refillable Dispenser
Crafty Foam Tape108ft
3D Foam Squares White Mix
Adhesive Dots Micro
Other:
Pink Paislee Truly Grateful Collection (patterned paper, ephemera, puffy stickers), Natural Burlap String, Cardstock (white, kraft)
Save It!
Visit our Website and Blog!
Sign up for our Newsletter so you never miss a contest or giveaway!