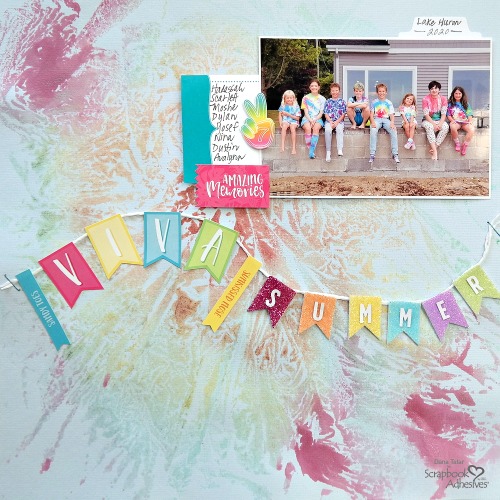
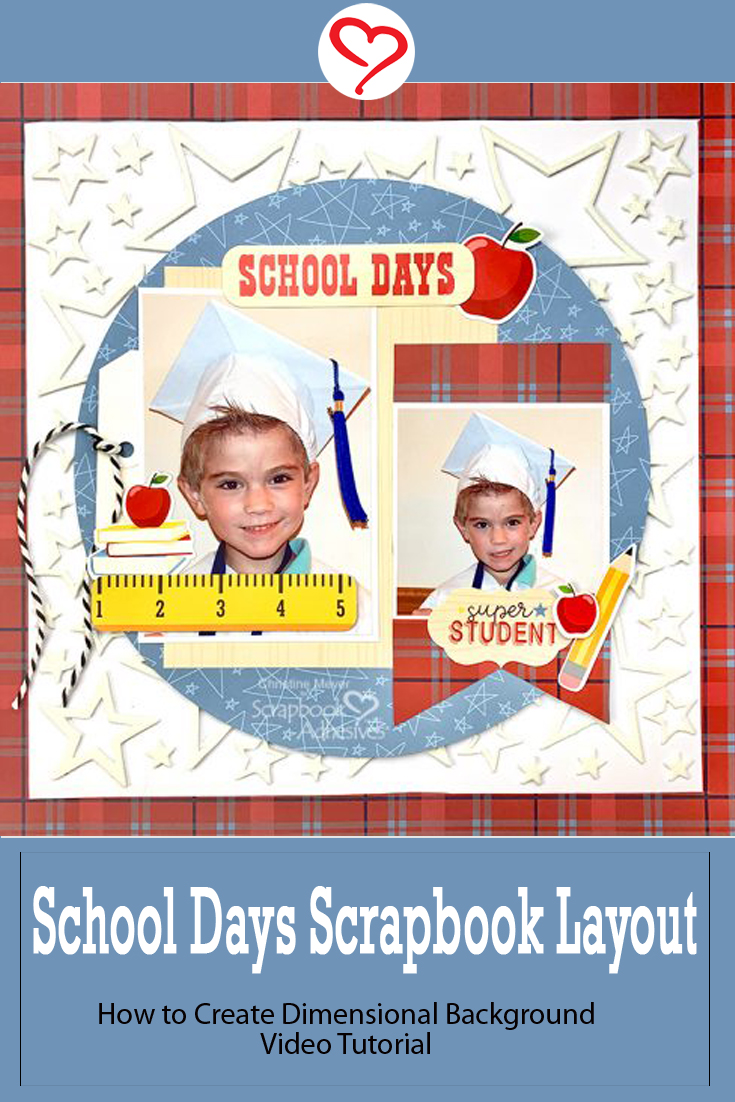
How is it possible that it’s almost time for a new school year? Especially considering the fact that it still doesn’t feel like the last one ended! Christine joining you today and catching up on a School Days Scrapbook Layout that highlights our super fun 3D Foam Stars!
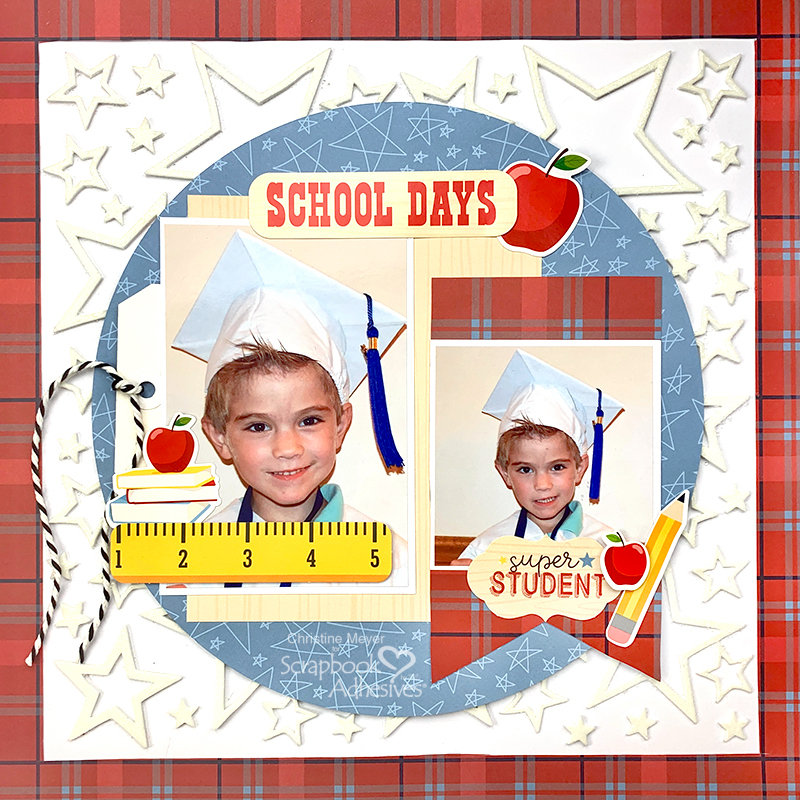
As I was thinking about what I wanted to do, I thought it would be fun to create a background using the 3D Foam Stars.
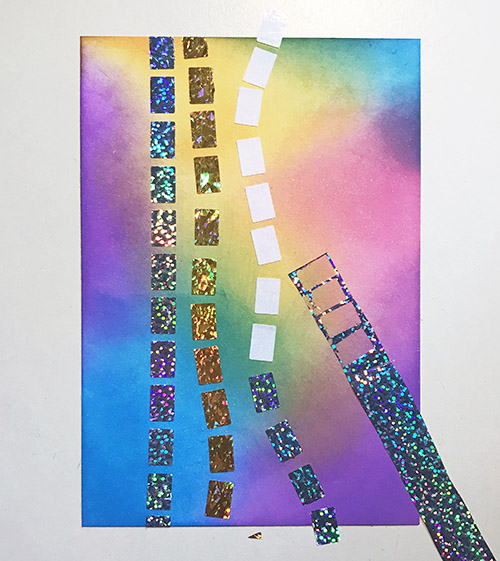
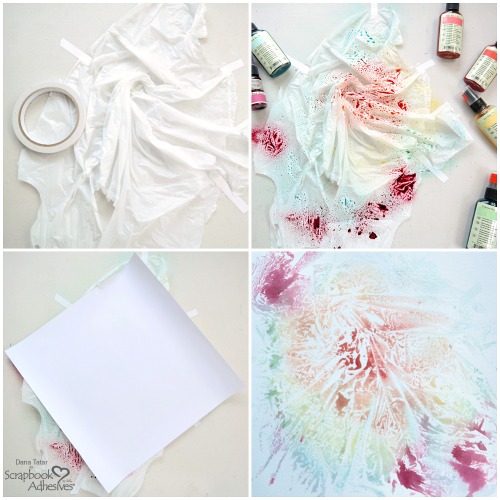
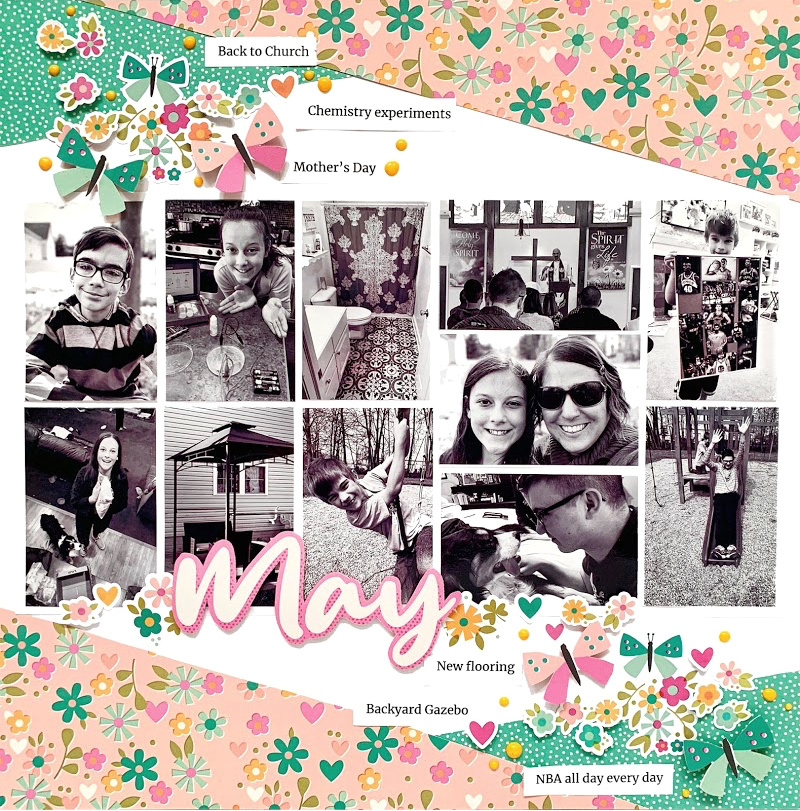
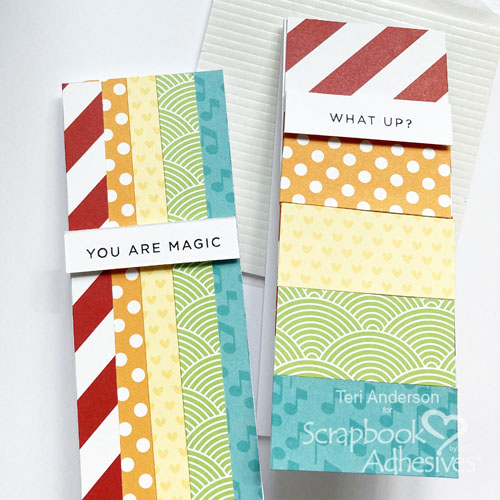
Creating a Star Background
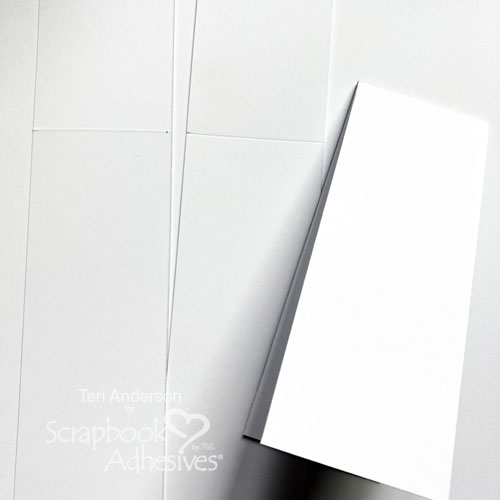
I dug through my stash and realized, I had enough to make it happen. Knowing already that my layout design would take up a good chunk of the middle of the layout, I knew I really needed to just cover the outside edges.
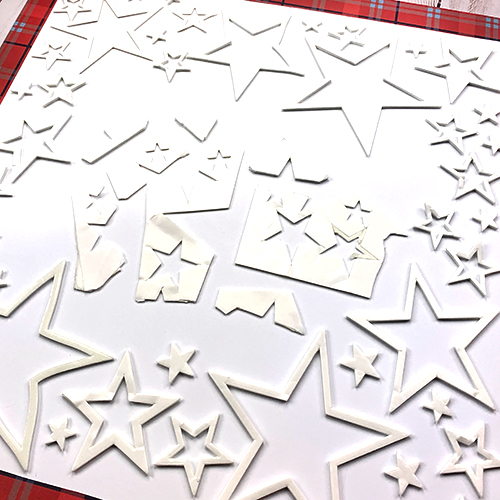
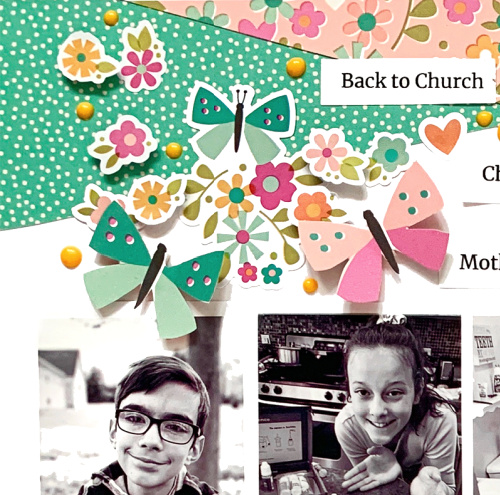
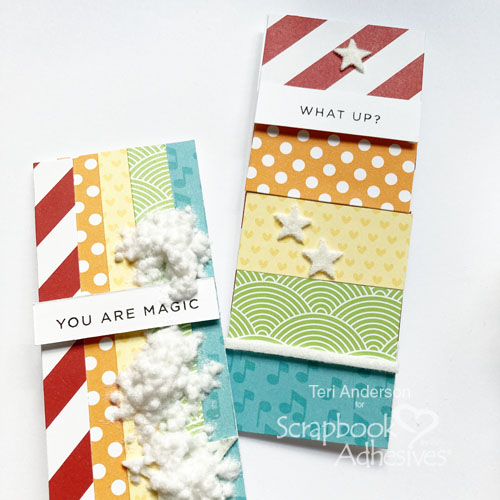
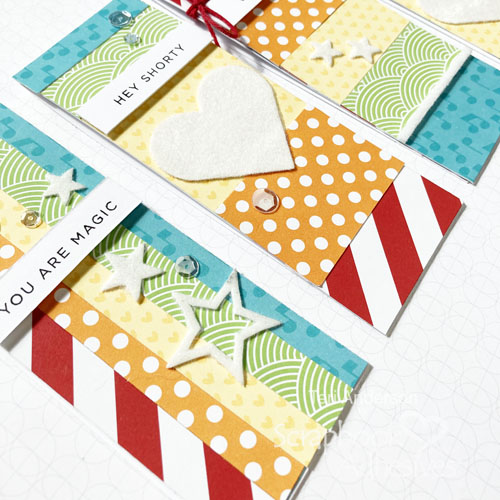
As you can see I mixed and matched the sizes of the stars throughout. Then in the middle of the page, I added the leftover sheet. Don’t waste it!
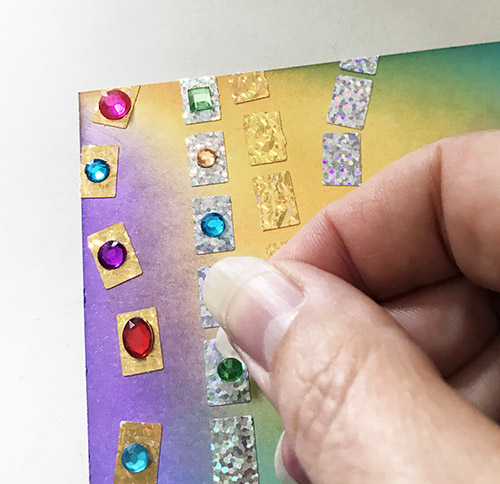
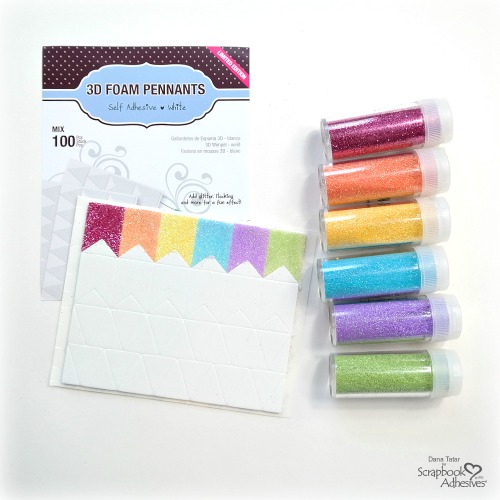
Since I did not have any white embossing powder on hand, I opted for just clear embossing powder. Simply peel off the top liner, add the powder, and heat it up! This is how to showcase the stars with the “Wear Your Adhesive on the Outside” concept to make an embellishment. It provided just enough of a color difference to make the stars pop.
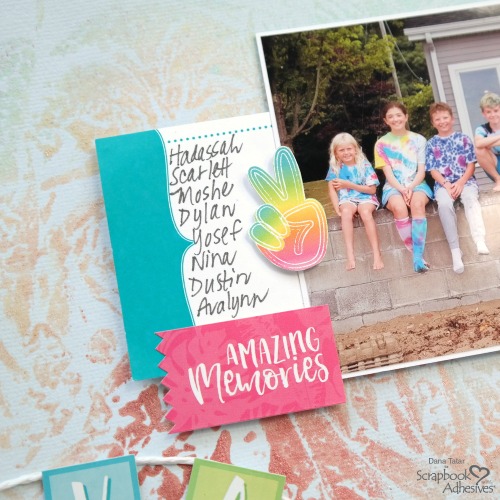
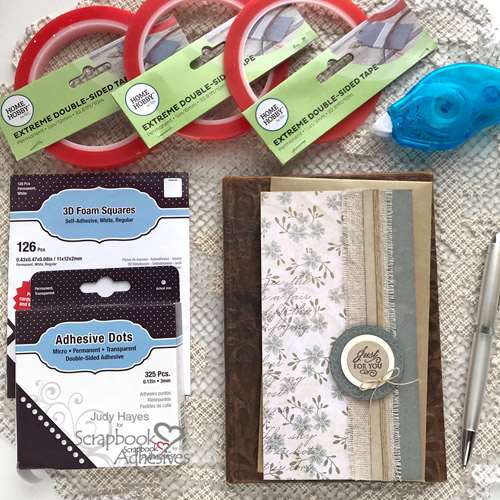
Additional Adhesives Used
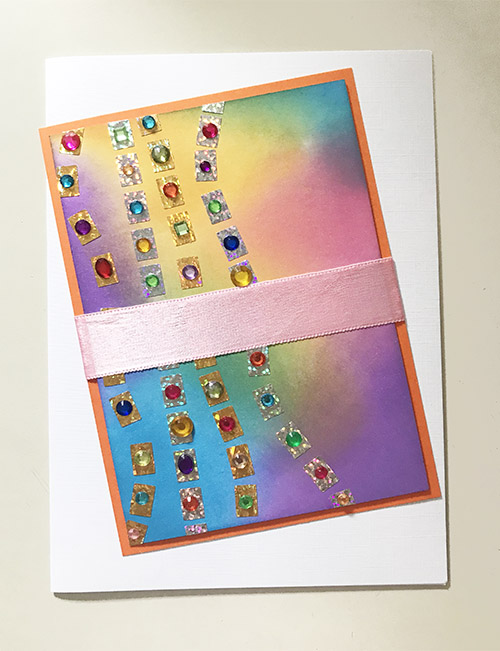
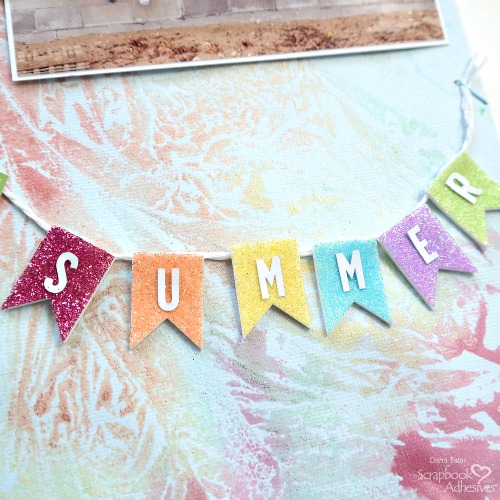
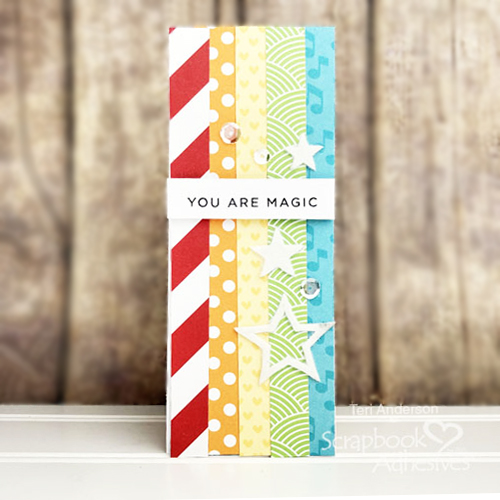
While this layout would be cool even without the background, the 3D Foam Stars really do take it to another level don’t you think?
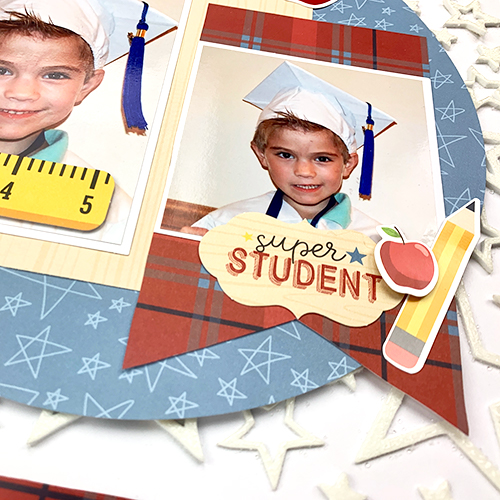
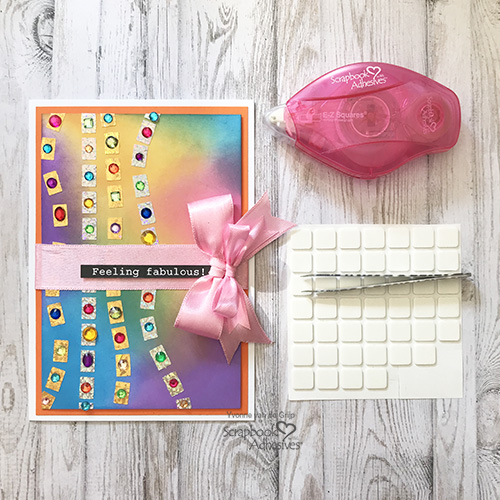
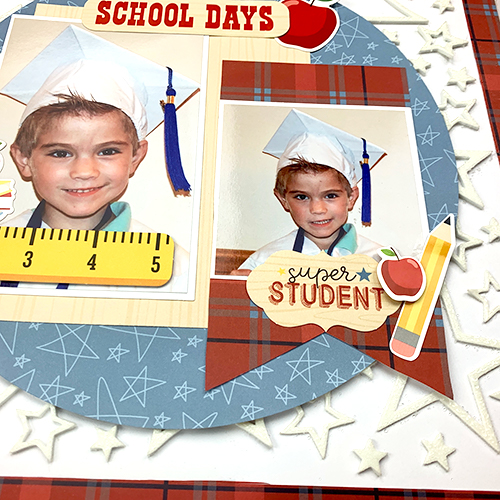
As always, there were several additional adhesives worked into this project. This shot shows how I used the 3D Foam Circles to add dimension to my apple sticker. I also used the Crafty Foam Tape to pop up my ruler over on the left side. The E-Z Runner Grand is always a star for me and I used that for all of the flat adhering.
School Days Scrapbook Layout Process Video
If you’d like to see how the whole layout came together, including the star background, you can check it out in the process video below!
Thanks for joining me today! Happy Back to School time!
–Christine
Creative Time: 60 Minutes
Skill Level: Intermediate
Materials Needed:
Scrapbook Adhesives by 3L®
3D Foam Circles White Mix
Crafty Foam Tape 108 Feet
3D Foam Stars
E-Z Runner Grand Refillable Dispenser
Other
Echo Park Paper & Stickers included in the kit from The ScrapRoom
Love It? Save It to Pinterest!
Visit our Website and Blog!
Sign up for our Newsletter so you never miss a contest or giveaway!