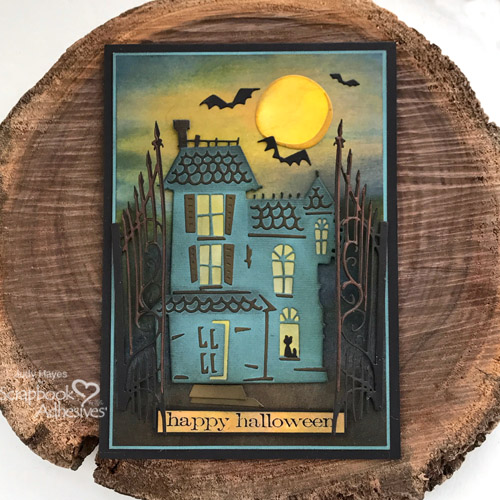
It’s National Coffee Day and we’re excited to be part of the National Coffee Day Blog Hop with the Coffee Lovers Community! We have a super fun a Cup of Friendship card that Tracy McLennon will share.
The Coffee Lover’s Blog brews up inspirational coffee-related posts. Read to the end for a chance to win our ADHESIVE GIVEAWAY!! Who are the Coffee Lovers? They are a coffee-loving (or tea or cocoa) group of card makers that’s open to everyone.
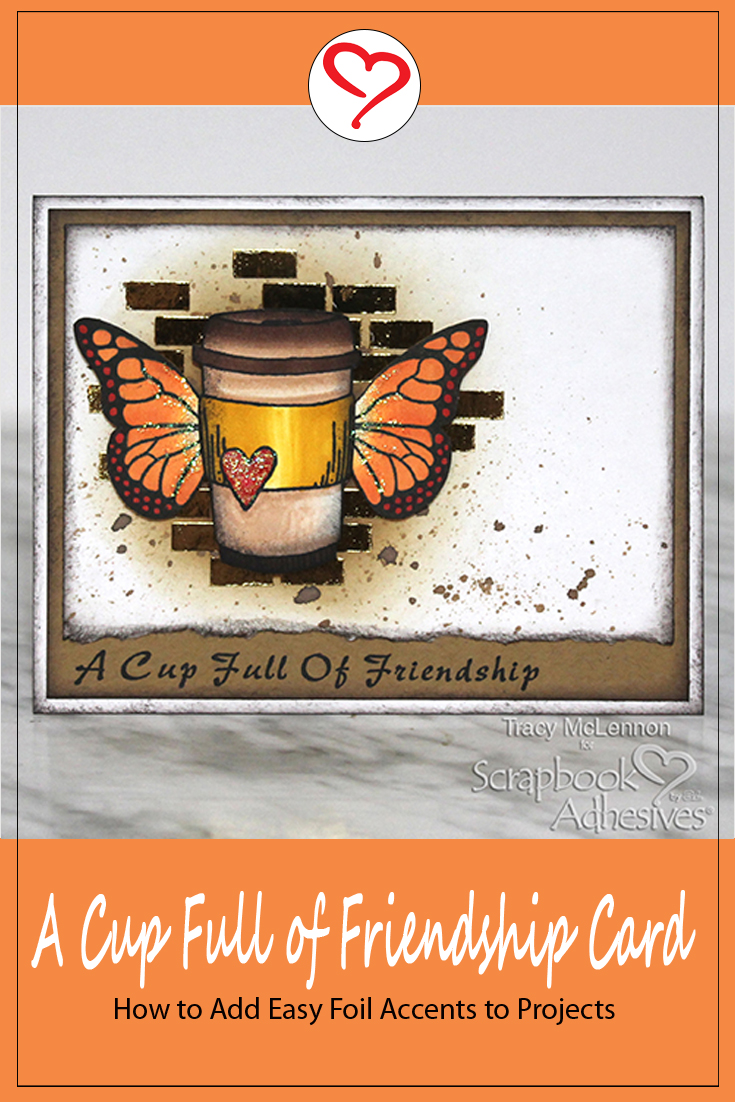
A Cup of Friendship Card
Hello, coffee, tea, or cocoa lovers! It’s Tracy here today to celebrate National Coffee Day with the Coffee Lovers Community and you! I have a Cup of Friendship Card to share! Grab a cuppa and see how I put it together!

Prepping the Card Panel
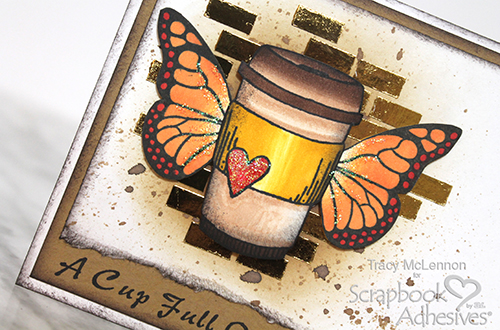
My first step in creating my Cup of Friendship card was to cut, tear and distress my white cardstock card front.
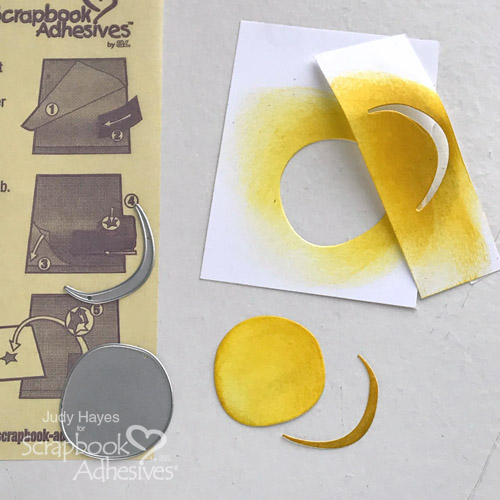
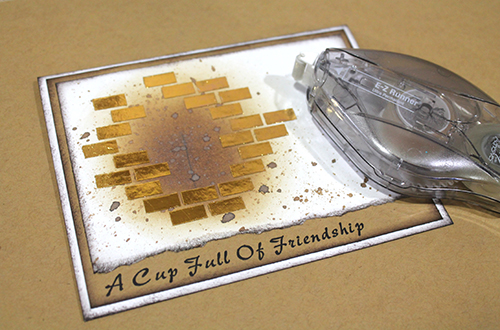
Using Distress Oxide Ink, I blended the area where my coffee cup image was going to live. Then splattered some more ink that I had watered down.
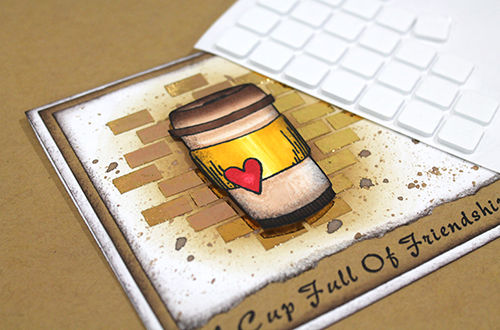
I stamped my card images onto white cardstock using black StazOn ink and then added colour using Chameleon Pens.
Create a Unique Background
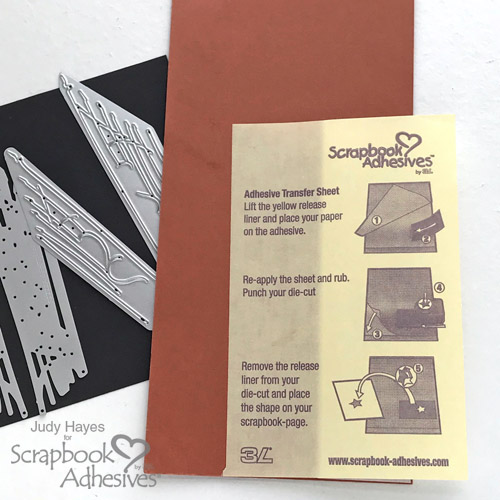
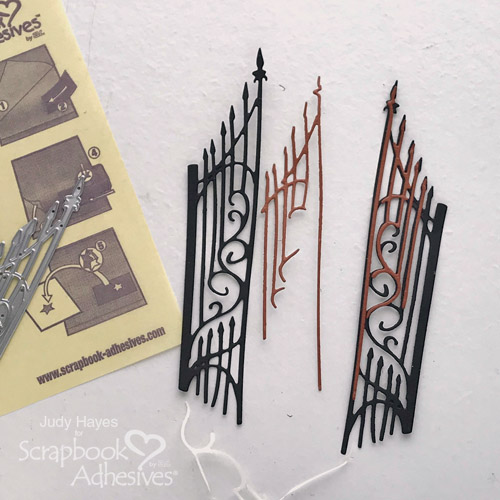
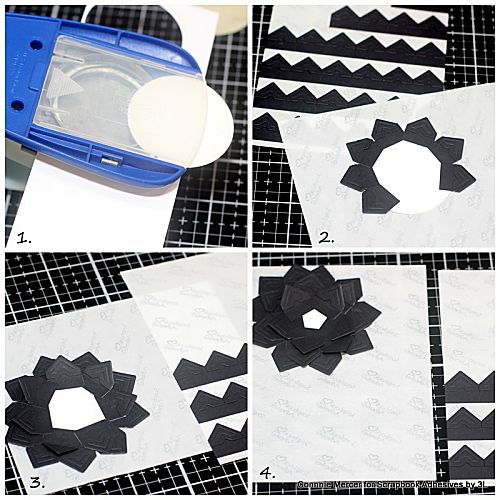
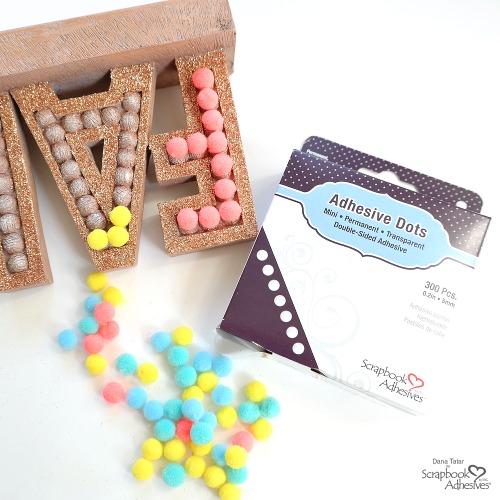
Using Mounting Squares 500 Clear Half-Size, I created a brick-like background in the area the coffee cup will be.
Using the gold foil from the 3D Foam Creative Embellishment Kit with Foil, I added that perfect gold accent to the Mounting Squares 500 Clear Half-Size. Isn’t stunning? Just rub the color side up over the squares with your fingertips and peel off. No tool or heat required – easy!
Card Panel Layers
Mat the distressed card front in kraft cardstock that has been stamped with the Cup of Friendship sentiment. Place the layered panel to the white cardstock card base inked on the edges using the E-Z Runner® Ultra Refillable Dispenser.
Embellishing Touches
Now for the fun part! Add the coffee cup to this Cup of Friendship card using 3D Foam Squares White Regular Size.
Attach the butterfly wings to the coffee card using Thin 3D Foam Squares Black Mix. I love mixing the different thicknesses of 3D Foam Squares to get so much more dimension to my friendship card.
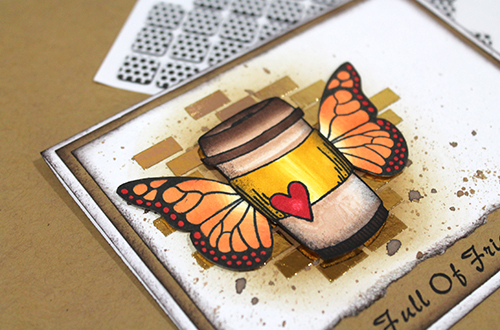
Finally, add Stickles to the heart and wings of the stamped images.
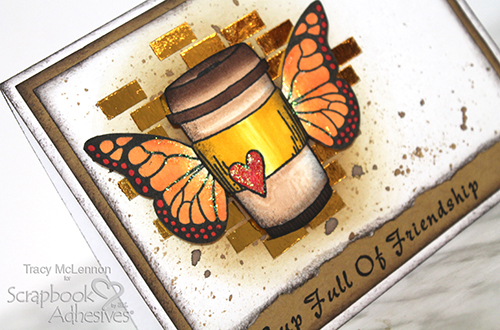
I hope you love my Cup of Friendship Card! Keep reading for the Blog Hop prize entry details below!
Thanks for Visiting!
Tracy McLennon
Creative Time: 45 Minutes
Skill Level: Intermediate
Materials Needed:
Scrapbook Adhesives by 3L®
Thin 3D Foam Squares Black Mix
3D Foam Squares White Regular Size
3D Foam Creative Embellishment Kit with Foil
Mounting Squares 500 Clear Half-Size
E-Z Runner® Ultra Refillable Dispenser
E-Z Runner® Ultra Refill
Other
Stamps: Cracker Box & Suzy Stamps (Coffee Cup Heart, Monarch, Hot & Steaming, and Skelton Leaf 2); Ink: Ranger Ink (Distress Oxide Ink in Vintage Photo and Ground Espresso) and Tsukineko (StazOn Ink in Jet Black and Timber Brown); Stamp Positioner: My Sweet Petunia (MISTI); Colors: Chameleon Pens; Water Mister; Toothbrush; Stickles; Blending Tool; White and Kraft Cardstock
Save to Pinterest!
Coffee Lovers Blog Hop Details
Enter to win our GIVEAWAY of +$30 Prize Package of Adhesives!
Can’t find the comment section at the bottom of this post? Click below and scroll to the bottom of the post.
Keep on Hopping! Find the list of National Coffee Day Blog Hoppers HERE!
Visit our Website and Blog!
Sign up for our Newsletter so you never miss a contest or giveaway!