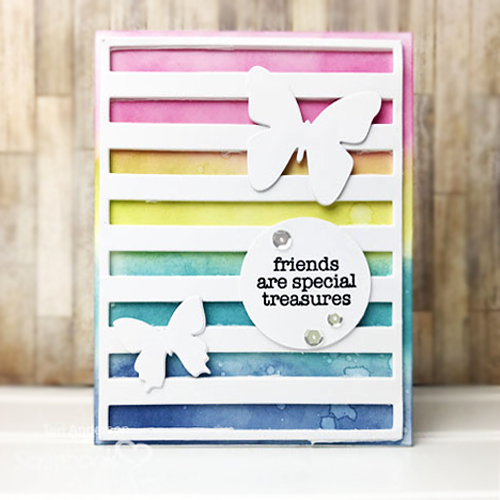
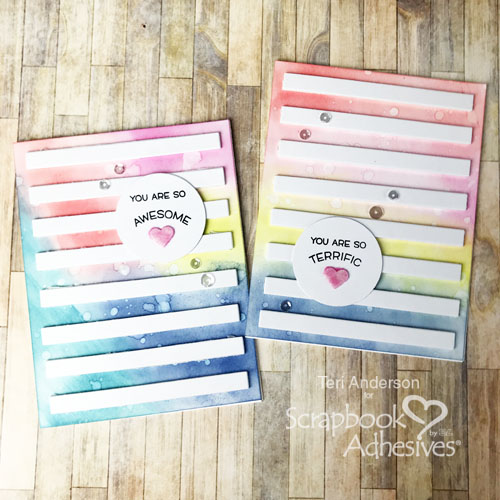
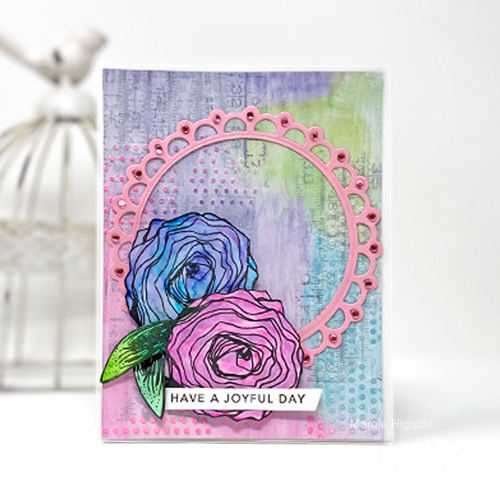
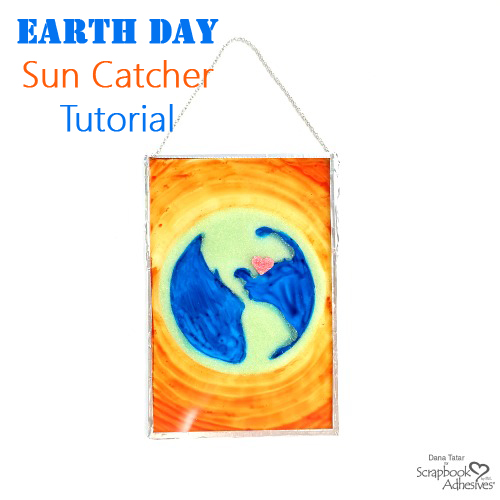
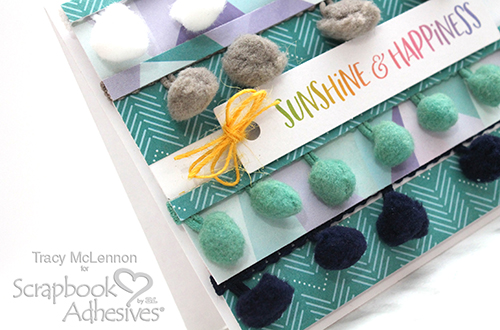
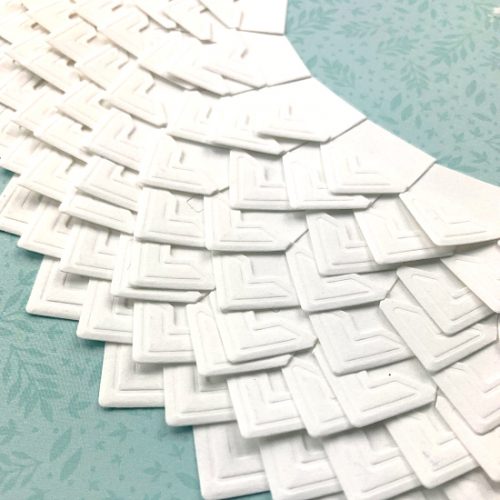
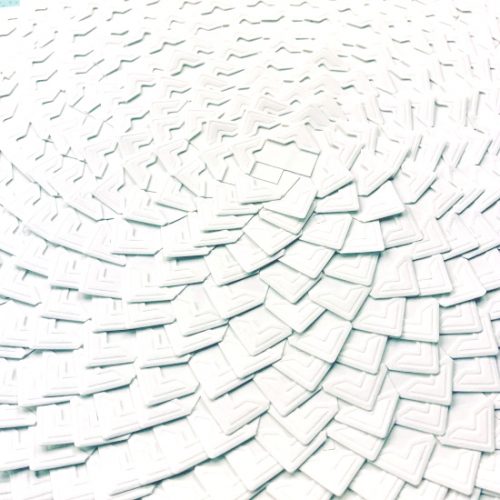
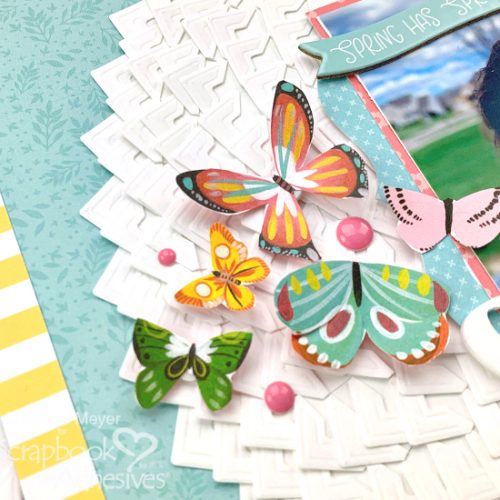
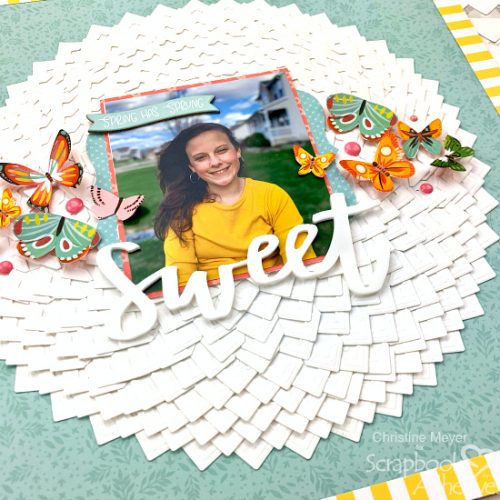
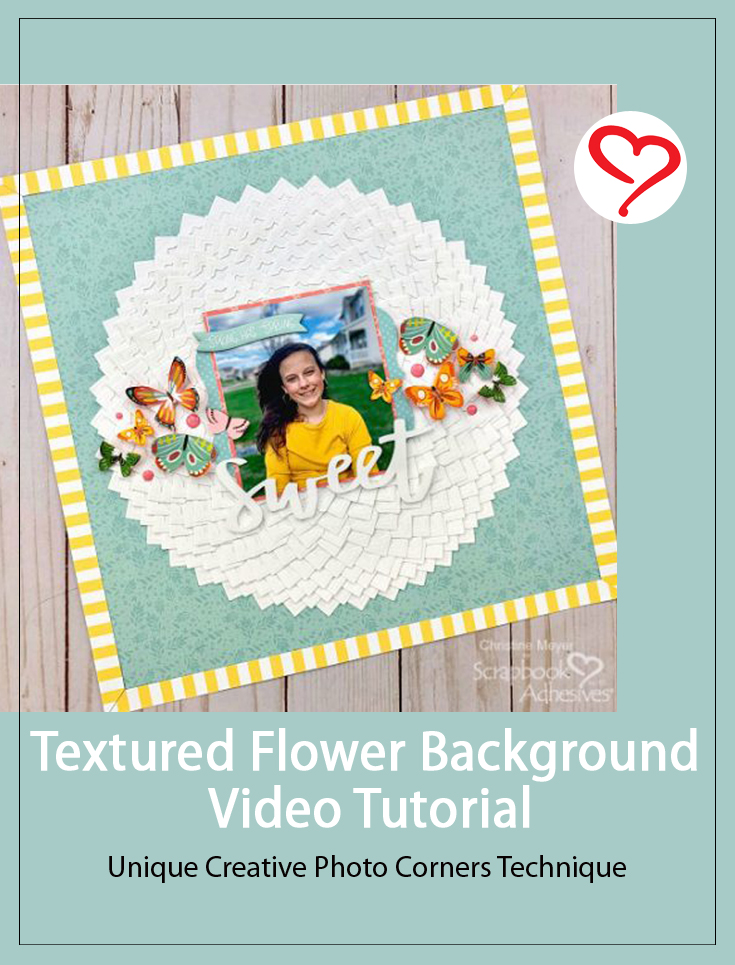
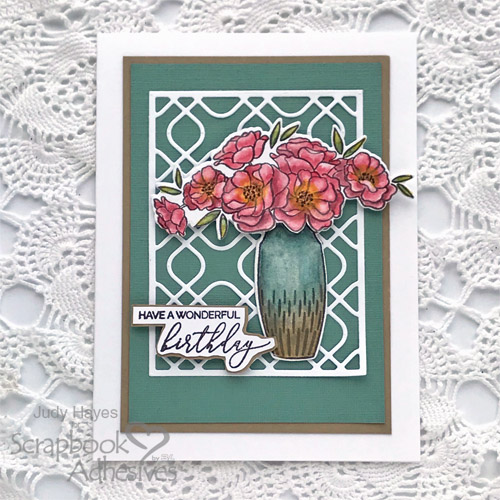
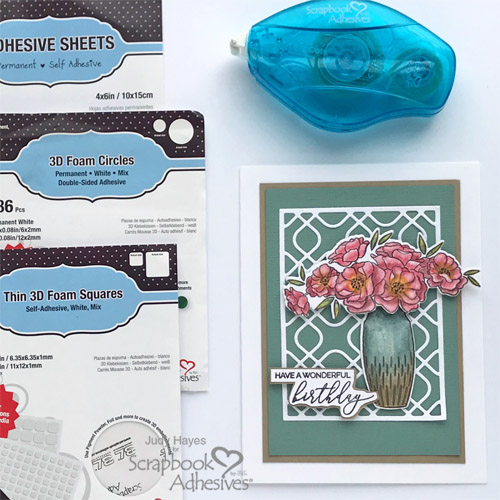
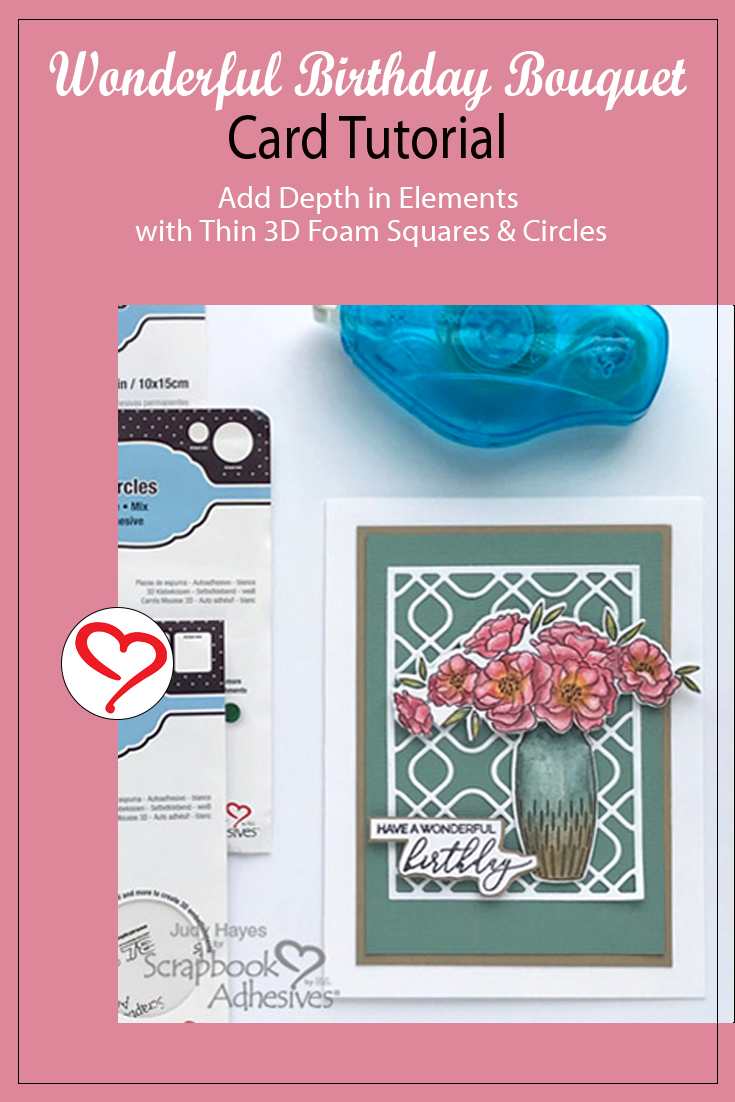
Hello friends! Judy here today with a Wonderful Birthday Bouquet card. I’ve used Thin 3D Foam Squares White Mix and 3D Foam Circles White Mix to give the flowers and vase different levels of dimension. It adds such depth to a card!
Birthday Bouquet Watercolors
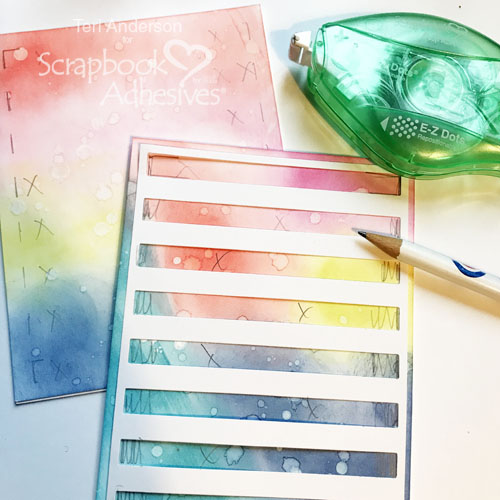
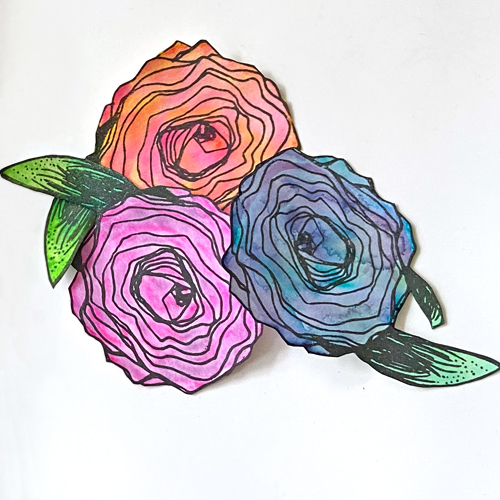
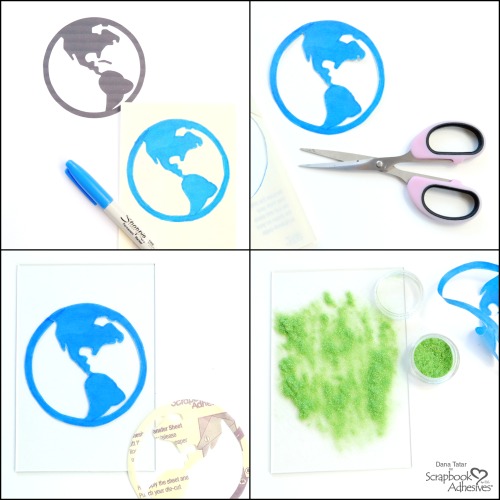
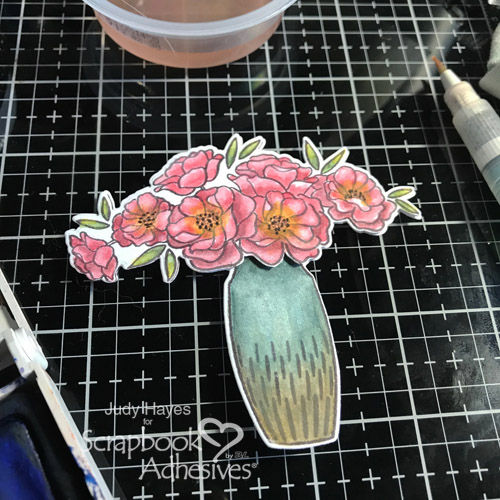
To make this card, start by stamping the bouquet of flowers in the vase on the smooth side of a watercolor paper and again this time stamp only the flowers. Die-cut both pieces.

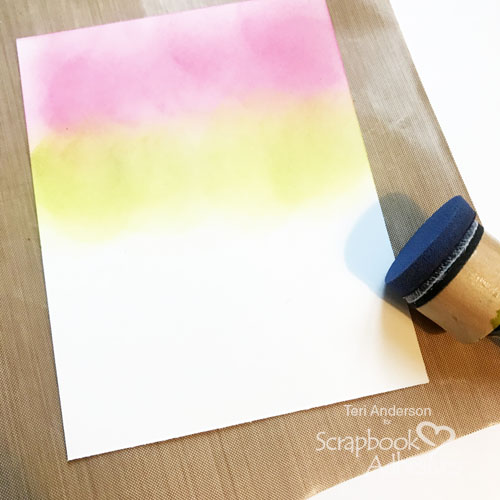
Paint the die cuts with watercolors. Do not attach them yet. Set aside to dry and let’s work on the next step, the background.
Birthday Bouquet Card Background
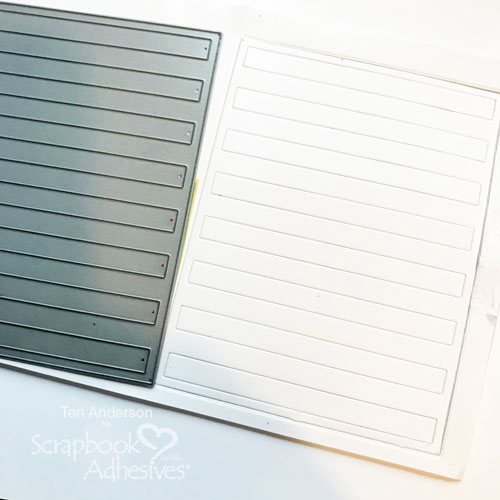
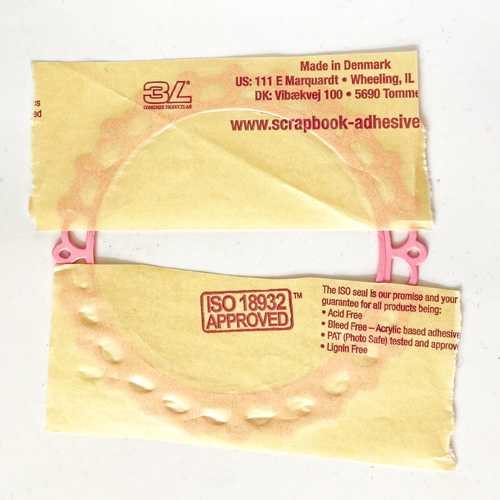
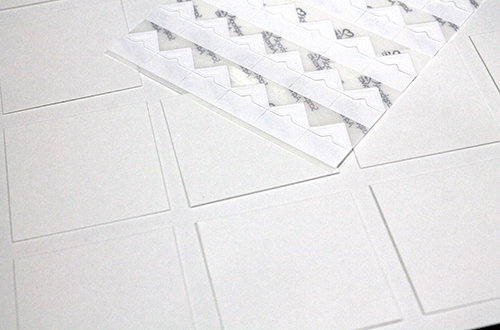
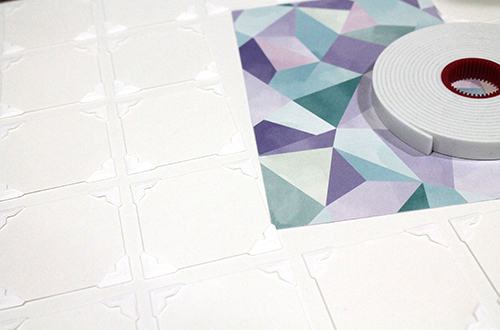
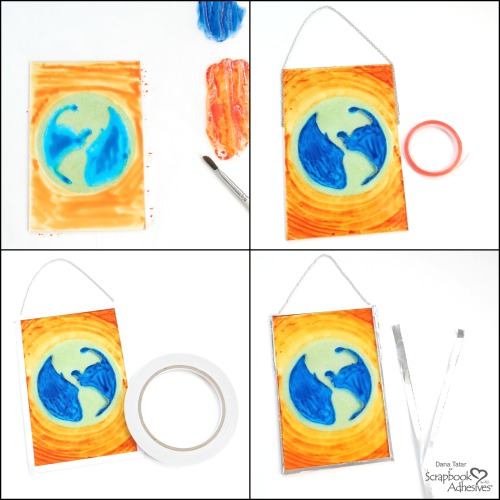
Apply Adhesive Sheets 4×6 inch to the back of a white cardstock panel.
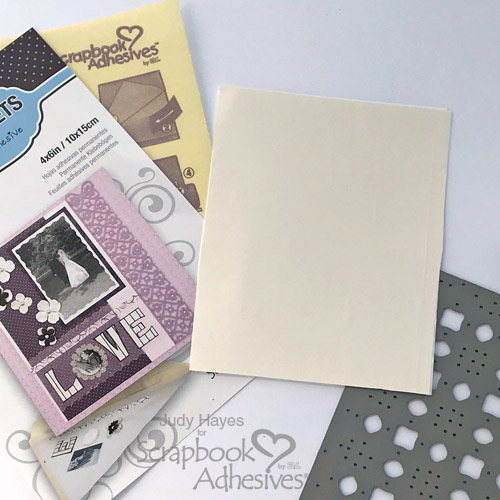
See this quick How to Use Adhesive Sheets for Die Cutting video below.
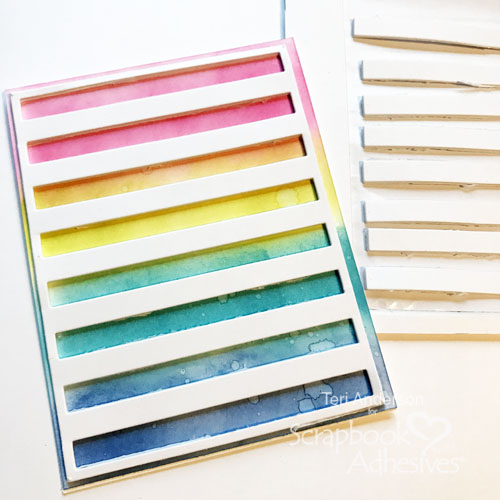
Next, die-cut the background thin metal die from adhesive-backed card panel.
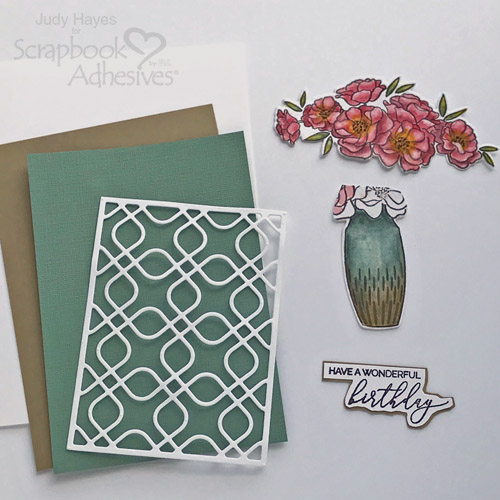
Make a 4.5 x 6-inch card base from white cardstock. Then cut two card panels, a 3.75 x 5.25-inch panel from brown cardstock, and a 3.5 x 5-inch panel from aquamarine cardstock.
Card Details
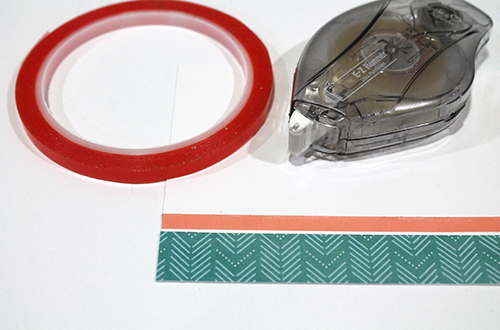
Stamp birthday greeting on white cardstock and fussy cut around it. Using E-Z Dots® Permanent Refillable Dispenser, secure it to a piece of leftover light brown cardstock and fussy cut around it to make a border around the greeting.
For the bouquet of flowers and vase image, cut most of the flowers away from the vase. Set aside.
Let’s put the card panel layers together. Use E-Z Dots® Permanent Refillable Dispenser to adhere to the aquamarine panel to the light brown panel. Then fasten the layered panel to the card base.

Finishing Steps
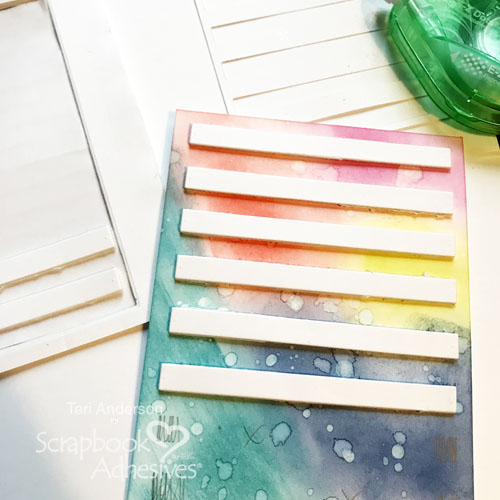
Grab the die cut background piece and peel Adhesive Sheets 4×6 inch liner off the back. Simply press in place to adhere it on the card front. I love how the Adhesive Sheets 4×6 inch make adhering intricate pieces so easy with its edge-to-edge coverage!
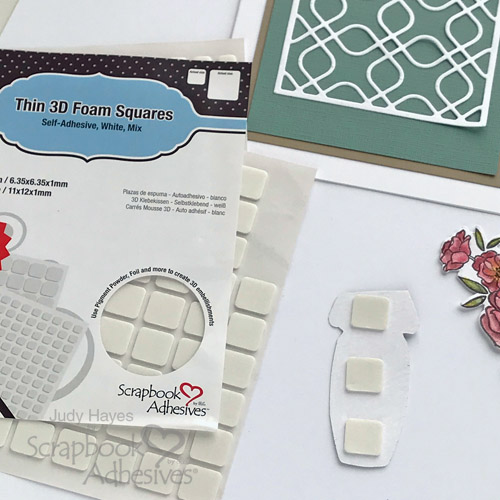
Next, apply Thin 3D Foam Squares White Mix to the back of the vase and secure it to the card front.
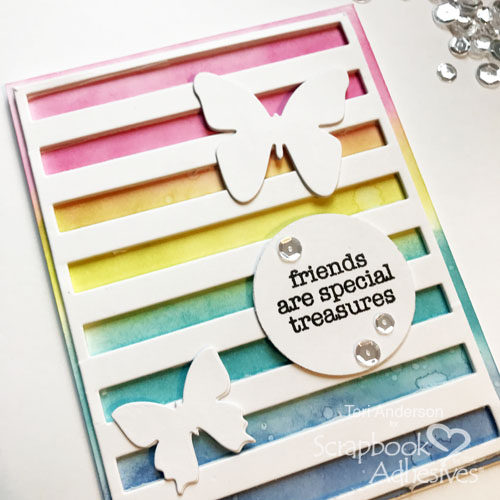
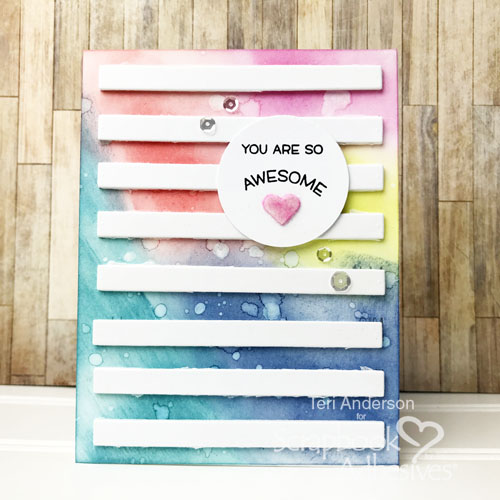
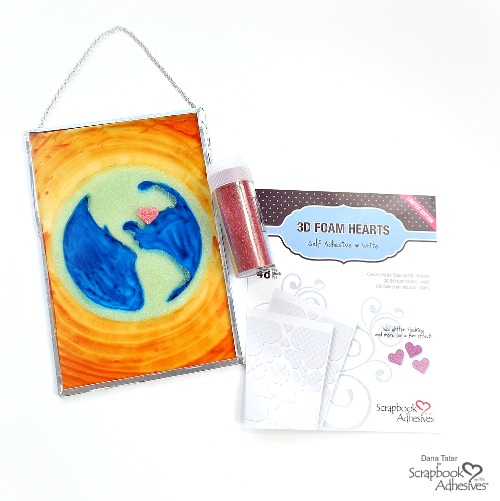
Place 3D Foam Circles White Mix to the back of flowers and add to the vase. Then add the greeting in the same fashion.
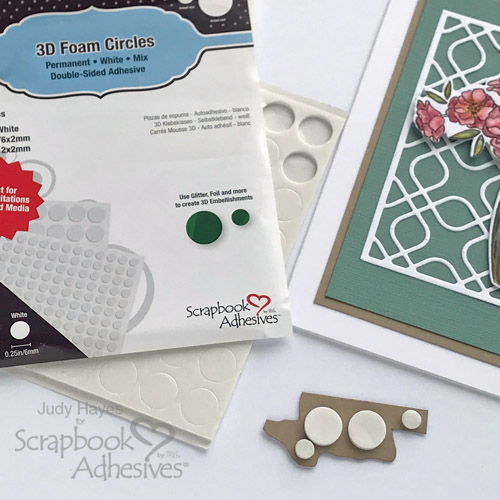

Using a combination of Thin 3D Foam Squares White Mix and 3D Foam Circles White Mix for my stamped elements makes it more interesting with the varying heights which create more depth on the card design.
Give this a try if you haven’t already. I hope you enjoyed my Wonderful Birthday Bouquet Card. Change out the sentiment for a different occasion such as Mother’s Day.
Thanks for Visiting!
Judy Hayes
Creative Time: 40 Minutes
Skill Level: Intermediate
Materials Needed
Scrapbook Adhesives by 3L®
- 3D Foam Circles White Mix
- Thin 3D Foam Squares White Mix
- Adhesive Sheets 4×6 inch
- E-Z Dots® Permanent Refillable Dispenser
Other:
Bazzill Basics Paper – Peanut Cluster; Imagine Crafts/Tsukineko – Versafine Clair Pinecone; Penny Black – Wings and Vases stamps, …Vases Cut Out Dies, Carefree Wishes Stamps, Creative Curves Die; My Colors Cardstock – Aquamarine; Neenah Solar White Card Stock; Ranger Watercolor Paper; Watercolors and Brush
Pin It Now!
Visit our Website and Blog!
Sign up for our Newsletter so you never miss a contest or giveaway!