Hi everyone, Christine here today. The weather has turned so much cooler here in England that it has made me think about Christmas! I’ve created a festive plaque with a bit of up-cycling and using Adhesive Sheet 4 x 6″. It’s fun and easy!

Let’s get started…
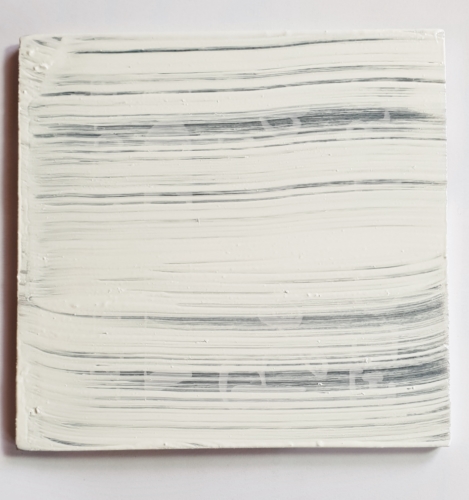
I picked up a wooden plaque in a sale that had a summer message. I coated it lightly with regular white paint.
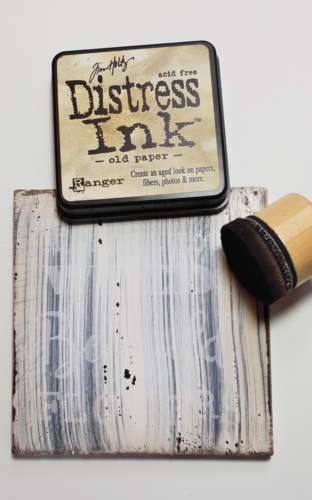
Once dry I sanded it a little and added distress ink to the edges. I didn’t mind the original wording showing through, it added to the distressed look!
Using Adhesive Sheets…
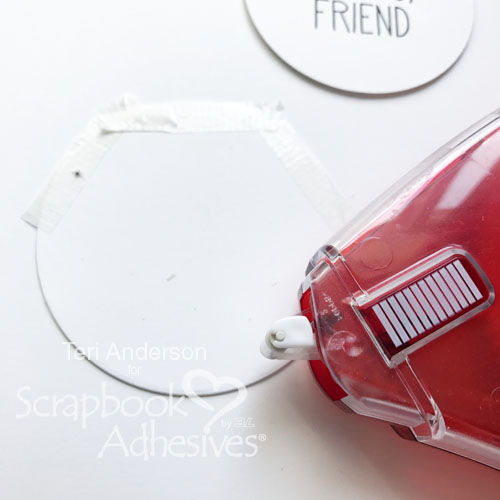
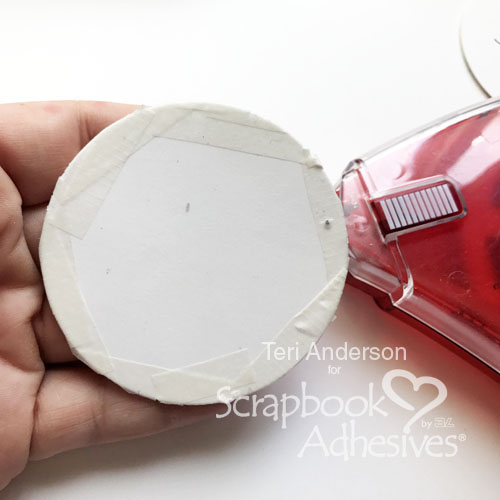
To adhere my sentiment die cut I chose to use an Adhesive Sheet 4 x 6″. They come in a variety of sizes (12 x 12″, 6 x 12″ and 4 x 6″) perfect for all projects. Take off the top liner sheet of an Adhesive Sheet 4 x 6″ and apply cardstock on to it. Die-cut through your machine. When you remove the sheet your die cut has an edge to edge layer of adhesive.
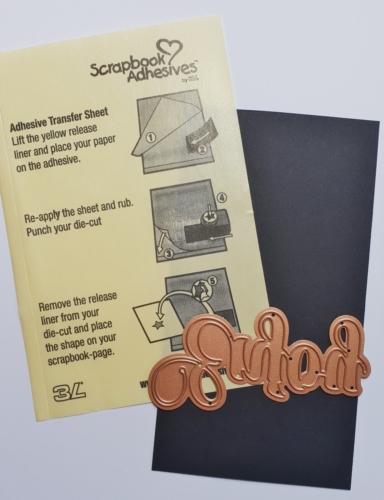
Here’s a quick video on How to Use Adhesive Sheets for Die Cutting below.
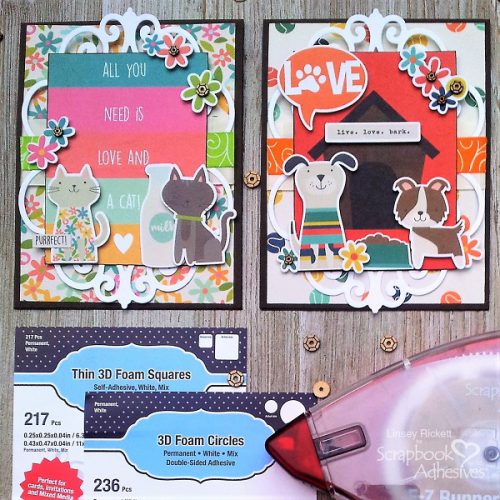
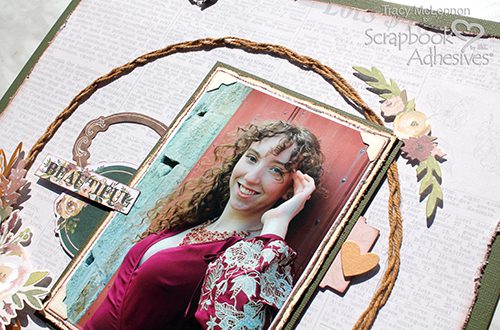
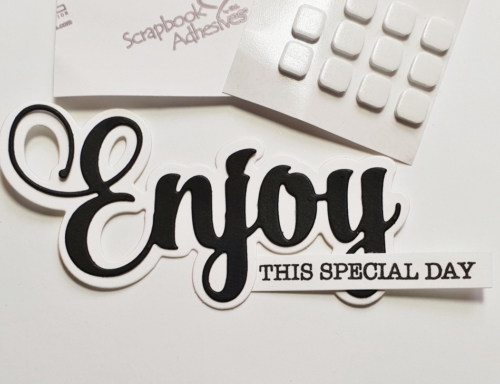
Once the black sentiment was affixed to the white shadow die cut, I used 3D Foam Squares White Small on the reverse. These will hold the sentiment perfectly in place on the wooden plaque.
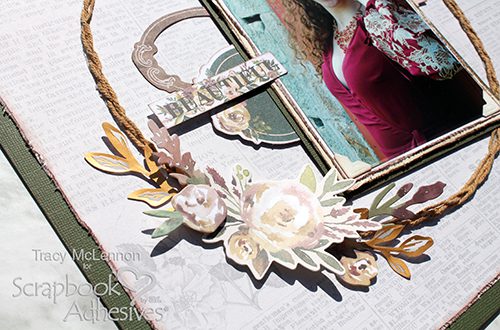
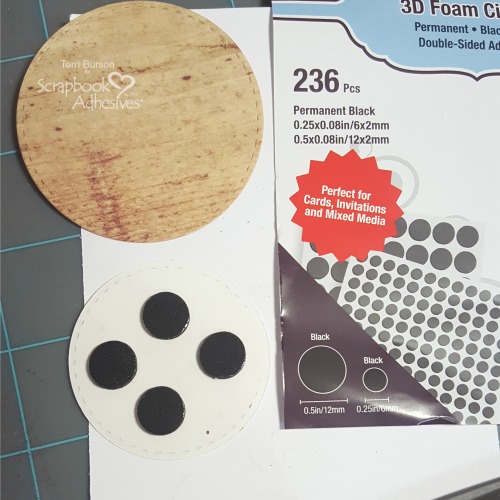
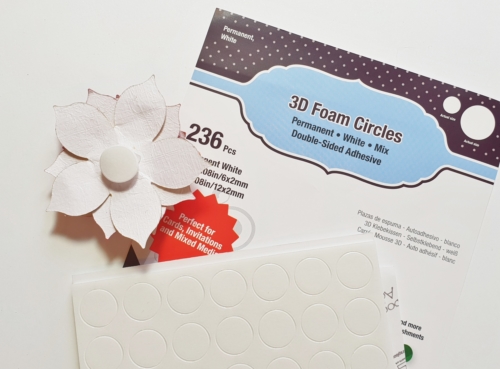
I created a poinsettia flower as an embellishment and affixed a 3D Foam Circle to the reverse. These are just the right shape for flower embellishments and each pack contains both small and large circles.
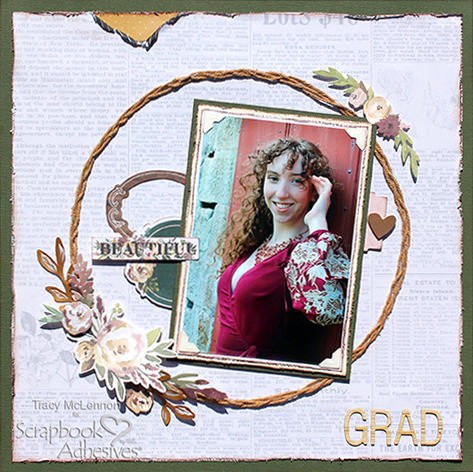
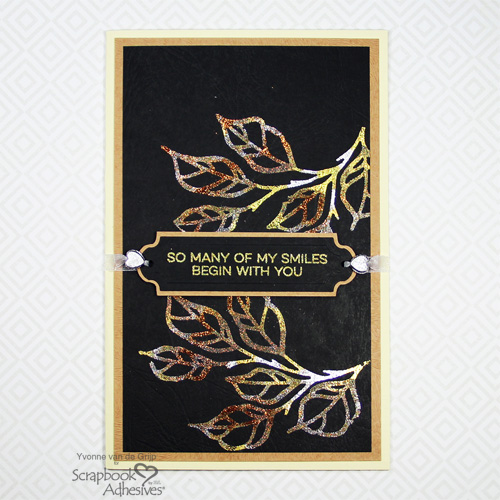
The finished plaque, it won’t be long before it will be up with all the other festive decorations.

Thanks for stopping by today. Make your next die cutting project with Adhesive Sheets, it’s a breeze! 
Creative Time: 90 mins.
Skill Level: Intermediate
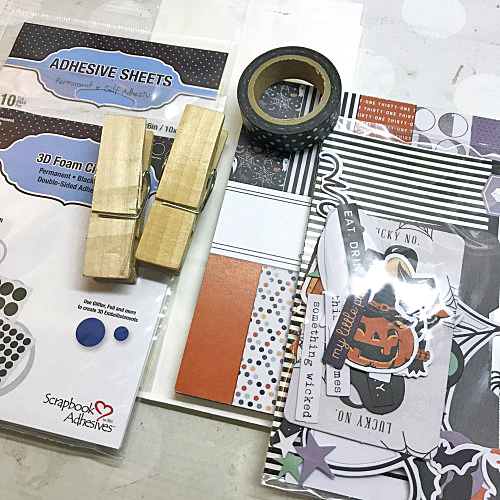
Materials Needed:
Scrapbook Adhesives by 3L® Products used:
3D Foam Squares White Small
Adhesive Sheets 6″ x 4″
3D Foam Circles White Mix
Others:
Dies: Spellbinders Paper Arts (Cinch and Go Poinsettia, Enjoy Expression Stamp and Die Set); White Card; Black Card; White Paint; Distress Inks; Stamens; Gemstones