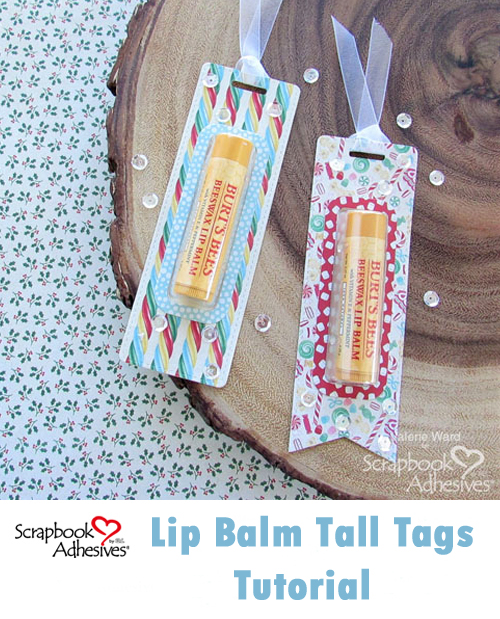
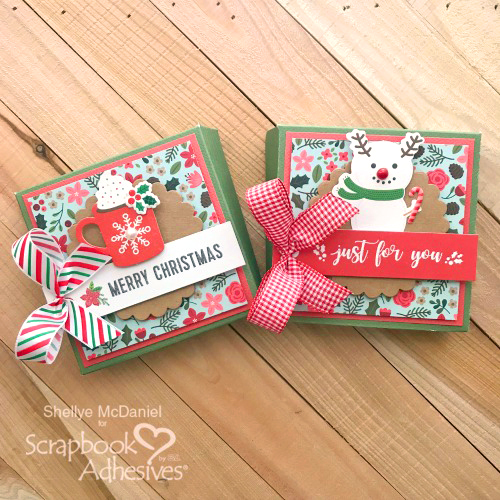
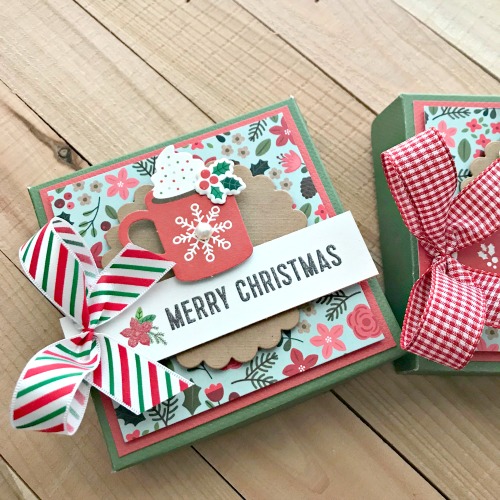
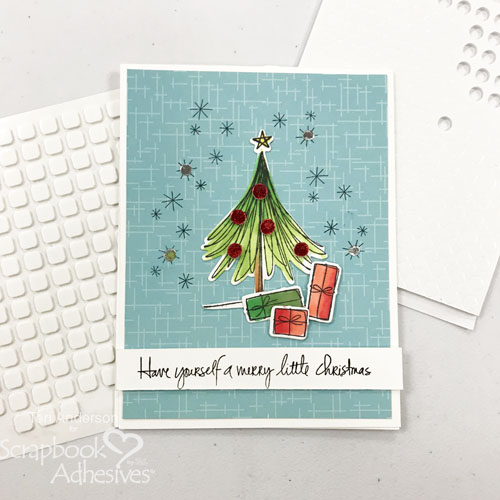
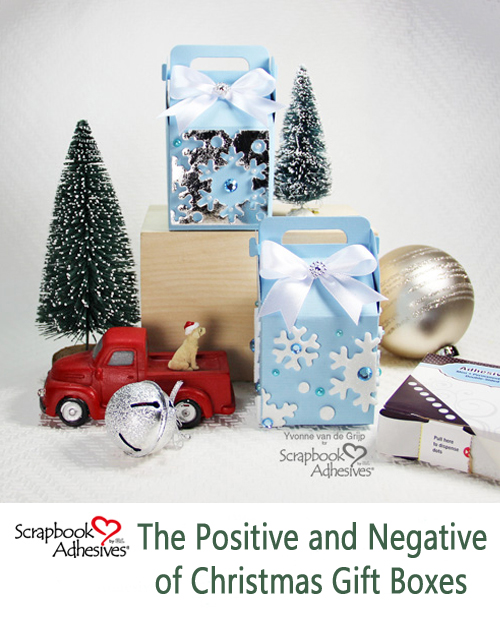
Hi everyone! With only a few days before Christmas, I have some quick and easy to make Christmas Gift Boxes, decorated with a sheet of 3D Foam Snowflakes from my 3D Foam Holiday Embellishment Kit. The fun part is that you can use both the positive and negative parts of the sheet so there is no waste!
Creating the Christmas Gift Boxes
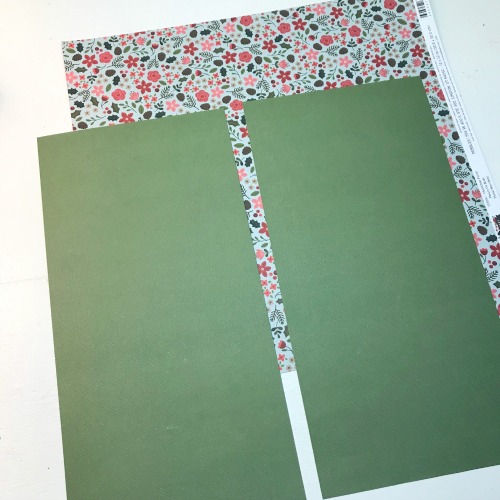
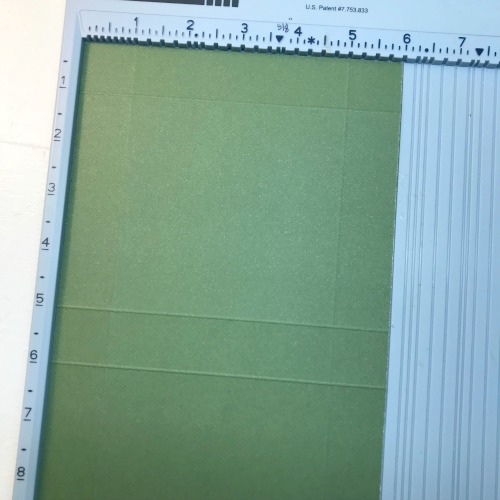
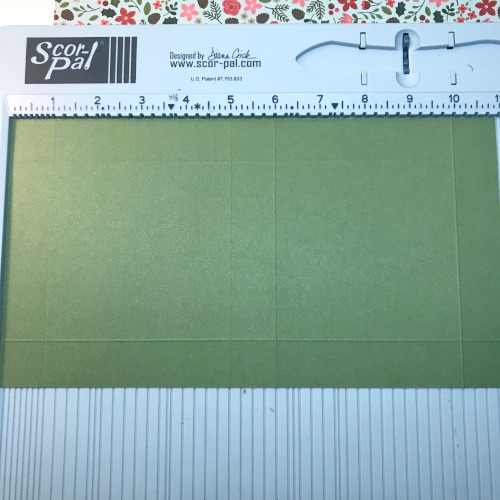
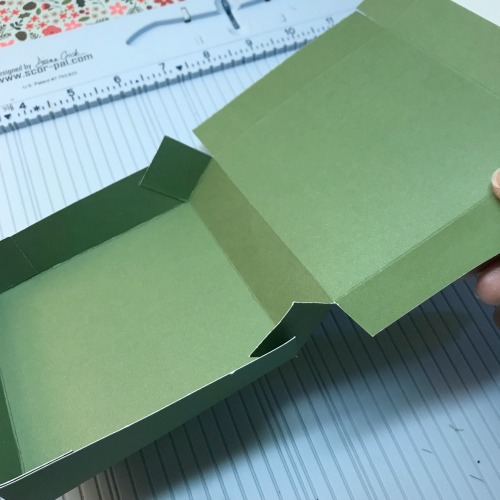
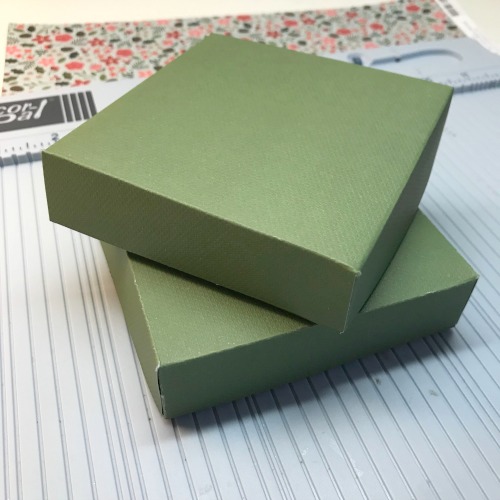
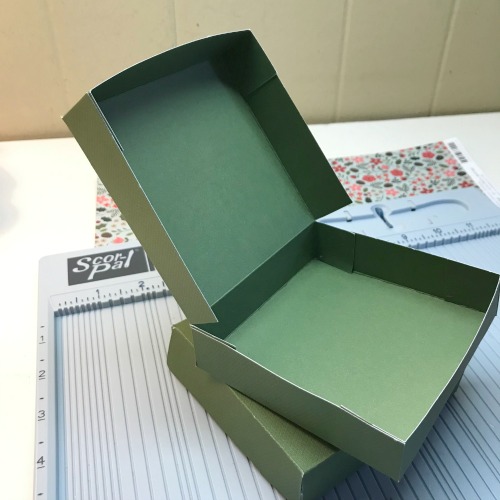
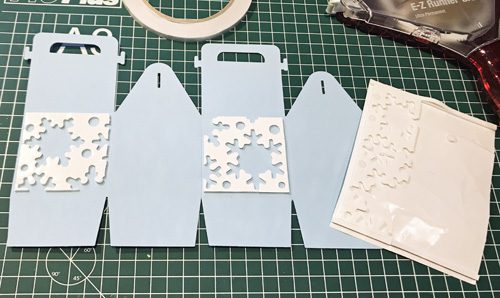
First die-cut two (half) box shapes from soft blue cardstock per gift box. I made two gift boxes, so die-cut a total of four box shapes.
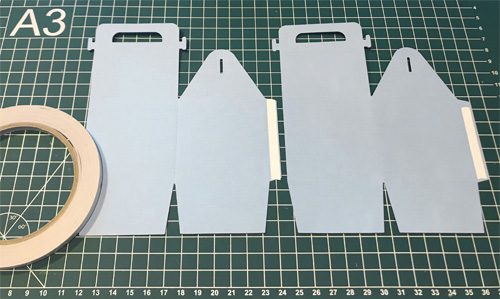
Then assemble the box with Premium Double-Sided Tape 1/4in to adhere both parts of the box pieces together and secure the bottom side of the box too.
Embellish the First Gift Box
Now for the fun part! Let me show you how to embellish the boxes with the 3D Foam Snowflakes in both the positive and negative pieces.
With your sheet of 3D Snowflakes Foam, remove the top liners of the snowflake shapes.
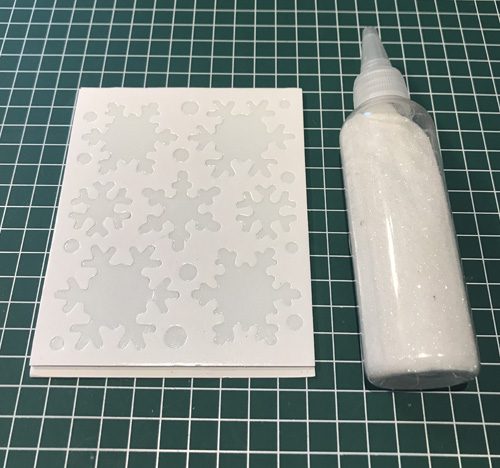
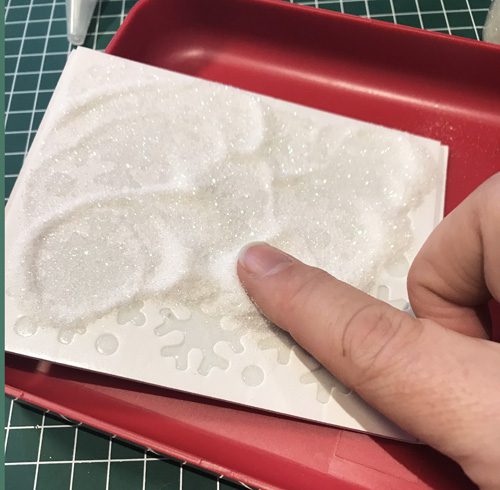
Sprinkle white glitter on top and rub the glitter onto the snowflake shapes. Tap off or use a brush to remove the excess glitter.
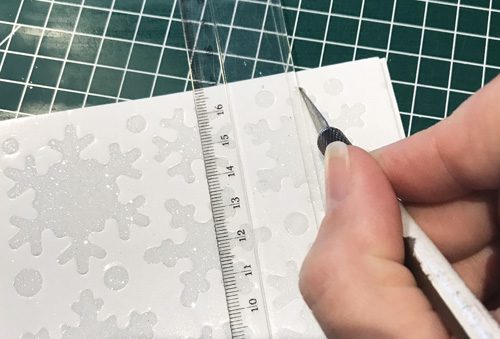
Take a ruler and a craft knife to cut some of the snowflakes in half. Be careful that you do not cut into the sheet – the negative space – around the snowflakes. You will be using that for the second box.
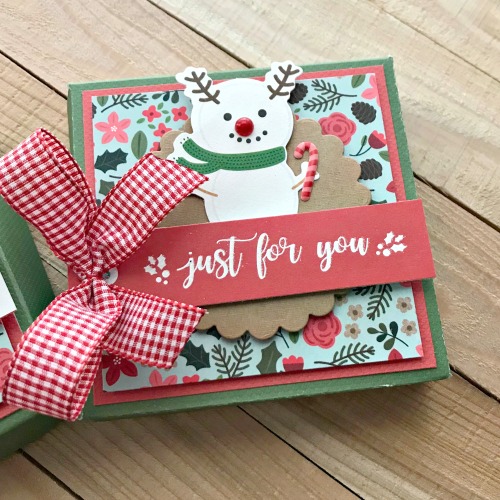
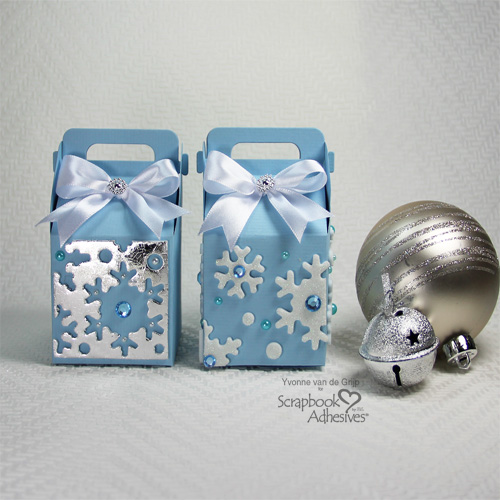
Next gently remove both the full and cut snowflakes and dots from the 3D Foam Snowflakes sheet and adhere to the box in the desired pattern. Add rhinestones and pearls to the gift box using Adhesive Dots. For a finishing touch, adhere a bow and small button to the box top with Adhesive Dots.
Decking out the Second Gift Box
For the next gift box, the negative piece of the 3D Foam Snowflakes sheet will be used. First, cut squares just slightly smaller than the box sides into the leftover 3D Foam Snowflake sheet and adhere them to the box side. Assemble the gift box using Premium Double-Sided Tape 1/4in.
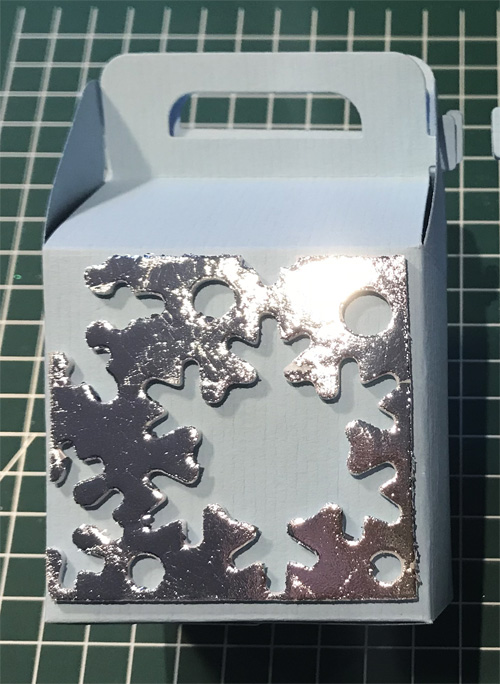
Next, remove the top liner of the negative piece on the sides of the box. Use your choice of foil, I used silver, from the 3D Foam Holiday Embellishment Kit to transfer the color to the negative pieces. Remember to use the colored side of foil facing UP and gently rub to transfer. Then remove the sheet to reveal the stunning result!
Lastly, put the finishing touches on the gift box with rhinestones, pearls, and bow using Adhesive Dots like the first box.
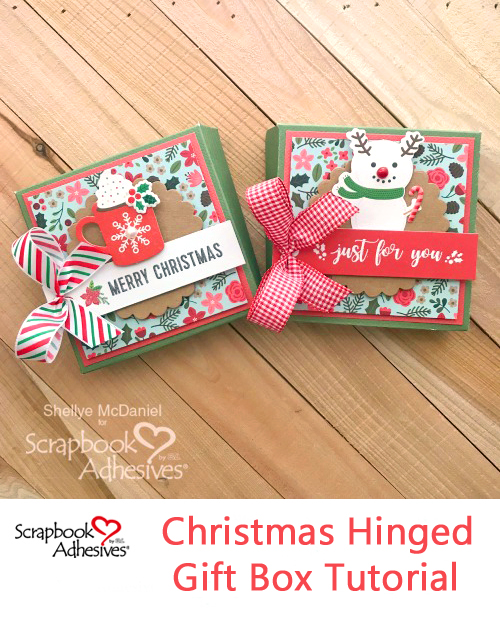
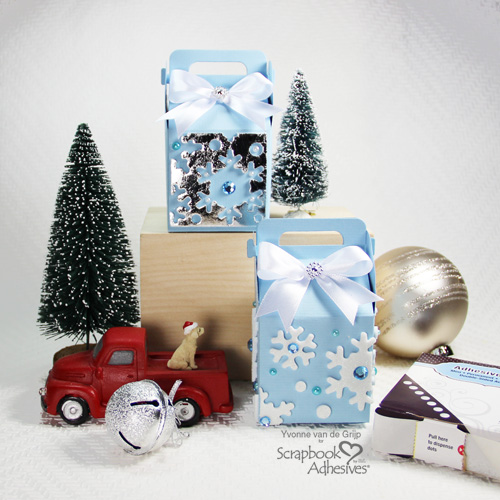
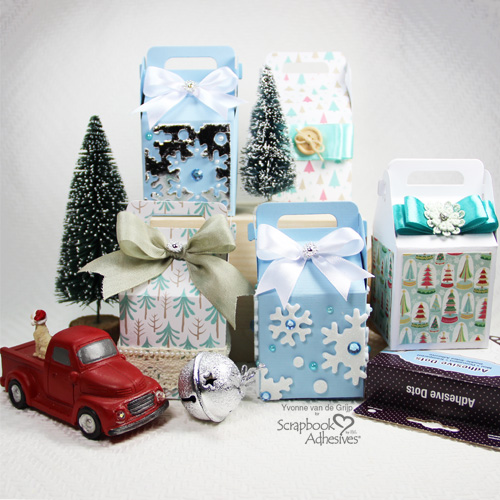
Just for some extra inspiration, I made some more Christmas Gift Boxes 🙂
Wishing lots of fun creating your own gift boxes!
Happy Holidays everyone!
Yvonne
Creative Time: 60 minutes
Skill Level: intermediate
Materials Needed
Scrapbook Adhesives by 3L®
3D Foam Holiday Embellishment Kit
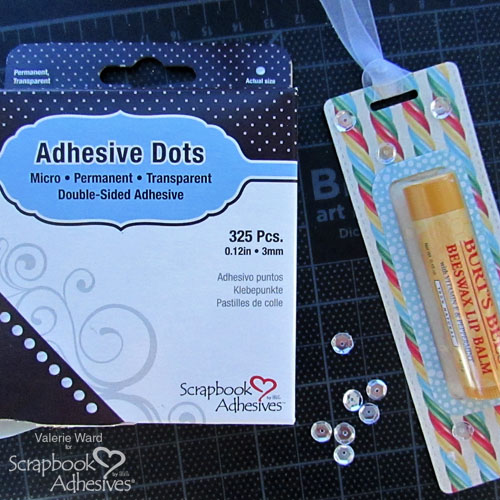
Adhesive Dots Micro
Adhesive Dots Mini
HomeHobby by 3L®
Premium Double-Sided Tape 1/4in
Other:
Spellbinders® Paper Arts (Charming Cottage Box by Becca Feeken), Blue Cardstock, White Glitter, Craft Knife, Ruler
Pin It!
Visit our Website and Blog!
Sign up for our Newsletter so you never miss a contest or giveaway!