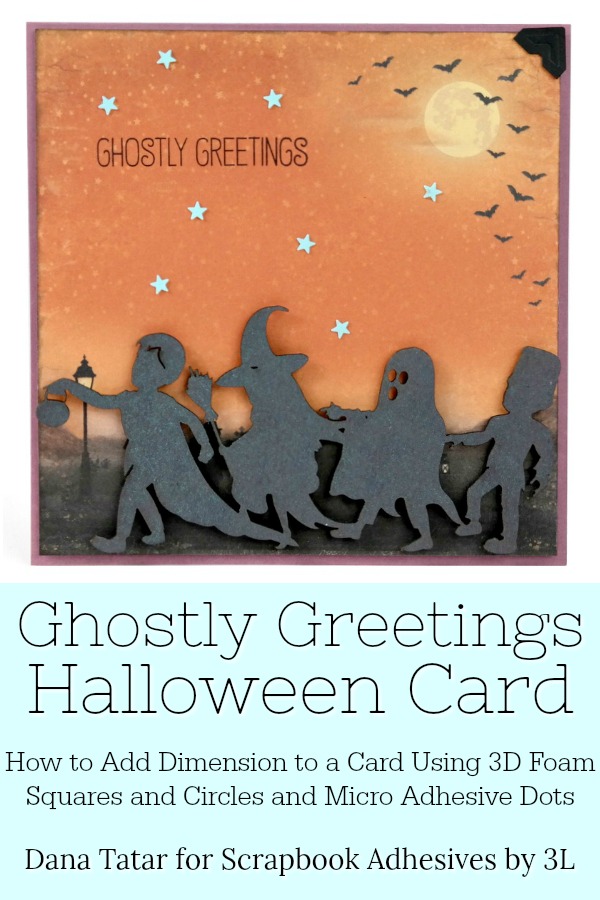
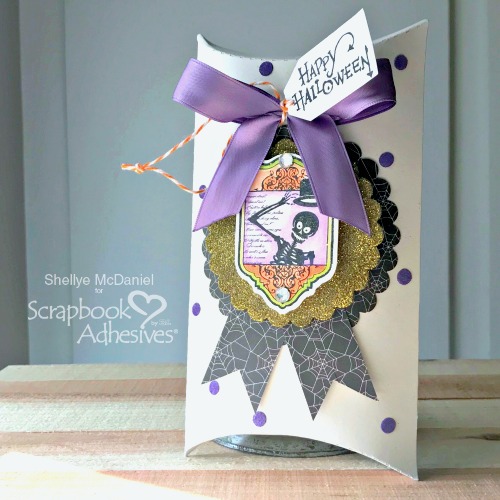
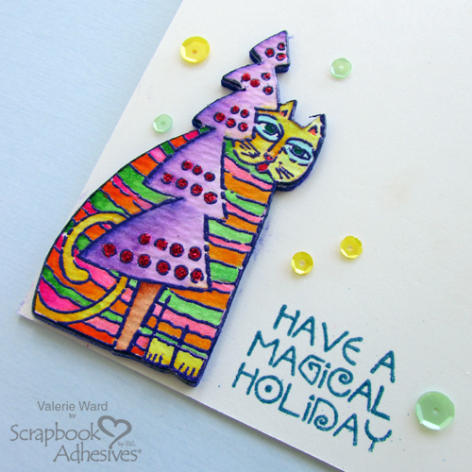
Hi friends! Dana Tatar here today sharing a trick-or-treat themed Halloween card. My favorite time during Halloween night is the parade of trick-or-treaters. When I can, I stay home to pass out candy and admire all the costumes.
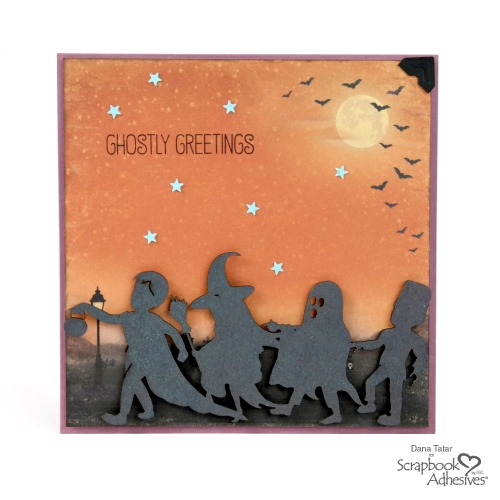
I added interest and dimension to my simple card design by creating with 3D Foam products and sparkly embellishments.
How to Add Dimension with 3D Foam Products
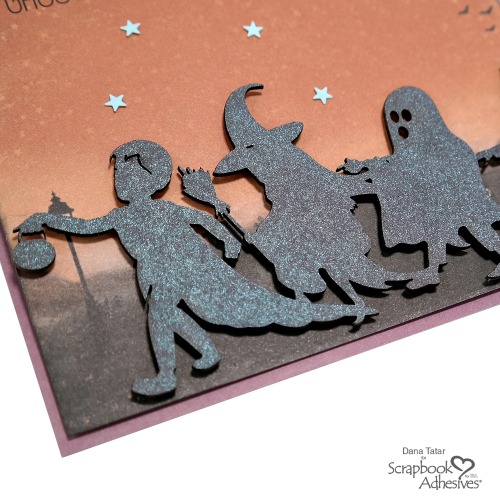
I used Black 3D Foam Squares to add the orange patterned paper to the card base. Tattered Angels Afraid of the Dark Glimmer Mist was the perfect shade to color a trick-or-treaters silhouette chipboard embellishment. (I just love it when the name of a color medium matches the mood of my project!) The 3D Foam Circles Black Mix was just what I needed to secure the chipboard to the card. With two different sizes of foam circles in one convenient package, placing foam onto the smallest parts of the chipboard piece was easy for all-over support.
Designer Note: I prefer to use the black varieties of 3D Foam products on dark colored projects so that any adhesive that may be visible when looking at the project up close blends into the design.
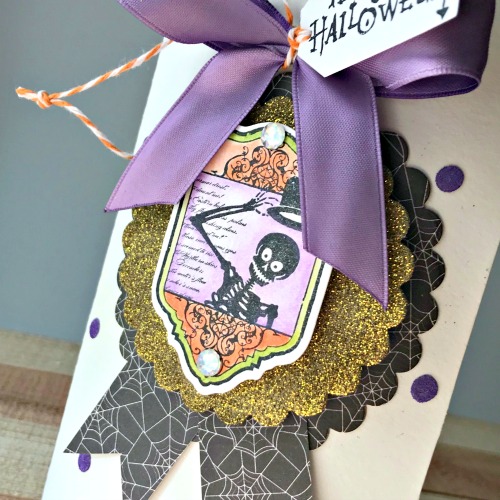
How to Embellish with Micro Adhesive Dots
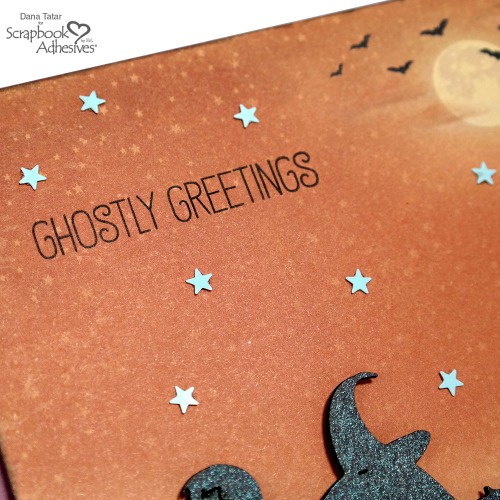
I added a pop of contrasting color around the stamped sentiment by attaching small blue star sequins to the night sky background with Micro Adhesive Dots. The 3mm permanent adhesive dots allowed me to quickly decorate the card, because unlike a liquid adhesive, this bond is immediate so I could finish my card without allowing for drying time! The last element I added was a Black Creative Photo Corner to the top right edge of the card.
Thanks for stopping by today! Have you picked a costume for Halloween? Let me know in the comments section.
~Dana
Creative Time: 30 Minutes
Skill Level: Beginner
Materials Needed:
Scrapbook Adhesives by 3L®
Creative Photo Corners Black
3D Foam Squares Black Mix
3D Foam Circles Black Mix
Adhesive Dots Micro
Other Supplies: Patterned Paper: Pion Design; Trick or Treaters Chipboard Silhouette: Creative Embellishments; Star Sequins: Studio Calico; Glimmer Mist: Tattered Angels; Fab-BOO-Lous Friends Clear Stamp Set: My Favorite Things
Pin It!
Pin It!
Visit our Website and Blog!
Sign up for our Newsletter so you never miss a contest or giveaway!


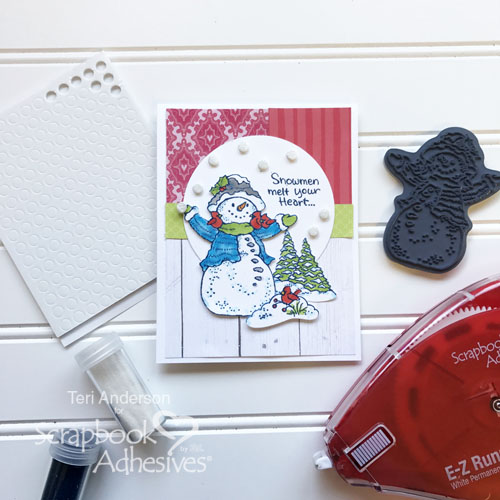
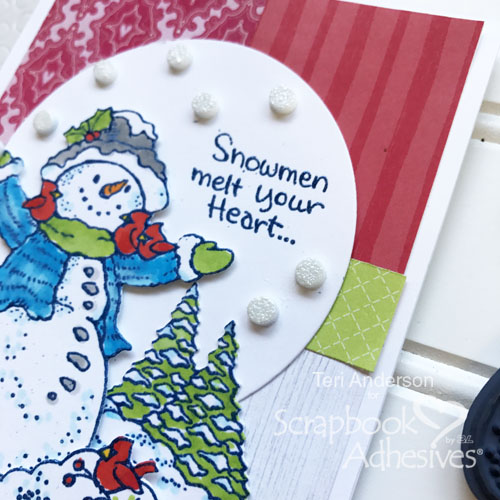 Speaking of the snowman, don’t you just love his playful nature? I felt like he would be right at home with a few snowballs so I made some! It was easy with