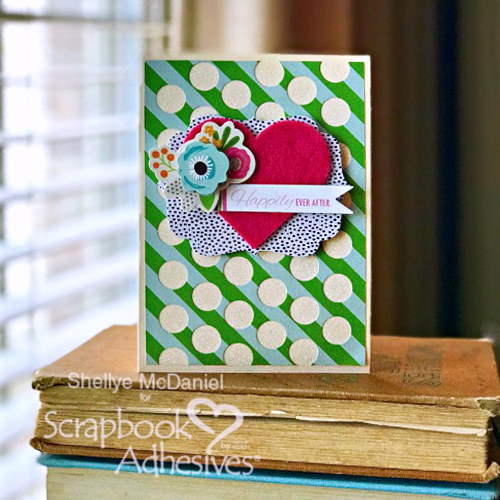
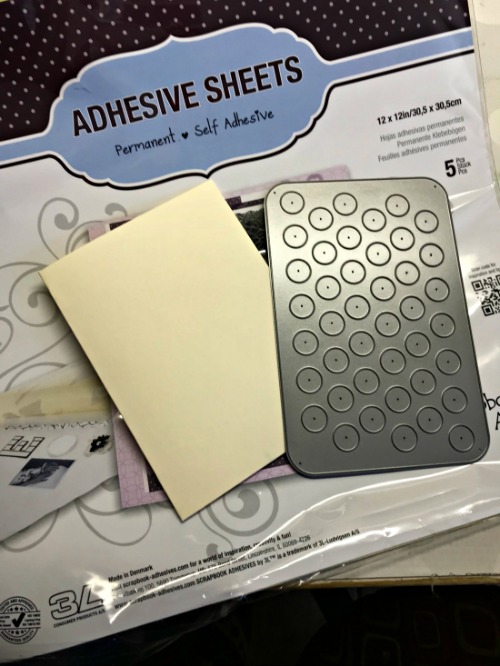
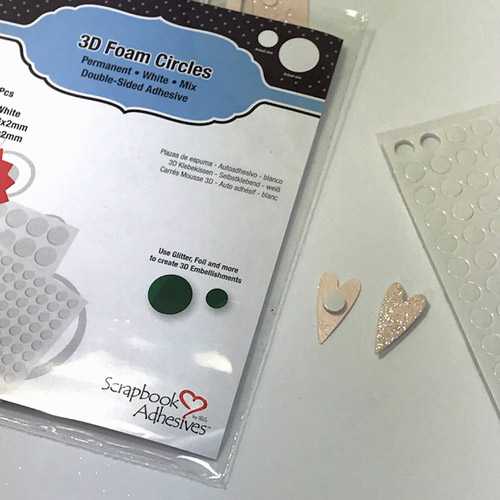
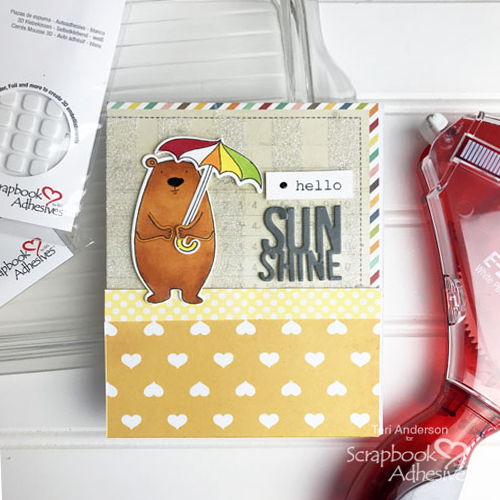
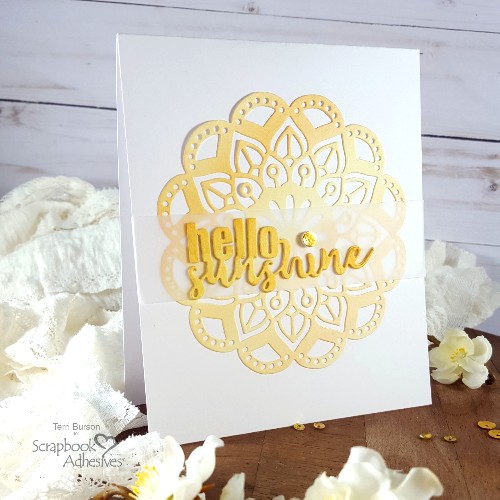
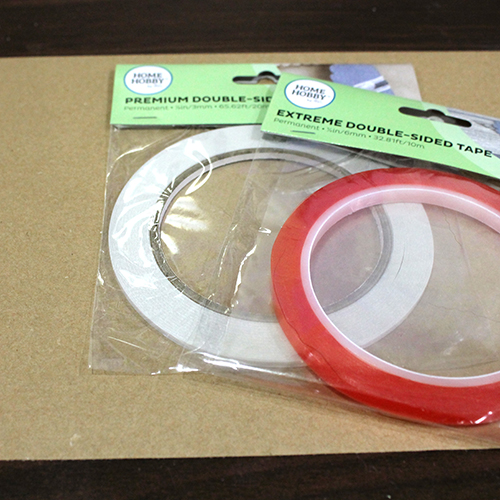
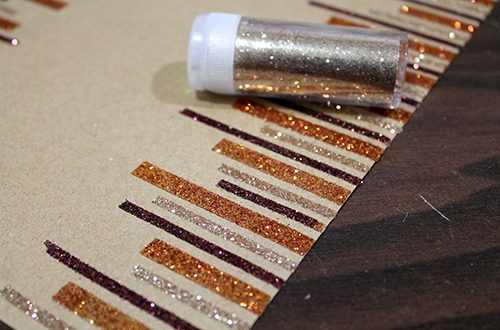
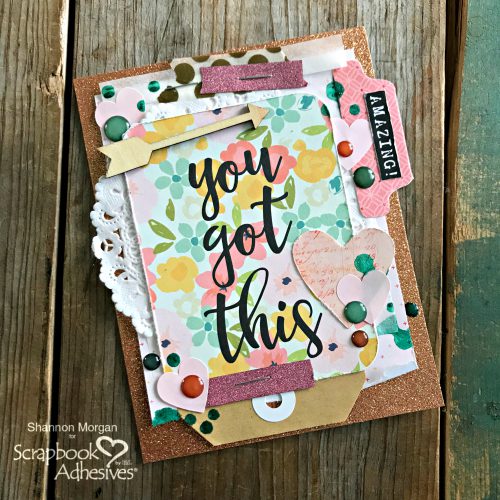
When a friend needs a dose of encouragement, a layered handmade card is a perfect cure! Good morning, Shannon here! We as crafters know homemade is best made, right?! When time is of the essence, Scrapbook Adhesives by 3L has you covered! There’s this awesome product if you are a regular reader…are aware of, and if you aren’t, here’s your introduction: Adhesive Sheets 12 x 12″.
Layered with Love
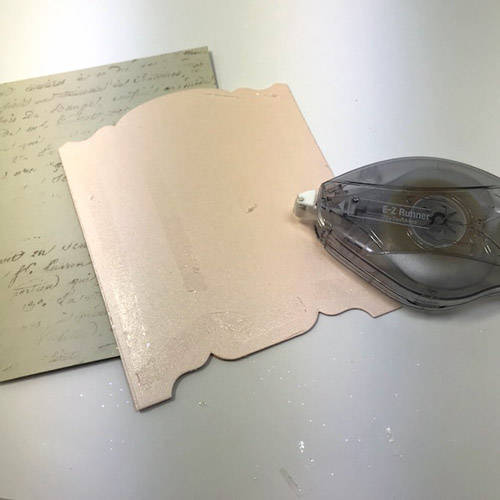
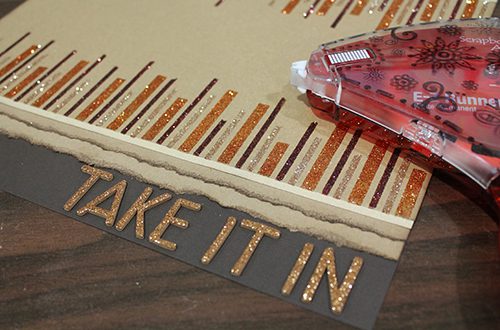
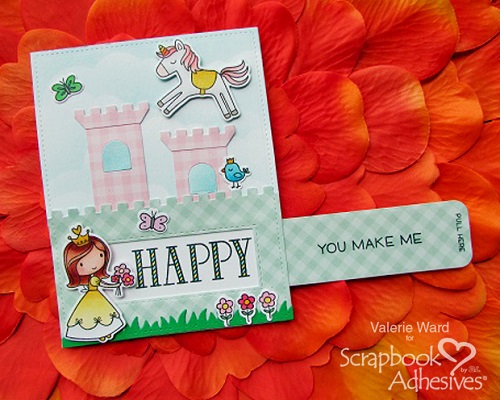
I am going to show you how to create a great layered card in no time with Adhesive Sheets. Using my trusty E-Z Runner® Grand Refillable Dispenser will help me secure those finishing touches.

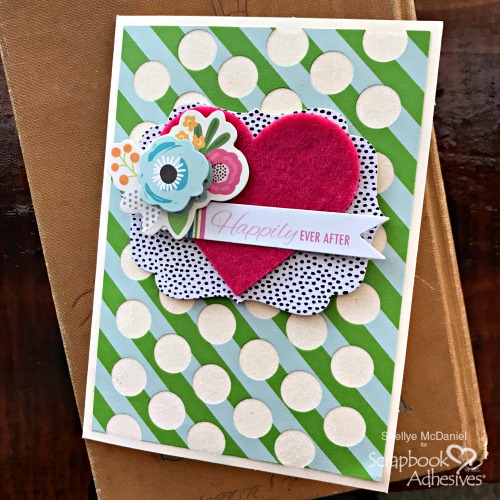
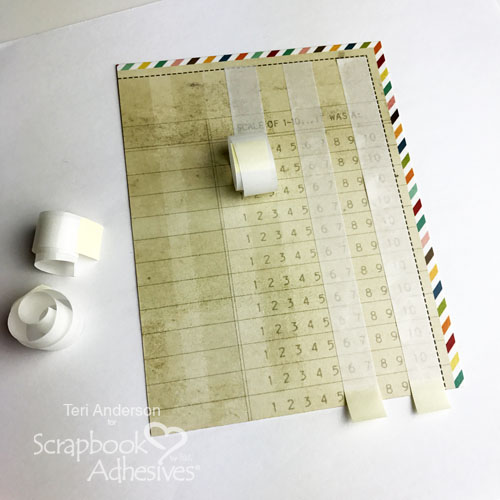
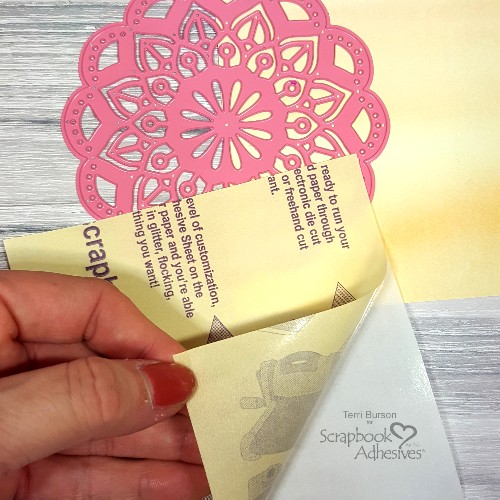
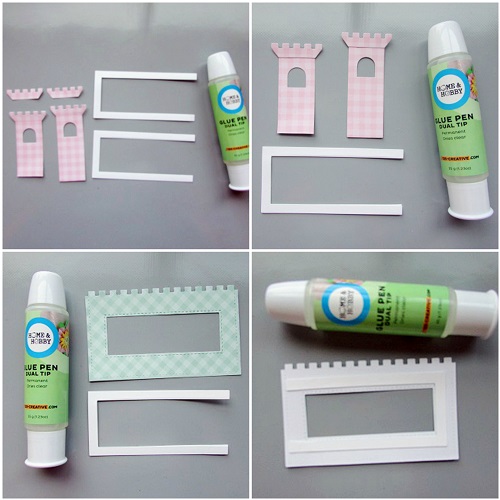
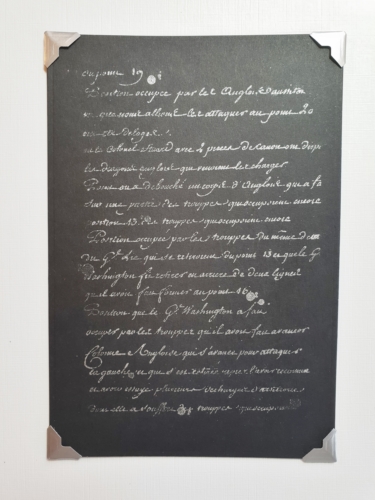
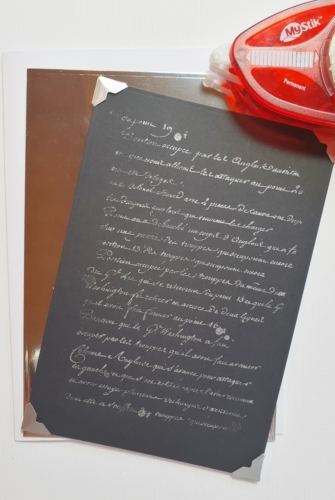
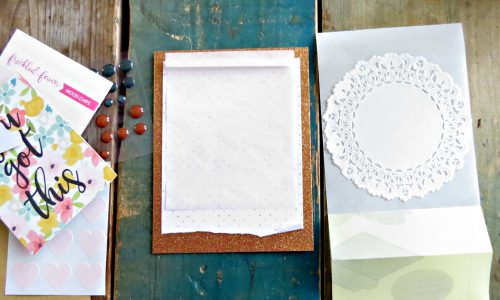
You’ll begin by adhering your patterned paper layer to the base of your card. Next, you will add the vellum or “light layer” I love using tracing paper. It’s inexpensive and you can add interest.
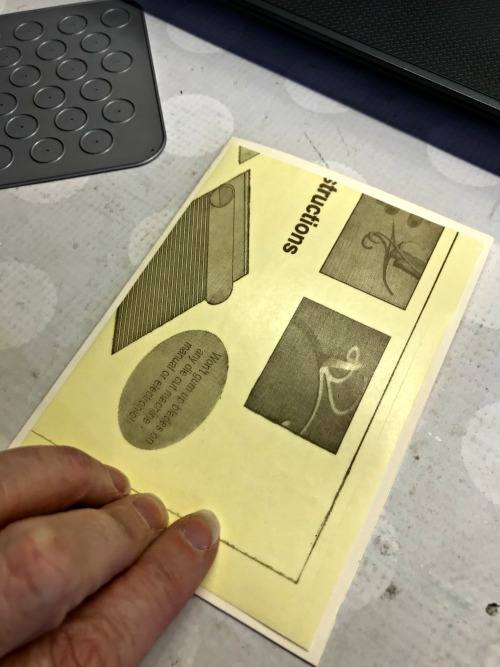
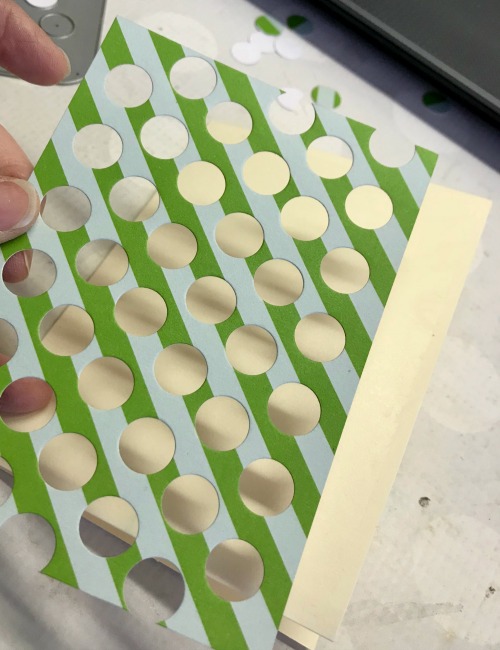
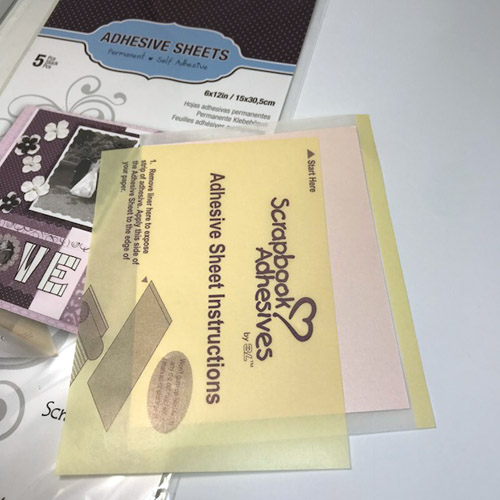
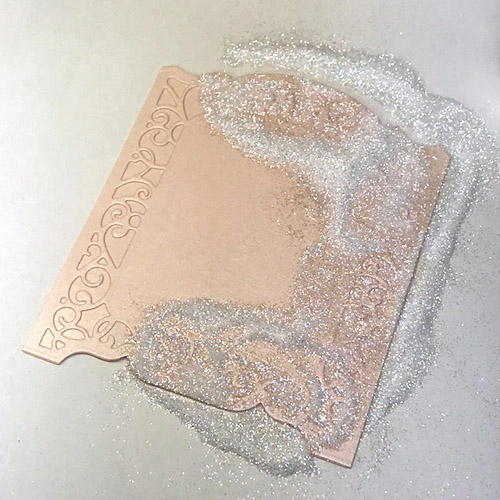
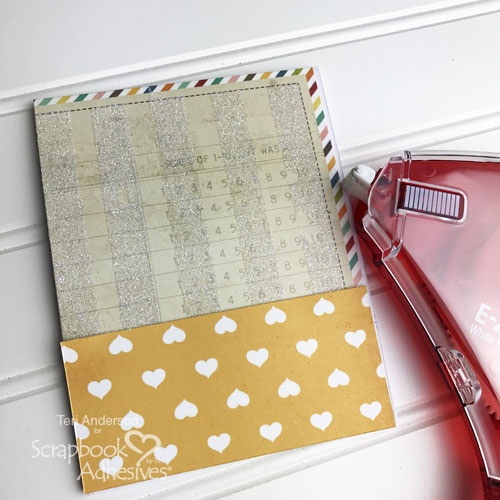
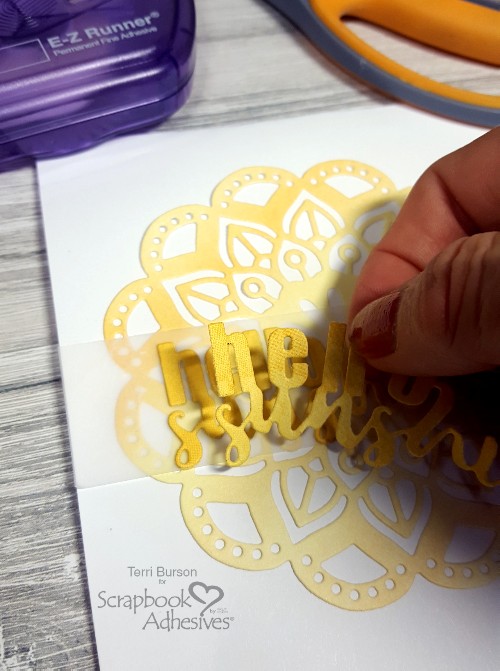
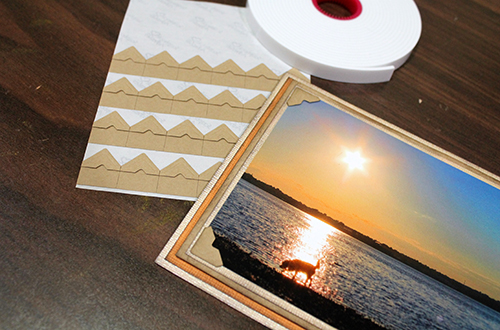
I chose a doily to be the next layer. This is where the Adhesive Sheets 12 x 12″ comes in. It’s so hard to stick down a delicate doily. Using these Adhesive Sheets keeps everything tacked down and ready for the next layer. Trim the Adhesive Sheet to a 4 x 12″ strip for this project, leaving me the rest of the sheet for future projects! Yay!
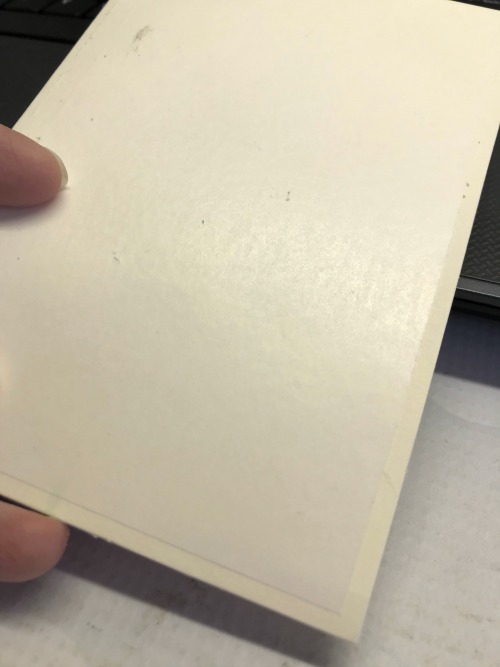
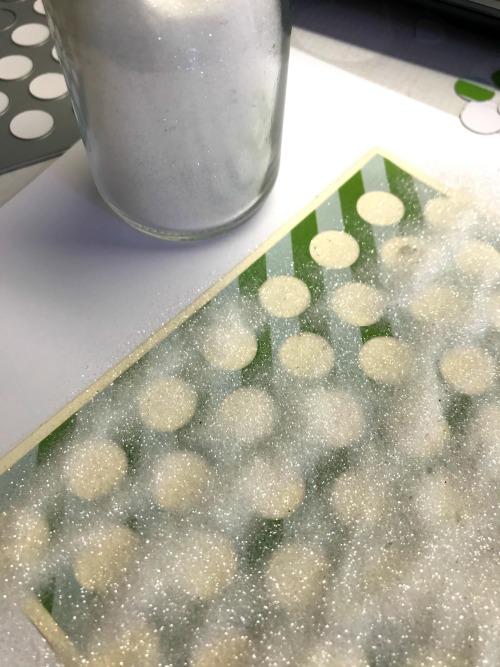
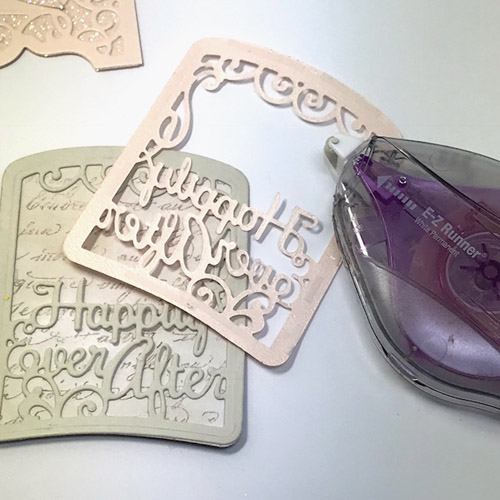
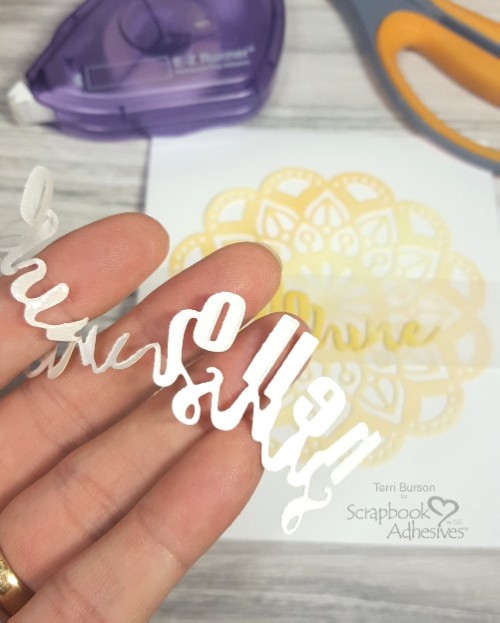
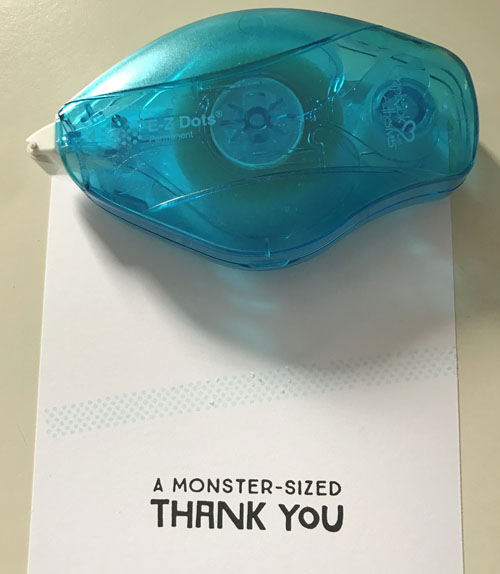
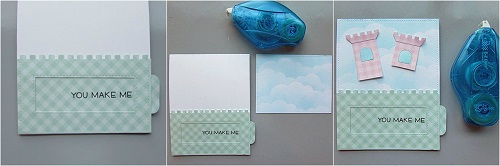
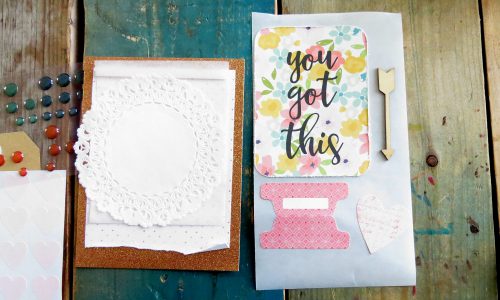
You’re now ready to “build” your card. Add the doily. Using your remaining Adhesive Sheet, add the next layers of your card onto the sheet. Make sure you give them all a good rub to transfer the adhesive. This will ensure a proper adherence to the card. Next, lay the sentiment card or paper down. (I used a pre-made card, you can find these anywhere you shop online or locally.)
Balancing Act
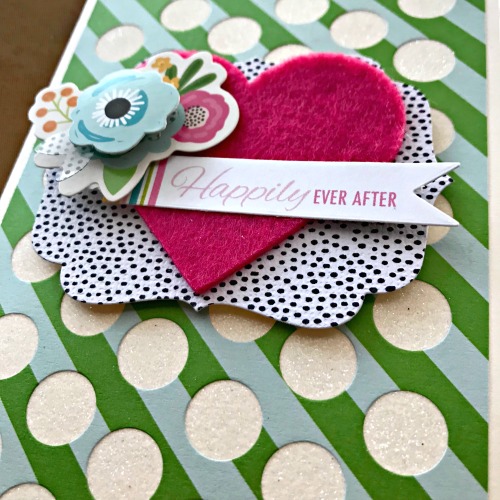
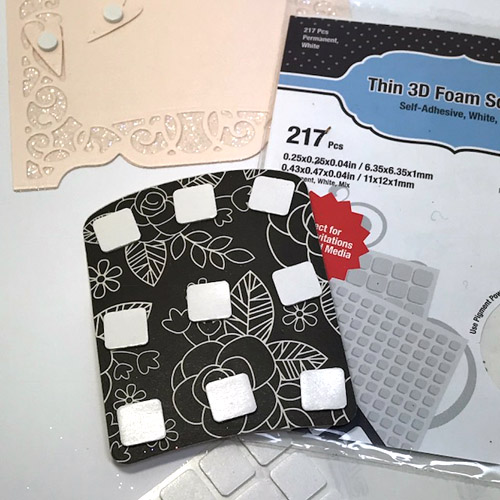
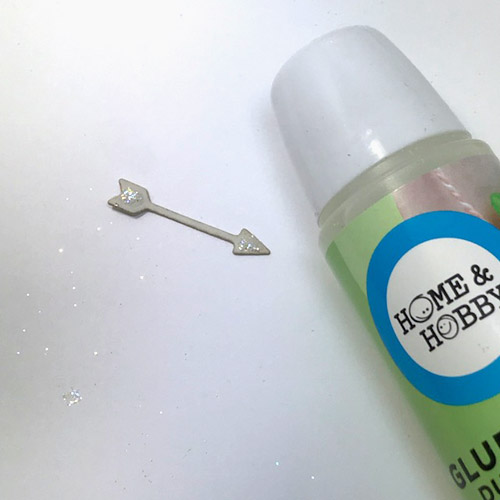
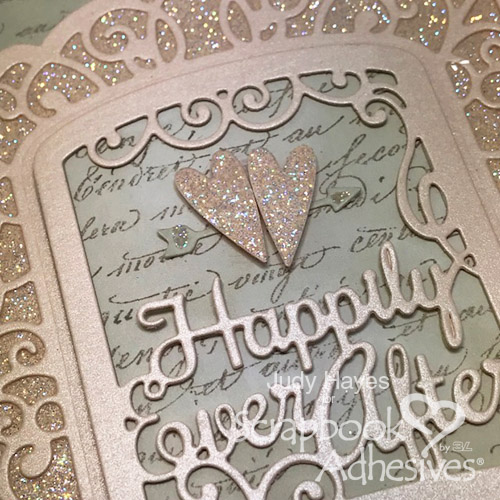
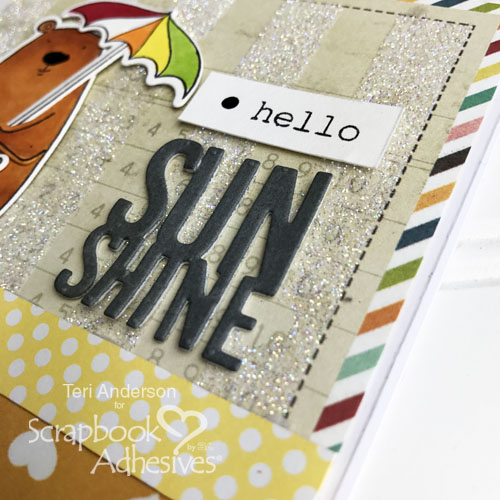
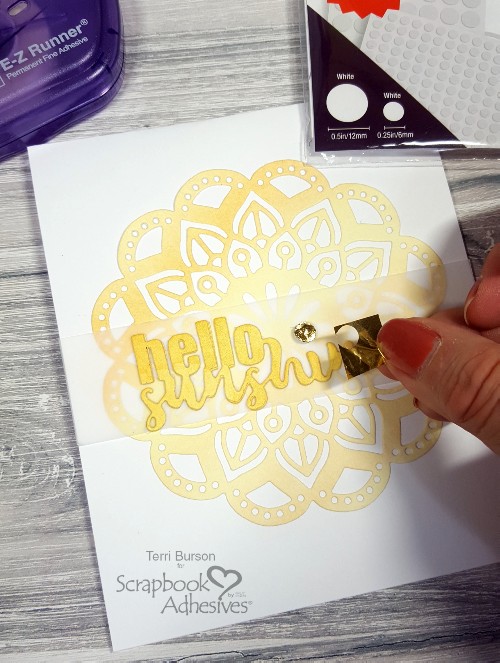
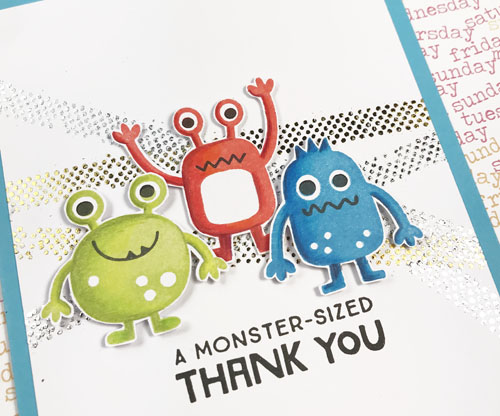
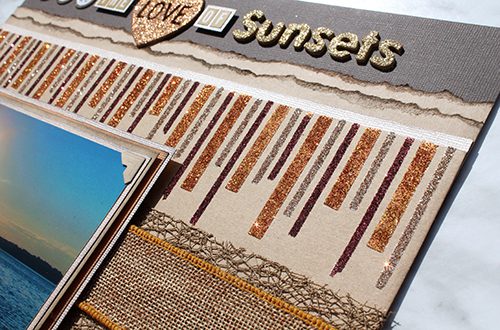
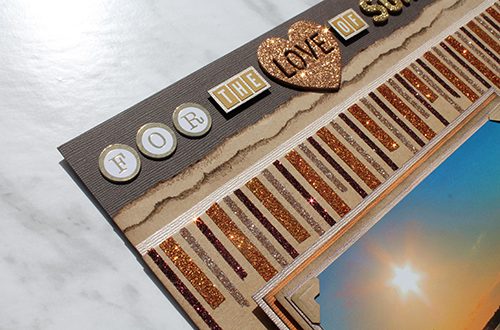
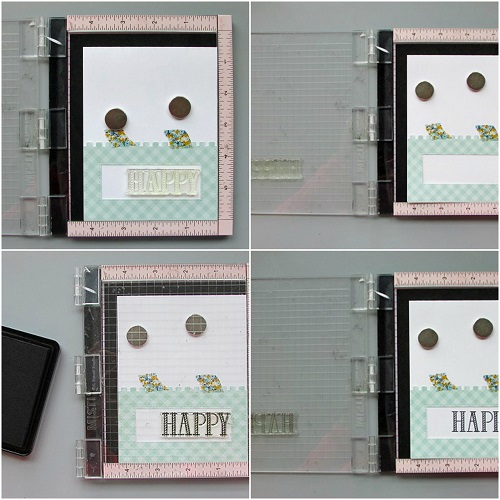
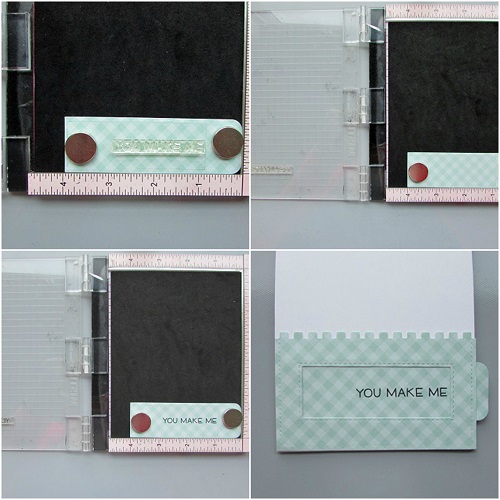
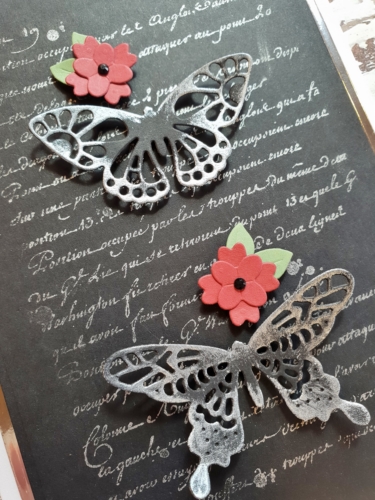
Once you have these all ready to go, begin layering. Add your sentiment. Mine is slightly off center, I am really bad at “exact”, so I compensate for this by making my cards and layouts slightly askew. I just wanted to pass that along to anyone who may be struggling with that. Never think that you can’t do it, you can! Add your tab to the side. Add an arrow or whatever embellishment you’ve chosen, above the sentiment to the left. You’ll want to add your heart also. I placed mine in between the “got” and “this”.
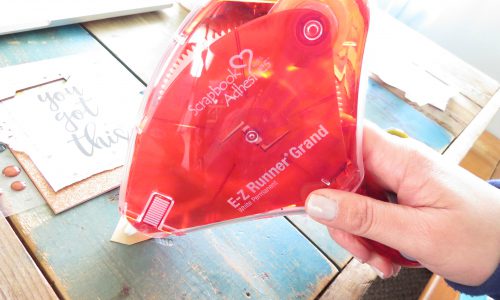
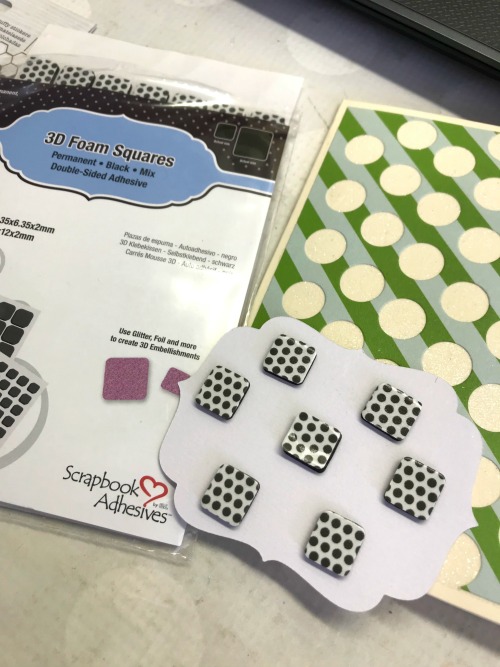
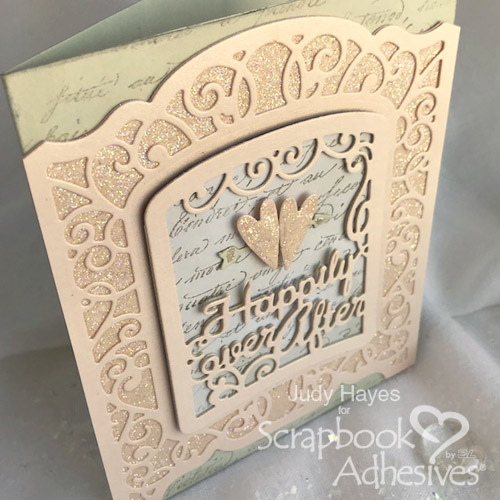
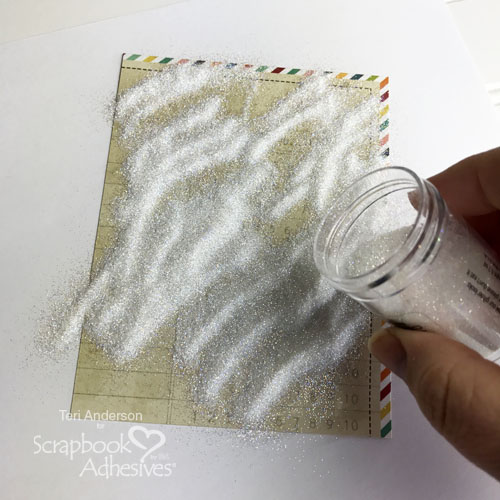
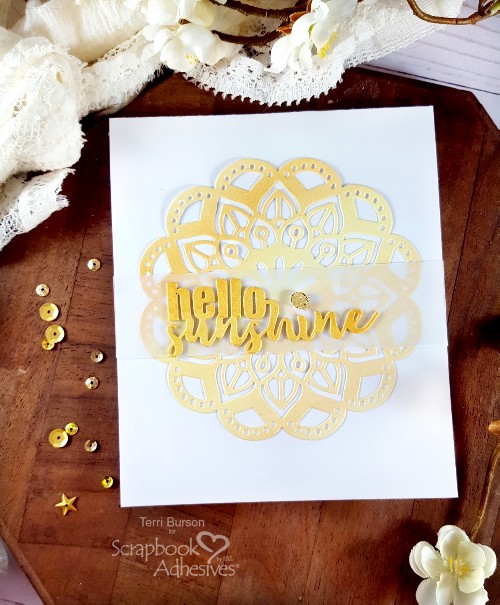
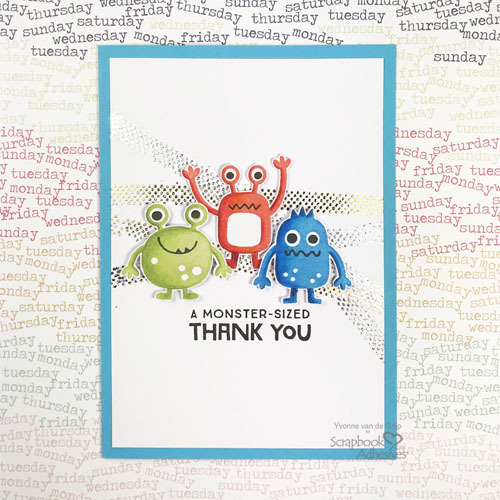
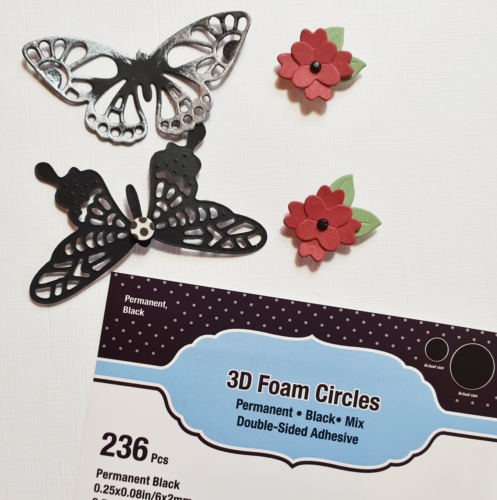
I used my runner to add a tab at the bottom of my card. You can see it pictured above. The final touches I added to the card are simple adds. If you are going for a simple, clean look, you’re done. If not you can add the following like I did: enamel dots, washi tape, some staples and a few splatters of mist here and there, finish it up and make it ready to mail or give in person!
Thanks for letting me share with you!
Shannon Morgan
Creative Time: 35 mins/Beginner Level
Material Needed:
Scrapbook Adhesives by 3L®:
Adhesive Sheets 12 x 12″
E-Z Runner® Grand Refillable Dispenser
Other:
Patterned paper, Tracing paper, Enamel dots, Washi tape, Paper doily, Wood chip shapes, Spray ink mist