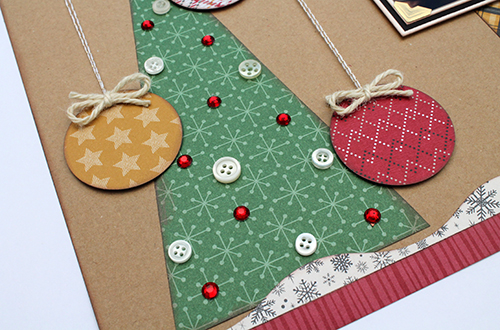
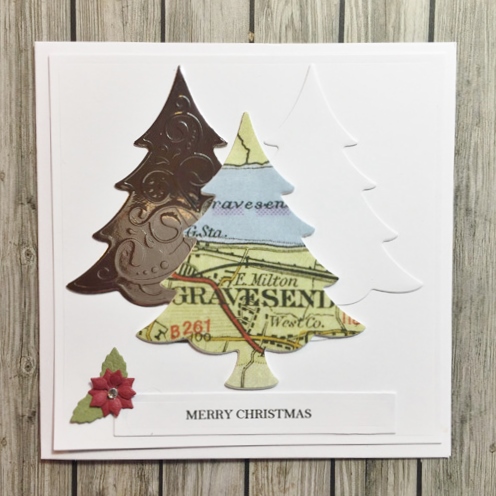
The Christmas tree is taking center stage on my holiday card today! Merry Christmas Eve to you! Michele here with a Christmas tree stamp from Stampendous that has been enhanced and is the focal point. I’m excited to show you how!
Christmas Tree Card Making
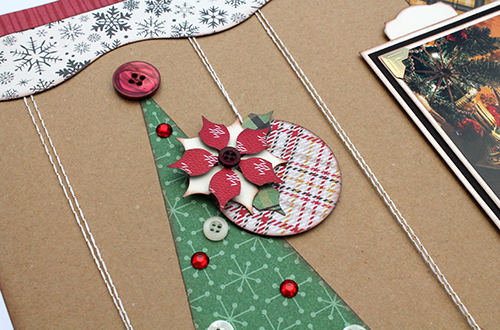
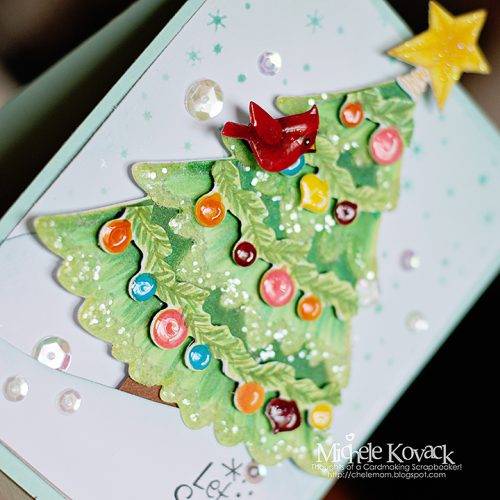
- Stamp the Christmas tree image, color with Copic Markers and use a few drops of glossy accents and glitter to enhance the design. Set aside to dry.
- Next, stamp the cardinal and star image, again color and add glossy accents and glitter as well. Set those aside.
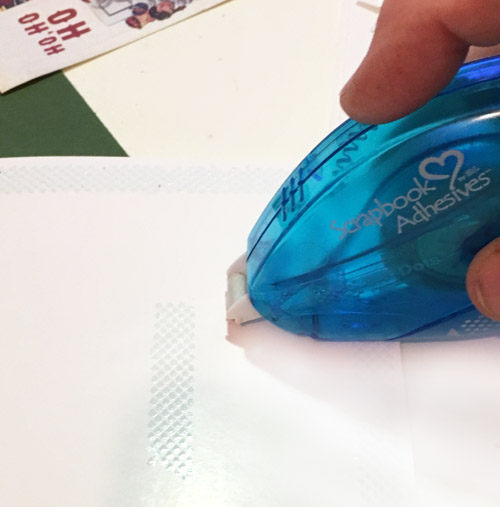
- Let’s stamp the background with a snowflake stamp on white cardstock (the card panel). I adhered it to the light blue card base using the E-Z Squares®.
- Hand cut a few snow slopes and inked the edges. Trim off to fit the card panel and adhered them using the E-Z Squares®.
- For my sentiment, I stamped with black ink on the lower right corner of the card panel.
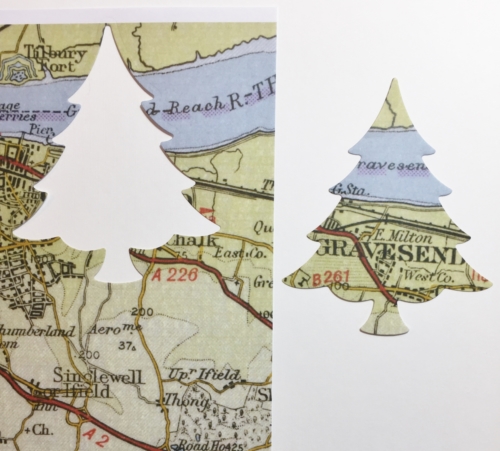
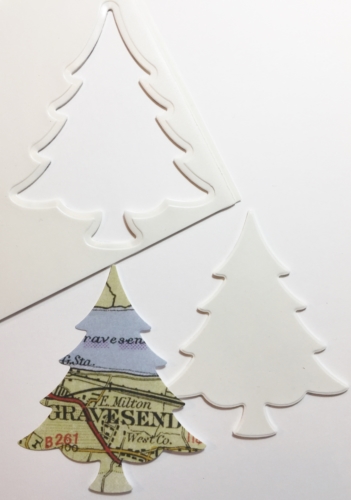
- After fussy cutting the Christmas tree, I tucked its bottom behind the snow slope and adhered it with E-Z Squares®.
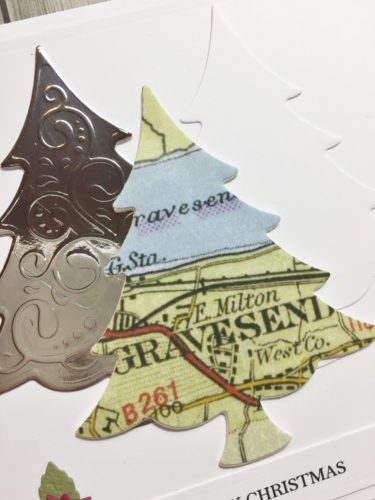
- Fussy cut the cardinal and star. Pop them up with 3D Foam Squares White Small for dimension. For more sparkle, I adhered a few sequins using Dodz Adhesive Dots Mini.
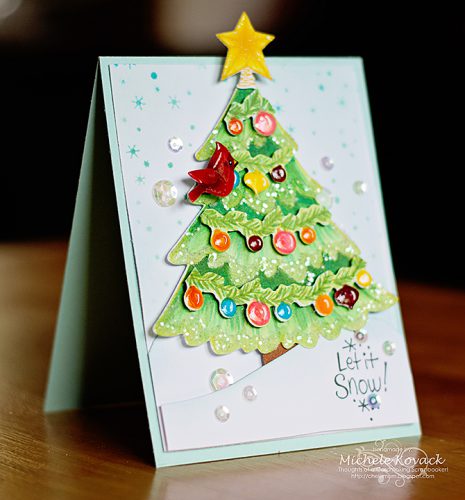
Now it’s ready to be given away. Love the pop of color against the white and blue. So festive! I hope you and your family have a joyous holiday 🙂 Thank you for popping in today!
Michele
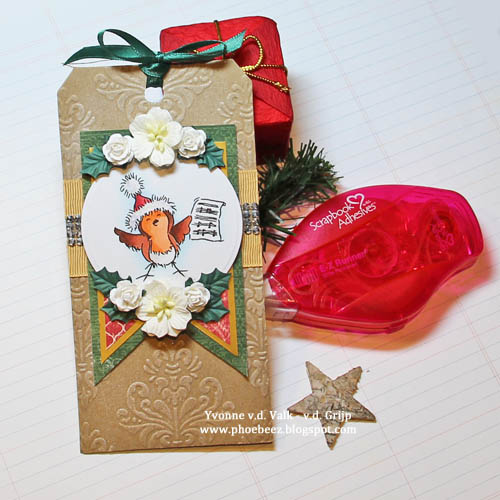
Scrapbook Adhesives by 3L®:
Dodz Adhesive Dots Mini
E-Z Squares®
3D Foam Squares White Small
Other:
Stamp: Stampendous!; Sequins; Glitter; Copic Markers