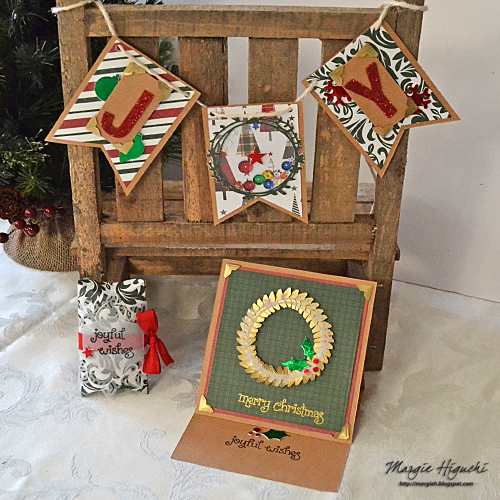
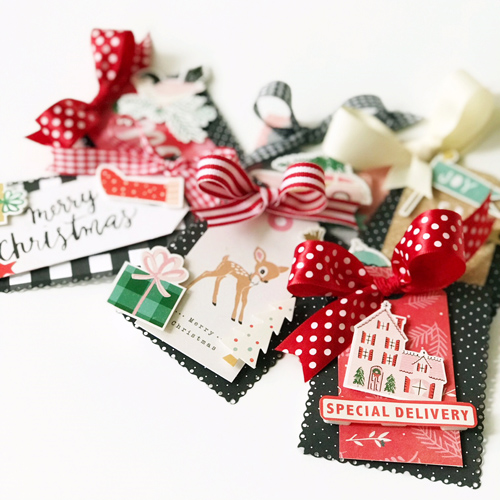
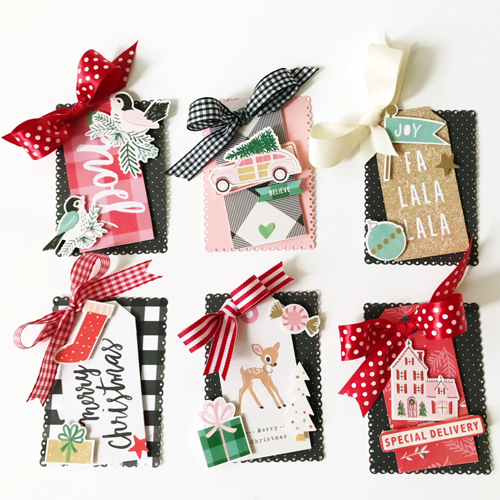
Create this DIY Christmas gift card holder using tag dies, put together with Adhesive Sheets 4 x 6ʺ and Extreme Double-Sided Tape ¼ʺ for a farmhouse rustic holiday package!
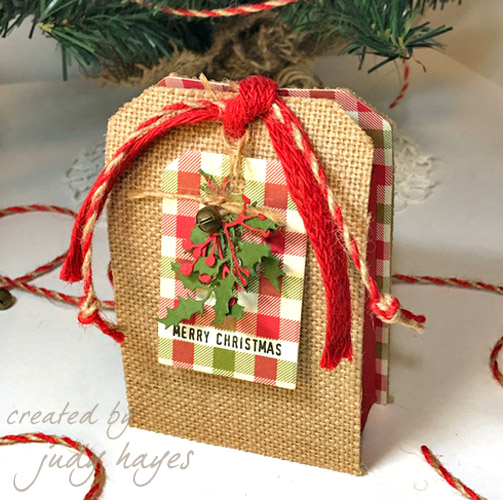
Hi everyone! Judy here today with this fun gift card holder idea that is easy to make. I always like to wrap a gift card as a package rather than tucked in an envelope. It can be adapted to other occasions, too! I’ve added a festive tag, along with holly and berries die cuts and the back will have space to personalize it.
Starting your DIY Christmas Gift Card Holder
First, die-cut two 3¼ x 5ʺ tags from burlap paper. On check patterned paper, apply Adhesive Sheets 4 x 6ʺ on the back and die-cut another set of tags. Attach the patterned check tags to the back of each burlap tag. By doing this, it gives the burlap texture a great festive look against the check paper!
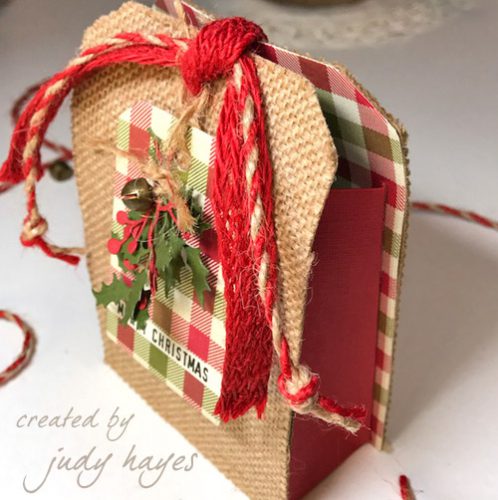
Next, we will adhere the tags together with a piece of red cardstock which forms the sides and bottom. To achieve this, cut 2 x 11ʺ piece of red cardstock and score/fold at ¼, 4, 7, and 10¾ʺ as well as ¼ʺ along both long sides. Use Extreme Double-Sided Tape ¼ʺ on all edges. Fold down the short ends to make a finished edge. The long sides adhere to the tags to form the holder.
Making the Tags
Use the same patterned check paper and adhere a light color paper with Adhesive Sheets 4 x 6ʺ to create a two-sided patterned paper. Then die-cut with the tag etched die. Next, die-cut holly and berries shapes. Along with a jingle bell, adhere all to tag with Adhesive Dots Small. The stamped greeting strip is fastened with E-Z Runner® Micro Refillable Dispenser which is the perfect adhesive for narrow strip of paper! Tie the tag with twine that closes the gift card holder.
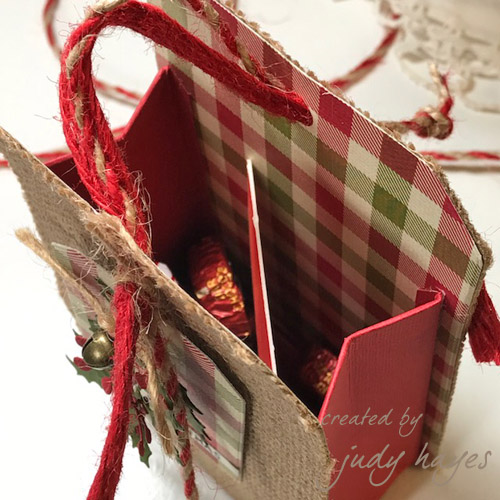
There’s even room for a few candies along with a gift card!
Thanks for visiting! Wishing you all a joyous holiday season!
Judy
Scrapbook Adhesives by 3L® Used:
Adhesive Sheets 4 x 6ʺ
Dodz Adhesive Dots Small
E-Z Runner® Micro Refillable Dispenser
HomeHobby by 3L®
Extreme Double-Sided Tape ¼ʺ
Other:
Authentique Paper: Vintage Christmas Collection; Little B: Tags Dies; DCWV: Burlap Paper; Tim Holtz: Tiny Bells, Holiday Greens Mini Dies; Cardstock: Red, Green and Balsa; Tsukineko/Imagine Crafts: Versafine Ink; Twine
Visit our Website and Blog!
Sign up for our Newsletter so you never miss a contest or giveaway!