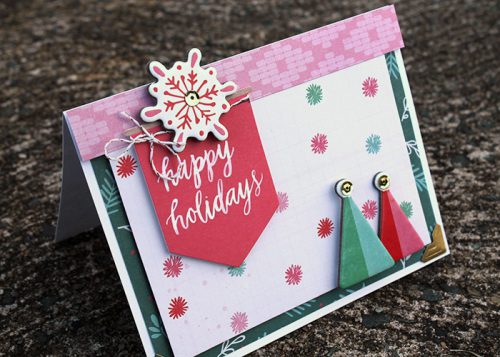
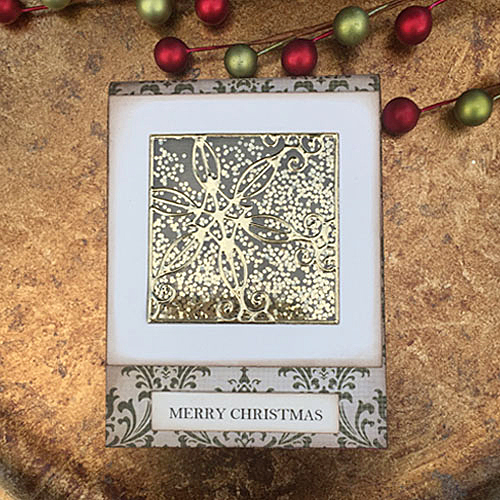
Christine here today with an easy festive shaker notepad project. This would make a cute Christmas stocking gift or ideal to write down all those jobs to do before Christmas! I rarely make shaker projects but when I do, I realize how easy it is with my Scrapbook Adhesives by 3L® products at hand.
Creating my Festive Shaker Notepad
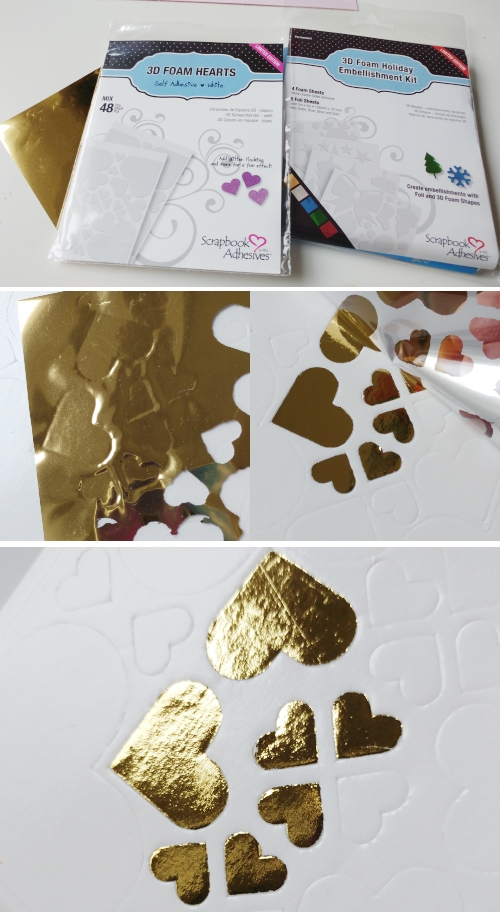
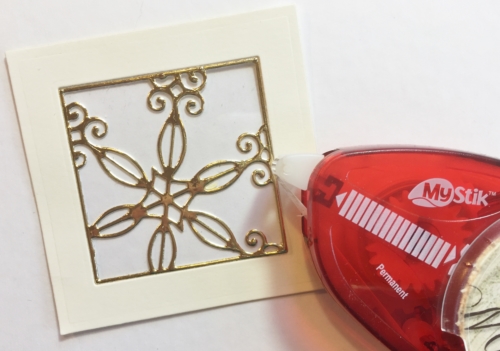
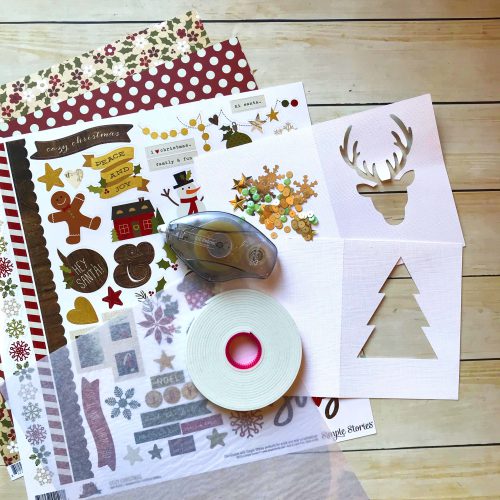
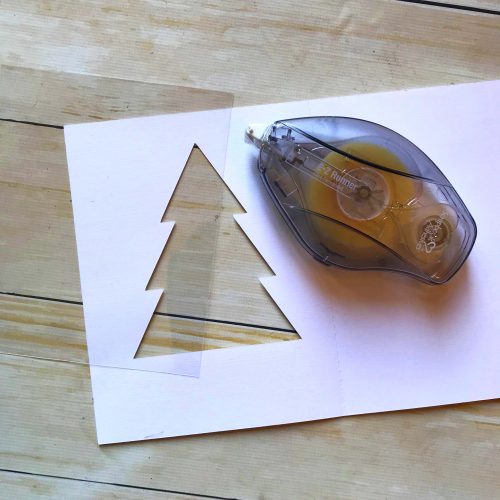
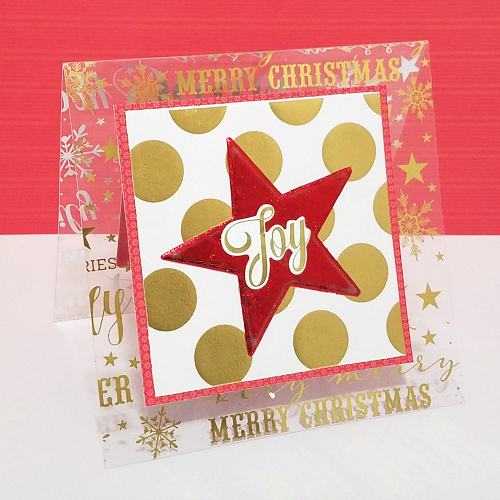
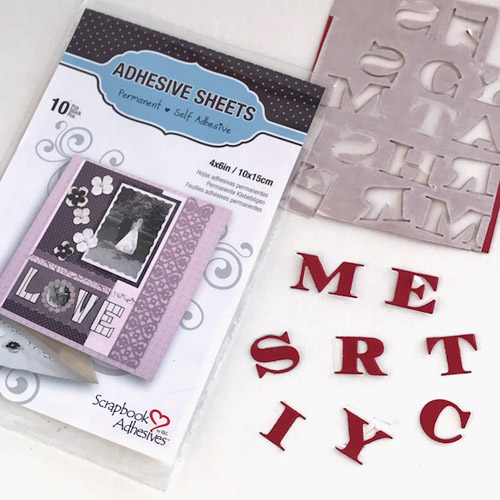
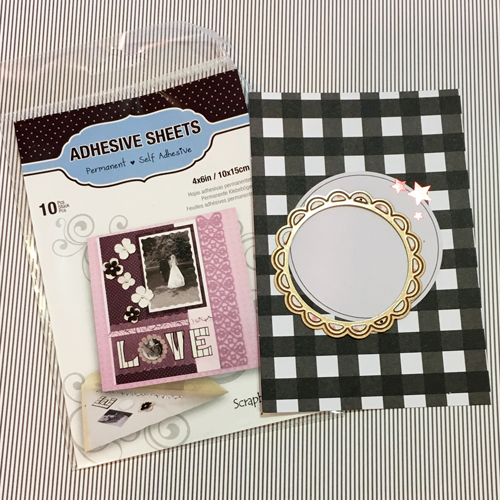
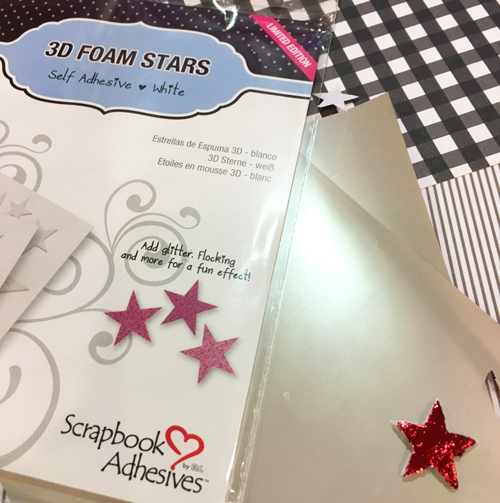
Firstly I gathered together Adhesive Sheets, gold foil card and a snowflake die. Here I’m using the 4″ x 6″ sheets, they are also available in 6 x 12″ and 12 x 12″. You could make huge shaker projects! LOL!
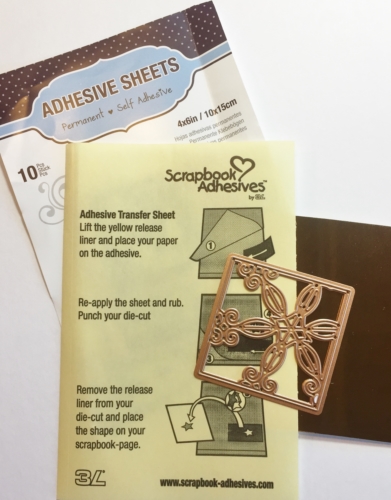
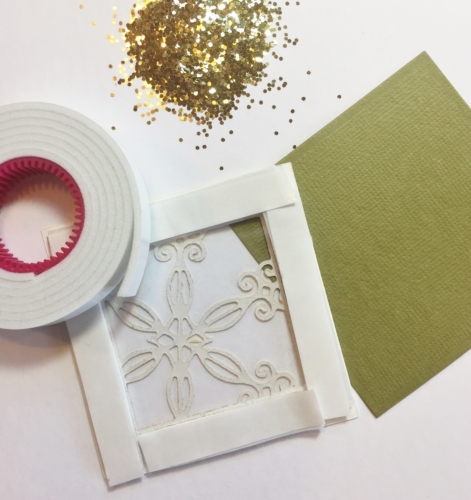
The Adhesive Sheet will give me a perfect layer of glue on the back of my die cut and this is amazing for acetate! Have you struggled to find the correct adhesive to affix die cuts to acetate? Look no further, Adhesive Sheets are the answer.
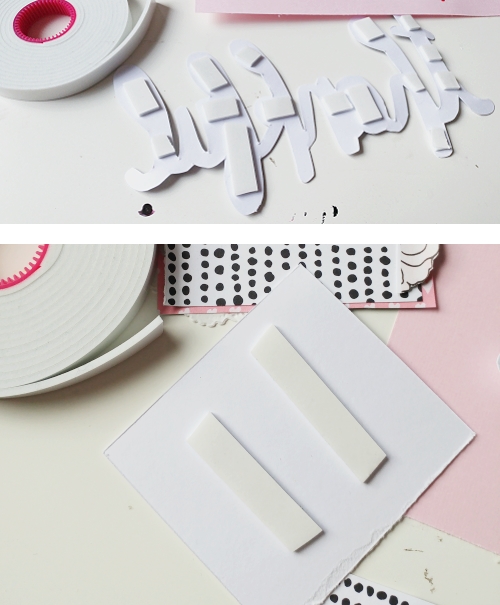
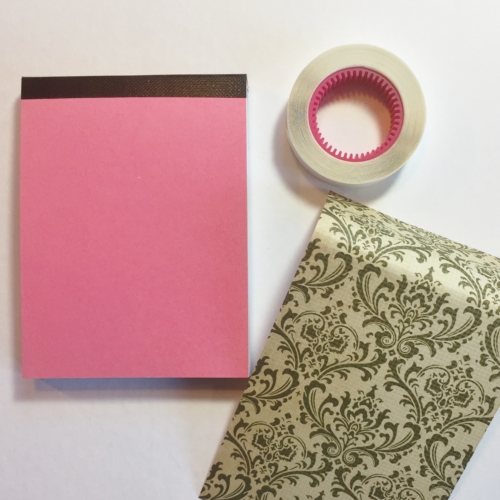
I purchased a regular mini notepad from my supermarket and attached a pretty patterened paper to the cover with Crafty Power Tape.
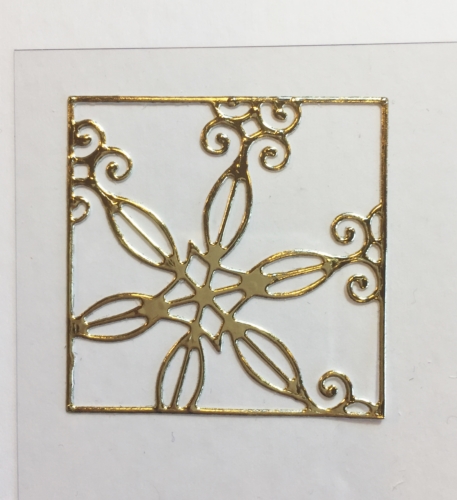
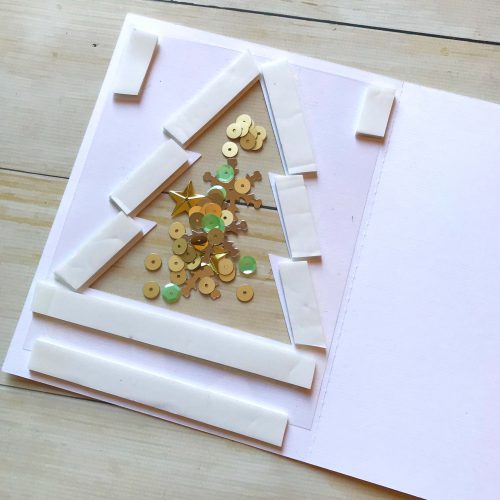
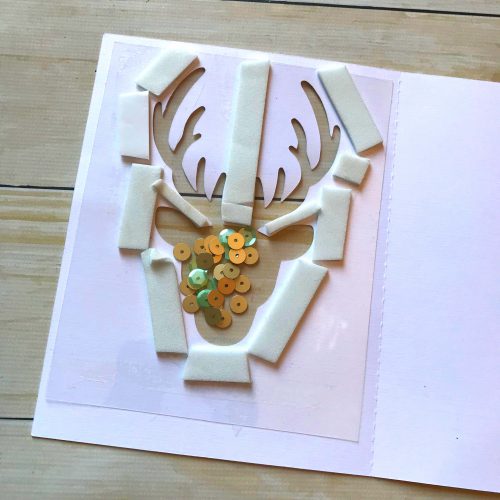
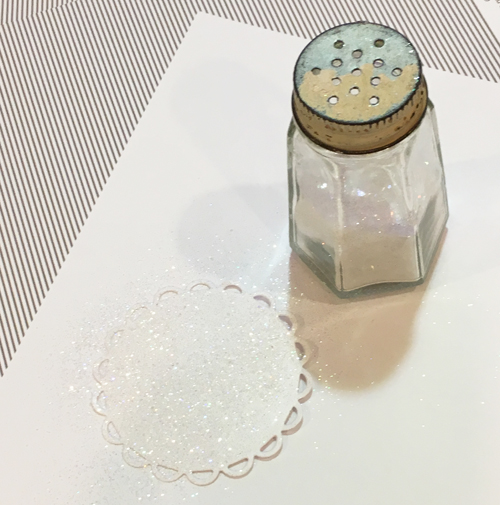
From cream cardstock, I die cut a frame and attached this to my acetate snowflake with MyStik® Permanent Strips.
Next, attach Crafty Foam Tape to the reverse of the frame. Pop some glitter inside and seal closed with a square die cut.
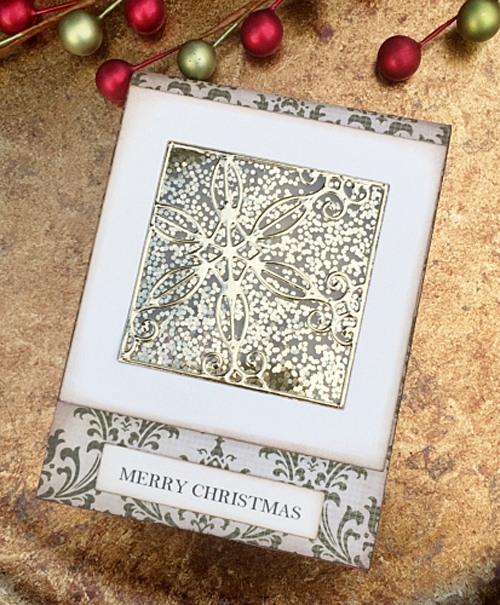
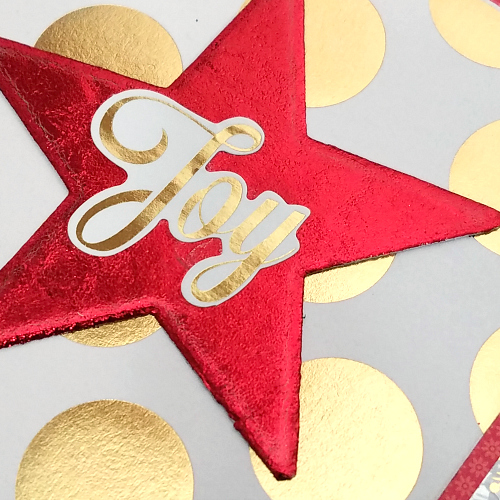
Voila! A glittery Christmassy shaker notepad! Fantastic for teacher gifts or for work colleagues. Also, fun to make with children.
Thanks for stopping by today and don’t forget to check out all the great products on the website.

Products used:
MyStik® Permanent Strips
Crafty Foam Tape White
Crafty Power Tape
Adhesive Sheets 4 x 6″
Others:
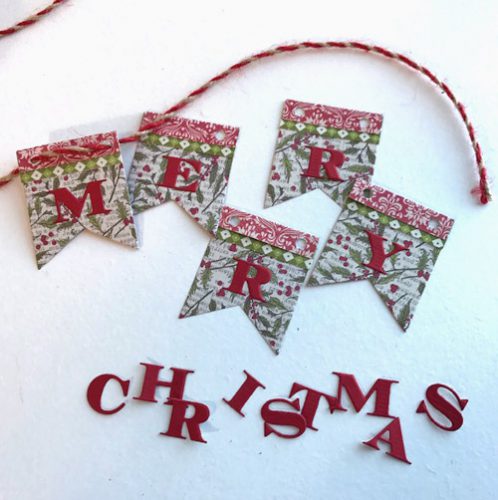
Dies: Spellbinders® Paper Arts (Classic Squares, Snowflake Snippets)
Notepad, Scrap Patterned Paper, Gold Foil Card, Cream and Green Cardstock, Glitter, Typed Sentiment Label
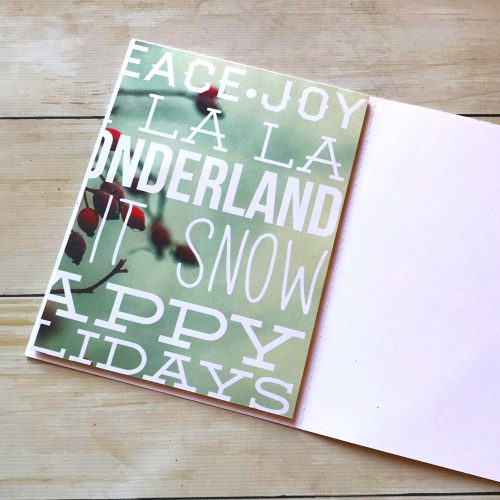


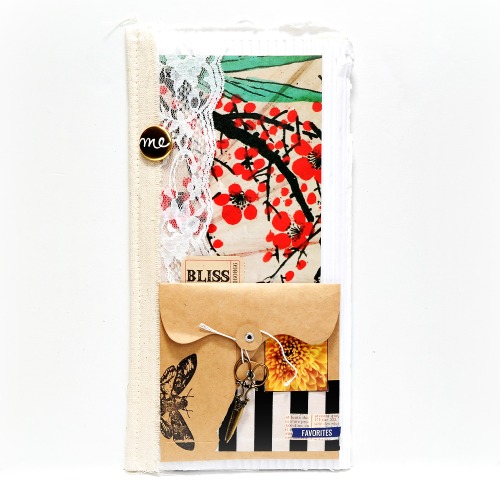 This project starts with a store-bought journal.
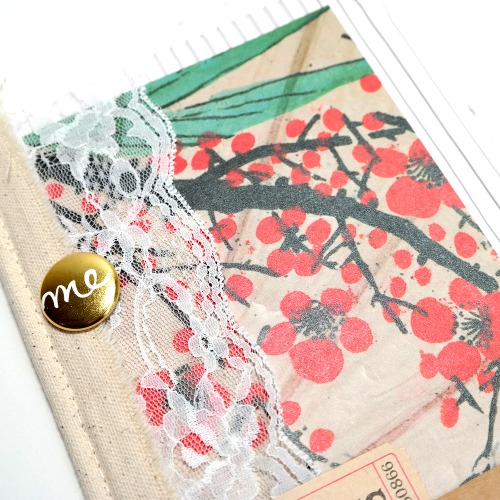
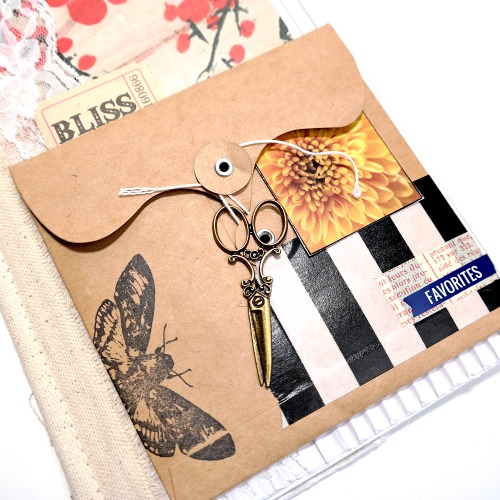
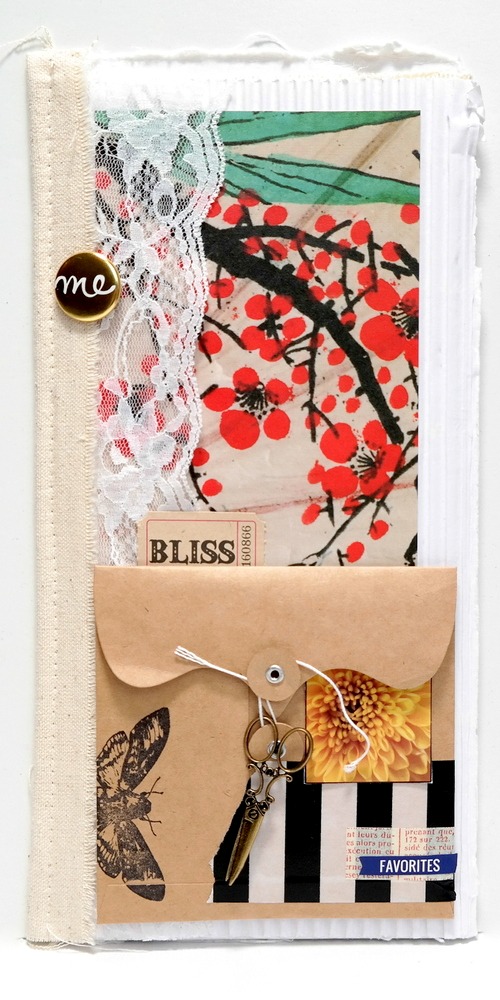 I hope I have inspired you to use your adhesives on textiles and dimensional surfaces! Journals like this make a great stocking stuffer, or gift for any occasion year-round.