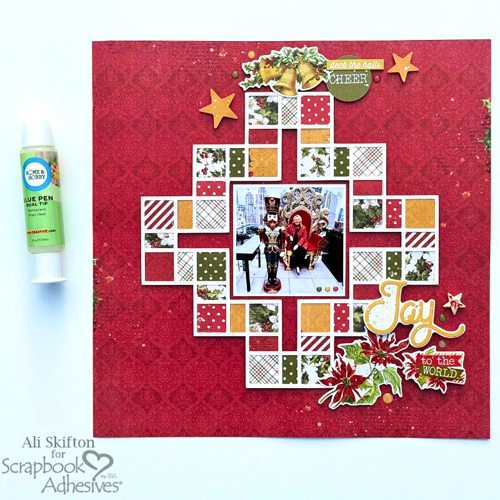
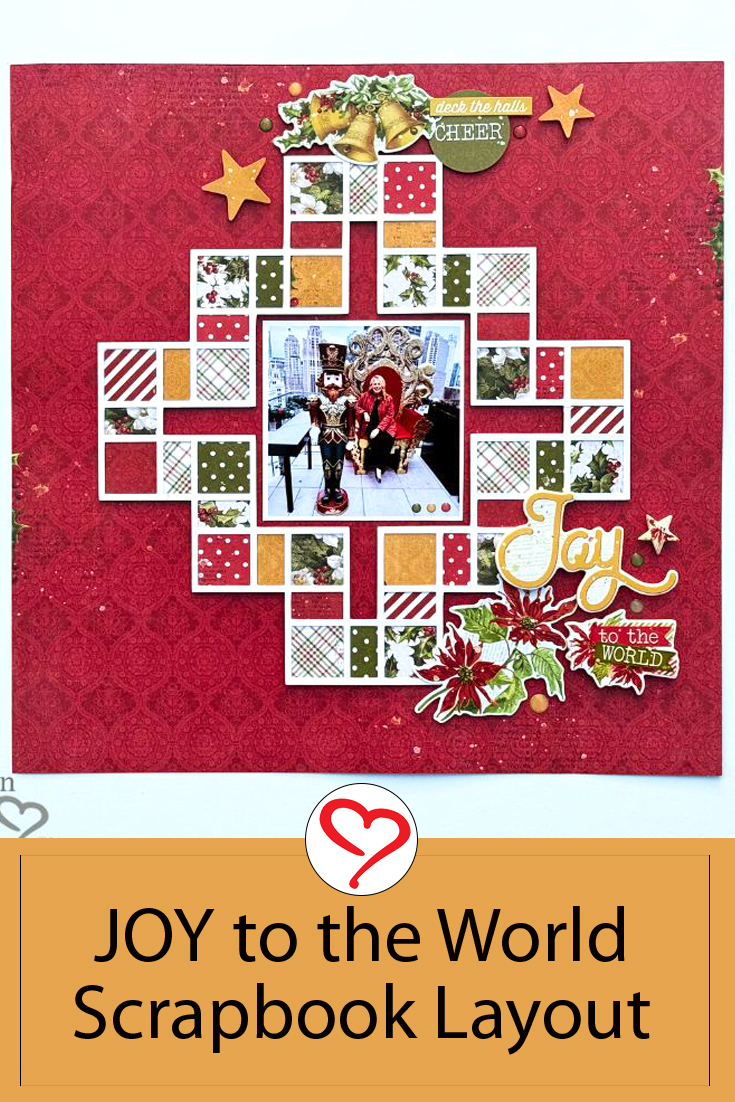
Hi, Ali here today! I am happy to share a festive Joy to the World Layout featuring the Dual Tip Glue Pen. This glue pen is versatile as it has two different tips (wide for larger coverage and fine for narrow areas). The fine tip was perfect for the intricate cut file I used on this layout.
Joy to the World Layout Background
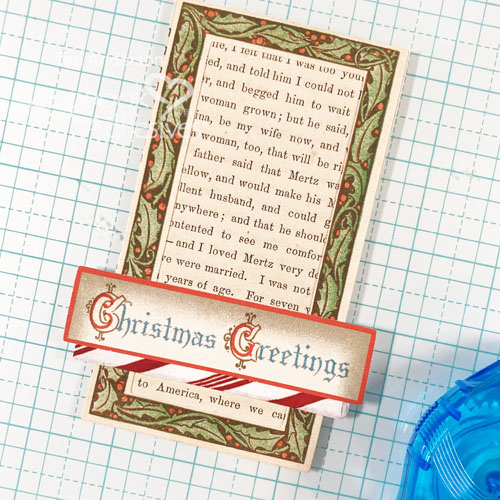
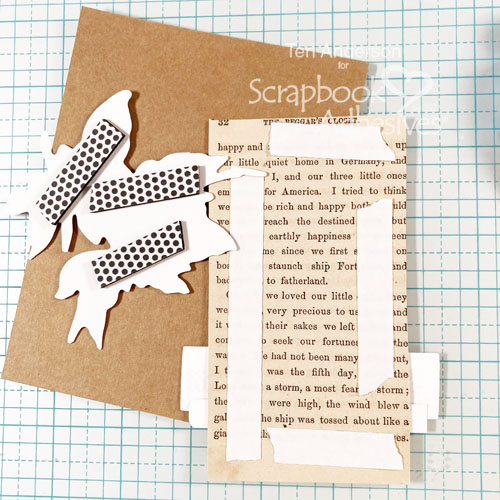
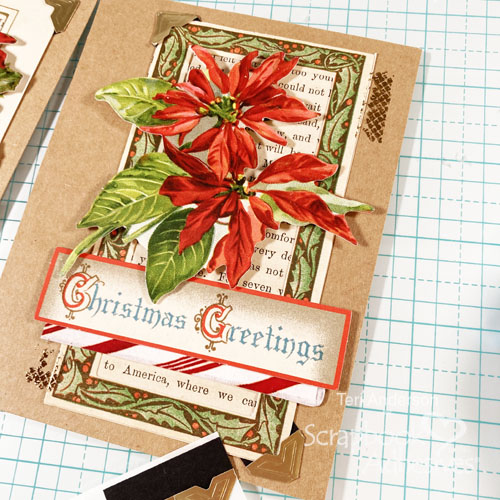
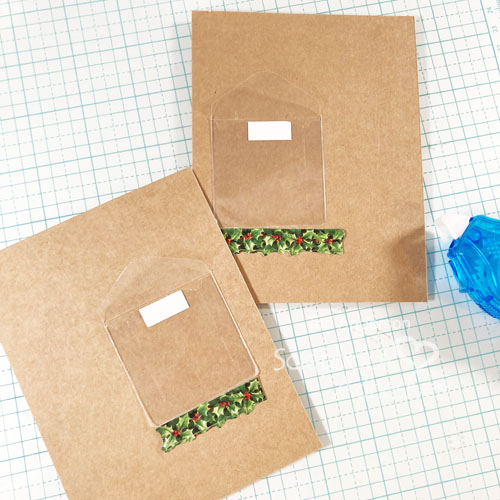
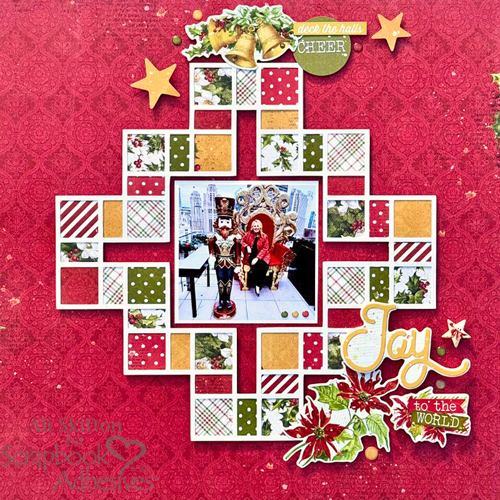
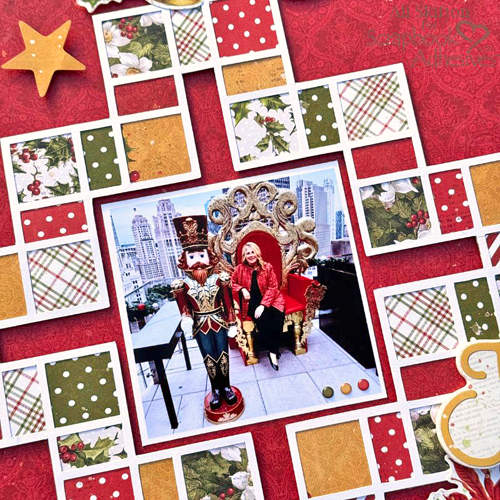
I used the Simple Vintage Yuletide collection by Simple Stories to back up this cut file. The squares were cut using a paper trimmer. Then I used the fine tip on the Dual Tip Glue Pen to glue each square to the back of the cut file. The glue is permanent and dries clear, so you don’t have to worry about any glue residue showing.
Design Details
For dimension, I added Crafty Foam Tape in White 54ft to the back of the finished cut file and centered it on my beautiful red patterned paper. I love the look of this page with the photo of me and the regal Nutcracker in Chicago.
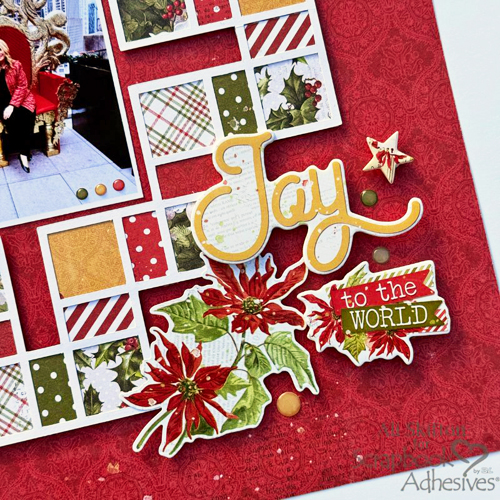
To make my title stand out, I used 3D Foam Squares White Mix and placed it in the bottom right-hand corner, along with poinsettia stickers. On the top of the page, I used the foam squares to secure the bells and stars.
Thank you for visiting my Joy to the World Layout process. Wishing everyone a Happy Holiday!
Thanks for stopping by!
Ali Skifton (FunAdventuresWithAli)
Creative Time: 90 mins
Skill Level: Intermediate
Materials Needed:
Scrapbook Adhesives by 3L®
E-Z Runner® Grand Refillable Dispenser
Crafty Foam Tape in White 54ft.
HomeHobby™ by 3L
Other: Simple Stories Simple Vintage Yuletide Collection.
Click Preferred Retailers List
Save to Pinterest!
Visit our Website and Blog!
Sign up for our Newsletter so you never miss a contest or giveaway!