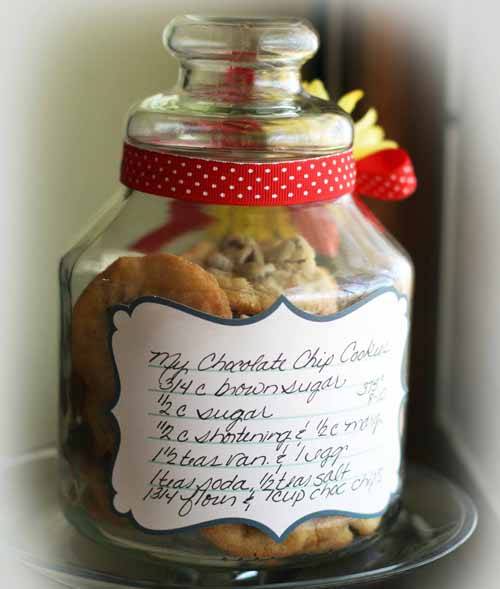
Hello! Vicki here! I love to bake, and I love to share baked goodies with friends and family. I also love thrift store and flea market finds, so in this case they all came together. I recently found this glass container with a lid that caught my eye, ( and was a great price, which is always a bonus). I baked up some of my famous Chocolate Chip cookies and while they were cooling, I got busy dressing up my container.
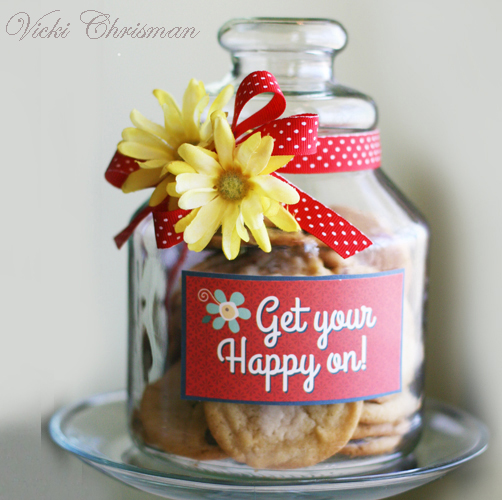
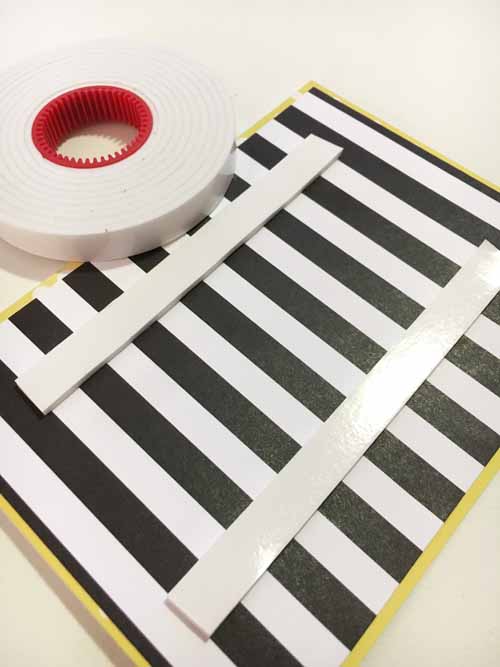
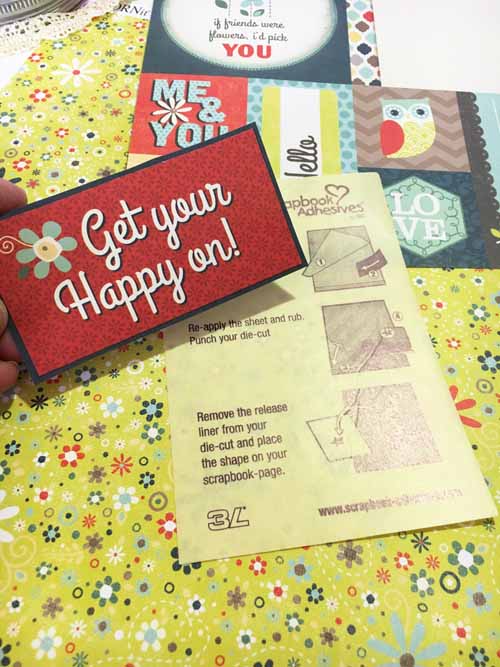
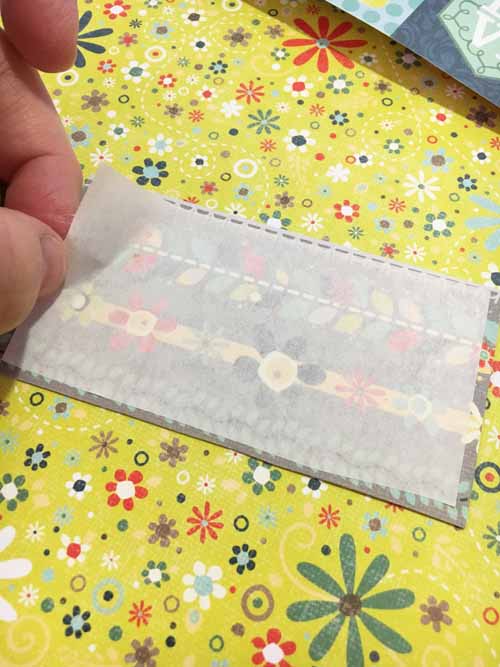
When I give someone something homemade I really like to share the recipe with them. I added the recipe and the “Get your Happy on” title to the jar with Adhesive Sheets 4×6″. The 4 x 6″ size was great for this project. The do such a great job of adhering right to the edge all the way around.
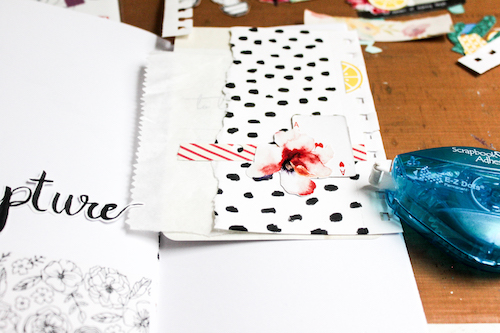
These are great for die cut pieces but are also great for pieces like this, that are being added to something with a curve.
It’s a easy way to dress up a jar, or even repurpose a can.
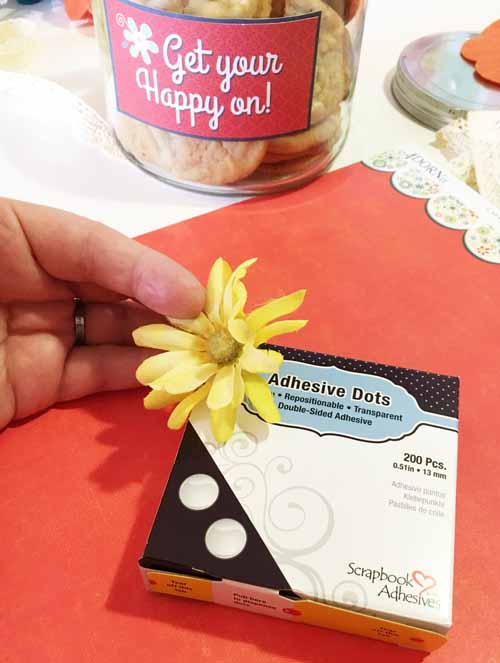
Once I have the paper pieces added, I tied a piece of ribbon around the opening of the jar and added a few flowers. Adhesive Dots Large Repositionable worked great for adding these.
I think I know just who will be getting a little something for their sweet tooth. I hope this easy to put together container makes them smile.
Thanks so much or stopping by!
Supplies Needed:
Scrapbook Adhesives by 3L®
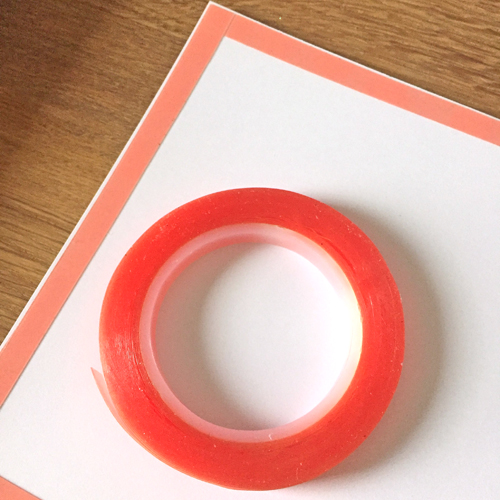
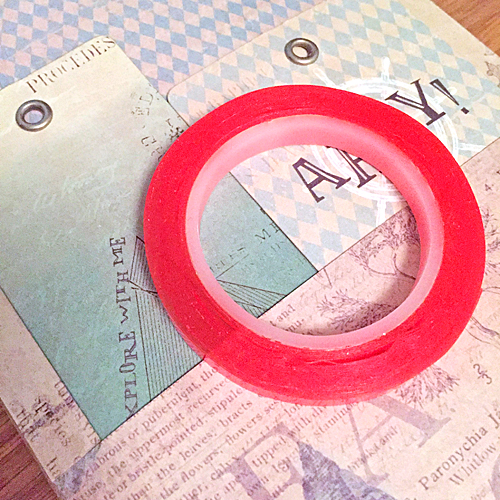
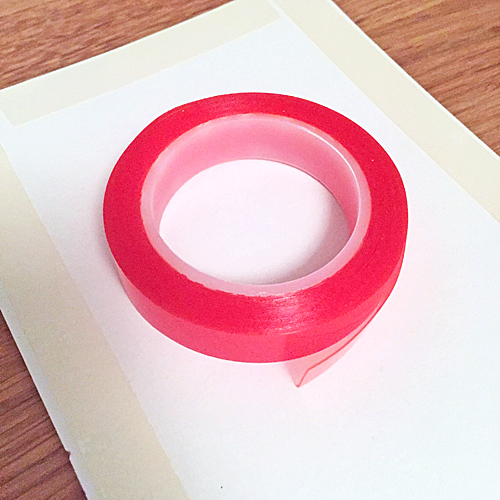
Adhesive Sheets 4×6″
Adhesive Dots Large Repositionable
Other:
ADORNit papers