We are celebrating Altenew’s third anniversary by participating in their fabulous blog hop! Using both Scrapbook Adhesives by 3L® and Altenew products, our Designer Latisha Yoast created a couple of stunning thank you cards to inspire you with. Congratulations to our friends at Altenew!!
Hello friends, Latisha here with a few projects using a few stamp set from the amazing Altenew.
Thanks Card
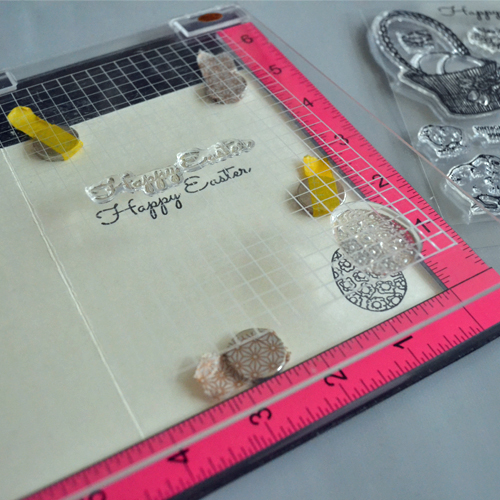
For my first card, I used the Garden Hydrangea Stamp set, this set is a multi layered stamp set. What that means is you can achieve a dimensional flower with depth, using different colors of ink, for each layer.
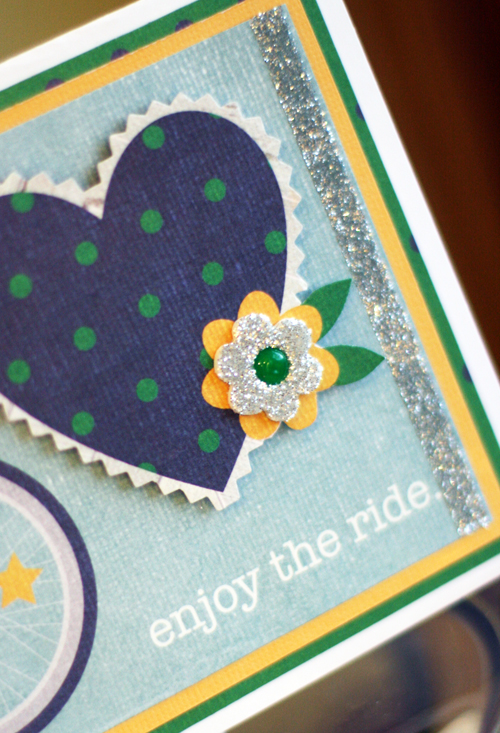
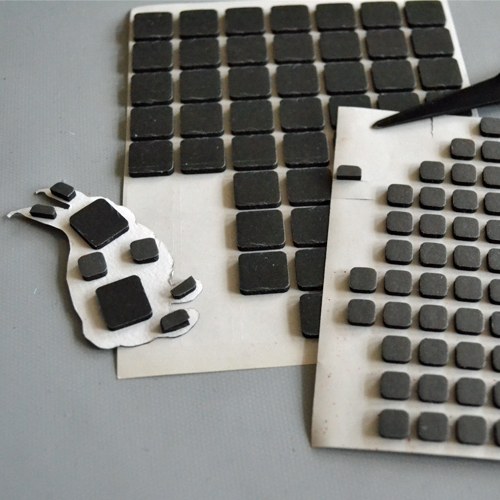
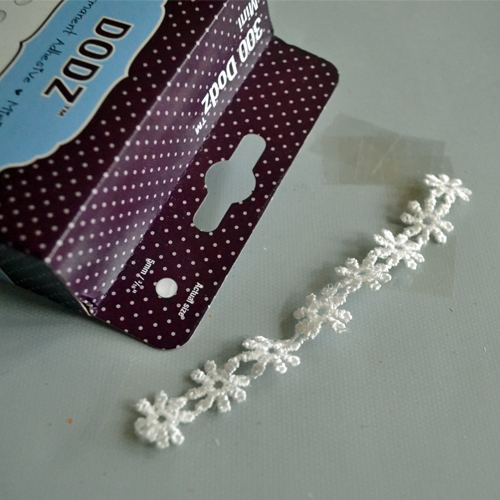
I stamped the hydrangea with assorted red and pink inks, cut it out and set it aside. I did the same with two leaf images with green ink. Using the outside layer of the hydrangea and red ink, I stamped the image several times onto a white card stock panel to create a background. In black ink, I stamped the sentiment. Using Extreme Double Sided Tape 1/4 inch, I adhered glitter to the bottom of the card. The panel was adhered to the card front using 3D Foam Squares White, Regular, as well as the hydrangea and leave. With a single Adhesive Dot Small, the ribbon was adhered and finished off the card.

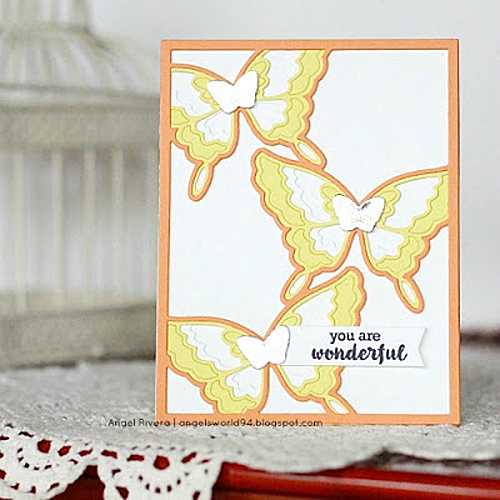
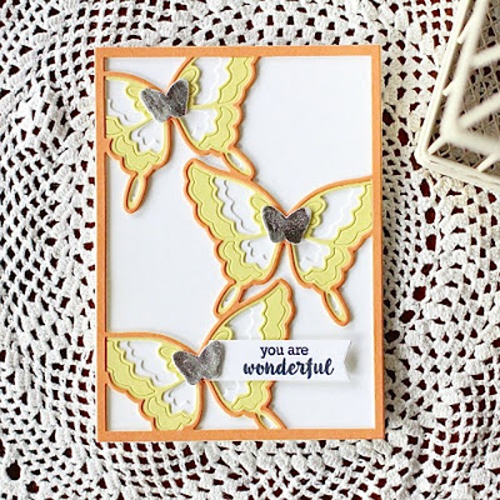
Thank You Card
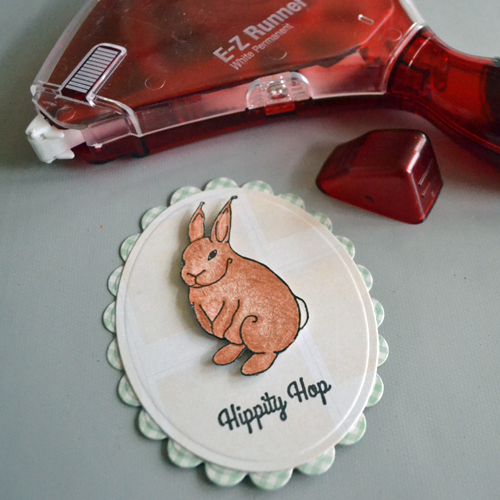
For my next card, I used the Faithful Feather Stamp Set. It also has beautiful feathers, that have several elements to create beautiful feathers. These two stamp sets have similar fonts, so I kept with the Thank You theme.
First I started with the aqua feather, and created it using the different stamp elements and ink colors. Then I stamped it again on a separate sheet of paper, cut it out and used it as mask. To keep the mask in place, I applied E-Z Dots Repositionable Refillable Dispenser. Once I was finished stamping the feathers, I stamped the sentiment in black ink. Glitter was applied to the card using a strip of the Extreme Double Sided Tape 1/4 inch. The white panel was adhered to the card front using 3D Foam Squares White, Regular. Ribbon and the sequins were adhered to the card using Adhesive Dots Small.

SUPPLIES:
Scrapbook Adhesives by 3L®:
HomeHobby Extreme Double Sided Tape 1/4 inch
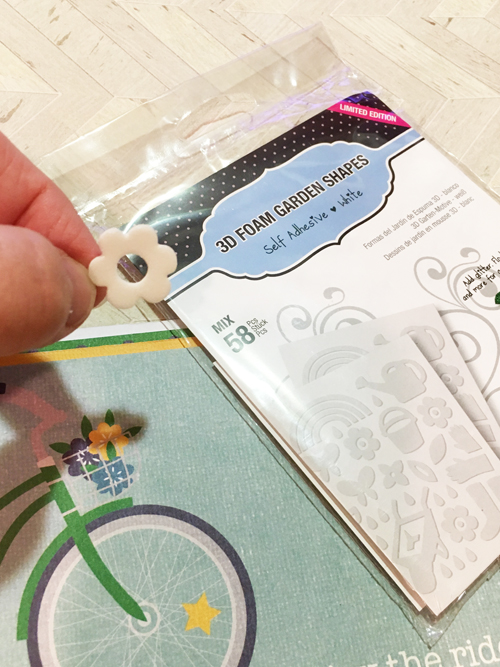
3D Foam Squares White, Regular
Adhesive Dots Small
E-Z Dots Repositionable Refillable Dispenser
Altenew Stamps:
Faithful Feather Stamp Set
Garden Hydrangea Stamp Set
Other:
White and Black Cardstock
Glitter
White Silk Ribbon and Teal Ribbon
Black, Red, Pink, Green, Dark Green, Teal, Purple & Coral inks
Sequins
Altenew Contest Details


Altenew is giving away $50 gift certificates to FIVE lucky winners! There are also 12 awesome companies who are celebrating with us, and they are offering the following prizes:
Leave a comment by Tuesday, April 25, 2017 at 11:59 PM EDT for a chance to win! 21 WINNERS will be chosen at random from the comments left on any of the blogs listed below and will be announced on the Altenew Blog on April 28th, 2017.
Altenew
Lydia Evans
Nichol Spohr
Ellen Hutson LLC
Erum Tasneem
Vincenza Gudor
Scrapbook Adhesives by 3L® (YOU ARE HERE!)
Flora Monika Farkas
TaeEun Yoo
Chameleon Pens
Kristina Werner
May Sukyong Park
Evelyn Yusuf
Keeway Tsao
For the April 11th Blog Hop List, click: Altenew 3rd Anniversary Blog Hop – Day 1!
To see April 13th Blog Hop List, click: Altenew 3rd Anniversary Blog Hop – Day 3!
Thanks and leave your comment below!
If you cannot see the comment section (at the bottom of this post), please click: Join Us for Altenew 3rd Anniversary Blog Hop and scroll down to the bottom of the post.
Connect with Us!
Visit our Website and Blog!
Sign up for our Newsletter so you never miss a contest or giveaway!


Save
Save
Save
Save
Save
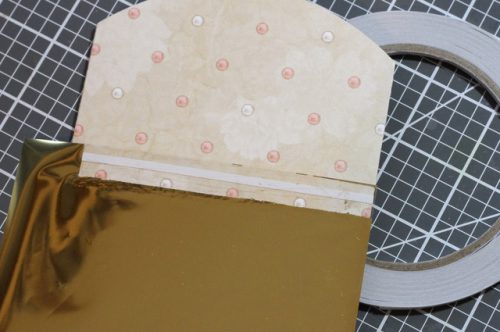
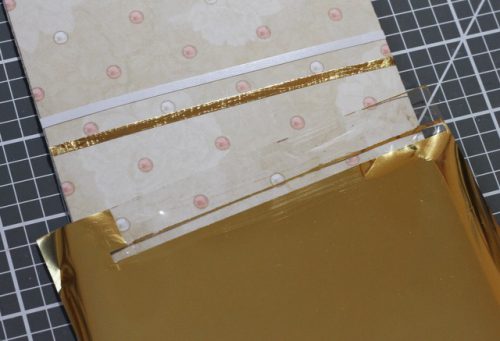
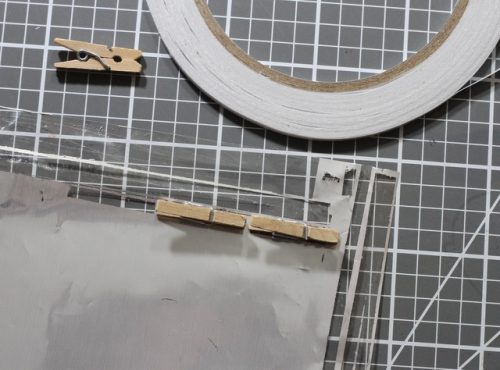 Again, using the same sized adhesive- place the adhesive on your clothespin, and gently burnish the tape into the wood first. You will then remove the backing, and place onto the foil and press down gently.
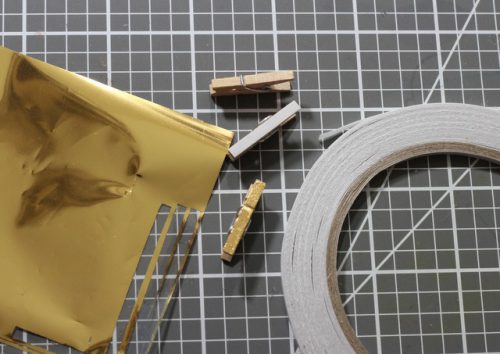
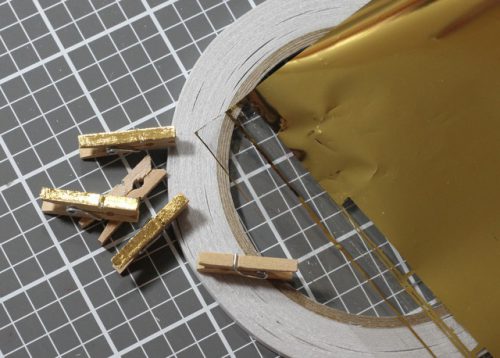 When you are done, you have fun little agents you can use on your projects!