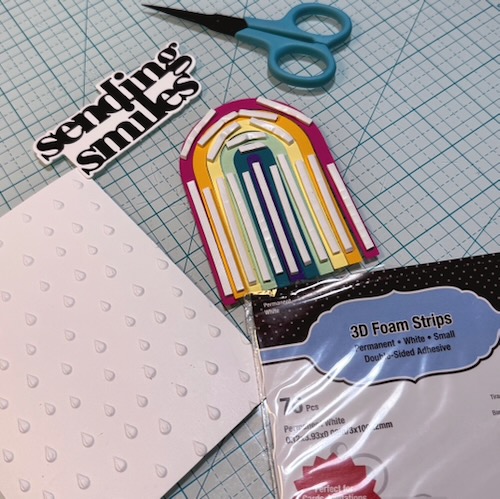
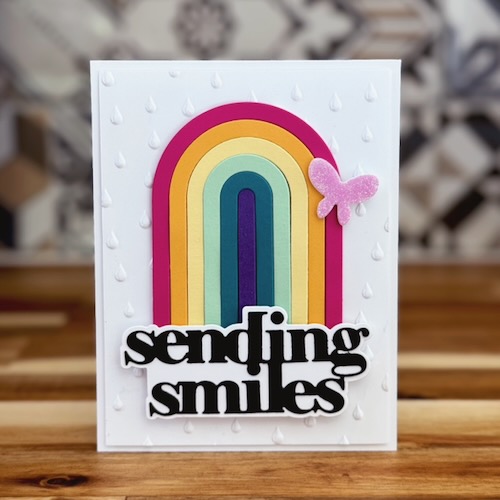
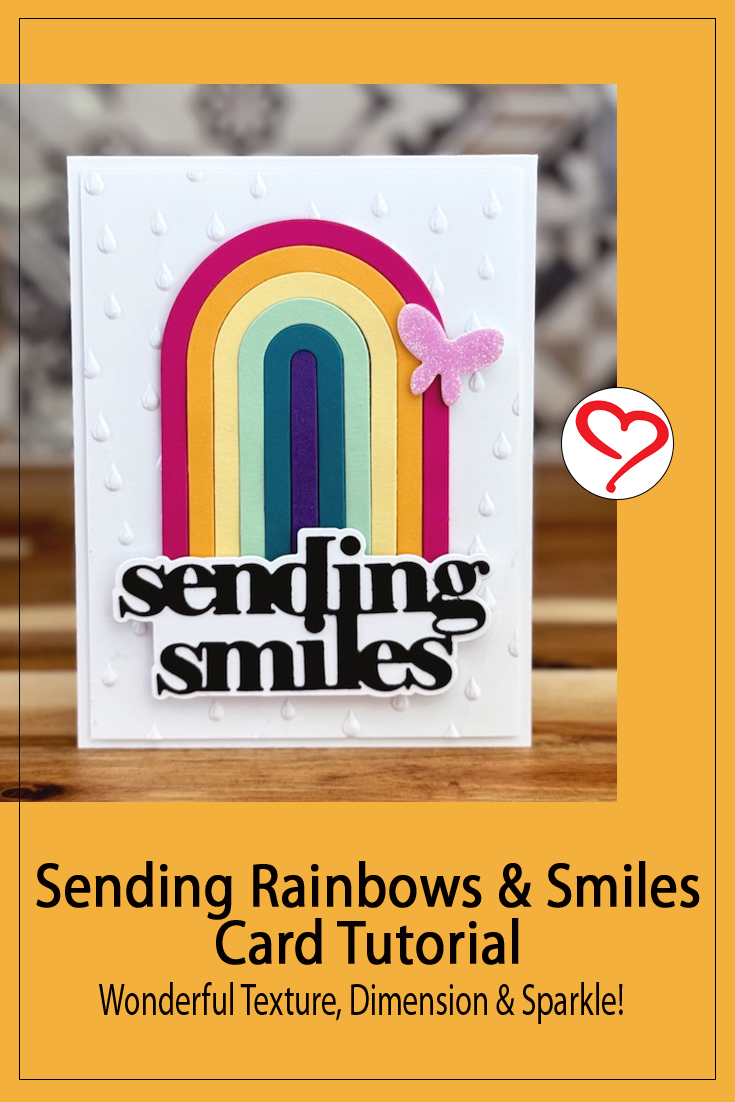
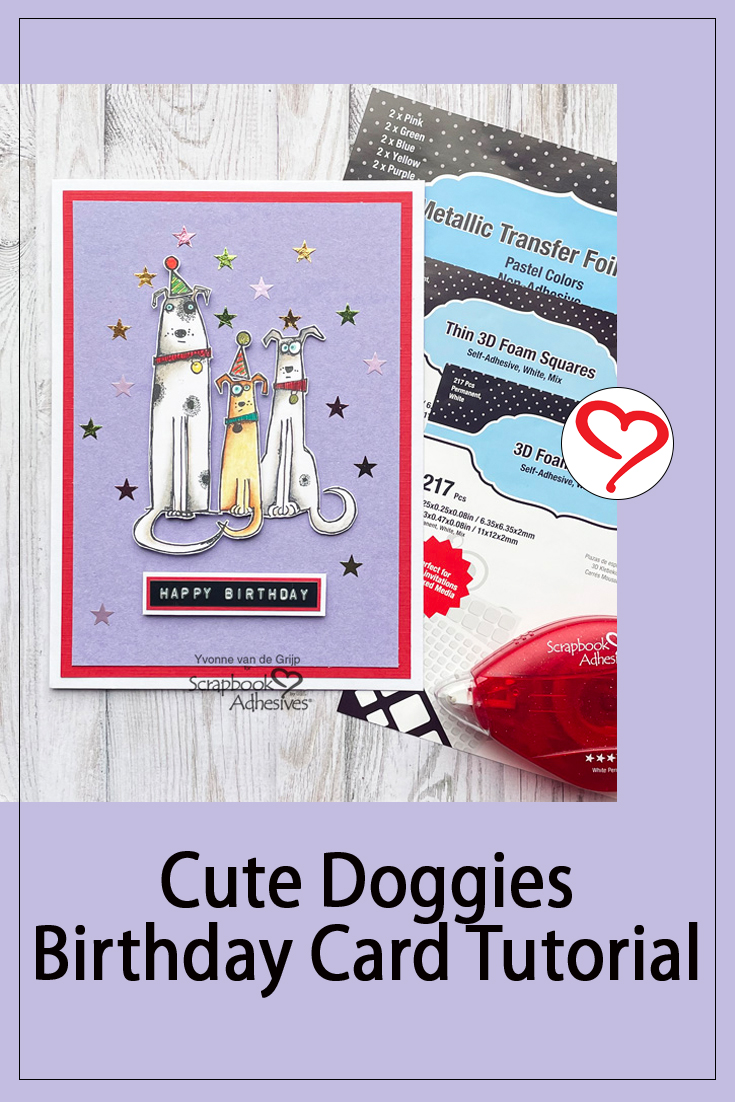
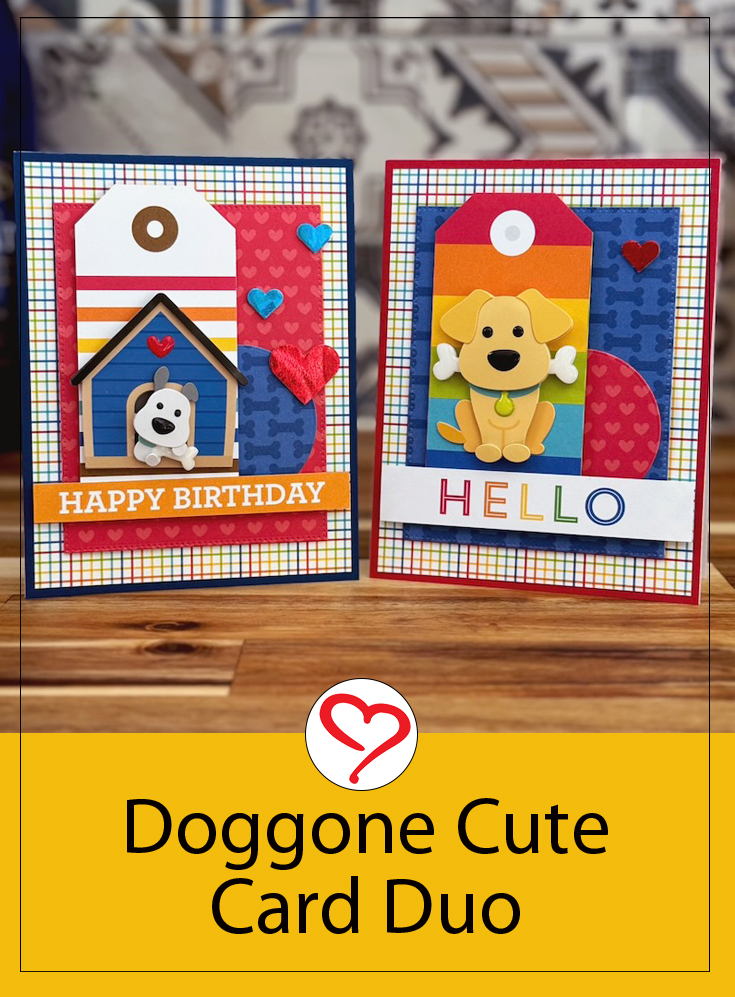
Hi, Jingle here today, and I have some very cute Doggone Cute Card Duo to share with you. The best part is…they are easy peasy to create and full of color!
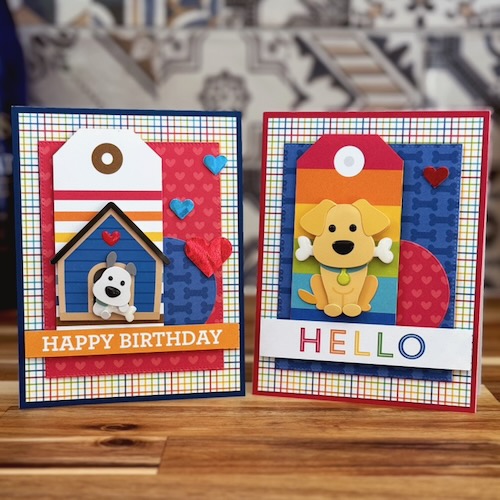
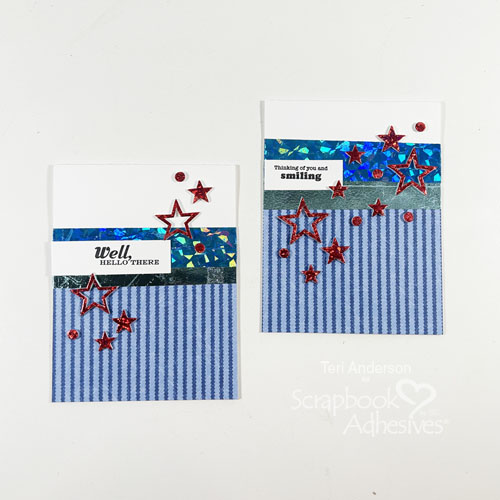
Aren’t these pups just the CUTEST?! Using a coordinating scrapbooking collection is a great way to quickly put together card designs that pack a lot of punch in a small amount of time. You can step them up using a few fun products from Scrapbook Adhesives by 3L.
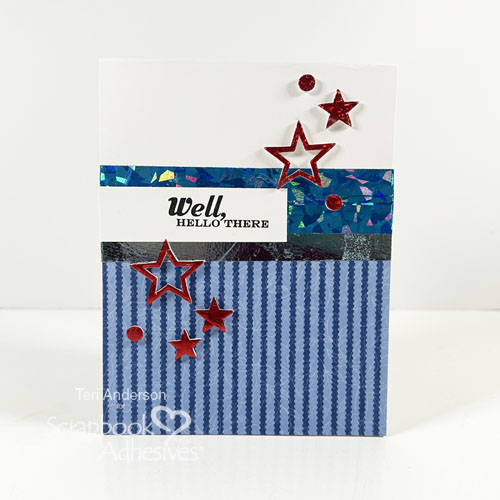
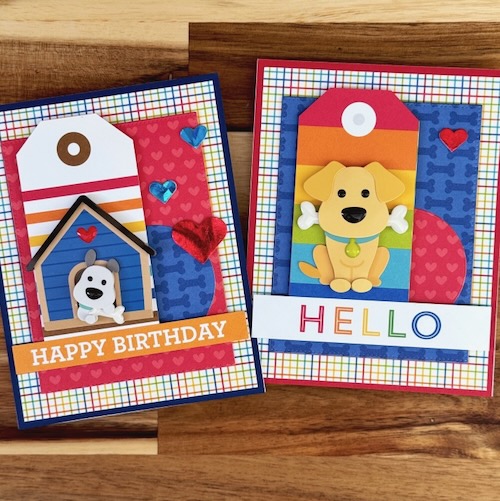
Doggone Cute Hello Card
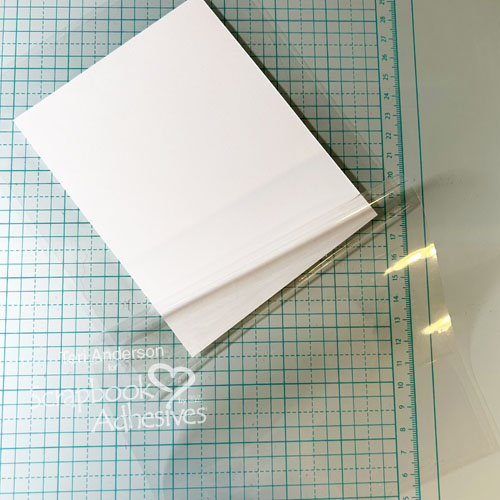
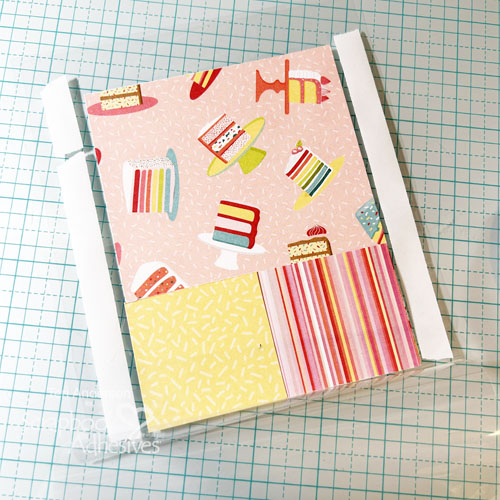
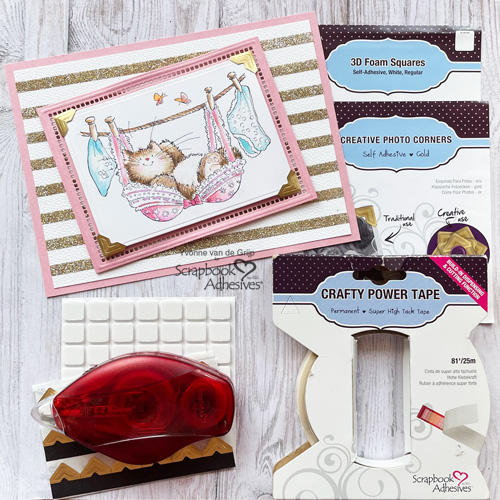
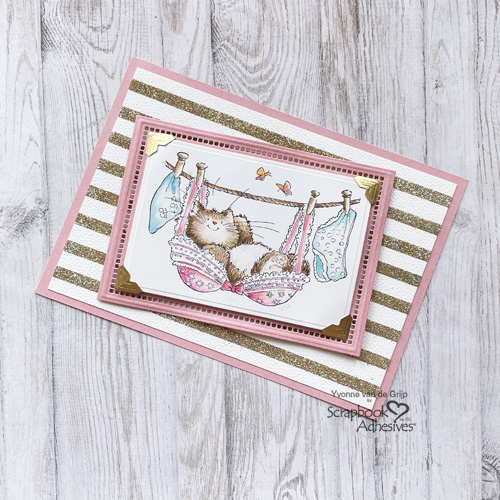
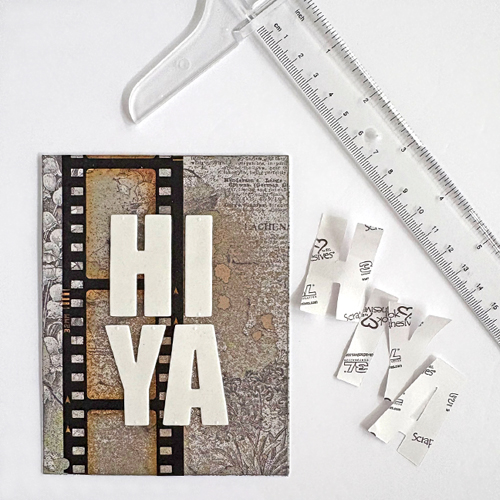
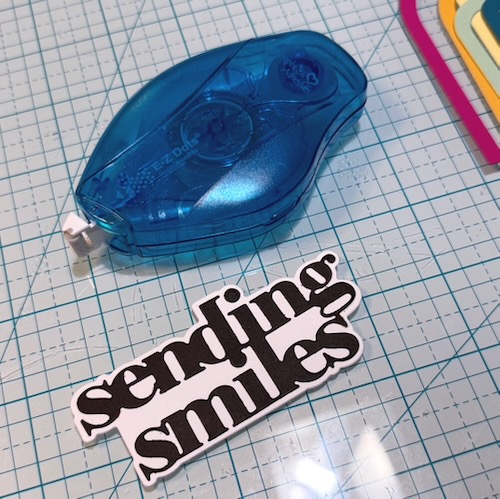
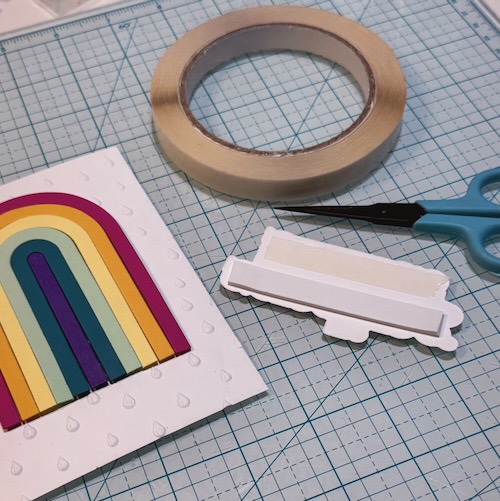
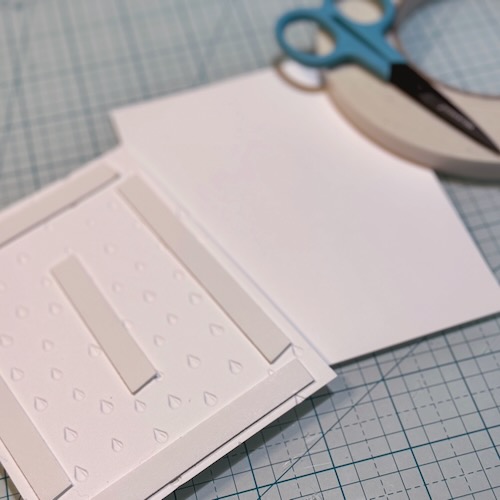
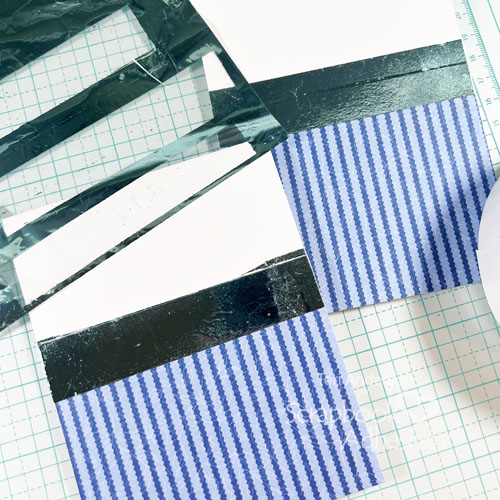
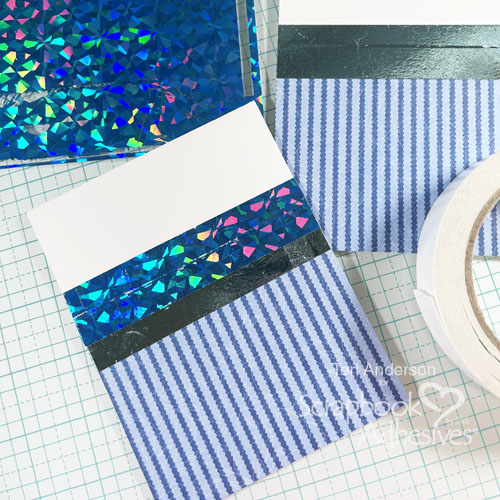
For this friendly hello, I used three different patterned papers, a paper tag, and a sentiment strip all cut from the same paper pack. The E-Z Dots® Permanent Refillable Dispenser was used to secure the two card panels.
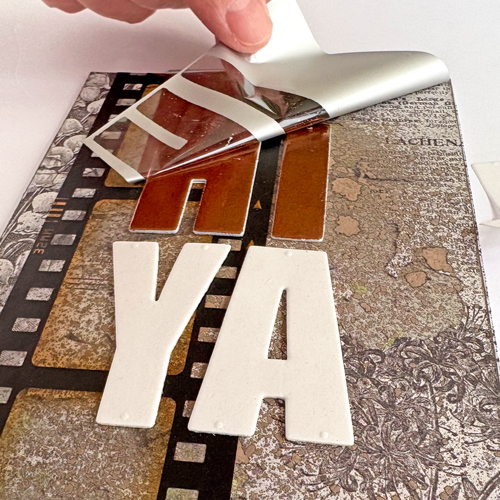
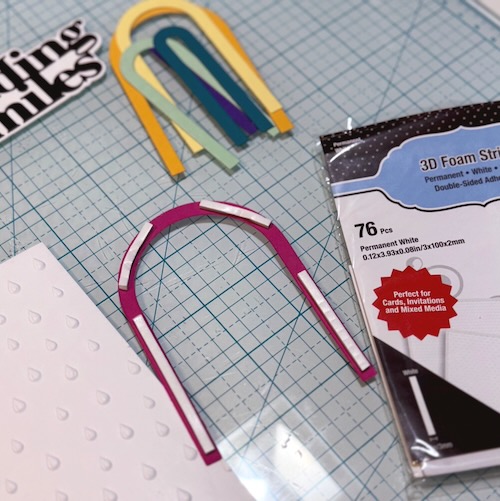
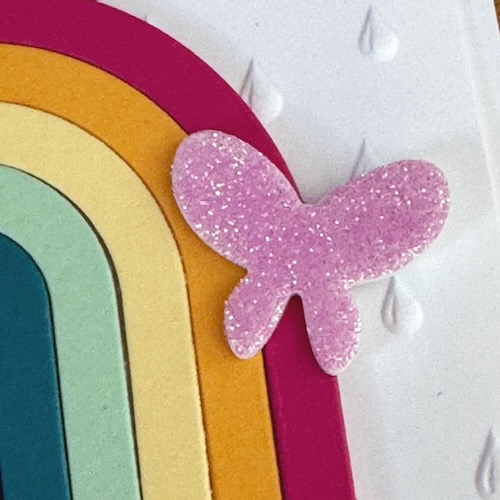
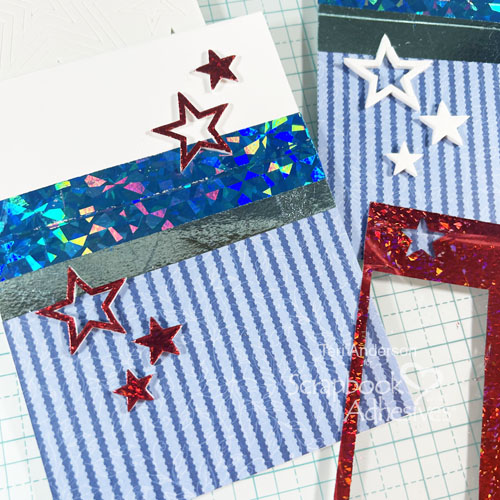
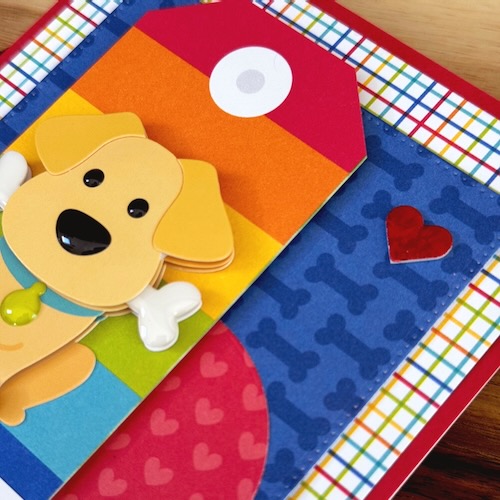
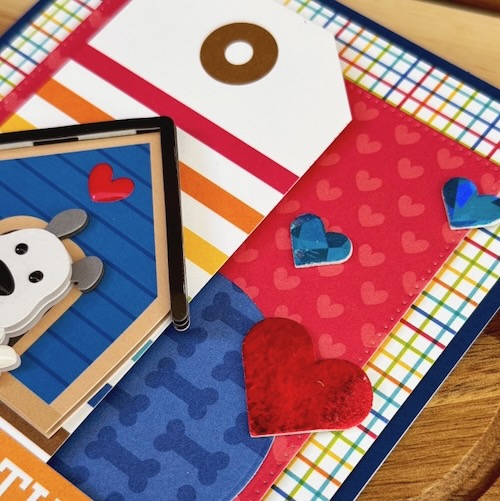
The tag is mounted with Crafty Foam Tape White 54ft to give it a bit of extra dimension. The little dog is a dimensional sticker from the same collection! Finally, to add a bit of shine, I added a single love heart from the 3D Foam Hearts set with just a bit of red foil from the Metallic Transfer Foil Sheets Celebrate Colors. Make sure the foil color is facing you when applying it on top of the heart!
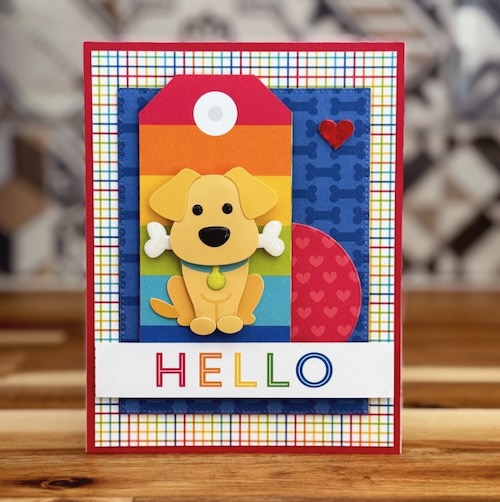
The HELLO sentiment was adhered with 3D Foam Squares White Mix for interest and dimension.
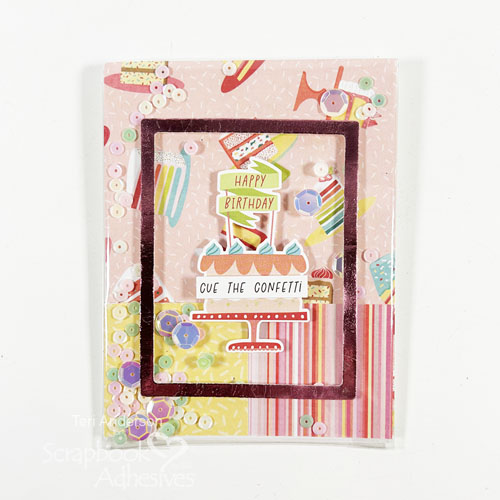
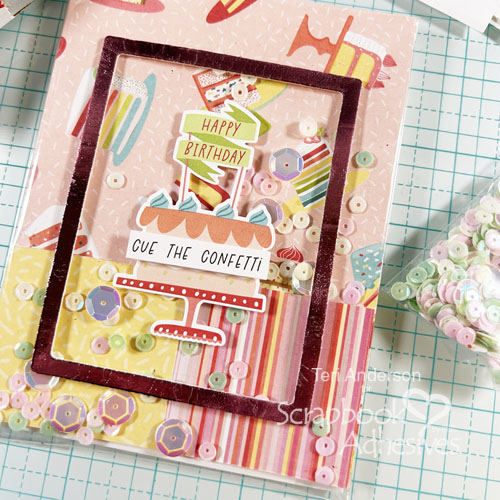
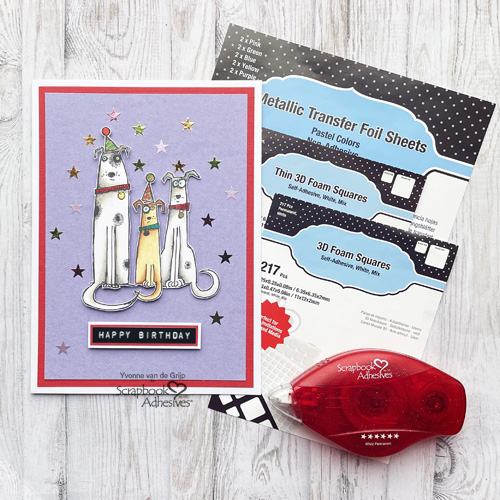
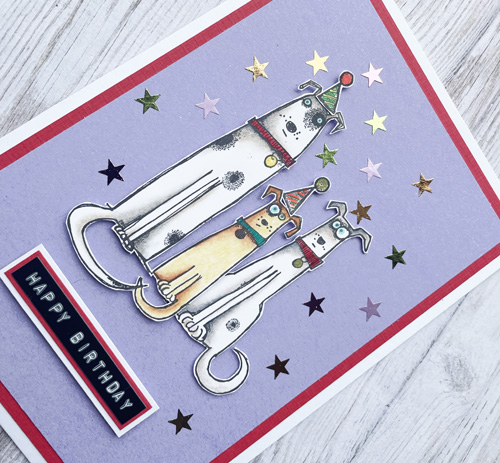
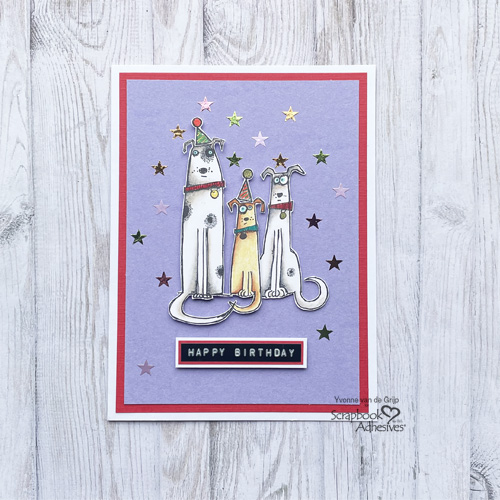
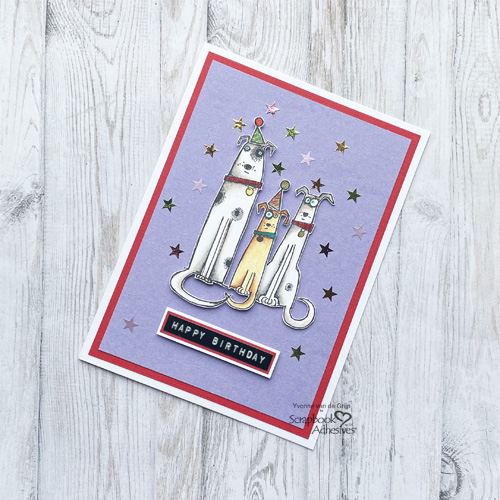
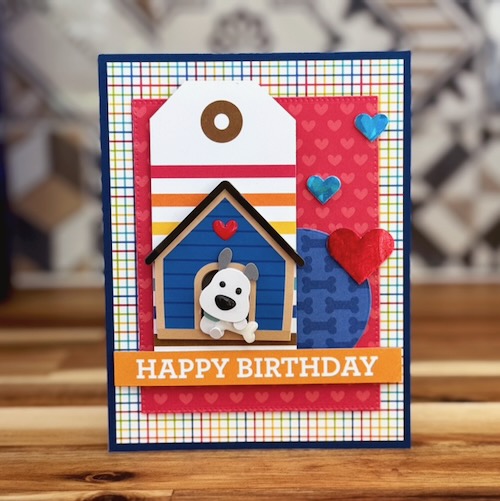
Doggone Cute Happy Birthday
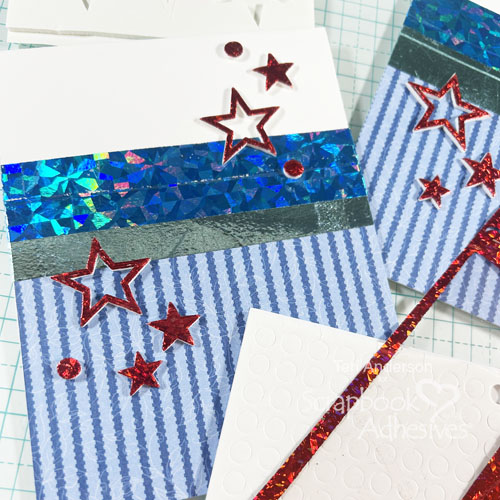
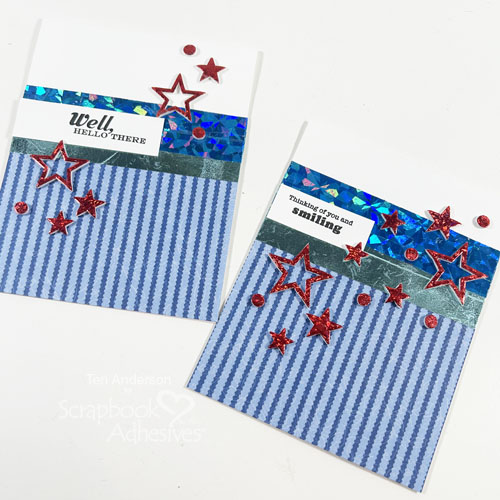
I couldn’t stop with just one of these fun designs, so I created a second card using the same basic layout. For this one, however, I added three of those 3D Foam Hearts for even more sparkle!
I love how the foil works so well with the brightly colored patterned papers.
These cards were so much fun to create and they came together so easily! I hope you are inspired to make your own!
Thanks for stopping by!
Jennifer Ingle (aka Jingle)
Creative Time: 20 mins
Skill Level: Beginner
Materials Needed:
Scrapbook Adhesives by 3L®
E-Z Dots® Permanent Refillable Dispenser
Metallic Transfer Foil Sheets Celebrate Colors
Other: Papers, Stickers + Ephemera: Doodlebug Design (Doggone Cute); Blue, Red, & White Cardstock
Click Preferred Retailers List
Save to Pinterest!
Visit our Website and Blog!
Sign up for our Newsletter so you never miss a contest or giveaway!