Hi crafty friends! It’s Lisa back on the blog today and it’s Veterans Day here in the United States and a lot of people have the day off. Some are shopping or sleeping in or just enjoying having the day off. But, I *AM* actually a Veteran of the United States Air Force and Latisha Yoast’s husband is active duty Navy.
Veterans Day pays tribute to all American veterans–living or dead–but especially gives thanks to living veterans who served their country honorably during war or peacetime.
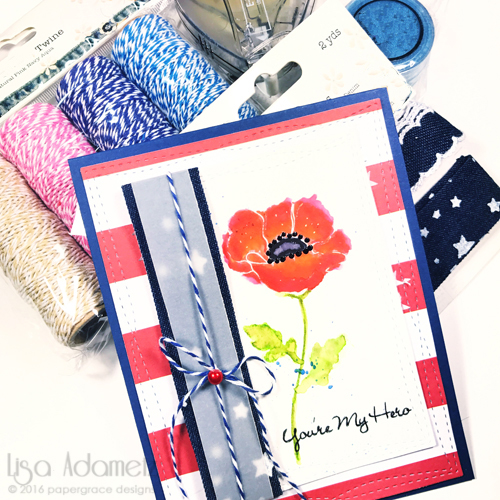
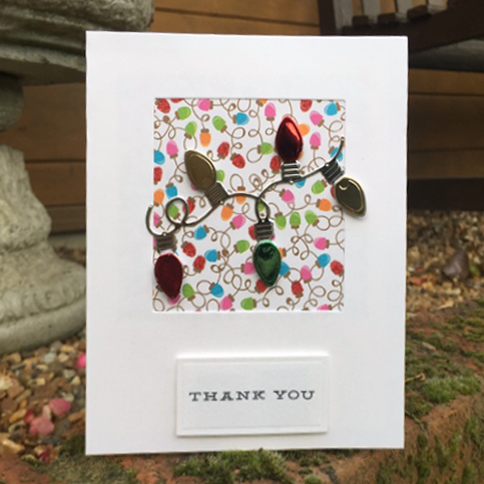
I made today’s card to give thanks to all of our great nation’s Veterans. And I hope you like it.
Making a Veteran’s Day Card
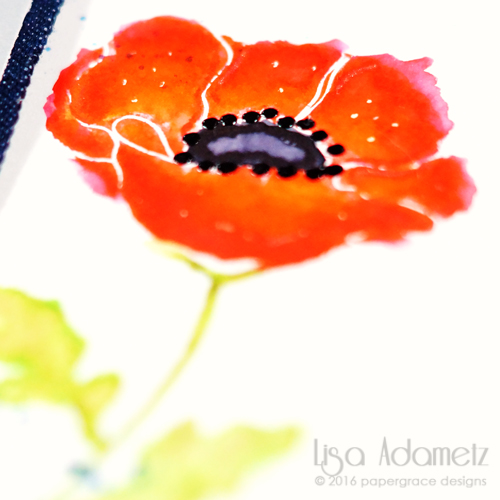
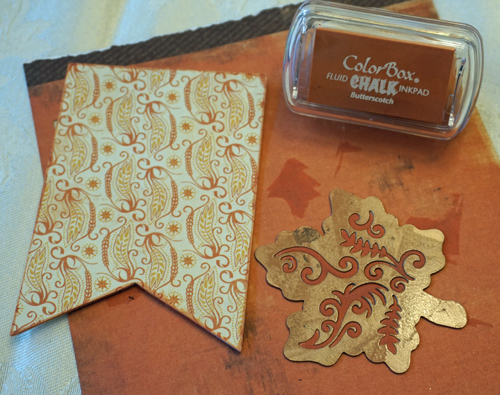
The poppy was stamped and watercolored and at the end I added some black Enamel Accents around the center of the flower.
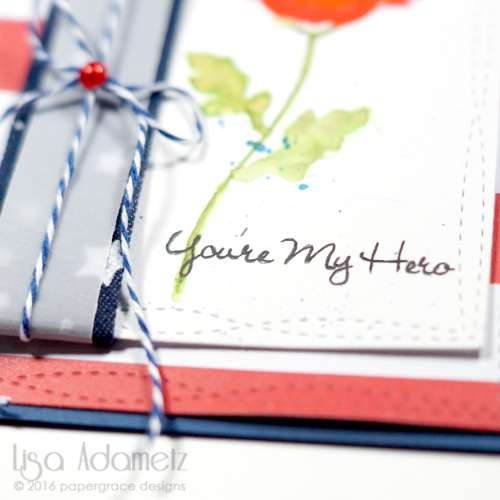
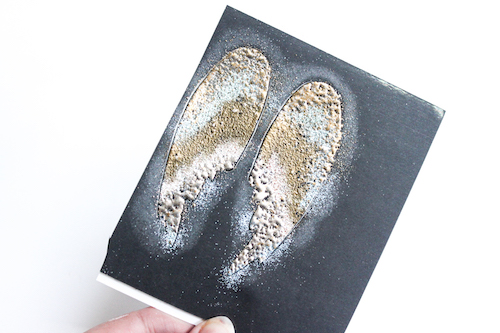
Once it was dry, I added some blue pigment powder to my work surface and a little water. I picked this up with a paint brush and splattered it over the painted poppy. The sentiment was then stamped. A few dots were added with a white gel pen.
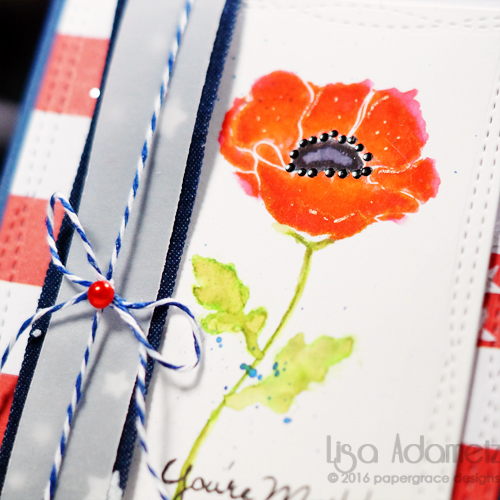
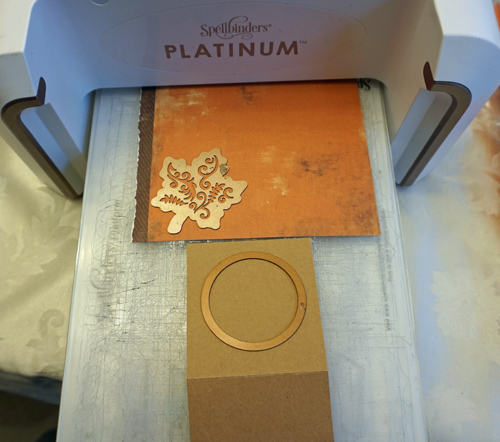
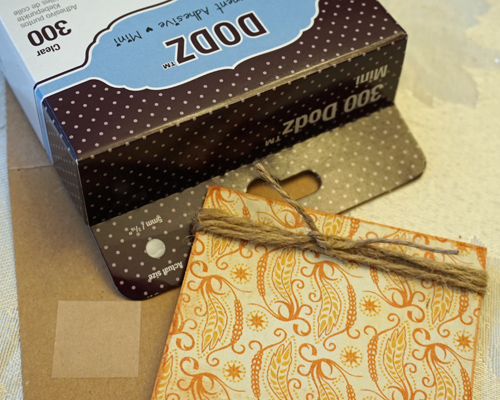
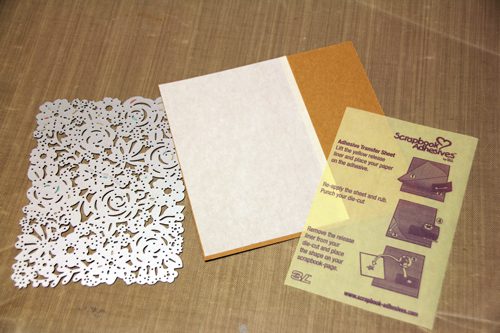
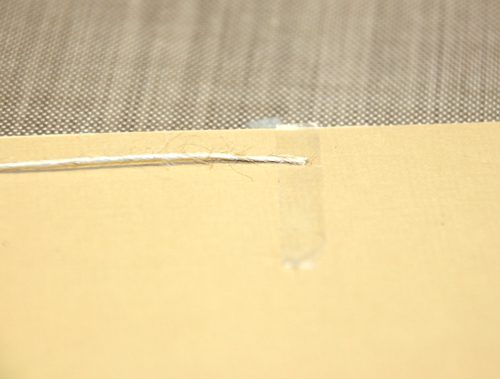
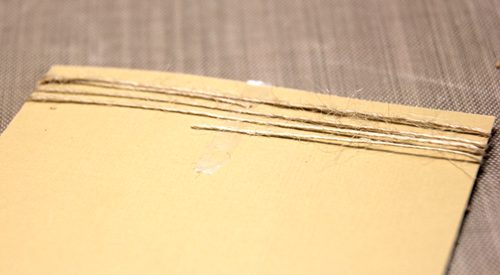
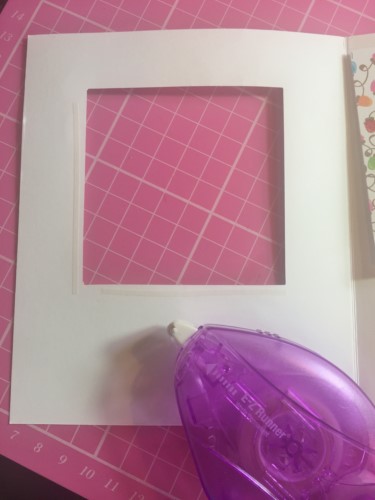
The panel was die-cut. Around the left edge I added dark denim ribbon with white stars and adhered it using the E-Z Runner® Ultra Refillable Dispenser. A piece of vellum was cut and adhered to the back side using the same adhesive. Finally, a piece of twine was wrapped around on top, tied in a bow, and stiffened with the decoupage medium. And a pearl was added on top.
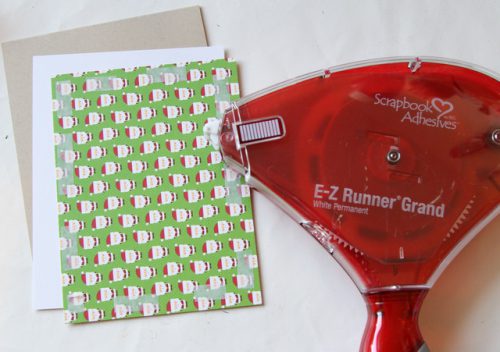
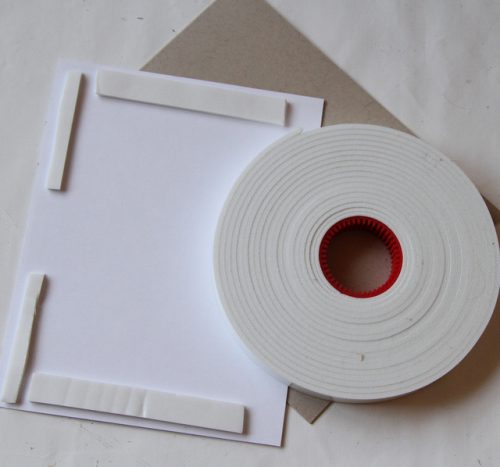
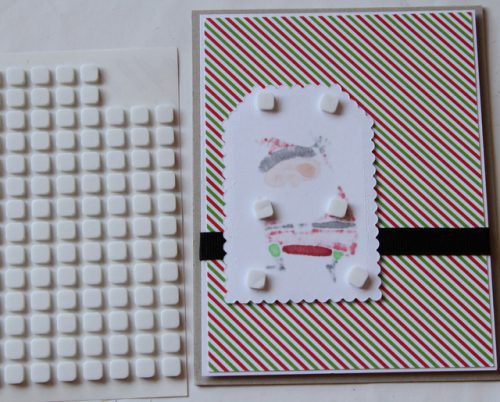
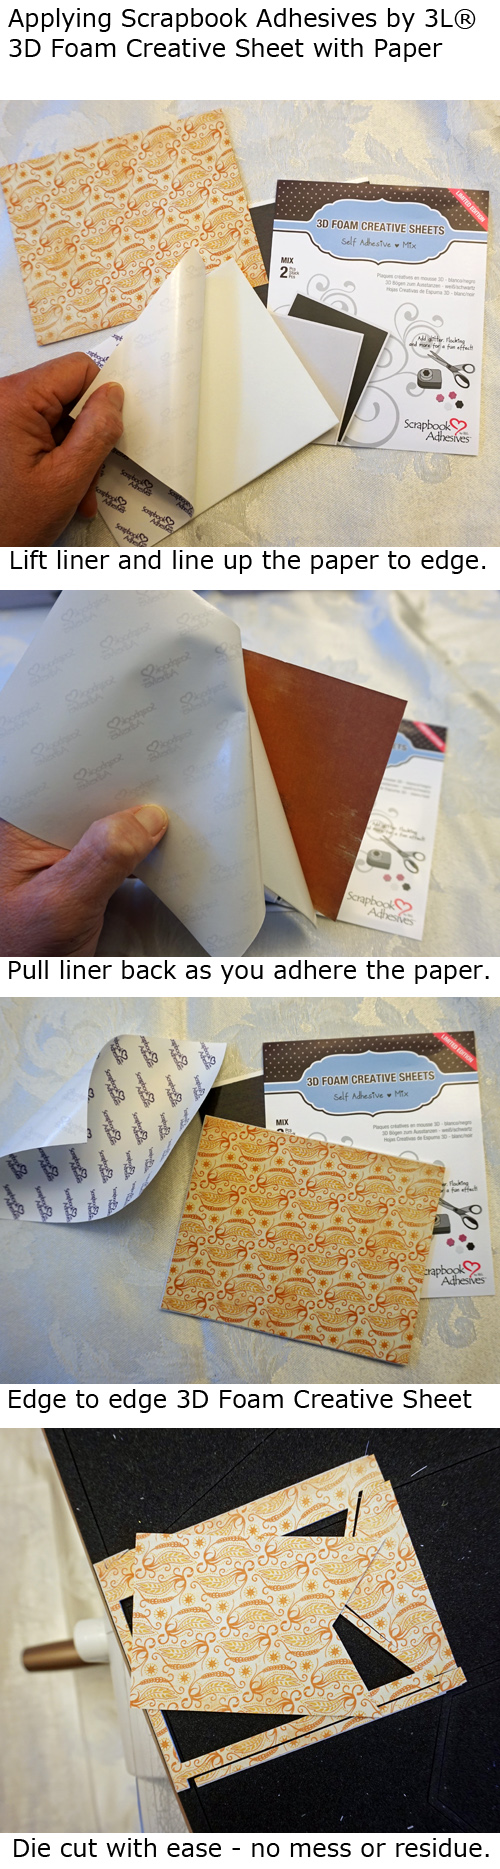
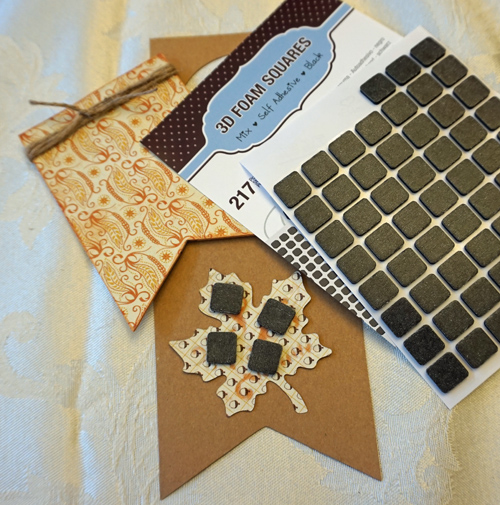
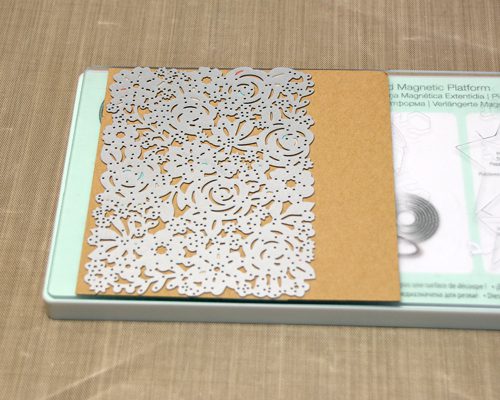
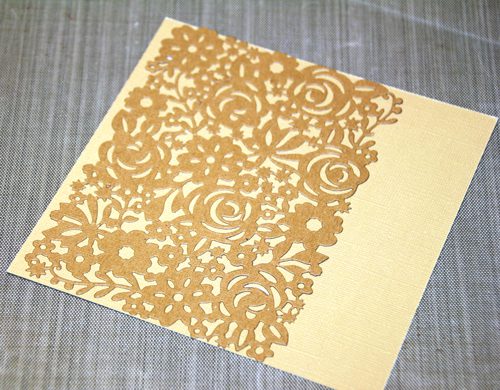
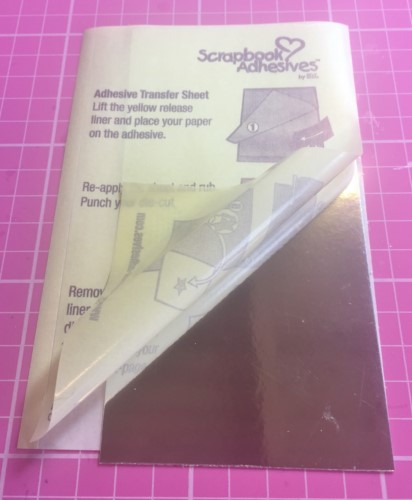
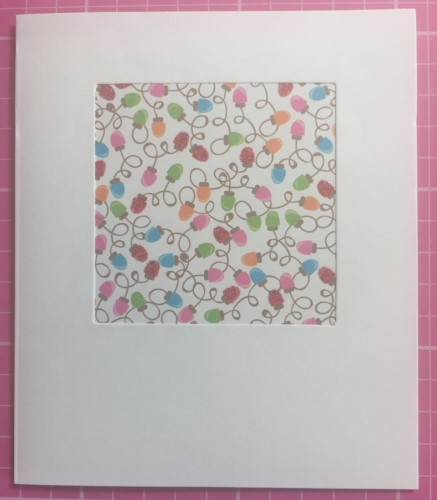
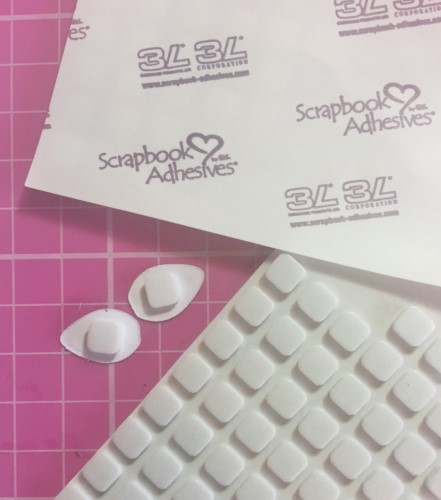
A piece of patterned paper was die-cut and adhered using the E-Z Runner® Ultra Refillable Dispenser and adhered to my card base. Then the piece with the poppy will be added. Just a few pieces of Thin 3D Foam Squares Mix White to the back of the panel before adhering and it’s ready to go!
This beautiful, patriotic card is sure to make ANY Veteran smile on this Veterans Day. And be sure to say Thank you if you do know someone who has served or is serving our country. Most of us do it because we love this land we call home and we want to make this world a better place to live in. ♥
Click Here to Find more Patriotic Crafts
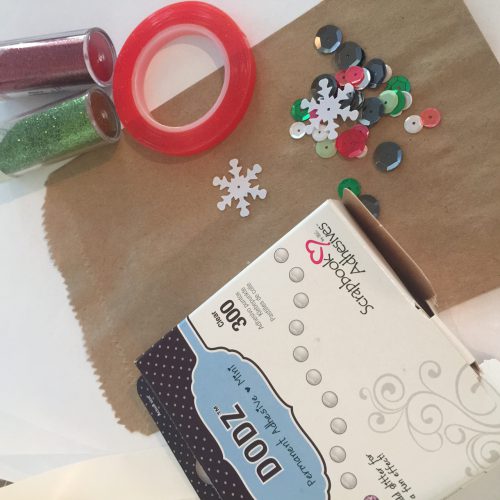
SUPPLIES:
Scrapbook Adhesives by 3L®:
3D Foam Squares – Mix White
E-Z Runner® Ultra Refillable Dispenser
Twine
Decoupage Medium
Denim Ribbons
Pigment Powder Blue
Other Products:
Stamps & Dies: My Favorite Things
Cardstock: Bazzill
Patterned Paper: Jen Hadfield for Pebbles
Ink: Zig Clean Color Real Brush Markers
Other: My Mind’s Eye, Ranger Enamel Accents
Save
Visit our Website and Blog!
Sign up for our Newsletter so you never miss a contest or giveaway!


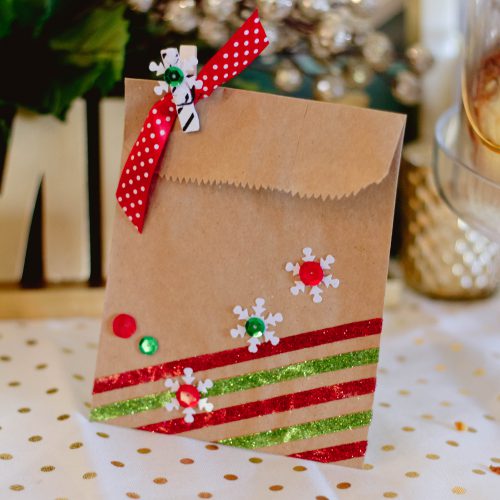


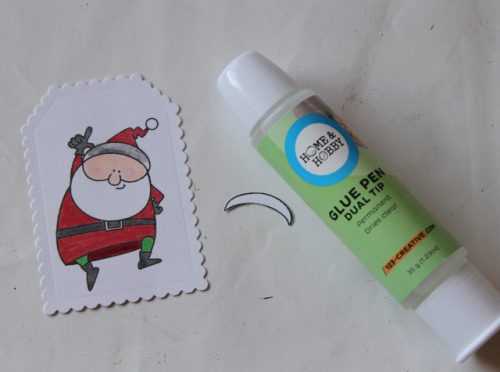
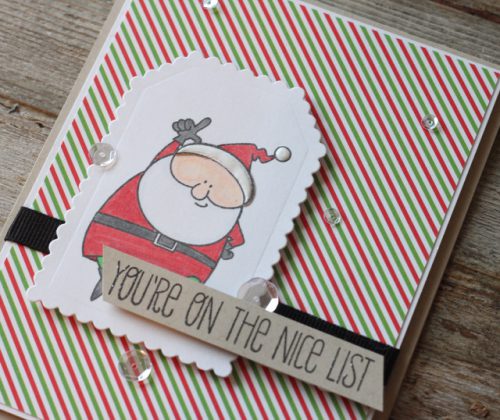
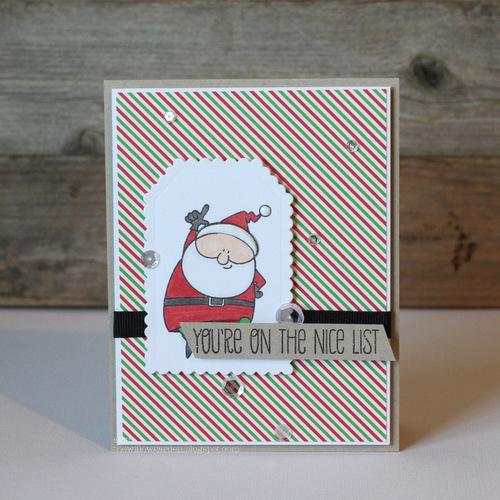 I love the little happy Santa, and am sure the recipient who is on the nice list will also.