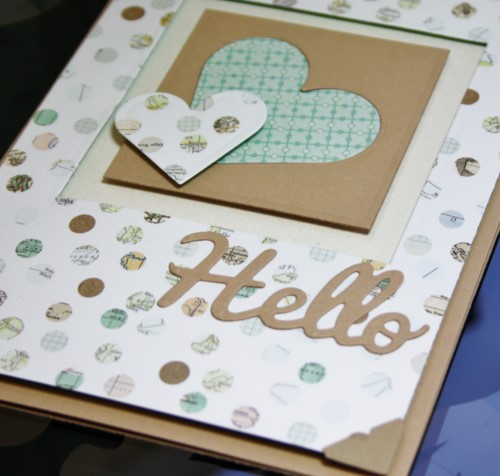
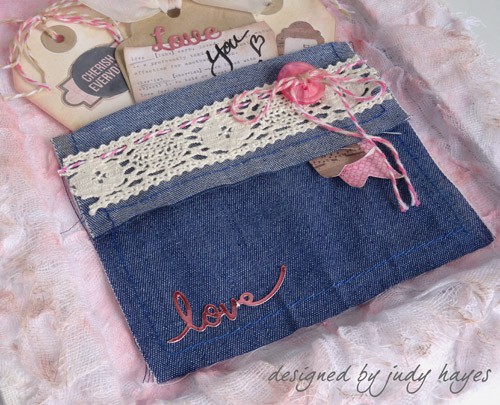
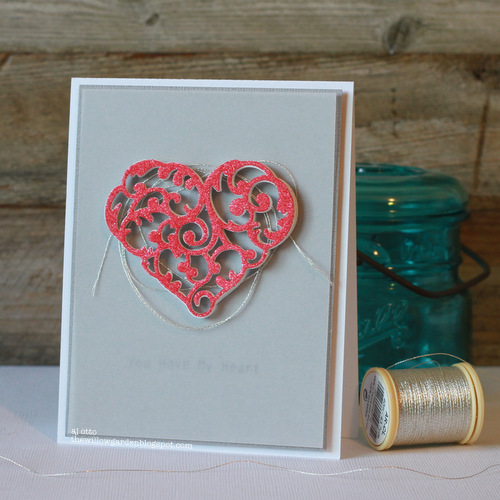
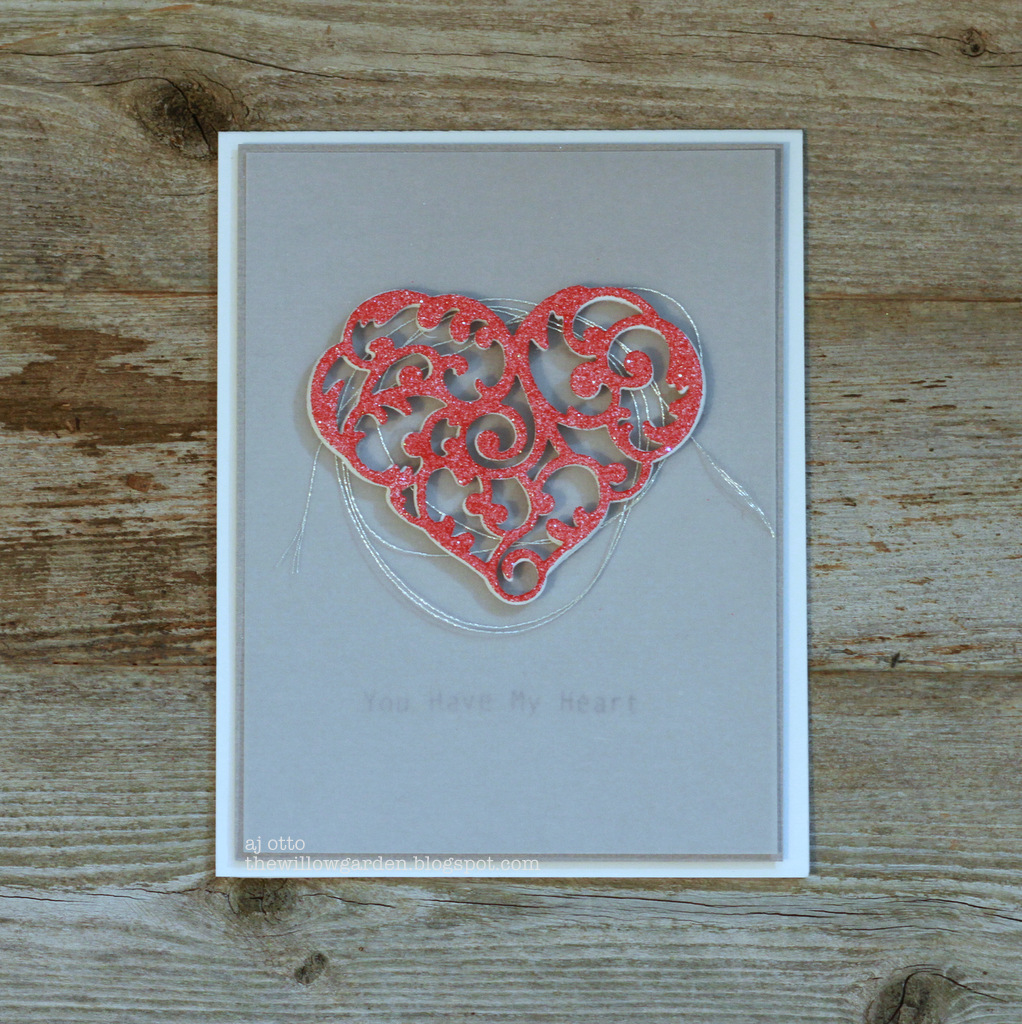
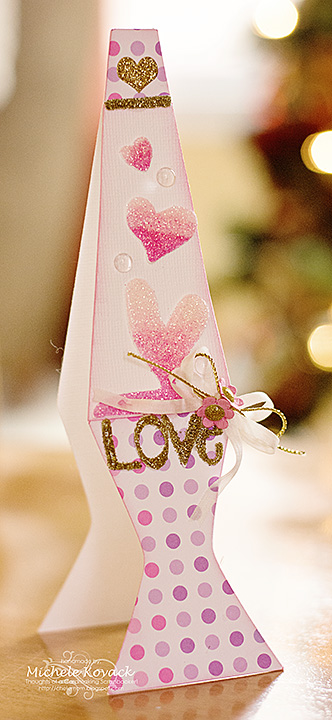
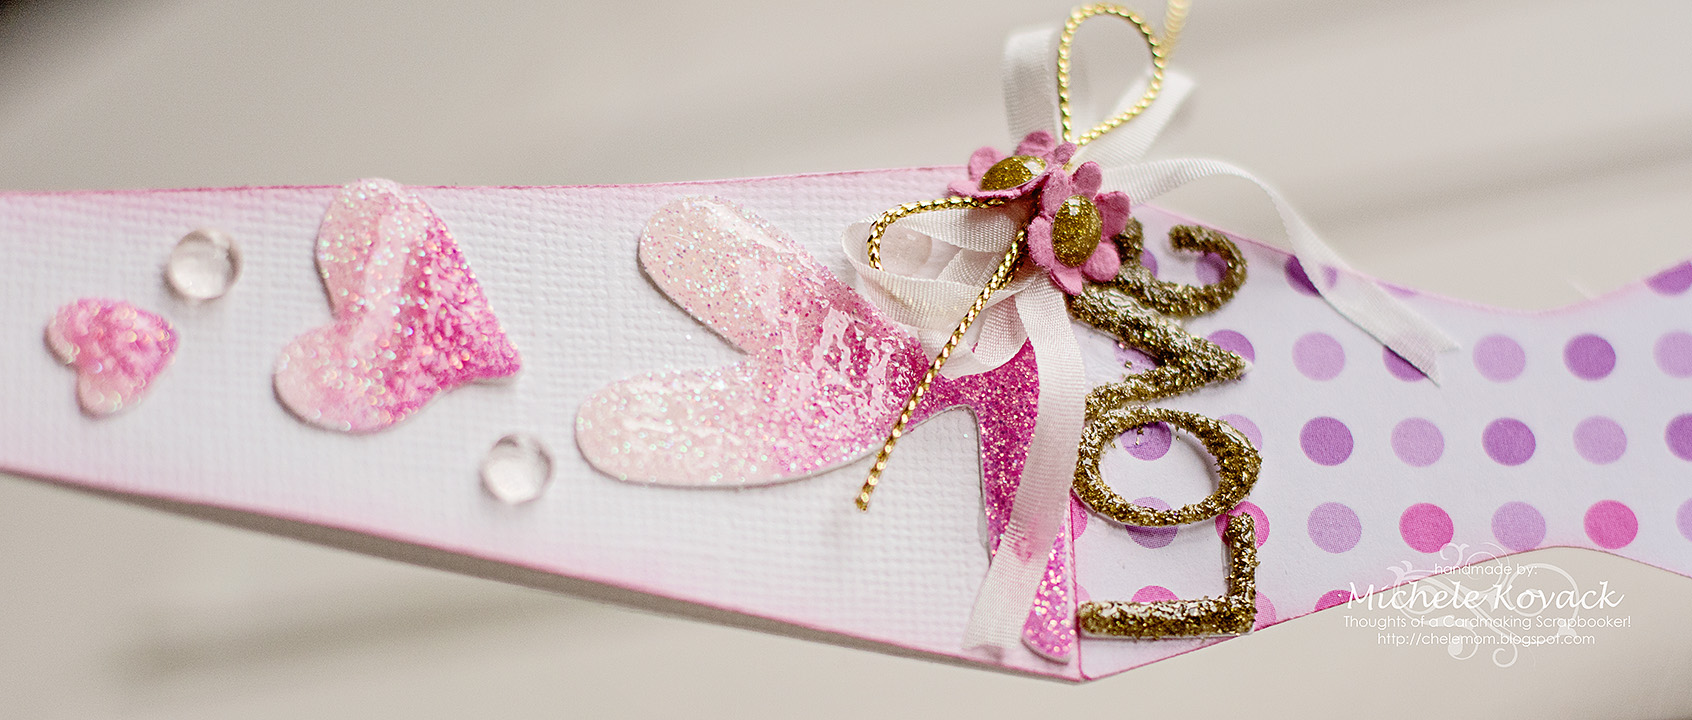
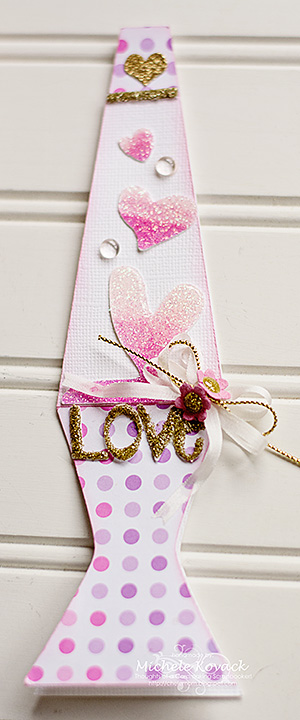
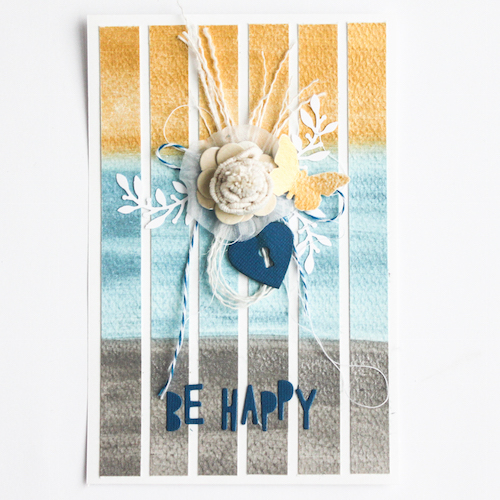
Hi everyone, Christine here today. Thinking of Valentine’s Day in a less traditional red heart way, I’ve chosen to make a heart card using more subtle colours.
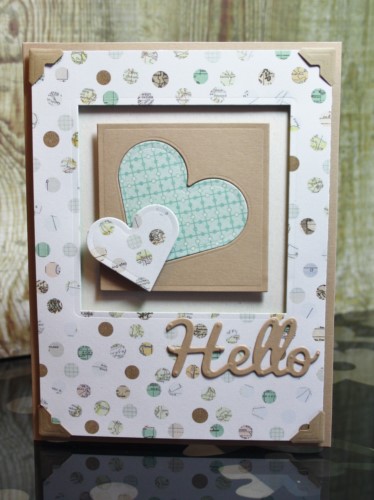
I created my card base from kraft card, selected patterned paper and die cut a square aperture.
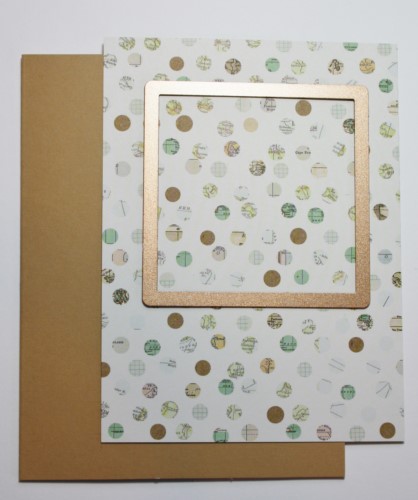
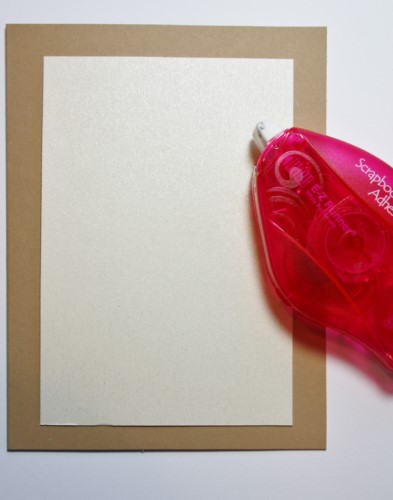
Affixed a piece of cream pearlised card to the card front (to show through the aperture) using E-Z Runner Permanent Strips Refilliable.
To my patterned aperture front I attached Creative Photo Corners Kraft to each corner.
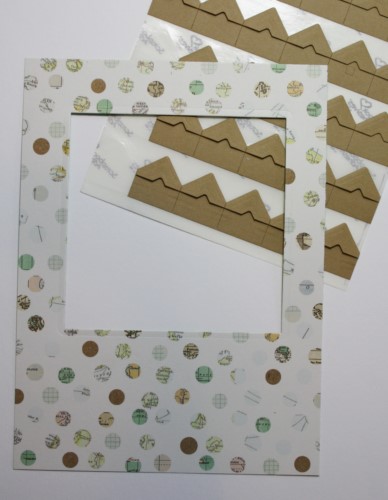
To the reverse I attached Crafty Foam Tape.
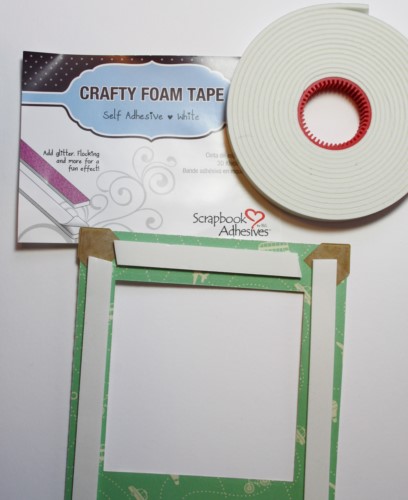
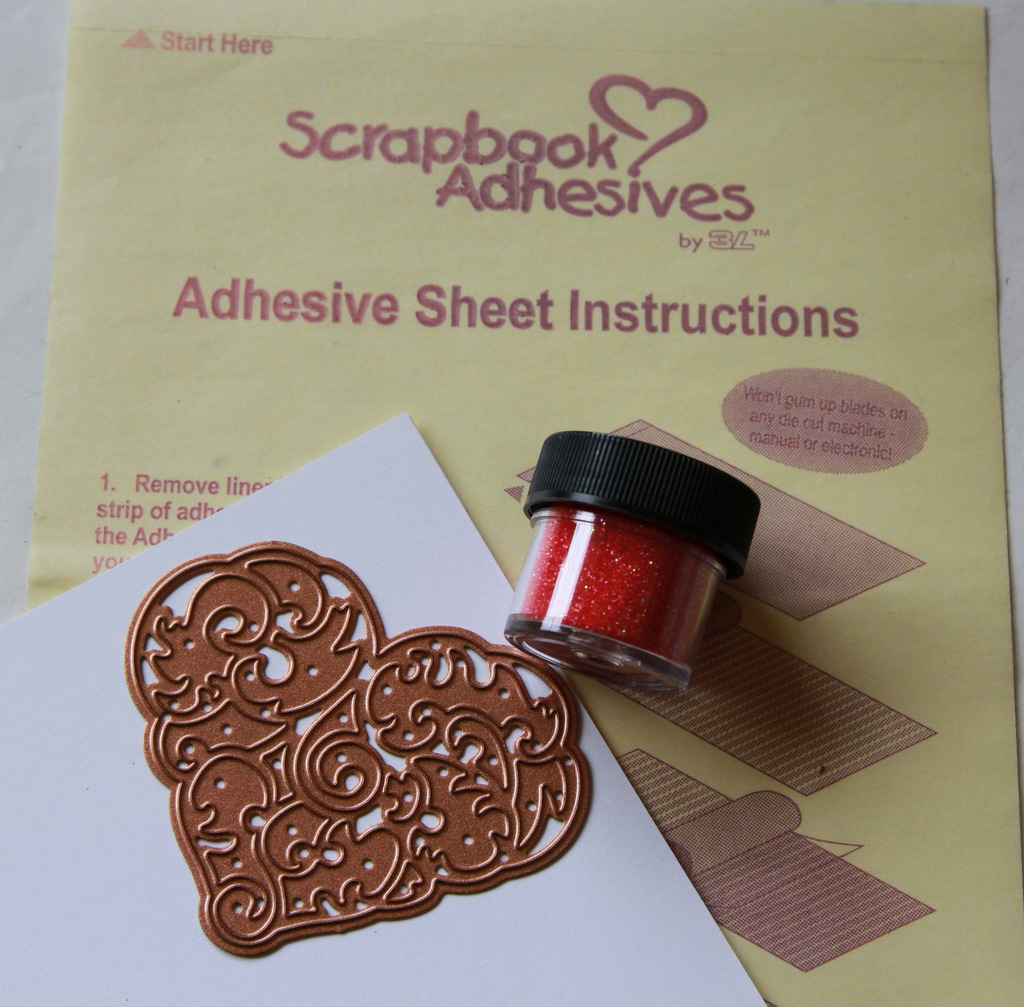
For the aperture design I die cut a heart frame, inserted a different colour die cut heart and a smaller one – all affixed with 3D Foam Squares – White, Regular.

Simple to make and speedy with all your Scrapbook Adhesives by 3L products to hand.
Thanks for stopping by today and don’t forget to check out all the great products on the website.

Products used:
Crafty Foam Tape, E-Z Runner Permanent Strips Refilliable, 3D Foam Squares – White, Regular, Creative Photo Corners Kraft
Spellbinders dies: Classic Hearts, 6 x 6 Matting Basics, Phrase Set 2
Kraft card, patterned paper – My Mind’s Eye – Hello World


